
Explore laser abilities >>>
Let me introduce myself, My Name is Bruce Benson. I took up Laser Engraving as a hobby with challenges. I also have 3d printing hobby with my second Delta printer AnyCubic Preditor. I’m retired and have plenty of time on my hands and use hobbies to offset time on the couch watching TV. Thru out my working life I have had multiple jobs and businesses range thru Paper Route, retail sales, Automobile repairs, welding and welding business and computer work for the state of Florida and computer networking and repair business. I got into computers, Amiga A500, A600 A1000 with the upgrade, A2000, A3000 with upgrade Video cards. These lead to my interest into computer Graphics,3d programs, Networking etc.
My Education: includes 25 credit hours of Computer Networking at a local college in Tallahassee Florida. Yes, you can Say I’m a Jack of many trades. It keeps my life very interesting. I also code my own web pages using Notepad. Back in the late 1990’s every site I coded got on the front page of Google.
I also have my own web server in my home network I have closed my USA Solar & Wind business. And dabbled in BitCoin mining for a few months. ( noted I should have just invested in the coin, not the miners. )
At the first month of the year, I invested in NEJE Master 2s 30watt engraver system. I waited 60 days for it to be delivered. What came was a NEJE Laser Module 0006 model and no other hardware. I complained to the supplier and Paypal and got a partial refund. They gave me two weeks to return the item it took over 60 days to get. Next, I order the same NEJE Master 2s 30 watt engraver from Banggood this time it came to me in 15 days. I assembled the engraver in a very short time frame and moved it to my outside shed. I built a new shelf to place it on ran electrical with surge protect strip. Then I put it on a battery backup system along with a laptop using lightburn. Then I did some computer work for a long-time customer and had him get me a “Ortur Rotator”. Then the fun began new engraver two modules to test with a rotator to learn how to setup in lightburn. I did a few engravings on cheap plywood and hobbies store plywood. I used photos for engraving practice watched a lot of youtube videos. Joined a lot of facebook laser engraving rooms. I had the engraver going early morning thru out the night. Just learning by trying what others were doing with their settings that some worked others didn’t. Then I purchased a NEJE B25425 module of only 500mw at the beam Advertised at .01mm focus point and 405nm giving thus engravings a higher engraving accuracy.

My Experience With Non-Branded Chinese Made Lasers. Fake laser modules! WARNING!
Let me review DPI in laser engraving images.
DPI use is restricted by laser Focusing points.
It also is restricted by how good your focusing is.
Some peculiarities you want to know about lasers and laser engravers
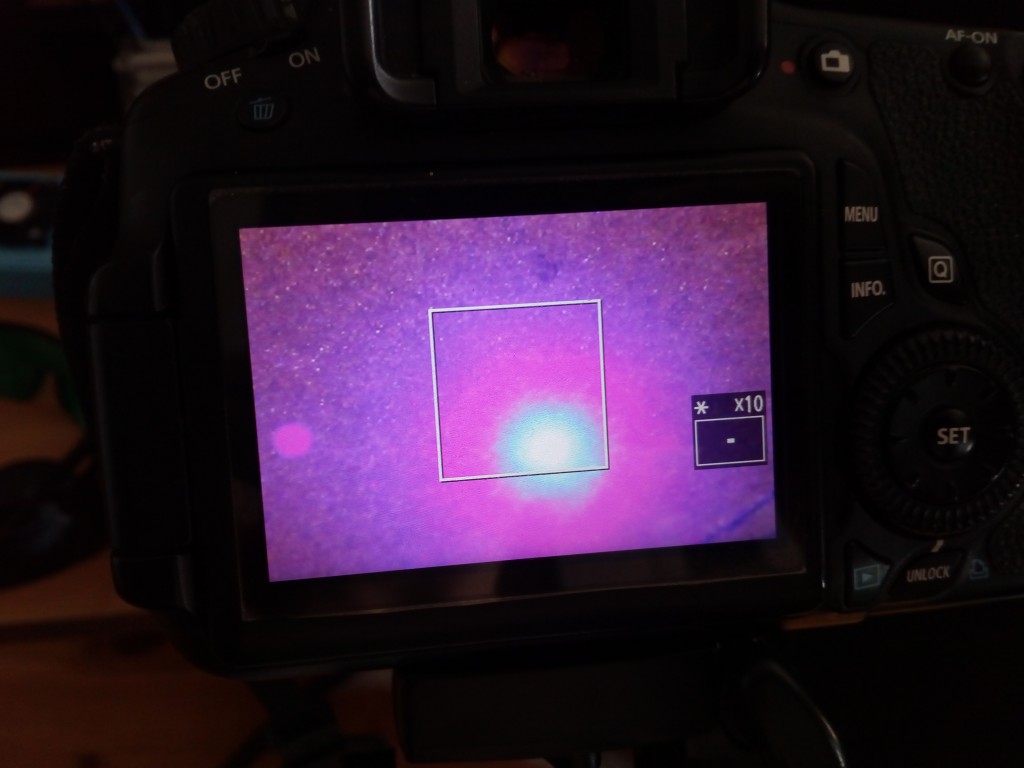
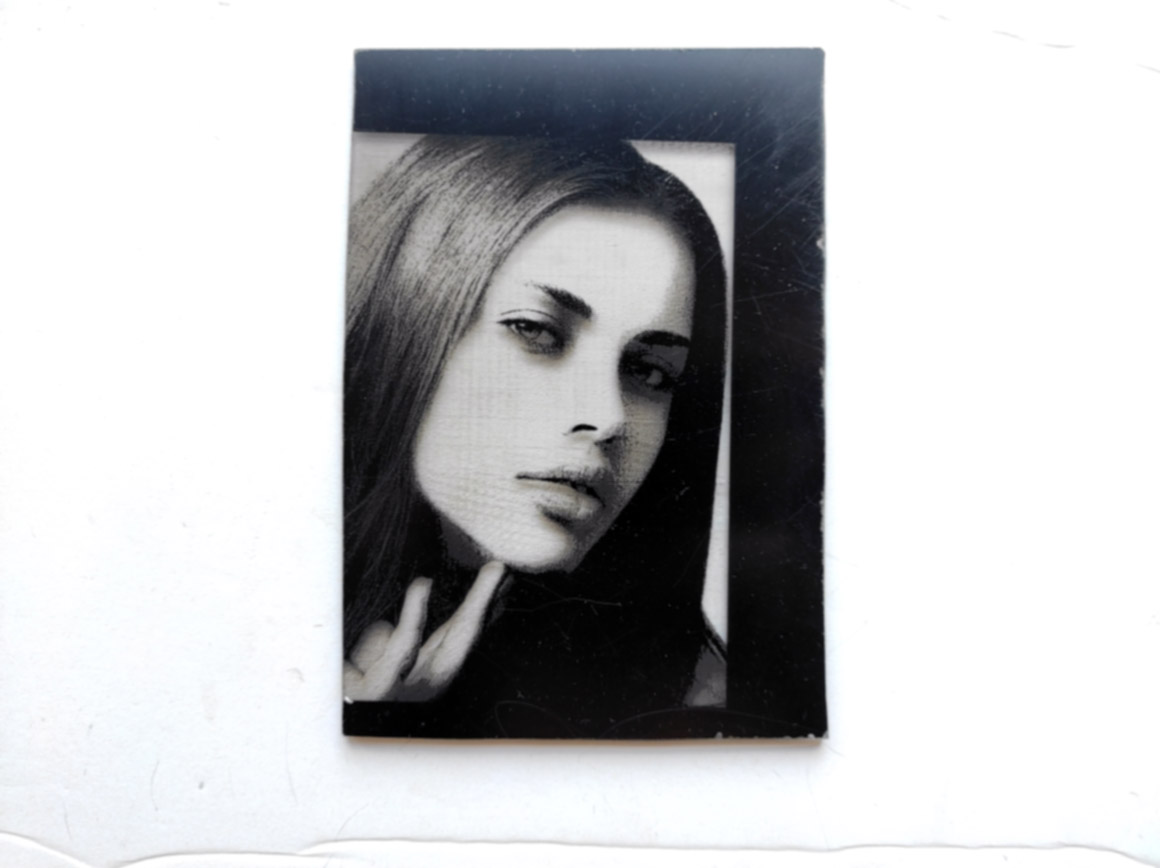
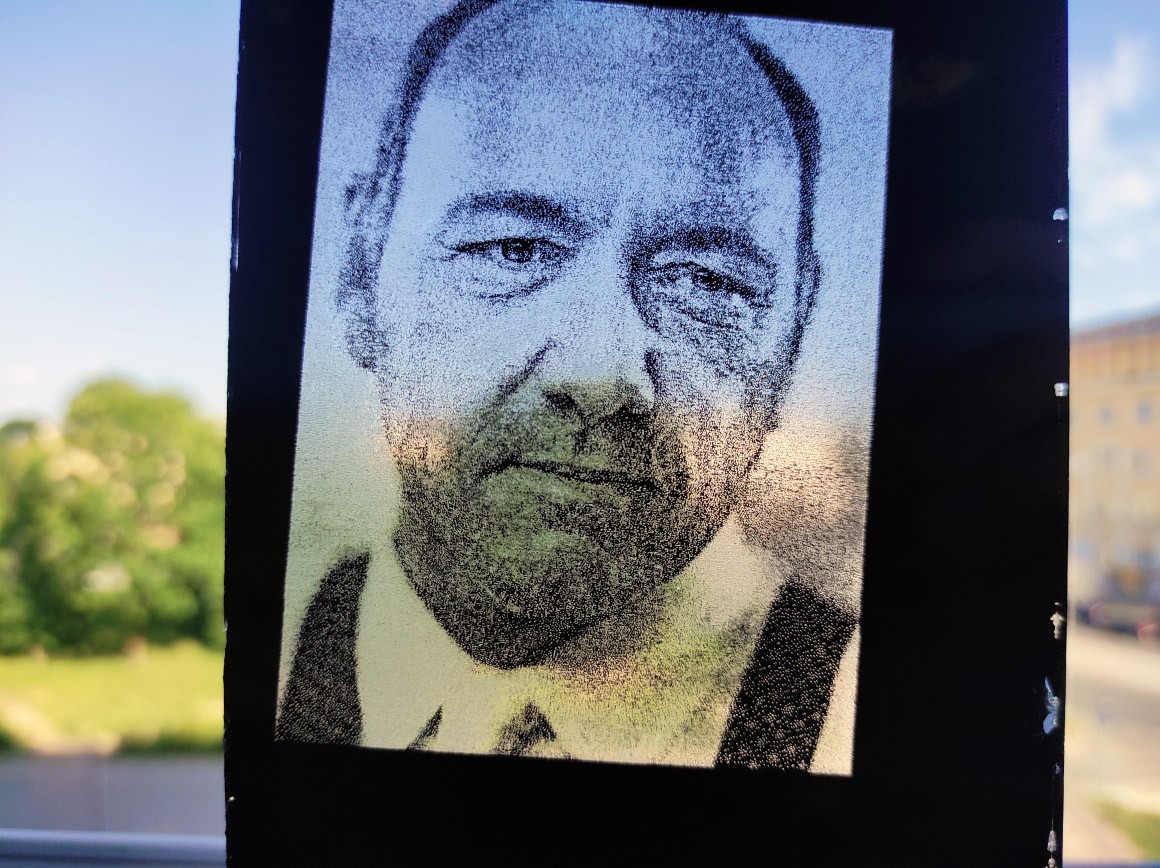
It also is affected by the power setting on your laser and what material you are engraving. Speed of engraving also has a direct effect on DPI settings. As with engraving is very much like welding it use at heat source applied to materials to get effective molecular activity. Engraving is moving material leaving visual evidence of it being moved there for giving images and text that viewers can enjoy. The wattage of a Laser engraver is like the amperage of a electrical welding it is a power setting the more power the more material the deeper the engraving can happen on each pass and or the faster one can set is engraver to go. Matching power speed and dpi is what it takes to make good images to fantastic images. Now a laser module is much like a magnifying glass that focus the sunlight to a very hot round dot. Both use light to generate heat and burn or fracture things like glass and ceramics. I tiny low-powered glass or laser takes more time to heatup item to be engraved or burned. The tiniest of low-powered laser focus points can use more lines DPI that large Focus point lasers. It also is less likely to overburn at slow speed that a larger powered focus laser. This is were you must have scrap material to test with frequently to fine your best speed, dpi and power settings to obtain the best results. My first challenge was finding settings to do my friend and his two childern who are African Americans. I had taken a picture of them with my cell phone that was quite nice in detail but. Everything that I tried by using Facebook setting always resulted in my friends being white. These attempts on white tile resulted in failure after failure. One day at the store I found black tiles and I purchased at box. I painted one white and engraved with my 30watt NEJE laser that should = laser power of a REAL 5.5 watts I did use 600 dpi grayscale and caught hell from the people on Facebook you can’t go that high with a .05mm focus they suggested 318dpi.
Testing of an Ortur diode blue 5500 mw (5.5 watt) laser module
My best result was in the 600 dpi range there was a trampoline net up and the 600 dpi had shown what was on the other side of the net. The shading was perfection as far as this laser used could be. The power setting was 80 or 100% the speed I can’t recall my laptop is 100 ft from my office connected via network cable. I have a wired camera on each engraving and watch it happen from my airconditioned home on my tablet. What I’m saying is an experiment and learn the more you do the better you become. Once you become good at one material go try another fabric. Also, try different dithering options there are ten of them in Lightburn (the best laser engraving software). I like Sketch using the dpi in image adjust makes the sketch come alive. Sketch engraving is pretty fast. I also like Stucki for very fine dithering images and last but least Grayscale is my favorite for photo-quality images.
Learn more about laser photo engraving >>>
The first cut with NEJE Master 2S
Everything about diode lasers
All you need to know about thermal stability for laser diodes
The importance of removing waste heat created by Laser Diodes. Heat is the biggest cause of field failures, especially for higher power laser diodes. Waste heat must be removed instantaneously, or the laser will be catastrophically damaged or, as a minimum, experience a very much shortened lifetime. Incorporated in Laser Diodes must include heat sensing and removal management.
Determining the amount of waste heat is to take the total input power (Amps*Voltage=Input Power Watts) minus the optical output power (Watts). The balance is the watts of max waste heat. diodes are typically 10 – 60% efficient at converting electricity into light. This heat is generated within a small area, it is critical that the laser is securely connected to an adequate heat sink and quality heat sink compounds should be applied to all press-fit parts. Just like found on your computer cpu’s these part expand and contract throughout use of different power settings and pulse changes. For many laser diodes, operating at a temperature lower than recommended can slightly increase the output power (higher efficiency) and/or improve lifetime. This is true not only in Laser Diodes and LED lighting alike.
All about diode laser components – laser diodes, electronics, datasheet.
Heat sinks – Most all laser diode packages will need some sort of heat sinking. The heat sink must be capable of dissipating the waste heat generated by the laser. Lower power devices may only need to be mounted to a base plate, higher power devices will need a more substantial heat sink or a forced air-finned heat sink, and laser diodes arrays (bars) may need active cooling to handle the waste heat. The best heat sink material is copper, but aluminum with heat sink compound is also a suitable heat conductor. Without this, the aluminum metal material is one of the most fluid metals made. It has thru time caused many engine part to warp, crack and leak and damage engines in every make an automobile.
https://www.youtube.com/watch?v=tvk7Cxiphww
This also happens in Laser Modules the perfect machine part are green when you get your equipment and are subject to heating and cooling and loosing the perfect fit and active cooling becomes less effective. The only way to ensure cooling is with a thermal compound that will keep a fluid bond between all parts and stop any corrosion from happing. An interesting fact is that actively cooled heat sinks offer much better heat sinking performance and introduce a temperature control into the system.
Another alternative to aid in heat dissipation is An indium foil spacer can be used to reduce the thermal impedance of the laser package to the heatsink interface. Engineering has experienced is that indium foils offers a negligible improvement over a good copper-to-copper interface. Epoxy Technology H21D is used by many it is a silver-filled epoxy it is a “space-qualified” low outgassing compound that avoids contamination of the laser. very small thermocouples can be used to check the temperatures between the laser and the heat sink. Another test for the heat sink configuration is to check the laser emission wavelength at the specified current and operating temperature. A much longer wavelength than specified on the data supplied with the laser indicates bad thermal contact and thermal overload of the diode laser.
Be aware They require a special set of specifically designed electronic control elements. This set of control elements are combined to produce what is commonly called a laser diode driver or laser diode current source. Essentially, these elements determine how the laser is turned on and driven to produce a specific wavelength and output power. And how this is accomplished without damaging the laser diode most of the time.
Fact Node
There is a lot of detailed information about laser diodes online. But in short, a laser diode is a semiconductor device made of two different materials. One a P-material, the other an N-material, sandwiched together. Forward electrical bias across the P-N junction causes the respective holes and electrons from opposite sides of the junction to combine giving off a photon in the process of each combination. The junction area’s surfaces (cavity) are to a mirror-like finish. Those who know laser theory know what happens when there are photons bouncing around a polished cavity. The electrical bias for the junction needs to be a stable, low-noise, transient free current source. Laser diodes are current-driven and current-sensitive semiconductors. A change in drive current equals a change in the devices’ wavelength and output power. As a fact my friend and business associate was developing LED street lights at his home in Pennsylvania I was helping him source Cree led with starboards attached. His engineer one evening told Jim to change a setting on the lighting system he did and when he switched the light on he and his wife were temporally blinded by the output of the street light. He also was dealing with thermal keep the led systems cool and lasting for years of use. During that time frame, I had sold NASA in VA a solar street light for use in a high-security area. It included motion detection to save battery life and two 60 watt thin-film solar panels. I also sold our Air-force the first LED light used at a night refueling station. This had a built-in ten-second delay used to stop power surges from damaging the control set. The Air force call PA and told him the light was not working they plugged it to every socket in the office Jim told the officer to leave it plugged in for the ten seconds well they did and Jim heard on the phone some words I rather not repeat but it temporary blinded a few officers LOL.
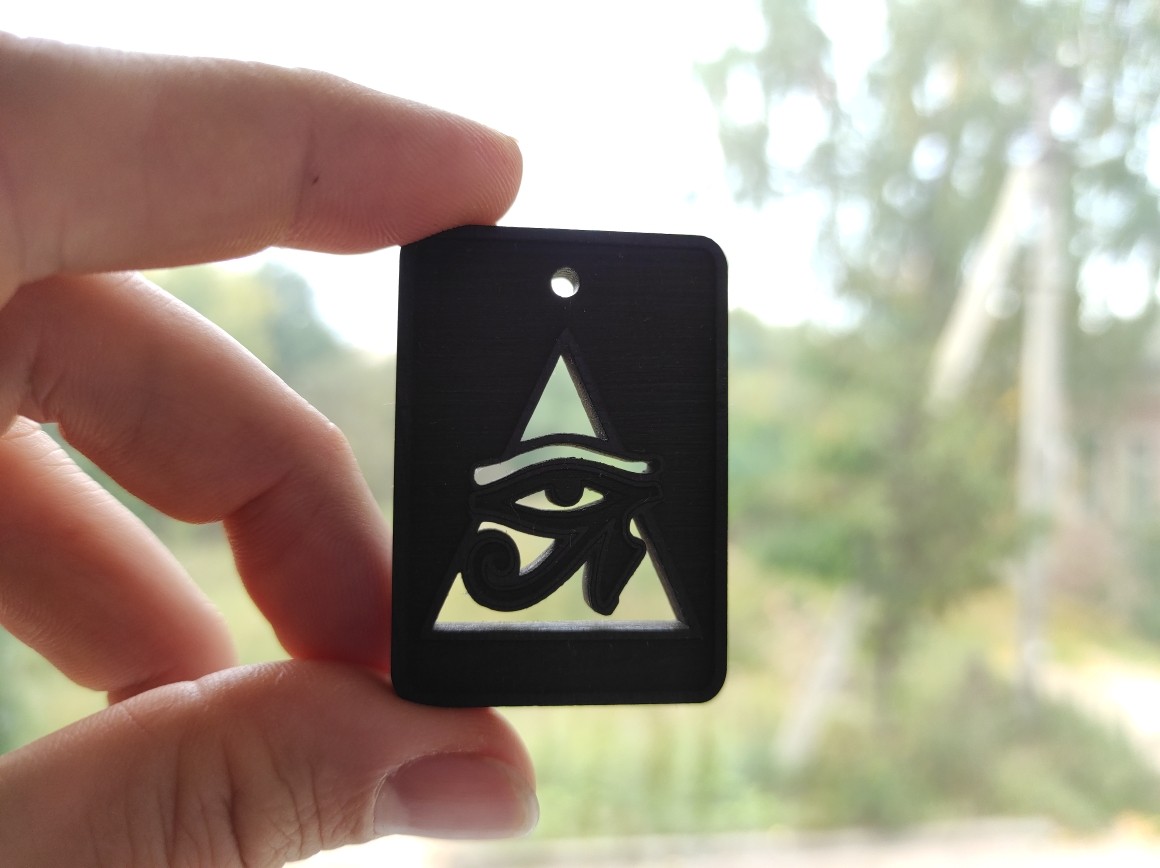
Neje leather engraving
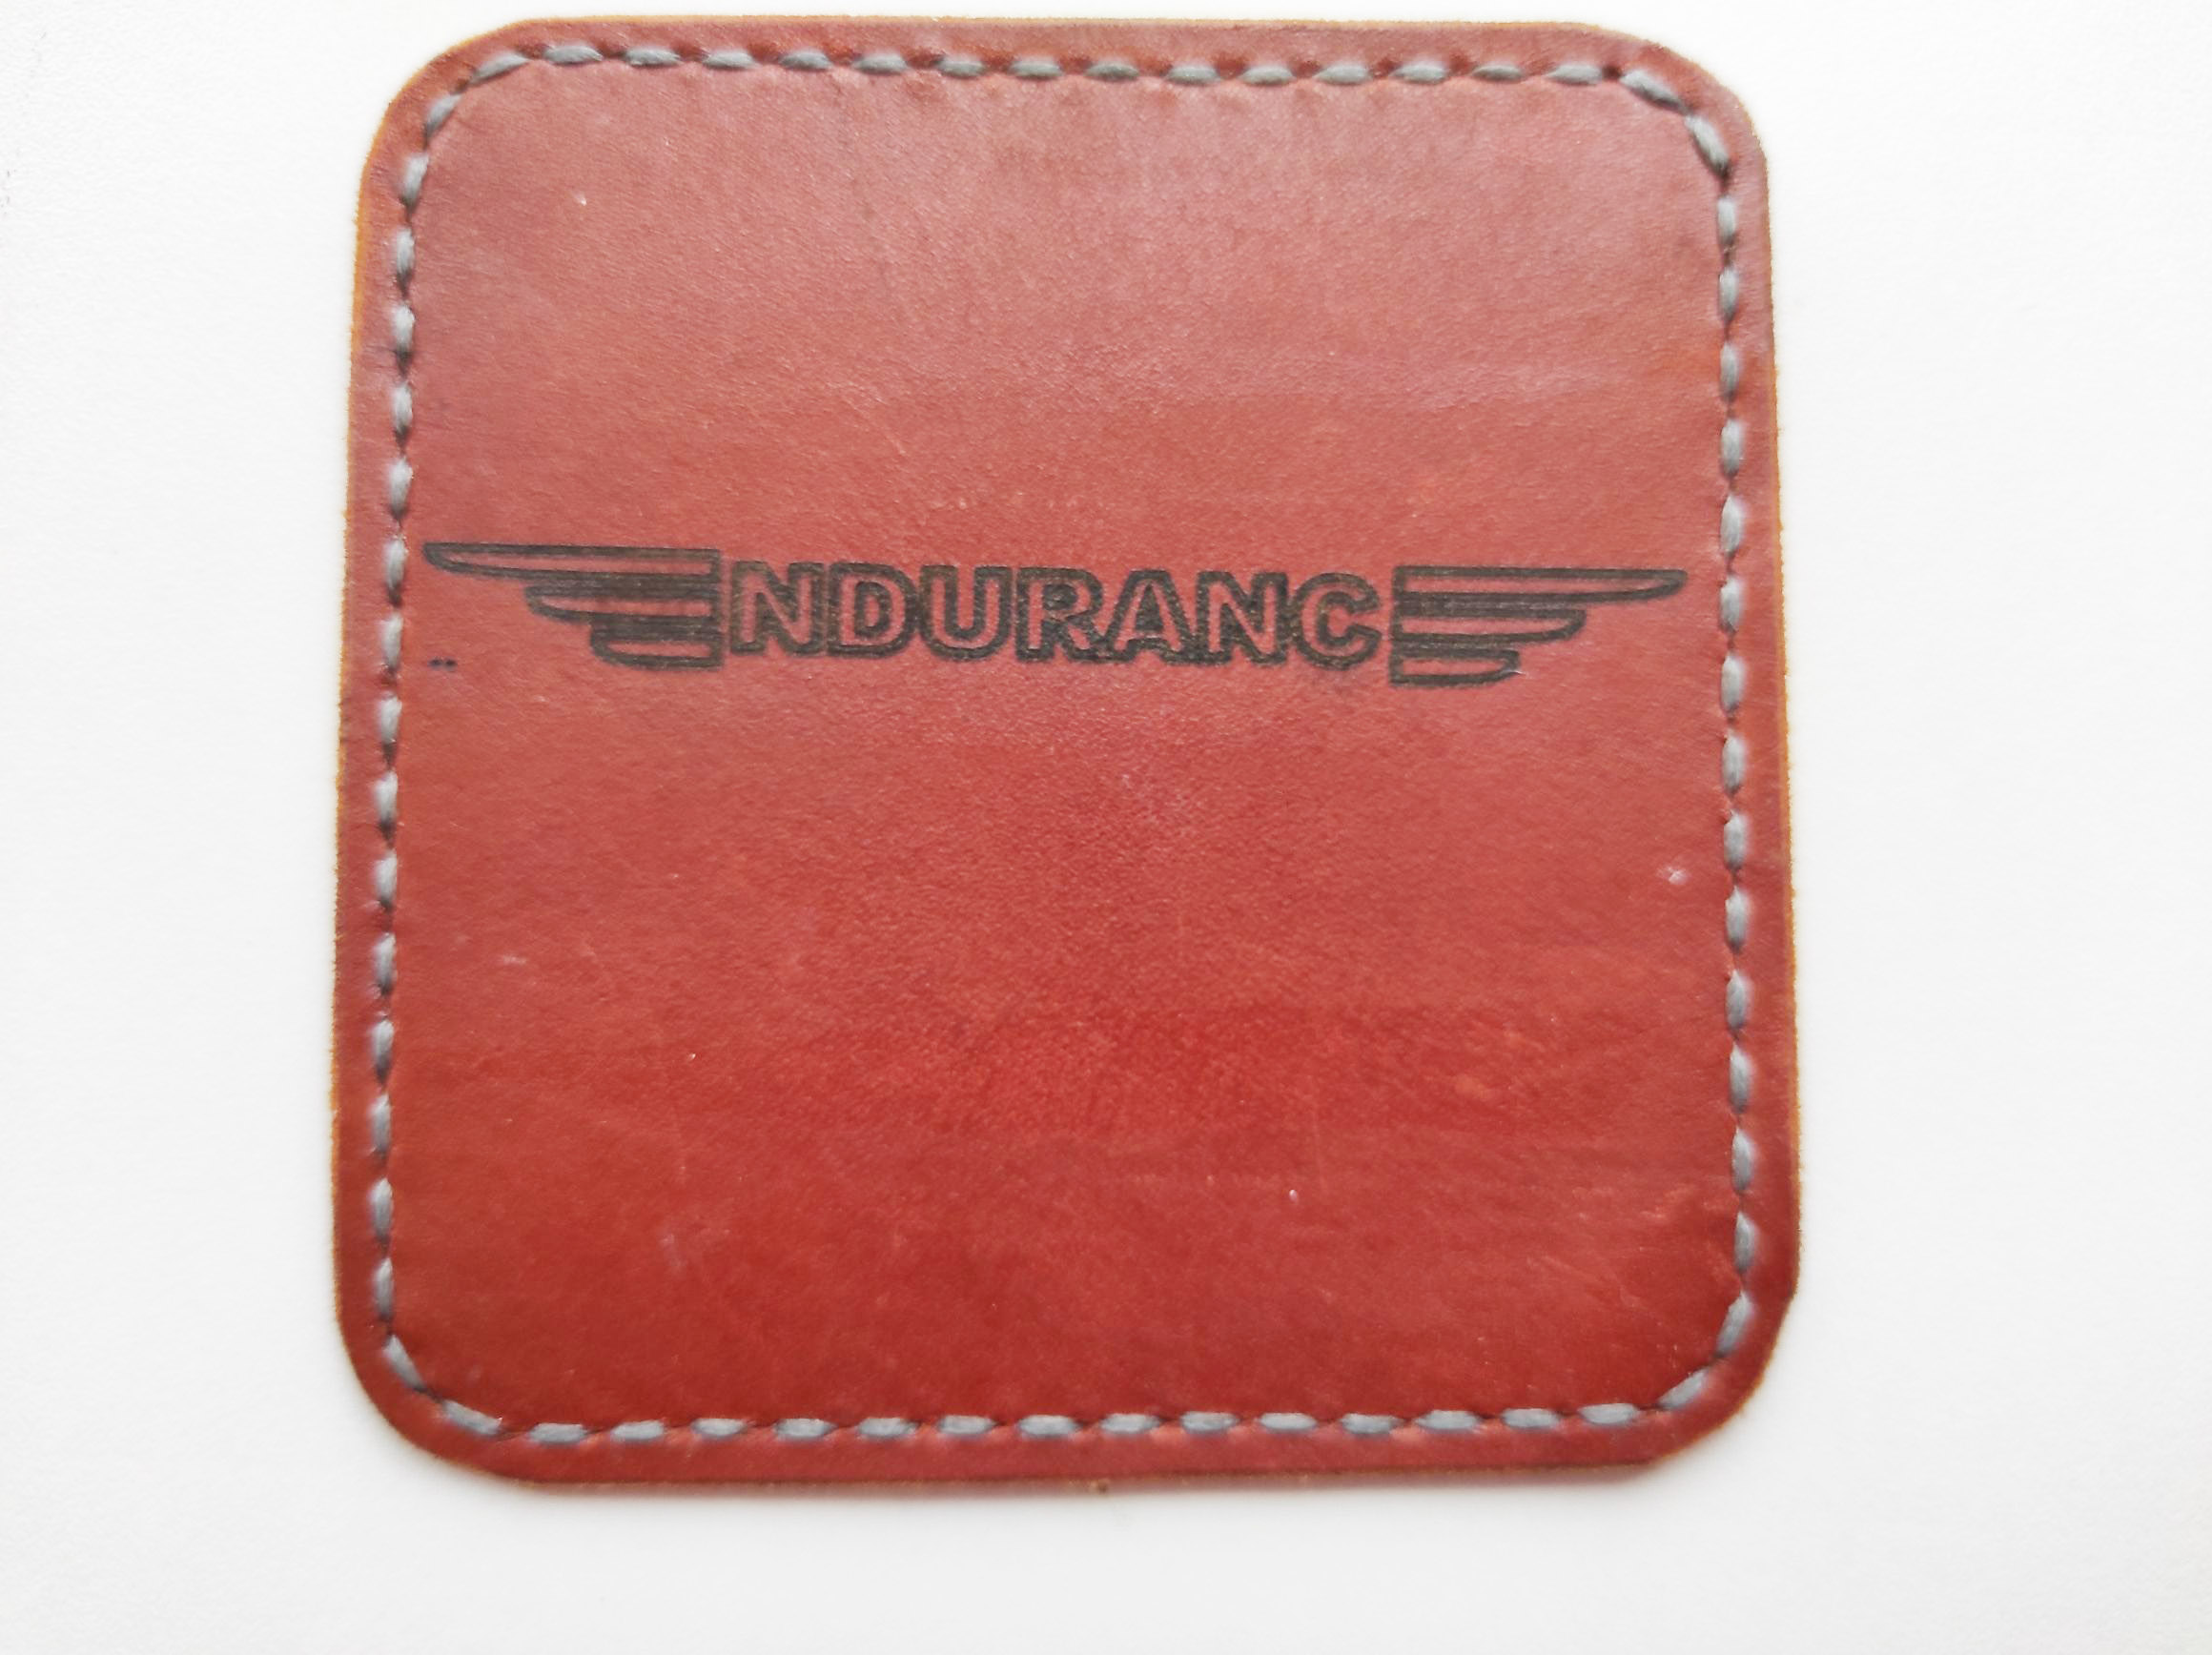

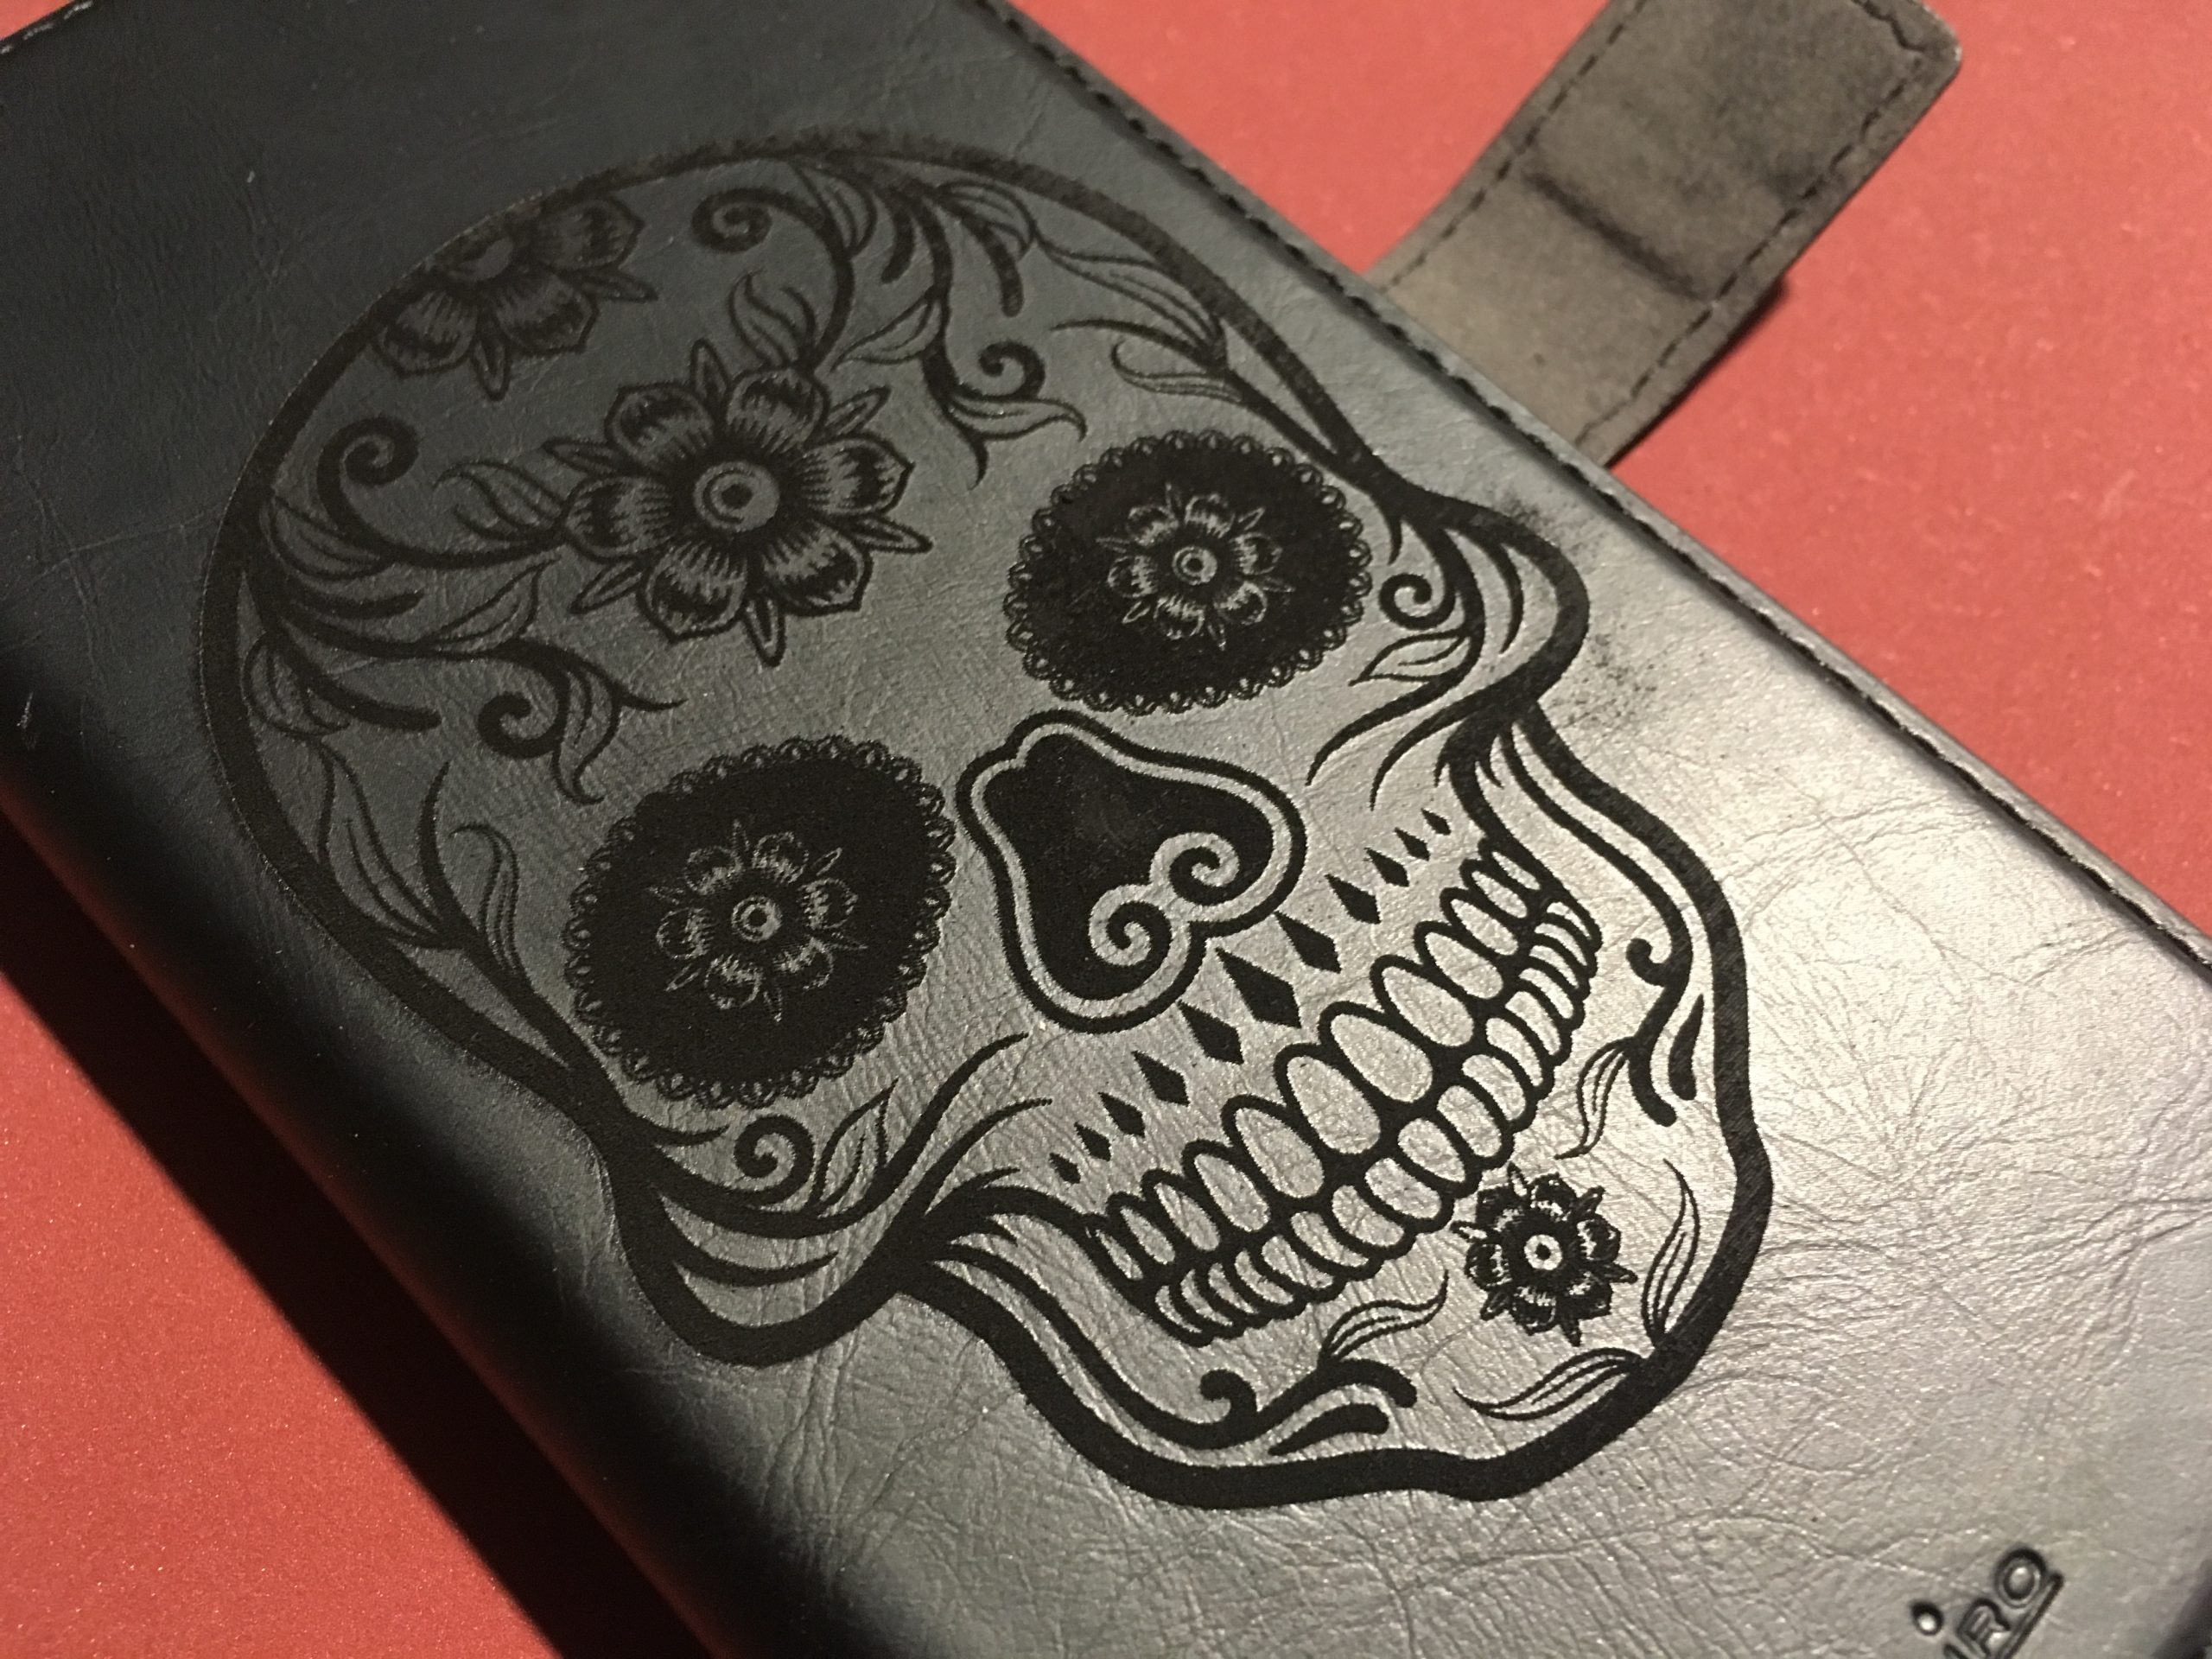
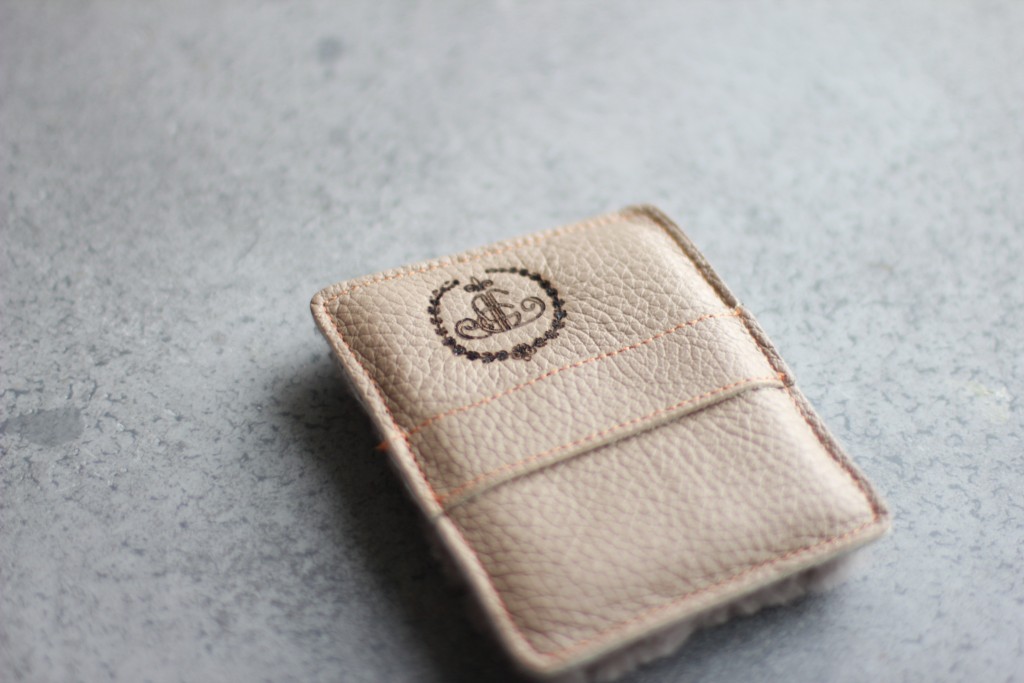
Leather is interesting to work with and will engrave with an assortment of power ranges and focal points.
The First engraving was on Buck Knife cover I did this with the tiny 500mw module with the focal point of .01mm. I basically started with a picture of a owl in fight from a nature group in Facebook copy-paste into Lightburn. The leather on the knife case is old and hard. I did it at 600 dpi 1200 speed setting. It came very nicely on the old hard leather case. I also engraved on the hickory wood with pretty much the same settings getting use to the 500mw laser module was fun. It is a 405 nm light.
Comparison of a different types of lasers and different wavelength
I was in search of materials to engrave on and found some rawhide leather light in color a very soft.
Right off I put it under my 7.7 watt output laser known as NEJE A30130 I setup in light burn a rattlesnake with my logo information under it. It was of fair size and I did image 400dpi stucki 2400 speed one pass I did not want to burn thru it. Pushed-go engraving was nice but it bubbled the image from the heat. I did cut passes and it did not work out so good.
Later on I read that leather needs to be wet soaked with water. This way it engraves without distortion especially if it is raw soft leather your working with. Not only engraves nicely but cuts clean when wet.
I have found if your leather is sitting on a bed that is not clean it will pick up carbon from other material priorly cut with your Laser. I have put my wet leather material that lays flat as can be when soaked with water on a clean glass bed and found out just how many passes is need to cut thru by the light coming thru the glass. Wear you laser glasses. Note an extra pass might be needed all though you seen the light the next pass will ensure dropout parts. Speed settings vary depending on laser power used.
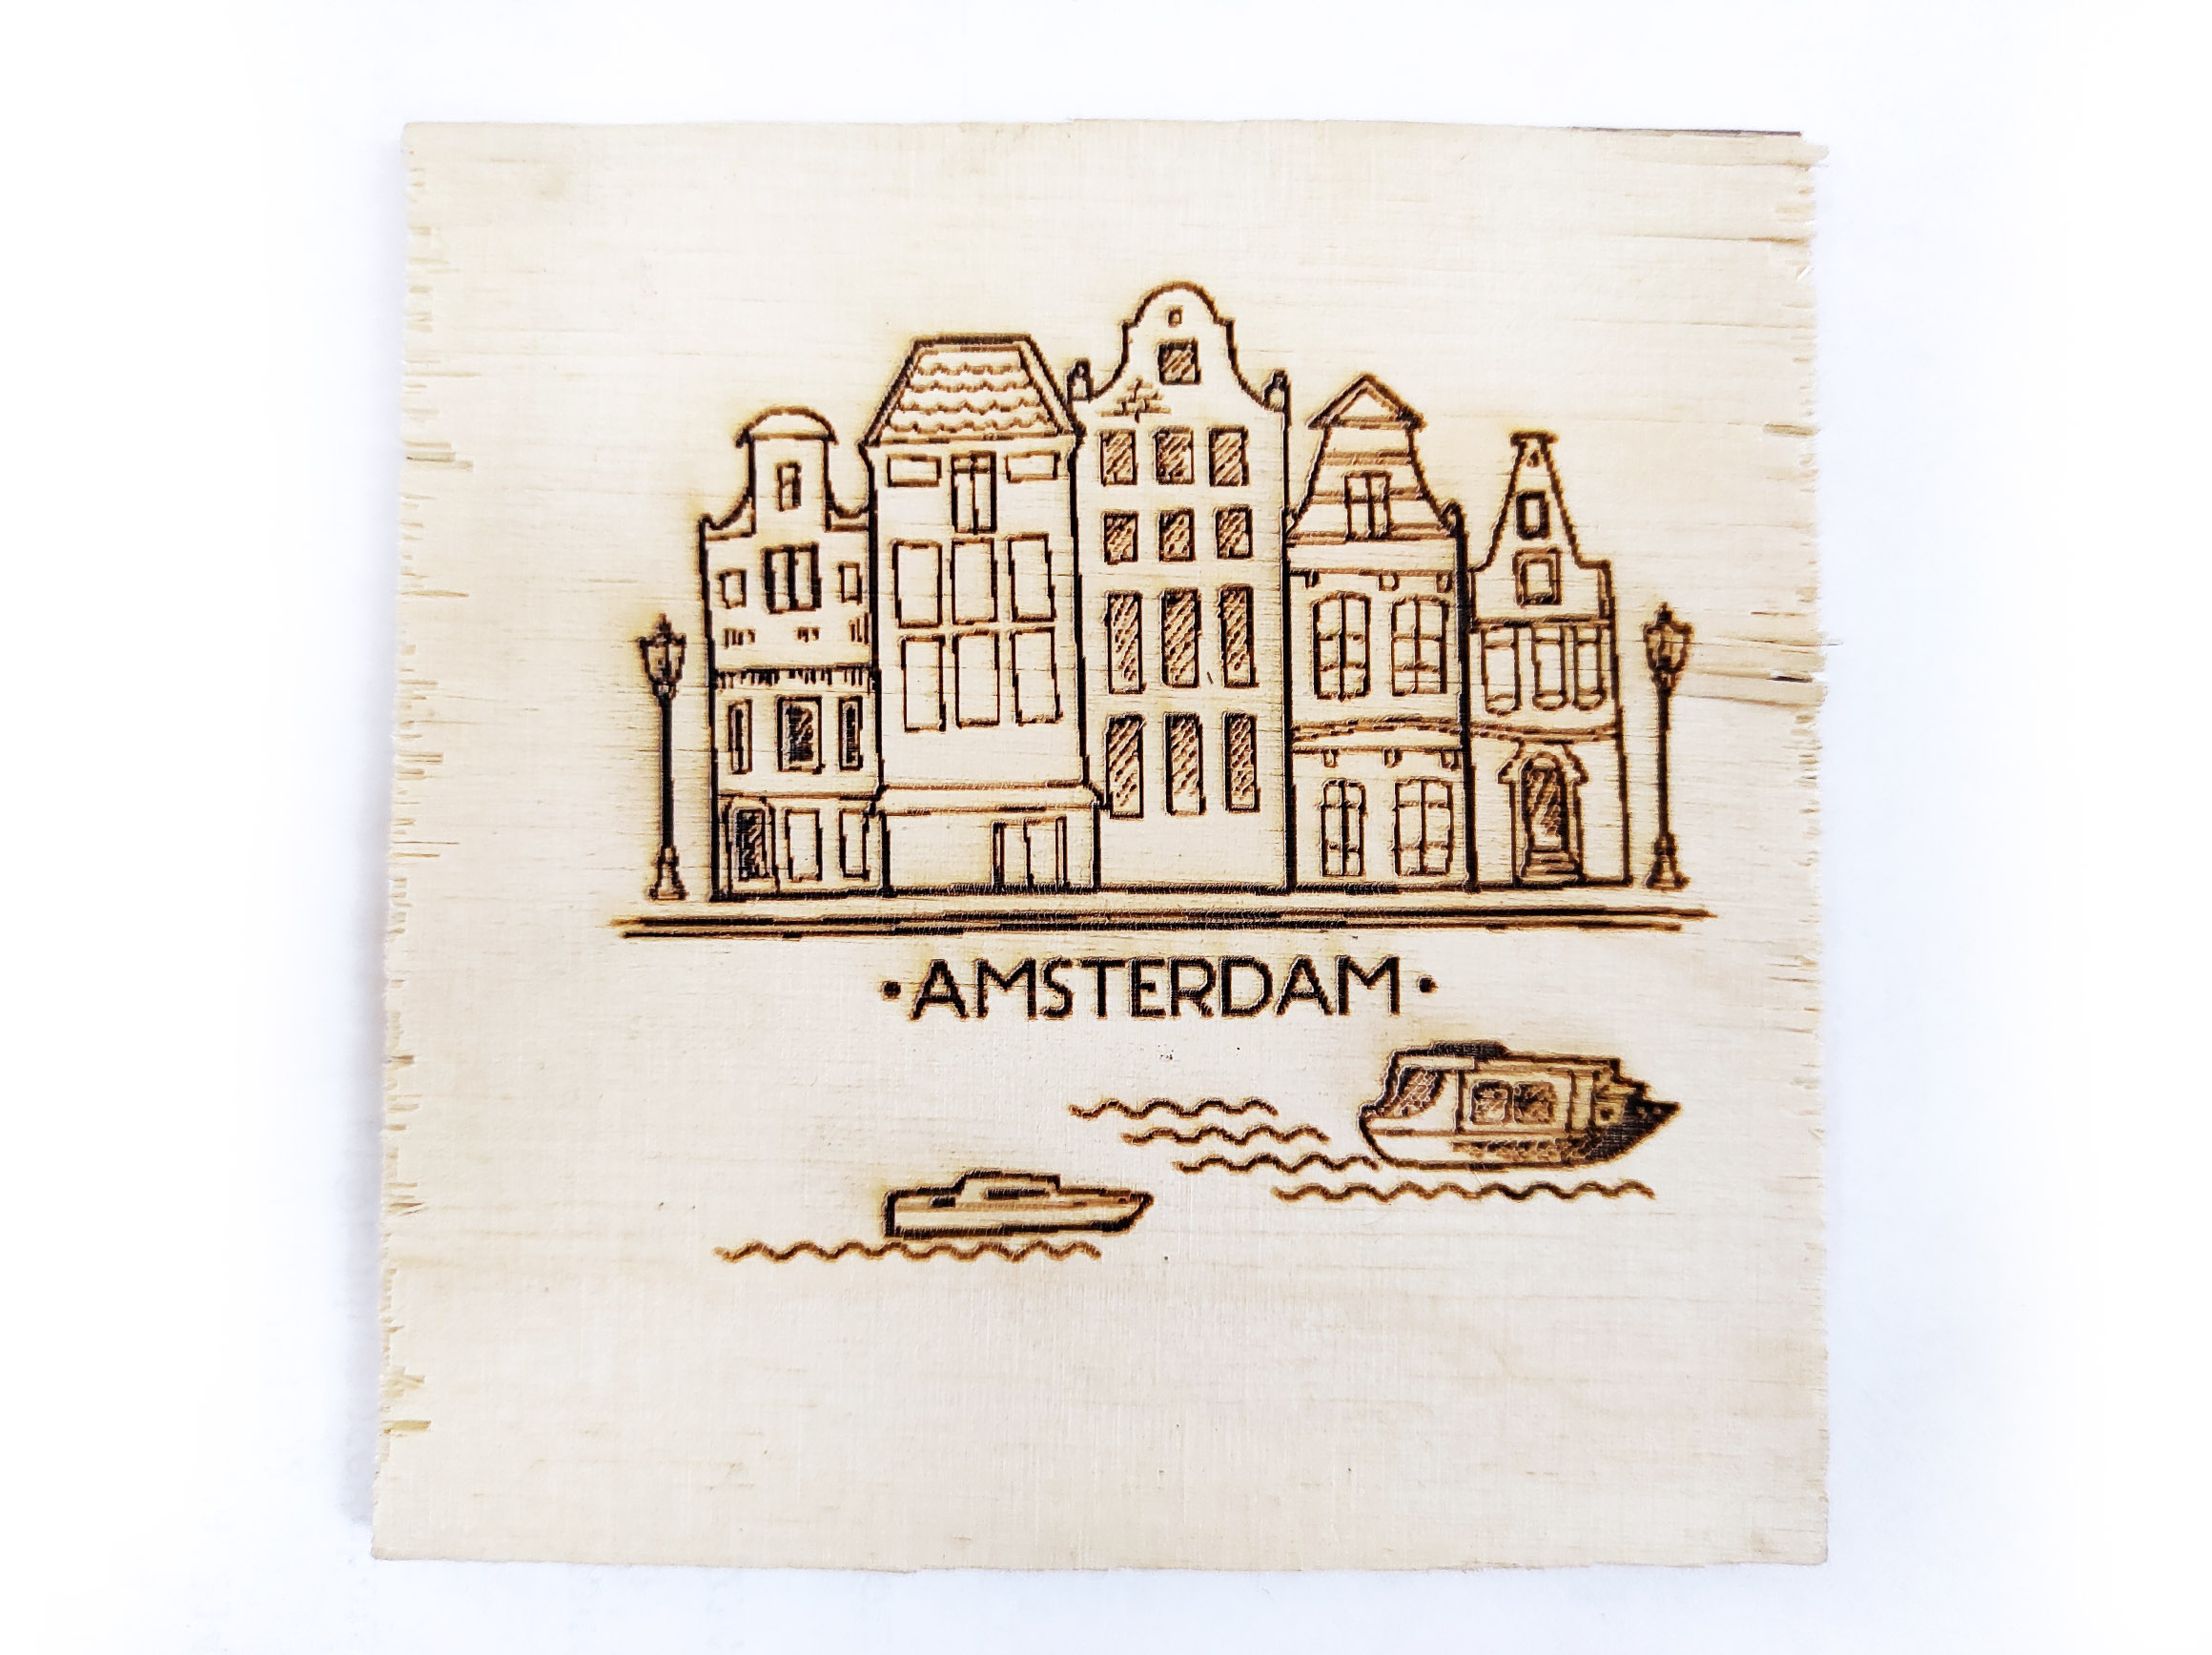
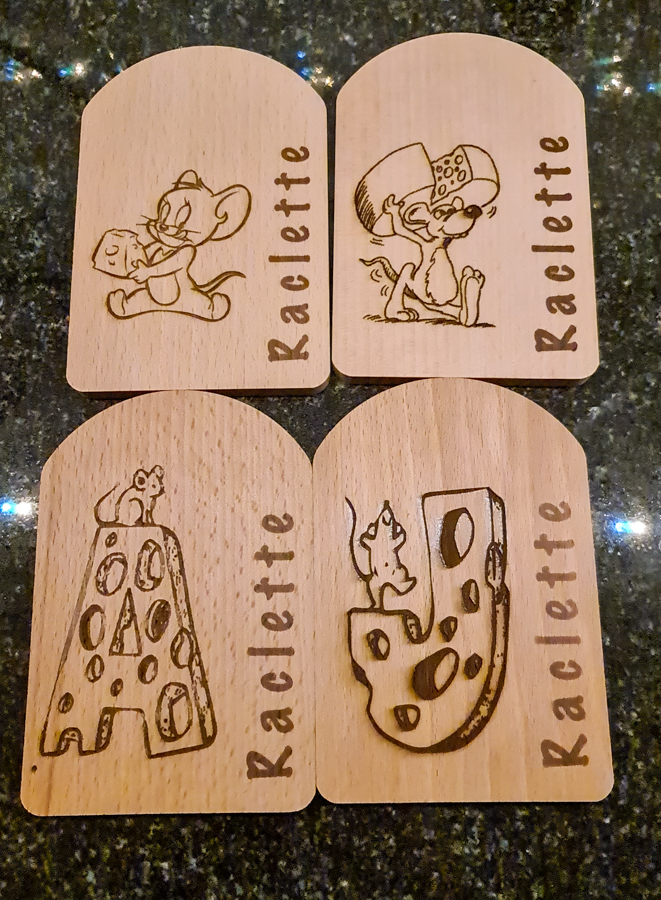
Everything about wood / plywood laser engraving
All wood has growth rings.
These growth rings affect the outcome of your engravings and cuttings.
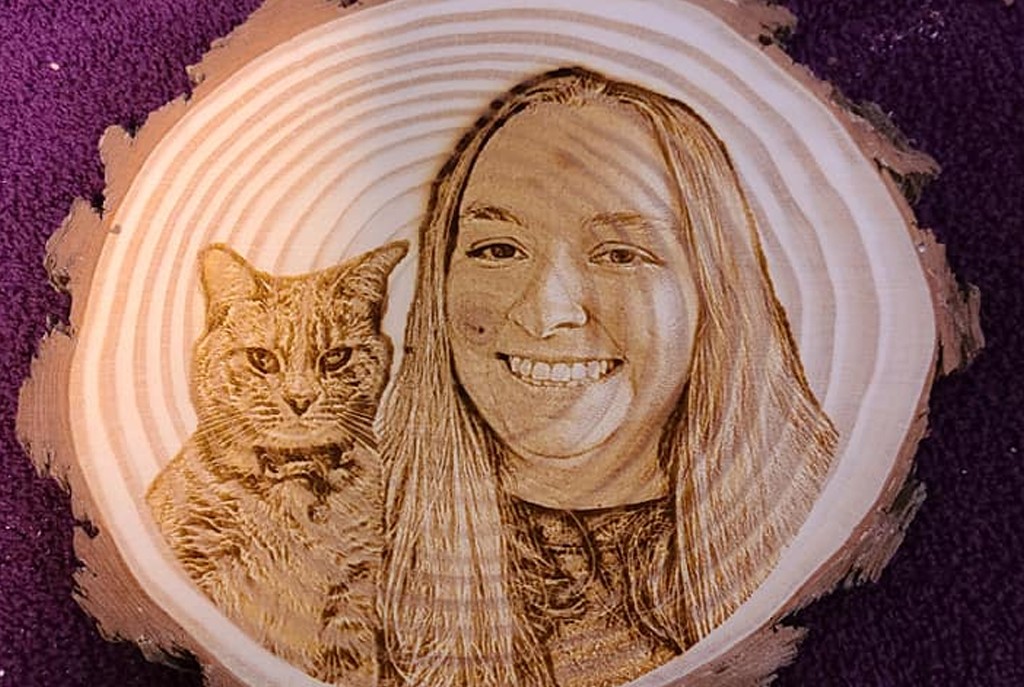
I like using natural wood from varity of trees. Oak branches cut in slices can make very interesting coasters. Some of these branches are from still-living trees and are very clean wood to work with but end up splitting over time. I use a old oven to dry these branches sections before cutting slices out of them with a 14” Chop saw then dry them some more and use a bench sander to smooth out the saw makes then let them dry some more they will even though oven dry the log some warping happens as they pickup humidity from the air over time. So I take them back to the belt sander and flatten the aged oak disk abit more. Some of the older disk on wood that has died on the tree have discoloration in them.
I found these you can engrave using drawings not photos because the drawing burns much darker into the wood and give great contrast because they pop out of the old wood. Or if using photographs in light burn I found sketch mode works very well also.
Pinewood I have cut a thin slice from 2×4” lumber. It is light in color with many growth rings. I have found these ring do not cut easly as the soft pine in between them. Cutting through pine is fairly easy but when the rings hold the parts together it leads to breakage that is not wanted. So what one has to do is find the slowest speed your laser will cut with and have a clean line in the wood. Over burn is not wanted. A few extra passes make all the difference in part dropping out or not.

Hobbie store plywood it comes in a variety of thickness cuts easily and engraves nicely but the wood layer is very thin not wanting over burn deeply because the filler material is normally cheap and not holding up to deep engravings. Note on cutting with or without Air assist I have found if using air assist on any wood do not overdo the air. One this hobby grade plywood over air will burn the center out of the wood leaving a very nasty edge. Perfection is never rushed it is acquired over time.
Building trade plywood has a good side and a rough side. Take the good side and sanded it down smooth. There is plenty of thickness to this grade of wood. Great for making signs. I have at one time cut thru 5/8 with one of my 30 watt lasers but it took forever and a day to do it. I use saws to cut until I find a better more powerful fine focus laser to work with.
Cabinet Grade Plywood
I had some scrape of this plywood used in kitchens on high-end cabinets.
I engraved some very wonderful engraving you might have seen some on face book. I have found that the finish can have an effect on the outcome and if you lightly sand it with finishing grade paper 300 grit or higher your engraving will come much nicer. For grayscale or high dpi stucki 400 dpi with my 500mw laser with .01 mm focal point and a 600-speed setting is a good start at fine results. Noted cutting stops on this stuff were the filler material begins.
MDF wood is made of compressed wood particles. It can be engraved with some fantastic results. I have purchased building trade MDF wood to engrave with it came in 8 ft lengths so I had to cut short block to engrave with. It responds well to all different power settings on any of my laser modules.It engraves well at many different dpi settings. It expands well if wet. I found a section of some old flooring material that was laminated to mdf. That mdf engraved so pretty compared to other mdf. I purchased a pack of mdf sheets from Amazon that stuff engraved differently than others. So there is no two mdf board of the same materials. Each has it own properties and will engrave using different settings in power speed and dithering. So you have to play experiment to gain the best results possible. I did a Norton trick with one pre primed MDF board and painted it with some white paint and it came out so nice the world thought it was Norton on white tile. But that can of spray ran out I purchased a cheapo can on sale and painted another MDF board to repeat as on the first board I loaded the same file and proceed to engrave it and found out all paint coating do not react the same. This one came out very nasty it was the paint. So experiment find what works and stick with it.
MDF can be hard to cut thru with your laser air assist or not the Amazon board 2mm soaked up the heat and was very hard to burn thru.
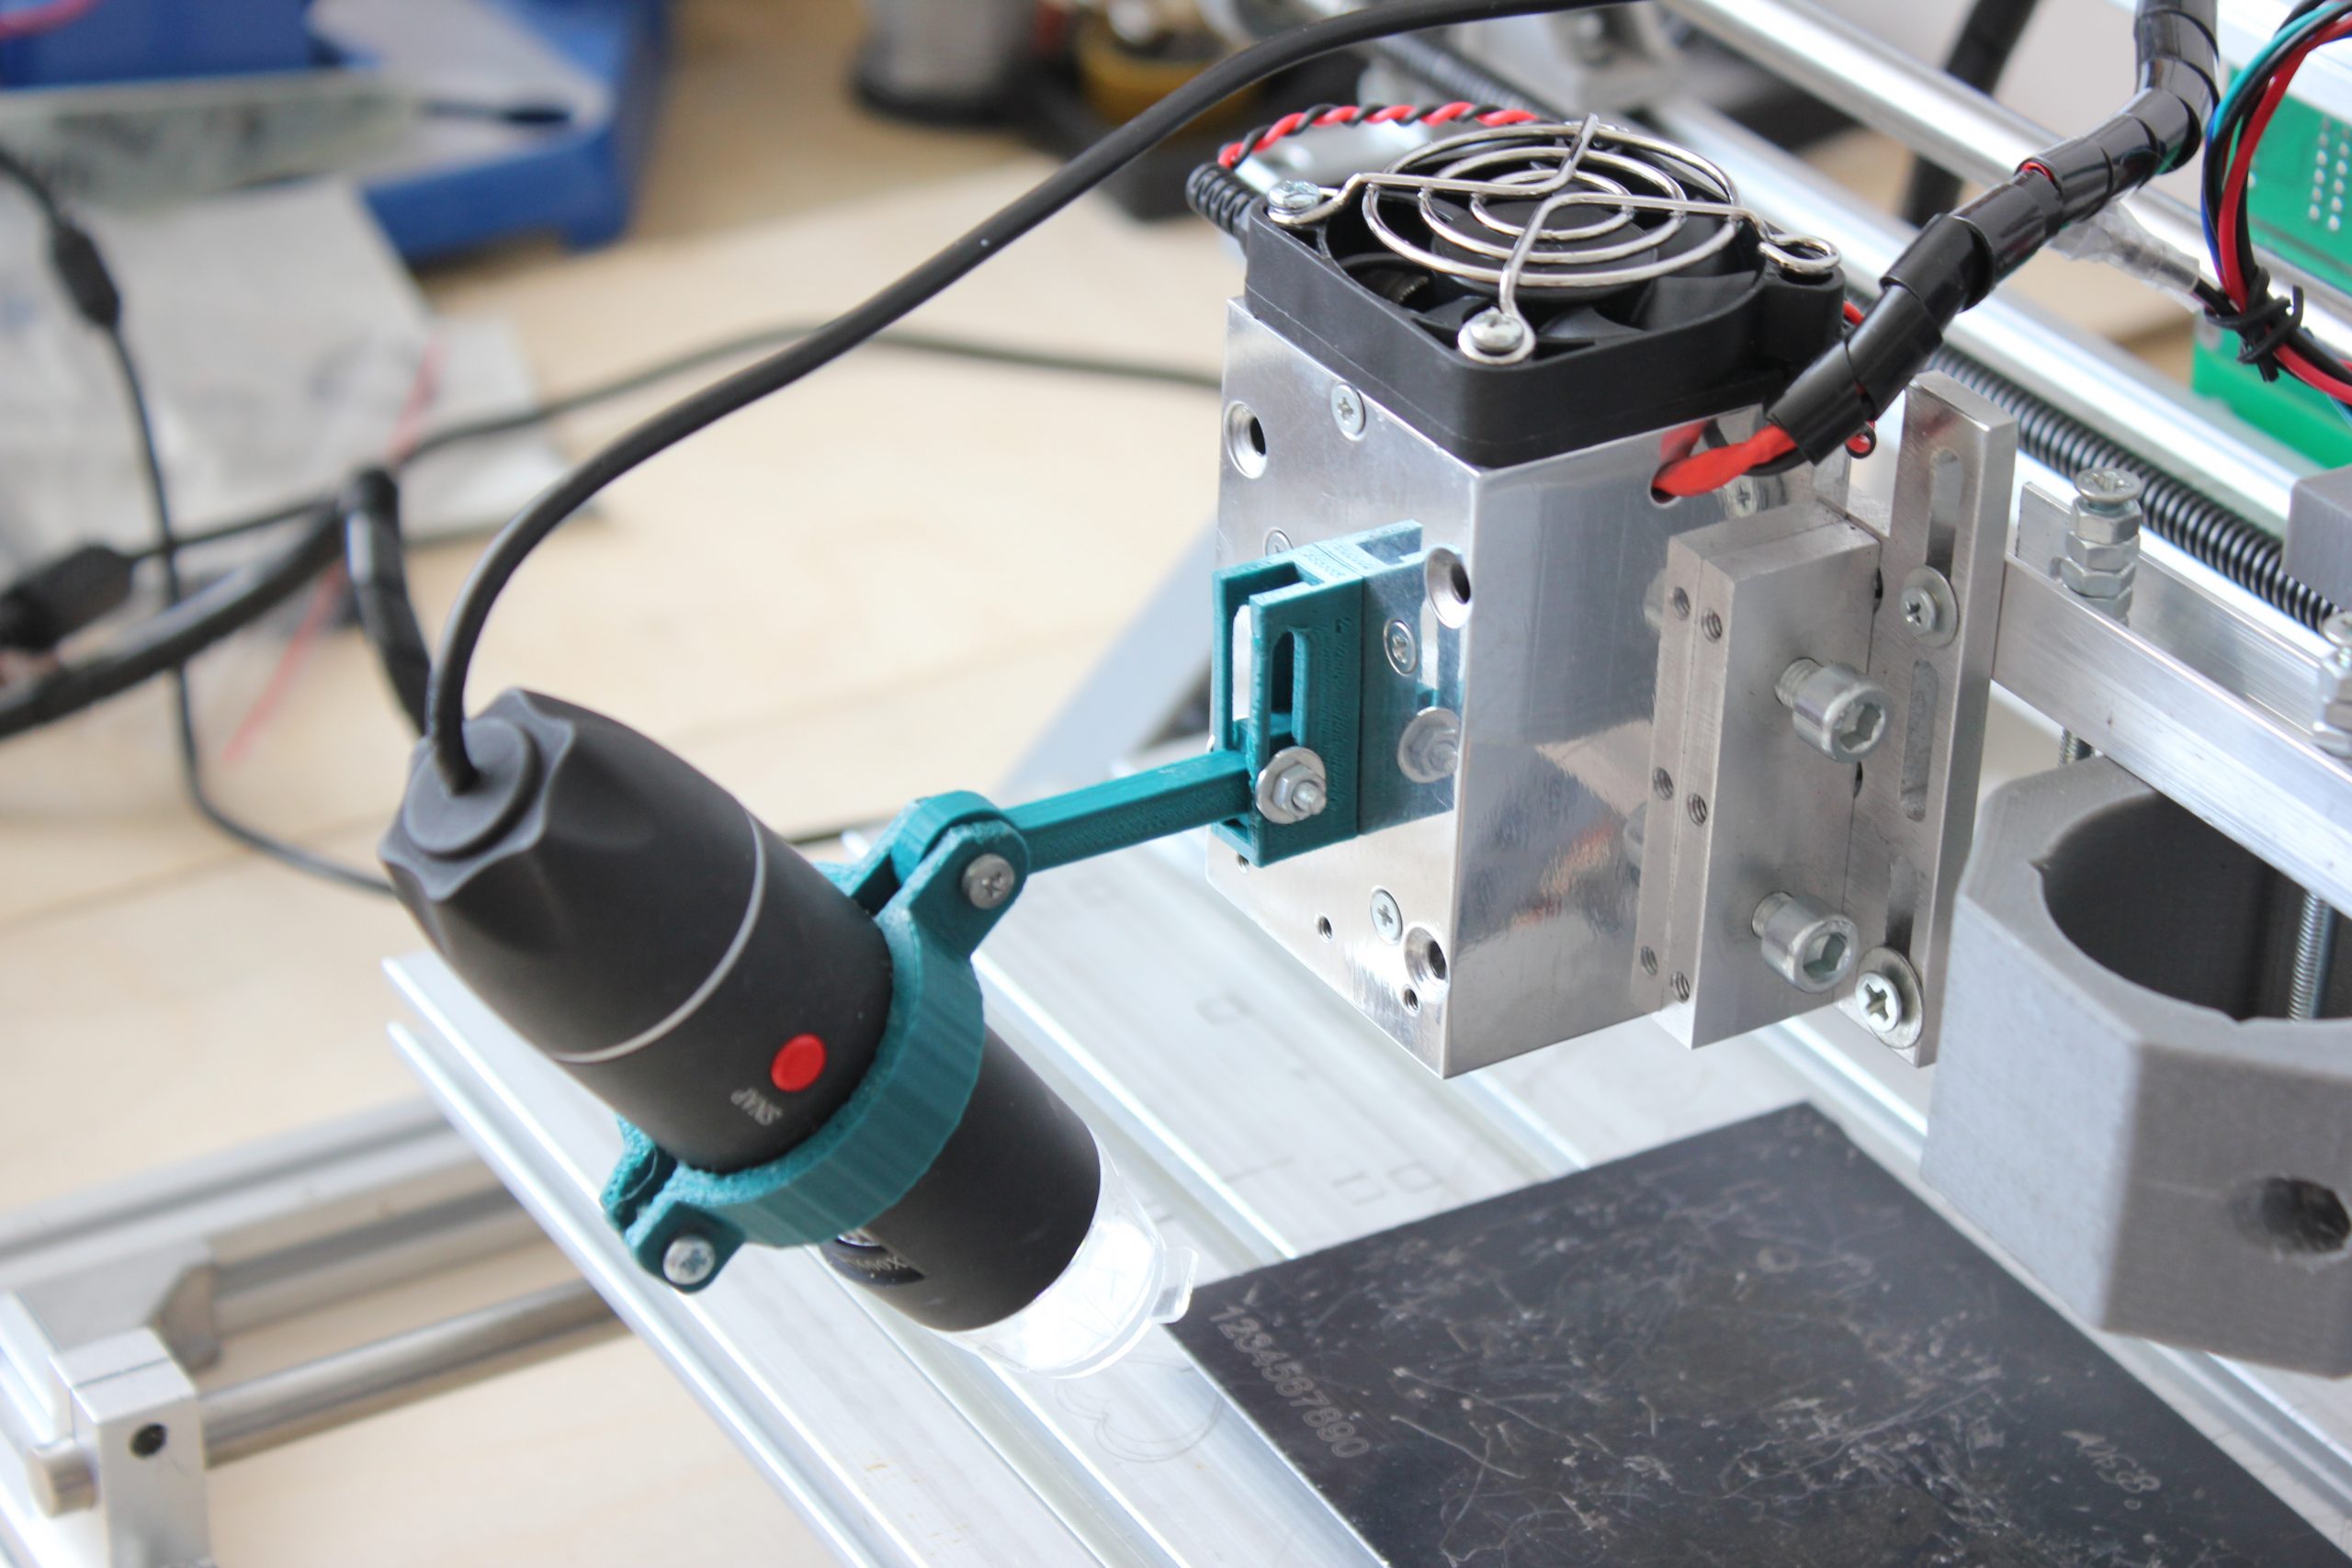
Laser Lens
An Endurance laser lens pack + laser fixation rings & laser focusing ring
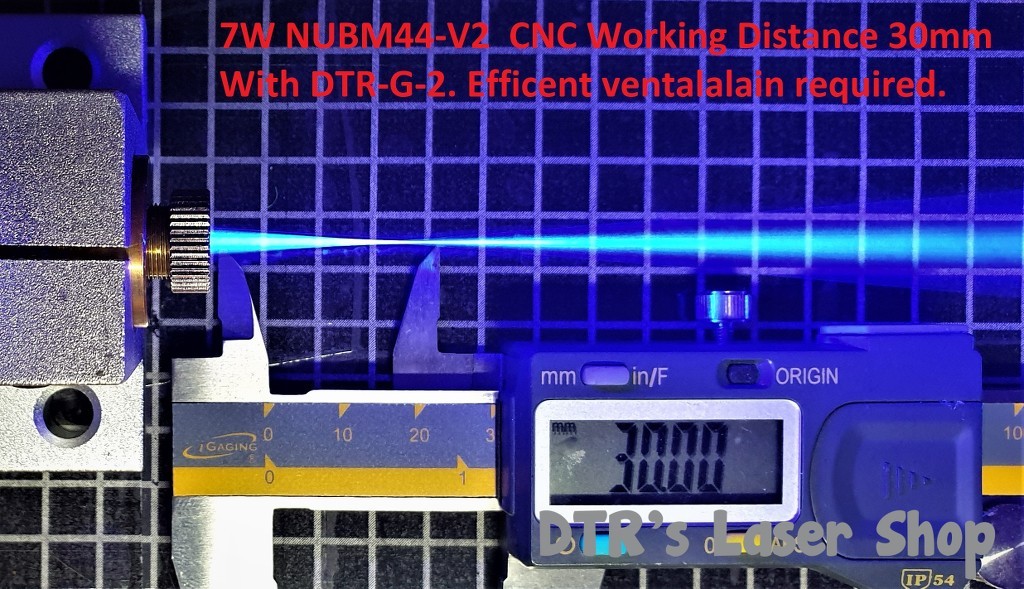
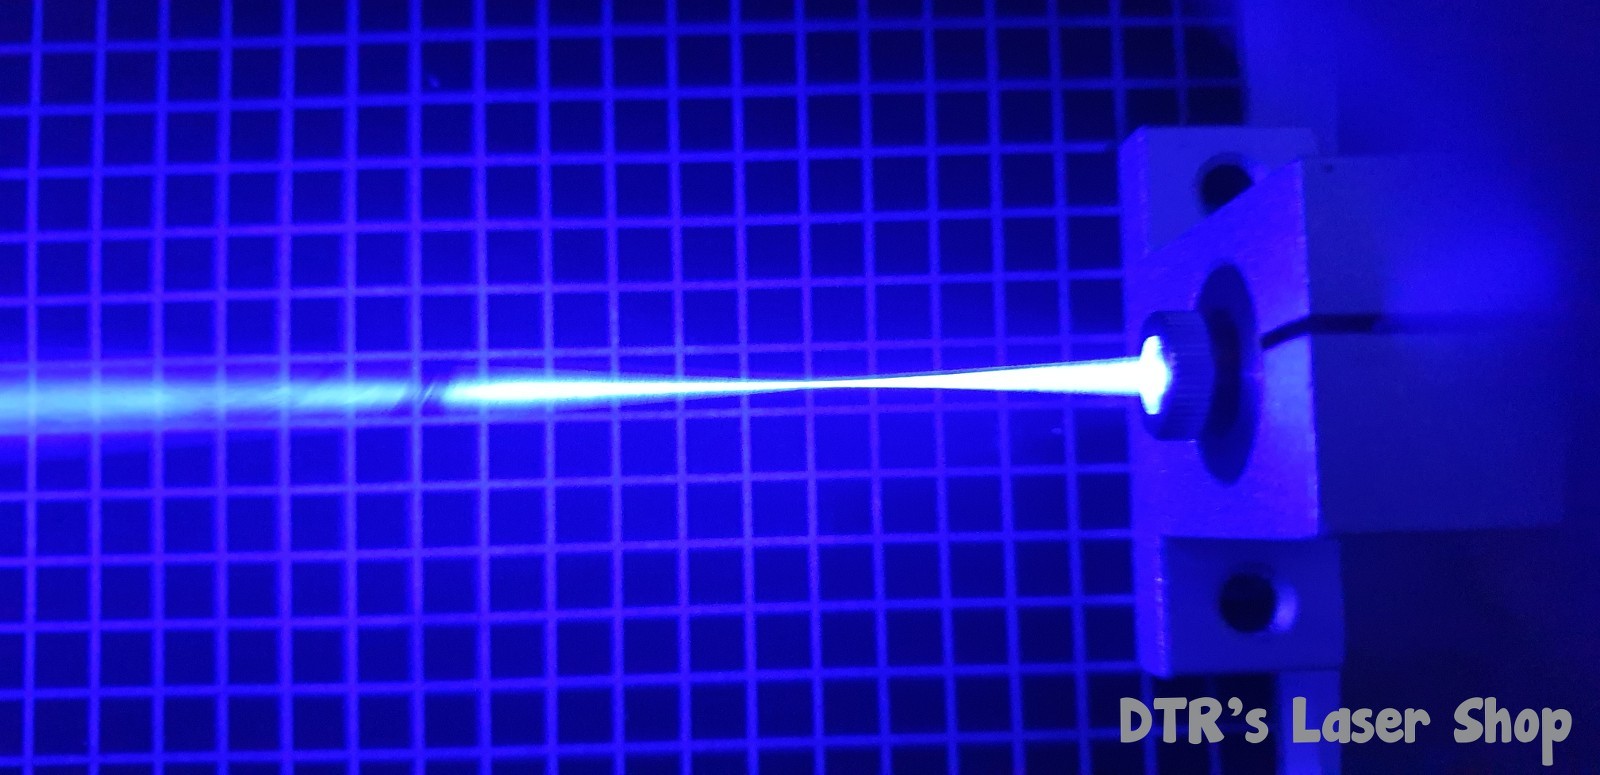
Lasers use a beam of light to engrave or etch information directly on the surface of a variety of materials. … This point when the beam is focused perfectly is called the focal point. The distance from the lens to the focal point is called the focal distance or working distance.
Basically, the focusing of a laser beam is achieved by using a single- or multi-lens laser optic, which is mainly characterized by its focal length and the diameter of the free aperture. On a fixed focus, the ramp test can come in handy. Using a Potetionometer to turn the laser down measuring the heat increase as the dot gets to its smallest point. On my .5mw laser I use a poor man’s Pontentionometer a tiny strip of the thin electrical tap when the dot gets small it starts a white light a little more a tiny cloud of smoke appears and I stop right there on the money. Power setting in light burn is at 2.5 percent.
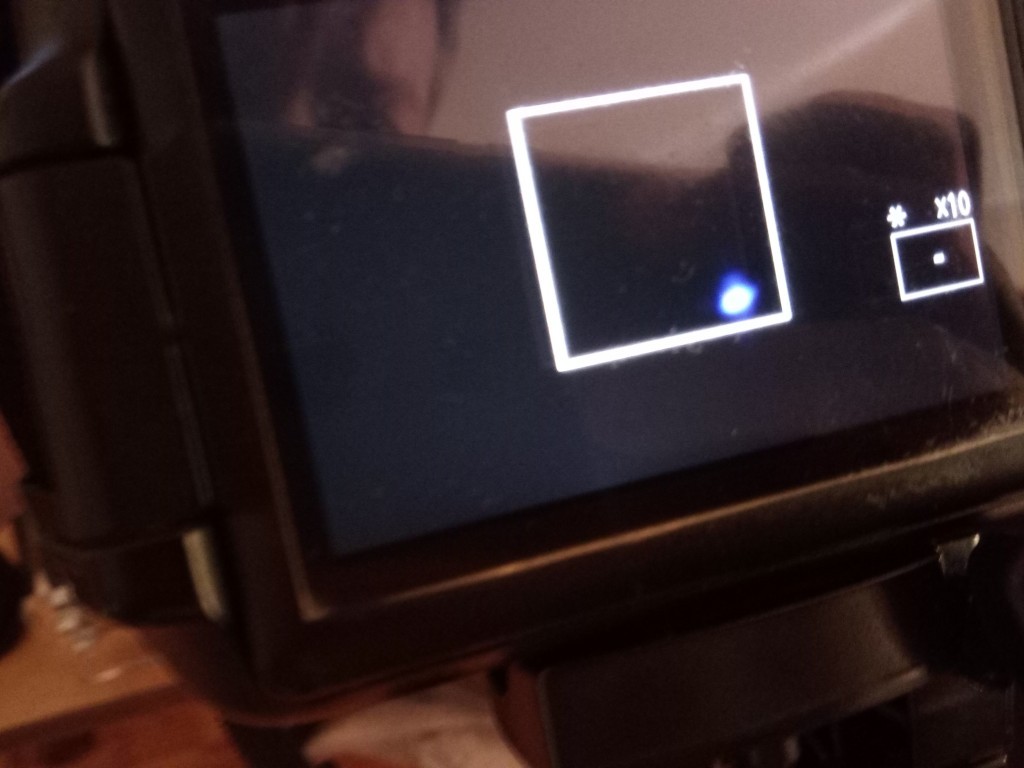


I know there is an issue on the laser glasses wearing them can completely block out the laser beam making it impossible to adjust the lens. I do wear photo-sensitive prescription glasses that block out blue light from sun and LED computer screens. But soon I have ordered a digital microscope just for setting the focus perfectly. Also, the Black electrical tape absorbs a ton of light from both the blue and violet laser modules. I also watch the engraver thru a video networked camera from any location in the world. It is located linked to my website http://www.laserwurks.com
The Focus Dot affects the power of materials your engraving on. The finer the focus the greater the power on spot. Beyond the focus point, the laser beam stays tiny for some time so that one can use it for Cutting thru material with or without air assist. Air Assist in cutting and engraving can come in the handy note you just need air at the smallest of flow. If your flow is too aggressive your cuts with be nasty because of two much O2 making it a mini blast oven inside your cut area. Using the slightest of air moving over the focus point at the correct speed can save time and give great cuts.
A photo laser engraving on aluminum using 4 watt DPSS infrared laser module
Laser beam focusing. All you need to know how to make the best laser beam focus!
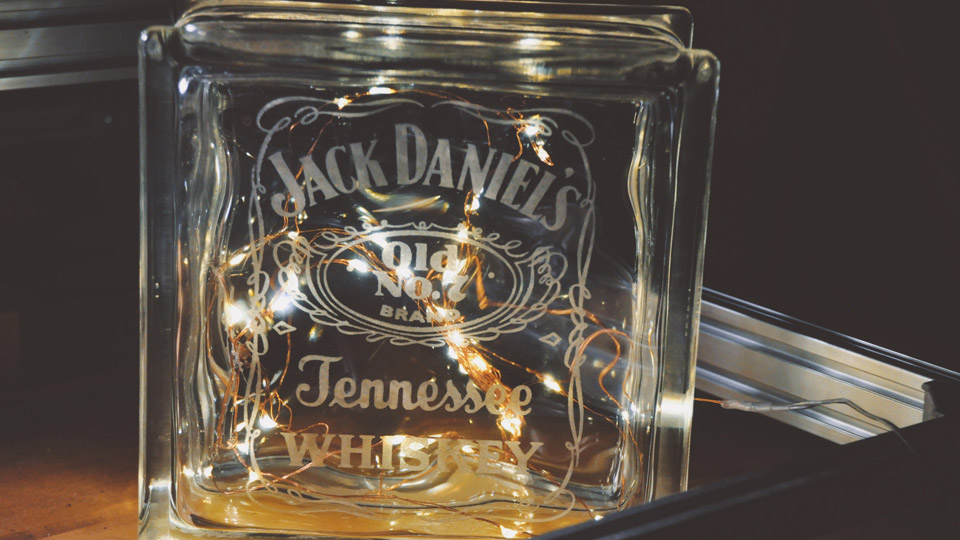
Engraving Glass & Ceramics
The greatest thing I enjoy is all the different materials one can engrave if you mind to it.
Laser etching glass is very easy. Flat glass, mirror glass, dark glass, wine glass, bottles. Ect.
For doing round items at Rotary attachment is a very handy tool to have.
Preparing your glass is very important to obtain optimal results in your etchings.

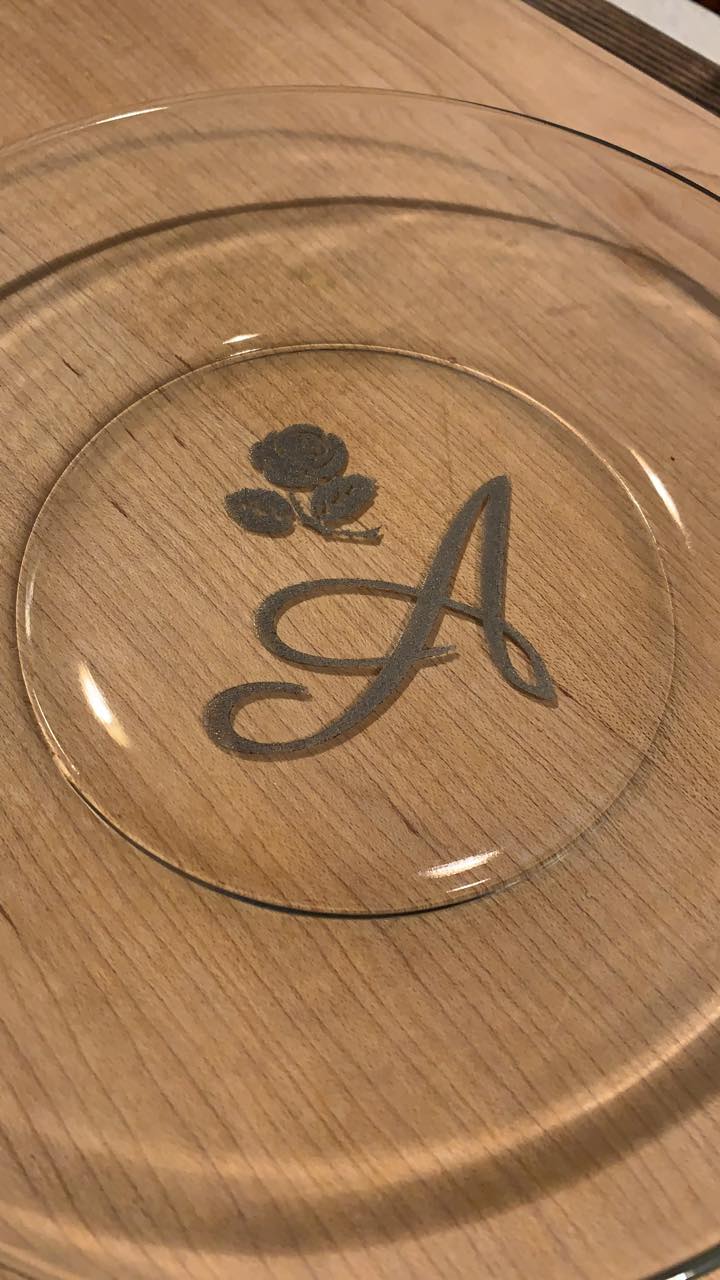

Clean then a thin coating that the laser will concentrate its heat on and then to glass surface were it will fracture in your images in. Yes, I did say fractures the glass designs. I have used several coating on the glass that seemed to work well with all you should have good ventilation. One that works well if coated evenly is a cold galvanized compound. It comes in a spray can thin coat needed. Found in local hardware stores. This cleans of easly with steel wool and water. It drys fast and stays well on your round objects on your rotator. Chalkboard black paint also works well but takes more effort in the cleaning process is pretty much the same with steel wool and water. I have even used a brush on water base paints and been successful with my smallest of laser for etchings that are very smooth to the touch.
Doing drinking glasses you want to keep the image below the lip line for the comfort of drinking.
Our customer is very happy with a 4 watt DPSS laser upgrade on Neje machine
https://www.facebook.com/100006503567653/videos/220523623599990/
Note not all glass is the same some have high metal contents not aways evenly distributed and cause inconsistent fracturing and you can end up with very poor results. This happens in high-end glassware more the cheapo glass wear. You can laser mark glass on the front surface as well as the back surfaces. By flipping glass over and mirror you images and text or coating the backside and set focus to the bottom edge of the glass to be engraved. It works both ways. Images with lowered dpi show up better on most glasswork. All though you can get high dpi images to work well but it takes some effort to find the setting that will very lightly fracture the glass. My 500mw with very thin watercolor paint coating will leave a film-like image on glass if done right. If the coating is two thick it will only engrave the paint.
I use Lightburn with a rotator it is pretty easy to configure when you understand the process.
You set the rollor diameter. The object diameter were it meets the rollers. it auto-configures the circumference of a circle. If you put this in the top slot and push test your glass should rotate 360 degrees and return to same start spot. What I do is put laser on very low power and draw line with light burn were as only the paint is engraved. After that remove line in lightburn and make a 10mm square. Now in the same box in rotator setup top one there was a math formula that never seem to work out. So I start with a low number 50-80 and do a test engrave low power just to mark the paint. Then measure results. The adjust the number and test again once you get to your 10mm square you are pretty much ready to increase the power and do some engraving on your objects in the rotator. There are online videos for how to setup rotator on youtube.
Ceramics setting are pretty much as glass setting depending on you lasers power and focus point. Most require a coat of paint to focus the heat. Some tiles used for design are painted and engraved and clear coated. I was slow to do this because I wanted to see the engraving in the tiles so I cleaned after the engraving. I found white paint on black tile worked great to get people of color to show up correctly. I have found on black tile with no painted surface to engrave images that are very reflective and interesting. I have found more power give deeper fractures in glass and tiles. The best advice is to explore different settings to find the best results for your projects. The same coating can be used for tiles you have explored on glassware.
https://endurancelasers.com/laser-engraving-on-glass/
I have not tried wet paper on glass but I did cut wet leather on glass and it did leave etching on the glass were the cut lines happen thru the leather.
The ENDURANCE DPSS 4 Watt-Laser. How to Install It on NEJE Laser Engravers
Testing 2 laser frames. Ortur vs. SCULPFUN S9. Exploring mechanical quality (machines review)