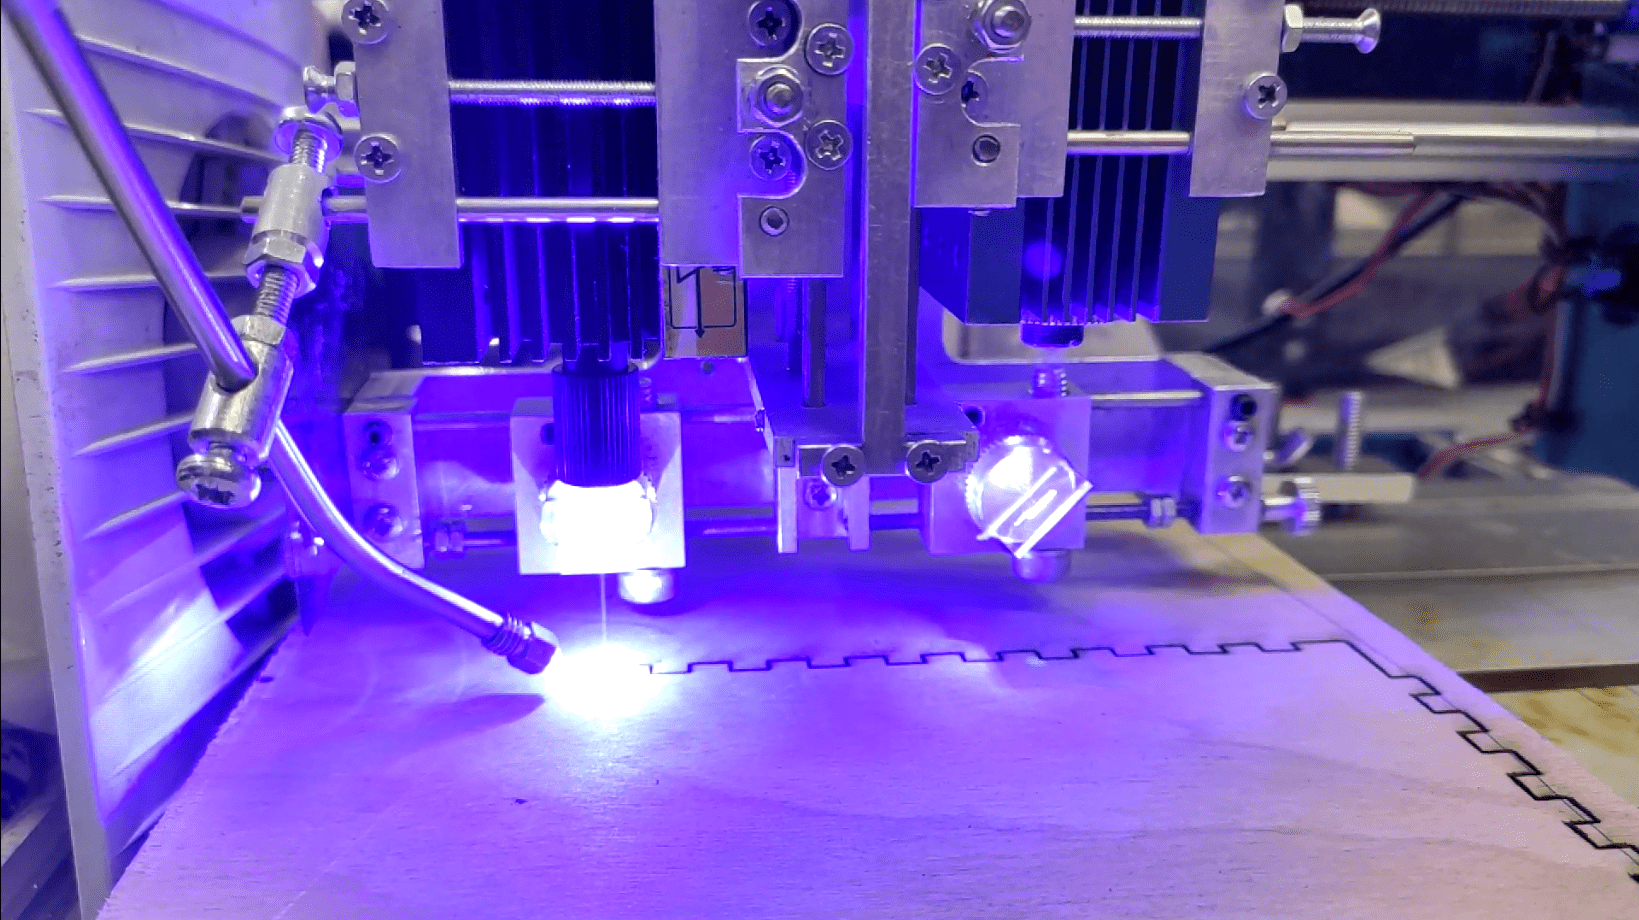
An Endurance 15 watt (real power output) water – cooled laser with an autofocusing system. Cuts 10 mm of wood (2/5″)
All you need to know about focusing with G2 / G7 lenses. Plywood laser cutting with 10 watt laser
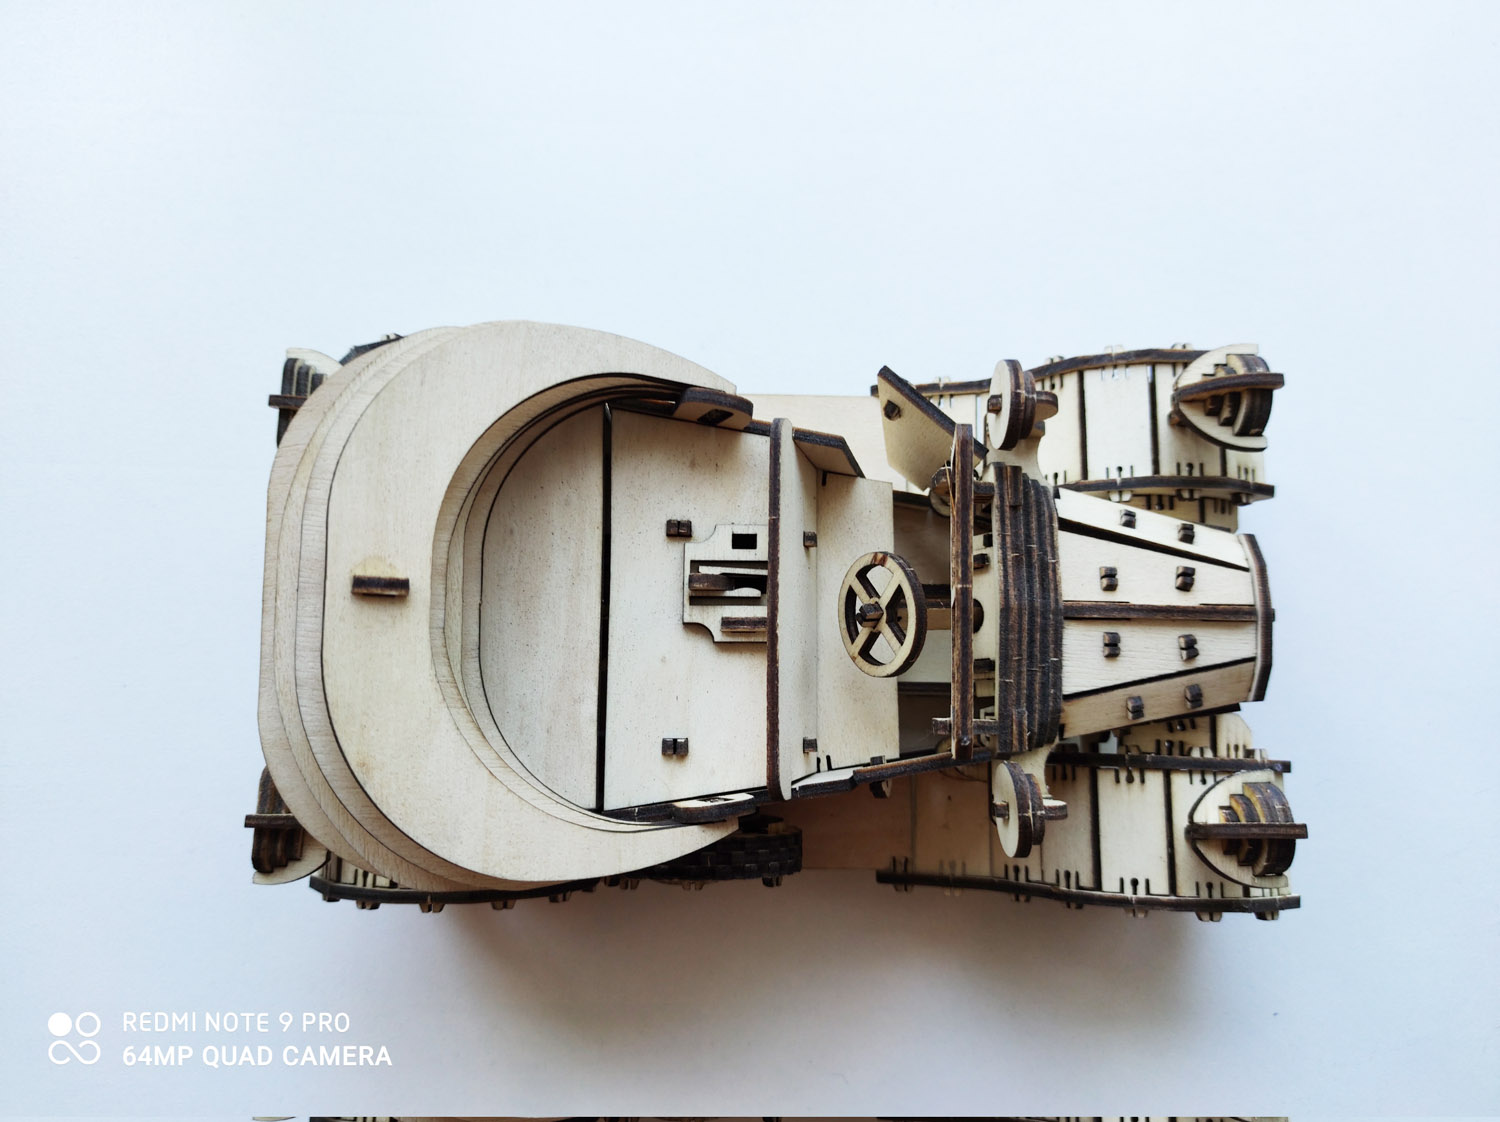
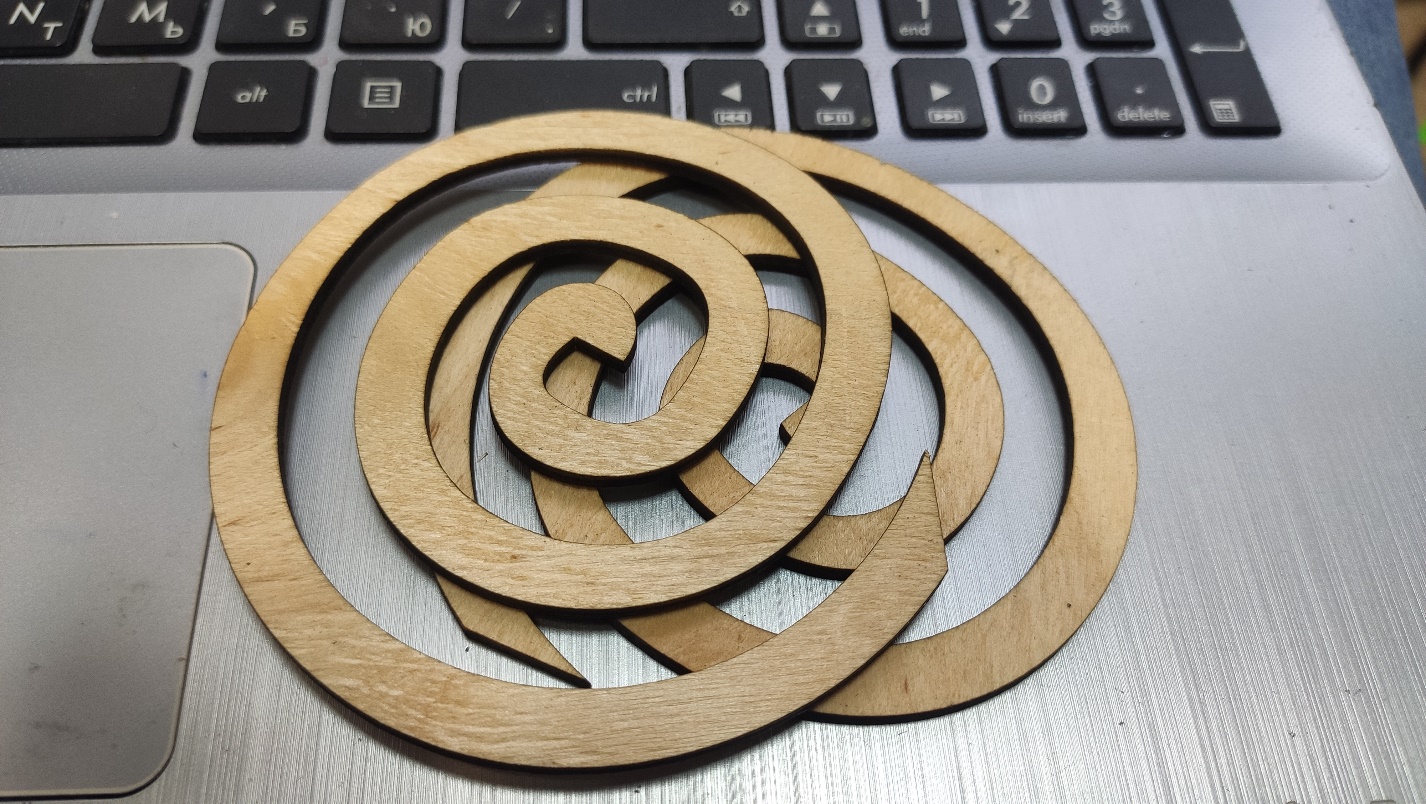
Thick wood / plywood laser cutting with Endurance REAL 15 watt DUOS water cooled laser
https://youtu.be/DbqGA1T8mtc
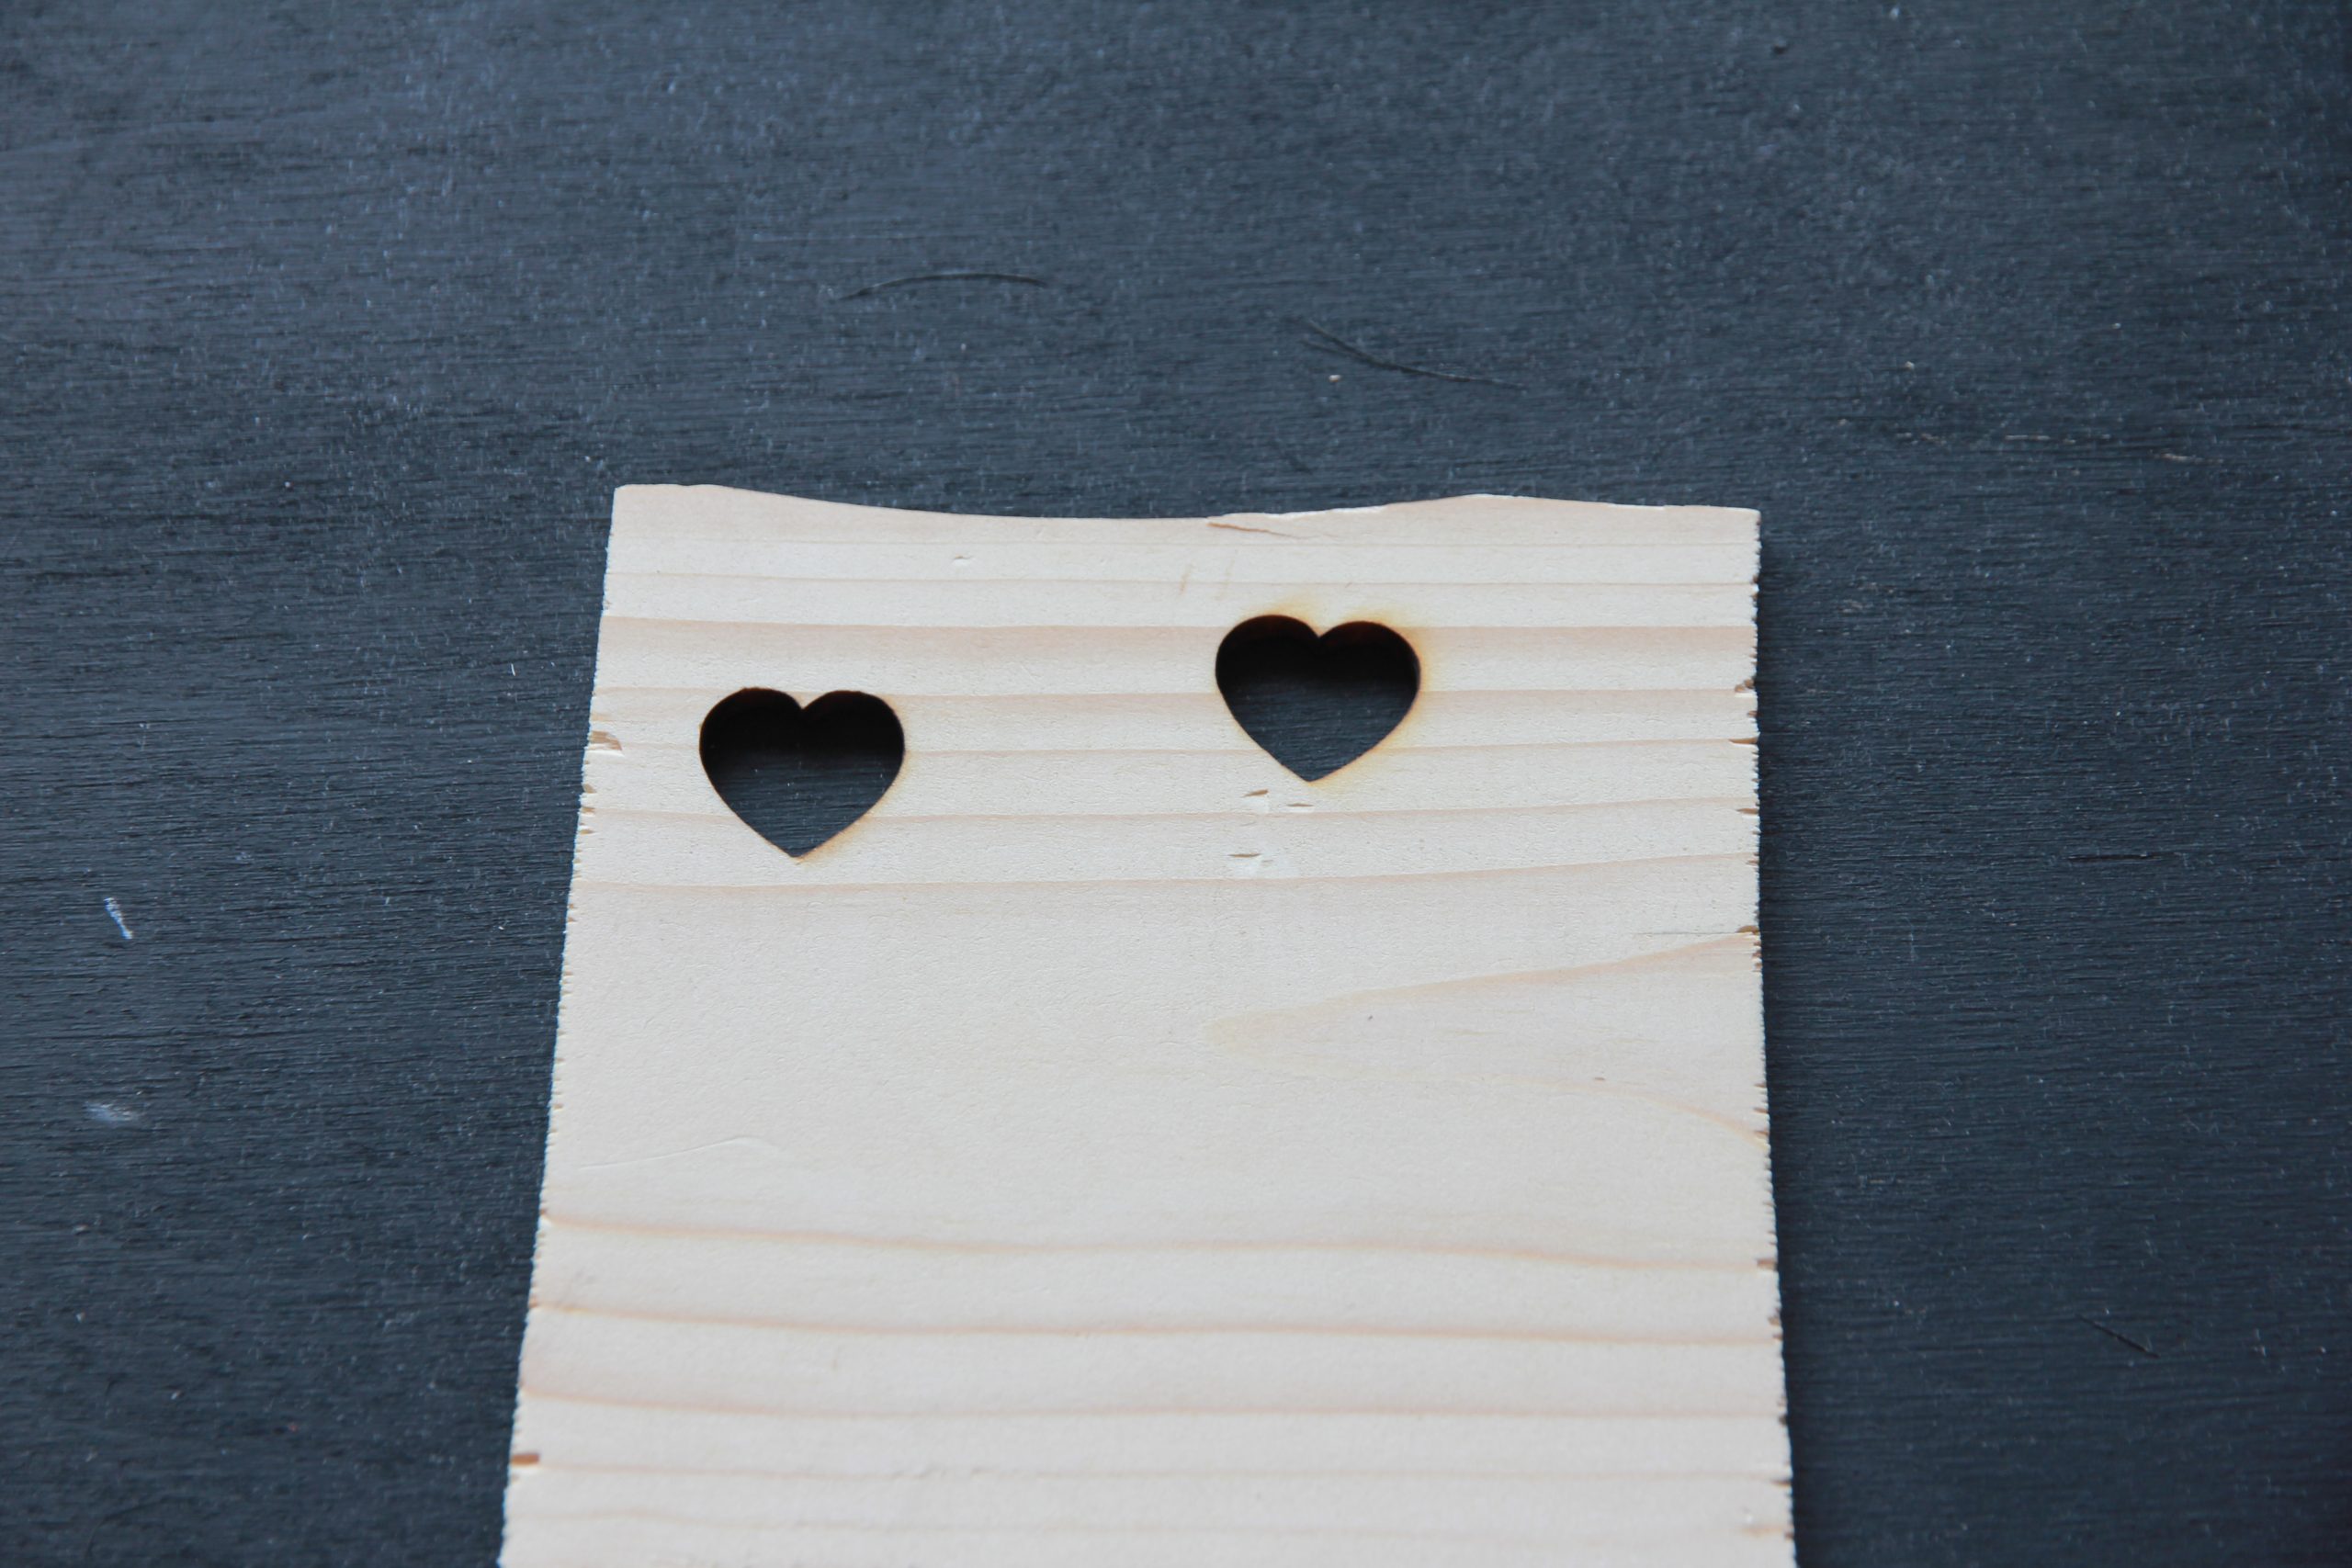
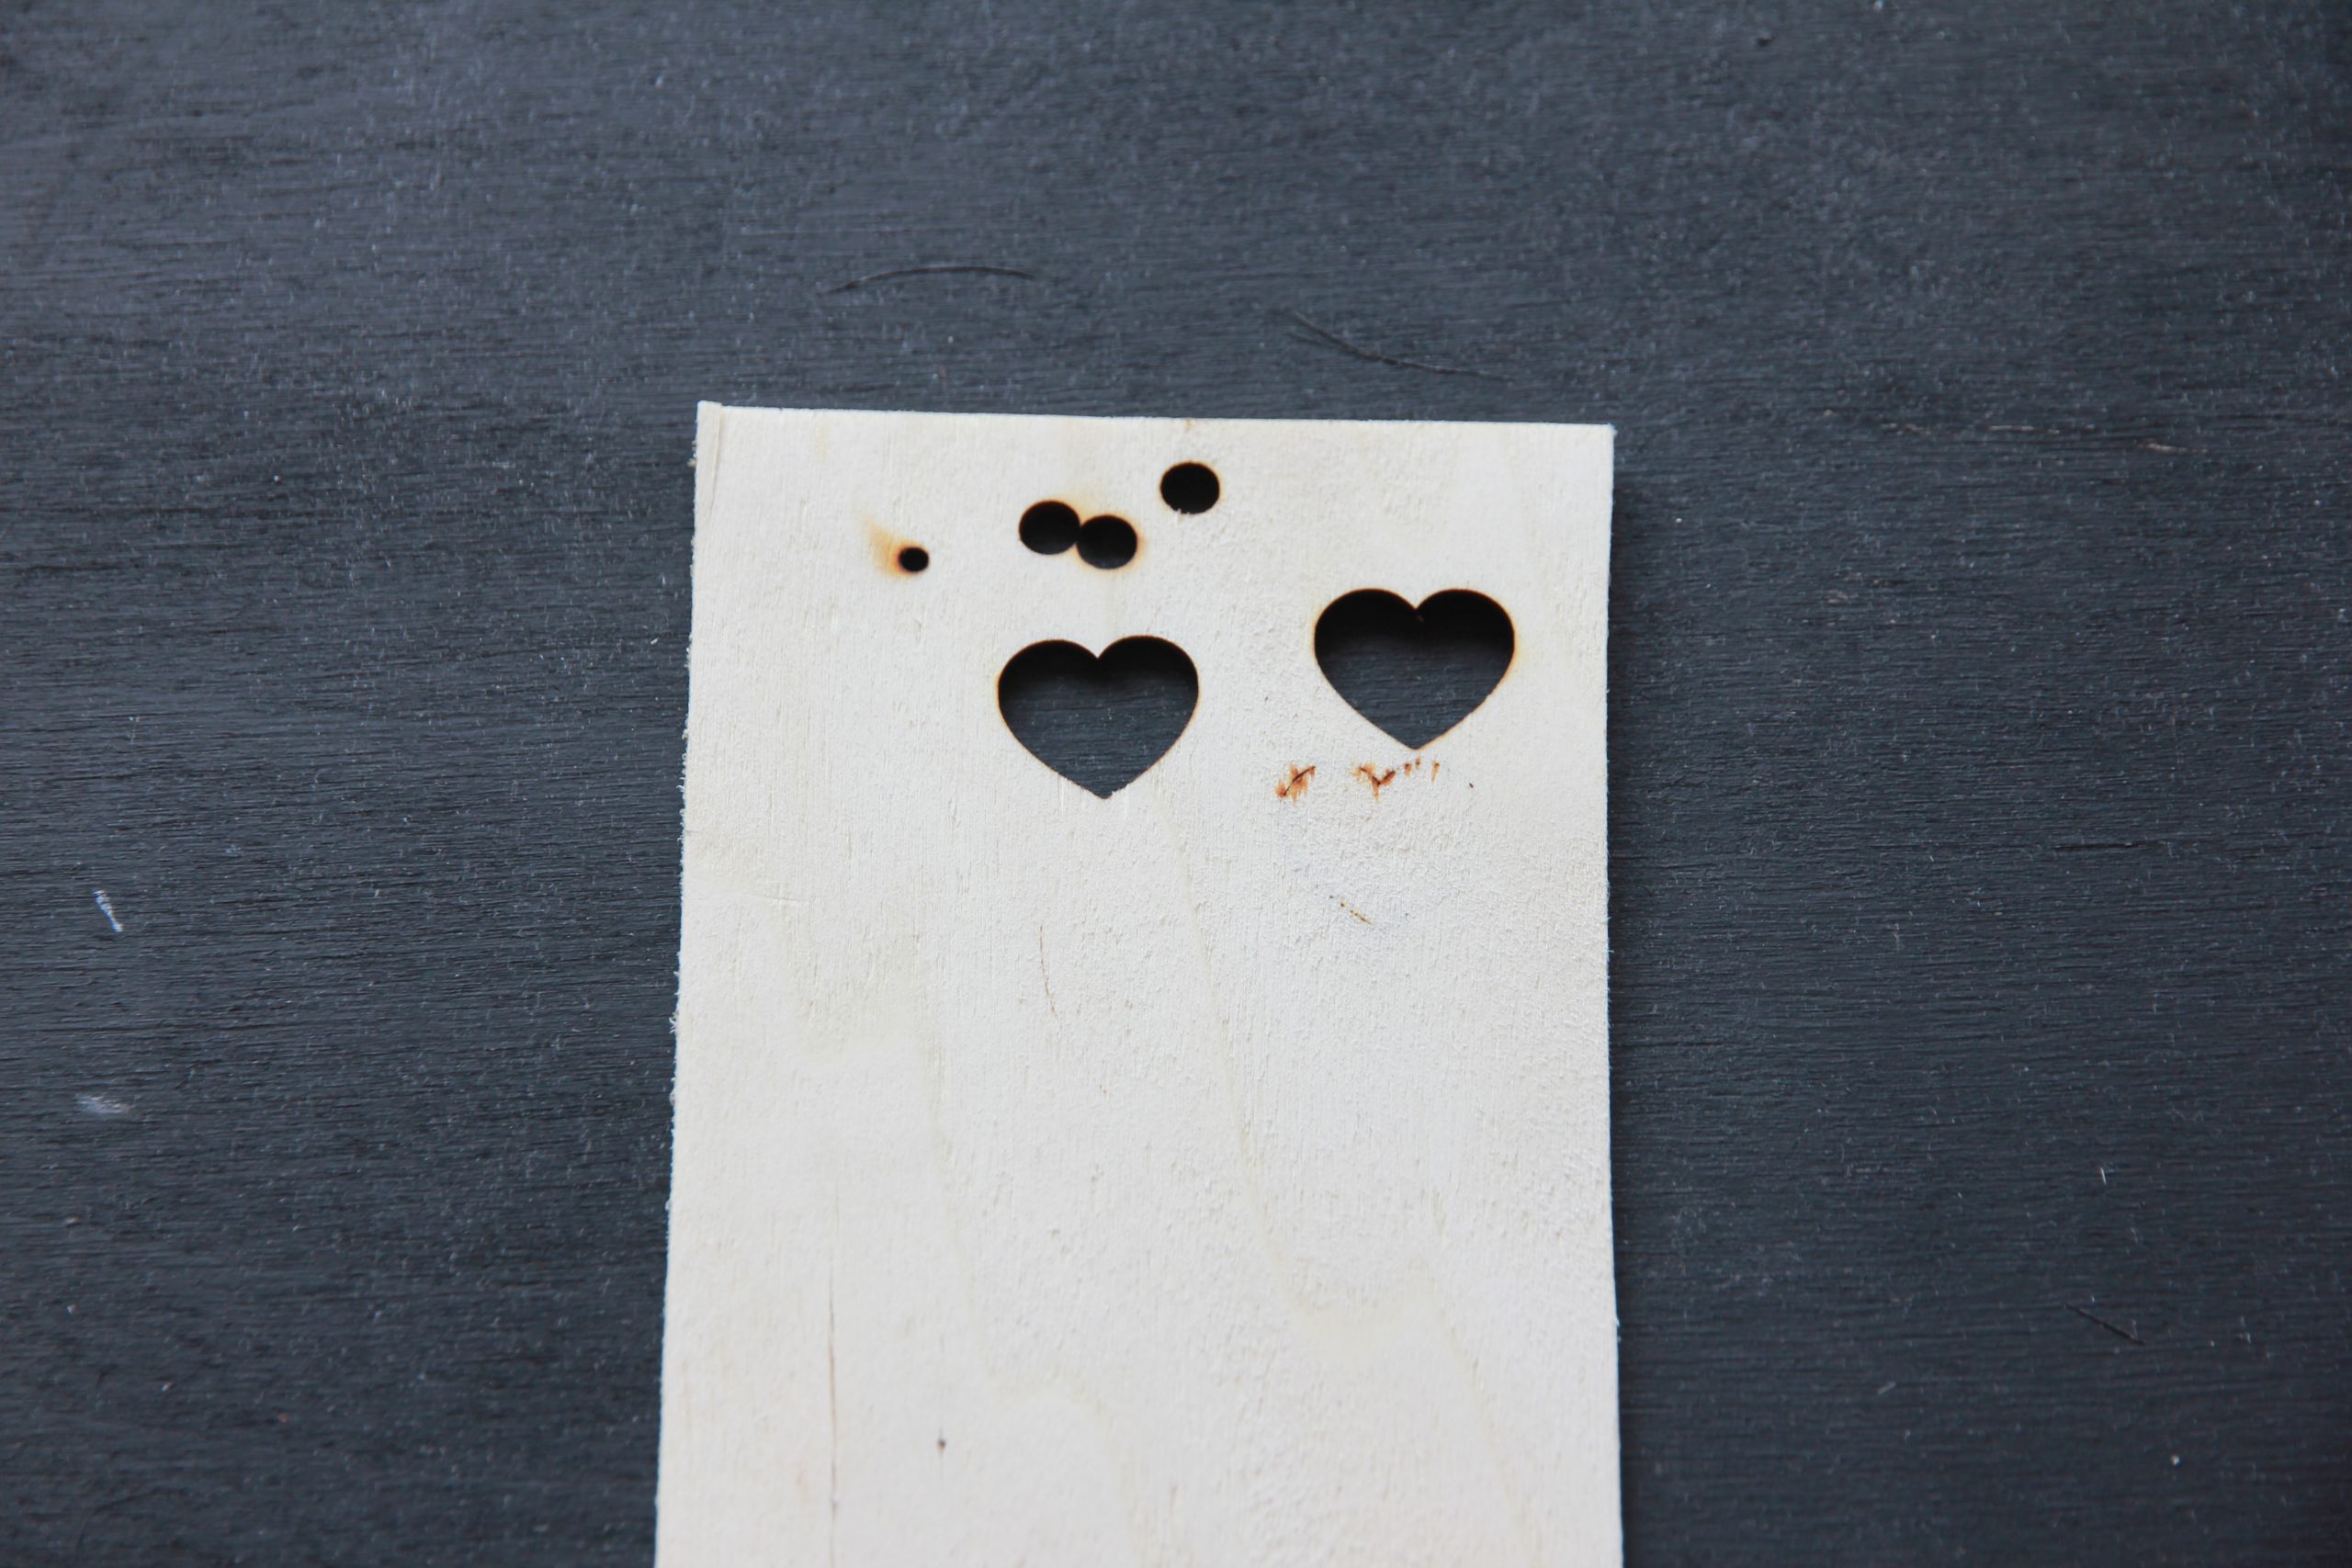
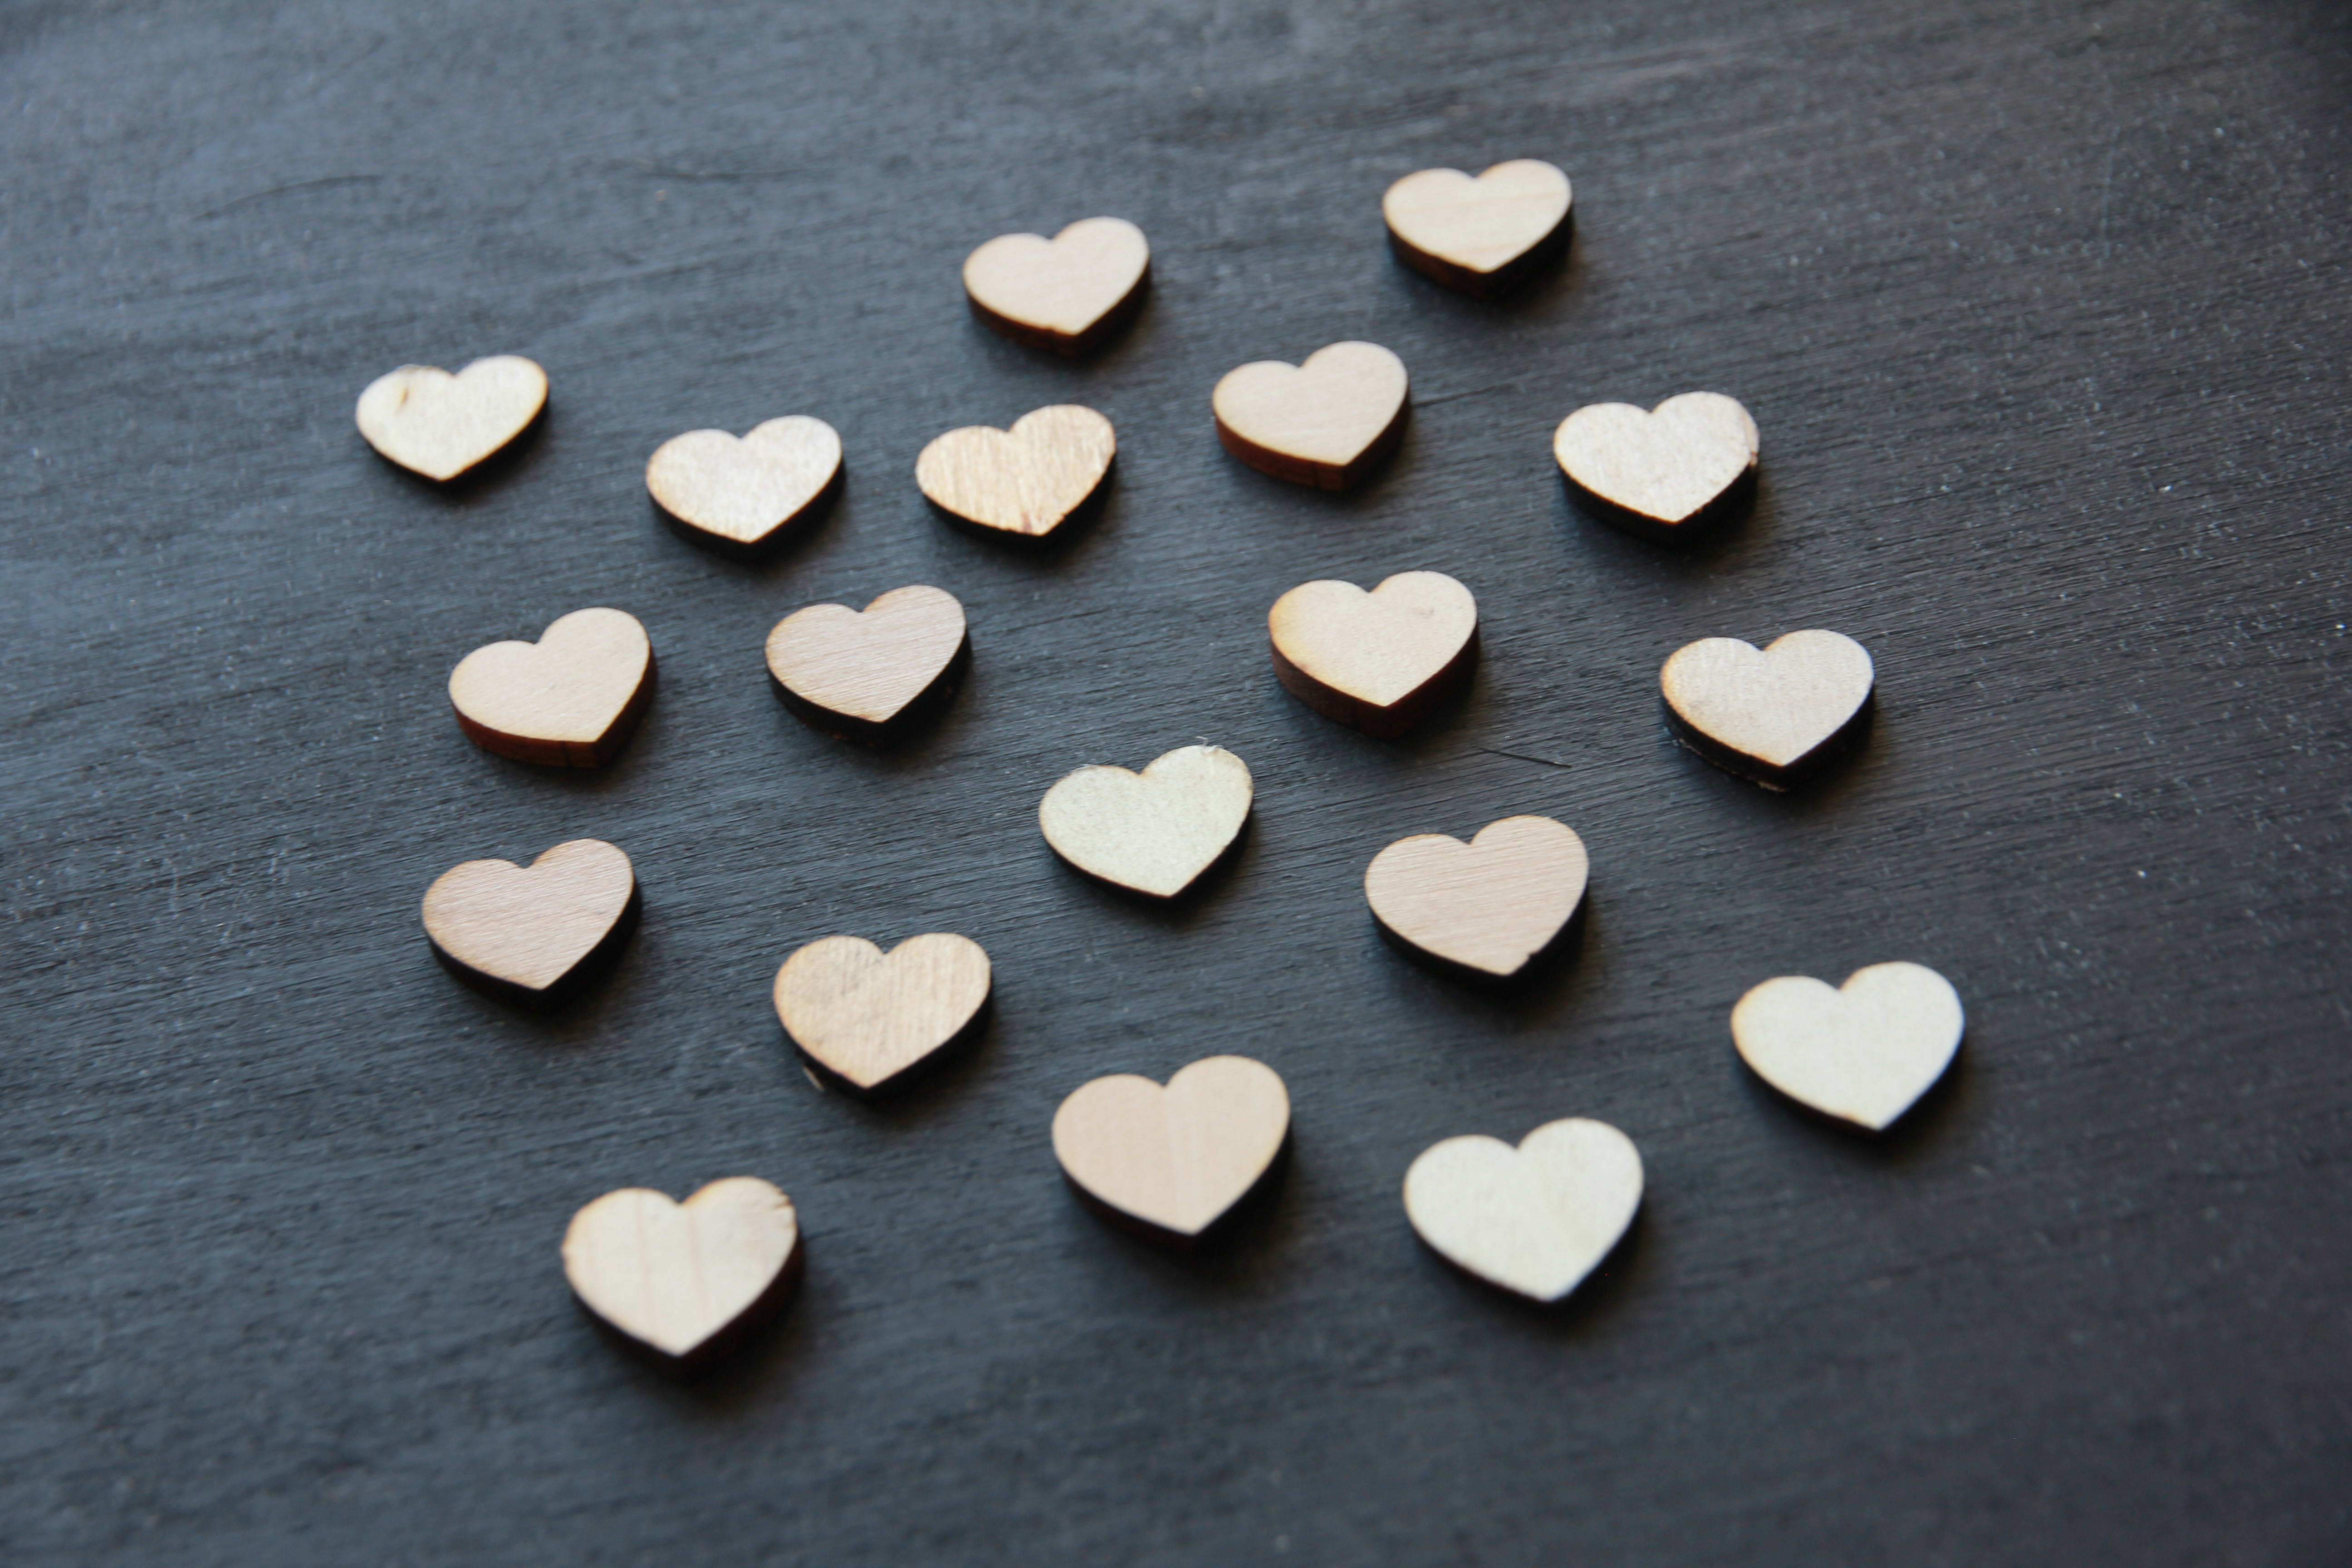
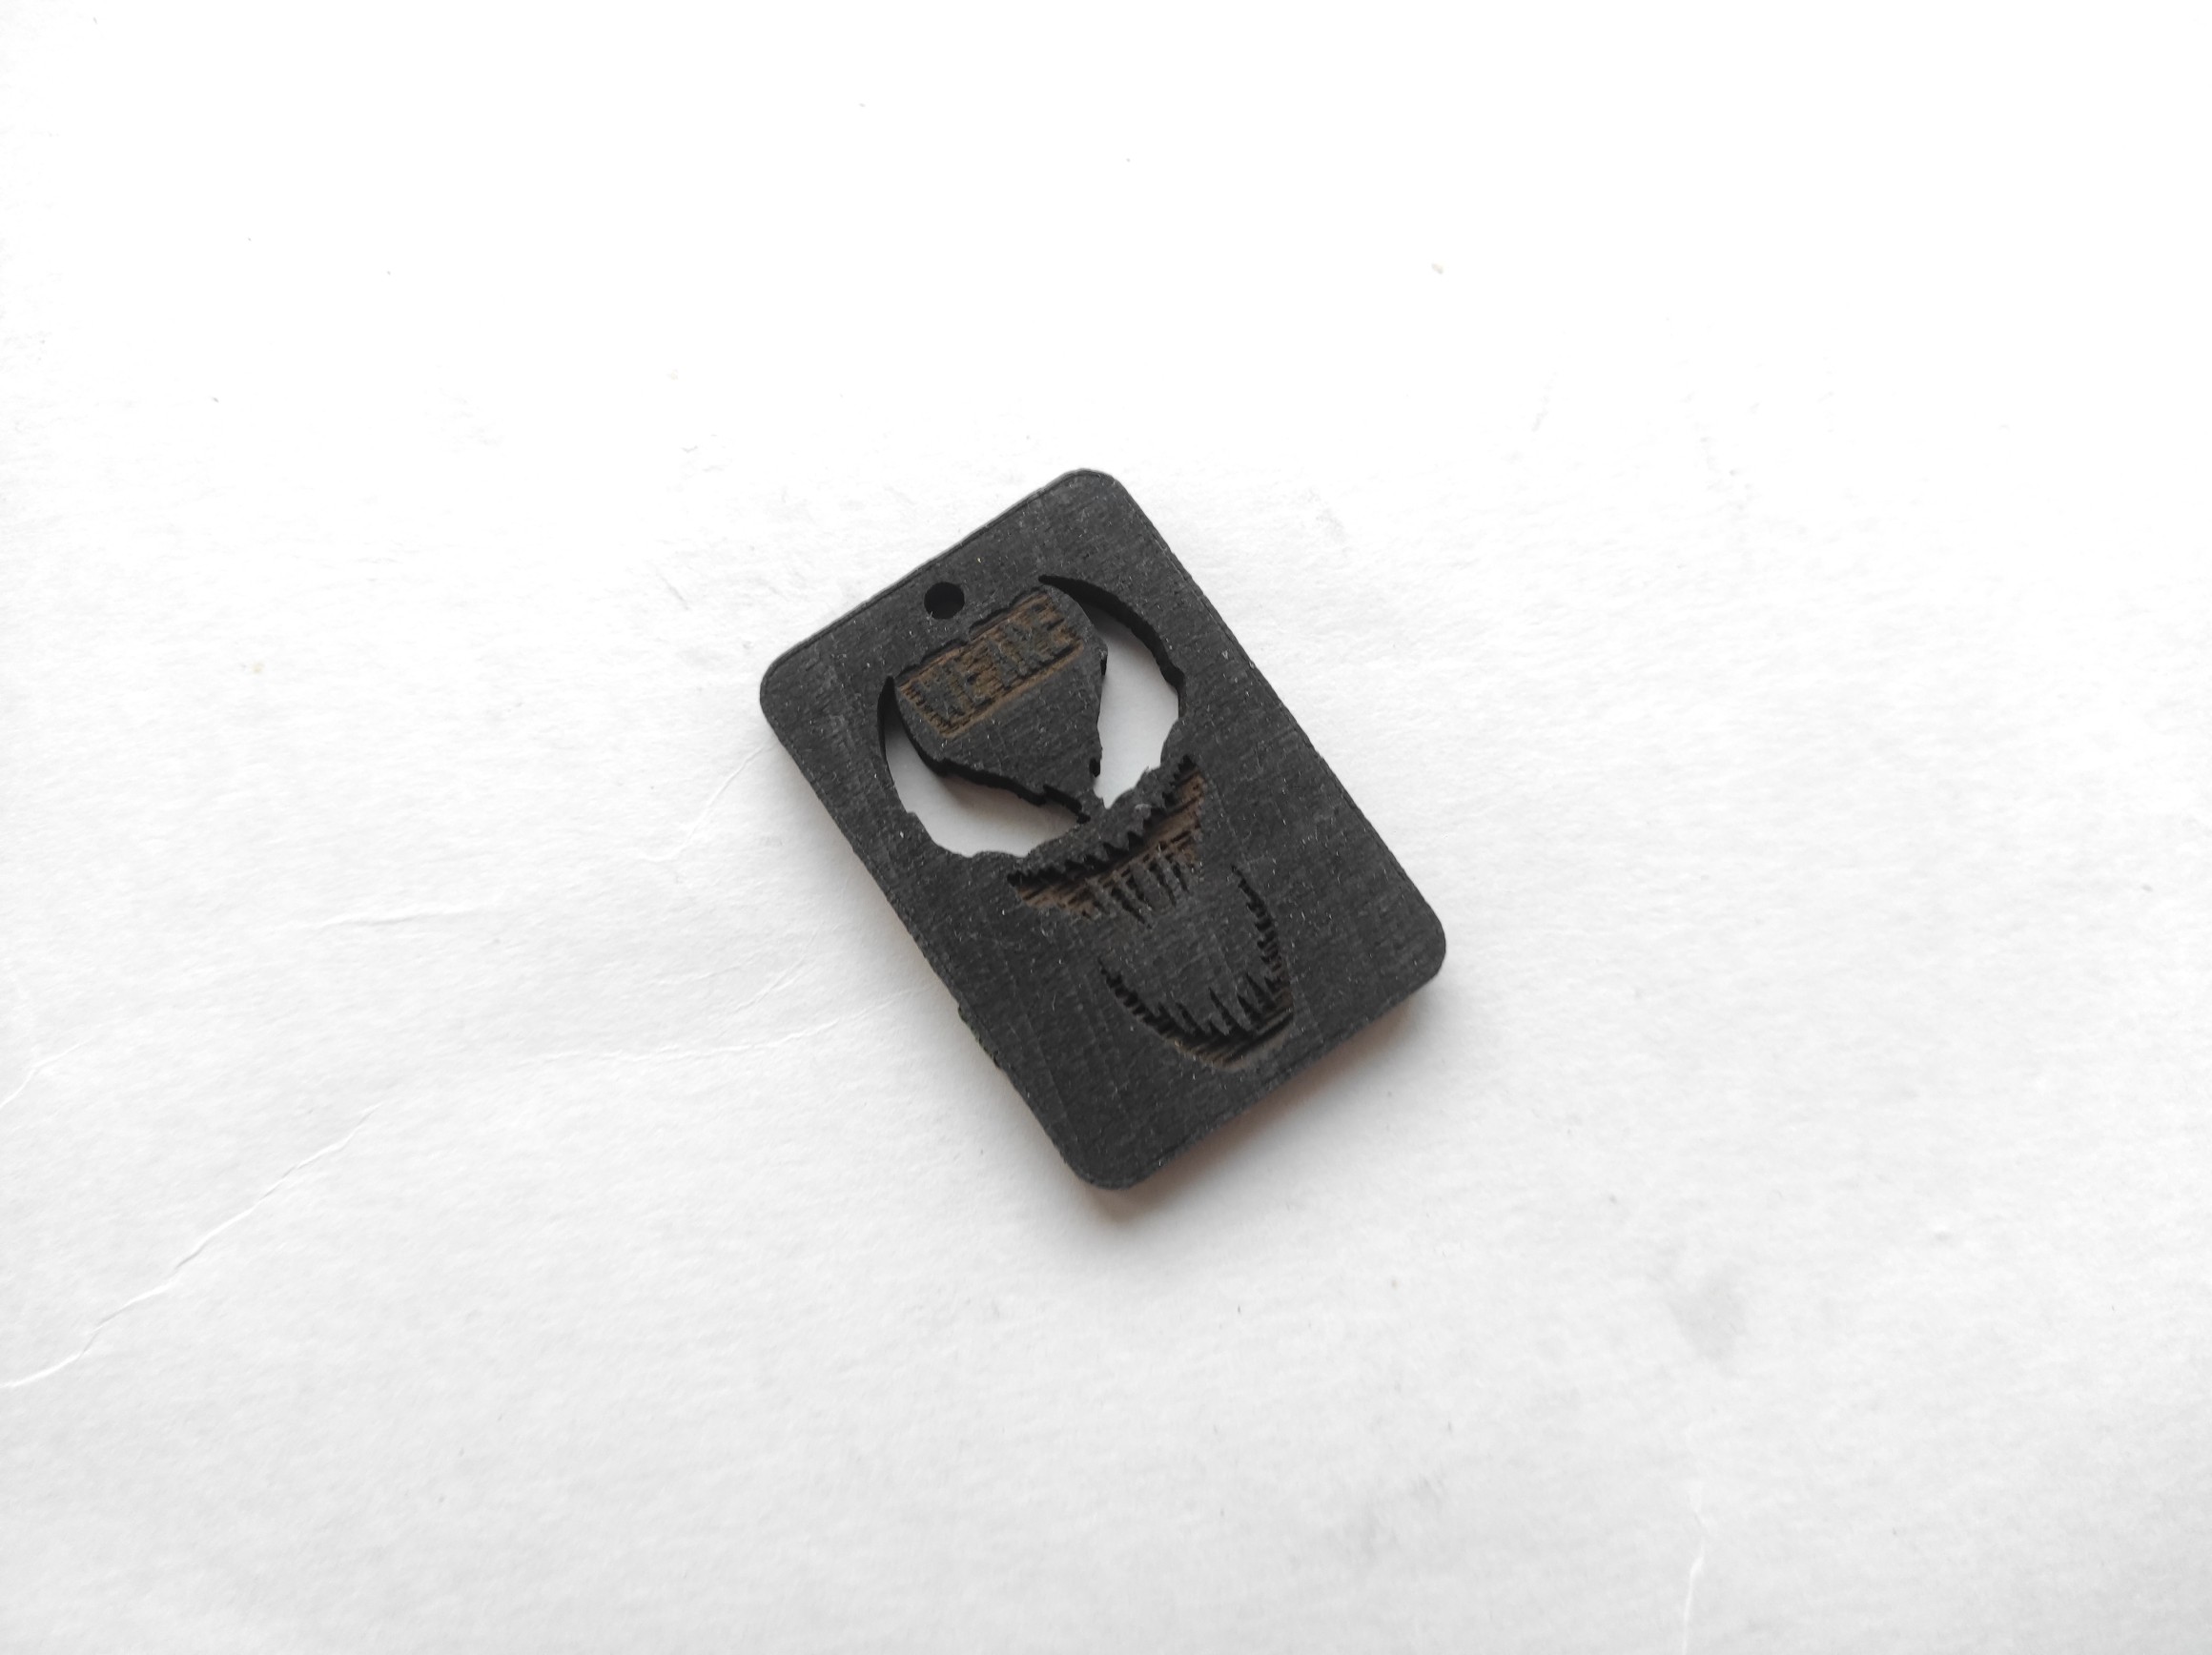
Impressive laser cutting of 10 mm (2/5″) wood. Cutting “LOVE” outline shape.
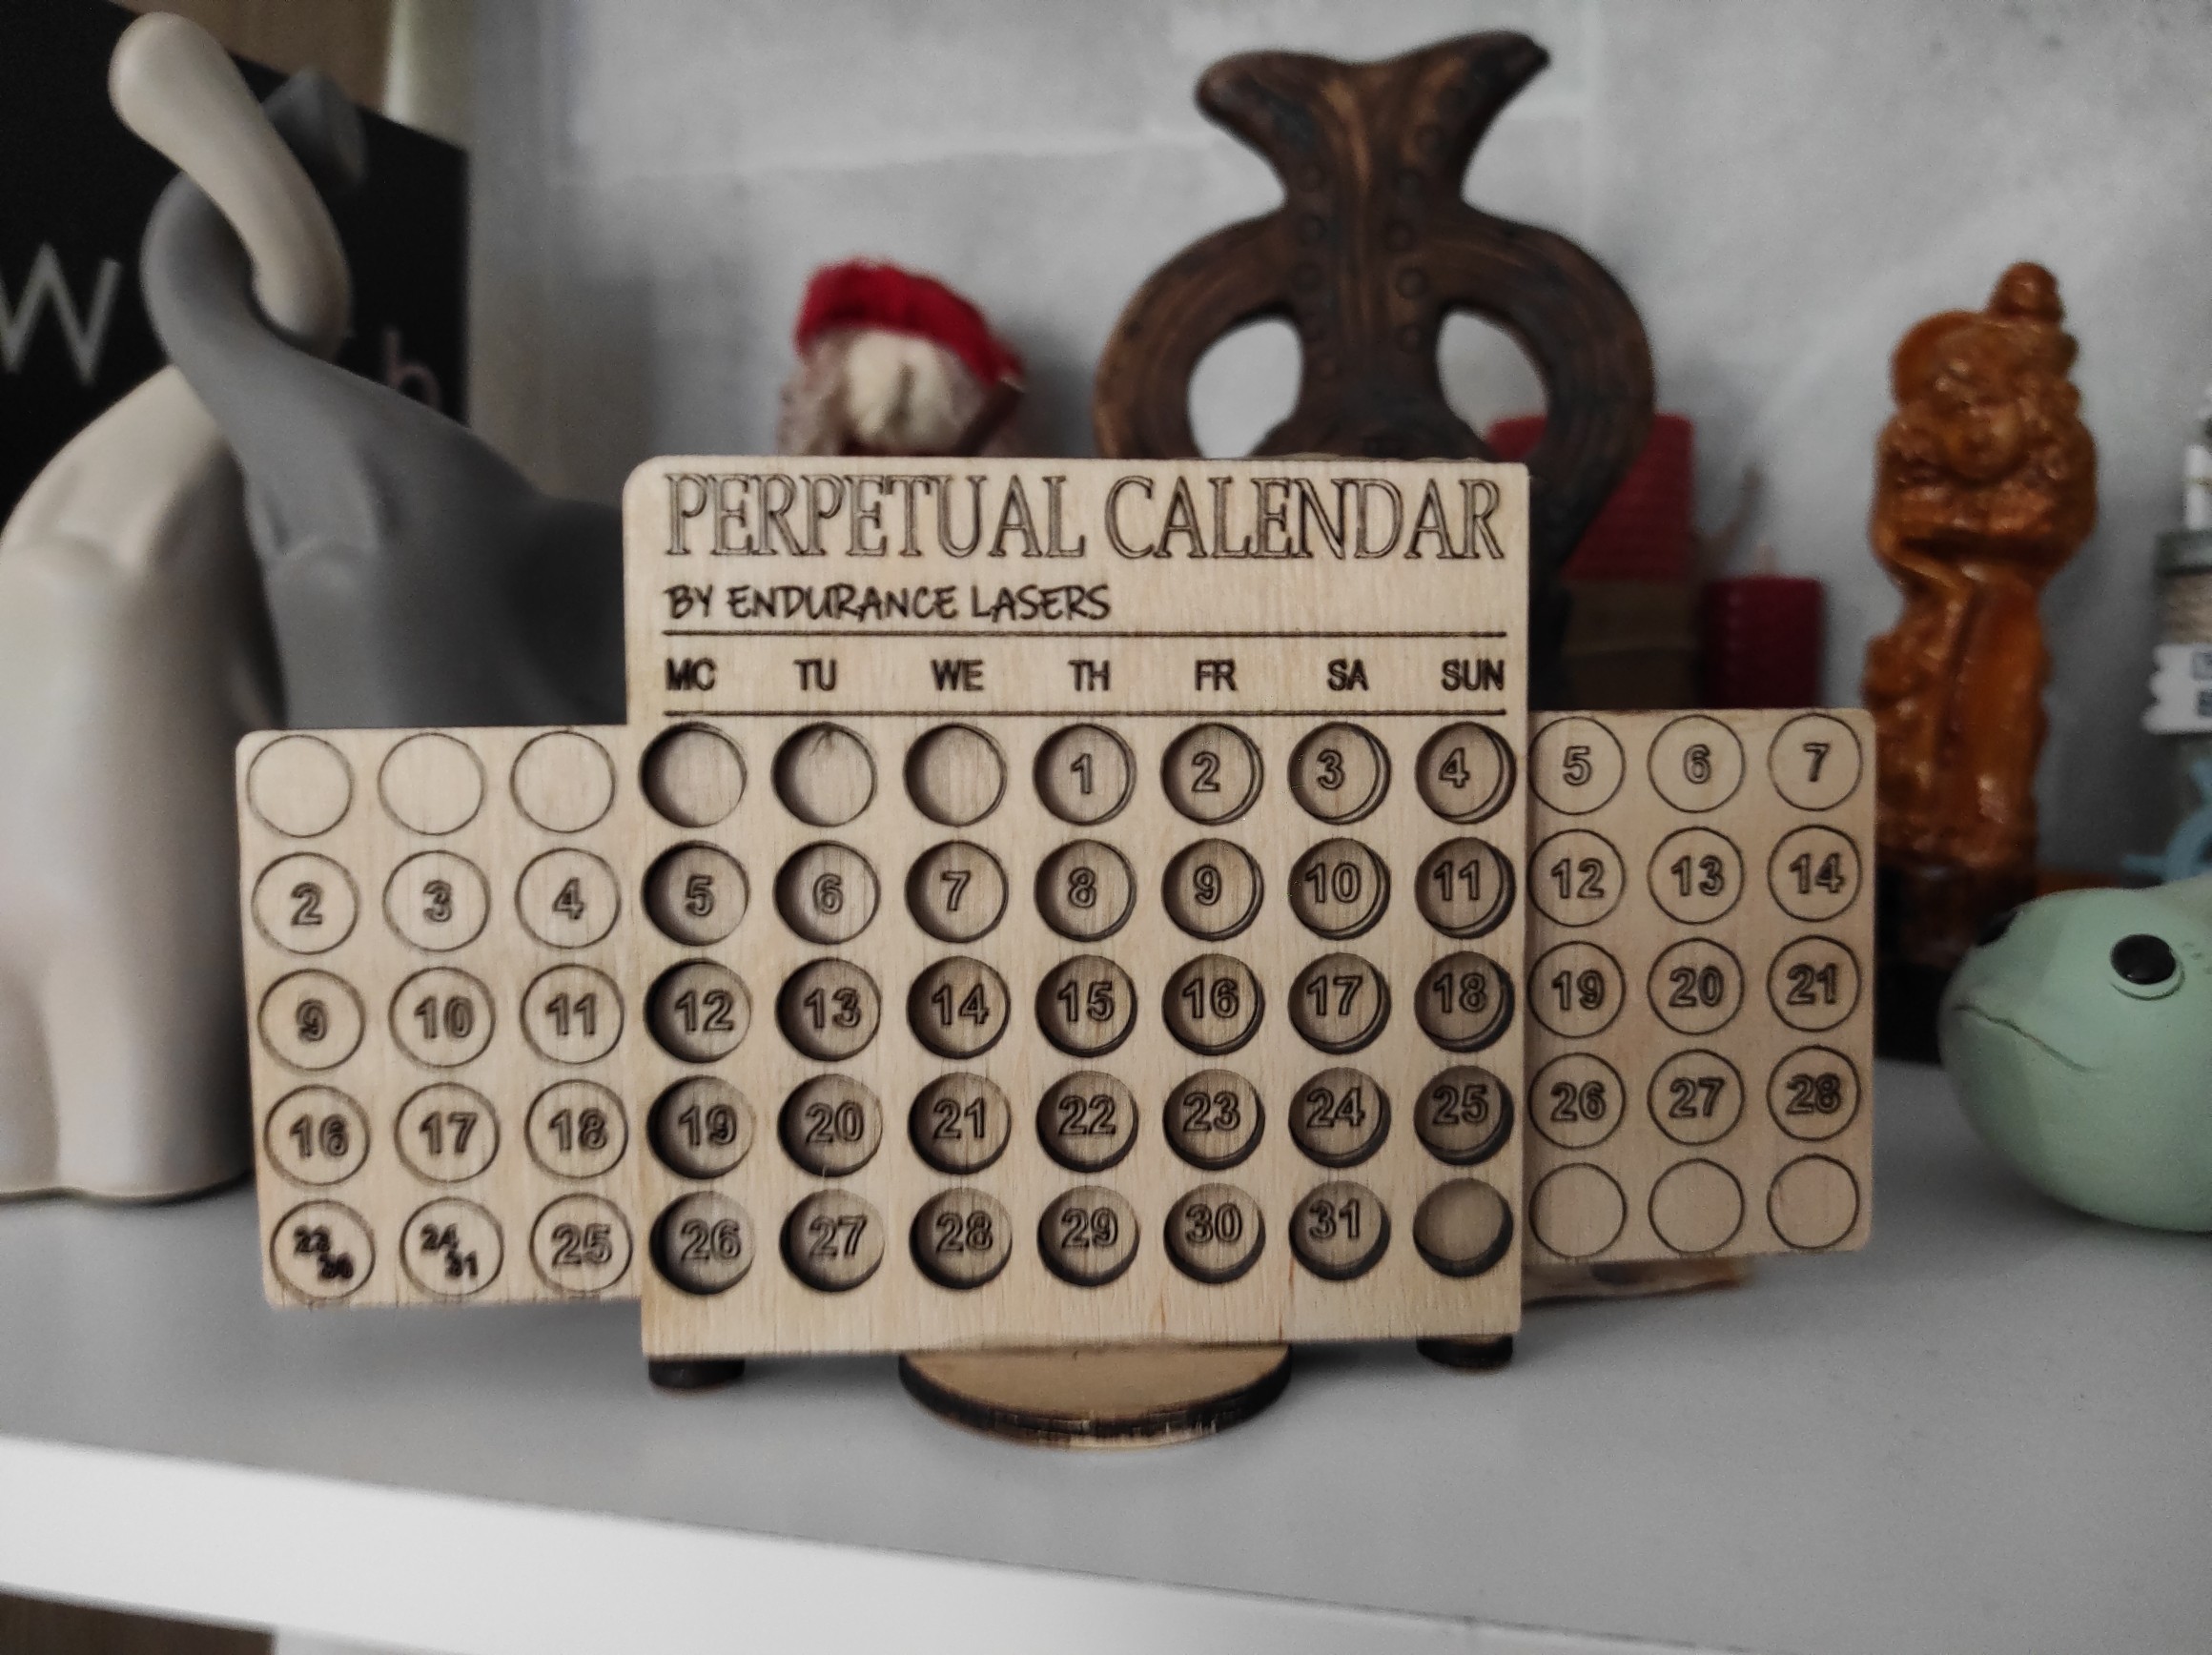
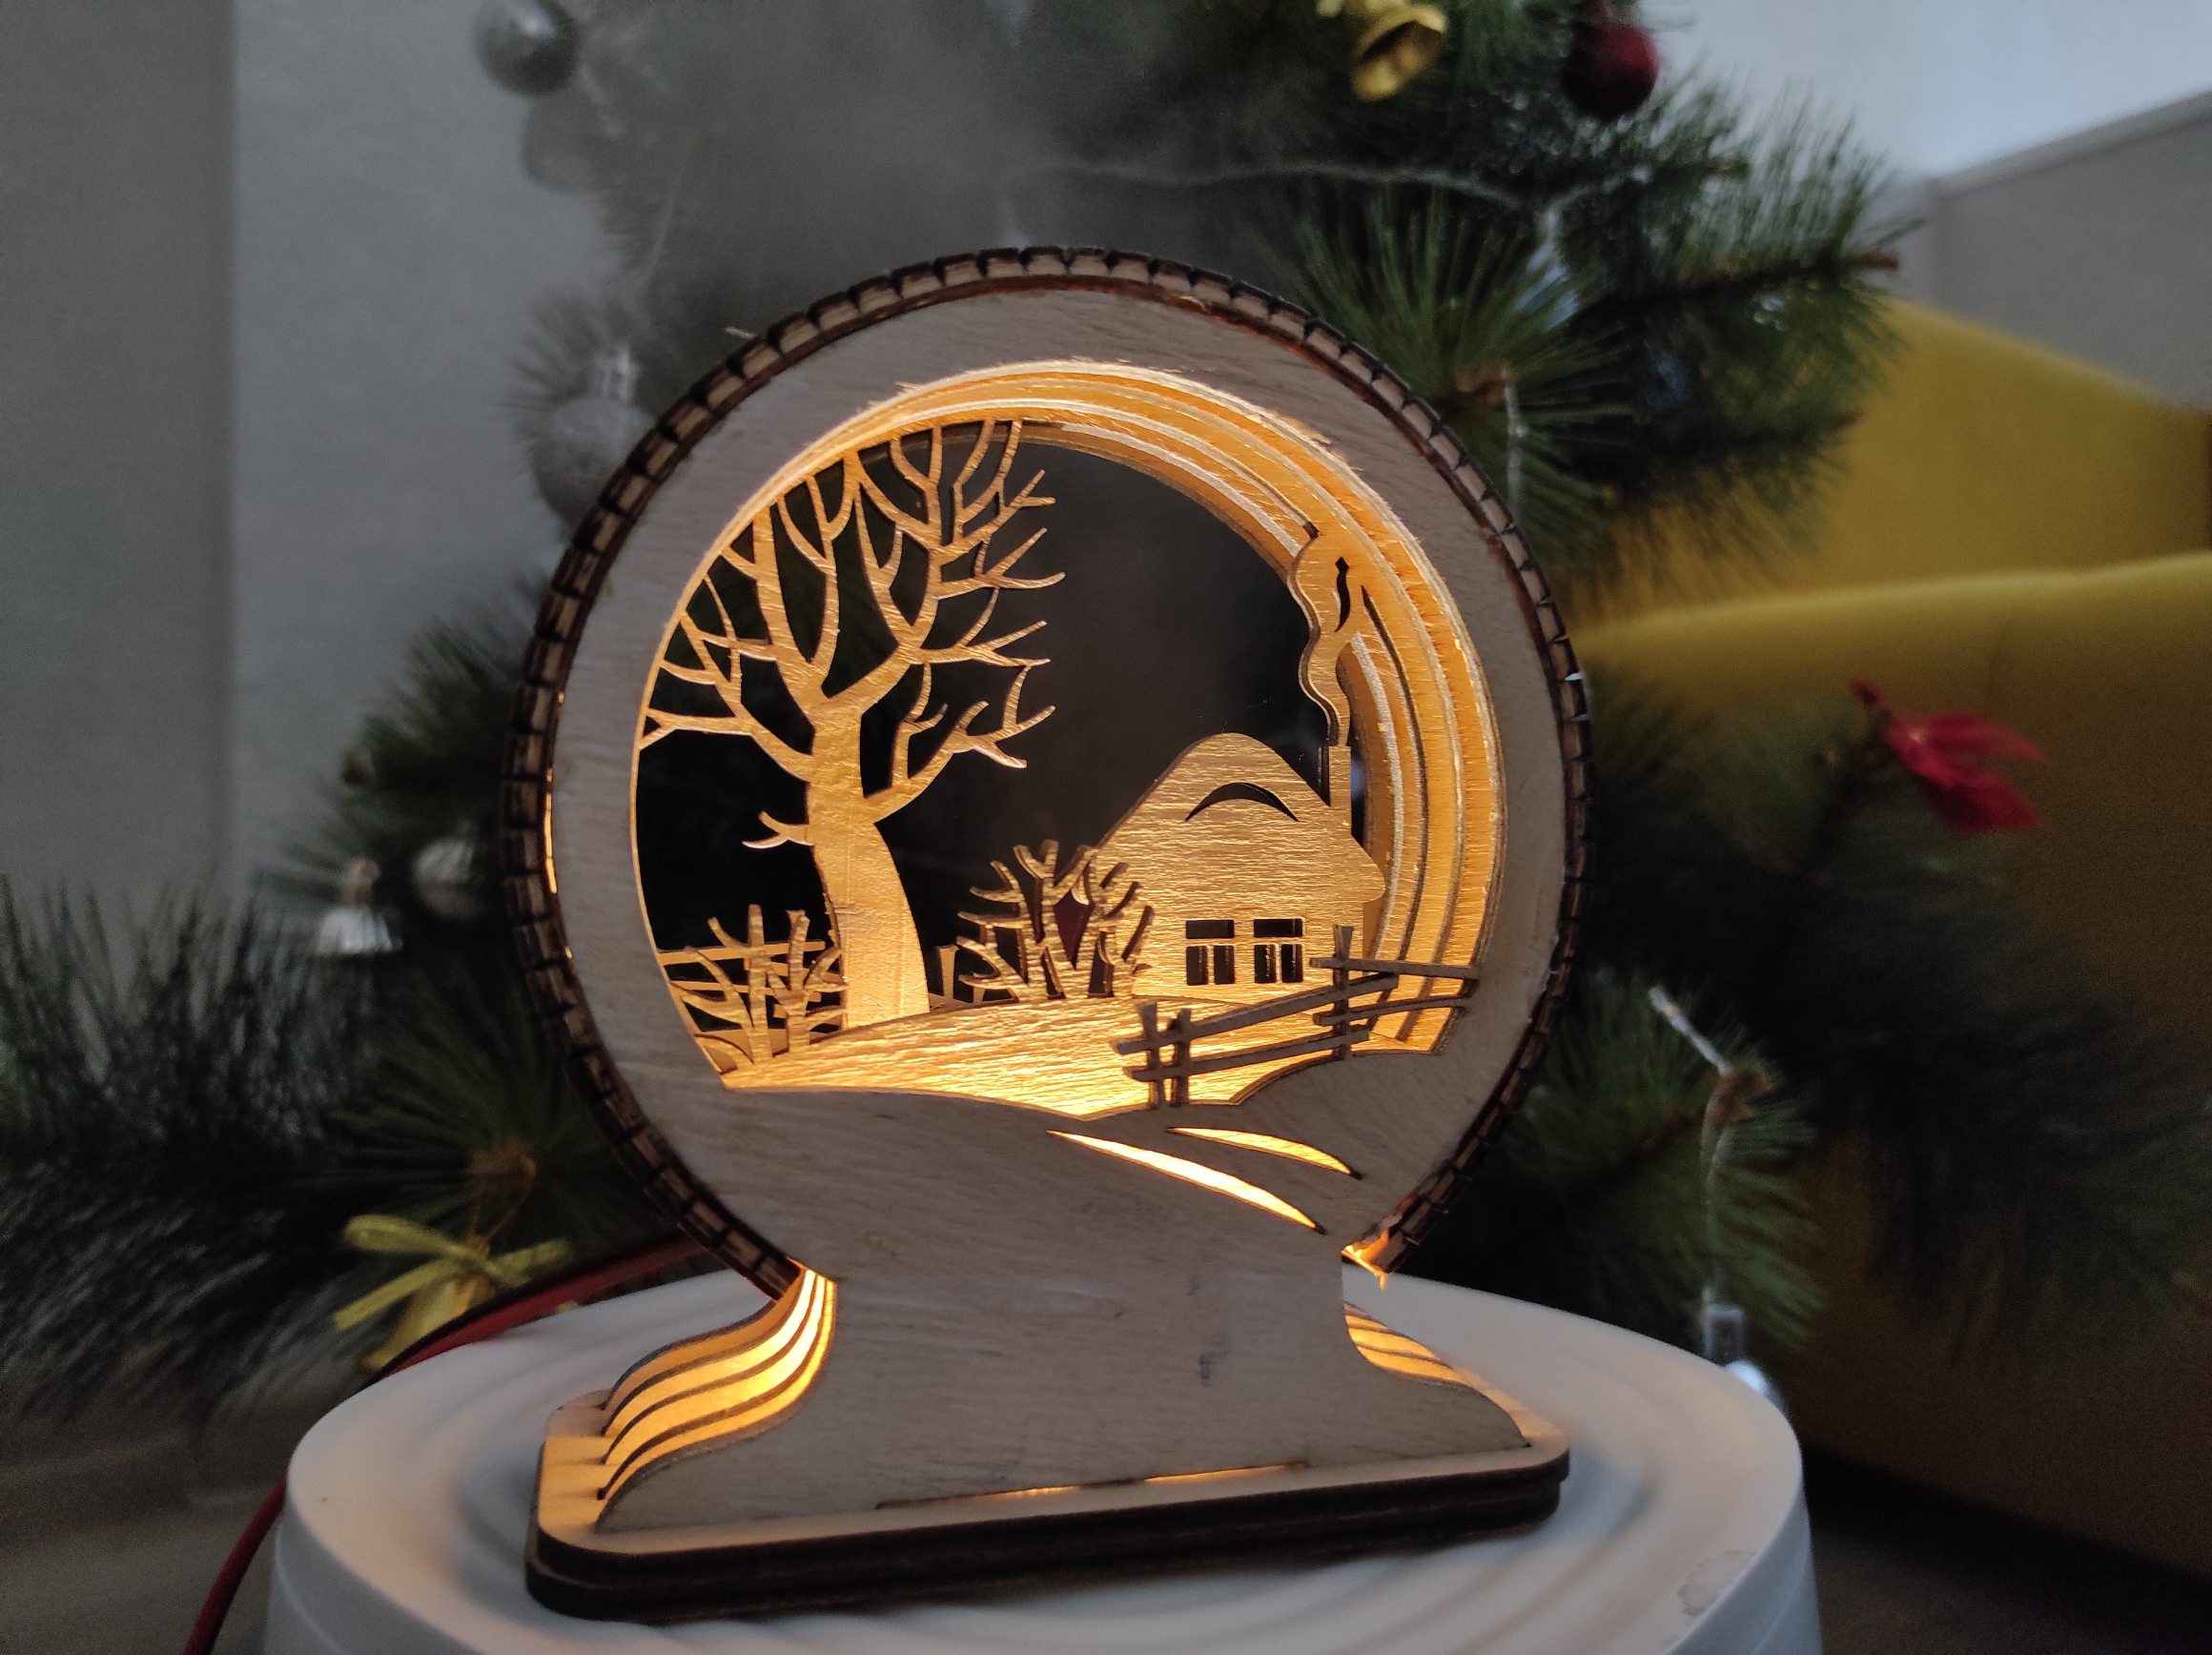
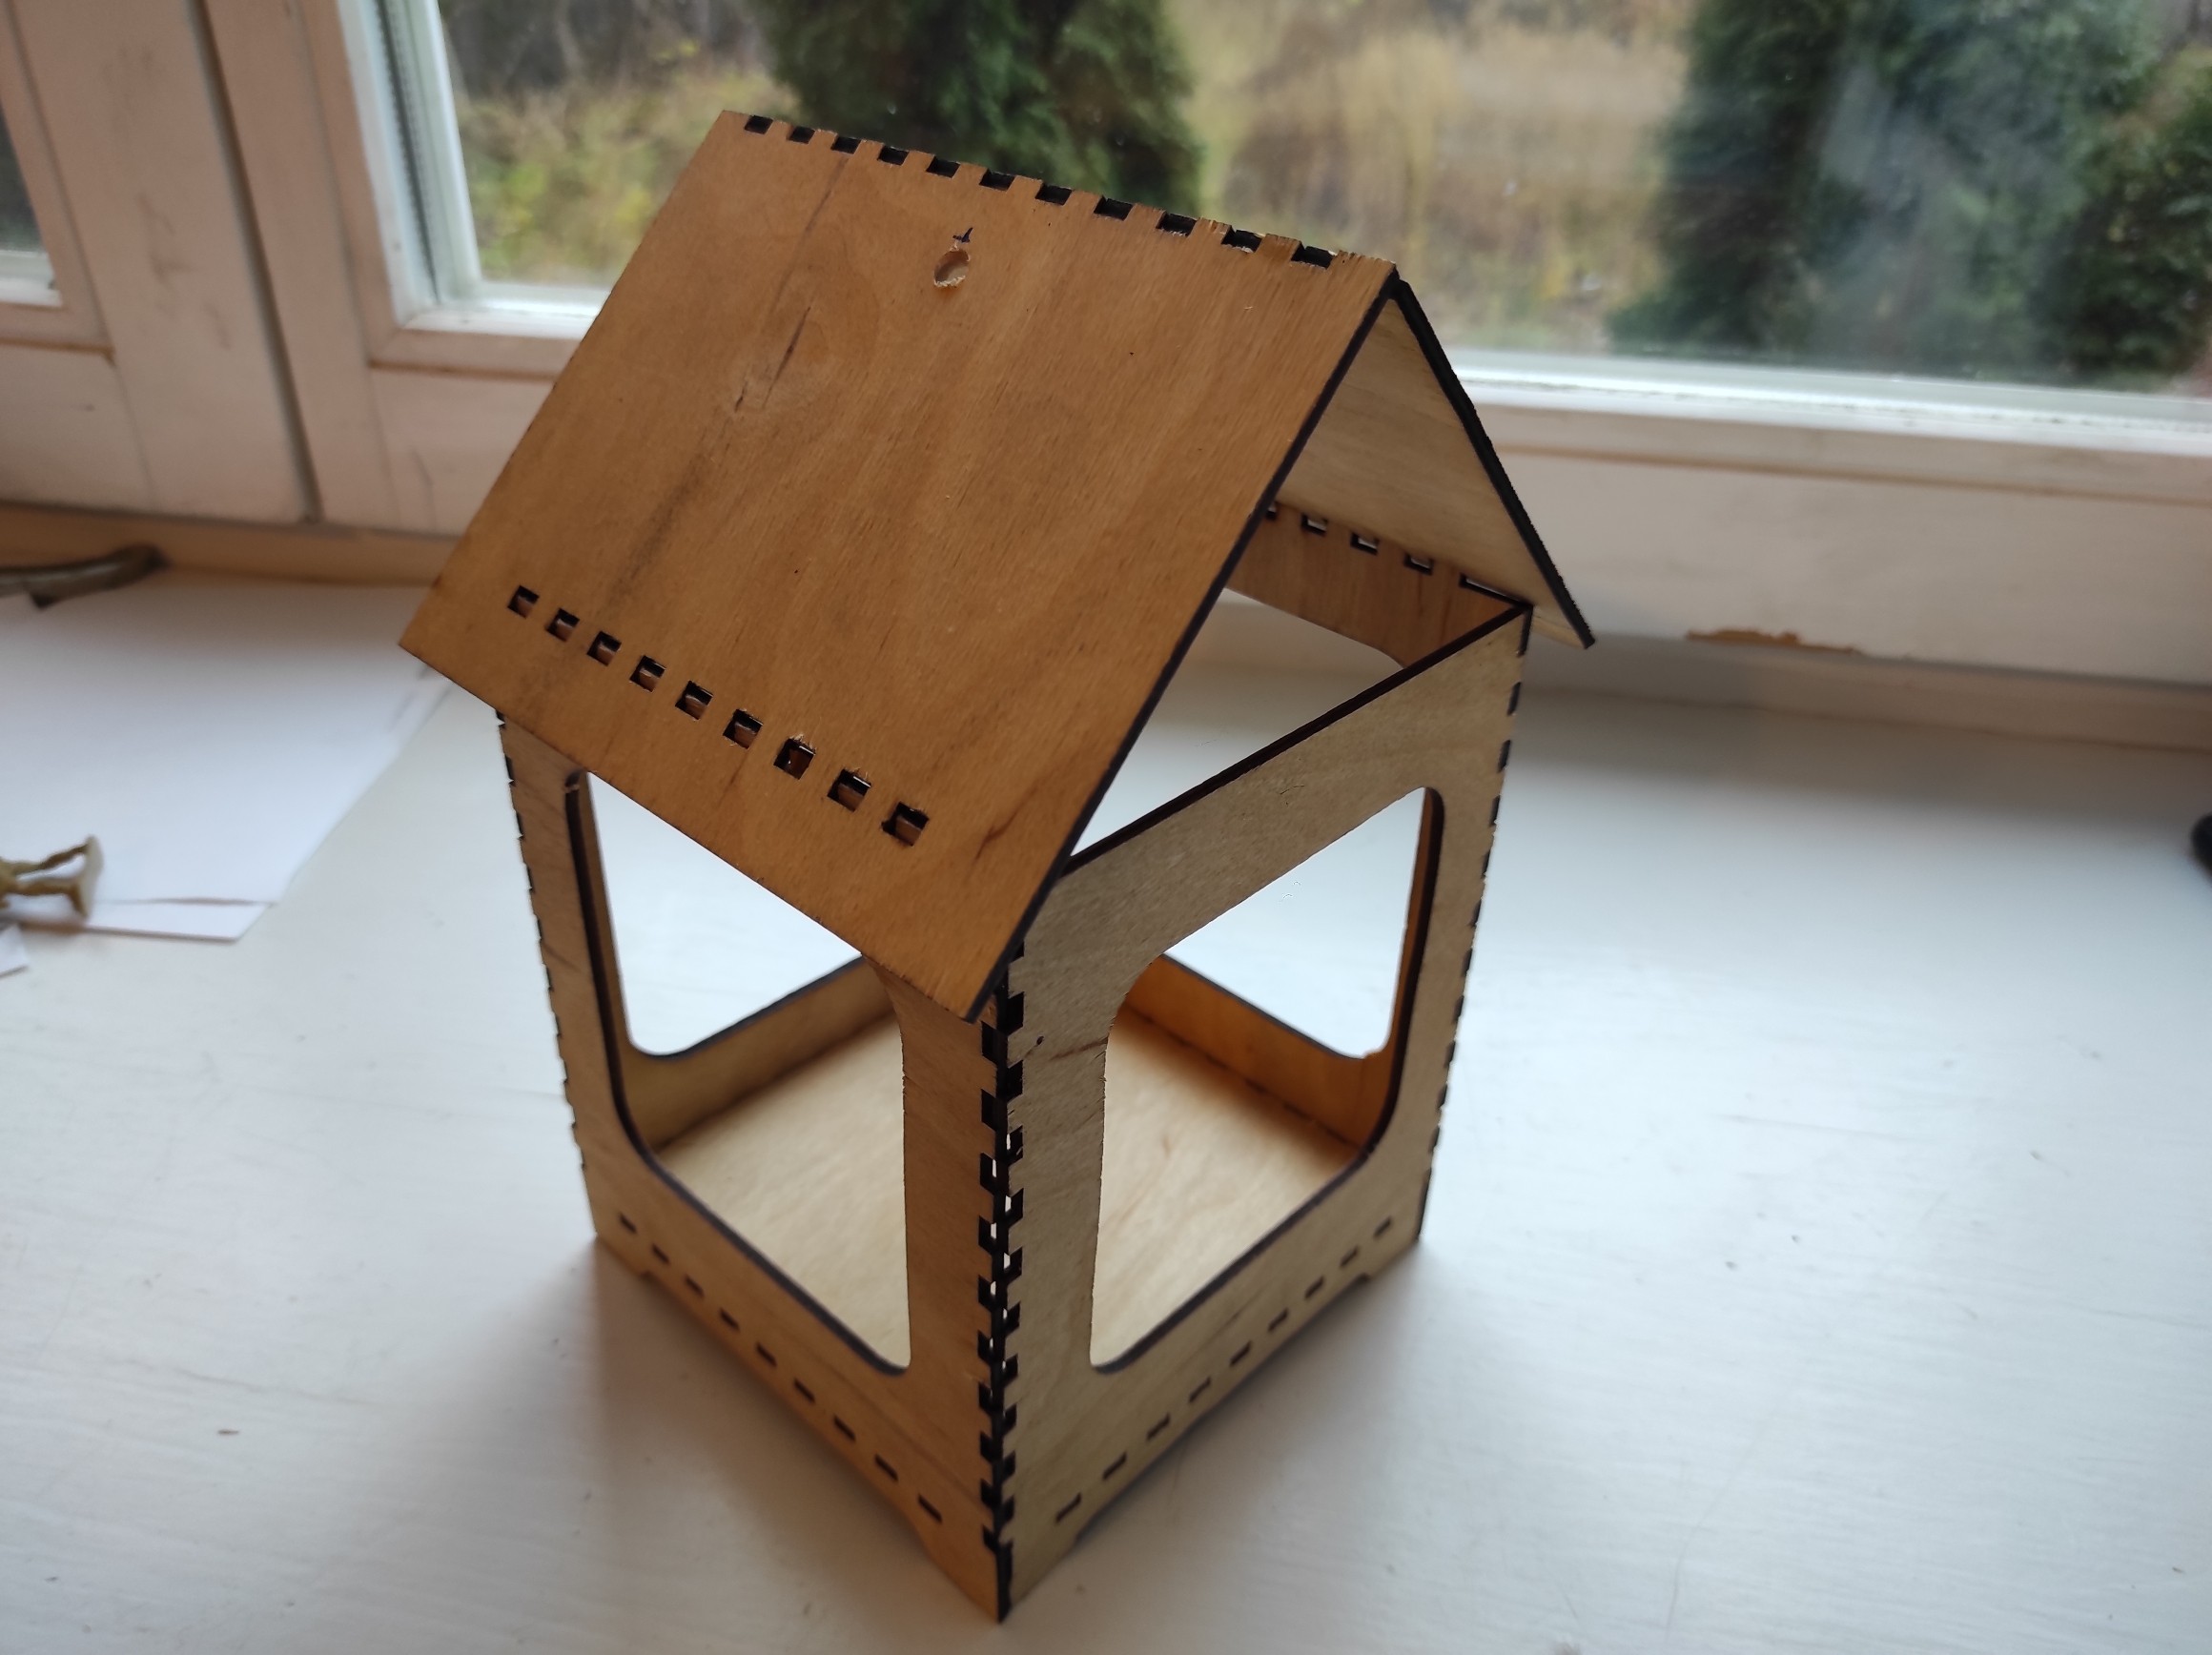
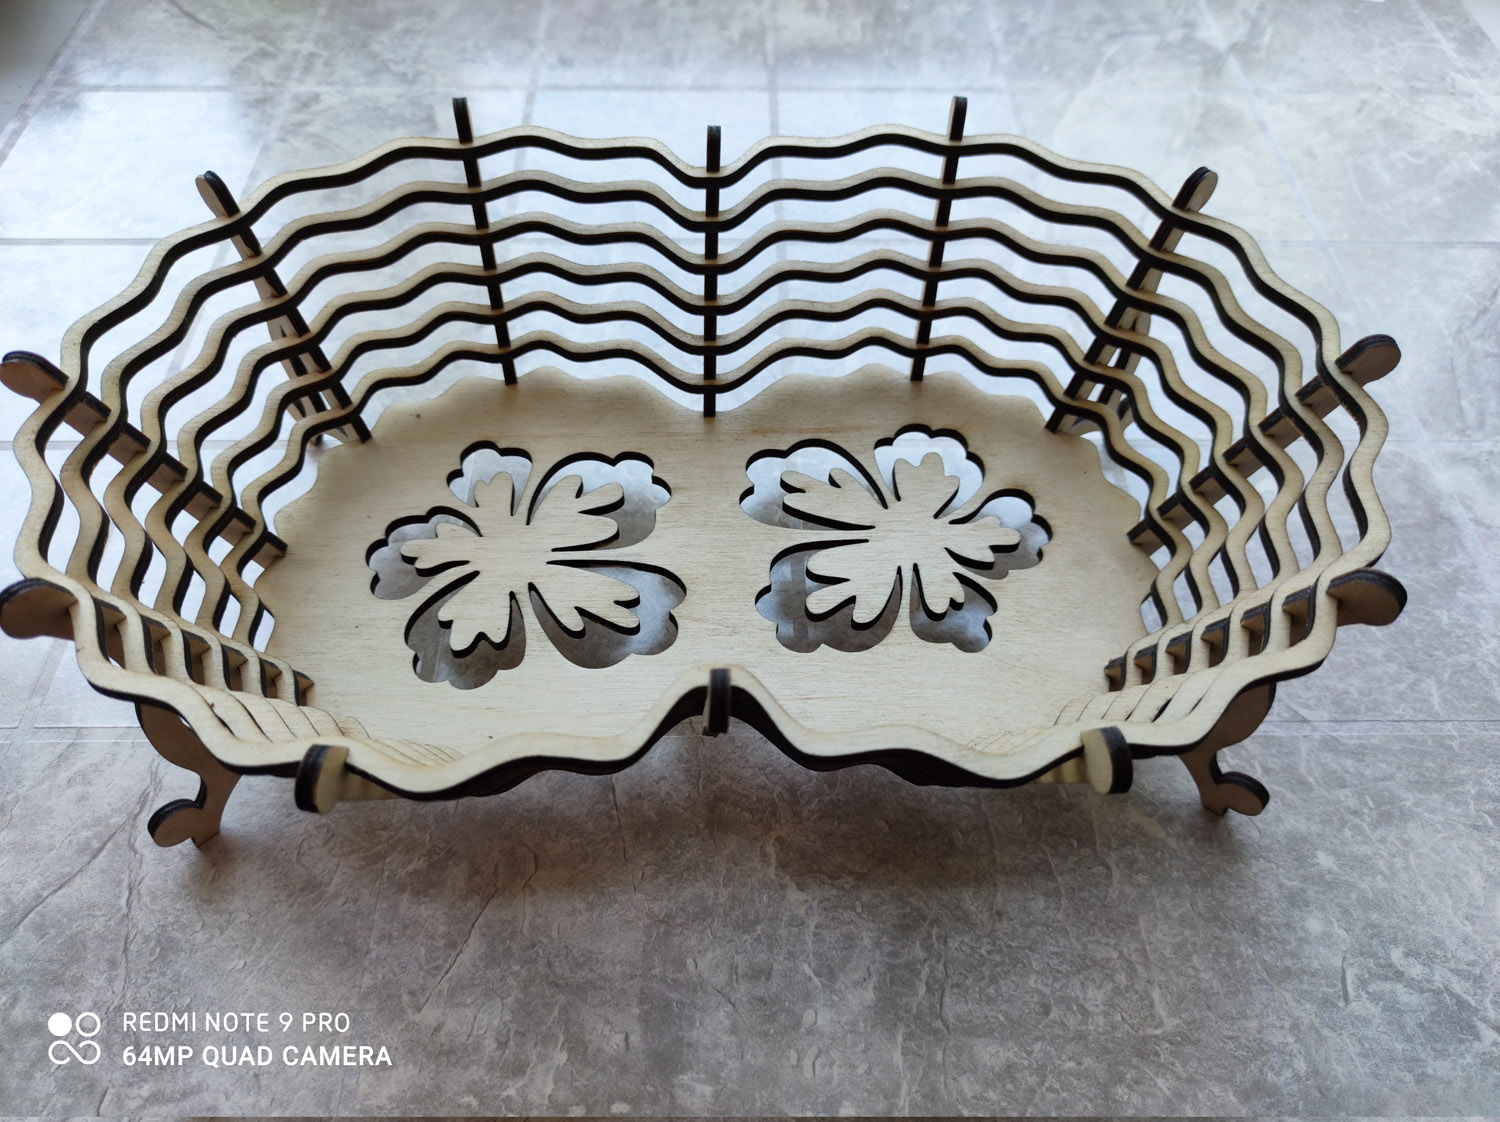
Make truly amazing plywood decor (a DIY LED lamp) with Endurance lasers!
Wood Properties
The different varieties of wood can affect how the laser performs. Hardwoods can have light and dark varieties and this can make a difference in photoengraving contrasting, grayscale images, and small writings. Lightwoods are great for getting contrasting colors and visible details.
It is a great idea to have test pieces ready for the type of wood you will like to engrave to understand how the material reacts to the laser and how to adjust your machine accordingly.
Here are some wood types to consider and their features.
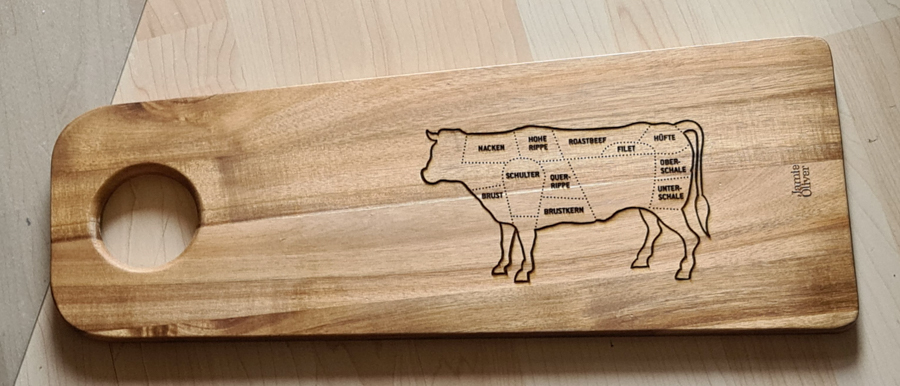
Acacia
This is a popular choice that’s used for cutting boards due to its ability to be durable against knives and utensils.
Lasts long and it is water-resistant.
Beautiful natural grain
Soft maple
Multiple varieties available.
25% denser than hard maple.
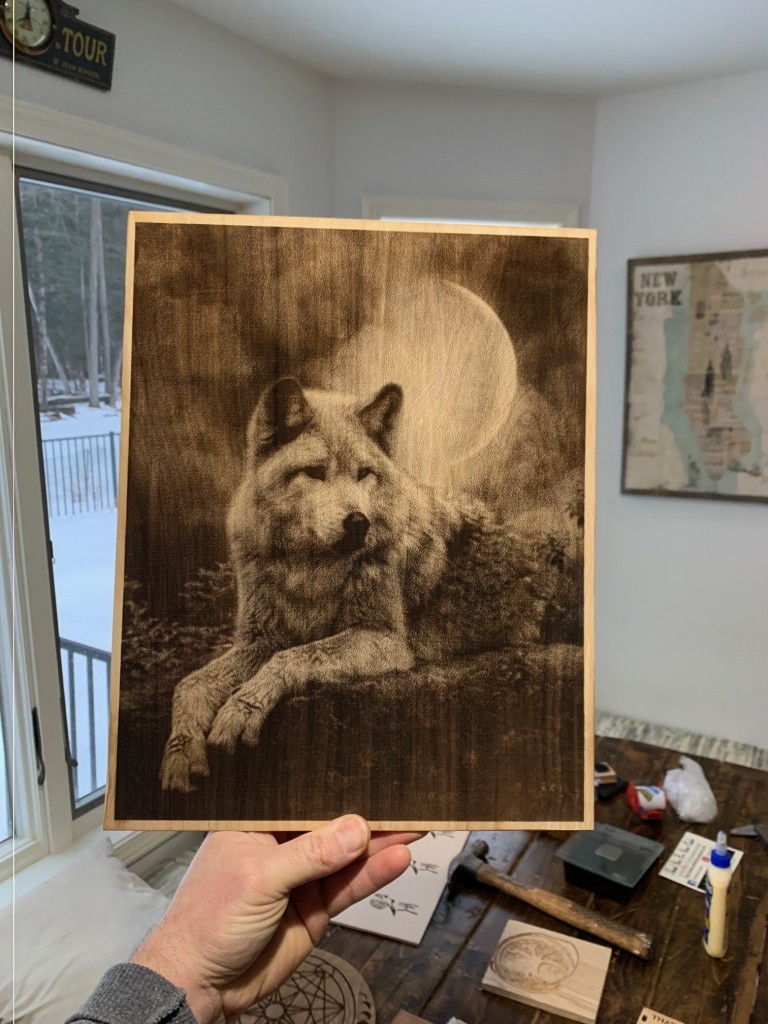
You can produce wonderful greyscale designs and photoengraving turns up well.
This is among one of the best for engraving and you will also be able to achieve beautiful finishing.
Olive
A strong hardwood that gets even better as it ages.
Becomes darker and has a rich tone over time.
This is a great wood to work with for its great texture and grain.
Oak
A great choice and one of the best types of wood for laser engraving.
A strong hardwood that can be great for signs.
This is popular for engraving wood and is one of the most commonly used wood.
Walnut
A thick hardwood that can be found in both light and dark wood varieties.
Has a good texture and it is a popular choice for large signage.
Dark walnut is not ideal for contrasting images and small fonts because of its dark.
Poplar
This is great for engraving and can create some even contrasts along the surface.
Easy to work with
Great uniform texture and straight grain
Cherry
The main features that make cherry a very good option for engraving is the
straight and fine grain with a beautiful reddish-brown tone.
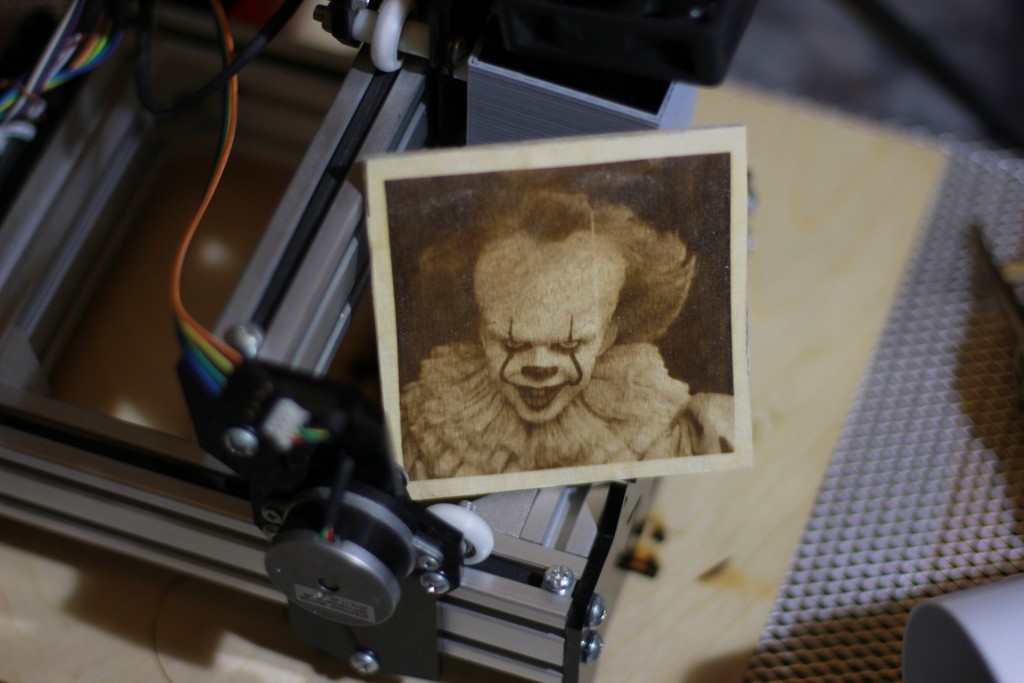
The detail and engraving especially grayscale produce great results. This hardwood can also have sub-types such as American cherry or black cherry. The surface quality makes it a good option for photoengraving.
Basswood
Great for cutting and engraving.
It’s affordable and lightweight.
Not very durable and can easily get damaged.
Baltic Birch Plywood
One of the most laser-friendly woods to cut is Baltic Birch.
This is a great option for laser cutting and engraving.
Light and inexpensive, and it can be used in a wide variety of projects.
Easy to work with but details for engraving can be clearer on much thicker woods.
One of the best types of wood to cut and engrave for all sorts of projects.
Several attributes can be visually studied to know how some natural features possessed can either be good or inconsistent. For laser engraving, a good feature is straight smooth grain and minimal streaking. This will enable you to produce a well-detailed photoengrave and designs. The grain can greatly affect details by blending the grain with the image. In addition, the ribbed areas around the center of a tree often create unwanted textures that alter the outcome of designs. The smoother and more consistent the wood grain quality, the better.
Hardwoods such as olive or oak are great for getting dark engraving the contrast will appear well and even. Light woods such as plywood or balsa does not produce the same quality of engraving but they can still produce some great designs.
How to cut wood/plywood with your diode laser – parameters and settings do you need to setup in your laser cutting software. Getting started!
Co2 and diode lasers are the best lasers for wood/plywood cutting because wood and plywood absorb visible light 400-700 nm very well and far-infrared 10.6 um.
However to cut 3 mm (3/16” ) and 6 mm (1/4”) of soft plywood and special laserply diode lasers with a well-focused laser beam can cut that thickness at a good speed like 100-300 mm / min.
For effective and accurate wood/plywood cutting it is also necessary to use air assist with at least 0.05-0.1 MPA air pressure and at least 60-70 L / min airflow capacity.
Keep in mind that for effective plywood laser cutting you need to get proper plywood or laserply. Some types of plywood can not be cut with a laser. They can hardly be cut with a saw or with the powerful CNC.
Recommended types of plywood for laser cutting
A detailed video instruction about plywood laser cutting
https://youtu.be/v1_y0UZyVW4
Key things to check and remember while wood / plywood laser cutting!
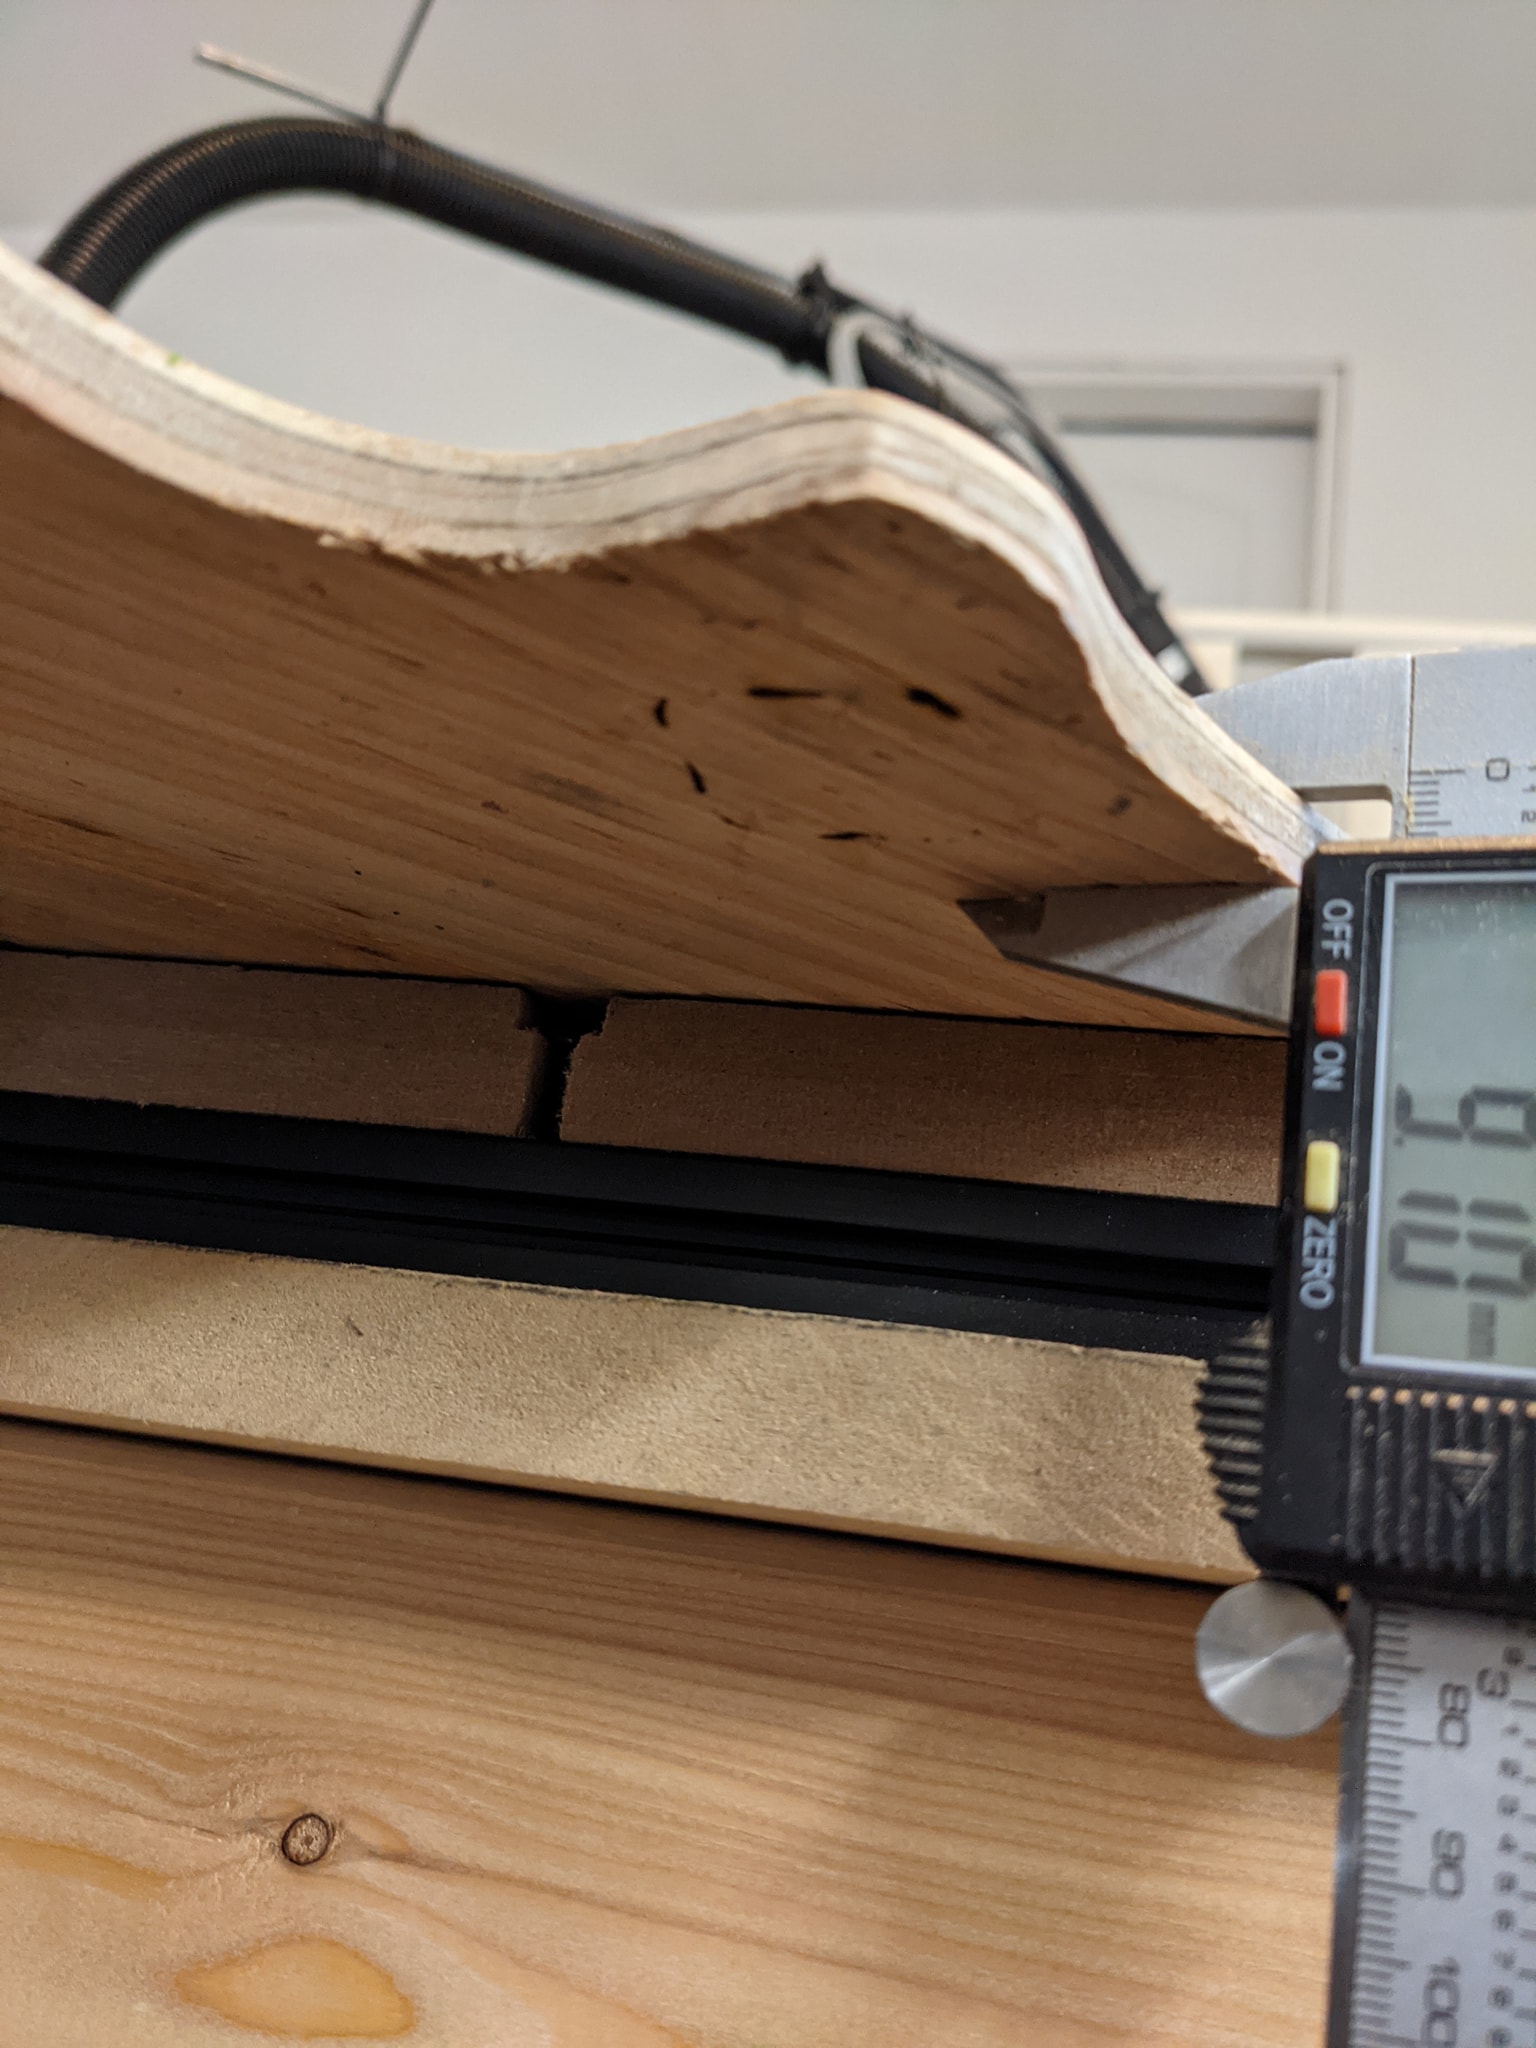
Check the density of your material. Very dense sorts of wood, plywood, MDF, laserply that can hardly be cut with a real saw might have problems with laser cutting as well.
All you need to know about plywood / wood laser cutting
https://youtu.be/ar1Cml_zK2E
Keep in mind that using air assist while cutting will reduce the number of passes, increase speed and make cleaner edges.
Wood/plywood laser cutting: with air assist and without air assist
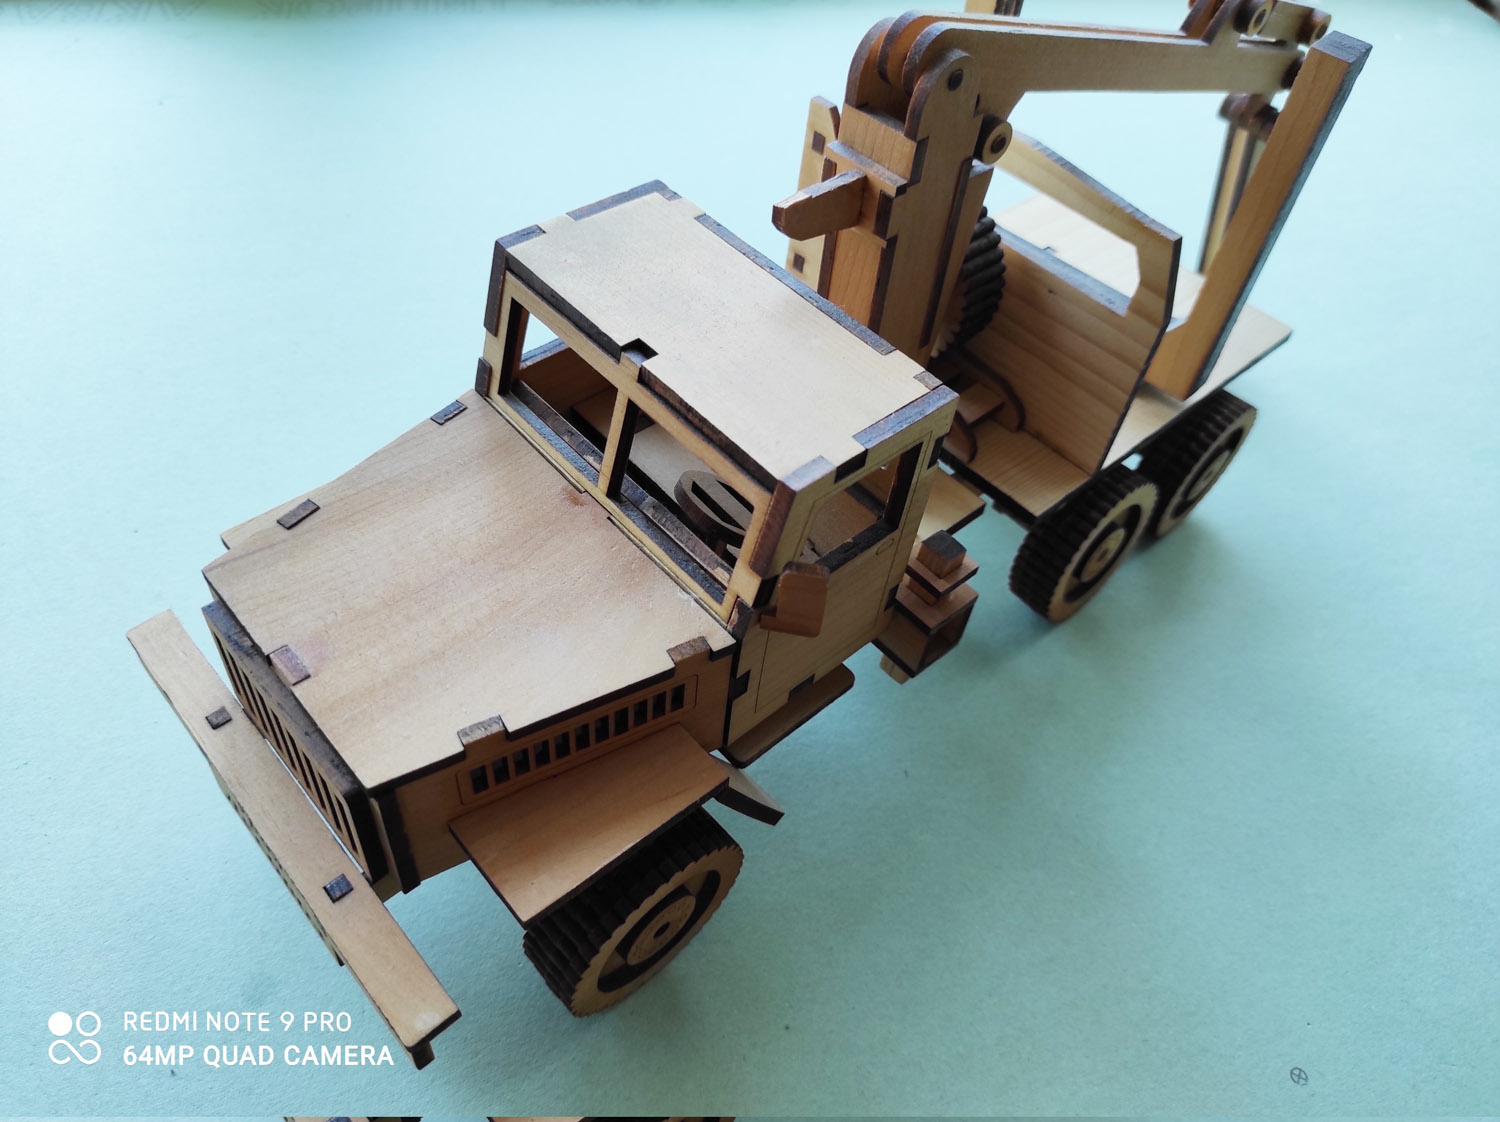
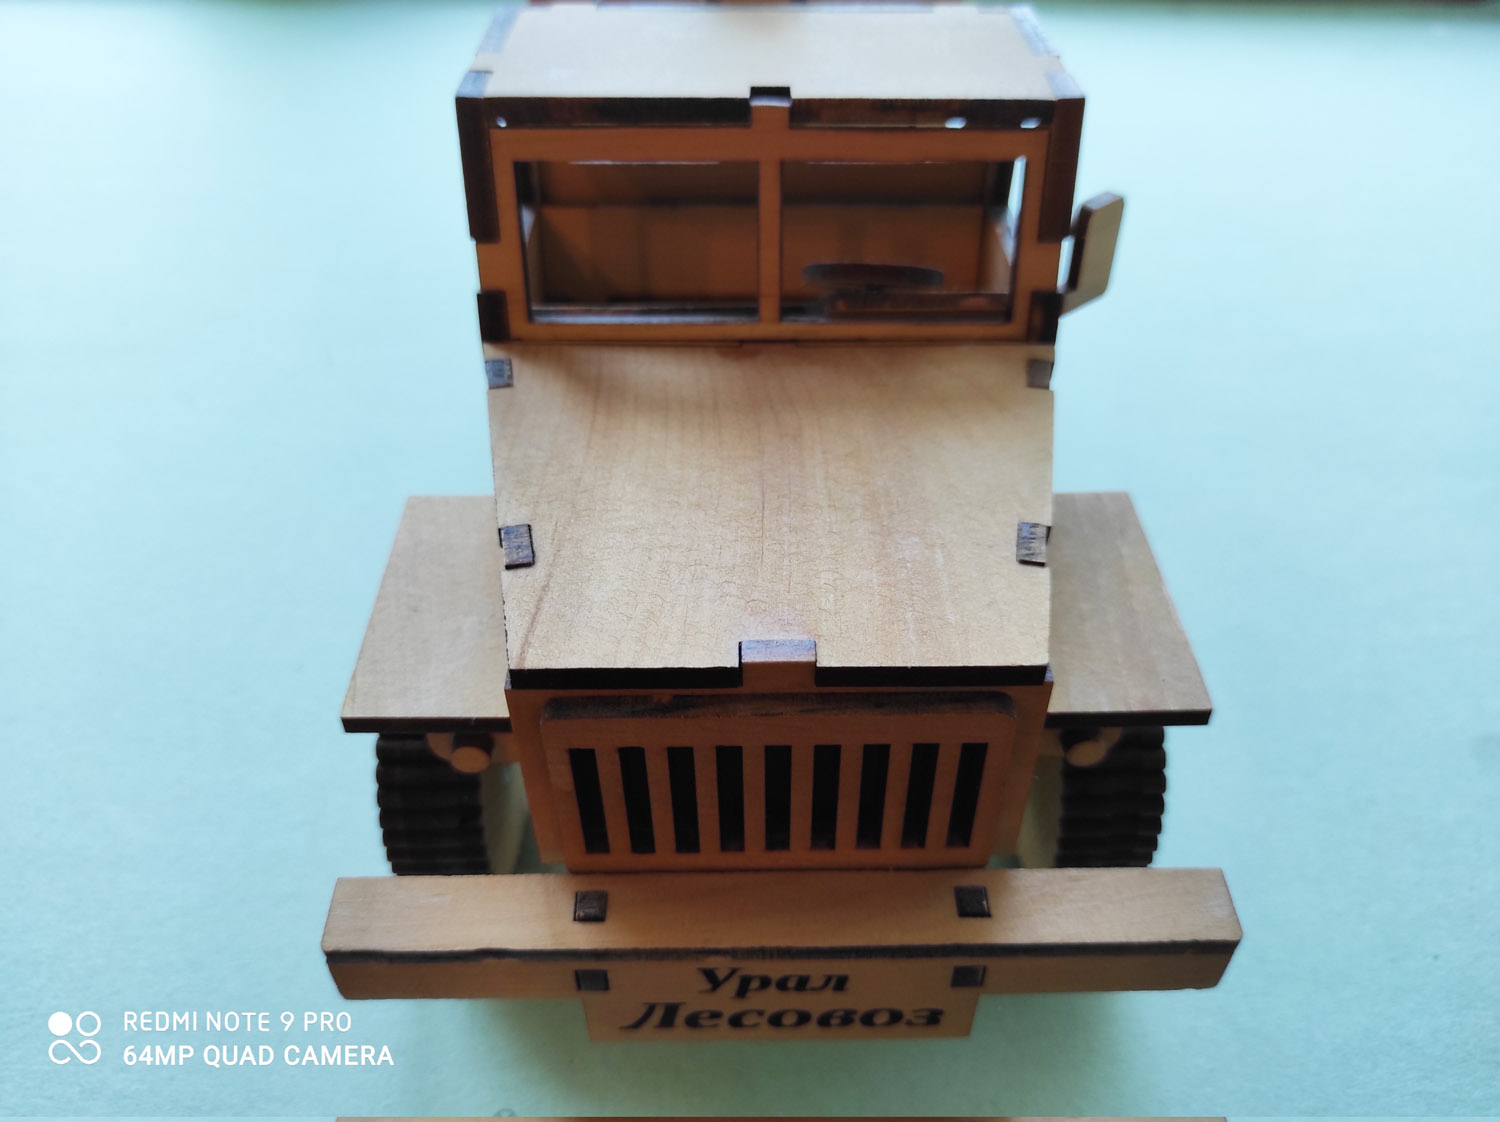
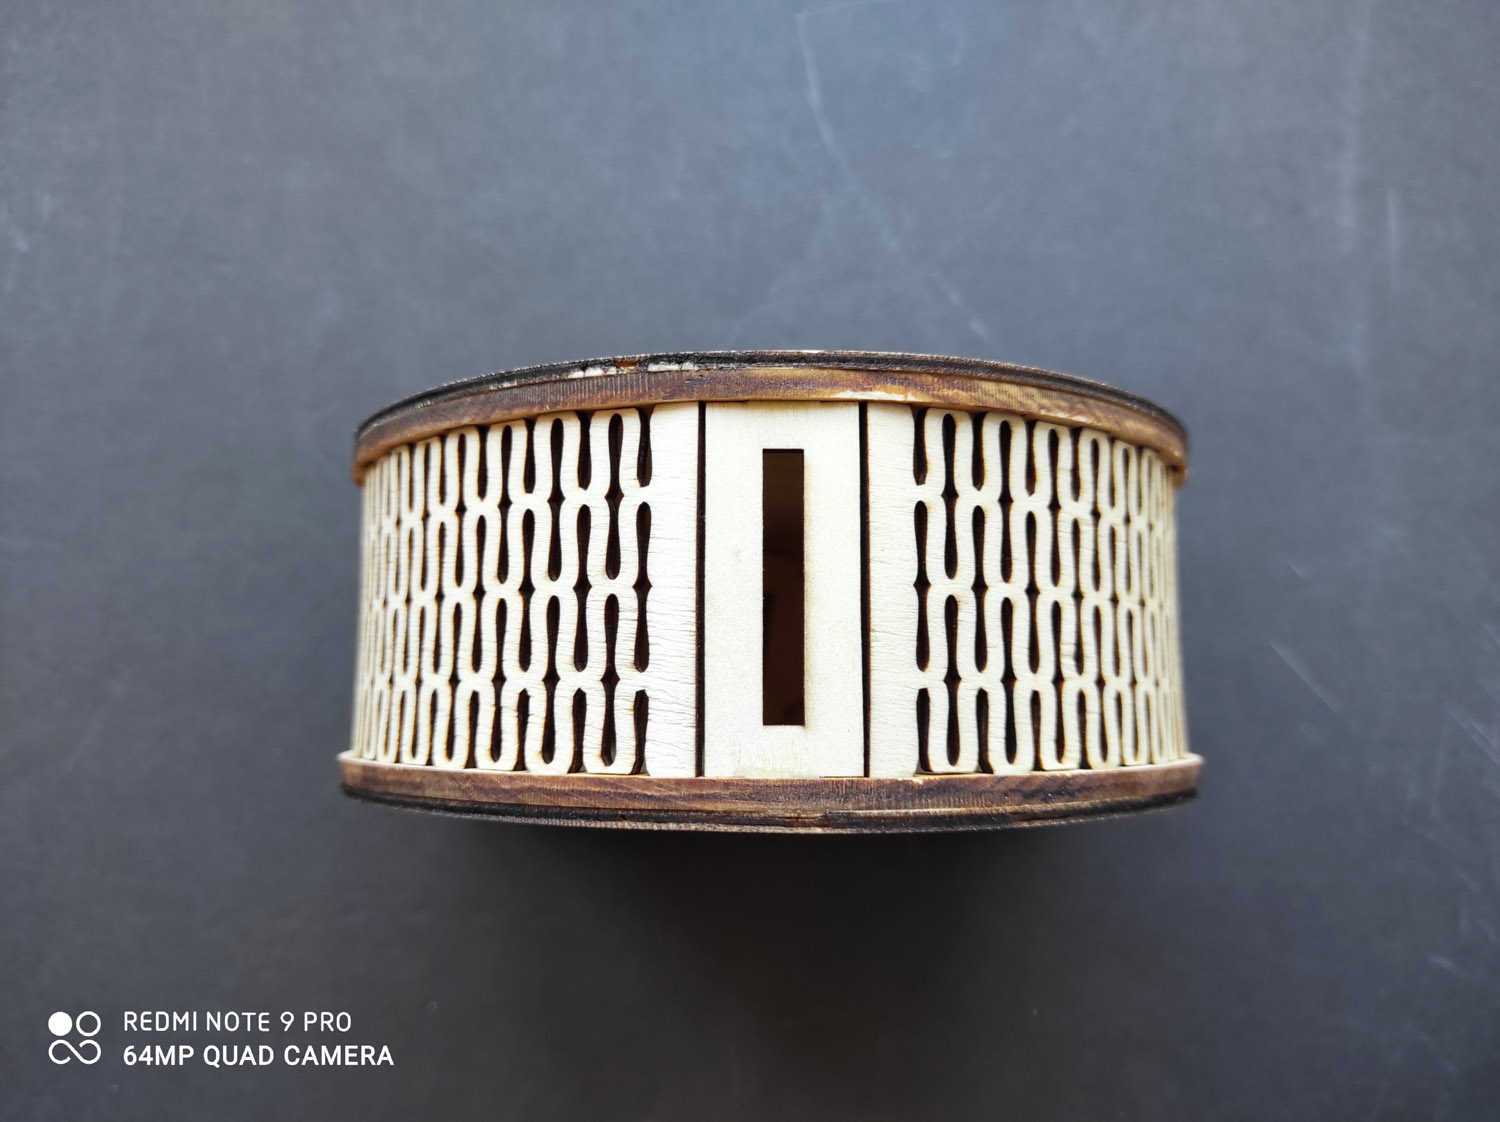
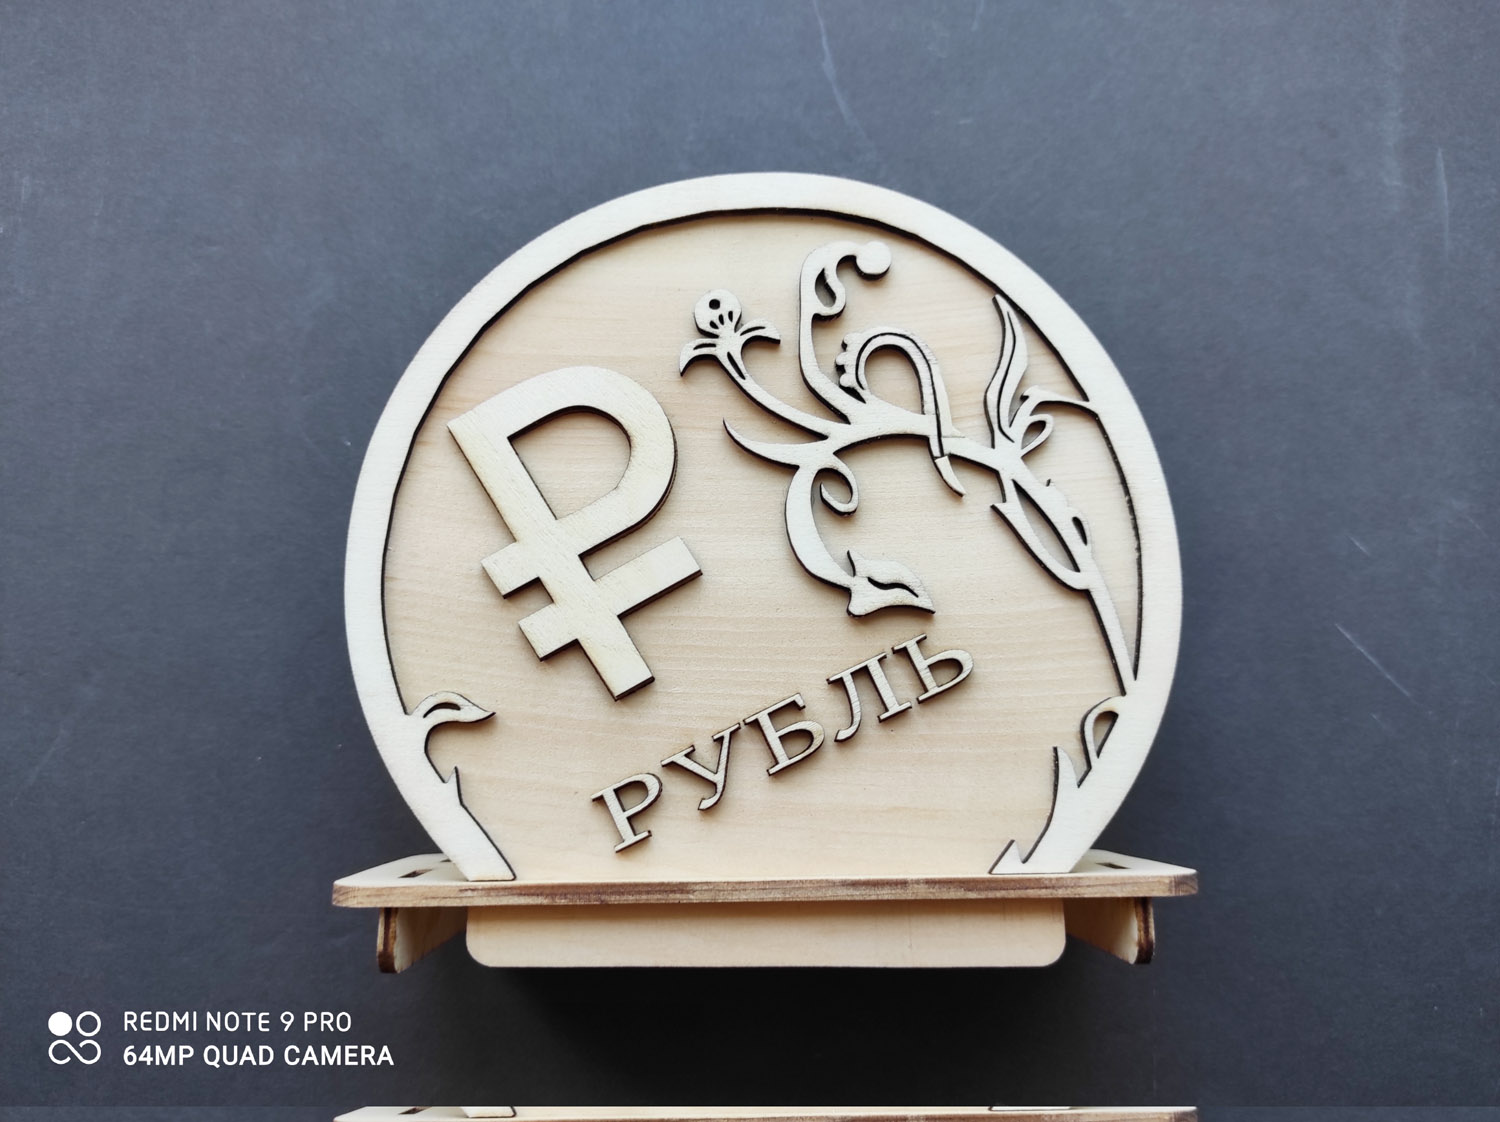
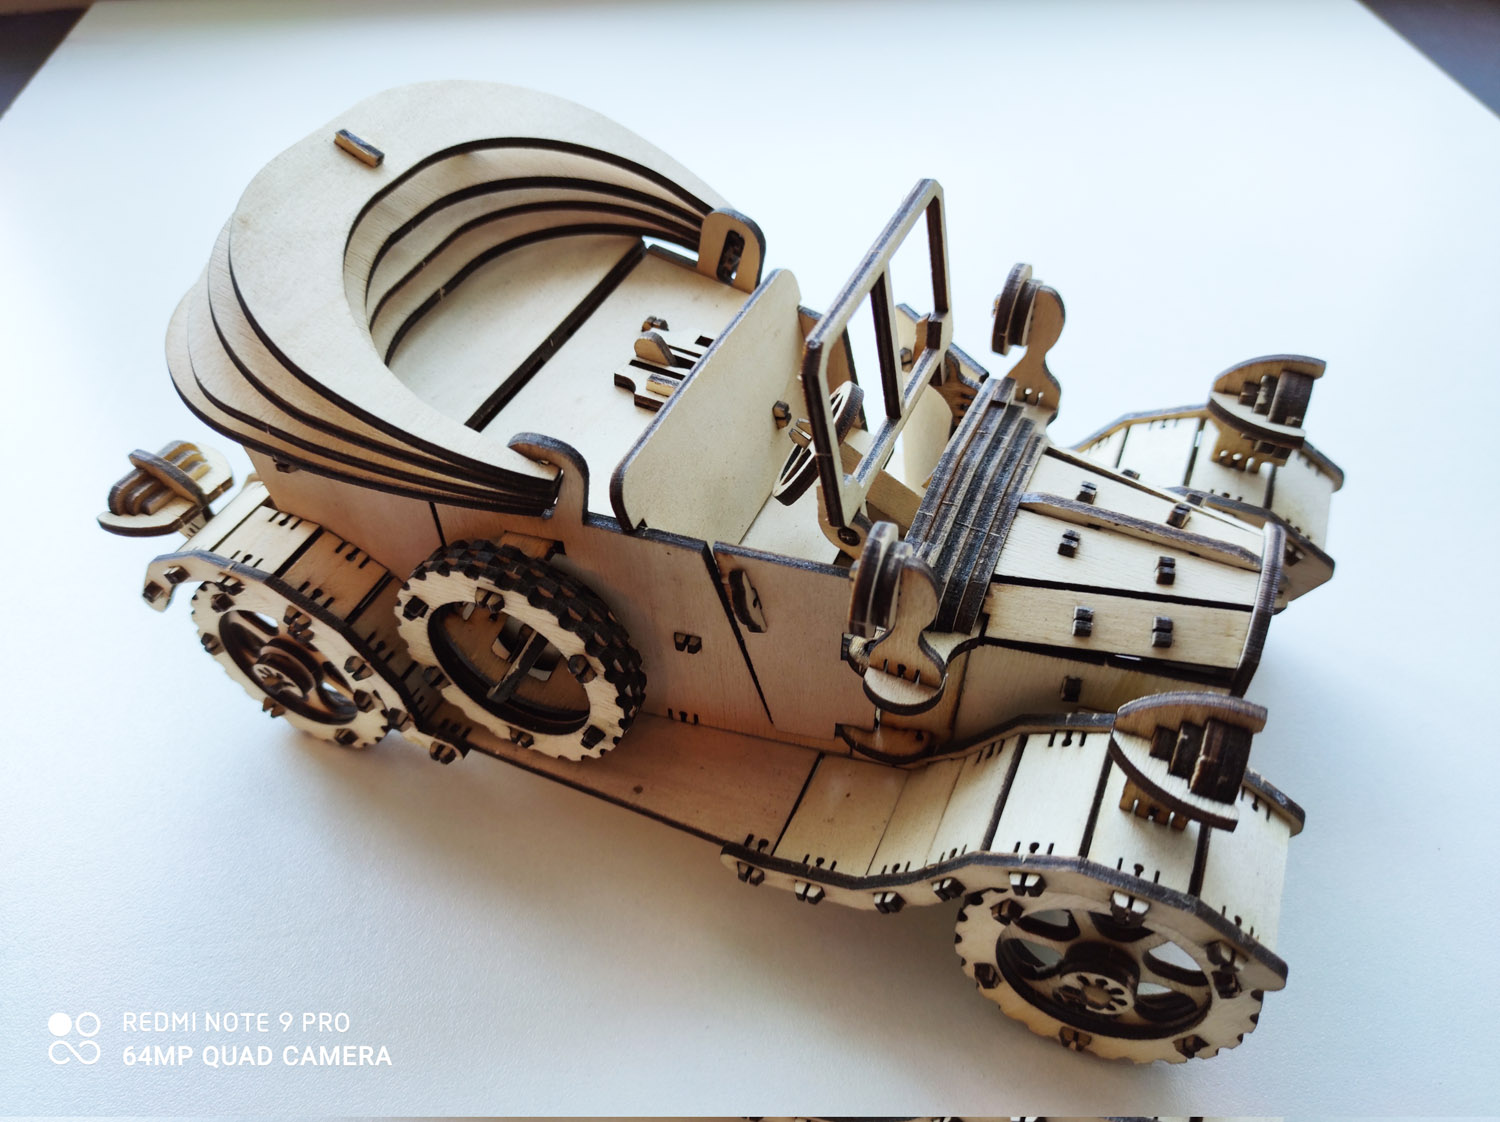
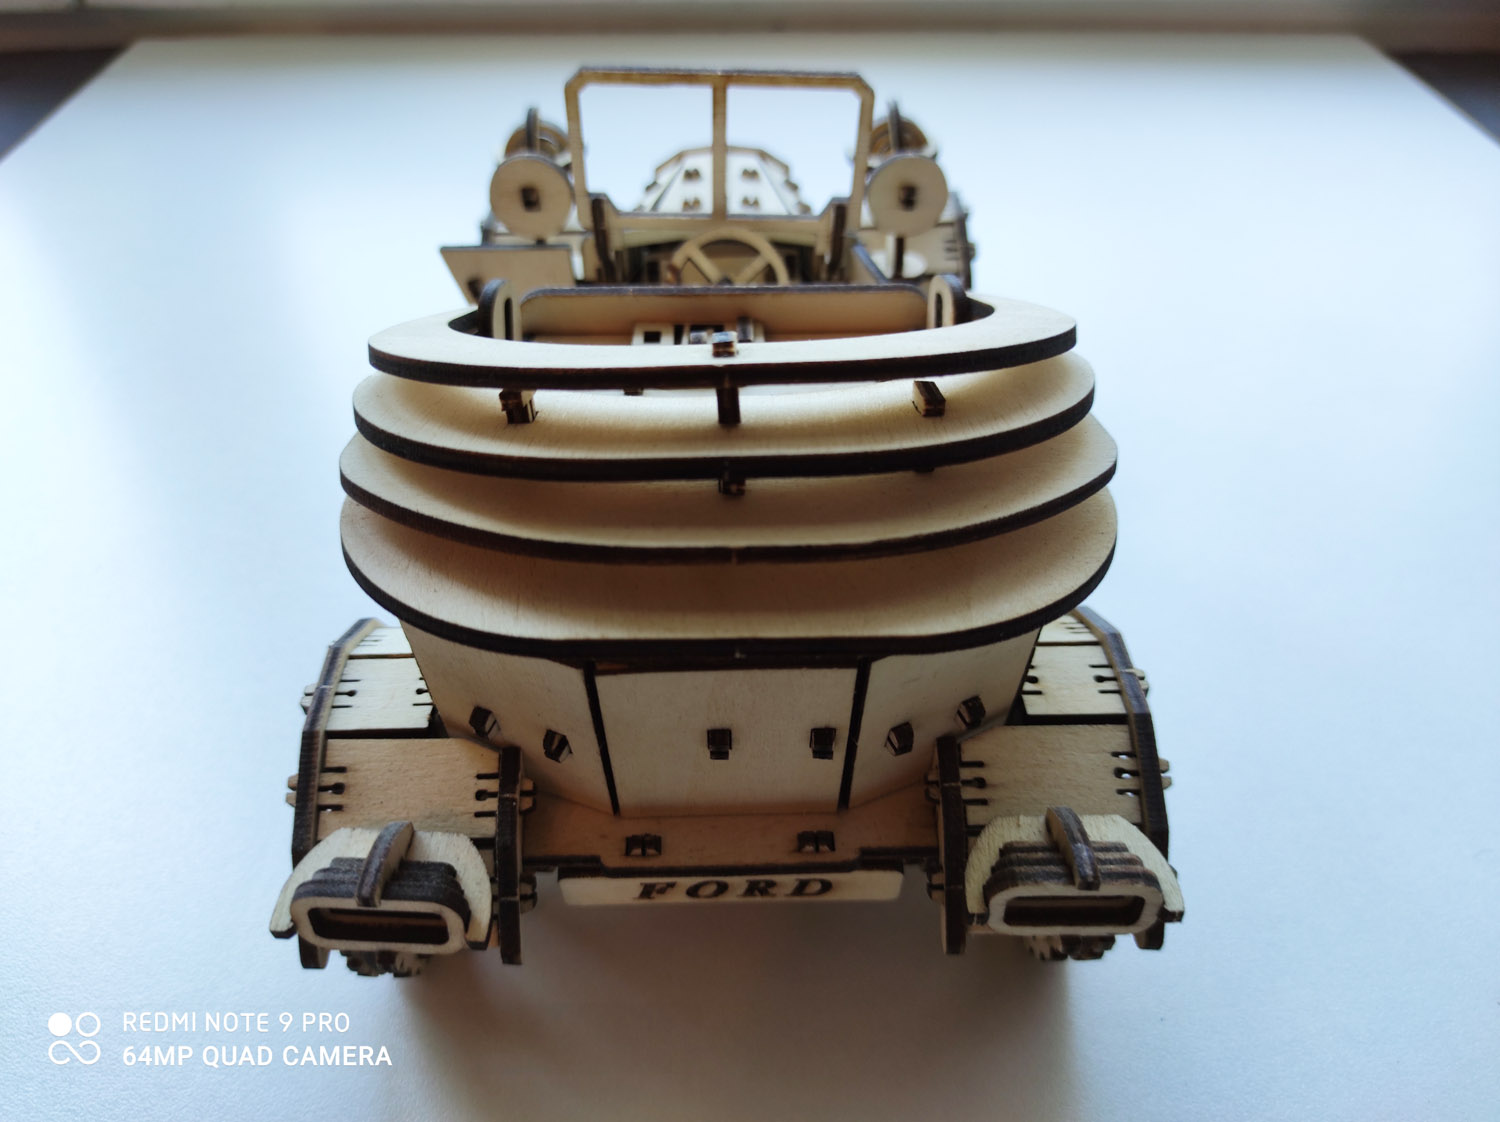
Our customer Ivan from Hakhasiya (Russia) makes and shares!
You may make all types or RC models with Endurance diode lasers
Our customer made and share – awesome laser cutting result!
“Holy Guacamole
10 watt Endurance laser
I didn’t have any 3mm ply wood around. But i did have 5mm plywood and 9mm plywood.
So I thought, lets put it through the test. 9mm took about 20 passes and had to lower Z axis 5mm for last 10 passes. The 5mm did a clean cut no change to Z in <8 passes.
Videos to follow in post.”
by Frank Estrada
Black wood (5.5 mm thickness) laser cutting with Endurance 10 watt DPSSL infrared 1064 nm laser
Wood processing parameters: Cutting speed 600 mm / min, power 99%, number of passes 30 Engraving lettering speed 800 mm / min, power 50%, number of passes 1 Bottom engraving speed 600 mm / min, power 90,% 1 pass Focal length from lens to material about 32-33 mm
Watch video footage (LIVE real video) by Frank Estrada
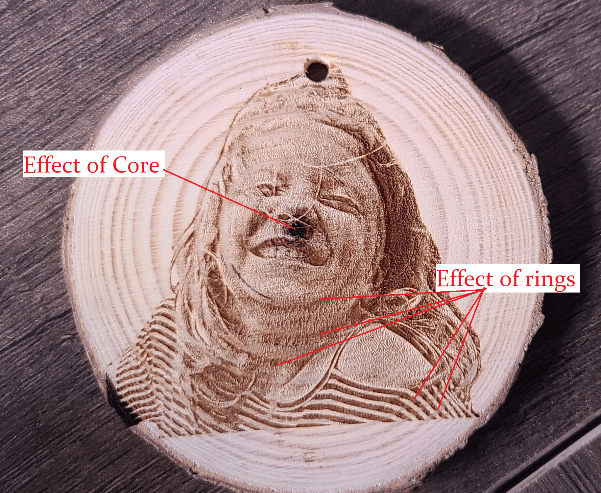
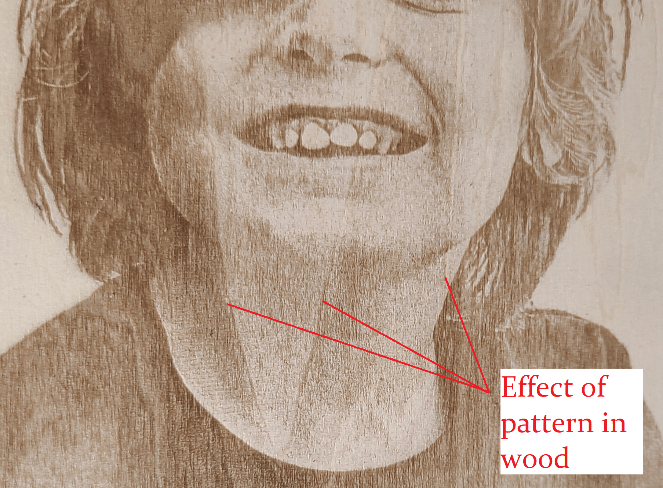
All wood has growth rings
These growth rings affect the outcome of your engravings and cuttings.
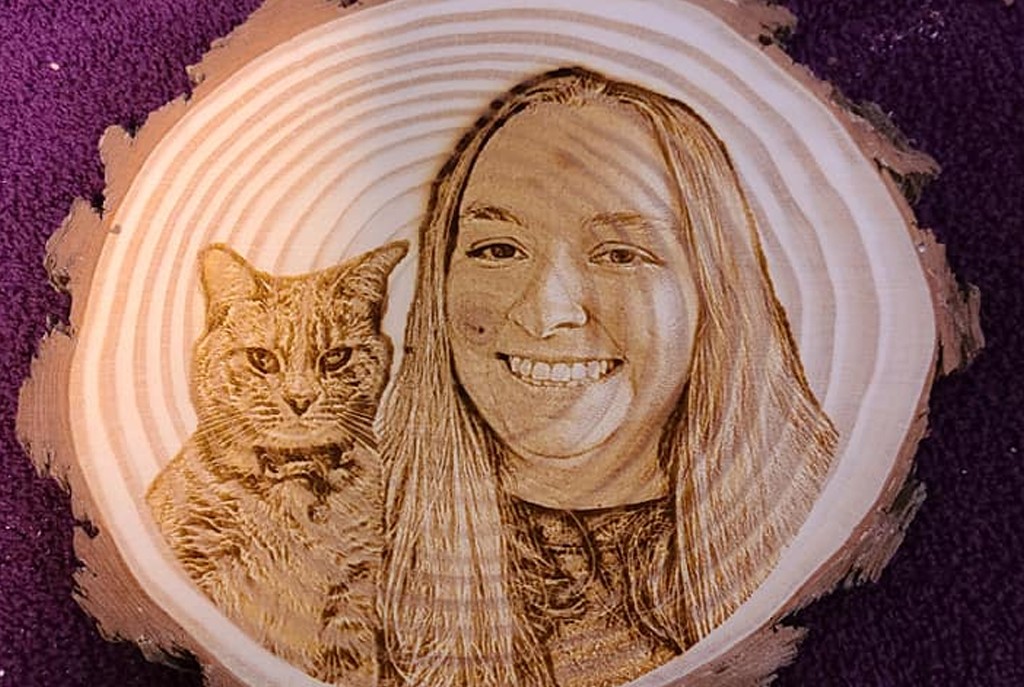
We like using natural wood from a variety of trees. Oak branches cut in slices can make very interesting coasters. Some of these branches are from still-living trees and are very clean wood to work with but end up splitting over time.
We suggest using an old oven to dry these branches sections before cutting slices out of them with a 14” Chop saw then dry them some more and use a bench sander to smooth out the saw makes then let them dry some more they will even though oven-dry the log some warping happens as they pick up humidity from the air over time. So we take them back to the belt sander and flatten the aged oak disk a bit more. Some of the older disks on wood that have died on the tree have discoloration in them.
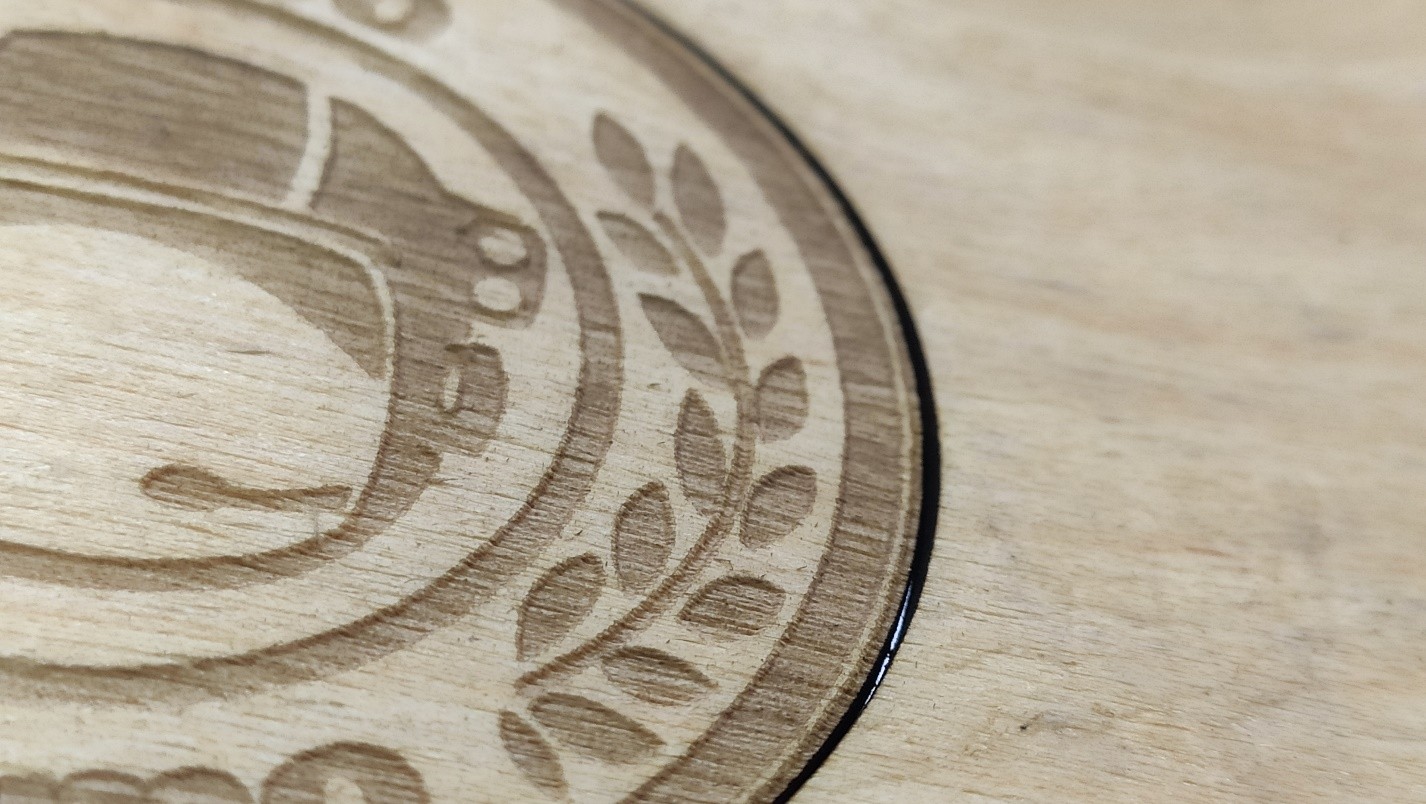
You can engrave using drawings not photos because the drawing burns much darker into the wood and give great contrast because they pop out of the old wood. Or if using photographs in Lightburn so we found sketch mode works very well also.
Pine wood
We have cut a thin slice from 2×4” lumber.
It is light in color with many growth rings.
These rings do not cut easily as the soft pine in between them.
Cutting through pine is fairly easy but when the rings hold the parts together it leads to breakage that is not wanted.
So what one has to do is find the slowest speed your laser will cut with and have a clean line in the wood.
Over burn is not wanted. A few extra passes make all the difference in part dropping out or not.
Plywood
Hobbie store plywood comes in a variety of thicknesses cuts easily and engraves nicely but the wood layer is very thin not wanting to burn deeply because the filler material is normally cheap and does not hold up to deep engravings.
if using air assist on any wood do not overdo the air. One this hobby-grade plywood over the air will burn the center out of the wood leaving a very nasty edge.
Building trade plywood has a good side and a rough side. Take the good side and sand it down smooth. There is plenty of thickness to this grade of wood.
Great for making signs. We have at one time cut thru 5/8 with our 15 watt laser. We use saws to cut until we find a better more powerful fine focus laser to work with.
We engraved some very wonderful engraving you might have seen on our Facebook page.
We have found that the finish can have an effect on the outcome and if you lightly sand it with finishing grade paper 300 grit or higher your engraving will come much nicer.
For grayscale or high dpi stucki 400 dpi with my 2100mw laser with .1 mm focal point and a 600-speed setting is a good start at fine results. Noted cutting stops on this stuff where the filler material begins.
MDF wood
MDF wood is made of compressed wood particles. It can be engraved with some fantastic results.
We have purchased building trade MDF wood to engrave with it came in 8 ft lengths so we had to cut short blocks.
It responds well to all different power settings on any of my laser modules.
It engraves well at many different dpi settings.
It expands well if wet. we found a section of some old flooring material that was laminated to MDF.
there is no two MDF board of the same materials. Each has it own properties and will engrave using different settings in power speed and dithering.
You have to play experiment to gain the best results possible.
We did a Norton trick with one pre-primed MDF board and painted it with some white paint and it came out so nice the world though it was Norton on white tile. But that can of spray ran out We purchased a cheapo can on sale and painted another MDF board to repeat as on the first board We loaded the same file and proceed to engrave it and found out all paint coating does not react the same.
This one came out very nasty it was the paint. So experiment finds what works and stick with it.
MDF can be hard to cut thru with your laser air assist or not the Amazon board 2mm soaked up the heat and was very hard to burn thru.
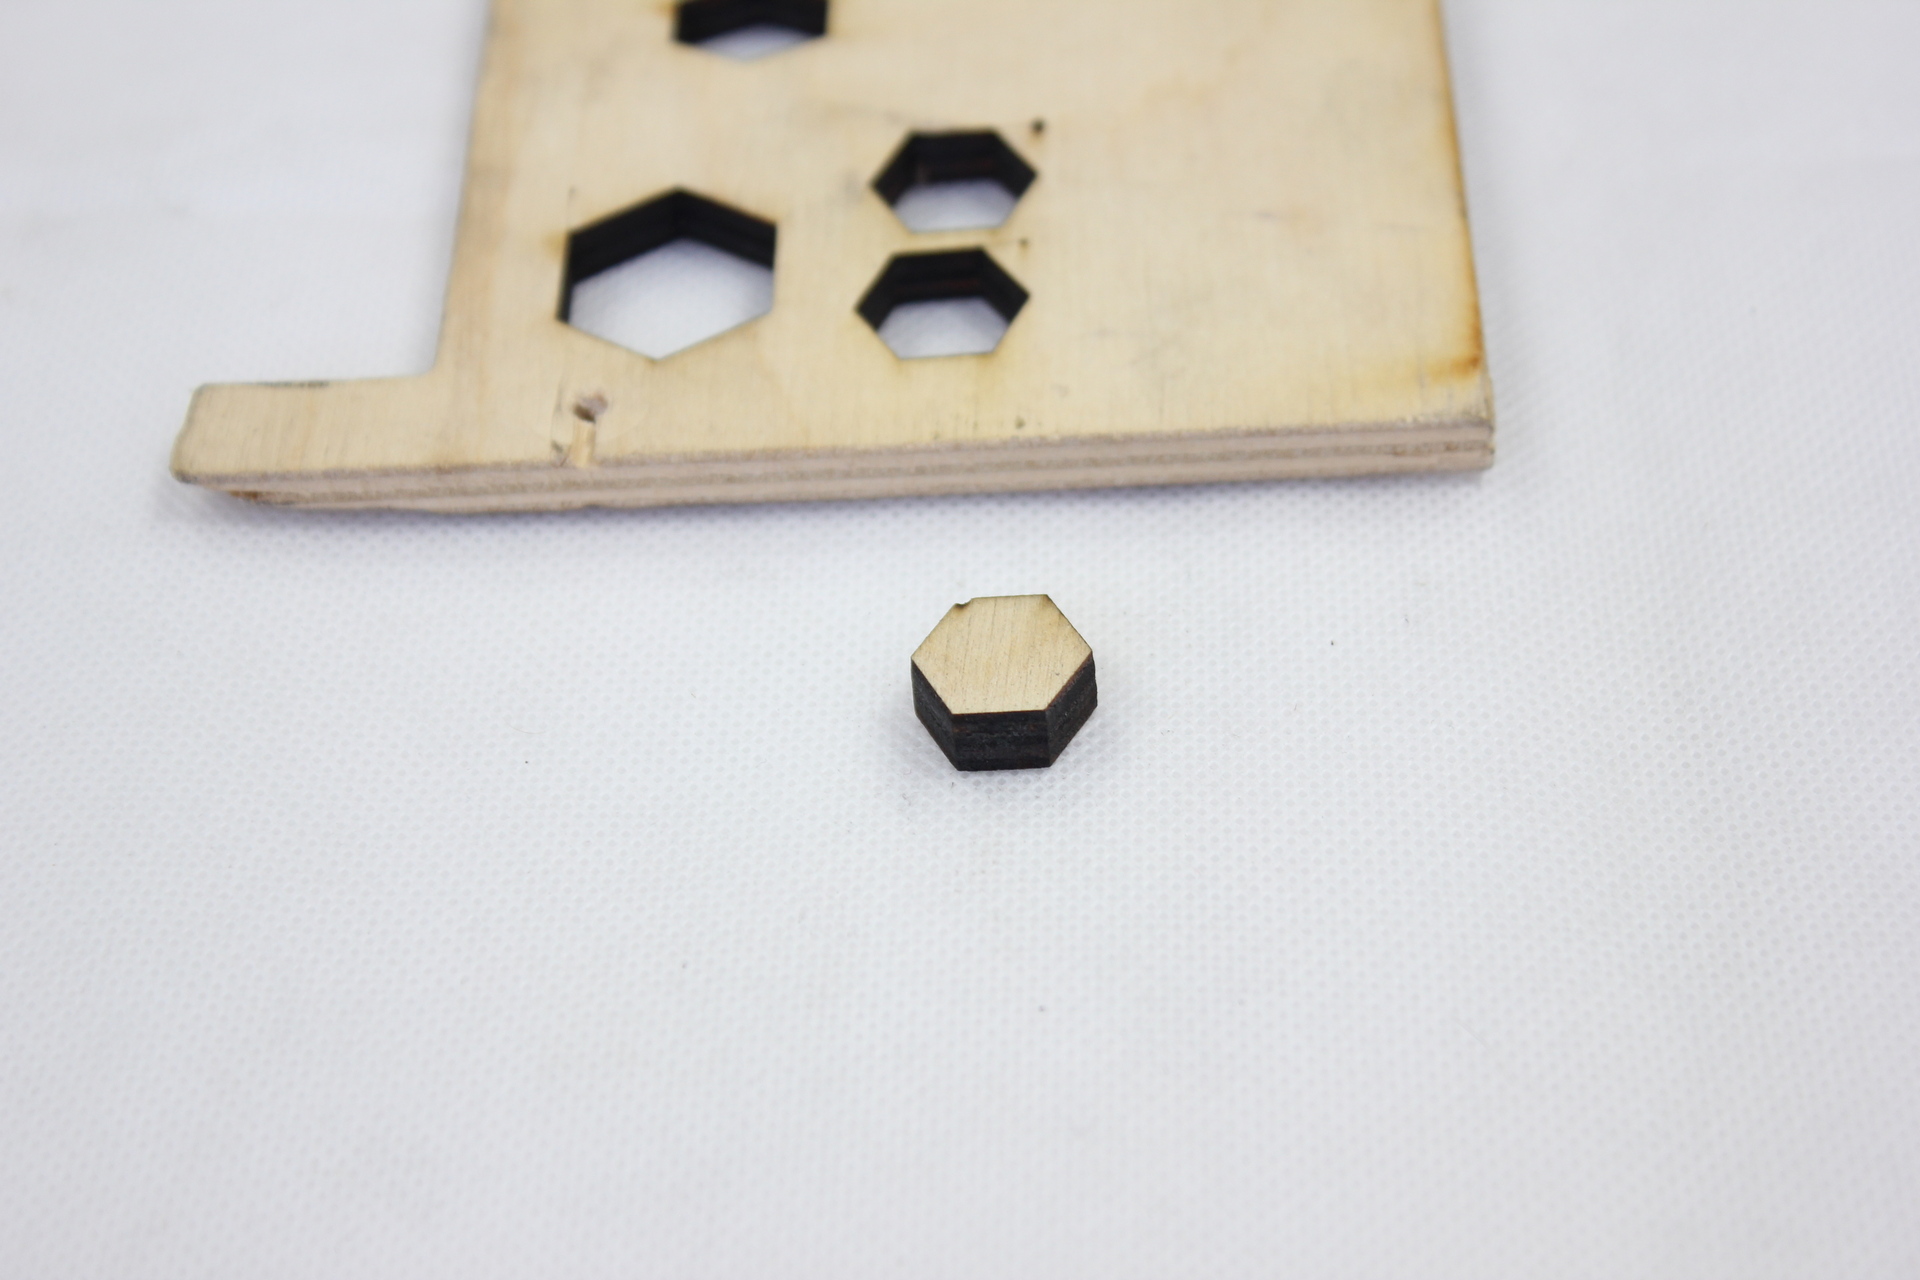
Step by step instructions for laser cutting
This small home decor signage was made using Lightburn Software.
Step 1 – decor
Determine the design you will like to make. The design is one of the most important part of everything.
This svg file was downlaoded and then modified to have extra floral features from a great Svg and design resource. (thedesignhippo.com)
The parameters you set are important and some essentials for an efficient laser are fine-tuning power/speed settings, lens focus, and also the addition of an air assist. For this design, a mixture of cutout letters and engraving onto areas of the wood was done for the design.
Step 2- Frame
Frame the laser to make sure it is within the intended area you have specified.
Step 3 – Cut out letters
The letters are cut by choosing the correct size and font that will fit into the given space. The letters will be placed after the engraving of the design is done. Use layers in Lightburn Software to cut the outer contour.
Step 4- Engrave and cut out the work
The line and fill feature can be used for the design. ‘Sweet’ and ‘Home’ In order to make the engraving faster, you can use line in thinner parts of the design.
This is a useful tip to speed up engraving time. The lines are thin enough to create a good effect using the line feature instead of engraving across at a slow speed.
Step 5- Put the Cutouts Pieces onto the board
All the pieces of the ‘HOME’ can now be aligned and pasted onto the design with a good glue.
Finishing
You can put a finishing coat of lacquer on the sign to protect it from most elements. And give it a nice glow. You may decide to hang it and drill holes on the sides to put in any part of your living space.
Learn more about wood and plywood cutting with G7 and G8 laser lenses>>>