Engraving on white marble (applying different colors) – all you need to know
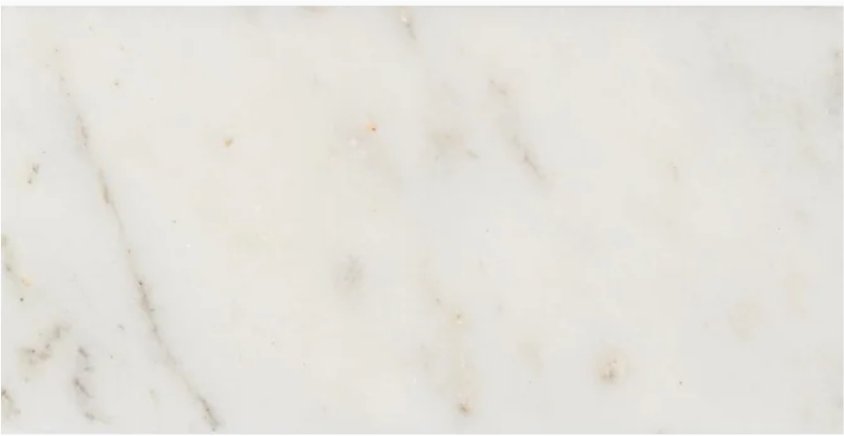
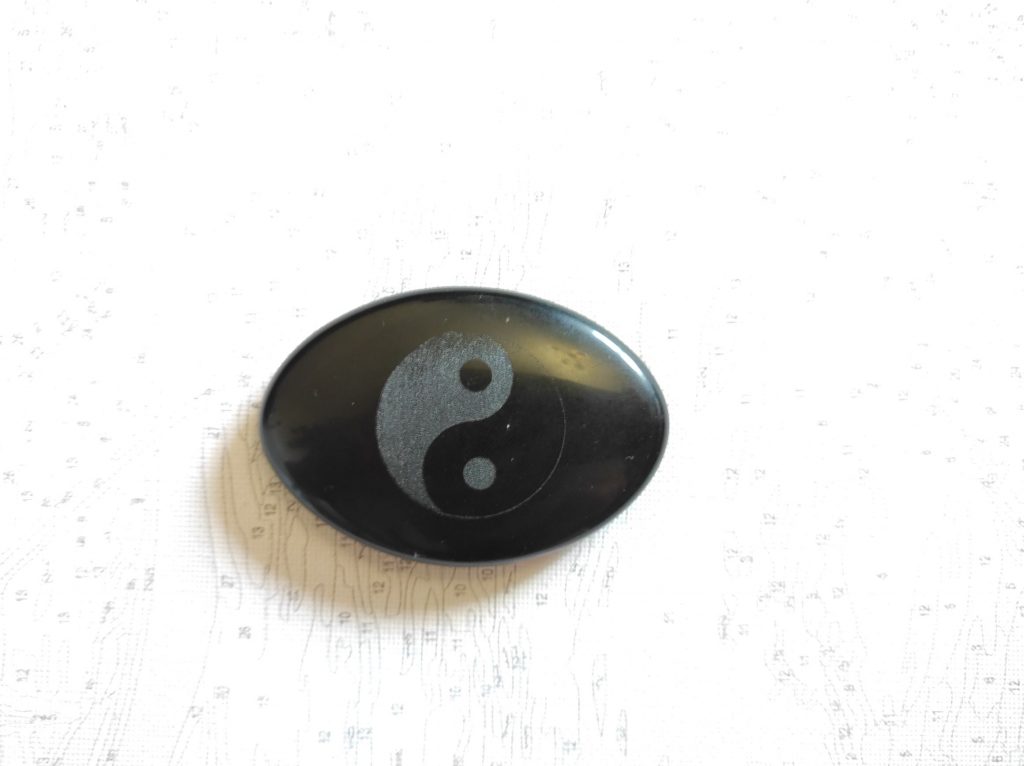
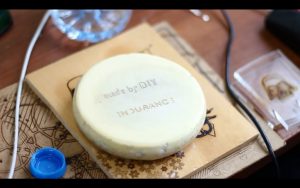
These white marble samples come in a box of 8 on eBay / Amazon. The front side is polished and there are saw marks on the back.
Pay attention to practice, if you have a belt sander and an orbital sander, then you can easily polish the backside too.
So, we will be engraved with a 10W diode laser with a wavelength of 445 nm.
With a variety of laser machines such as Neje, Ortur, SainSmart, you can easily put in a powerful Endurance laser and start engraving more efficiently.
For engraving, no more than 25-50% of the laser power is often used.
So, we have a finished stone surface for engraving. We have tried several types of different paint finishes.
What do we need to apply colors on marble with the laser?
We’ll be using: Cold Galvanized, Chalkboard Black, and Gold Flake.
Cold Galvanized from Rust-Oleum is sprayed beautifully and is well known for its use on glass.
It can also be easily removed from glass and stone with a ball of steel wool and water.
The engraving looked good, seemed a little shallow before rinsing off the paint.
Prepare for a new image, clean and dry, then cover it with fresh paint and engrave the subject.
Metallic gold leaf from Krylon:
I like this stonework the most. Spray on dries well quickly with heat
It transfers the heat of the laser to the stone, providing excellent engraving depth. It is easy to dust off with 320 grit sandpaper, leaving the engraved images to be seen by the naked eye, you can also feel the engraving with your finger. inlay in stone.
What do I need to do to make my image appear nicely on stone tiles?
Select images that are drawings. Select the image, which is photographs.
Some people are advised to remove the background.
Some photos with dark lines work well, such as a dead tree with a small background.
When performing images on white marble natural stone, you must make the laser work like a chisel, i.e. in pulse mode.
To do this, you need a lot of edges in your photos to get the edges in the bobcat I removed first. Then I import it to a blank screen in Lightburn. Then I adjusted the image in Lightburn.
First, I adjusted the grayscale image to get the clearest image with nice edges, but not overkill. Then I chose Sketch for this image, 254 dpi and speed 600 – 1200 mm / min.
The best results were obtained at 600 mm / min. The depth was good, as 1200 in the smaller image did show through even after cleaning, but it was faded because it was not deeply engraved into the surface of the stone.
The engraving laser is an A30130 NEJE with a 10W Endurance laser Invincible and focusing through a USB microscope.
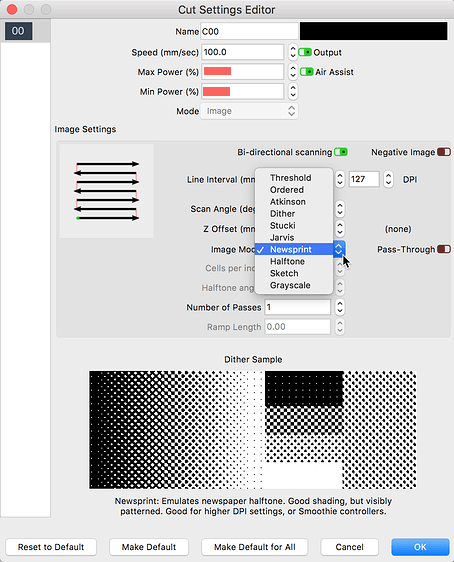
The sketch mode leaves images similar to trace with lots of lines and open areas.
This makes the laster work on and off like a power chisel hitting all the dark areas hard.
Examples of marble laser engraving
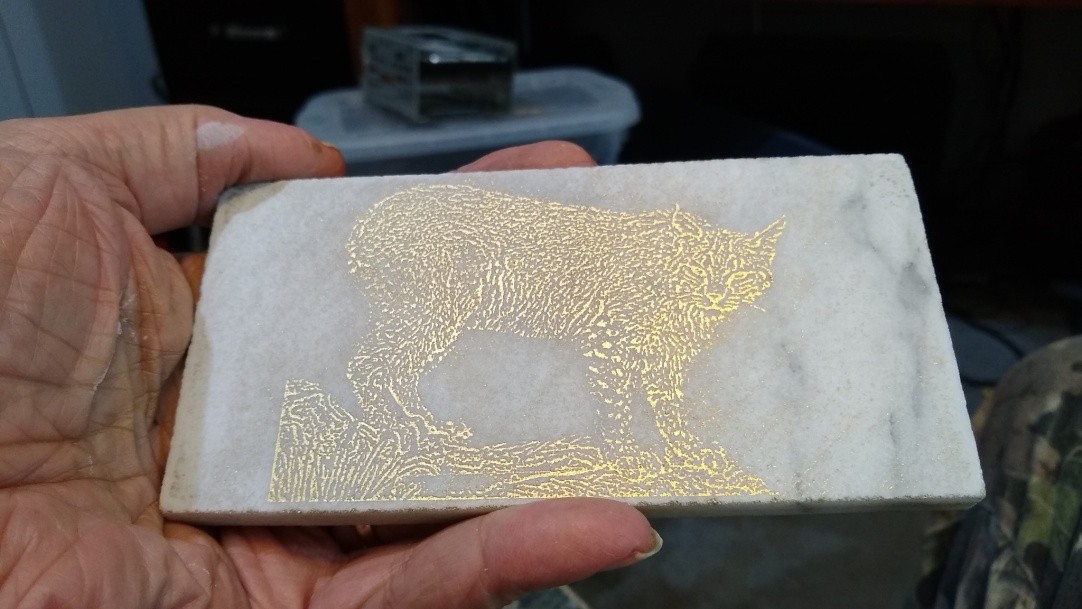
254 dpi 100% power 600 mm/min background removed sketch mode used for dither Lightburn.
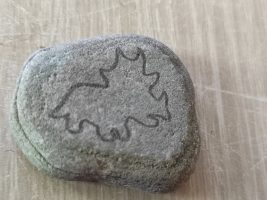
Bobcat used gold flake paint for laser engraving. Cleaned to inspect engraving then repaint gold flake and cleaned
By had light sanding with 320 grit.
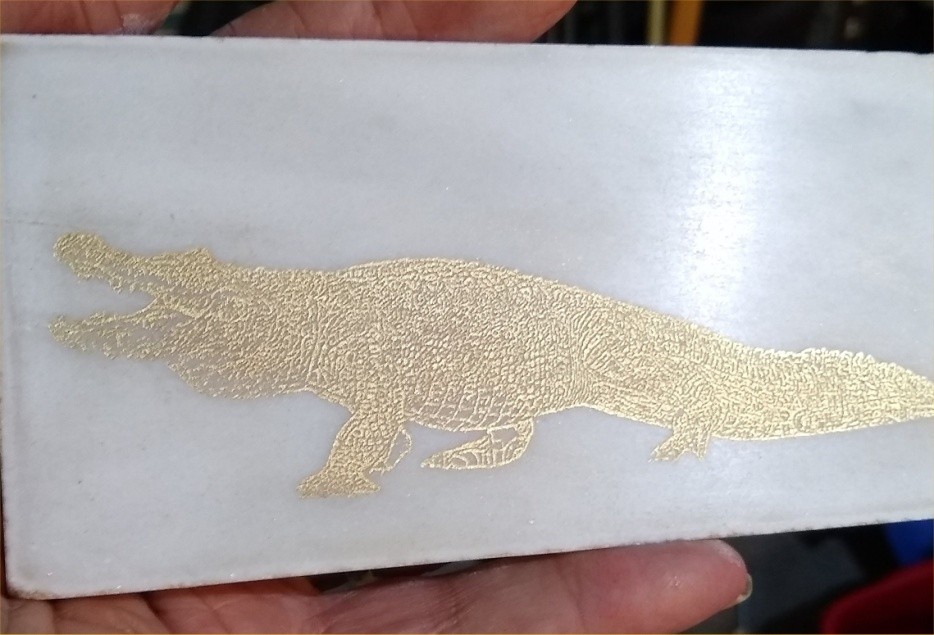
Same settings as above except background was not removed but was faded out using contrast in Lightburn.
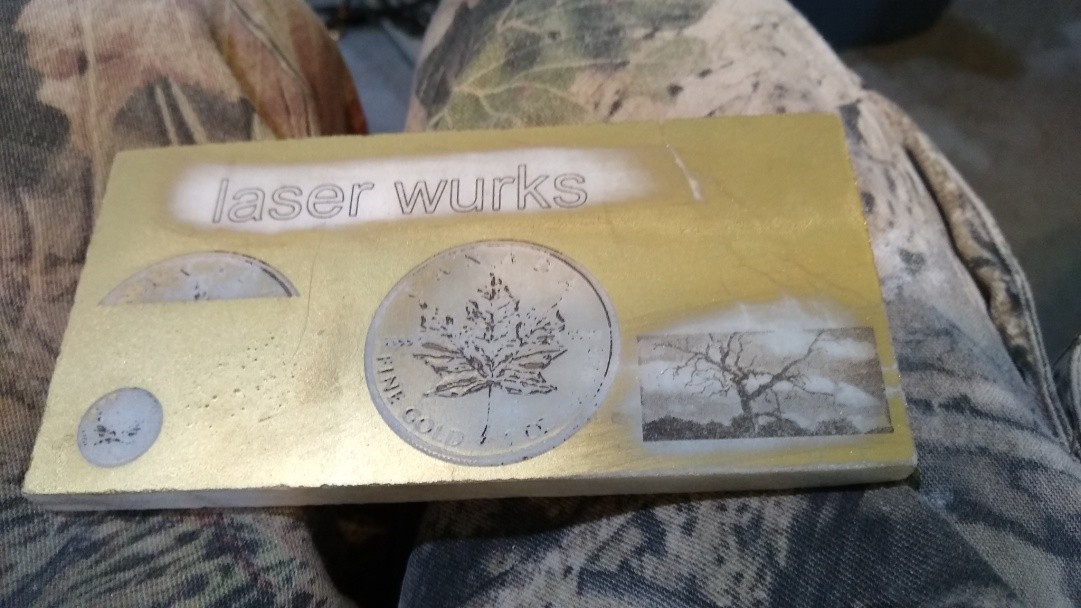
This is a practice block it is needed before doing your final images. The dead tree image
In Lightburn was 254dpi grayscale same 10 watt (10000 mw) laser beam at 100% max and 0 min power settings.
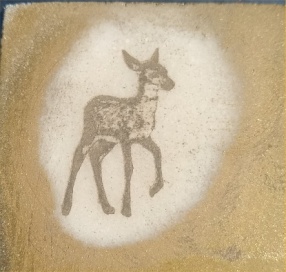
This is a key deer from Florida keys on white tile also used 254 dpi and trace in Lightburn.
Just remember practice make to gain perfection in your laser engravings.
I hope you all enjoyed this review of how to do white Marble Stone engraving.
Color Patterning of a Granite Block by the Norton Method Using a Diode Laser (Endurance 10 Watt Plus Pro with G2 lens). 

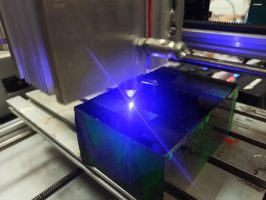
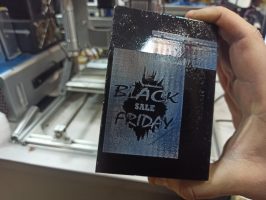
Today we will talk about one of the ways to create a color image on a granite surface using a diode laser. Since Black Friday is coming, we choose an image on this topic.
Some time ago we used that method to create images on ceramic tiles (https://endurancelasers.com/how-to-make-a-color-image-on-white-tile-with-the-laser/) and glass (https: / /endurancelasers.com/paint-application-and-laser-removal-to-obtain-a-beautiful-image-norton-method/).
For this project we need: a granite block with a smooth and even surface, spray paint of different colors (in our case, red, white, blue and black) and the laser itself. Please note that only a diode laser with a minimum power of 3W is suitable for this project.
So, let’s get to work.
Preparation of the material (Norton method color engraving)
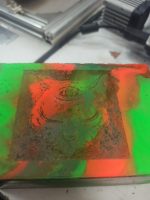
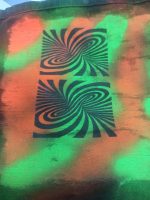
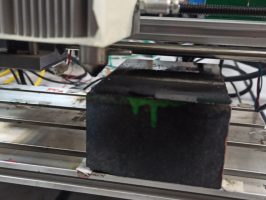
First of all, we degrease the surface of the granite workpiece with any degreaser (alcohol or acetone is suitable). Next, we paint the granite surface white, blue and red, spraying the paint randomly in thin and even layers. After the paint has dried (about 10-15 minutes), we cover the entire surface of the granite with black paint, applying it in a thin and even layer too. After the paint has completely dried, we place the granite workpiece onto the laser worktable.


Image preparation and laser adjustment
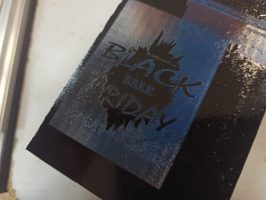
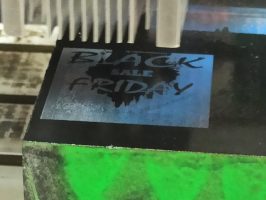
If you remember we wanted to engrave a Black Friday image. Here is the logo we have chosen to use for a granite surface engraving.
\ 
We open the image in LightBurn and set the following processing parameters: processing speed 1100 mm / min, power 20%, number of passes 1, spacing 0.1 mm, laser focus 2 mm above the granite surface. After finishing setting the parameters, we start engraving.

Color engraving a final result
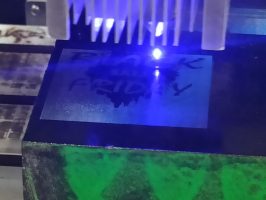
The engraving time for a 50mm * 68mm image is about 40 minutes. While processing, the laser removes the black layer of the paint coat, revealing the color layer, in the areas corresponding to the black color of the original image. You see the result of the laser processing in the pictures below.
More you need to know about natural stone laser engraving
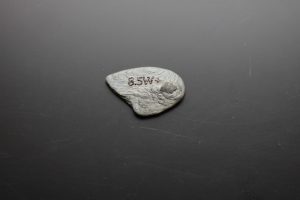
Many people wonder if it is possible to use engraving on natural stones. Some years ago it was impossible, but today, in the century of technologies, much is possible. For example, after Endurance’s production of the laser power of 8.5 Watt PLUS , peoples’ dreams become true.
What is laser engraving?
Laser engraving of stone is a type of stone processing with the help of a focused laser beam, through which an image is formed on the stone (drawing, text, pattern, portrait).
Endurance made a few tests and found out that it is possible to engrave on a natural stone surface with a single pass at an average speed of 100-250 mm / min.
The use of laser equipment in laser engraving of stone has its own subtleties, as the quality of engraving depends on the rock (density, uniformity, etc.).
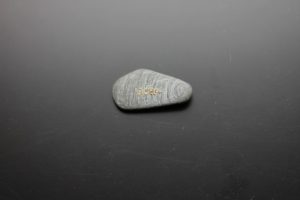
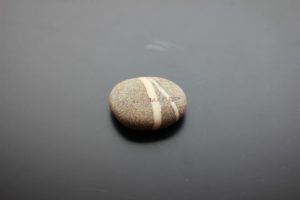
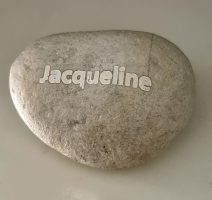
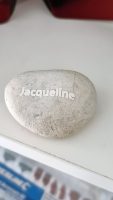
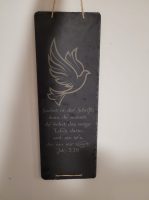
the most suitable types of stone for engraving are granite, marble, slate, basalt, marble, salt crystals, pebble, stone slab, natural stone, ceramics, porcelain.
Laser engraving stone is particularly suitable for dark, polished natural stone, such as granite, marble and basalt. The more uniform and fine-grained the stone, the better the results of its engraving. Another ideal material is white marble: here a laser engraver can put on a solid white stone engraving. It is impossible to cut a stone with a laser.
As for the technical characteristics of this laser, the tape of it is Nichia diode. The lens type is 3 elements long focal lens / G2 short focal lens. And the operation time, how it was tested, is 48-72 hours continuous.
In terms of performance, the engraving is done very quickly, approximately 1 m2 takes 40-50 minutes approximately (marble). Preparation of a raster file on the engraving takes about 10-15 minutes, depending on the source and its quality.

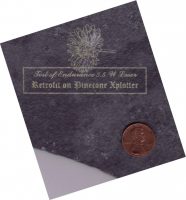
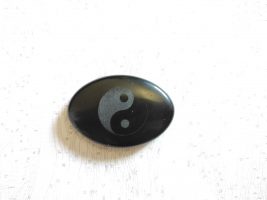
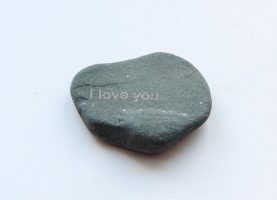
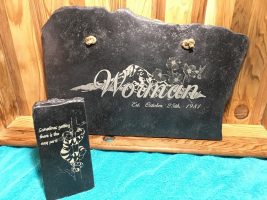
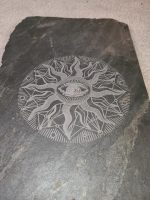
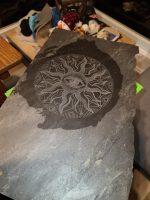
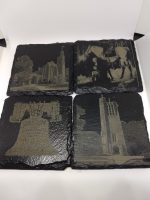
10 watt Endurance laser on slate
More photo examples>>>
For laser engraving stone used laser machines. Most often, laser engraving of stone is carried out using gas CO2 lasers (using carbon dioxide lasers). When the focused laser beam comes into contact with the surface of the stone, depending on the selected radiation power, a microscope or fusion of the stone is formed on the surface.
To achieve a more intense contrast during laser engraving, you can fill the engraving with synthetic resin or lacquer. Especially in the case of polished stones, lacquer or resin is particularly well attached to the engraved (and, accordingly, rough) surface.
Because the surface of the stones is uneven, they are best suited for high-resolution bitmaps (250-333 dpi). Reproduction of very small and detailed images can be difficult under certain circumstances, but this is highly dependent on the stone.
Also, this laser has some improvements:
1) Schematics became more efficient and reliable.
2) More efficient cooling system (fans replaced on 7200 RPM) and better heatsink is used.
3) More smart mounts.
4) Increased voltage and a current to the laser diode: 7.2V & 5 – 5.5A.
It has more than 15 accessories, such as goggles, G2 lens, laser connectors, laser mounts and laser actuator.
Surely, if there will be some problems, the company of the laser offers special keys how to fix the problem by themselves. This suggests that nothing terrible and hazardous can happen.
All in all, using this laser makes it possible to engrave and cut on your 3D printer and CNC machine. Withal customers will get full customer support and after-sales service.
Laser stone engraving is one of the most popular methods of stone engraving in the world. Currently, laser engraving of stone is widely used in the sphere of ritual services, mainly in the manufacture of tombstones. Laser engraving of stone is carried out on such types of stone as gabbro, basalt, marble, dolerite, and other types of stones. And Endurance 8 Watt+ laser can help you in this endeavor.
You may also do an impressive stone / rock / granite engraving using an Endurance DIY galvo machine
