Hello everyone! Today I will describe the process I use to make laser engraved slate coasters. This is a fun and easy project. Desktop lasers are so versatile in the many different ways that people use them. For this project, I used the Ortur Laser Maser 2 (non-pro) with the new LU2-4 12v (20w Fixed Focus) laser module. The medium is 4” x 4” ( 10.16 cm x 10.16) slate coaster.
First, I chose an image. I chose an image that I purchased from Vectorstock (https://www.vectorstock.com/royalty-free-vectors/viking-vectors).

Next, I upload the image into Lightburn.

If you burn this image the way it is, it will burn everything. Including the white background. We need to remove the white background and make this a vector image. Do not change the size of the image yet. We want a vector image of the original.

To do this you want to select the image.

Go to “Tools” and “Trace Image”

You can also right-click on the image and select “Trace Image”

When you select “Trace Image” the Trace Image window will open

Using the mouse wheel, zoom in to see the details being traced.

Using the Threshold slider, move it back and forth to get the best and most details that you can. Then Click “OK”.

Once you click OK, it will look exactly the same except that the “Cuts/Layers” box will have added a “drawing” above the Image line.
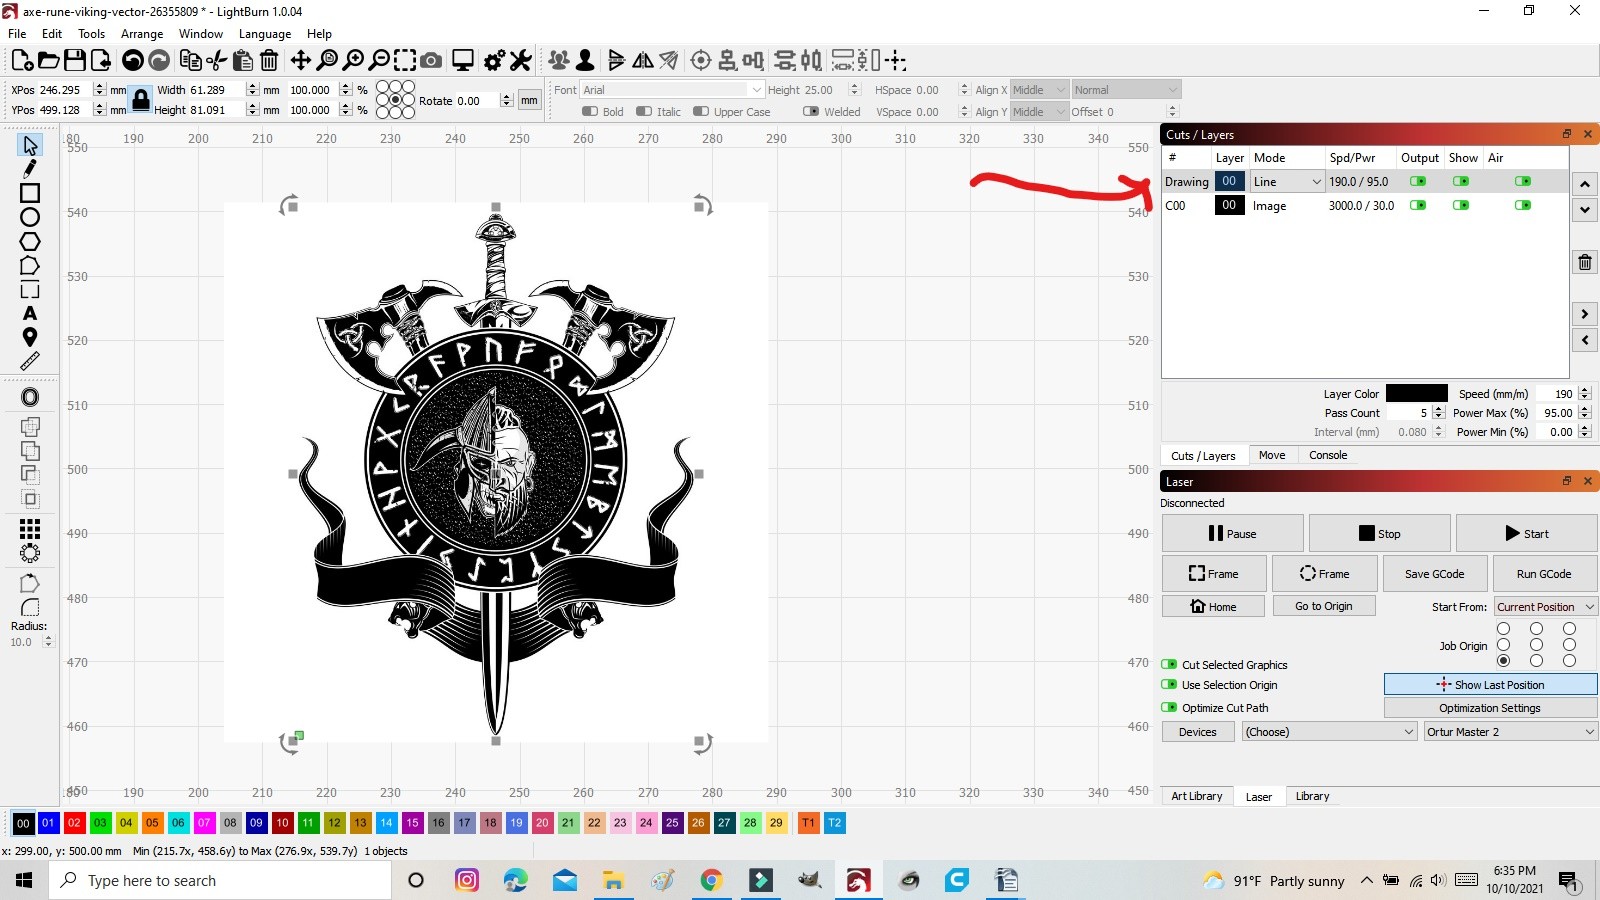
Now, you can select and drag the image an see the traced vector image.

Delete the original image so that you are only working with the traced image.

From here you can choose how you want to bur the image. Line or Offset Fill are the ones I use. For this, I will be using Line

Right is Line, Left is Offset Fill
Since we traced this to be a vector image, it can be sized to whatever you choose without being distorted, unless you go to small.
 Right is 400mm, Left is 100mm

Next, you need to change your power settings.
Double click in the “Drawing” layer
For this coaster, I will be using the following settings.
Speed: 1500 mm / sec
Max Power 50%
Mode: Line
Number of Passes: 1
Click “OK”

As far as the slate tiles, I usually order them in bulk from Amazon or I check the local big box stores/hobby stores.
The only prep that I do for the tiles is to wipe the tops with rubbing alcohol to remove and dust and or fingerprints. In my opinion, there is no need to coat them. I find that I get better results without coating them first.
I made a small jig to place the tiles in so that I can assure that they are aligned each time.
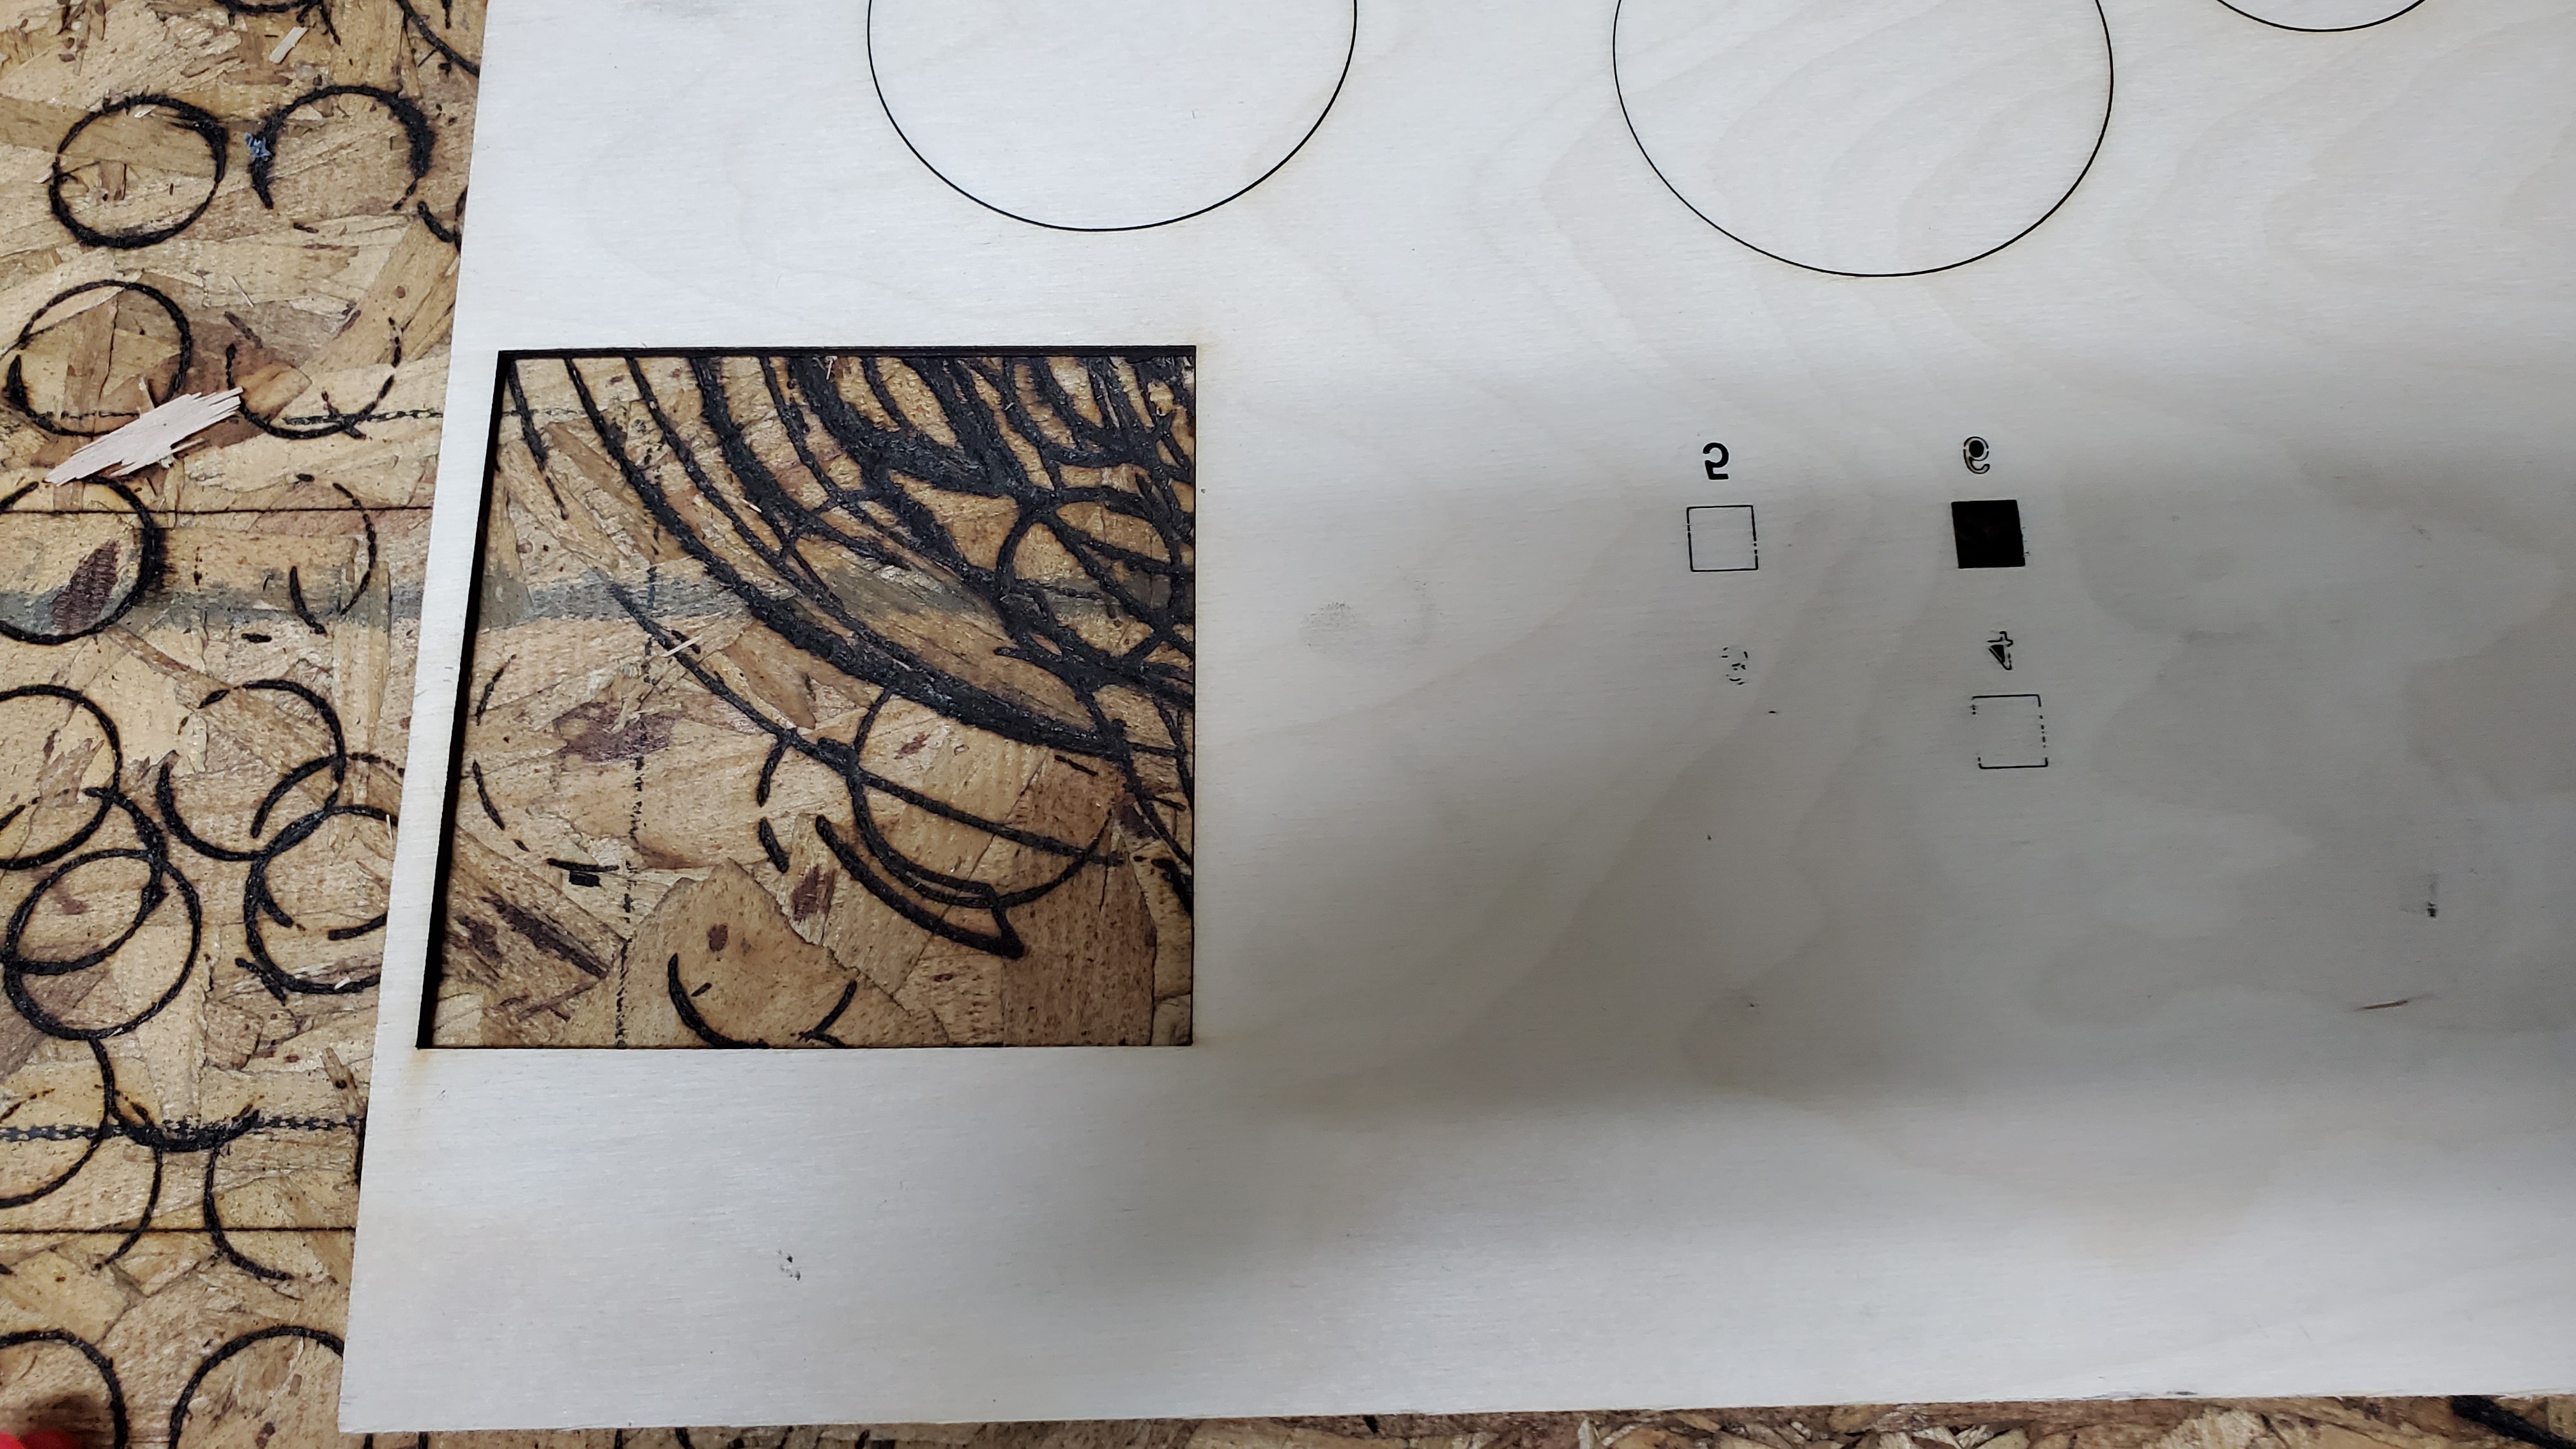
Aligned tile in jig
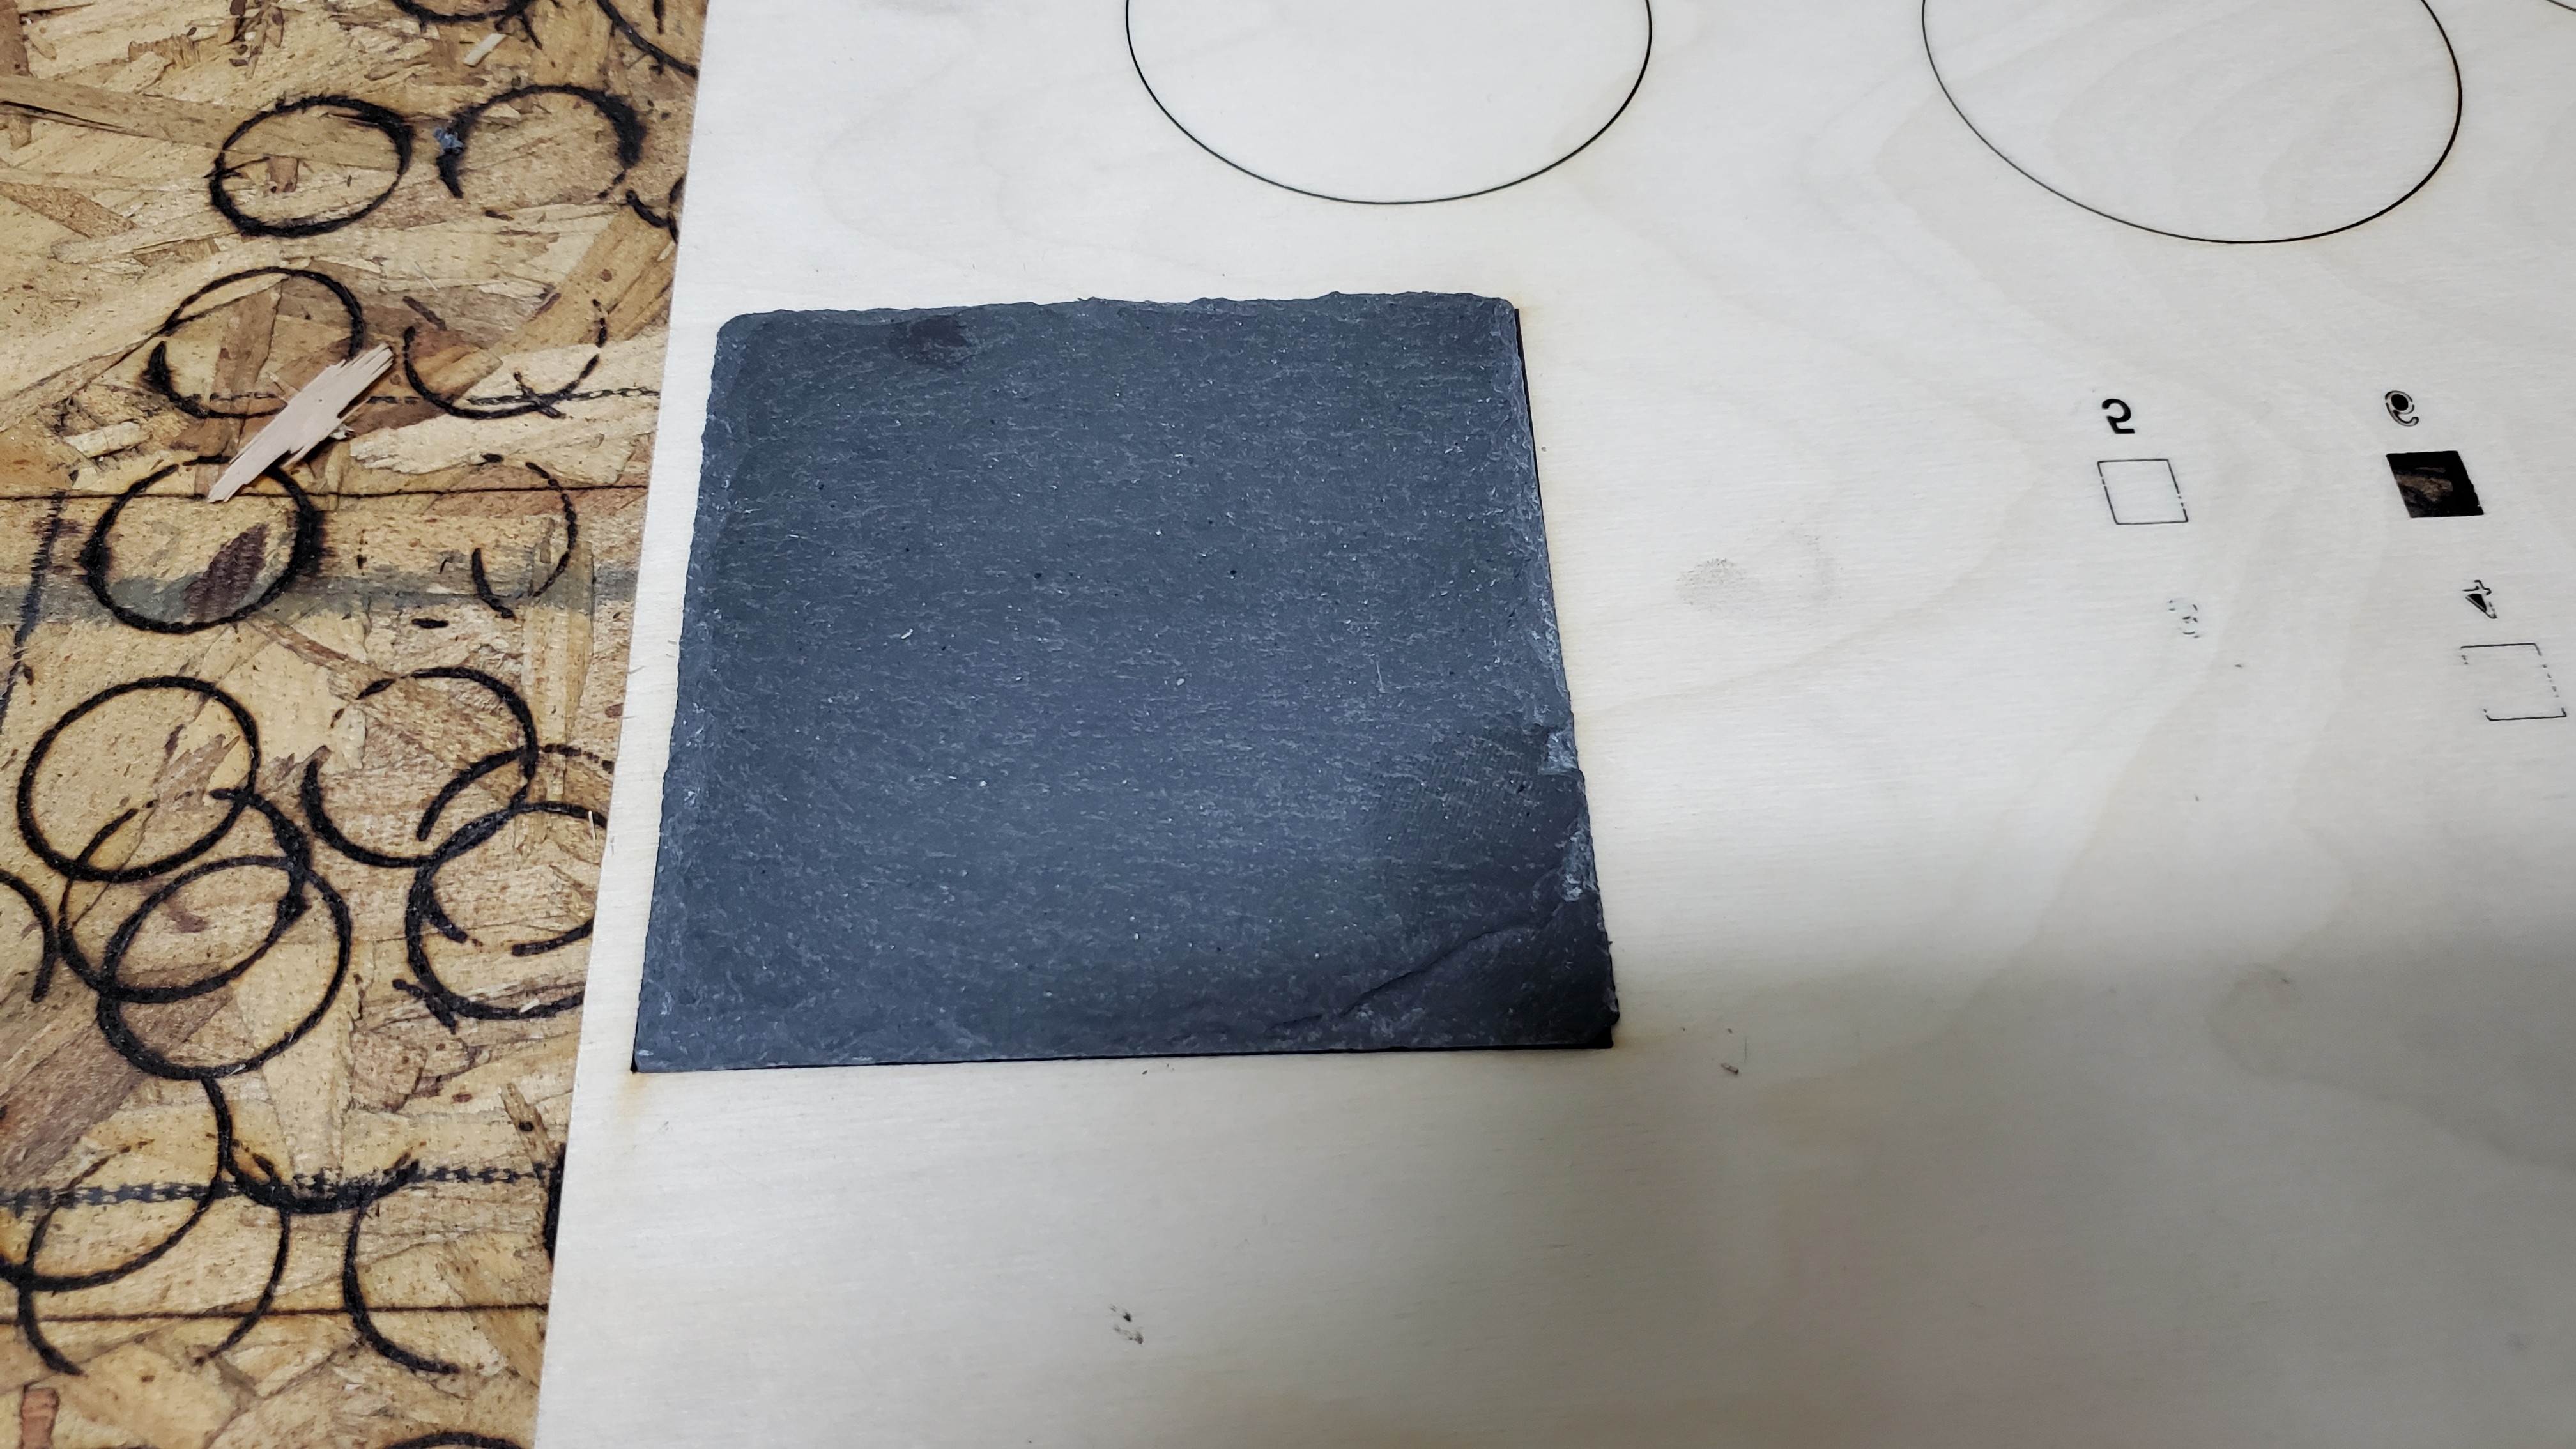
Once the tiles are aligned in the jig on the cut bed, I center the image in the burn area in LightBurn and resize the image to fit.

Using the “Preview” feature in Lightburn shows an approximate time the burn will take. This coaster will take about 3 minutes and 41 seconds.

When the burn is complete, wipe off any residual dust.
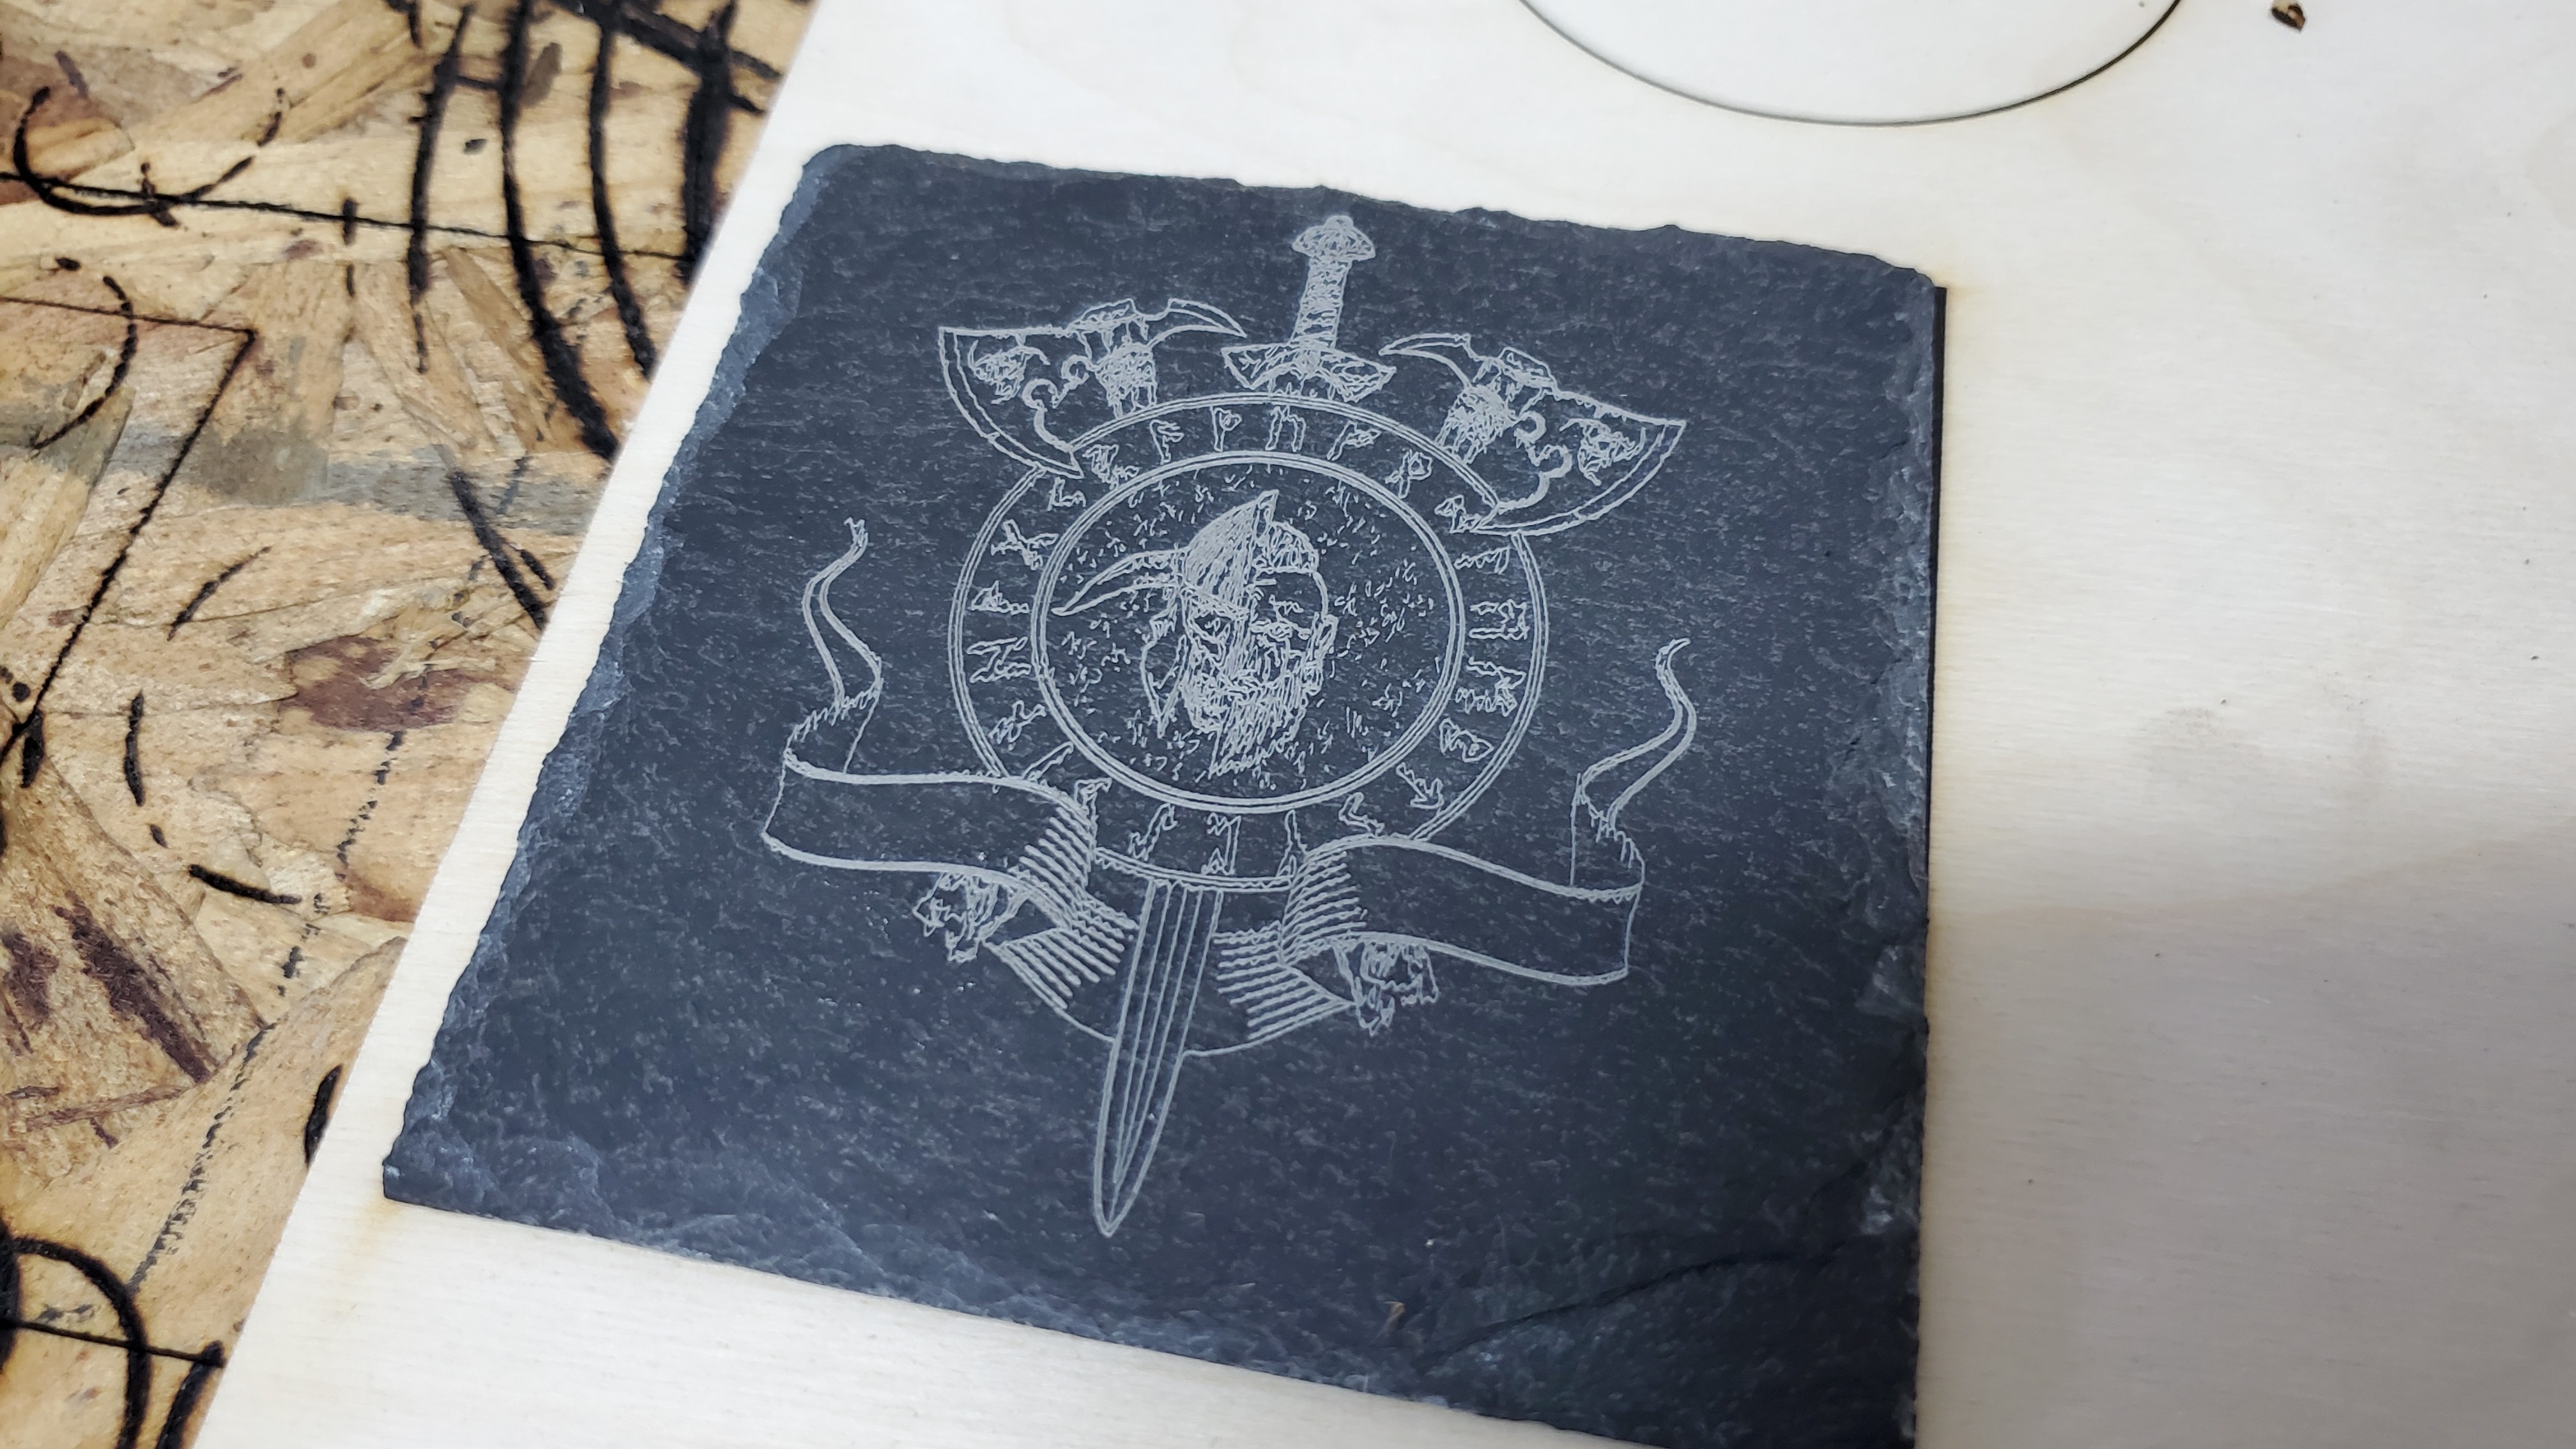
I coat the slate with one coat of clear matte spray paint and let it dry completely.
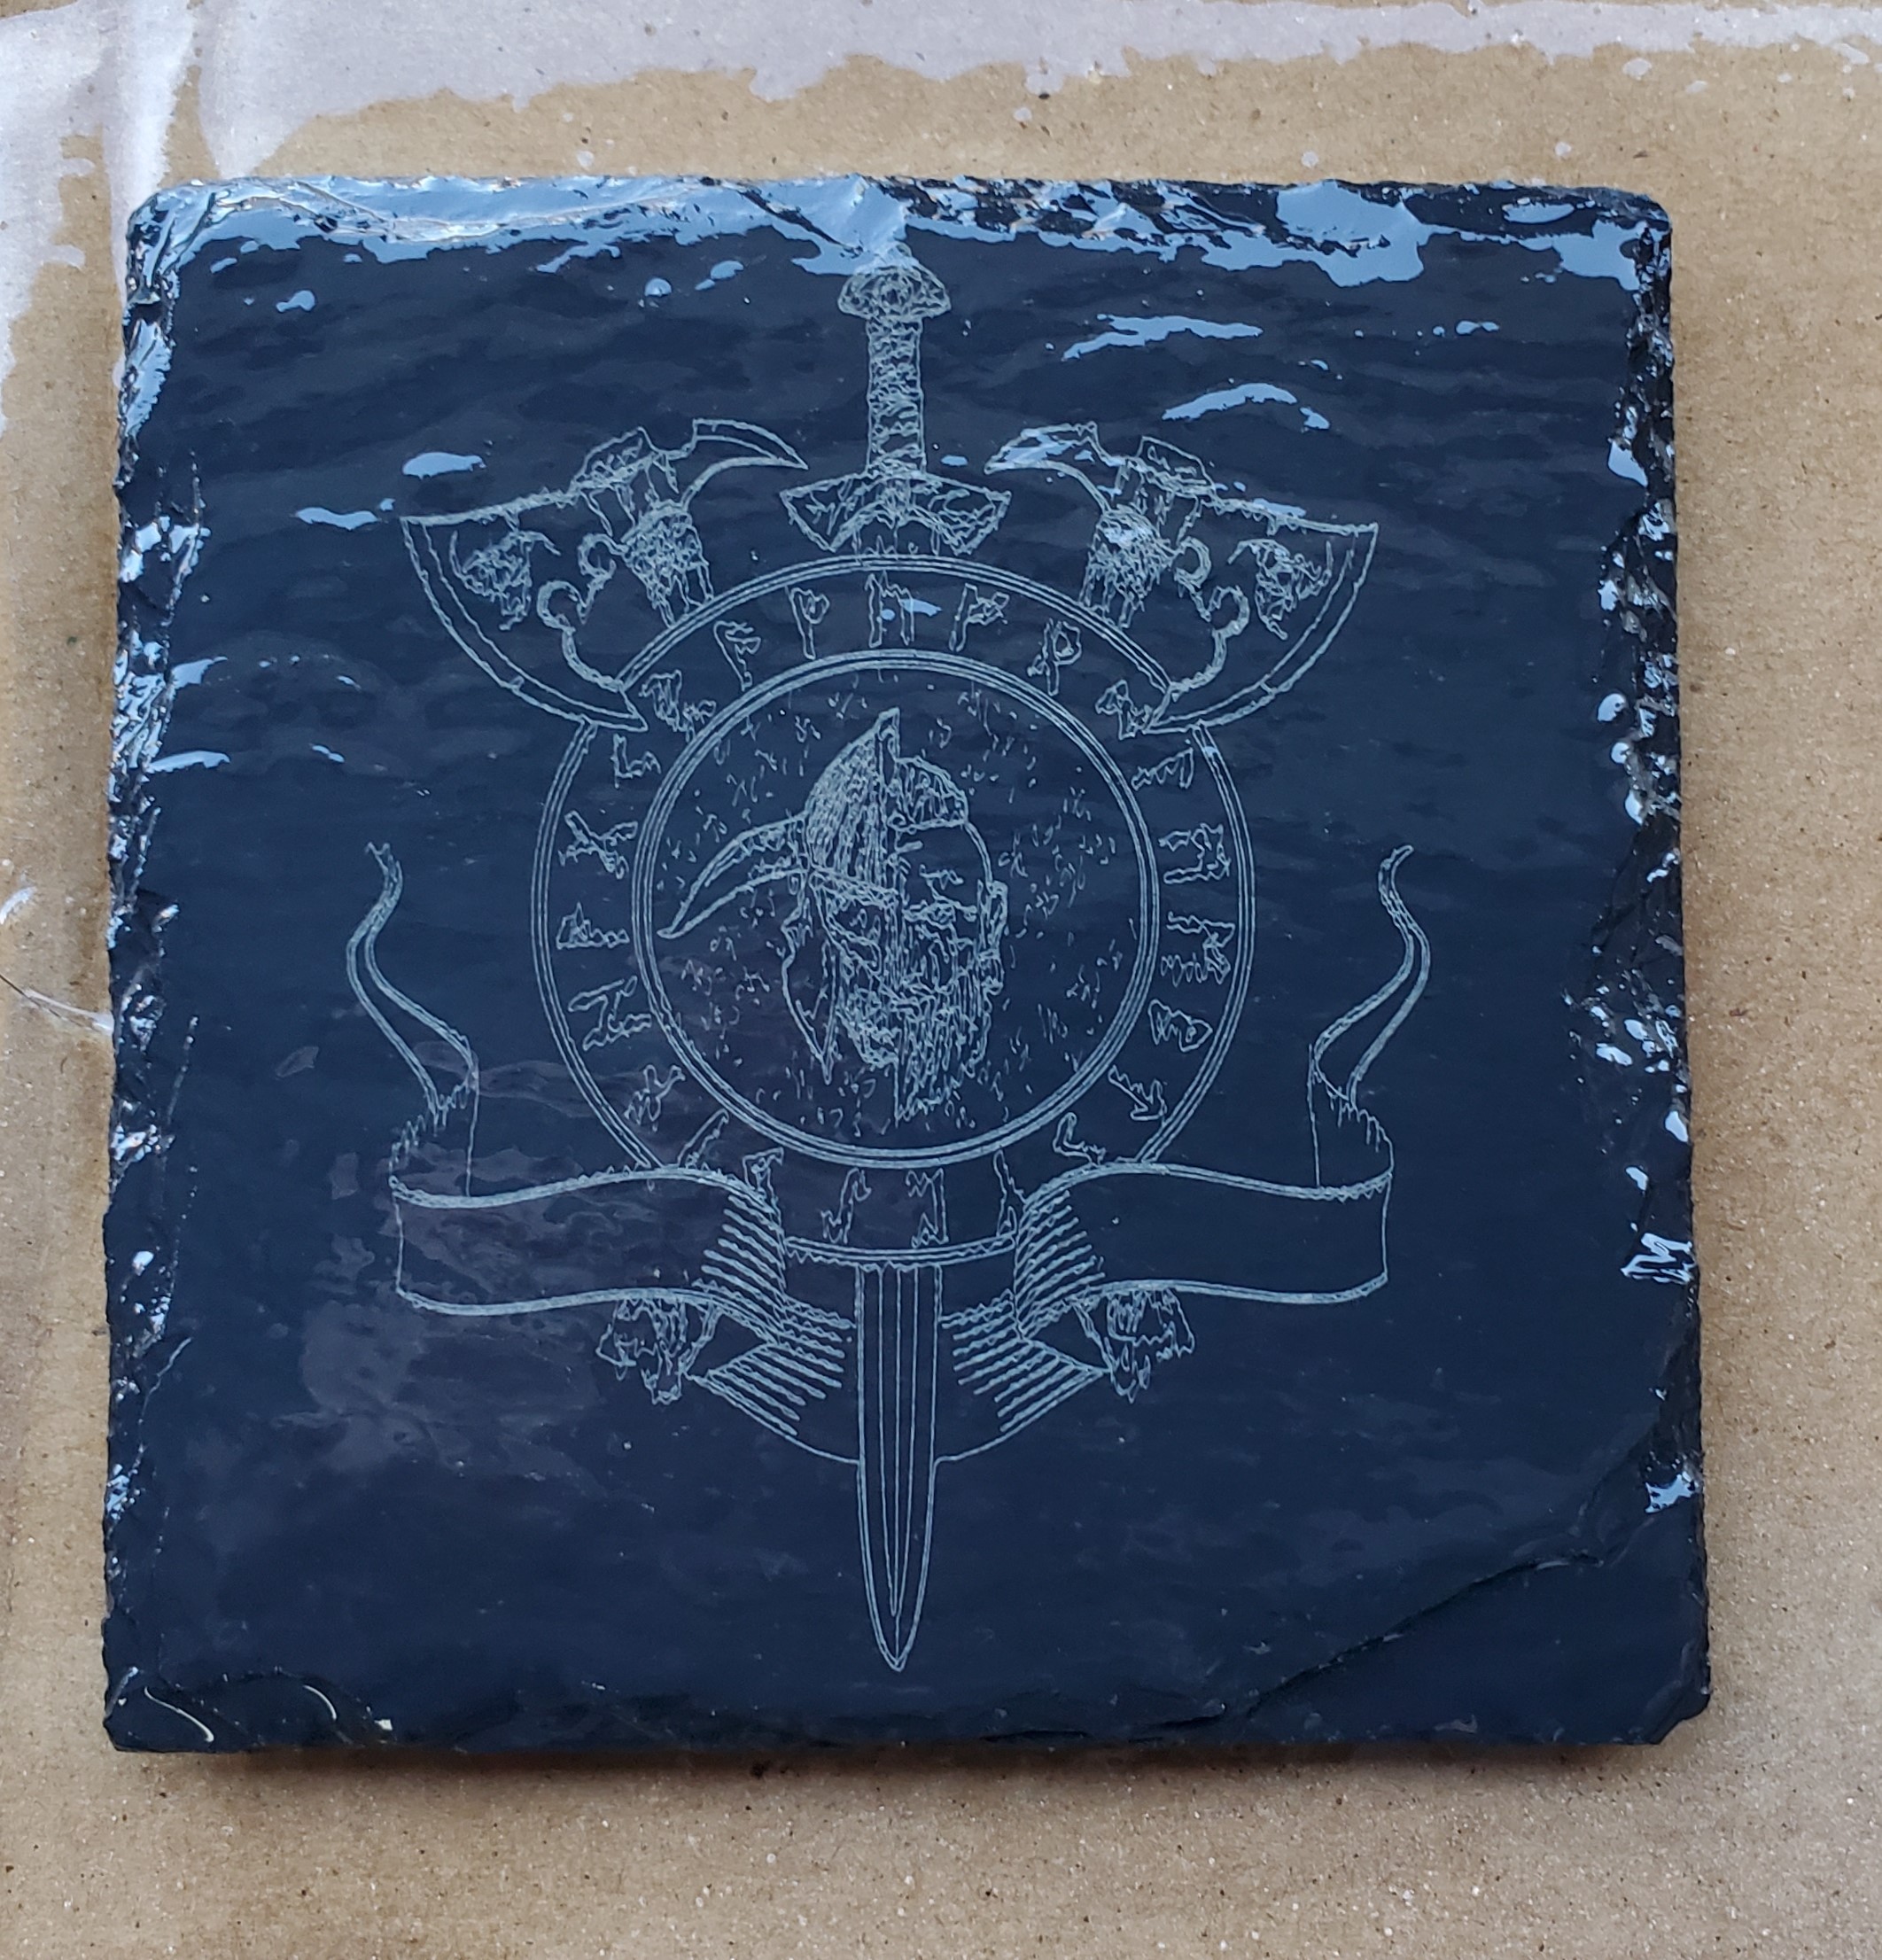
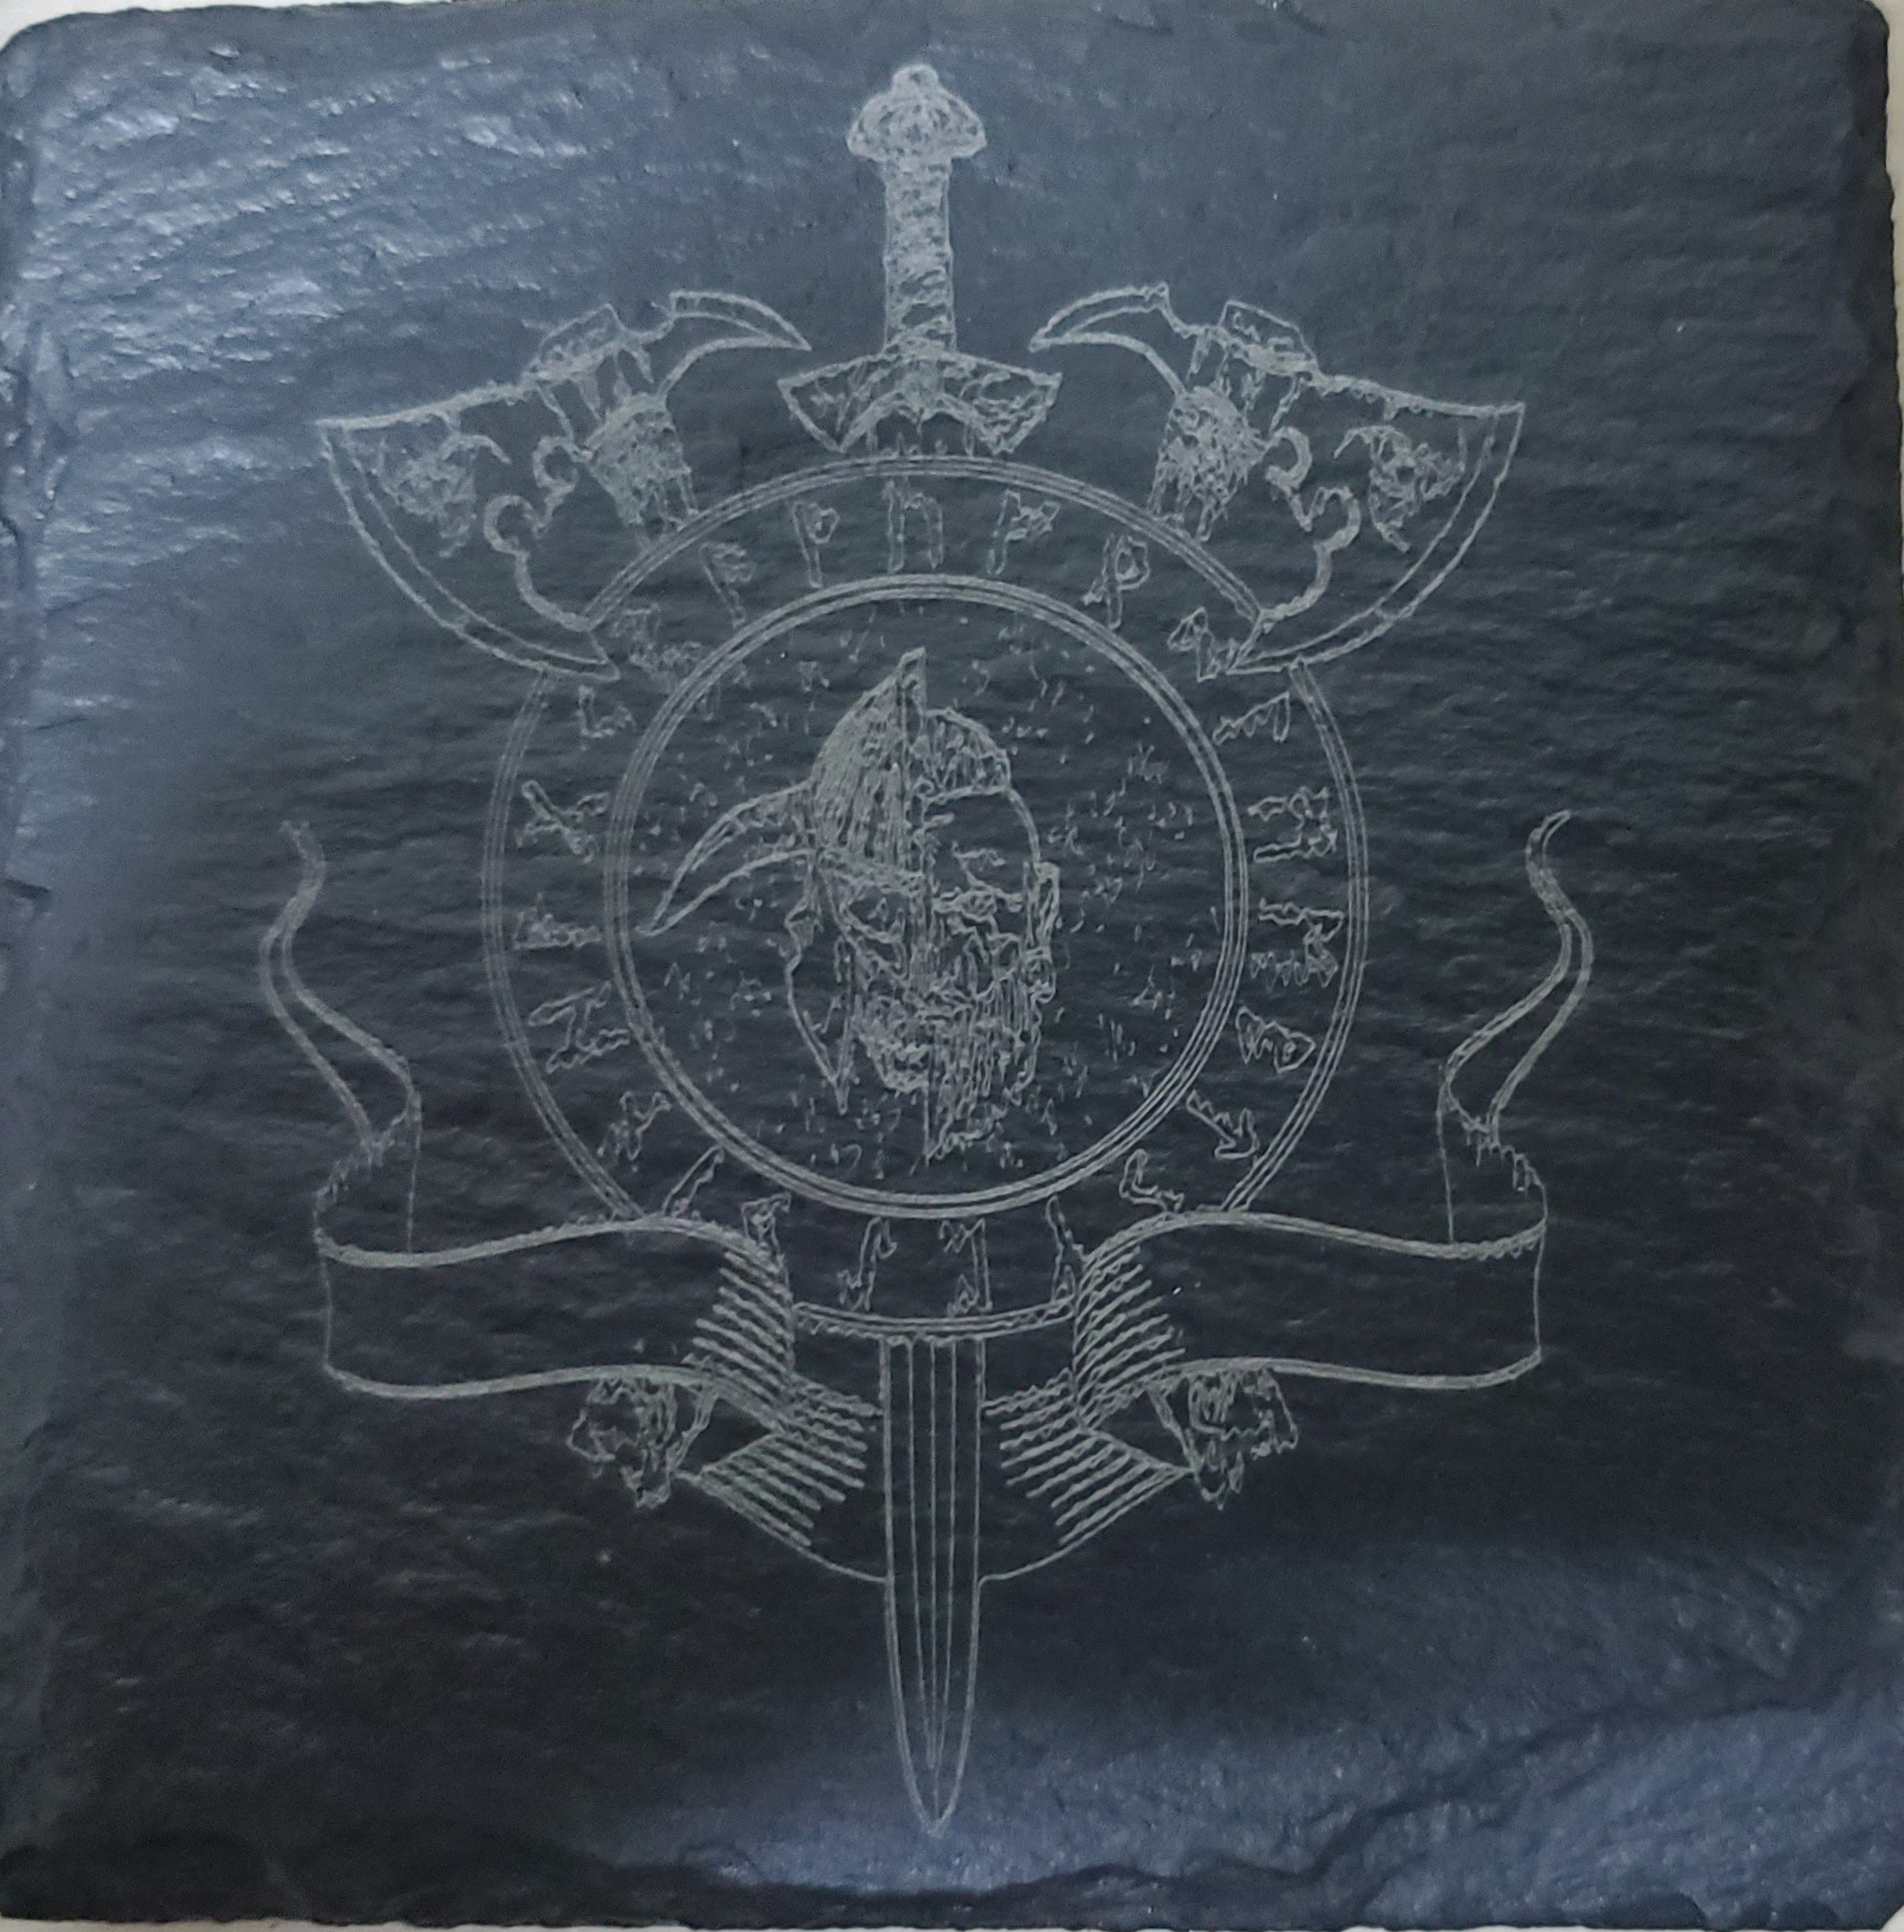
This is a quick and easy process to do. I hope that you enjoyed this as much as I did.
If you want to see what else can be done with a desktop laser, please feel free to visit my YouTube Channel.
Written By Chris Marino
Laser engraving / etching / marking on natural stone (rock, granite)