
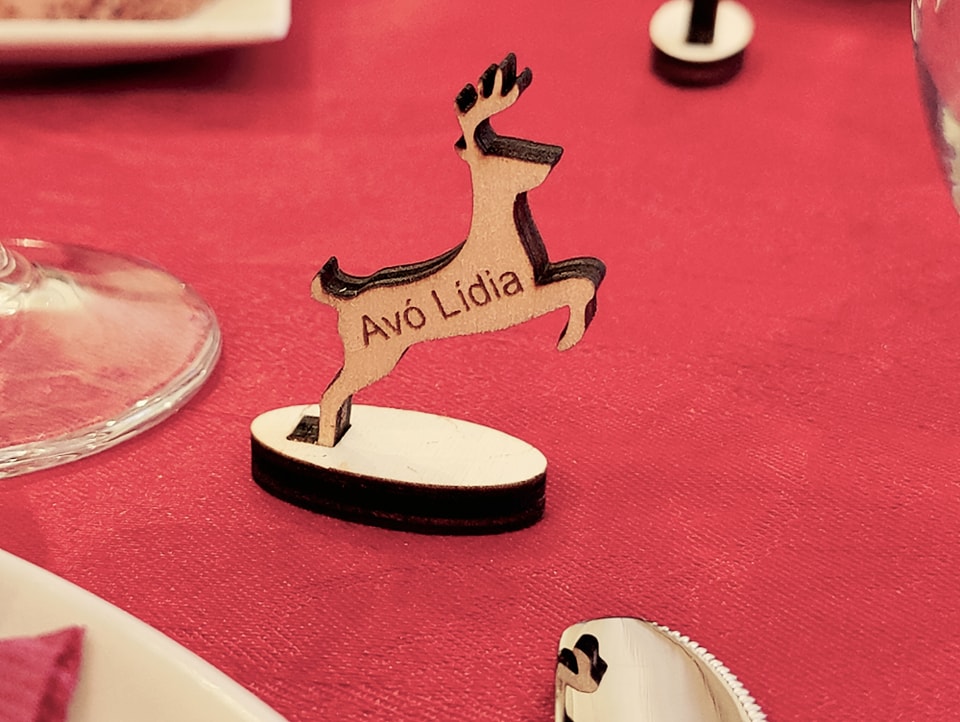
A New Year 2022 and a Christmas plywood home decor
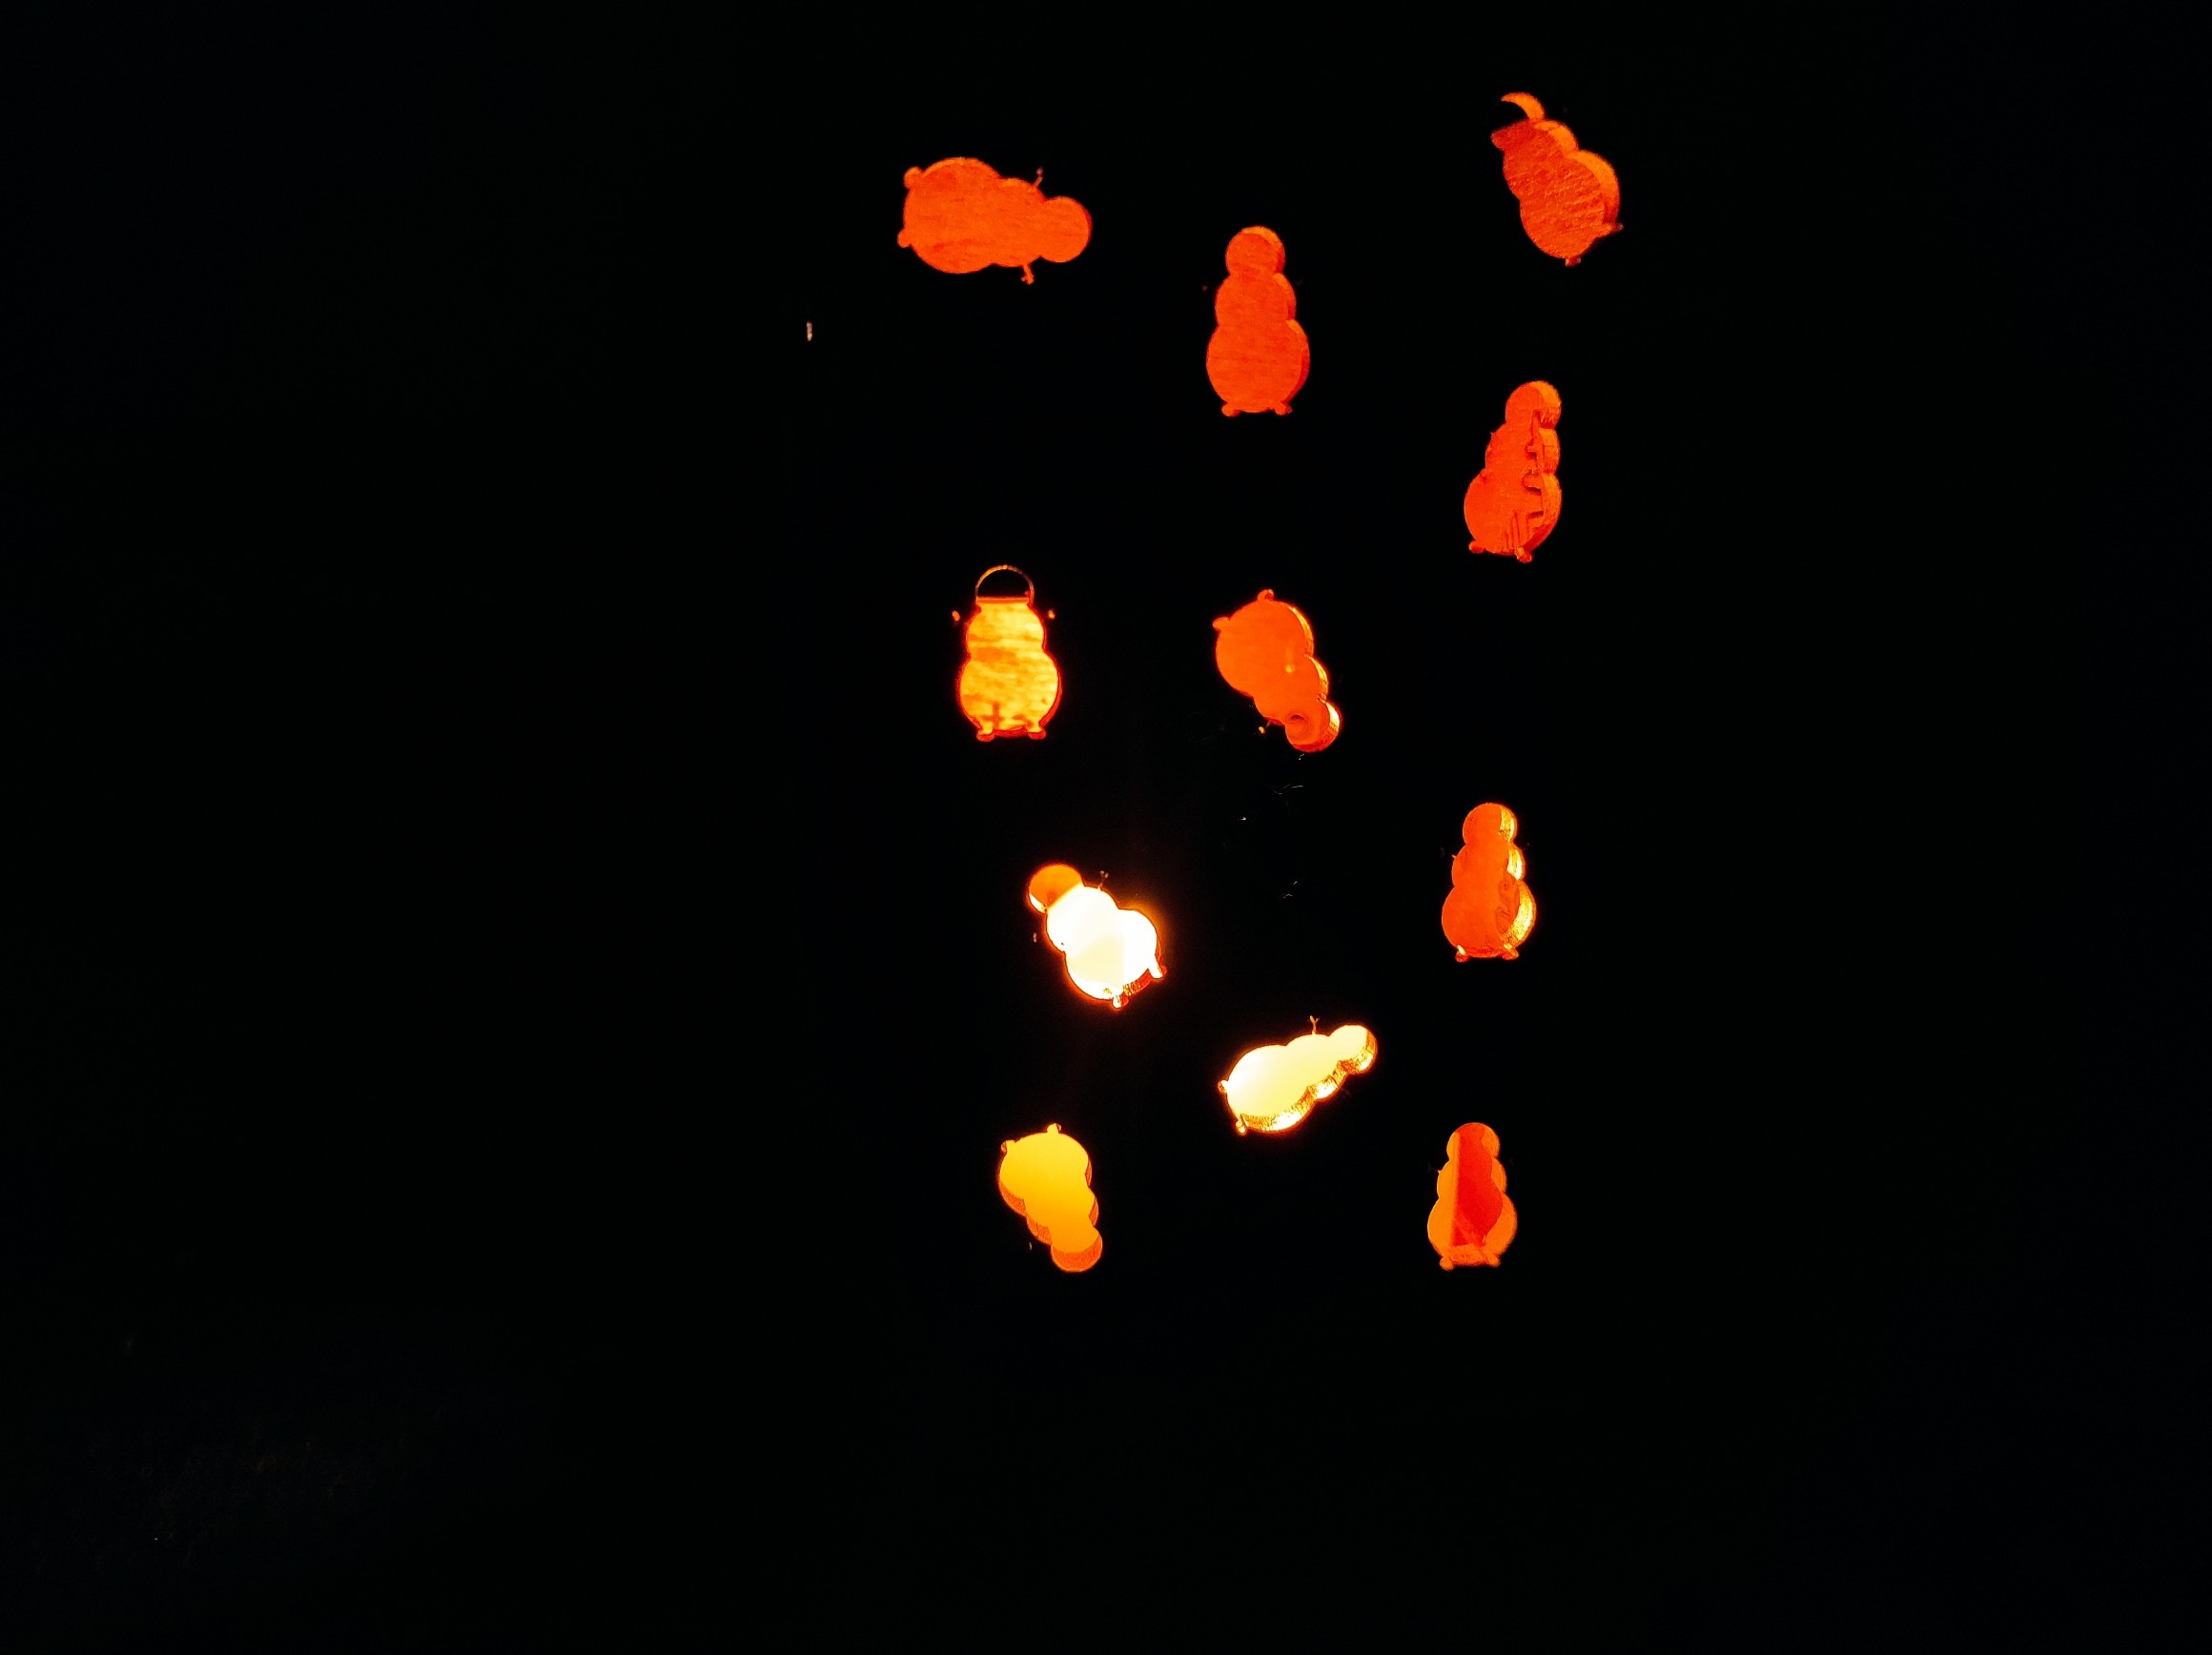
A DIY plywood garland for your Christmas tree
Today, we are going to make fairy lights out of plywood and LED strips to decorate the home interior for the New Year!

First of all, we prepare templates of the parts for our would-be garland in CorelDraw!

Then we cut out the parts using an Endurance 10w PRO PLUS.
We need 10 cubes with cutouts, 1 star and a block with a text. Your design depends on your preferences.
Cutting parameters:
- Speed 100mm/min
- Power 100%.
Don’t forget about an air assist, safety goggles and an air extract system or airing when laser cutting!

After cutting out all the parts, we glue the LED strips to the inner surface of the solid cube sides (the ones without cutouts). There are special grooves for wires in the sidepieces of the garland cubes. 
The next step is to solder together all the strip pieces. Be sure to mind the poles (+ -), when doing it!

After chaining all the electric components, we paste white sticky tape to the inner surfaces of all the parts with cutouts. We do it to diffuse the light and make it softer.
We remove the tape excess with a scalpel. We assemble the star in the same way.

Now, when all the parts are joined together we can hook up the garland.
That’s it!
Here we are!
A perfect result to brighten the New Year atmosphere and spirits!

On the thresholds of Christmas and New Year, one would like to decorate ones’ house in a special way by introducing a festive atmosphere.

A plywood DIY Christmas toys, beautiful snowflakes!
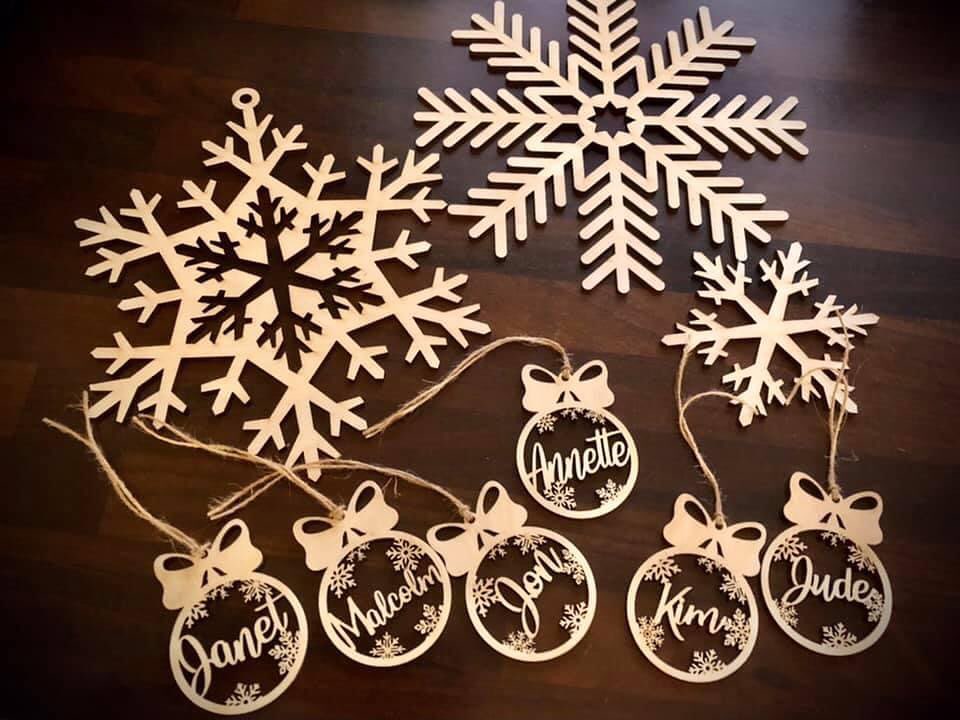
A DIY plywood home decor


On the New Year eve everybody is busy looking for decorations for their houses. If you have a diode laser, there’s no need to look for them, you can make them yourself.
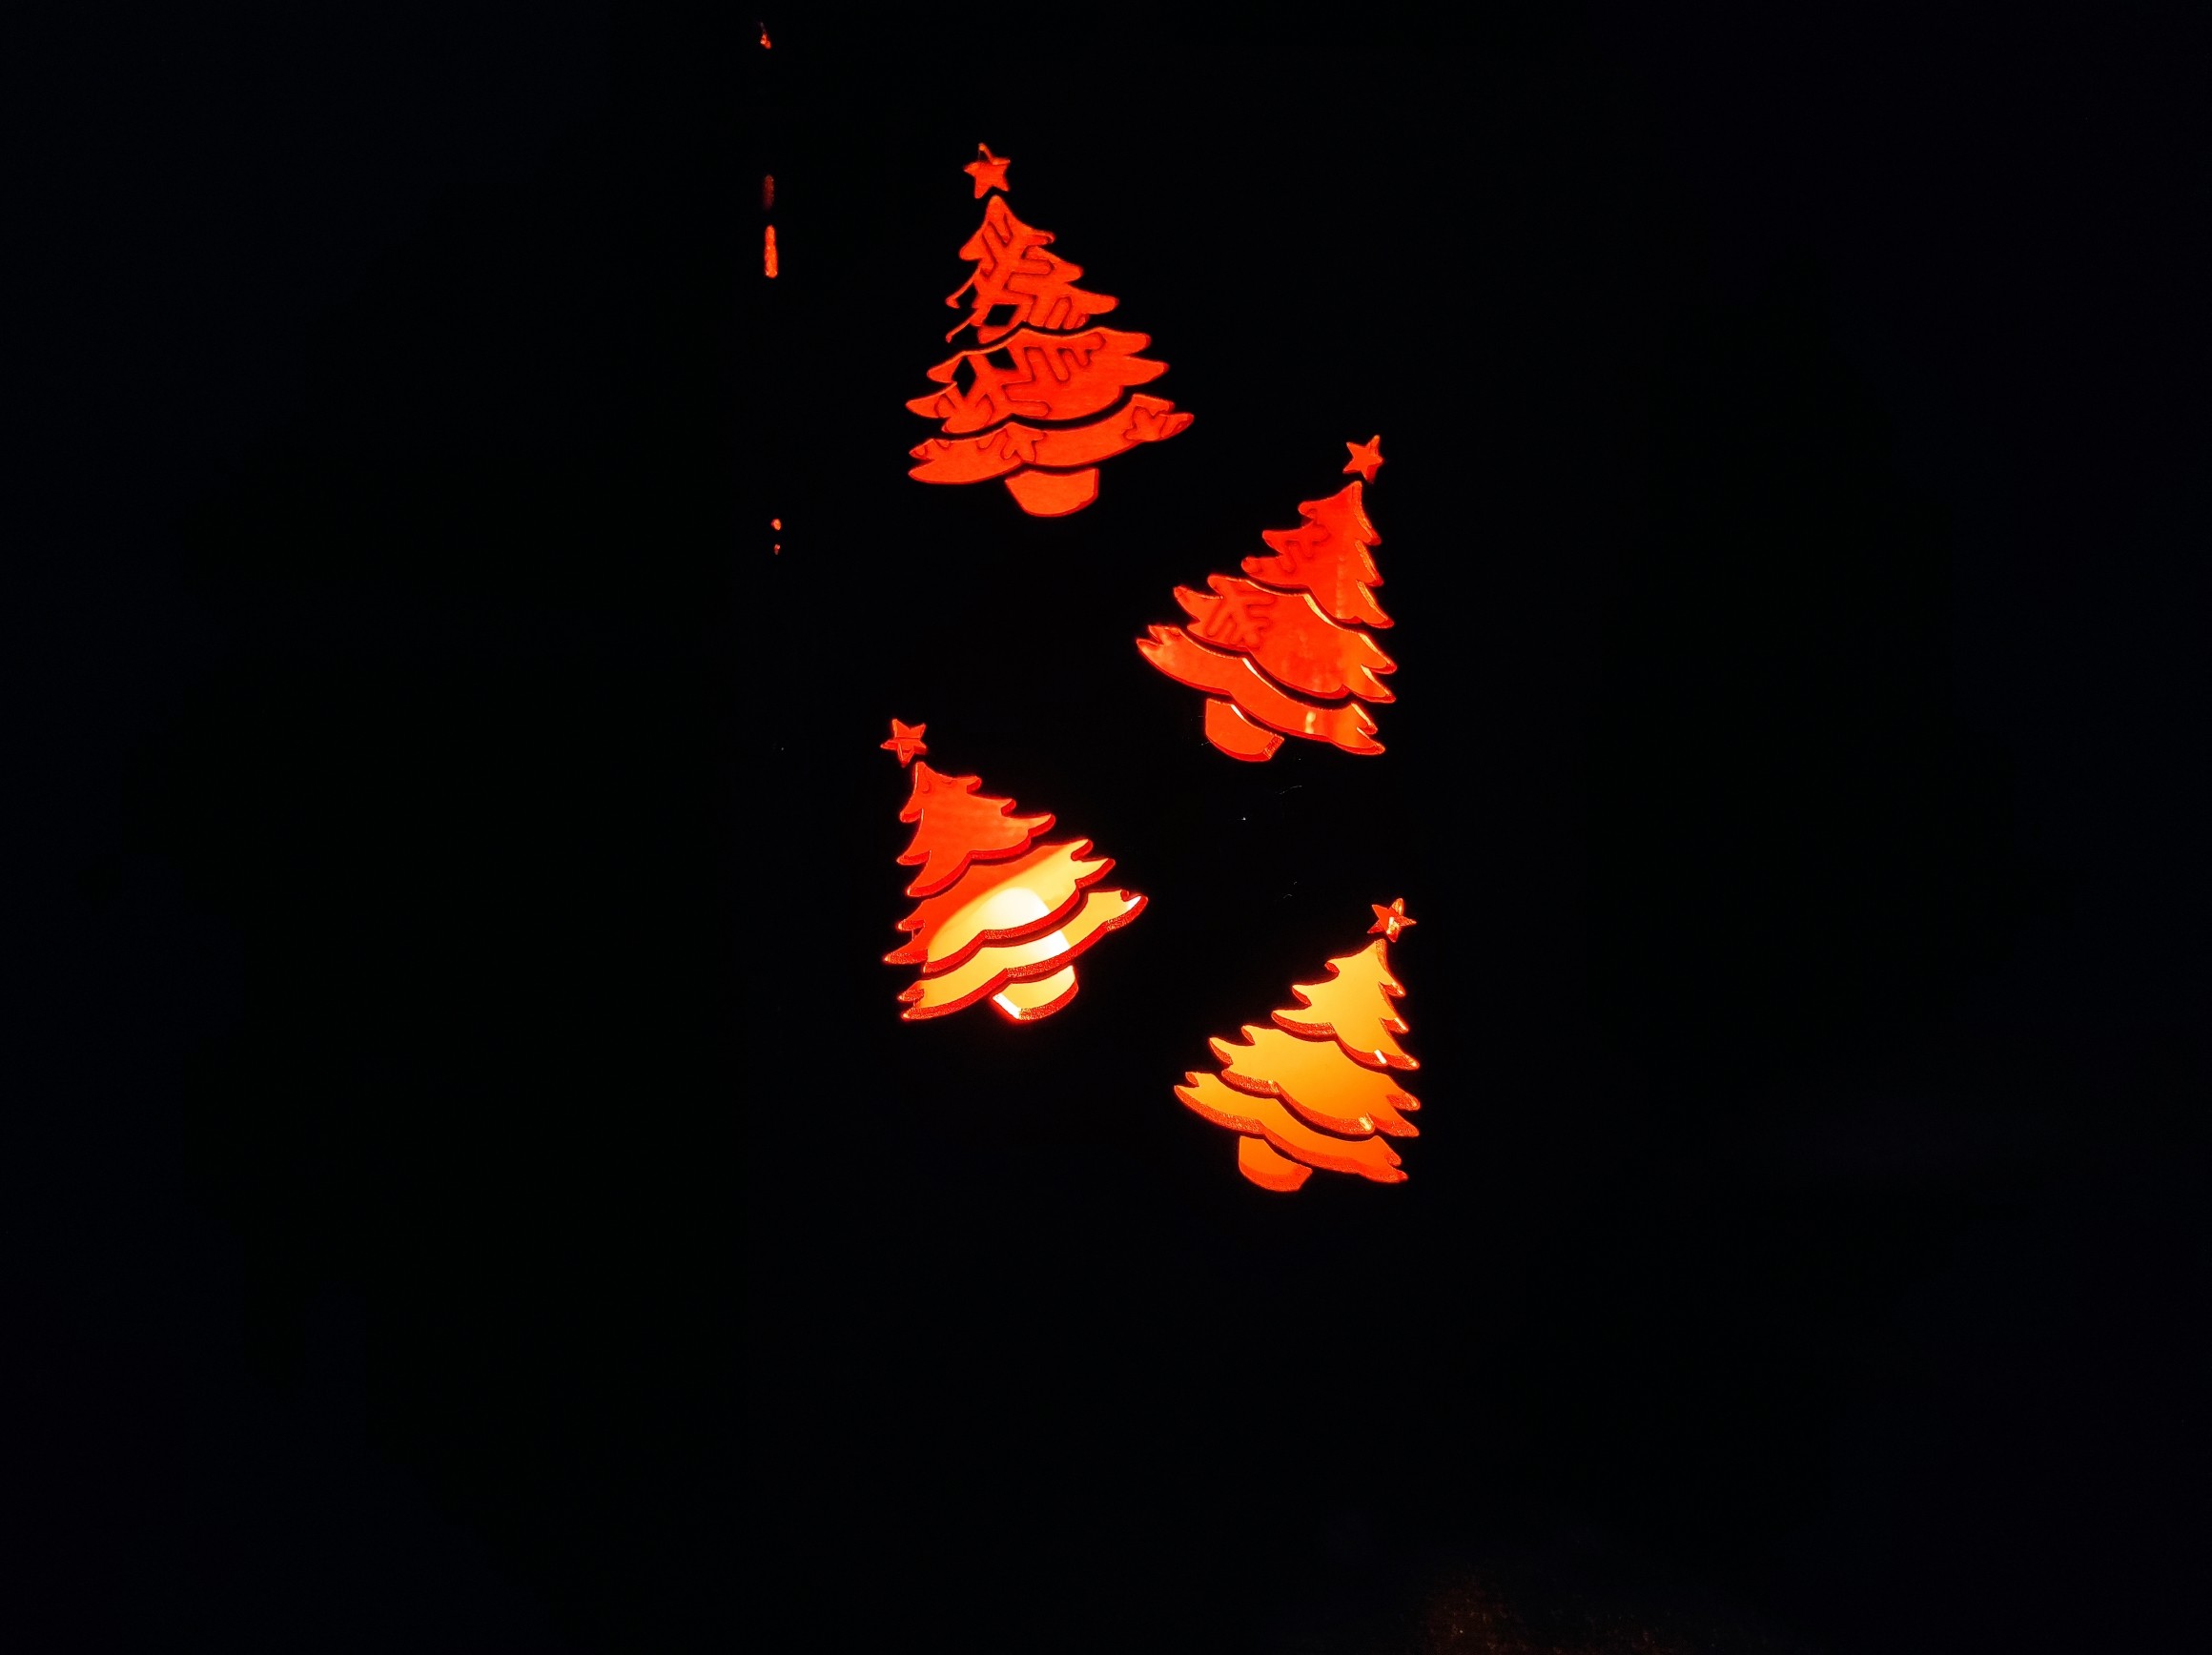
A New Year panel picture with lighting.
We will use:
- 10 watt PLUS PRO (10000 mw) professional laser cutter
- plywood, 3 mm thick
- LED strips (+ an electric power supply for it)
Warning: Observe safety rules when working with a laser. Wear green safety goggles and use an air extraction system.
This process is very simple.
The first step is to create a model in any graphic editor for vector files. Here’s our image, which can be modified or added with text.

When all the changes have been made we export the model as an svg. file. This is the best format to work in LightBurn.

We just need to place all the elemends in accordance with the size of our workpiece and worktable of the laser machine. We use the following processing parameters:
- Power – 99%
- Speed – 300 mm/min
- Passes – 3

When all the elements are cut out, we paint them white.

Assembling.


Before assembling, we solder a power wire to the LED strip and attach the LED strip to the lower part. It is important to place it in such a way that all the LEDs are hidden between the plywood elements. For better fastening, we recommend that all the elements are glued together with PVA.
Here we are!

Download files of the night lamp (g-code, Lightburn files)
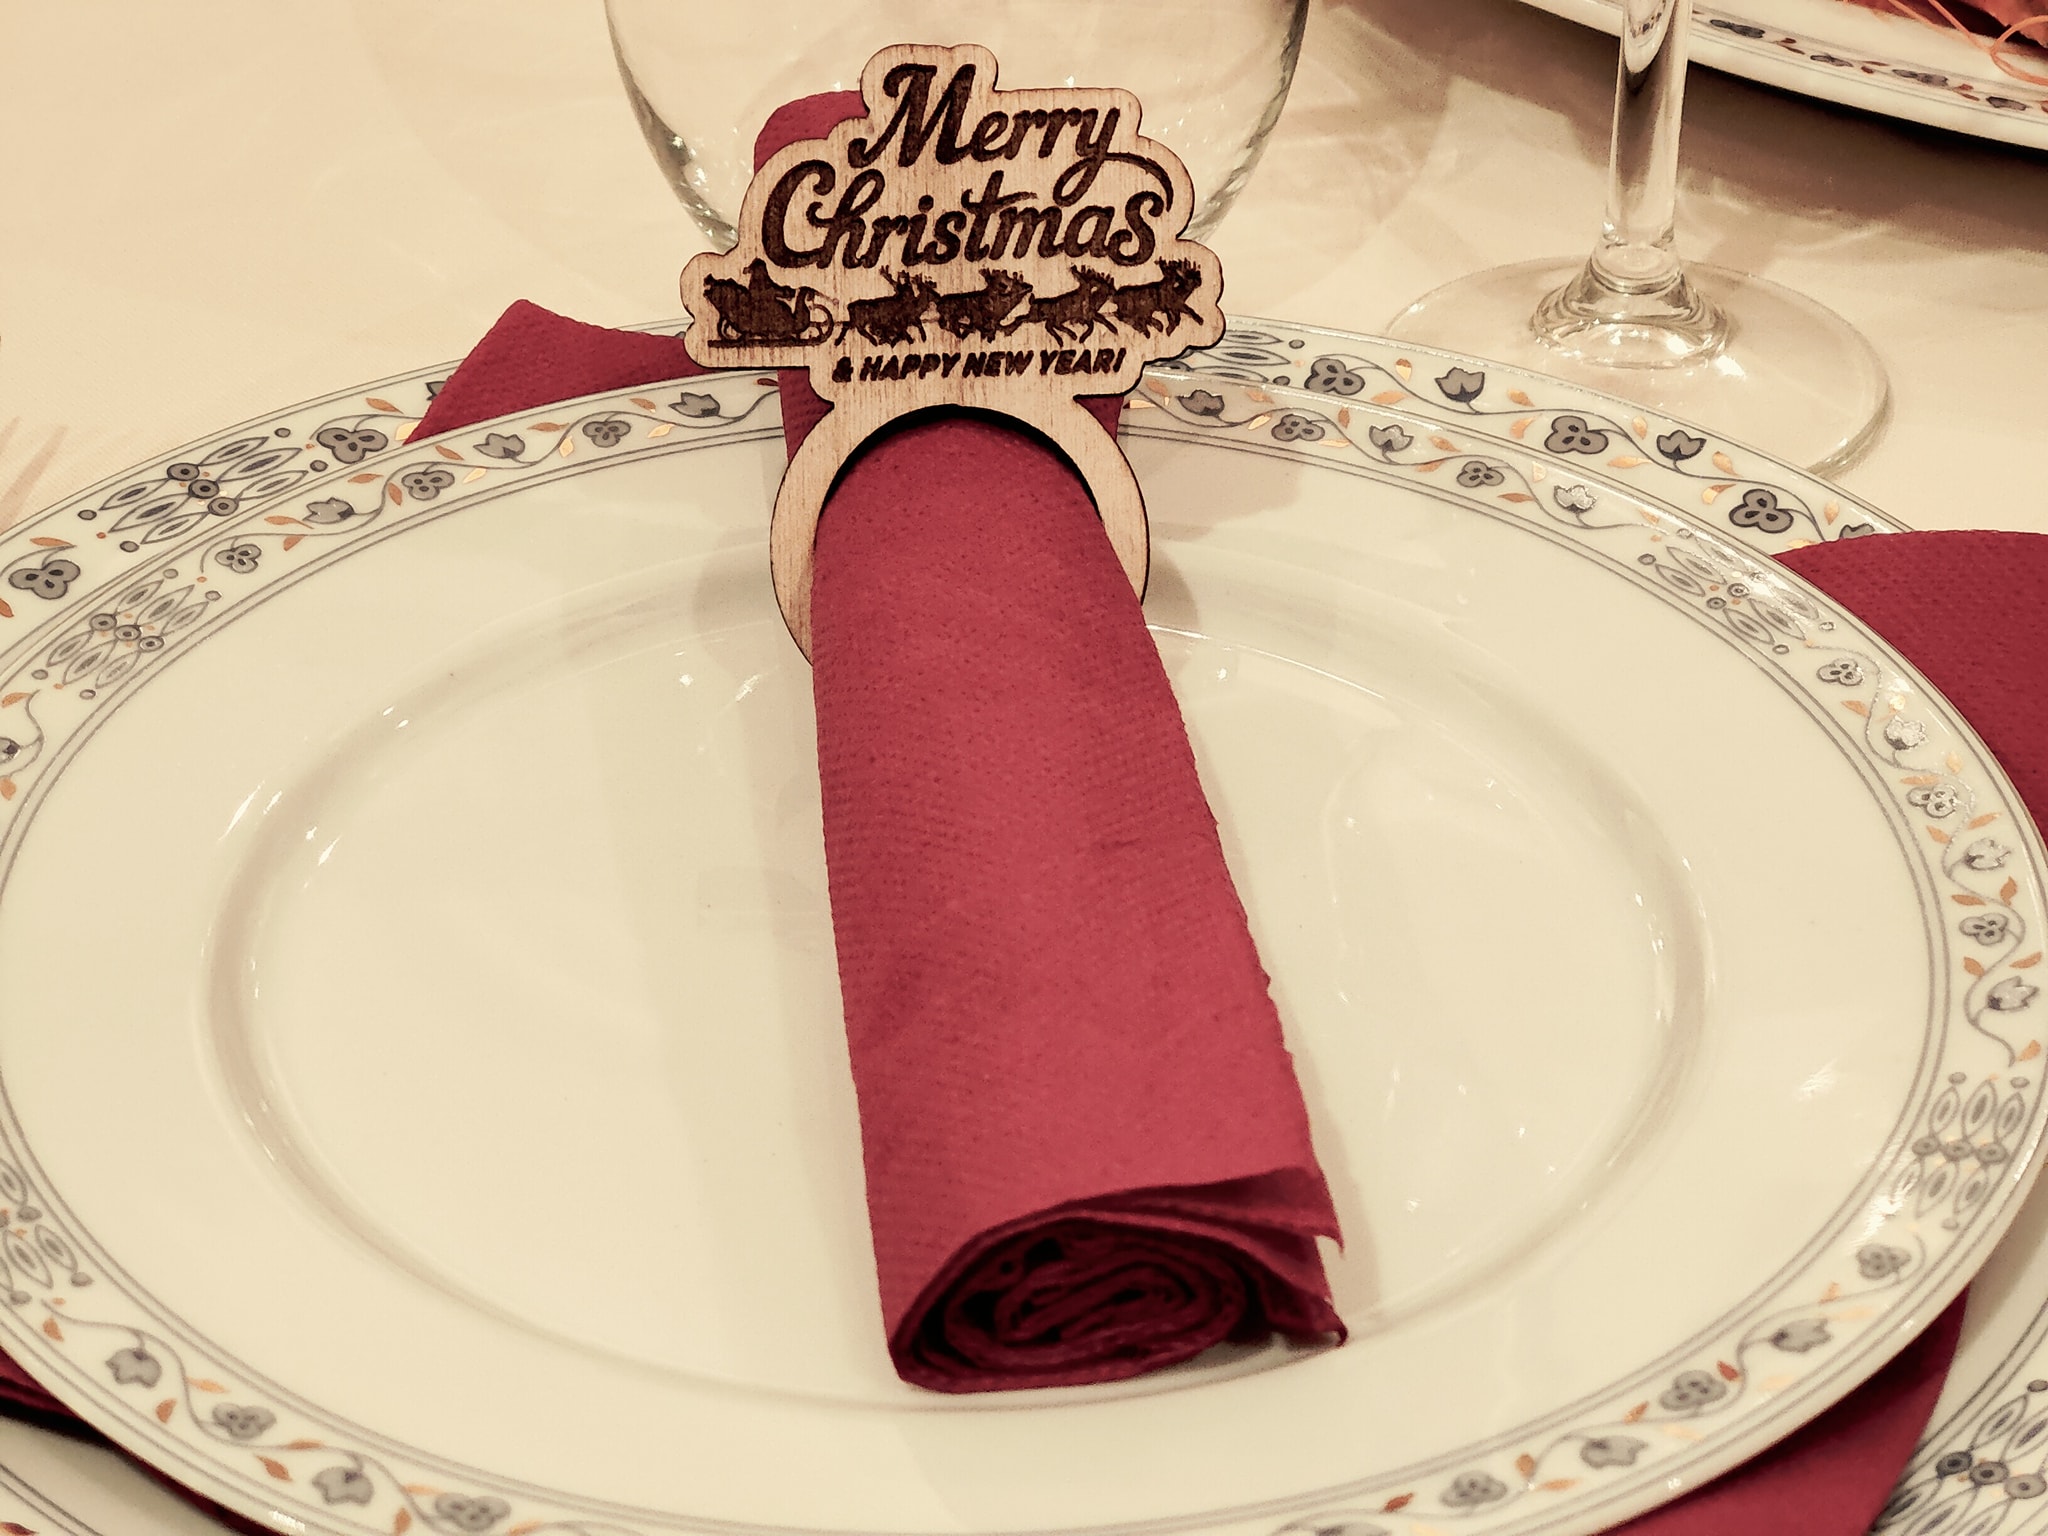
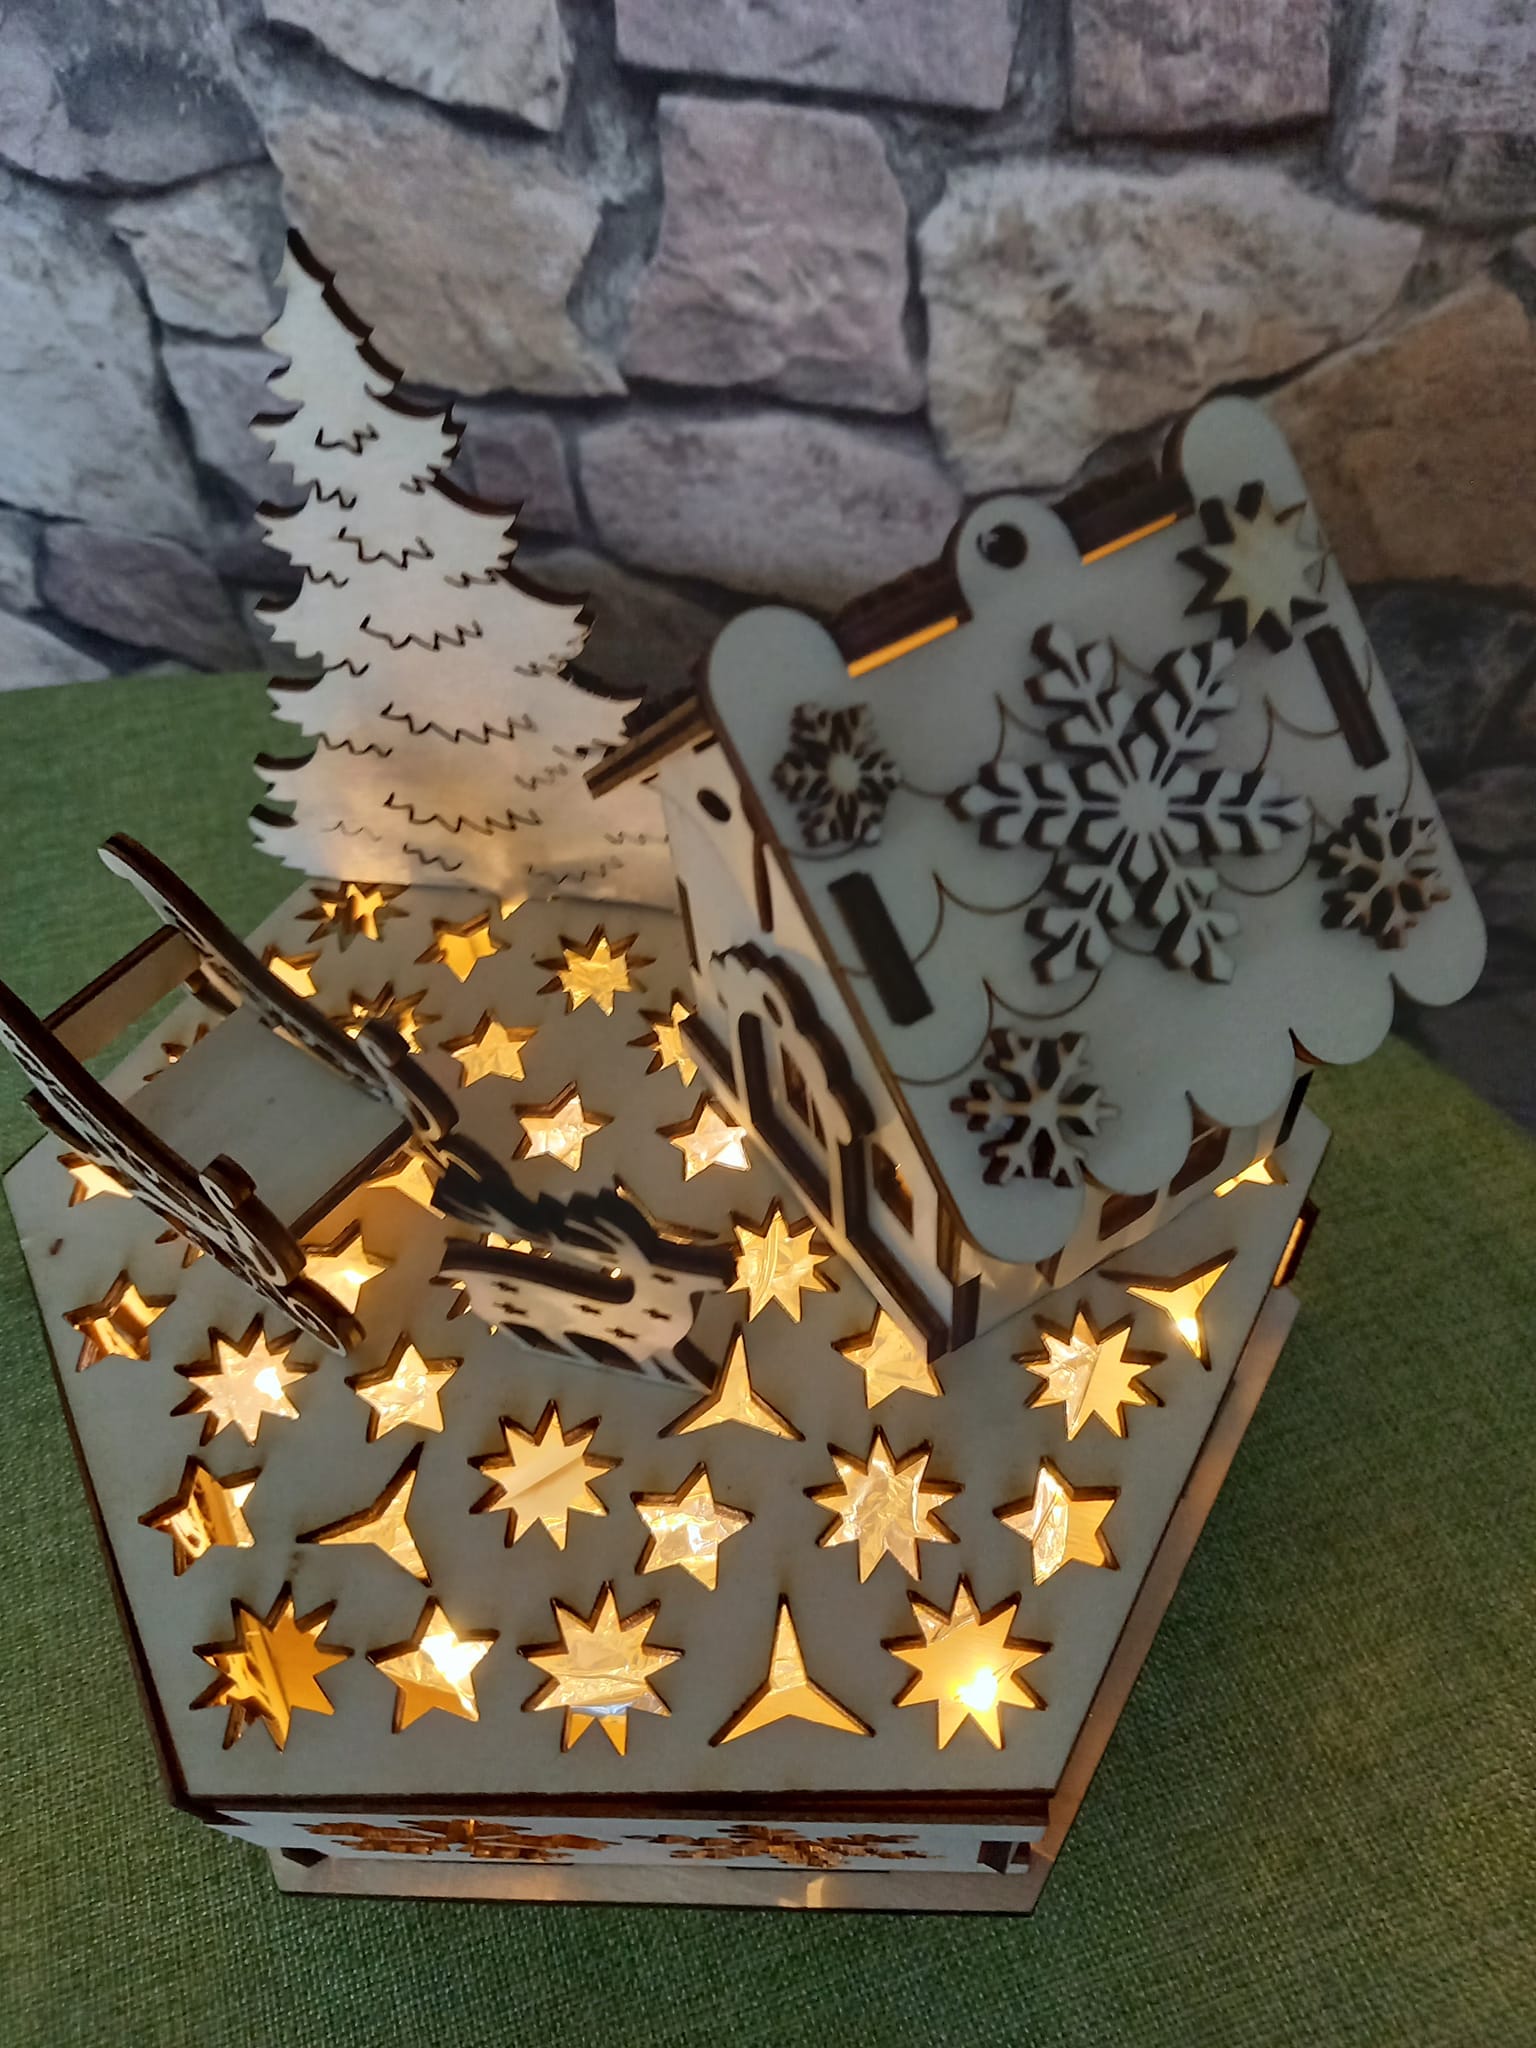
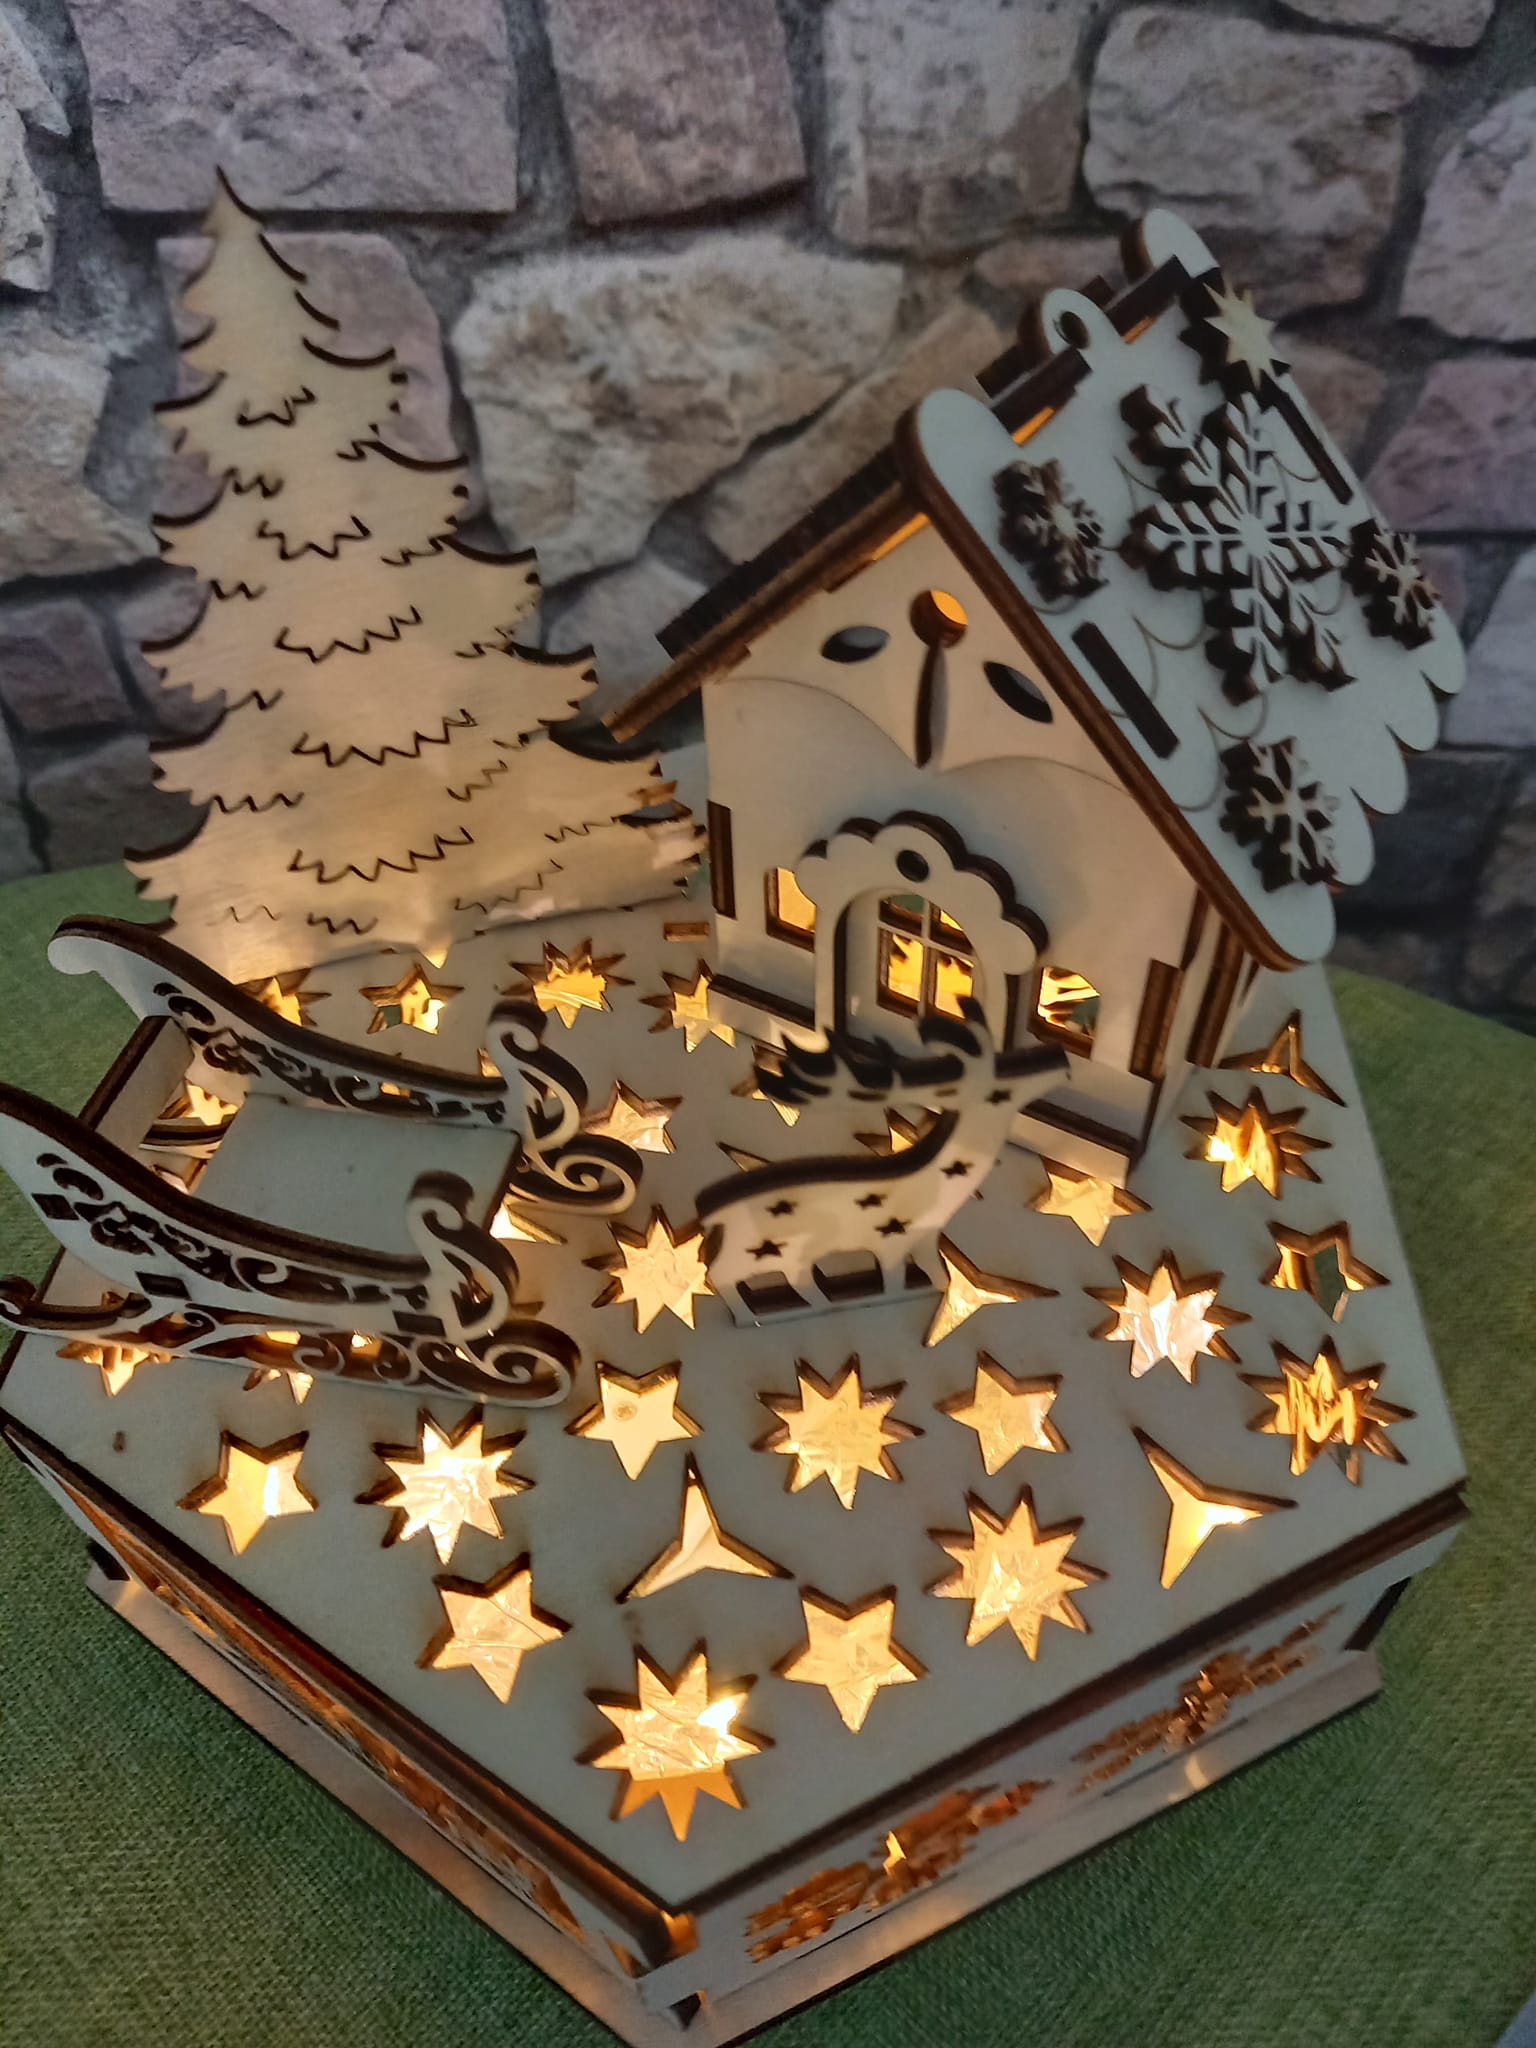
A DIY plywood decorative 2022 New Year (Christmas) light

We are going to make a cute New Year souvenir with lighting. For the lighting, we’ll use LED strips. A décor of this kind will fit in any interior and will give it a cozy and festive look on the eve of Christmas and New Year 2022.
Below, there is a design we have developed in CoralDraw and now will try to implement it into life!


We’ll need:
- a diode Endurance 10w PRO PLUS laser;
- a CO2 laser machine;
- plywood, 4mm thick;
- transparent acrylic, 4mm;
- glue;
- LED strips (we’ve chosen warm white color).
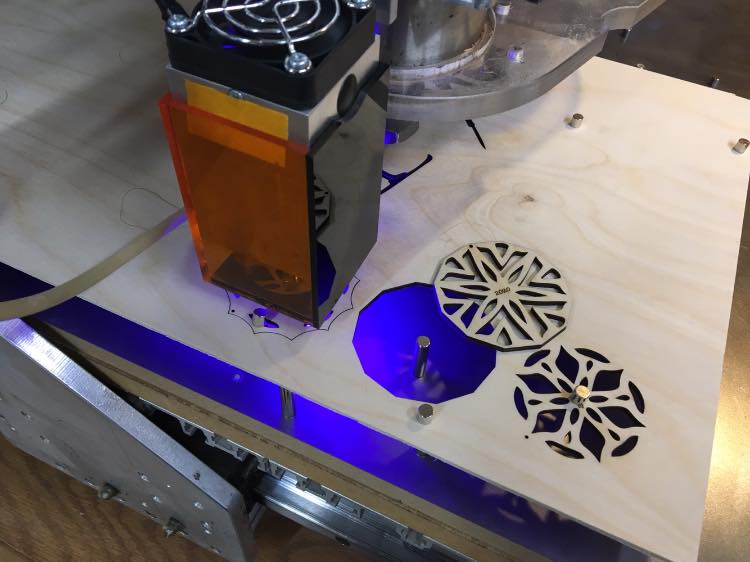
As soon as the model is ready we set to cutting. The parts of the item are rather tiny, so the cut quality is of high importance. Perhaps, we’ll need additional passes.
Before cutting, be bound to test your material. This will save you time and the material in the future.
Our optimal settings for plywood cutting are as follows:
- Speed – 300mm/min;
- Power – 100%;
- Number of passes – 3.
Don’t forget about safety goggles and forced air cooling.
The goggles will protect your eyes, and the air cooling your material.
Acrylic cutting settings:
- Speed – 5cm/min;
- Power – 70%;
- Number of passes – 1.
Acrylic engraving settings:
- Speed – 150cm/min;
- Power – 70%;
- Number of passes – 2.
Don’t forget about an air extraction system when working with acrylic. This will protect your health.


When all the parts are cut out we set to glueing.
First of all, we glue together the two acrylic rings.

After this, we glue together the discs with texts aligning them well.

We leave them to press-dry and polish the wooden parts with sandpaper to make their surface shine.
Now, the most critical part: we solder wires to the LED strip, fasten a connector for the power supply unit, connect it to the network and check.

Next, we need to paste the LED strip to the inner surface of the thin acrylic ring.

Then, we set to the entire item assembling. We glue the double acrylic ring to one of the wooden rings with New Year 2022 symbols, then we place inside this construction the discs with texts, glue to it the other wooden ring, and leave the whole thing to dry.


Meanwhile, we take care of a stand for the souvenir.
We are going to make it out of acrylic.
Here is a simple sketch of it. The cutting parameters are mentioned above.

We assemble the stand, guide the wires into a pre-provided hole and glue the item together.

That’s it!

Here is what we have as a result. A cute nightlight!
Download decor light files for free (CDR, DXF, SVG)
A white tile laser engraving with Norton method (NWT)
Black and White Image Creation on Ceramic Tiles by the Norton Method Using a Diode Laser (Endurance 10 Watt Plus Pro, with g2 lens).
Christmas and New Year holidays are already round the corner, which means it’s time to prepare gifts! In this article we will tell you how to create an original picture on a ceramic tile using a diode laser. For work, we need white ceramic tiles, black acrylic paint, and a diode laser engraver. It should be borne in mind that for the process of creating a photographic image on ceramics, diode laser suites best of all. A picture made by this way will be an excellent gift for any occasion.
So let’s get to work.
1. The surface of ceramic tiles should be treated with acetone or any other organic solvent. This is necessary to remove the smallest traces of dirt and grease. The surface must be perfectly clean. Then we paint the tiles black. We spray the paint in a thin and even layer and let it dry (about 20 minutes).


2. Next, we start LightBurn program and open a template to be used for laser processing. (Before this, we must invert the image colors, or select the corresponding item in the processing parameters menu in LightBurn).
Our processing parameters are as follows: speed 9500 mm / min, power 65%, fill density 0.1 mm, number of passes 1. Focus point on the surface of the workpiece. 
3. We place the painted tiles onto the work table and start processing. The processing time for an image of 20 by 30 cm is about an hour. During processing, the laser removes the paint, creating a black and white photographic image fully corresponding to the original template. As a result we have a cool gift that will delight everyone.
Merry Christmas and Happy New Year !!!


“A New Year” Engraving on Titanium

Materials:
- An Endurance DIY marking machine with 30 watt Fiber laser
- A titanium plate, 0.9 mm thick
Titanium is called the material of the future. It has become so popular due to its unique properties. Metal is a perfect means of work for people who take innovative decisions in a particular sector of industry.
For the first time ever titanium and its alloys were used in the production of military hardware. Years and decases have passed, and today it is actively used in shipbuilding, chemical industry, medicine, aircraft construction and many other spheres.
On top of all this, titanium is a perfect material for laser engraving. Investing some time and effort you will get a great result. We have managed to obtain a number of colors when engraving titanium. And what is important, the engraved image on titaniun lasts for a long time. It’s not easy to erase it.


| Color | Speed, mm/sec | Power, % | Number of passes |
| Polishing | 1500 | 100 | 1 |
| 1 | 400 | 100 | 1 |
| 2 | 400 | 100 | 2 |
| 3 | 400 | 100 | 3 |
| 4 | 400 | 100 | 4 |
| 5 | 600 | 100 | 1 |
| 6 | 600 | 100 | 2 |
| 7 | 600 | 100 | 3 |
| 8 | 600 | 100 | 4 |
Above, you see the parameters we used.
We draw a picture in CorelDraw and arrange all the elements of the image in such a way that the elements of the same color belong to one layer.
After this, we import the image to EzCad.
To avoid burning of the material, we focus the laser beam at 5 mm above the titanium surface.
In EzCad we arrange all the elements by layers according to the color.
Before engraving we high-polish our titanium workpiece with a laser.
After this we
- Create a figure of the necessary form and size.
- Do filling using the mentioned parameters.
- Start polishing.

After polishing we prepare the image layering it according to the color.

Start engraving!
After the first pass, it seems there is no result. But be patient!
Here’s the result!

The last step is cutting a frame with an ENDURANCE 10 watt (10000 mw) professional laser module. When it is ready we paint it white and glue it to the titanium plate.

Here is what we get at the end.

A DIY leather cat’s (dog’s) collar
Creation of a Leather Collar for Pets Using an infrared pulsed DPSSL (Endurance 10 Watt DPSS Laser Nd: YAG, 1064 nm, F = 30mm).
Christmas and New Year are approaching, which means it’s time to prepare gifts. We will not disregard our pets and prepare an interesting and original gift for them. So, today we are going to talk about how to quickly and easily create a collar for a cat.
Steps:
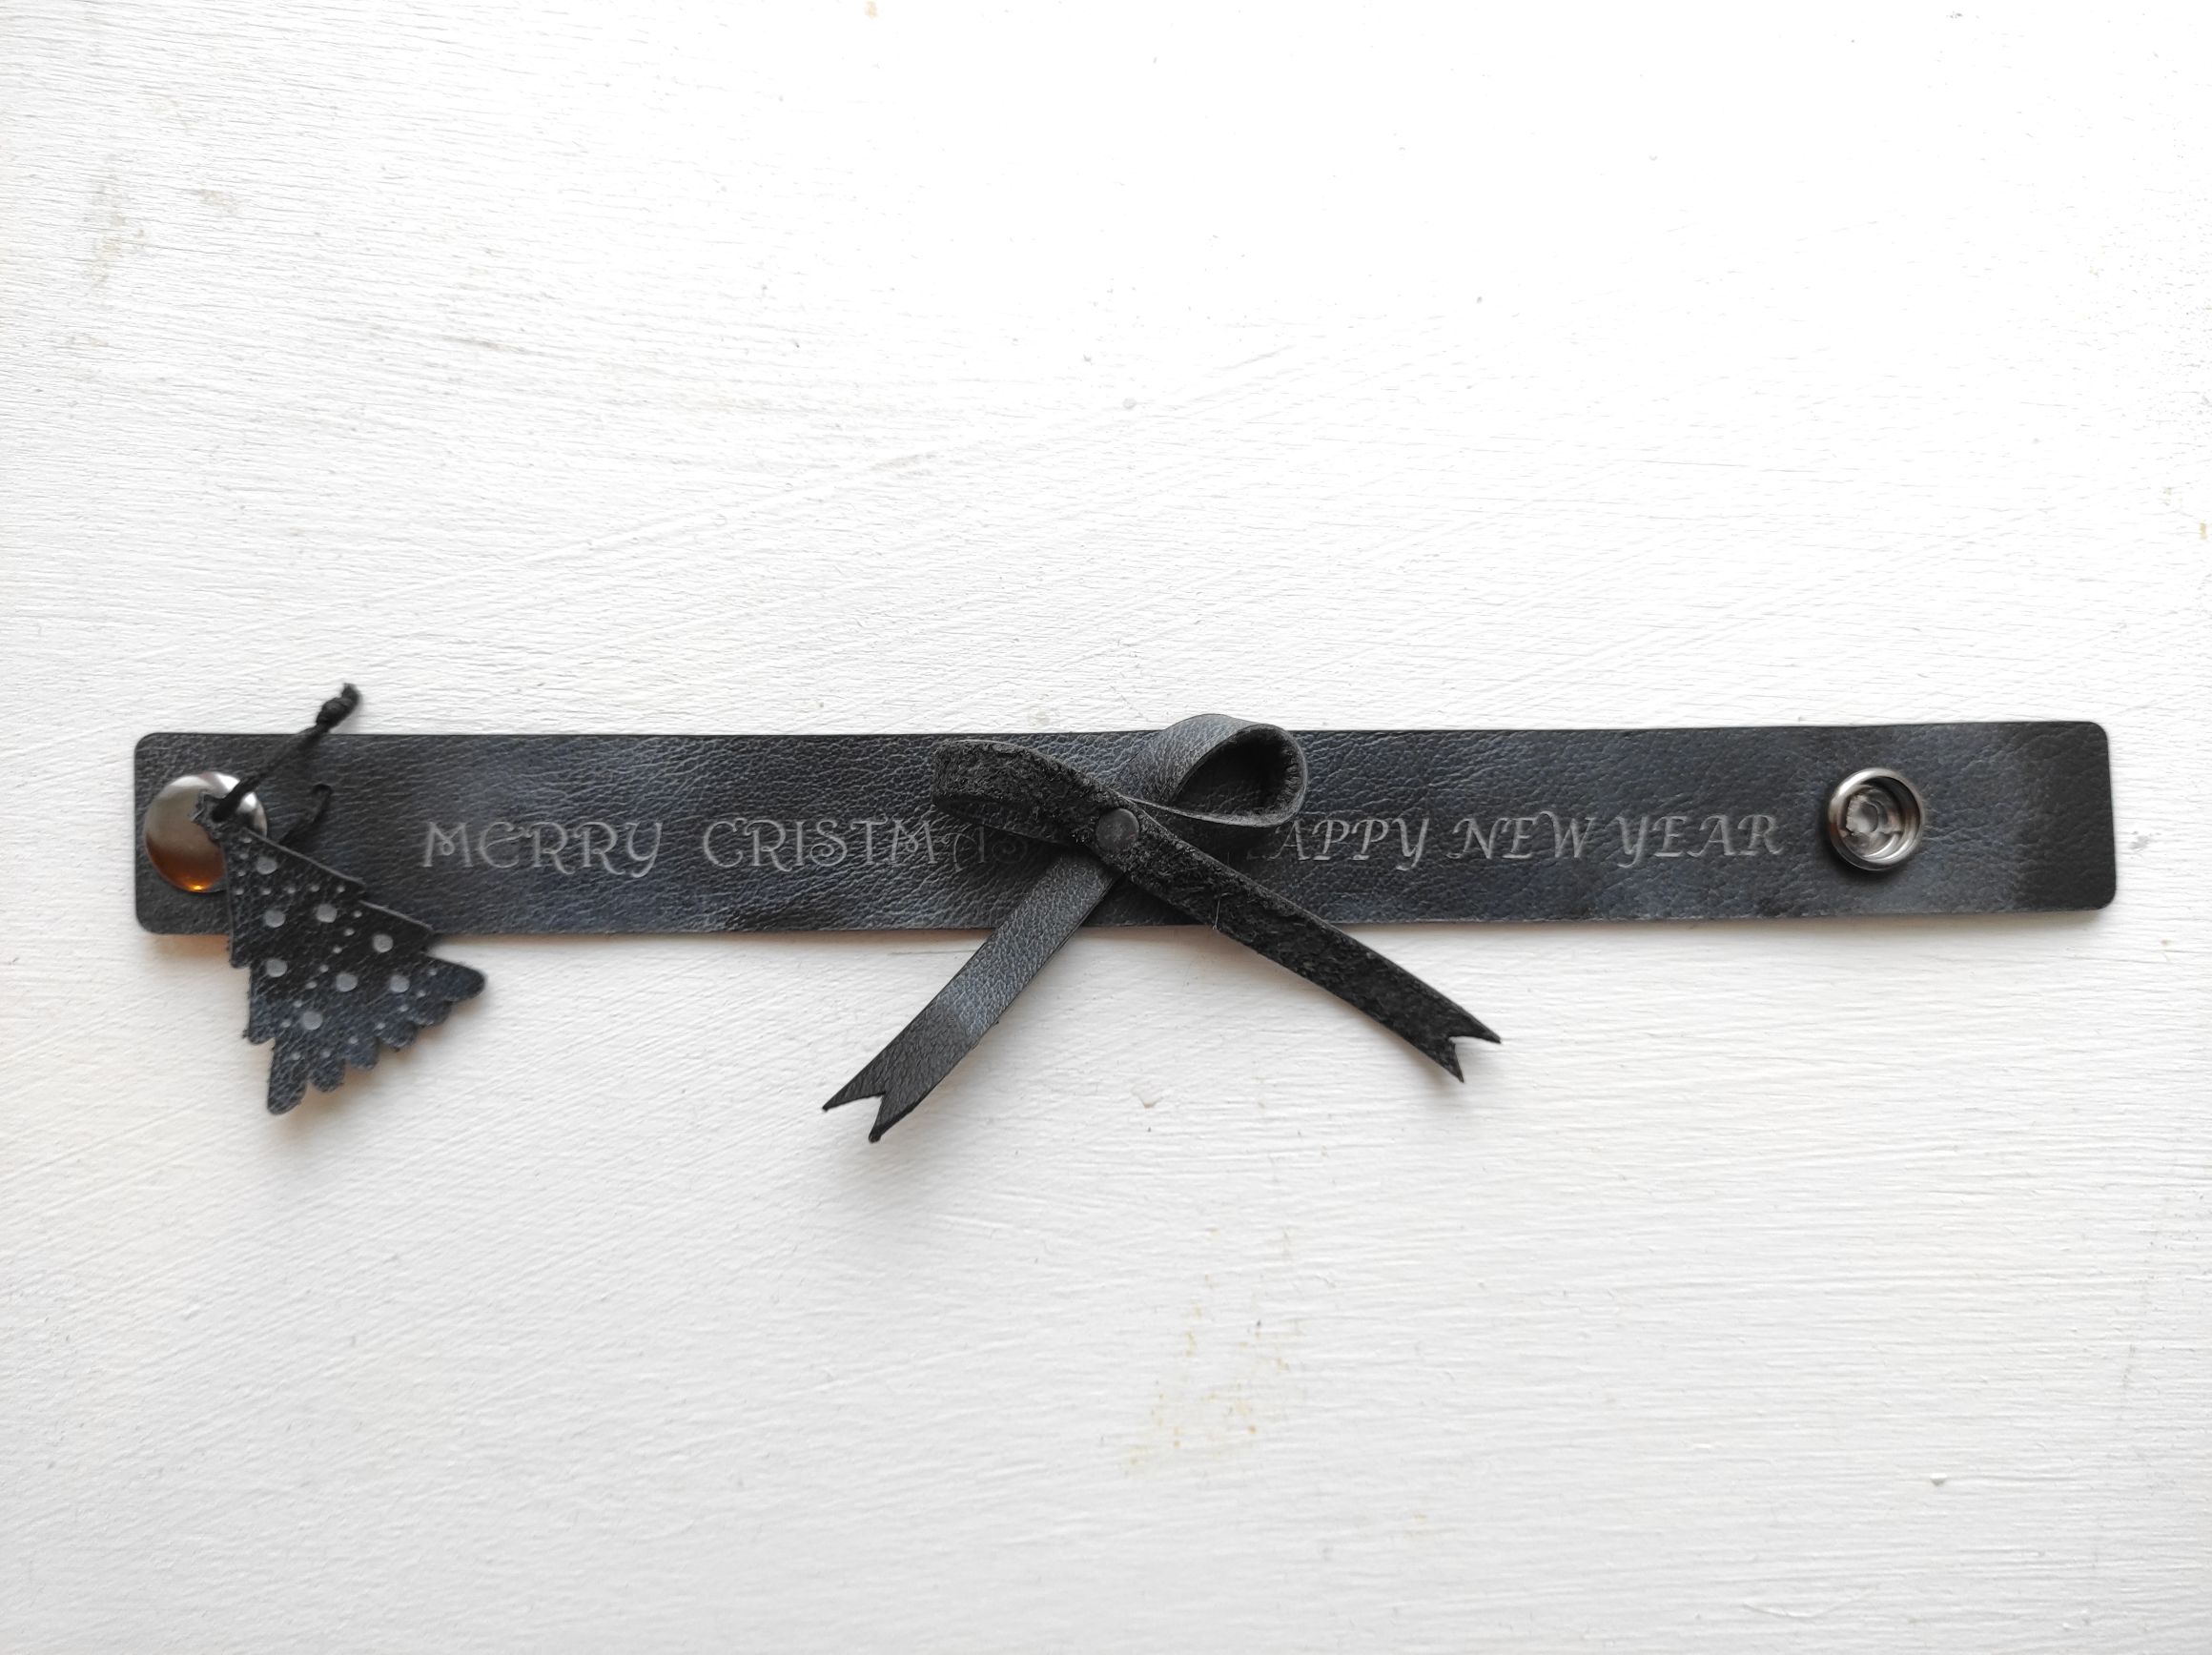
1. In the LightBurn program we open a vector template, according to which we will cut and engrave a leather workpiece. The cutting laser parameters are as follows: speed 600 mm / min, power 99%, number of passes 2. The engraving parameters: speed 1200 mm / min, power 20%, number of passes 1. 
2. We place a leather workpiece on the laser work table (the size of the piece must match the size of the template). The chosen leather piece should be soft and of medium thickness (we used a leather piece, 1.5 mm thick).
We fix the leather piece to the work table with double-sided adhesive tape. Since leather generates a lot of smoke during laser processing, we use air blowing. After completing the preparation, we can start the laser.


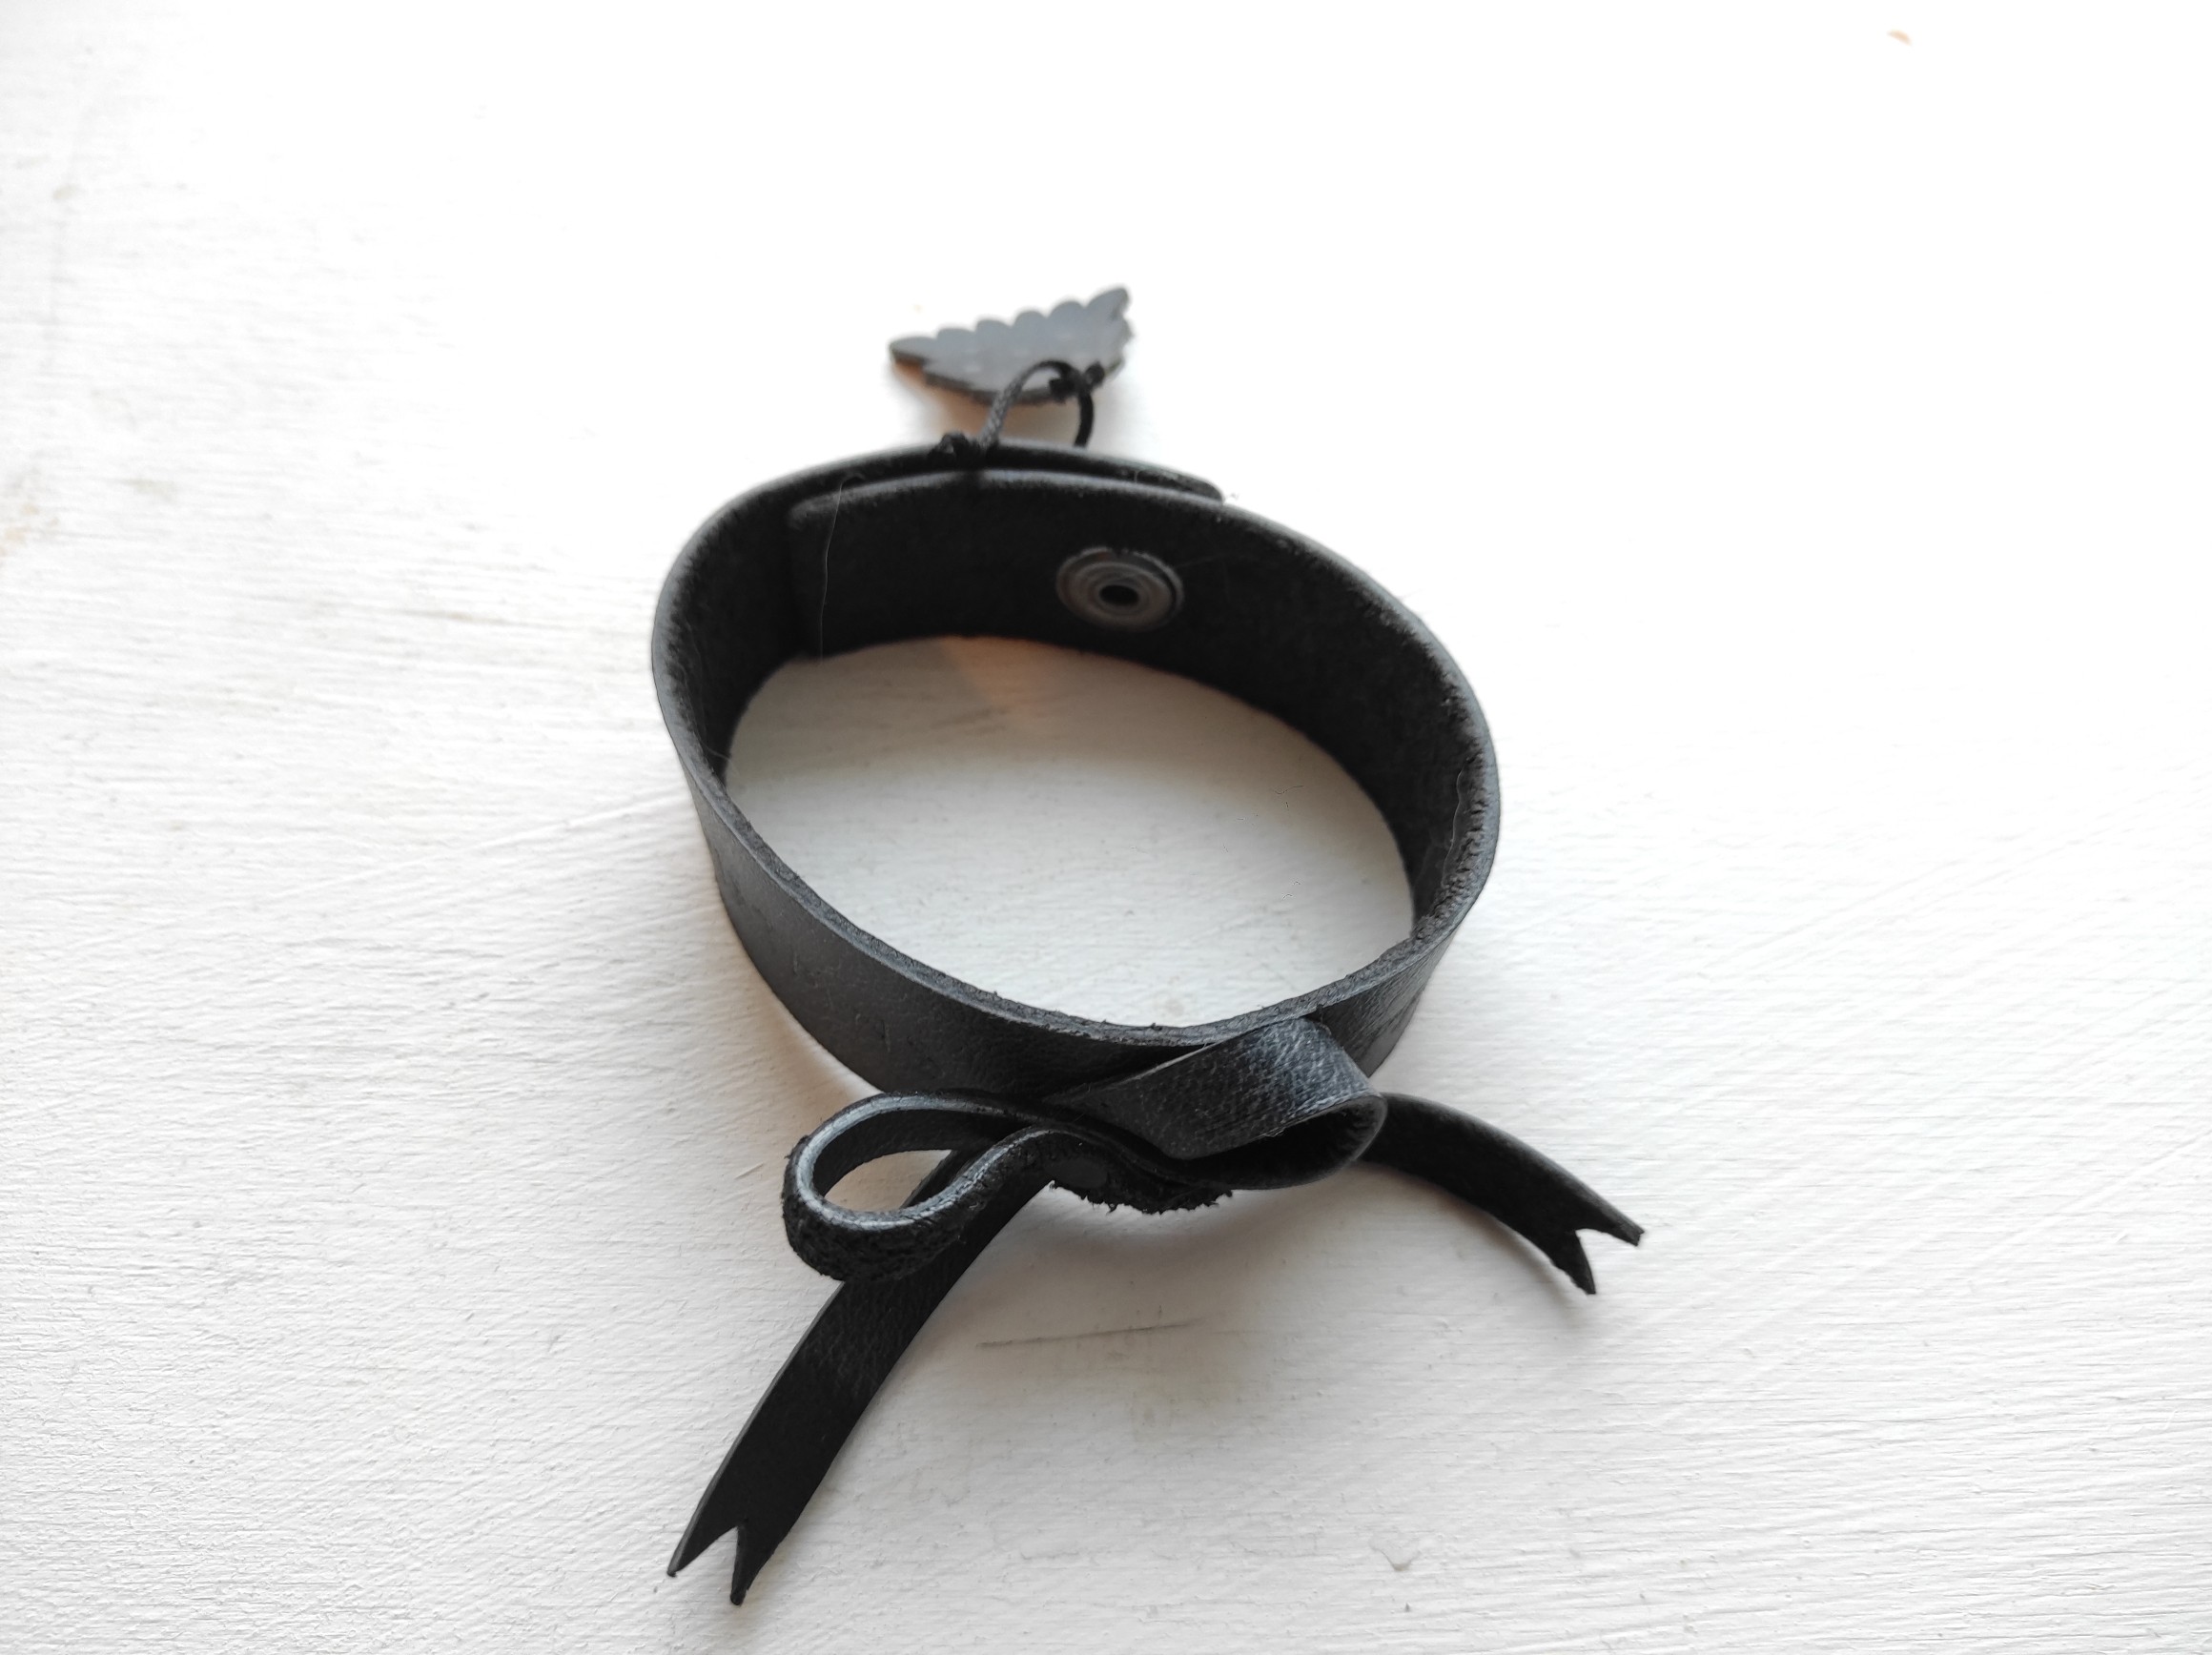
3. The total processing time is less than 10 minutes. As a result, we get 3 separate parts that need further processing before we will join them together. 
So, we treat each of the parts with white leather treatment wax. Due to this type of treatment, the engraved areas will have a light gray color, while all the rest leather surface will remain practically unchanged. After waxing, the leather piece should be blown with warm air.


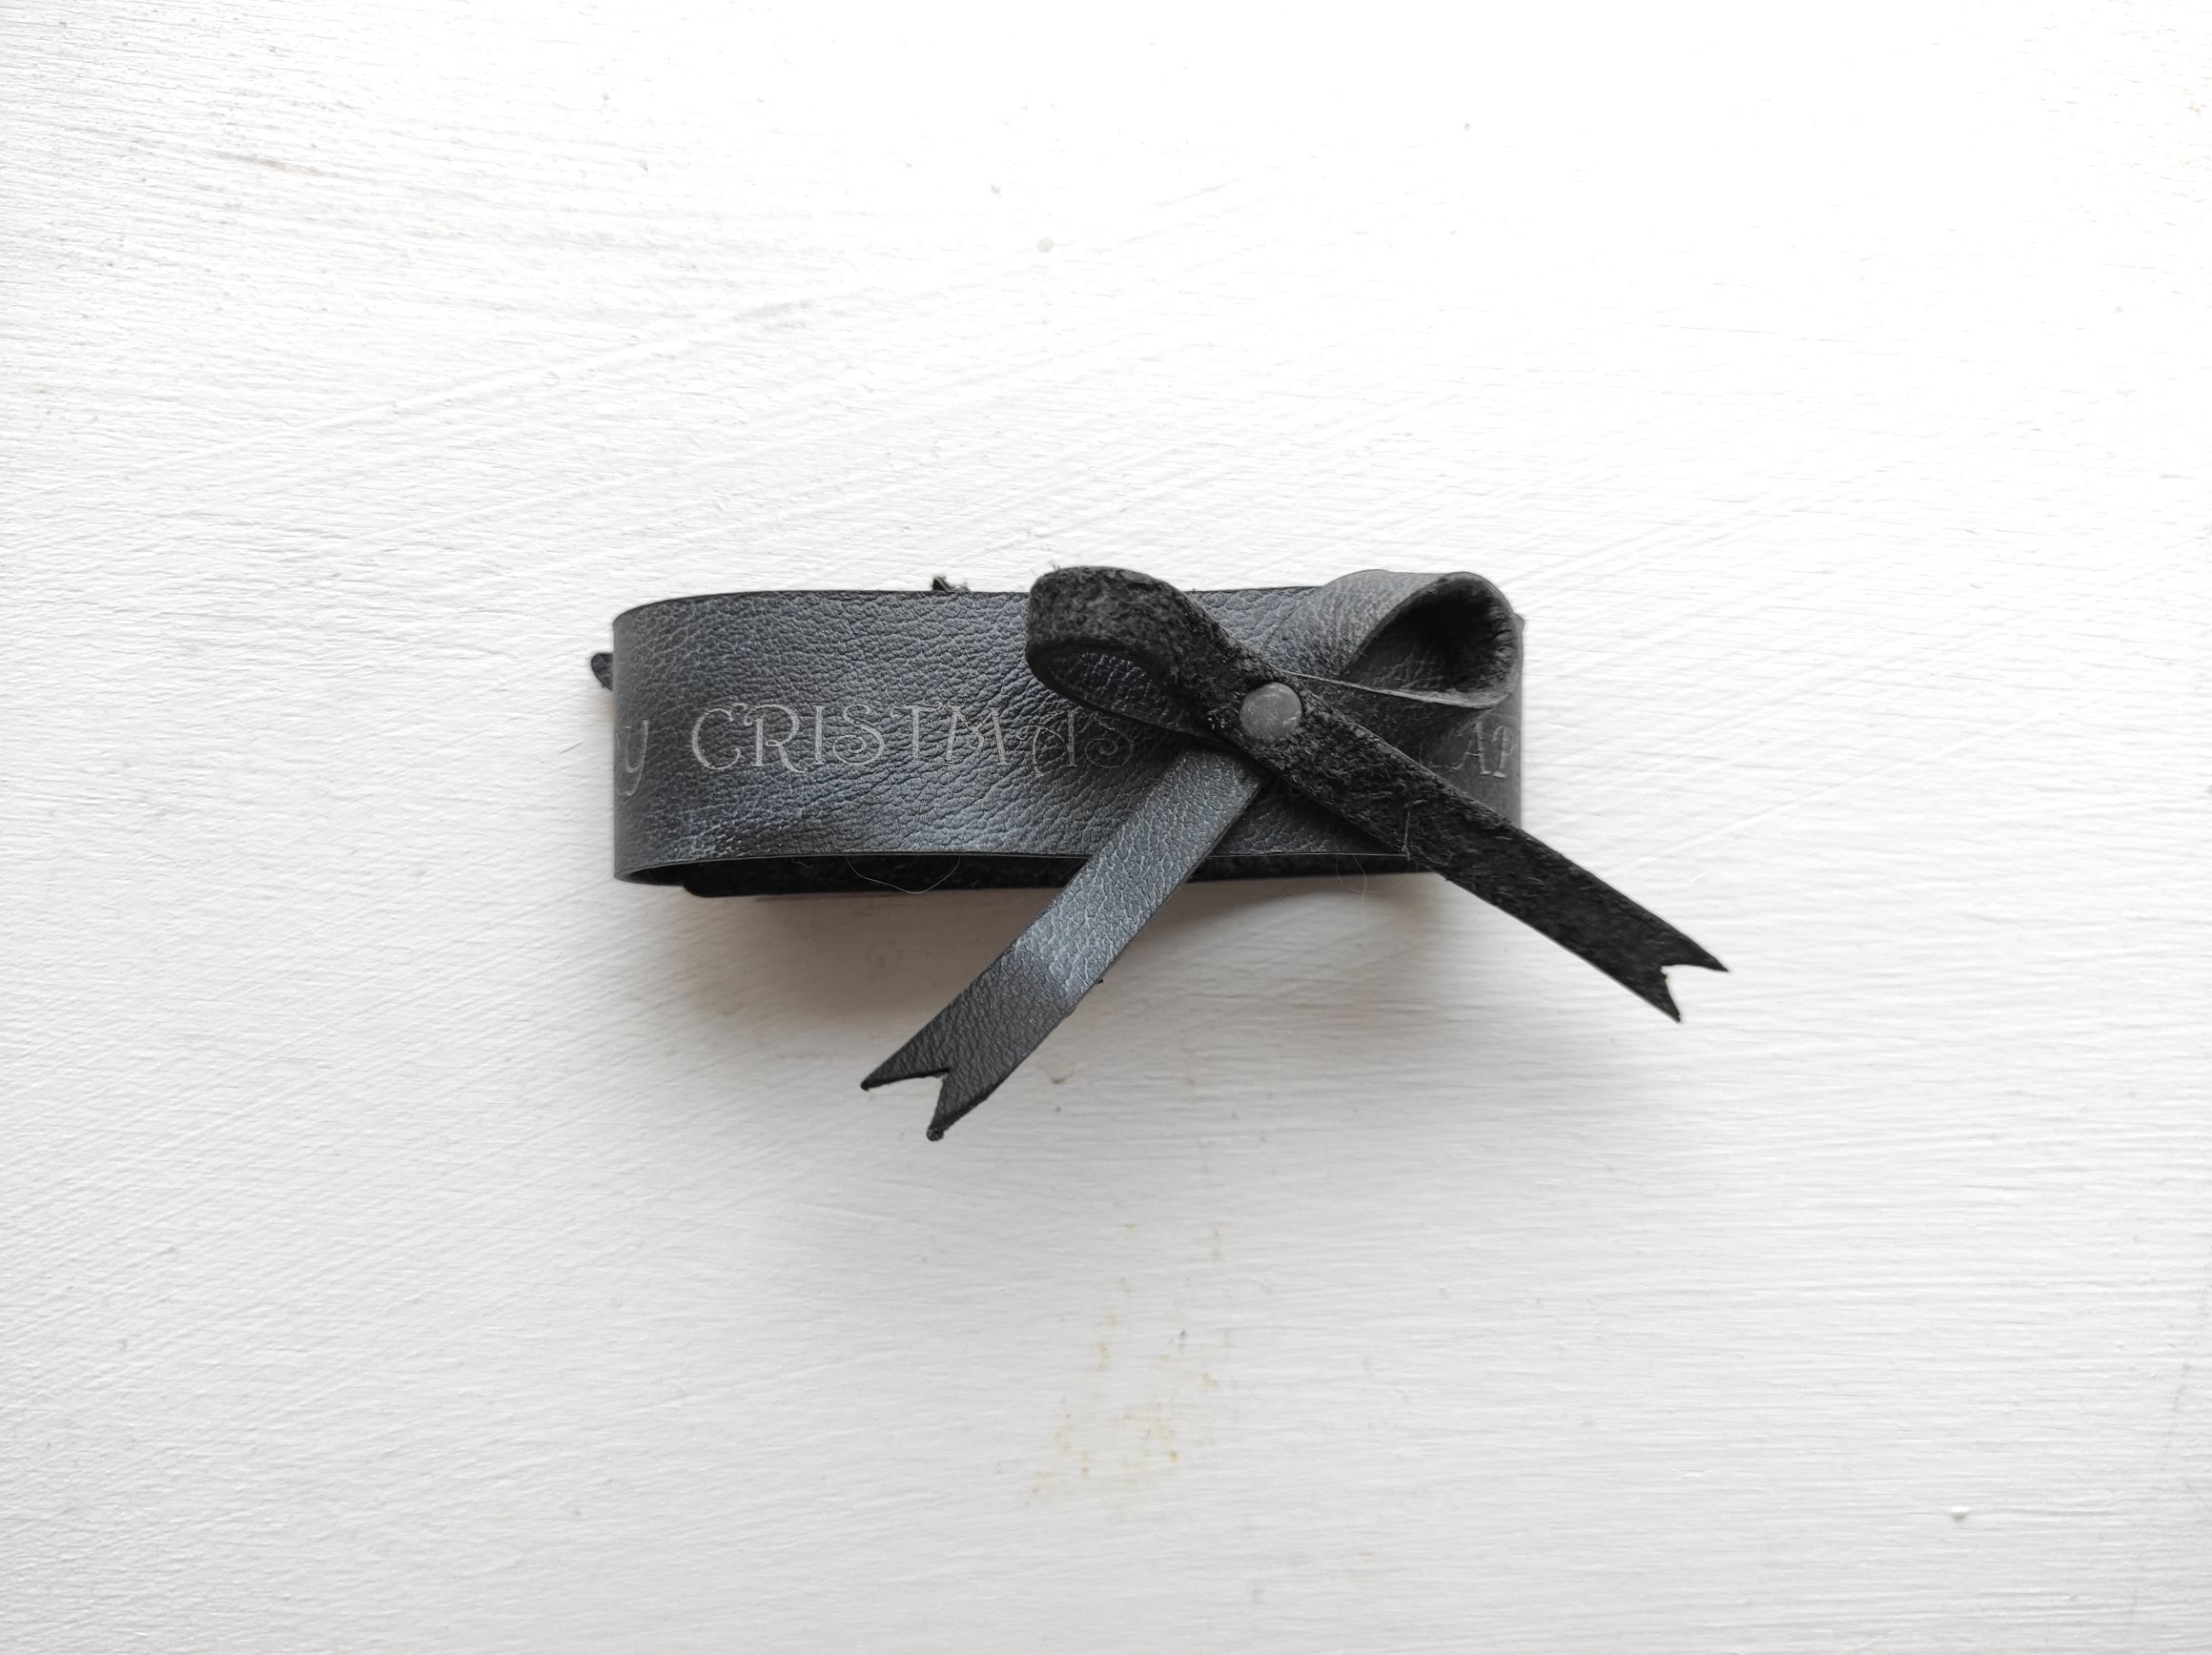
Now we assemble all the parts together: the bow is attached to the main part with a rivet, and the pendant is joint with it by a cord. It remains to insert a button to fasten the collar.
That’s all. A small but pretty, custom pet accessory is ready. 

Laser engraver cookies
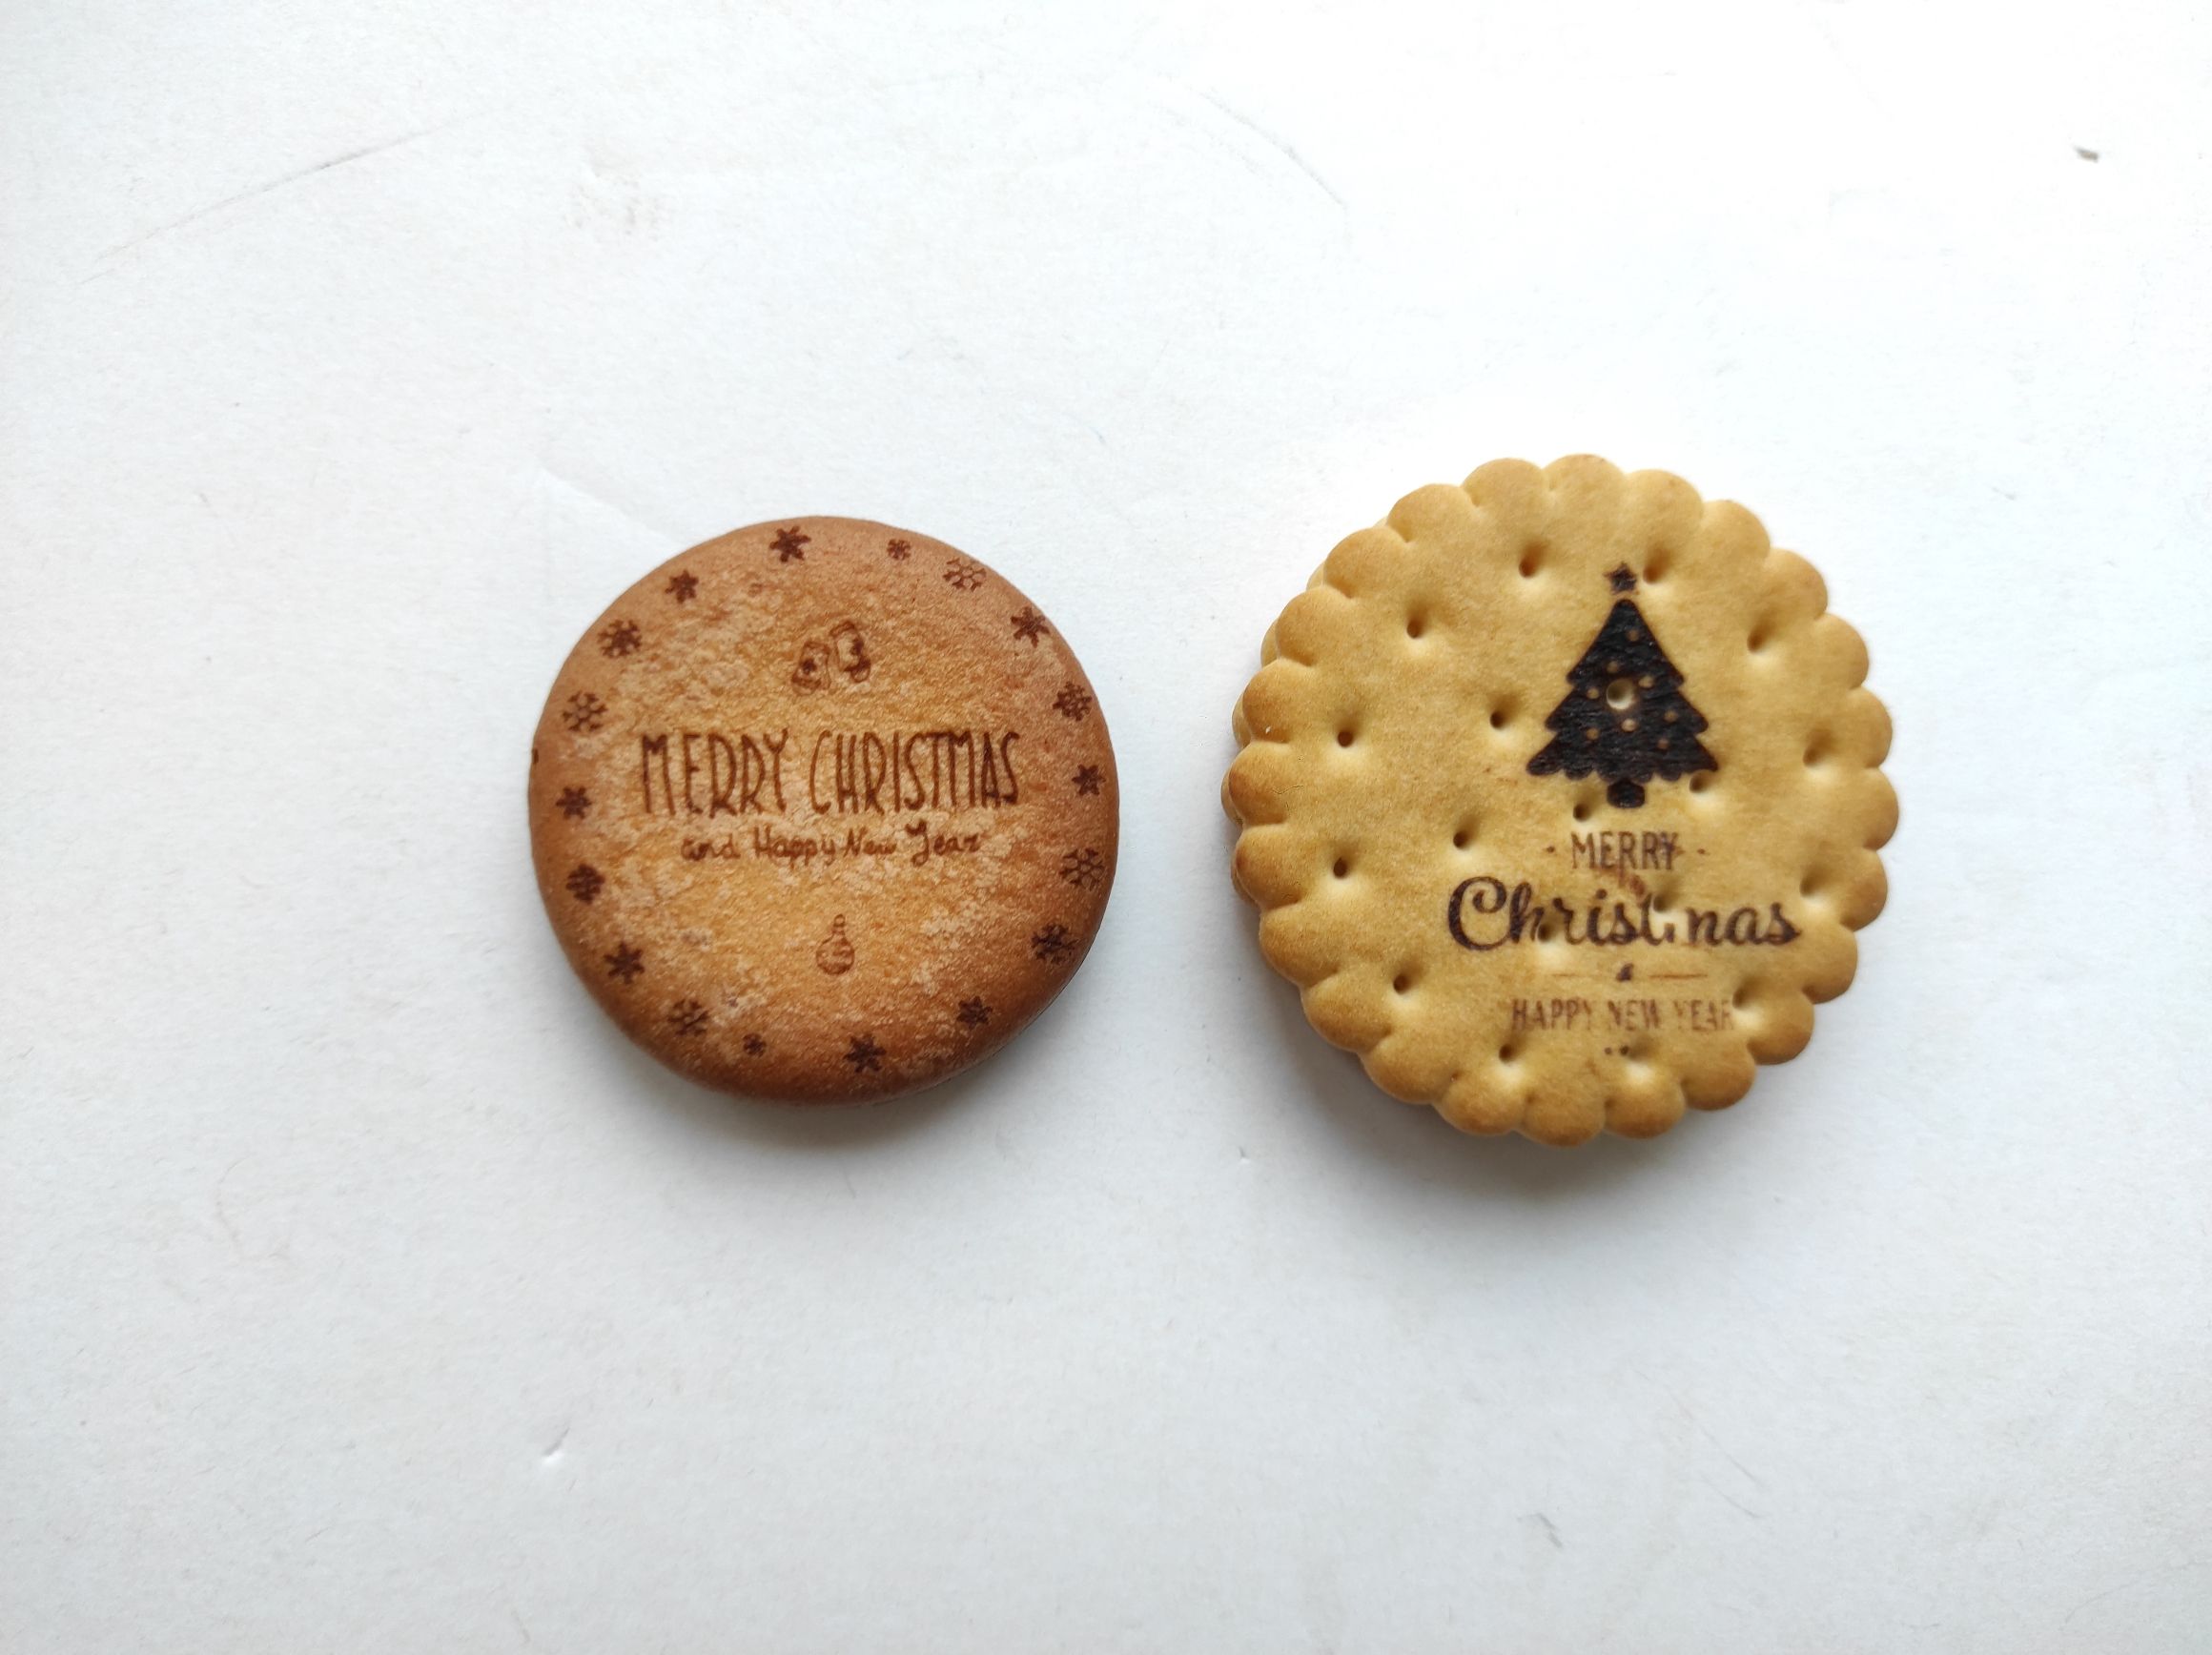
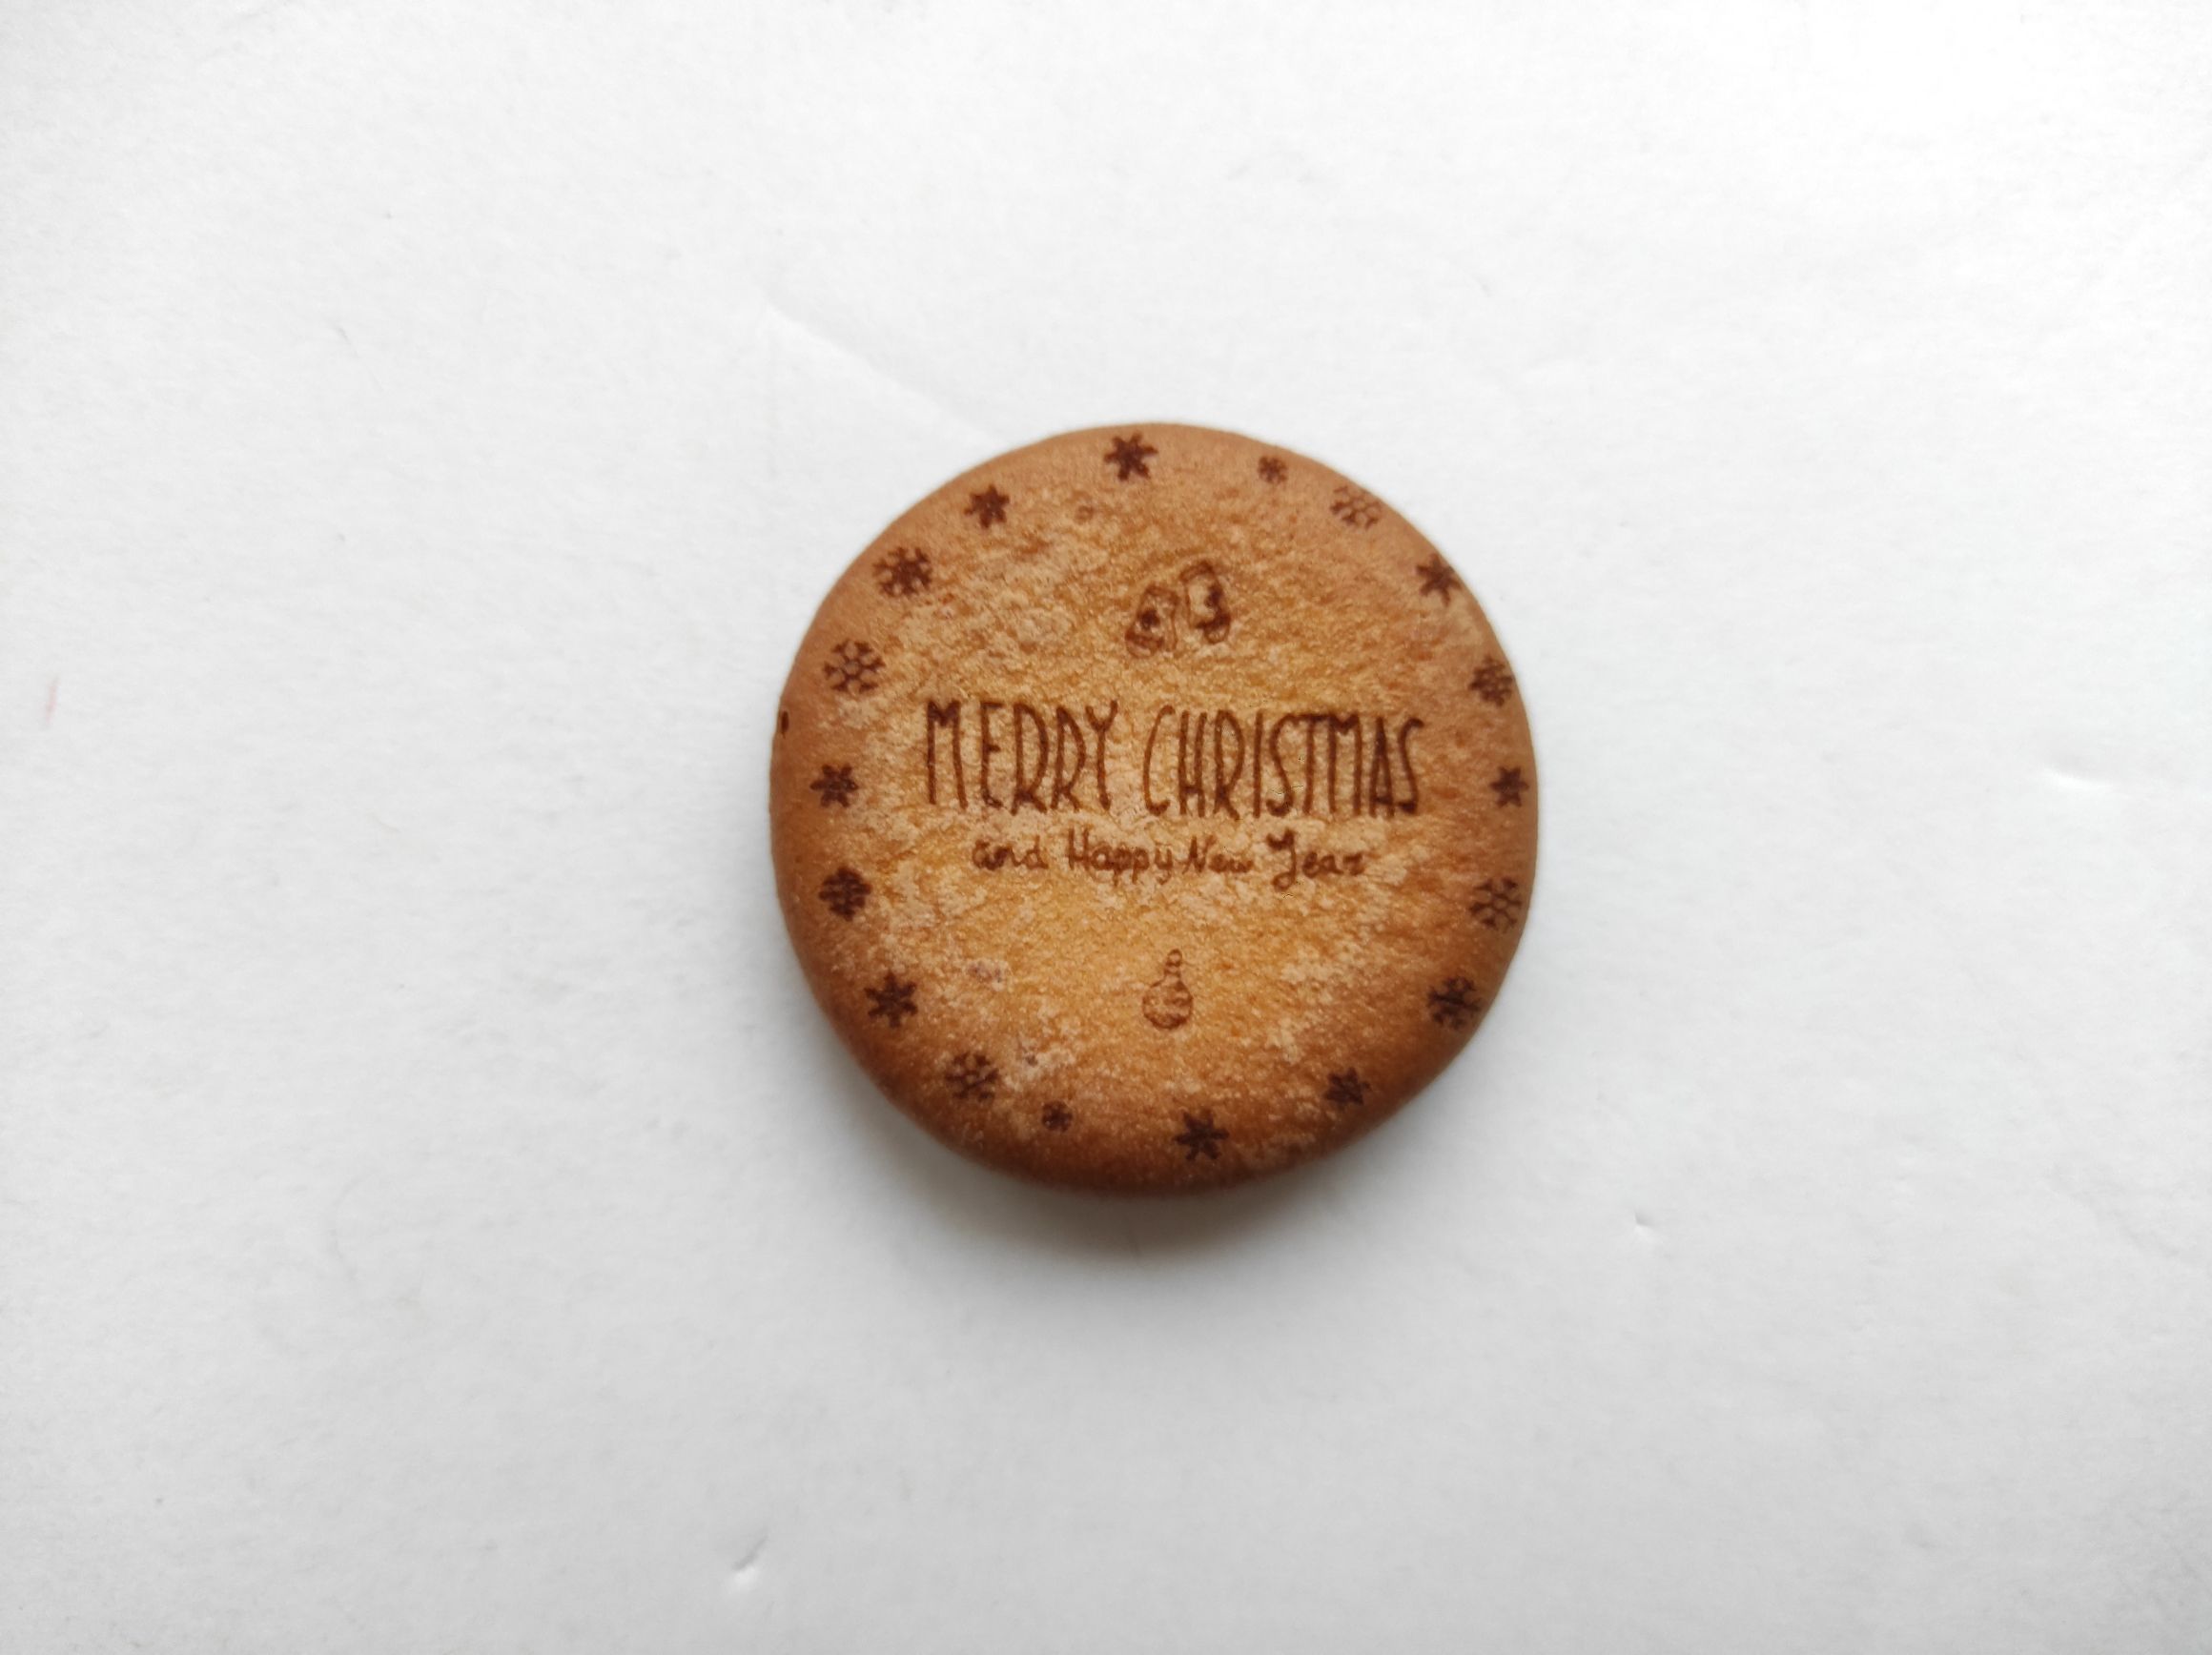
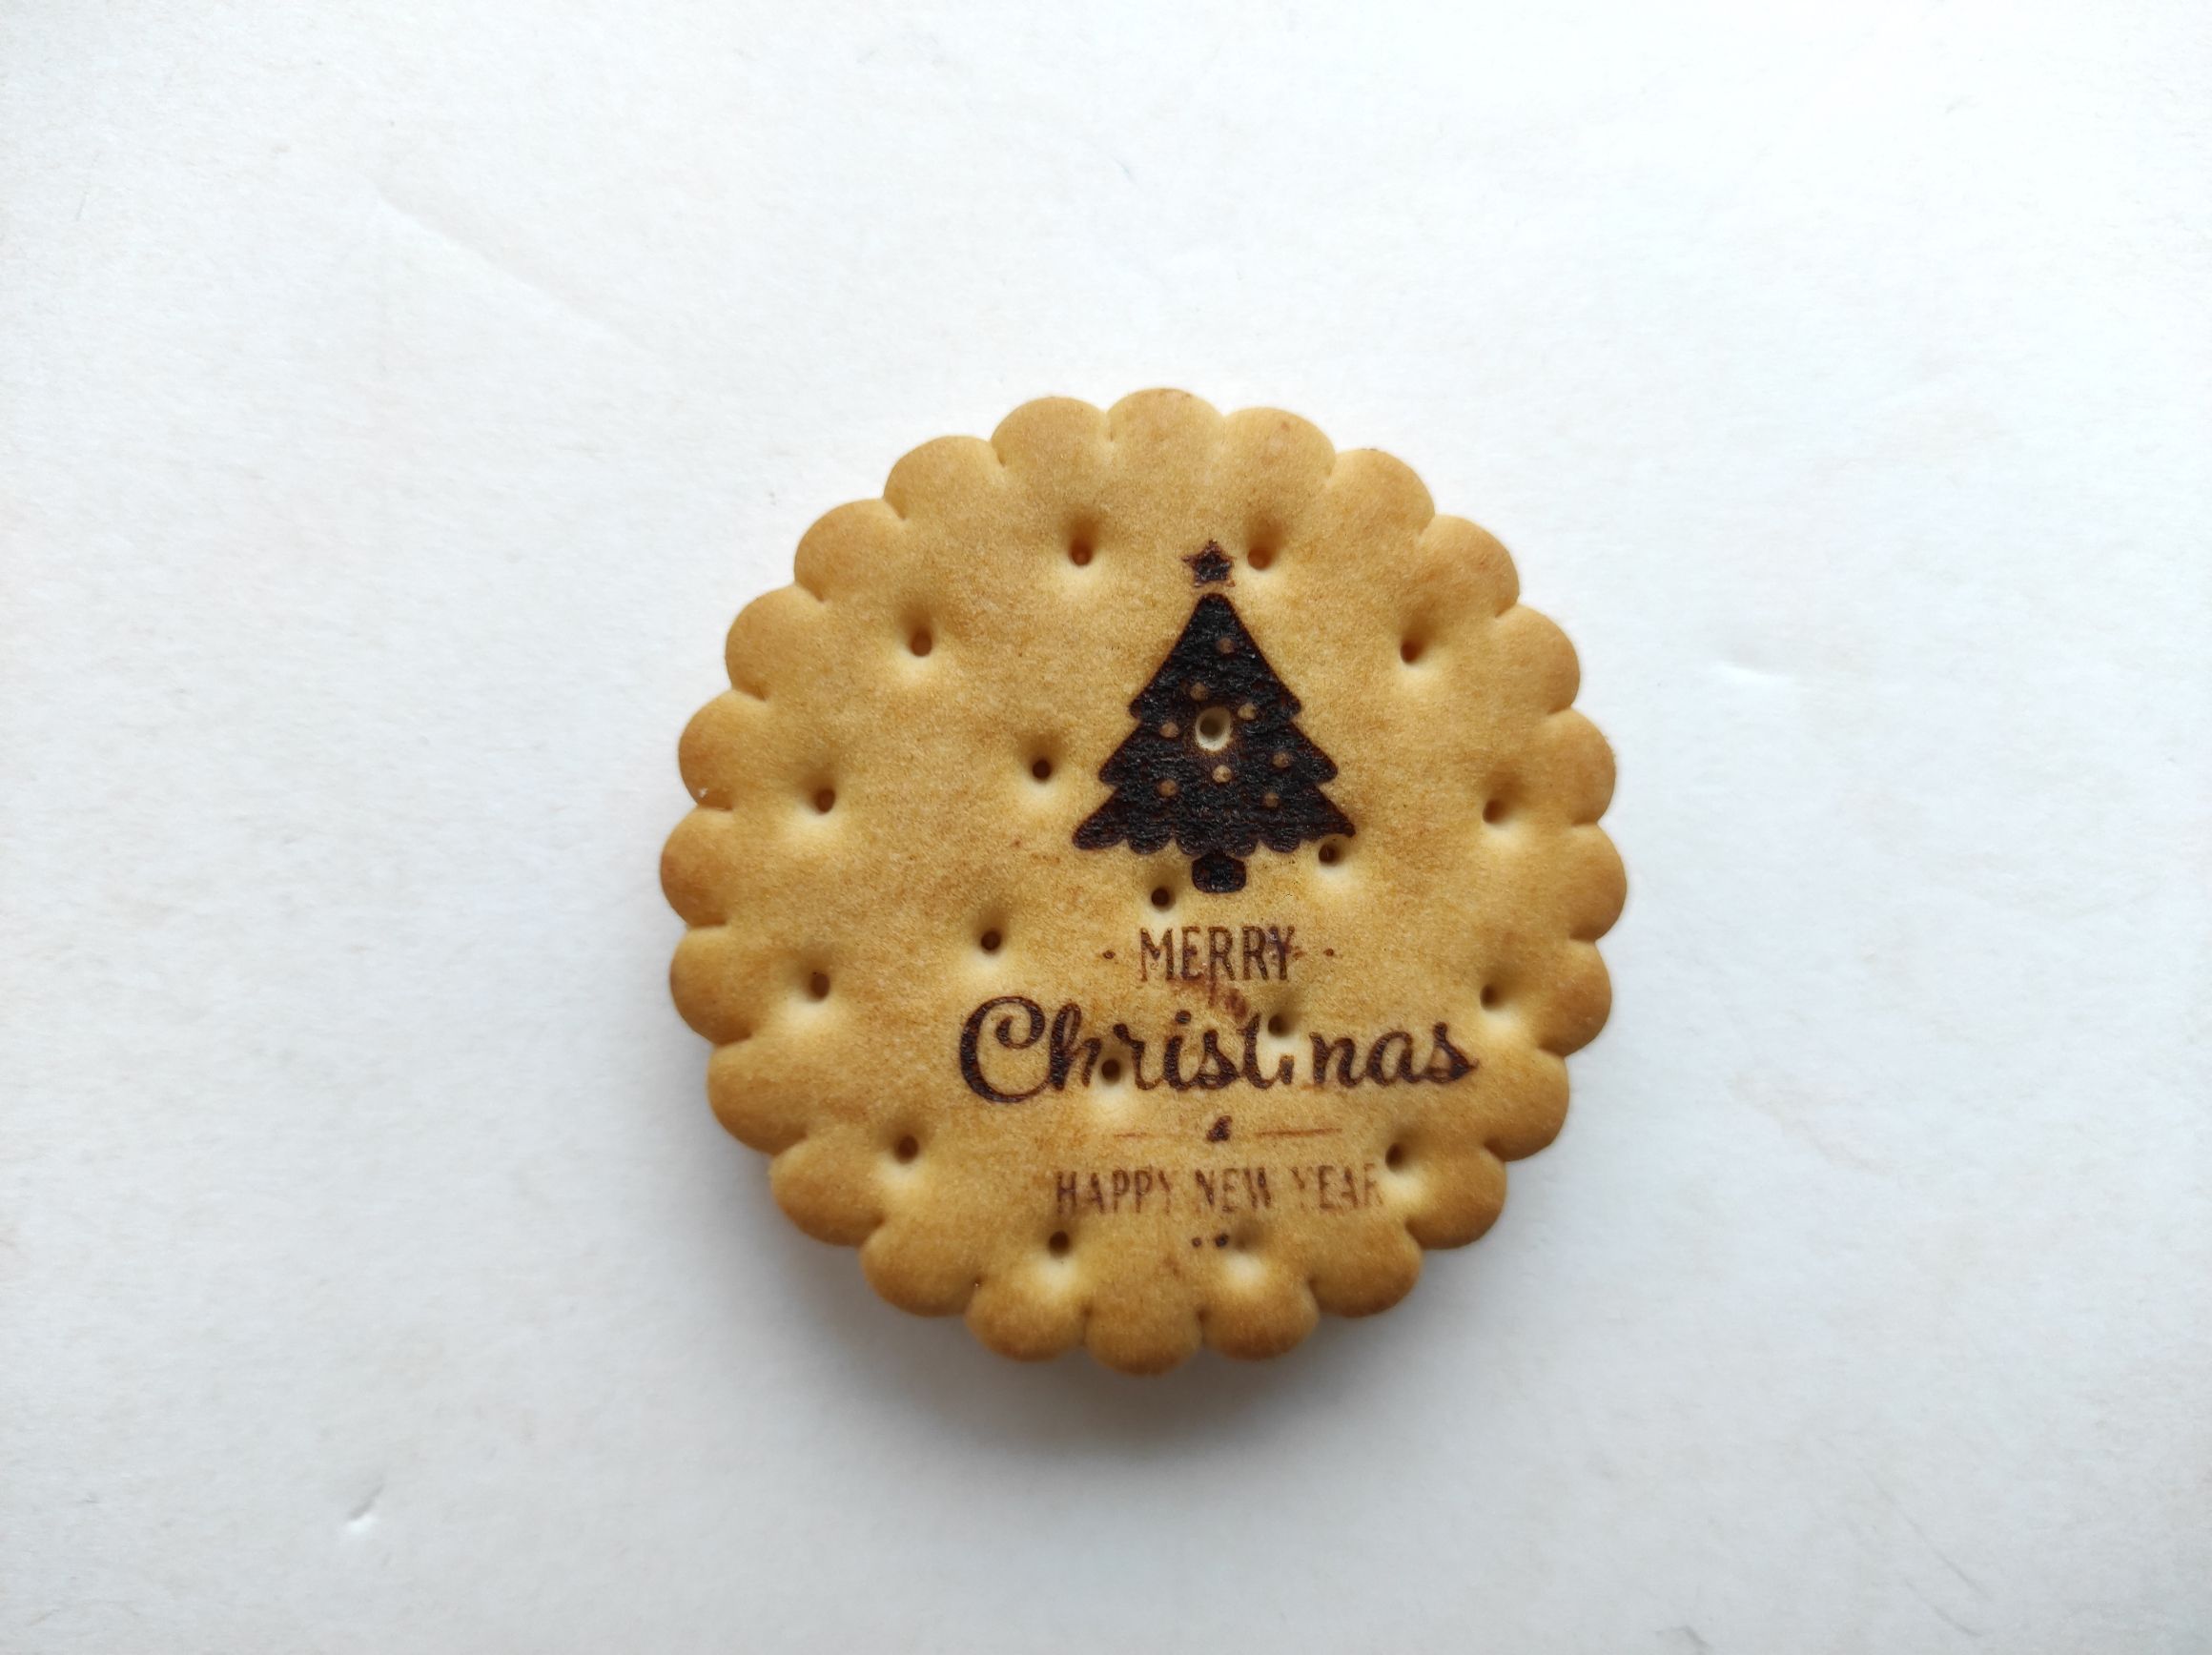
Making Images and Texts on Baked Goods Using a Diode Laser (Endurance 10 watt plus Pro, G2 short focal lens, focal range = 5 mm from the air nozzle ver 2.0).
The New Year and Christmas days are a time of celebration, joy, and, of course, gifts. Today we are going to make an image with captions on cookies and various pastries. This kind of pastry item will be a great gift for the winter holidays.

Now let’s talk about how to do it.
1. For work, we need several types of baked goods: cookies, sweets, chocolate, cakes, biscuits and, most importantly, a diode laser. A diode laser is required, as DPSS or carbon dioxide lasers will not cope with the current task.
2. In the LightBurn program, we open an image or a text that we are planning to make on our baked items (both vector and bitmap images are suitable). We set the following processing parameters: speed 1200 mm / min, power 40%, fill density 0.1 mm, number of passes 1. The focal point should be on the surface of the workpiece for all the objects used in this work.


3. We laser process one piece of the baked items at a time. For every item we check the focus point and adjust it if necessary. The focal length for the type of the laser and the lens we use, should be about 5 mm. There’s no need to change or adjust any other processing parameters.


- Here are the baked goods we used to make images and texts on. The biscuits showed the best results. The engravings on dark chocolate surfaces are not as impressive as on light-colored baked goods.


An acrylic hand (from Terminator 2 “ending scene”)
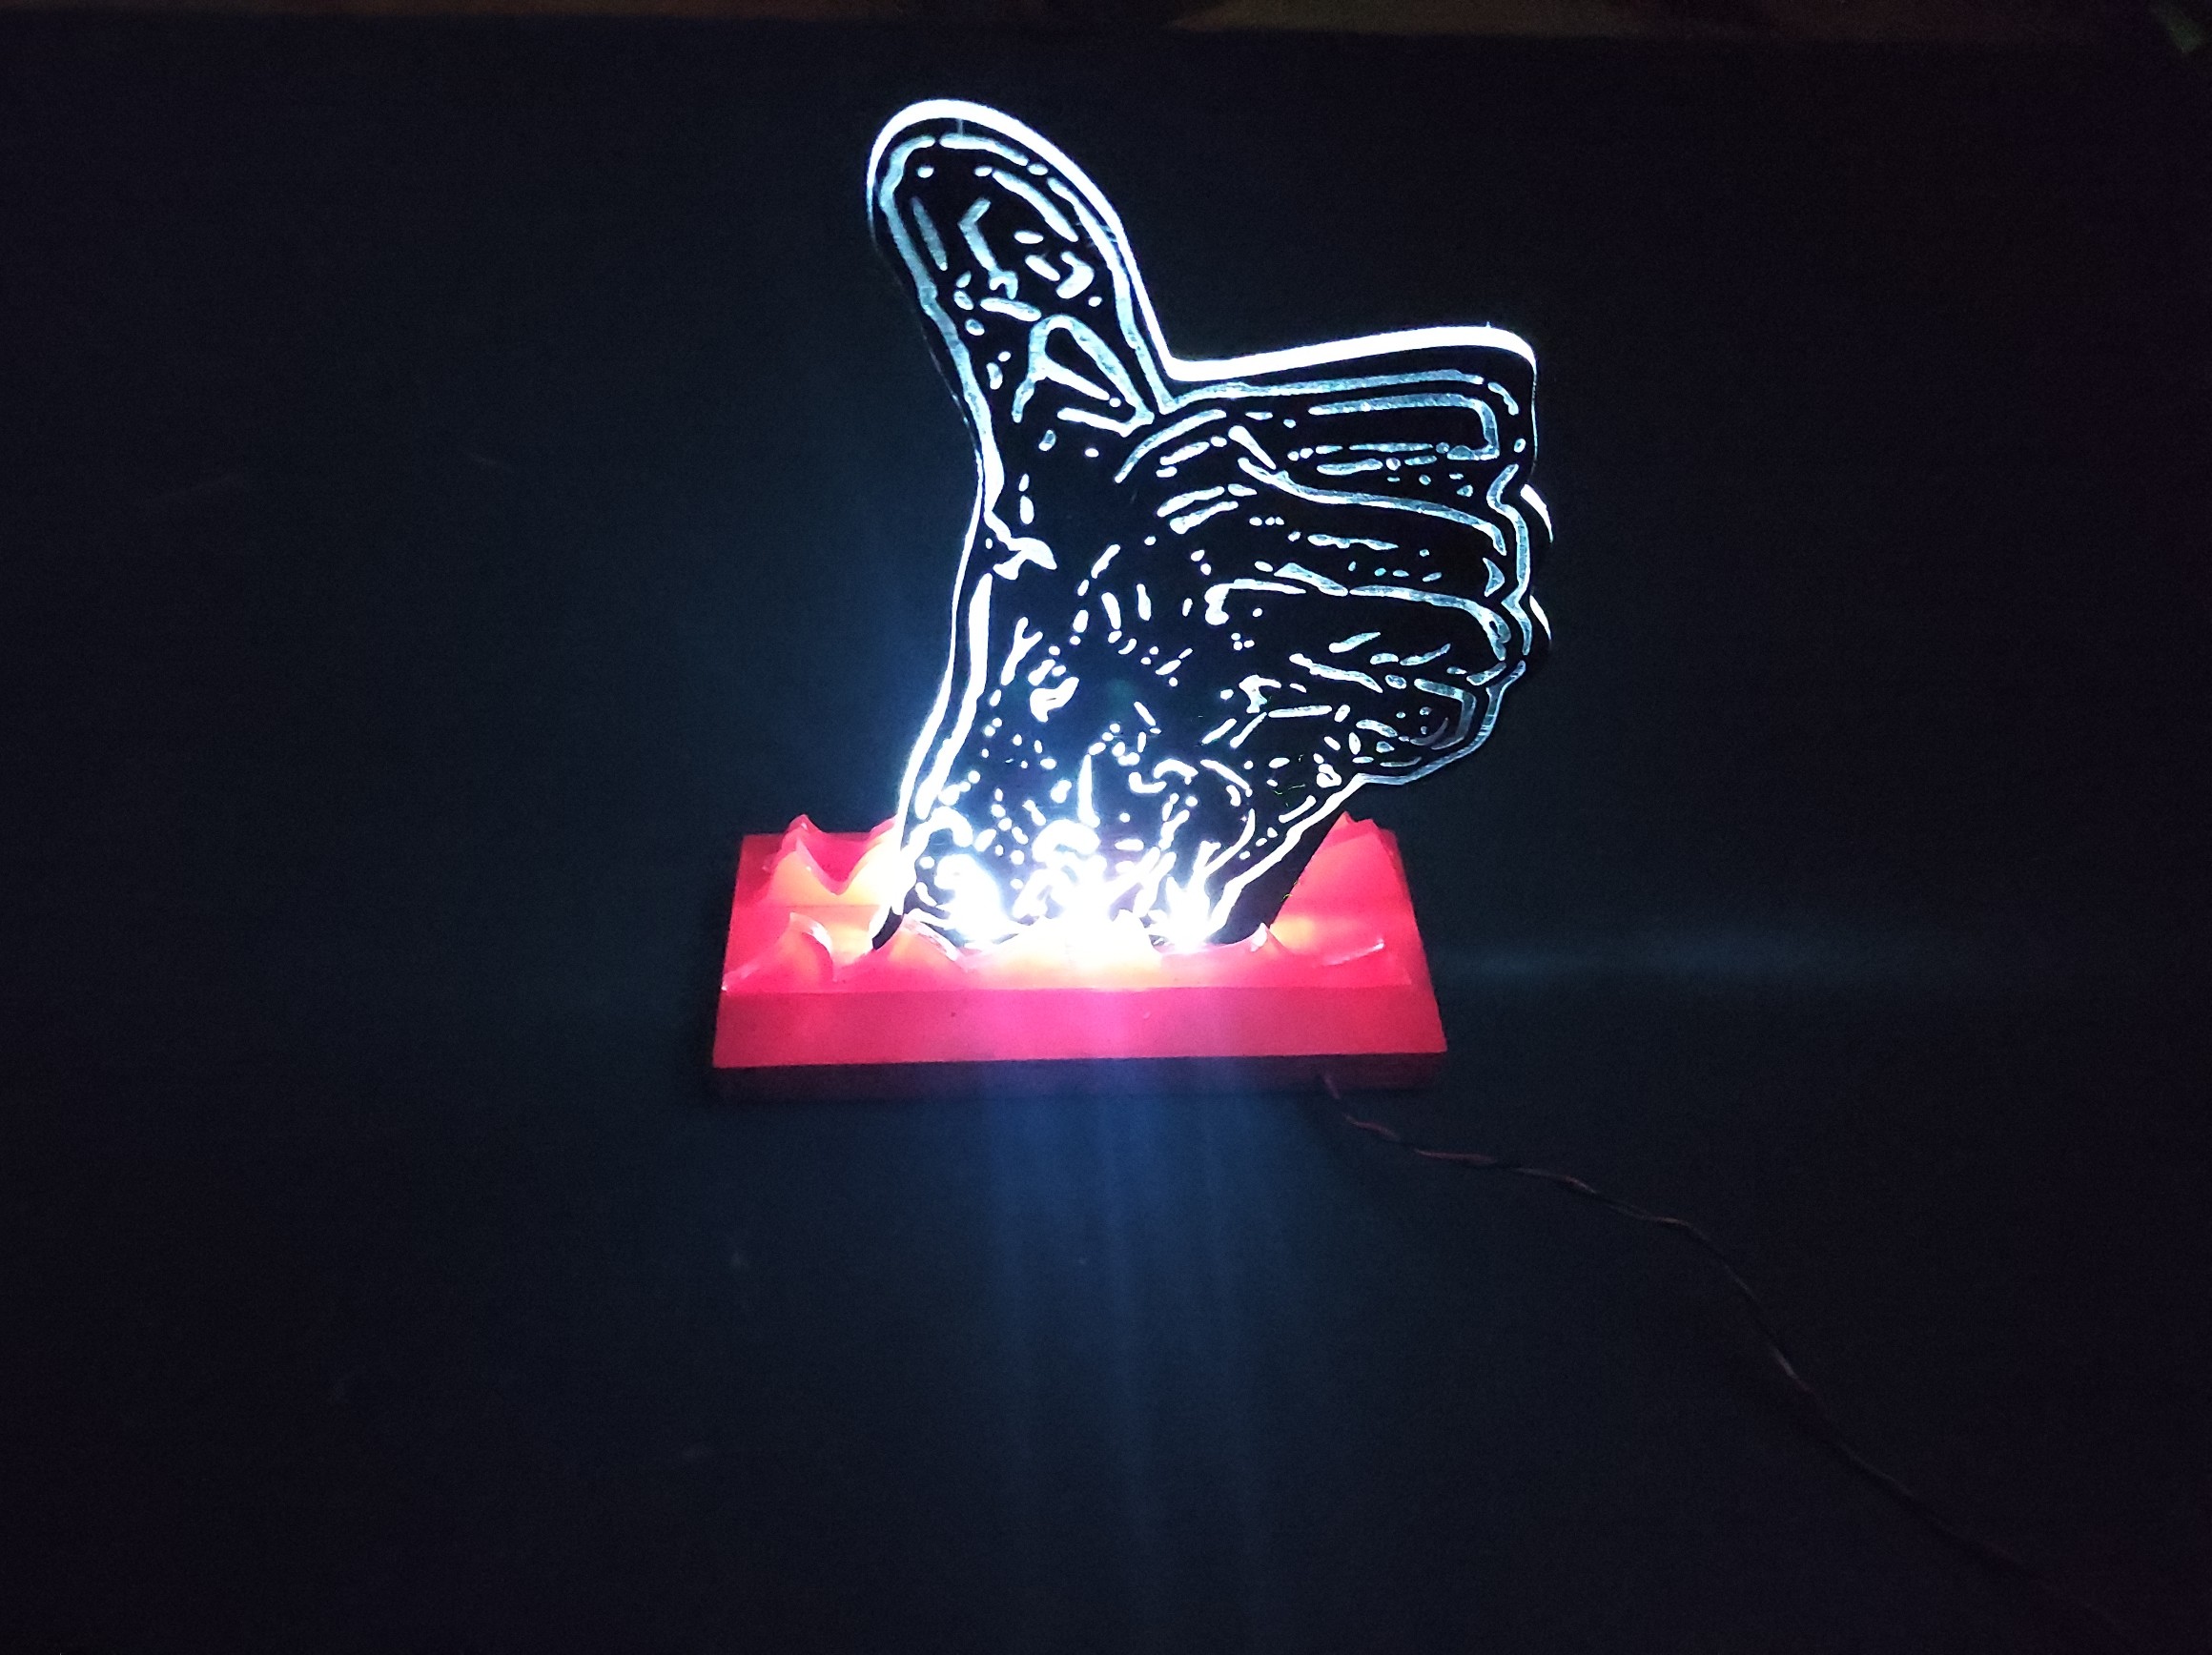
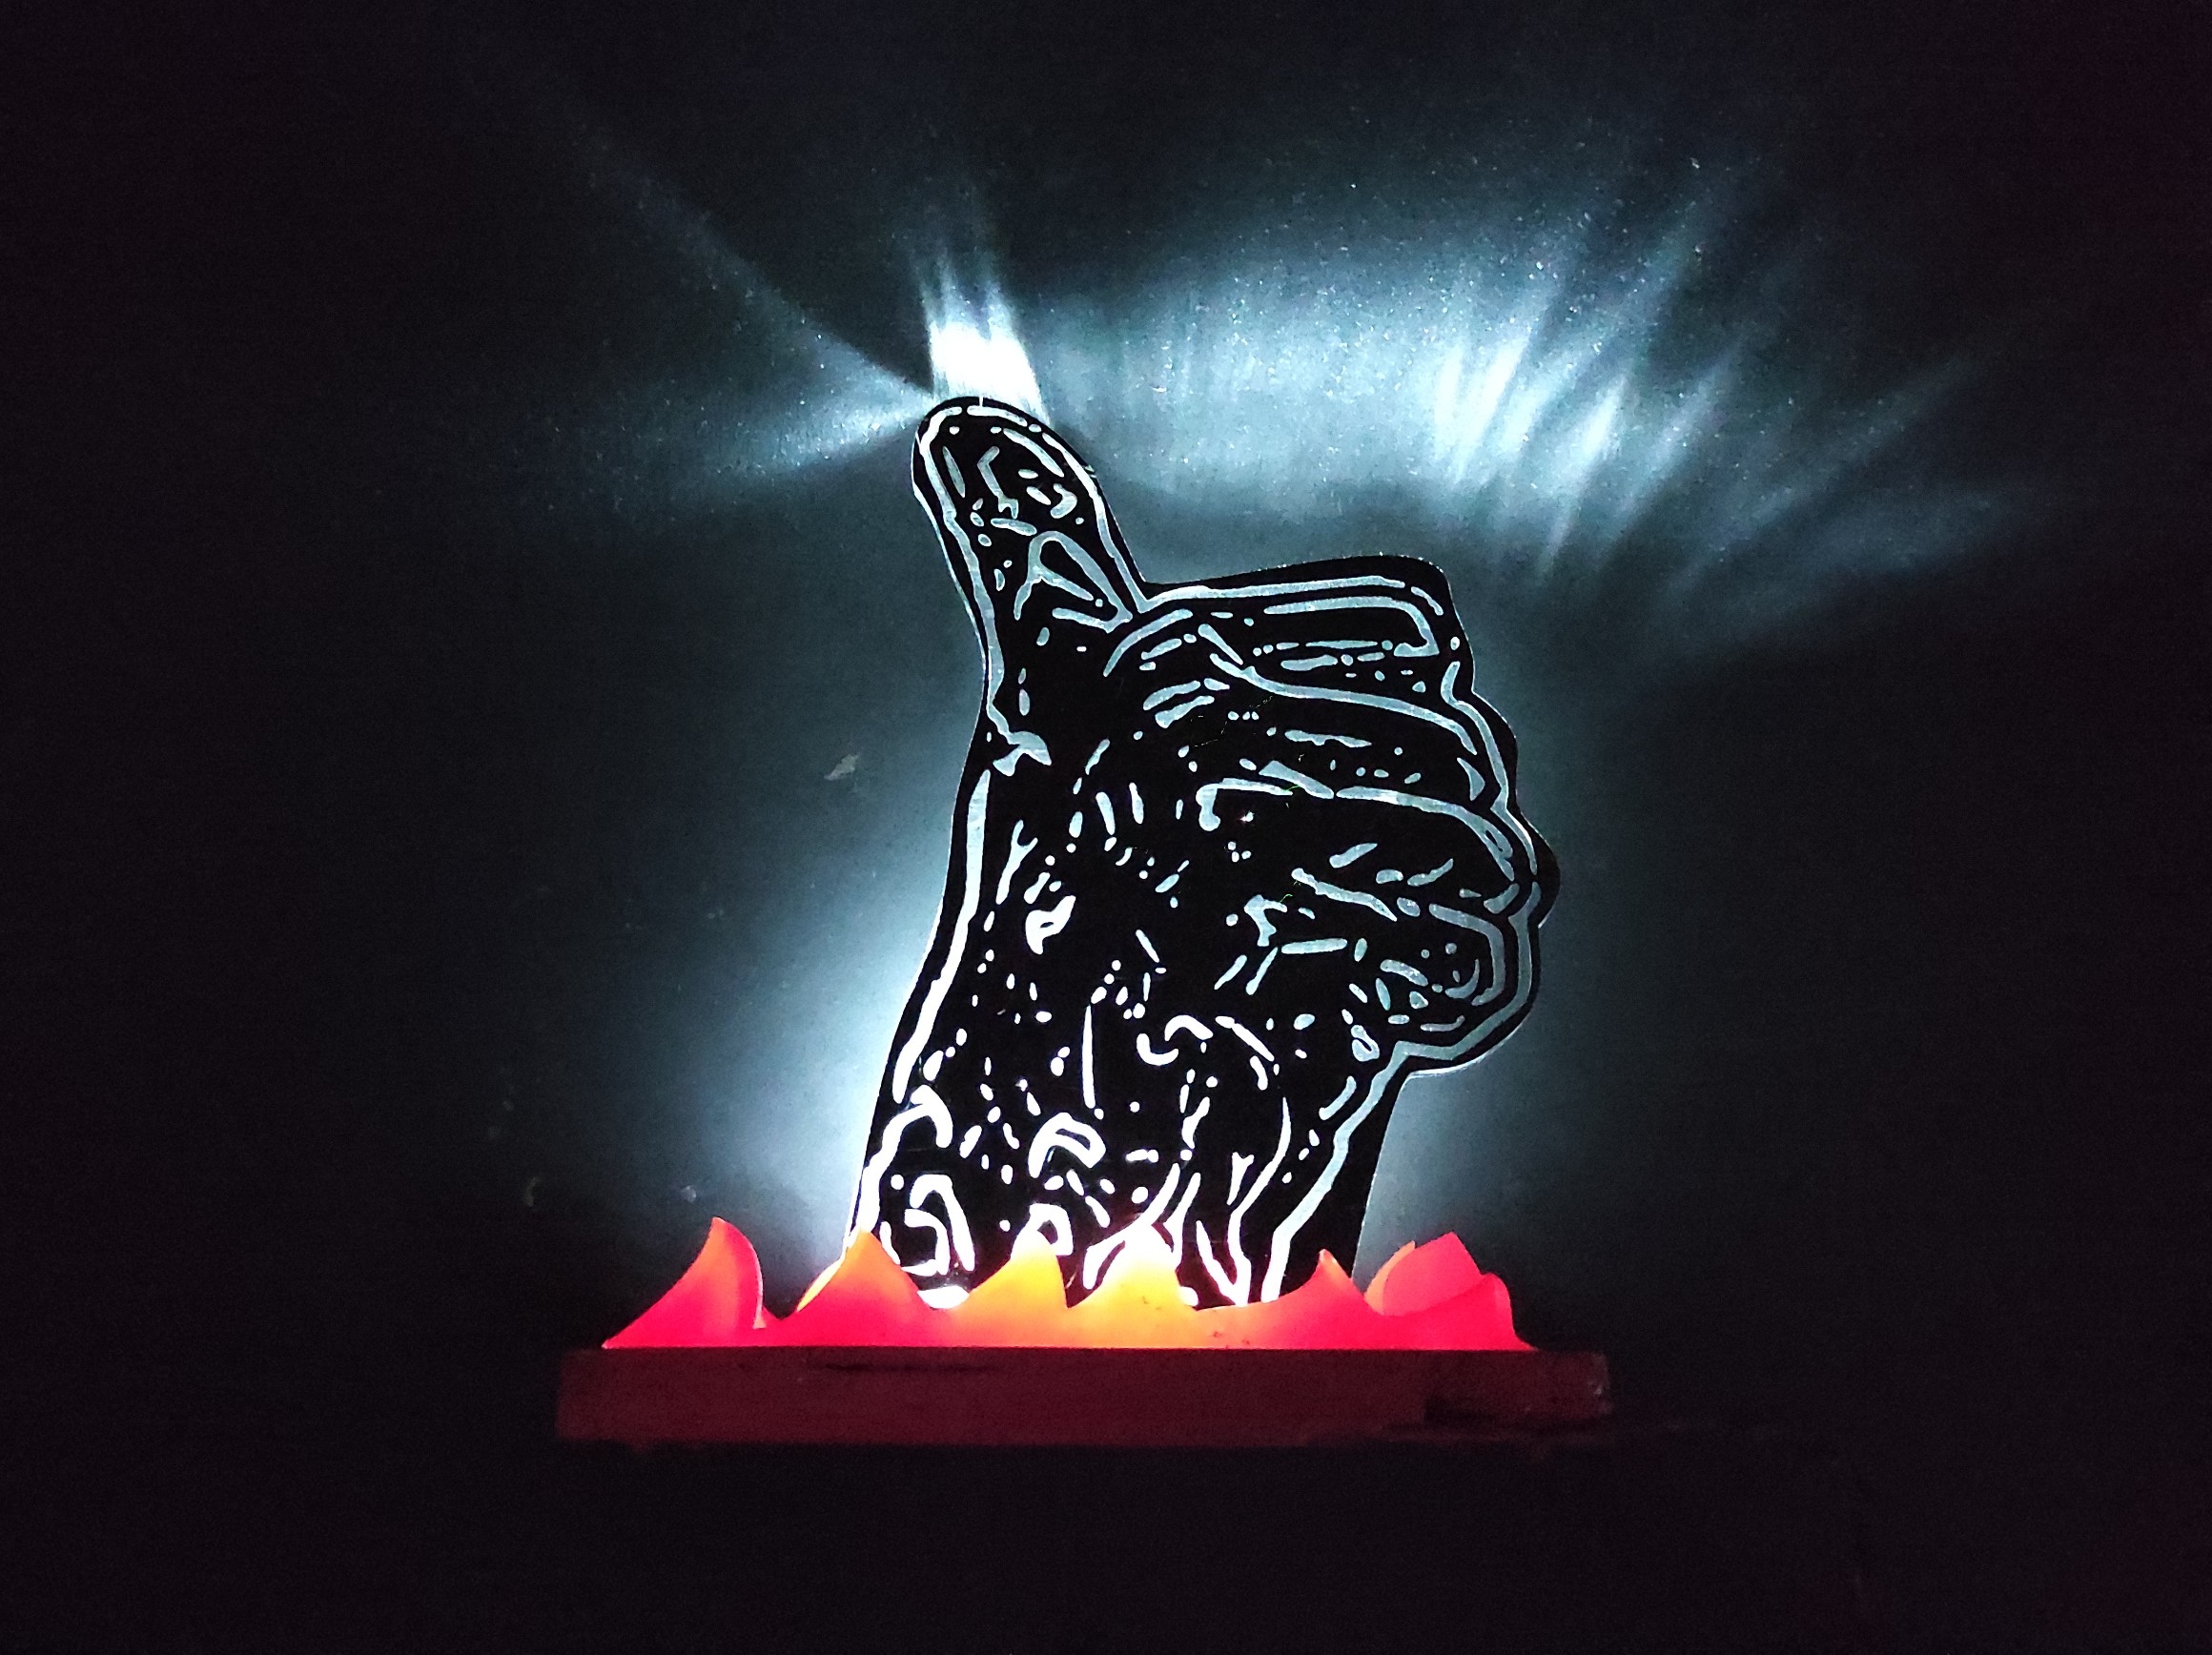
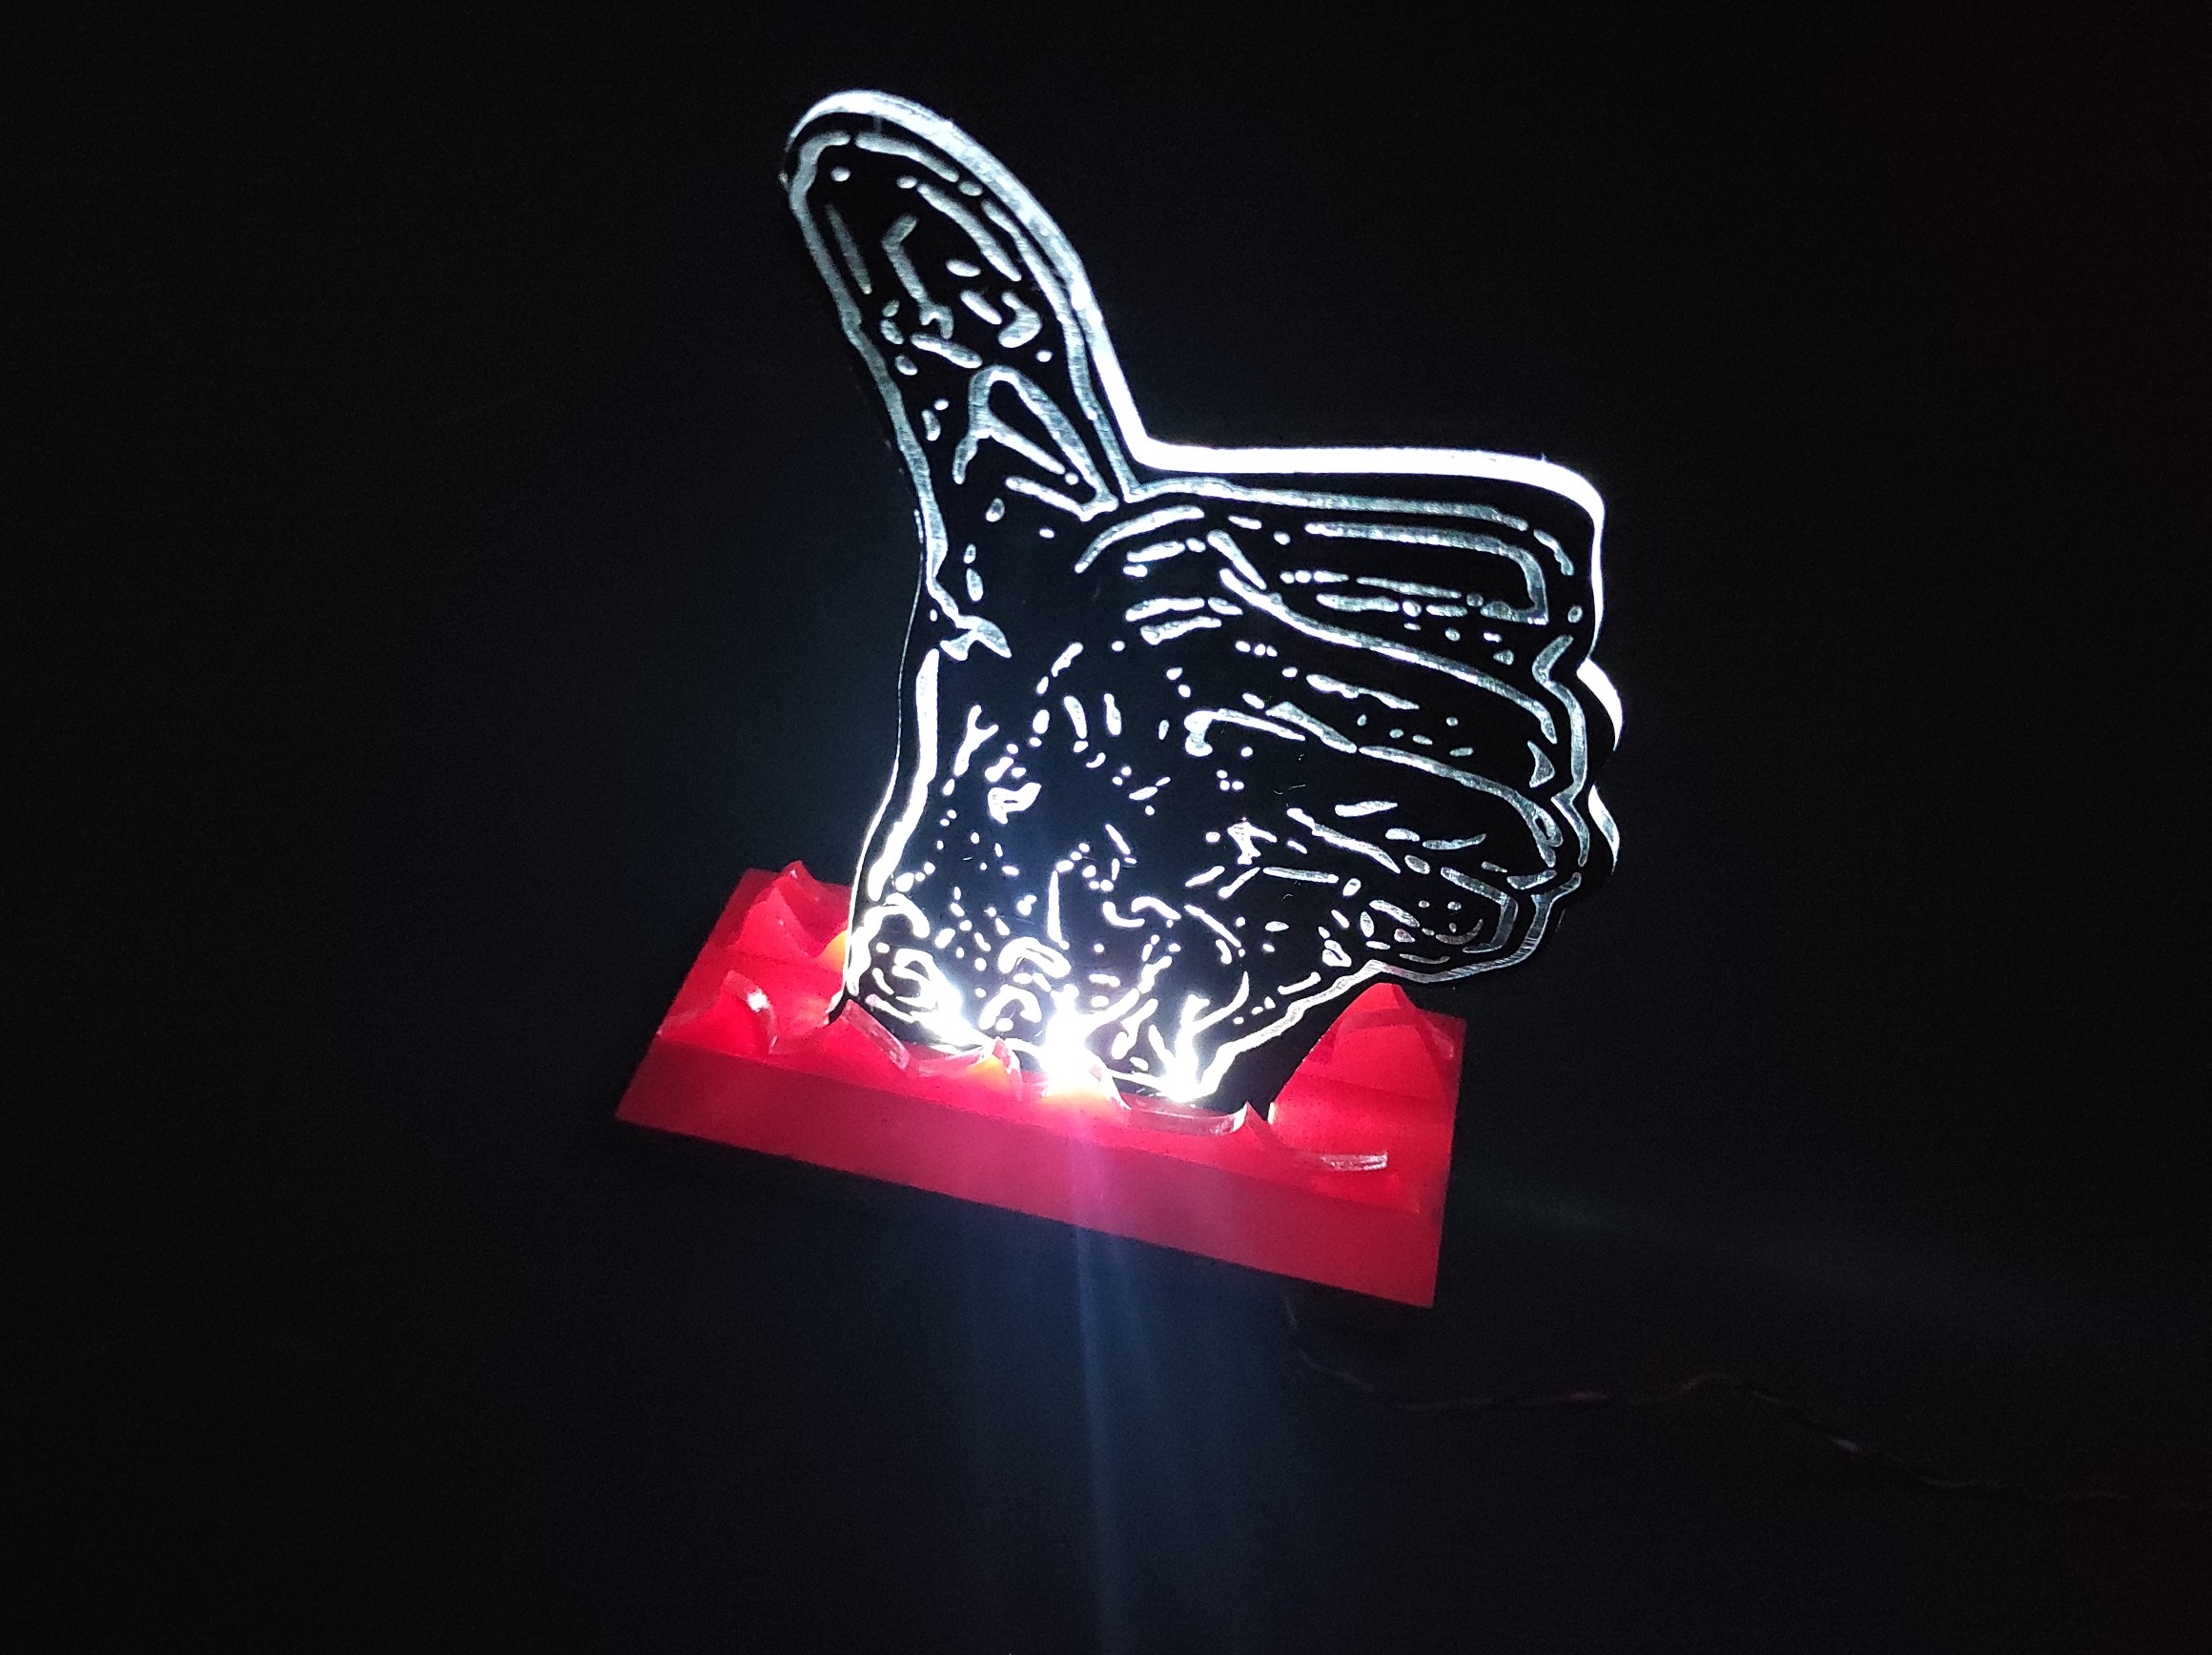
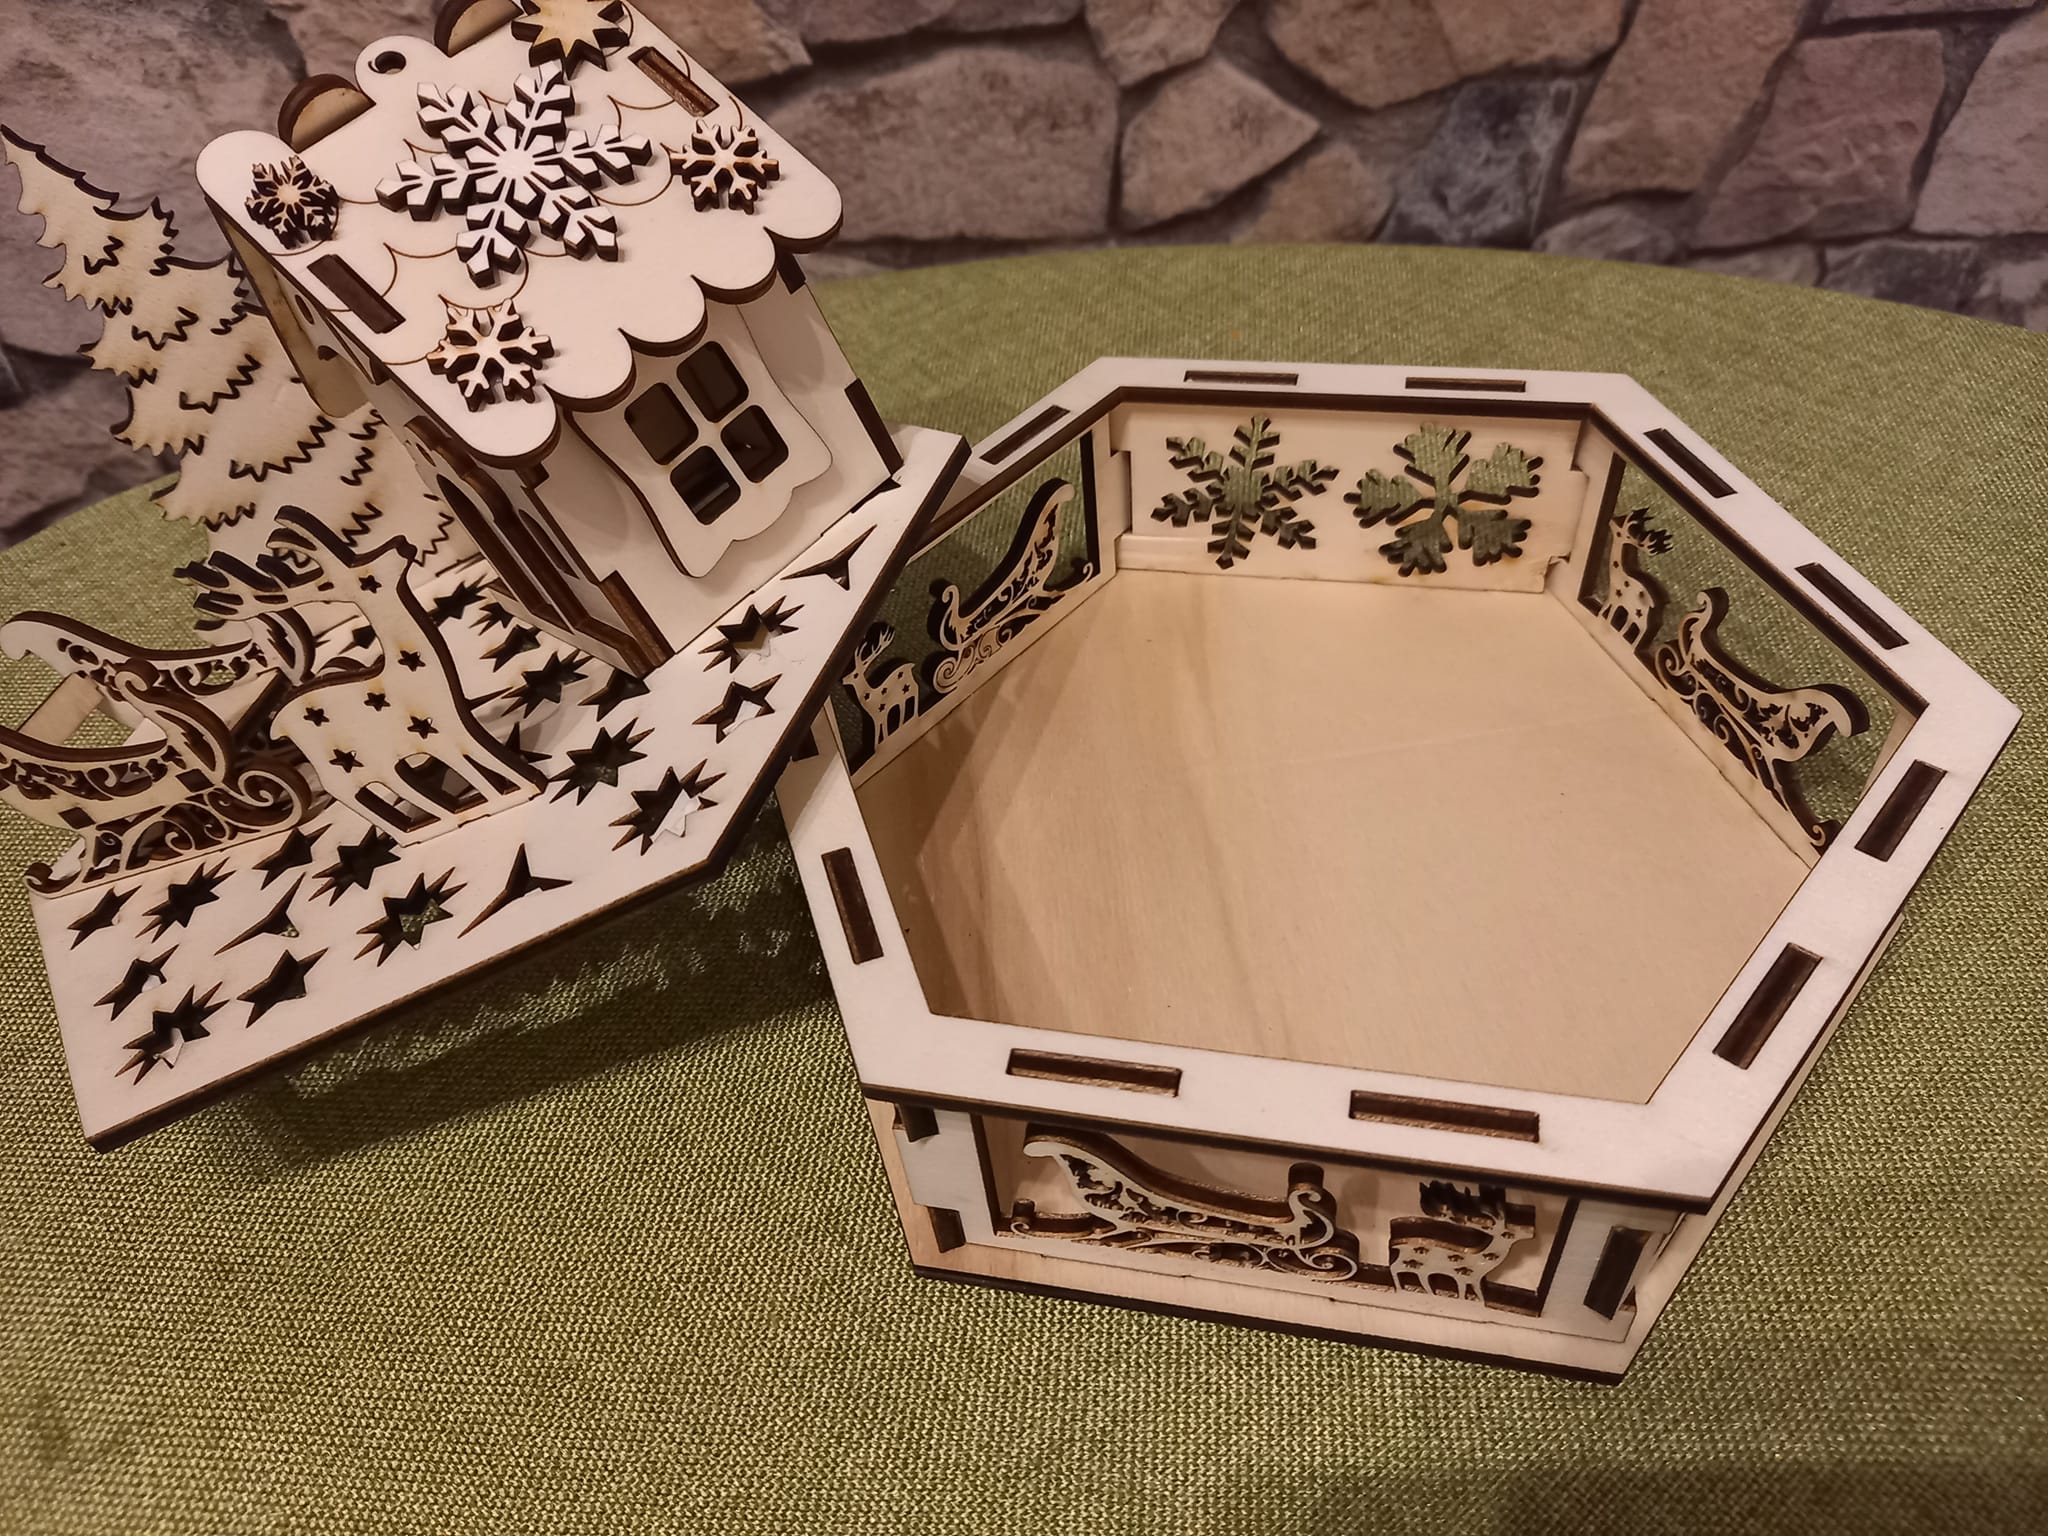
A DIY plywood box
A DIY candlestick
Candles, garlands and lighting chains add a quality of coziness. Warm colors raise your spirits and warm your soul.
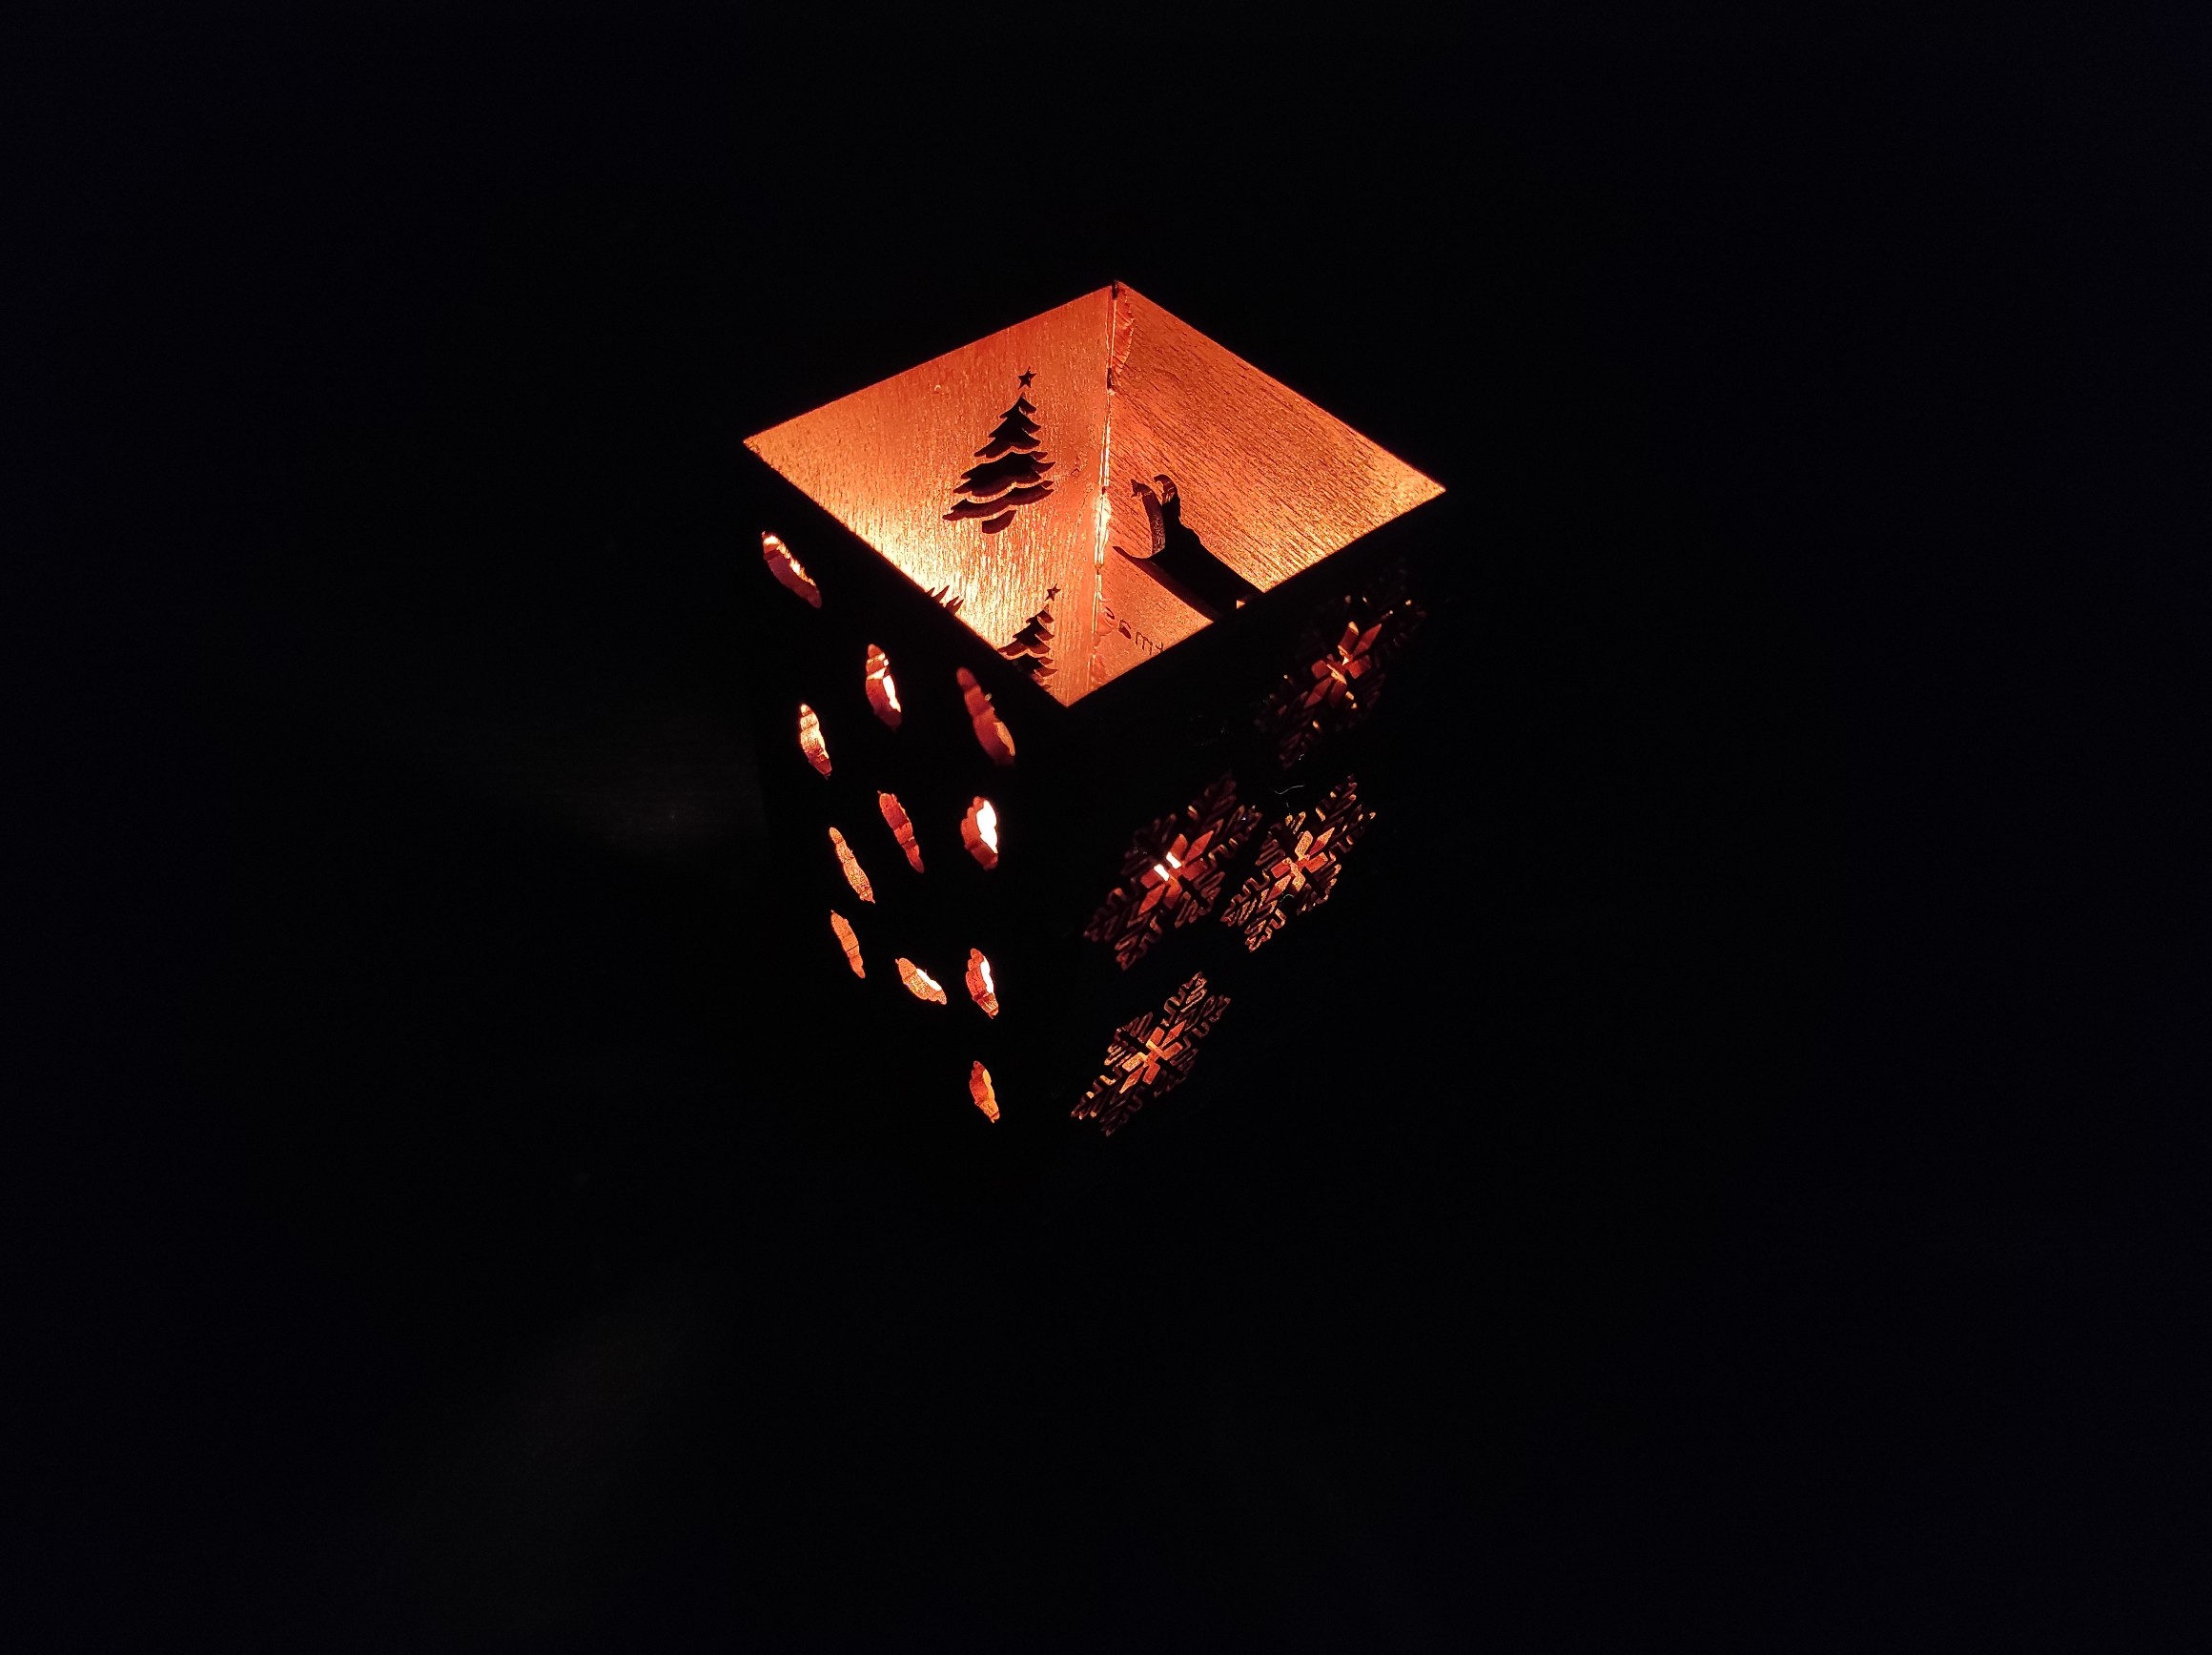
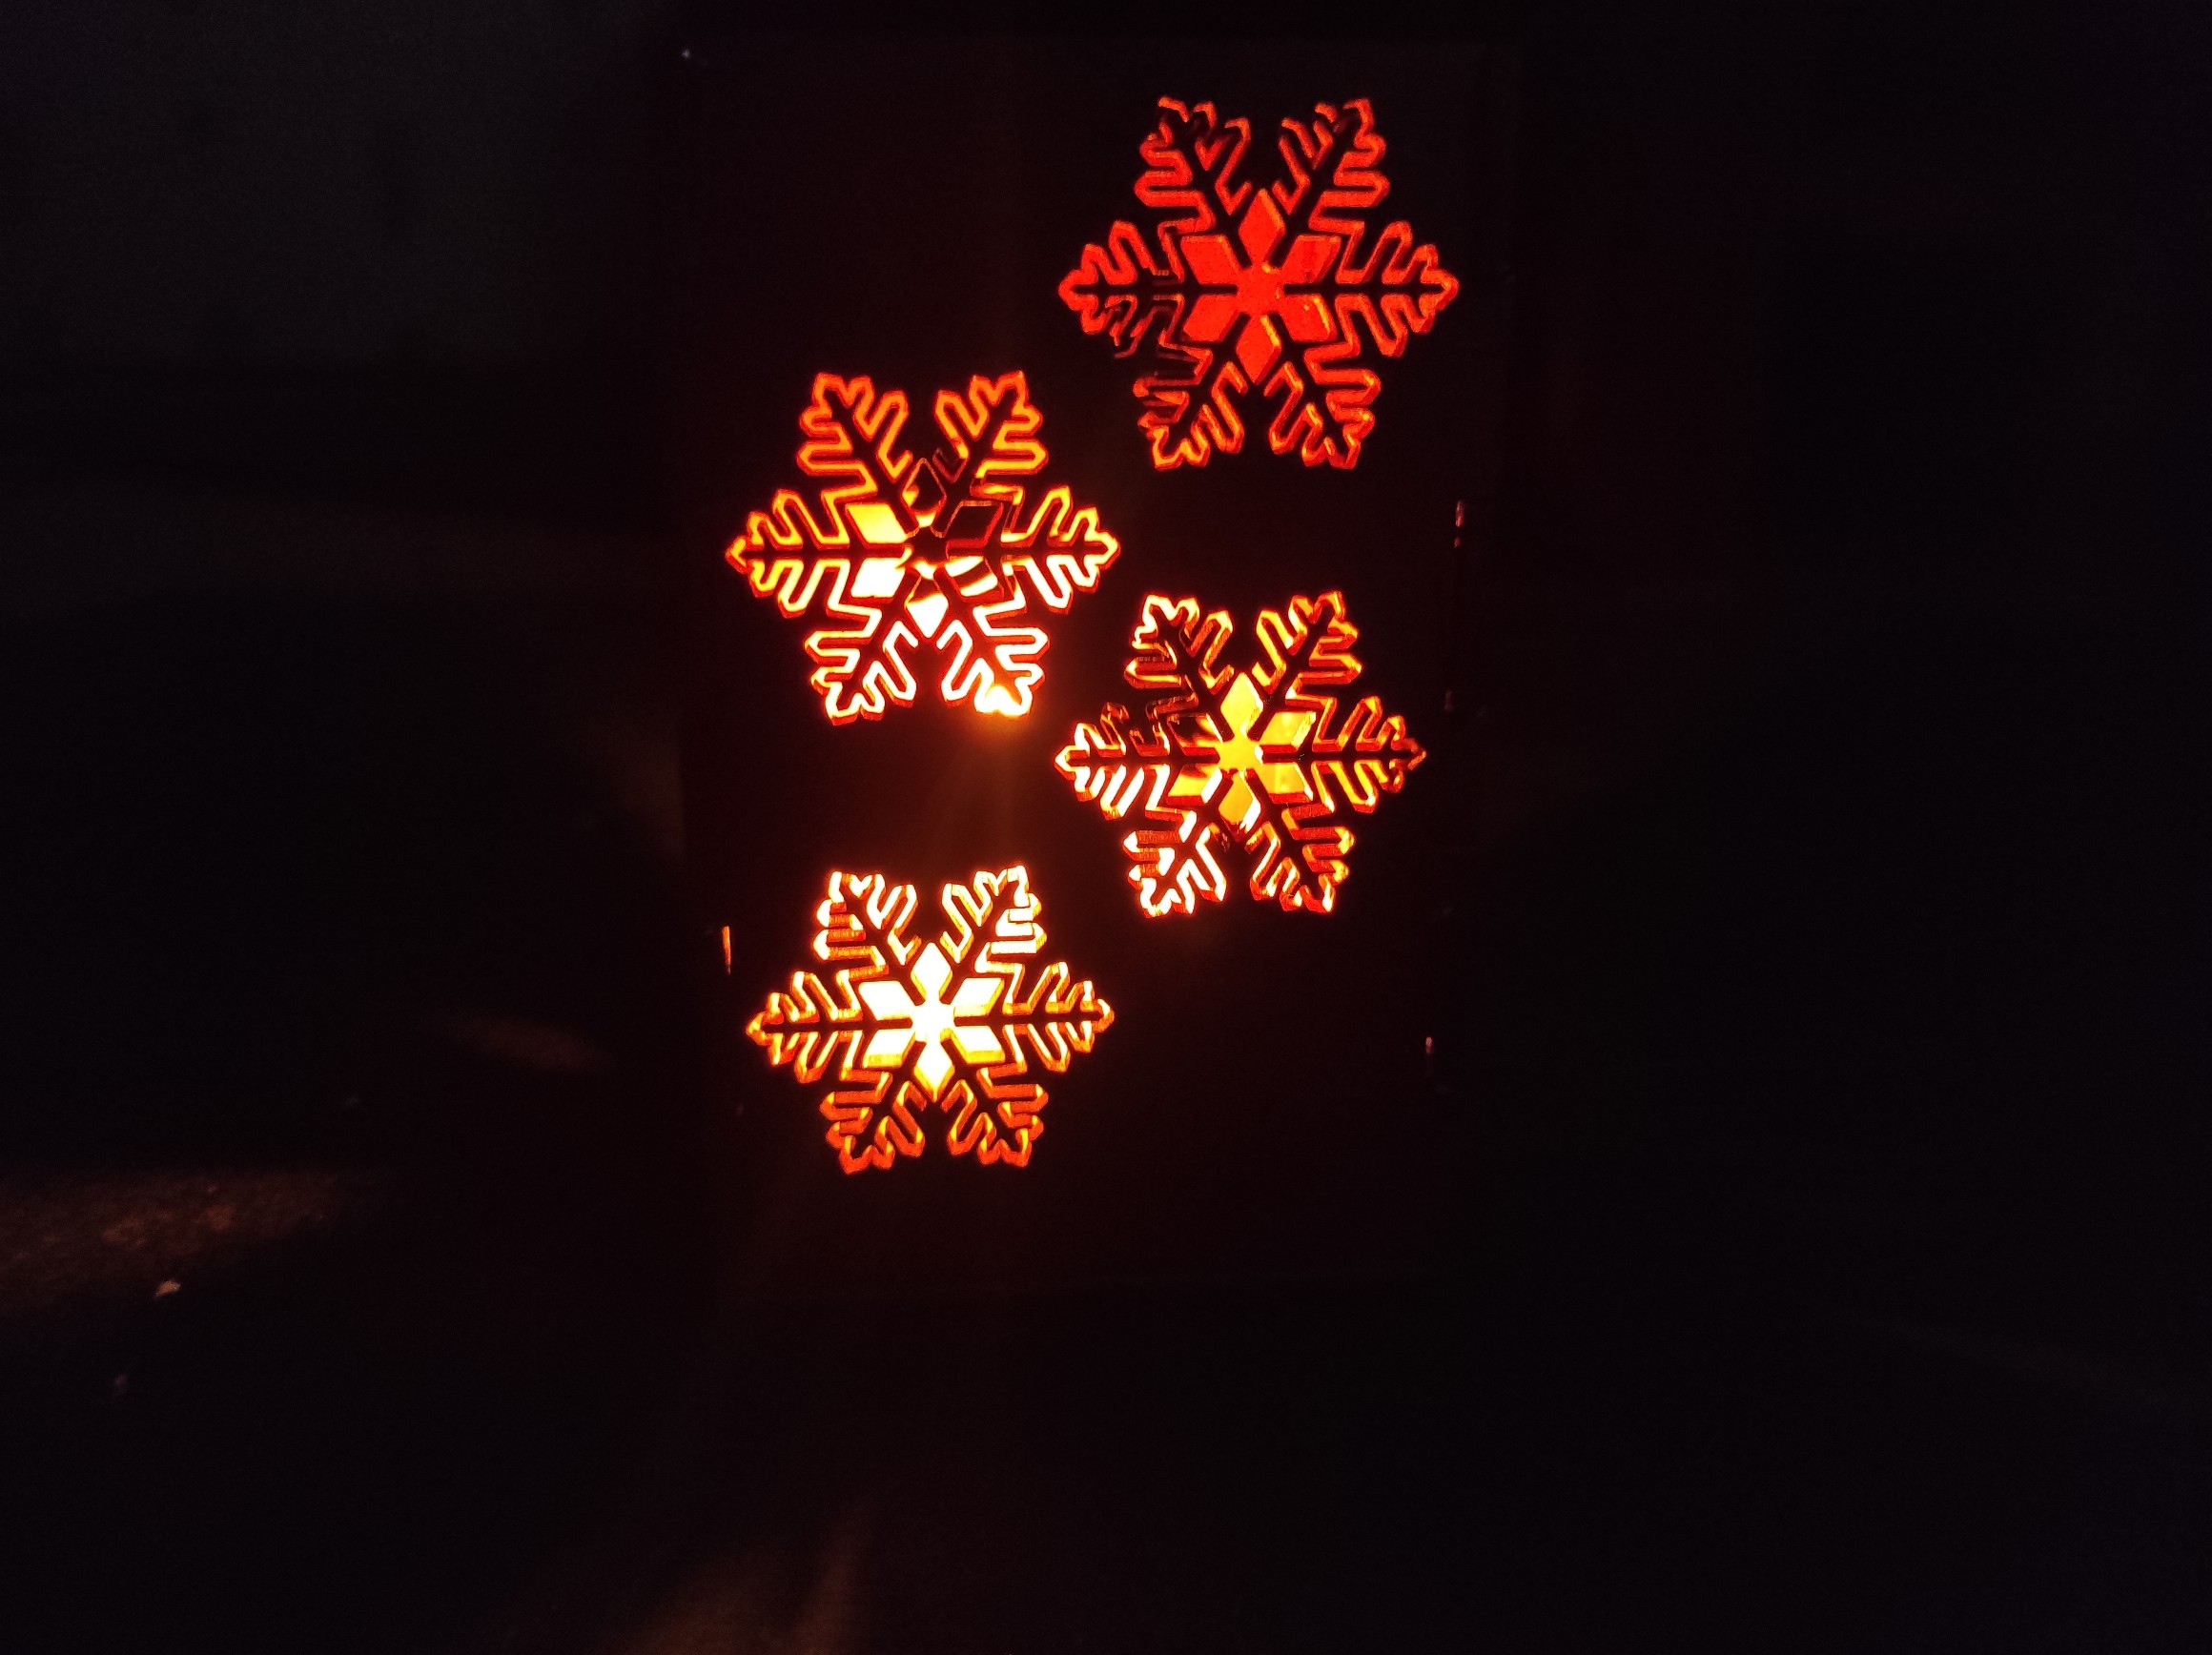
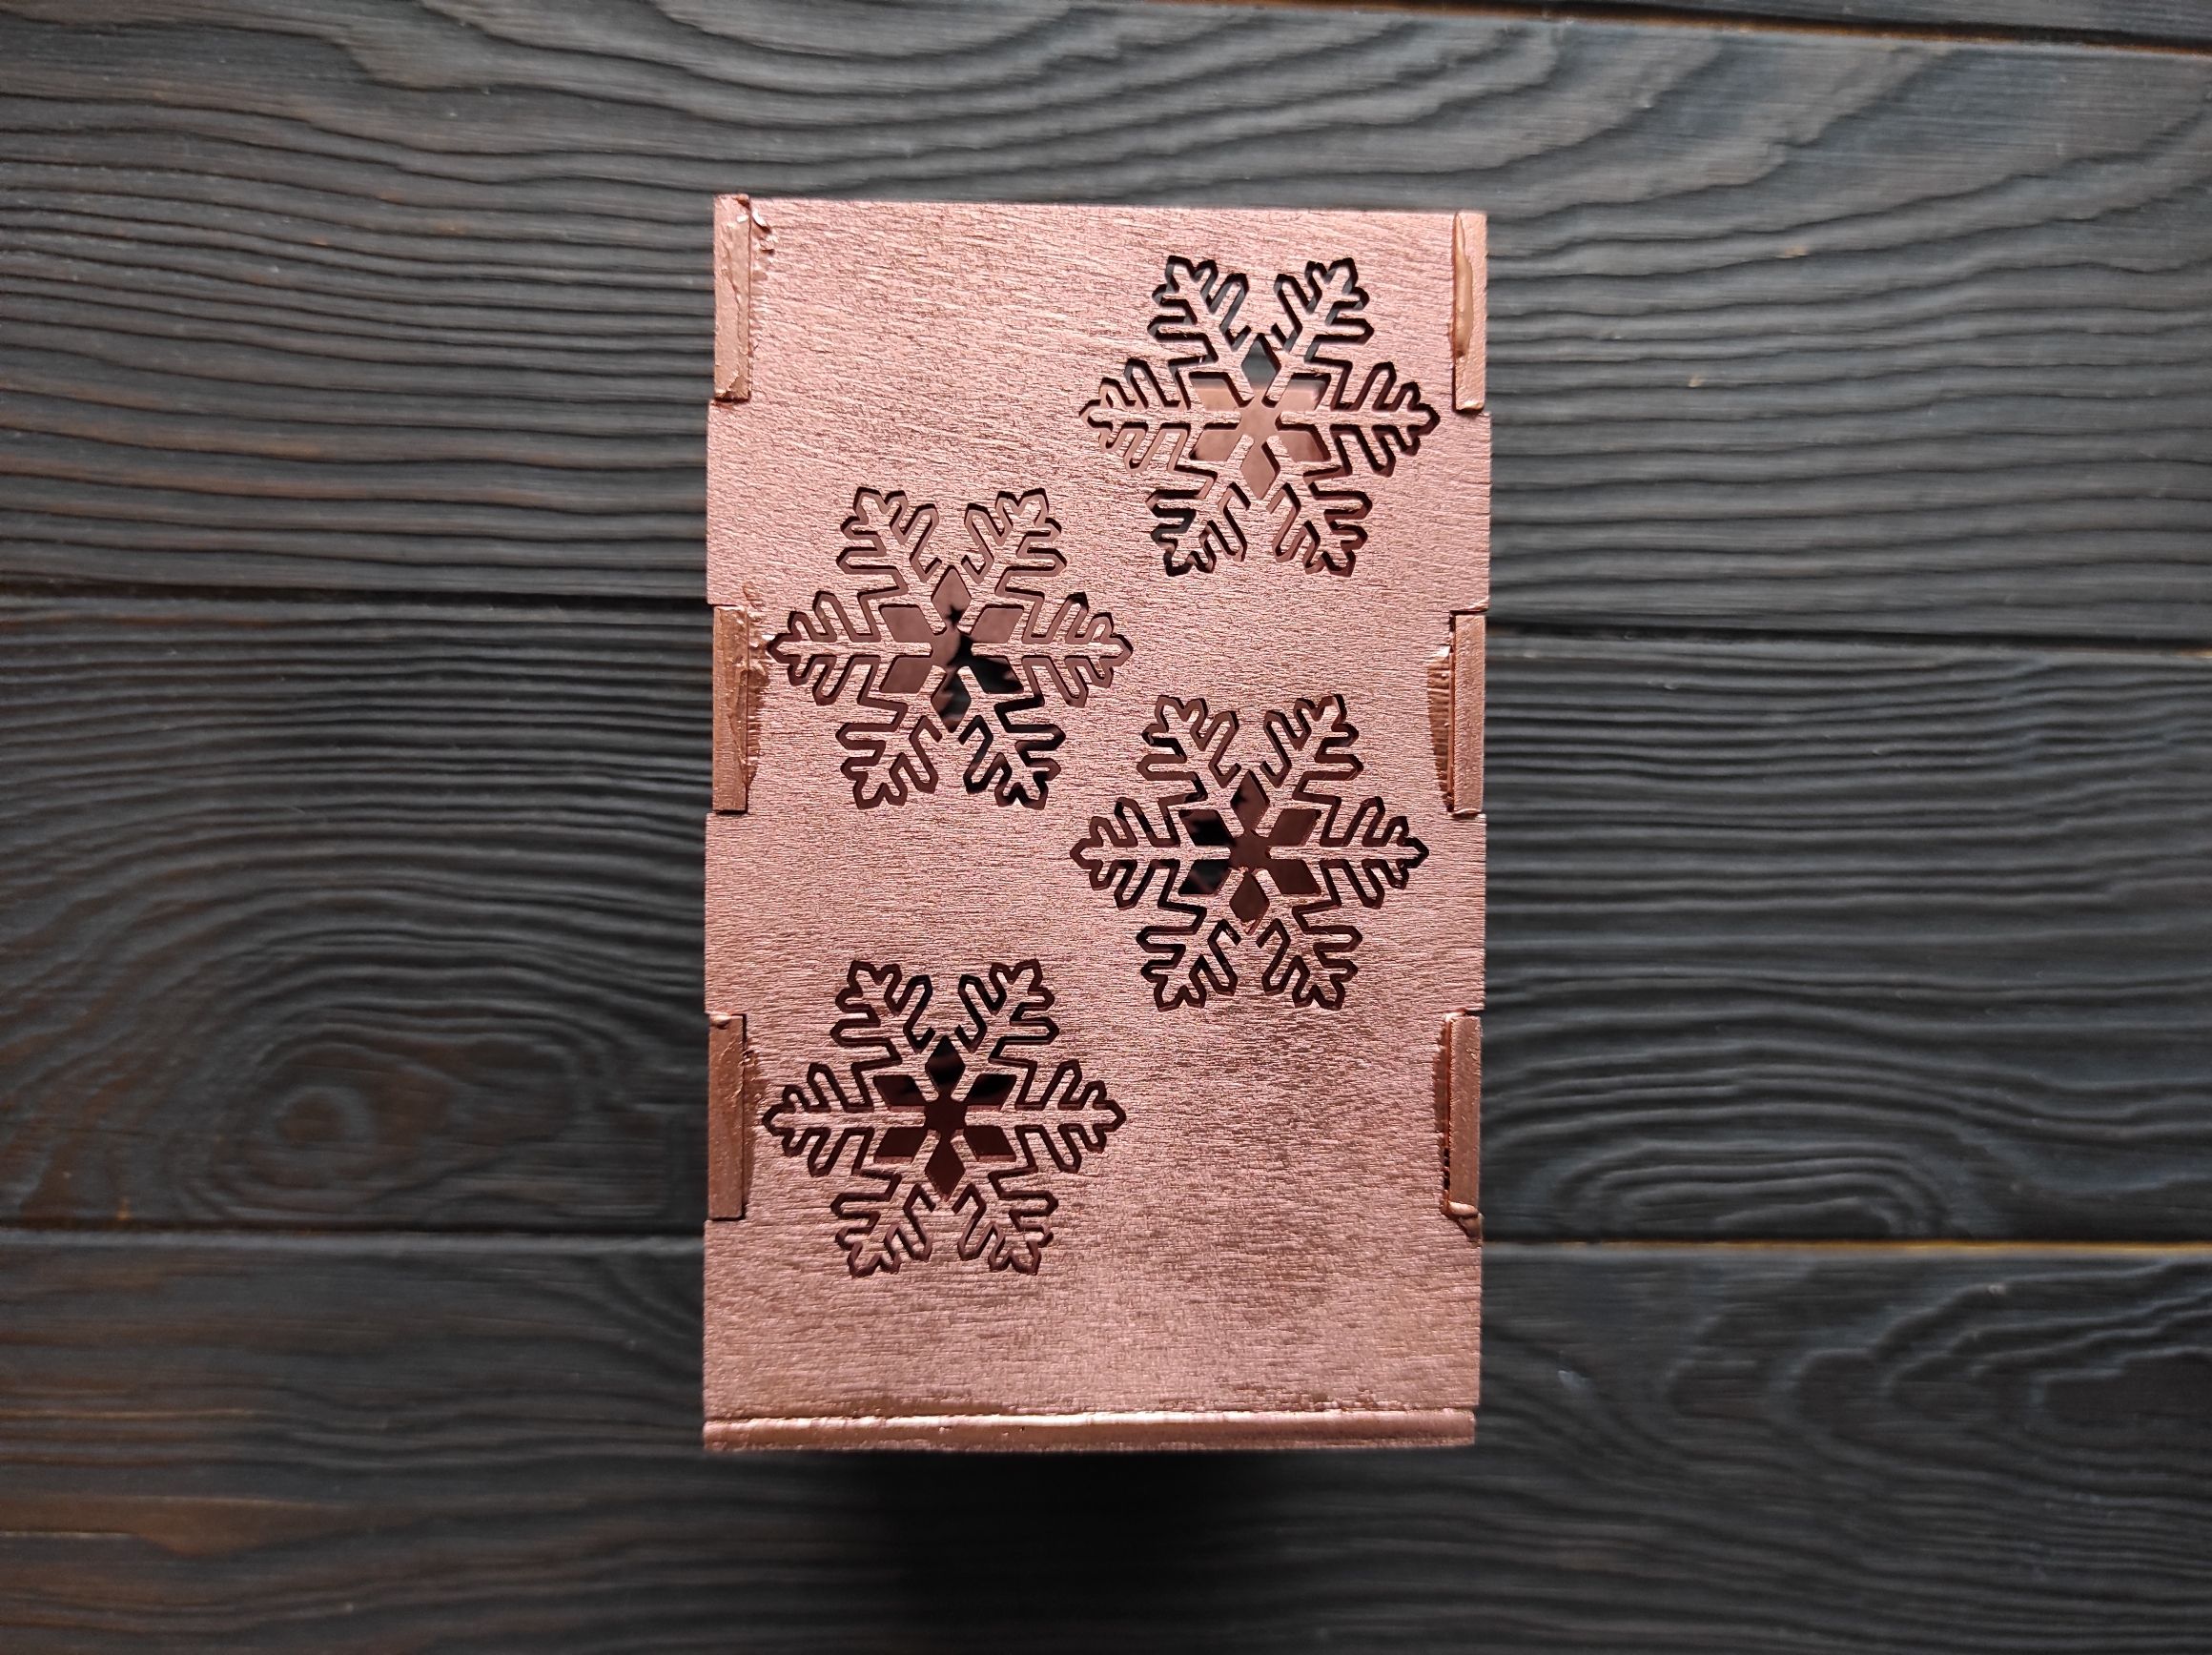
We have an idea how to make beautiful holders for tea candles. These candleholders will decorate your home interior and cast fantastic shadows on the walls of your room. We are going to make a candle holder out of plywood.

We will need:
- A diode laser (Endurance diode 10w PLUS PRO);
- A plywood piece, 25×16 cm;
- PVA glue;
- Sandpaper;
- Tea candles;
- Paint spray (bronze);
The first step is to create a candle holder design. It’s up to you to choose any design to your liking.
We usually work with Coral Draw, but you can use any other that supports vector images.
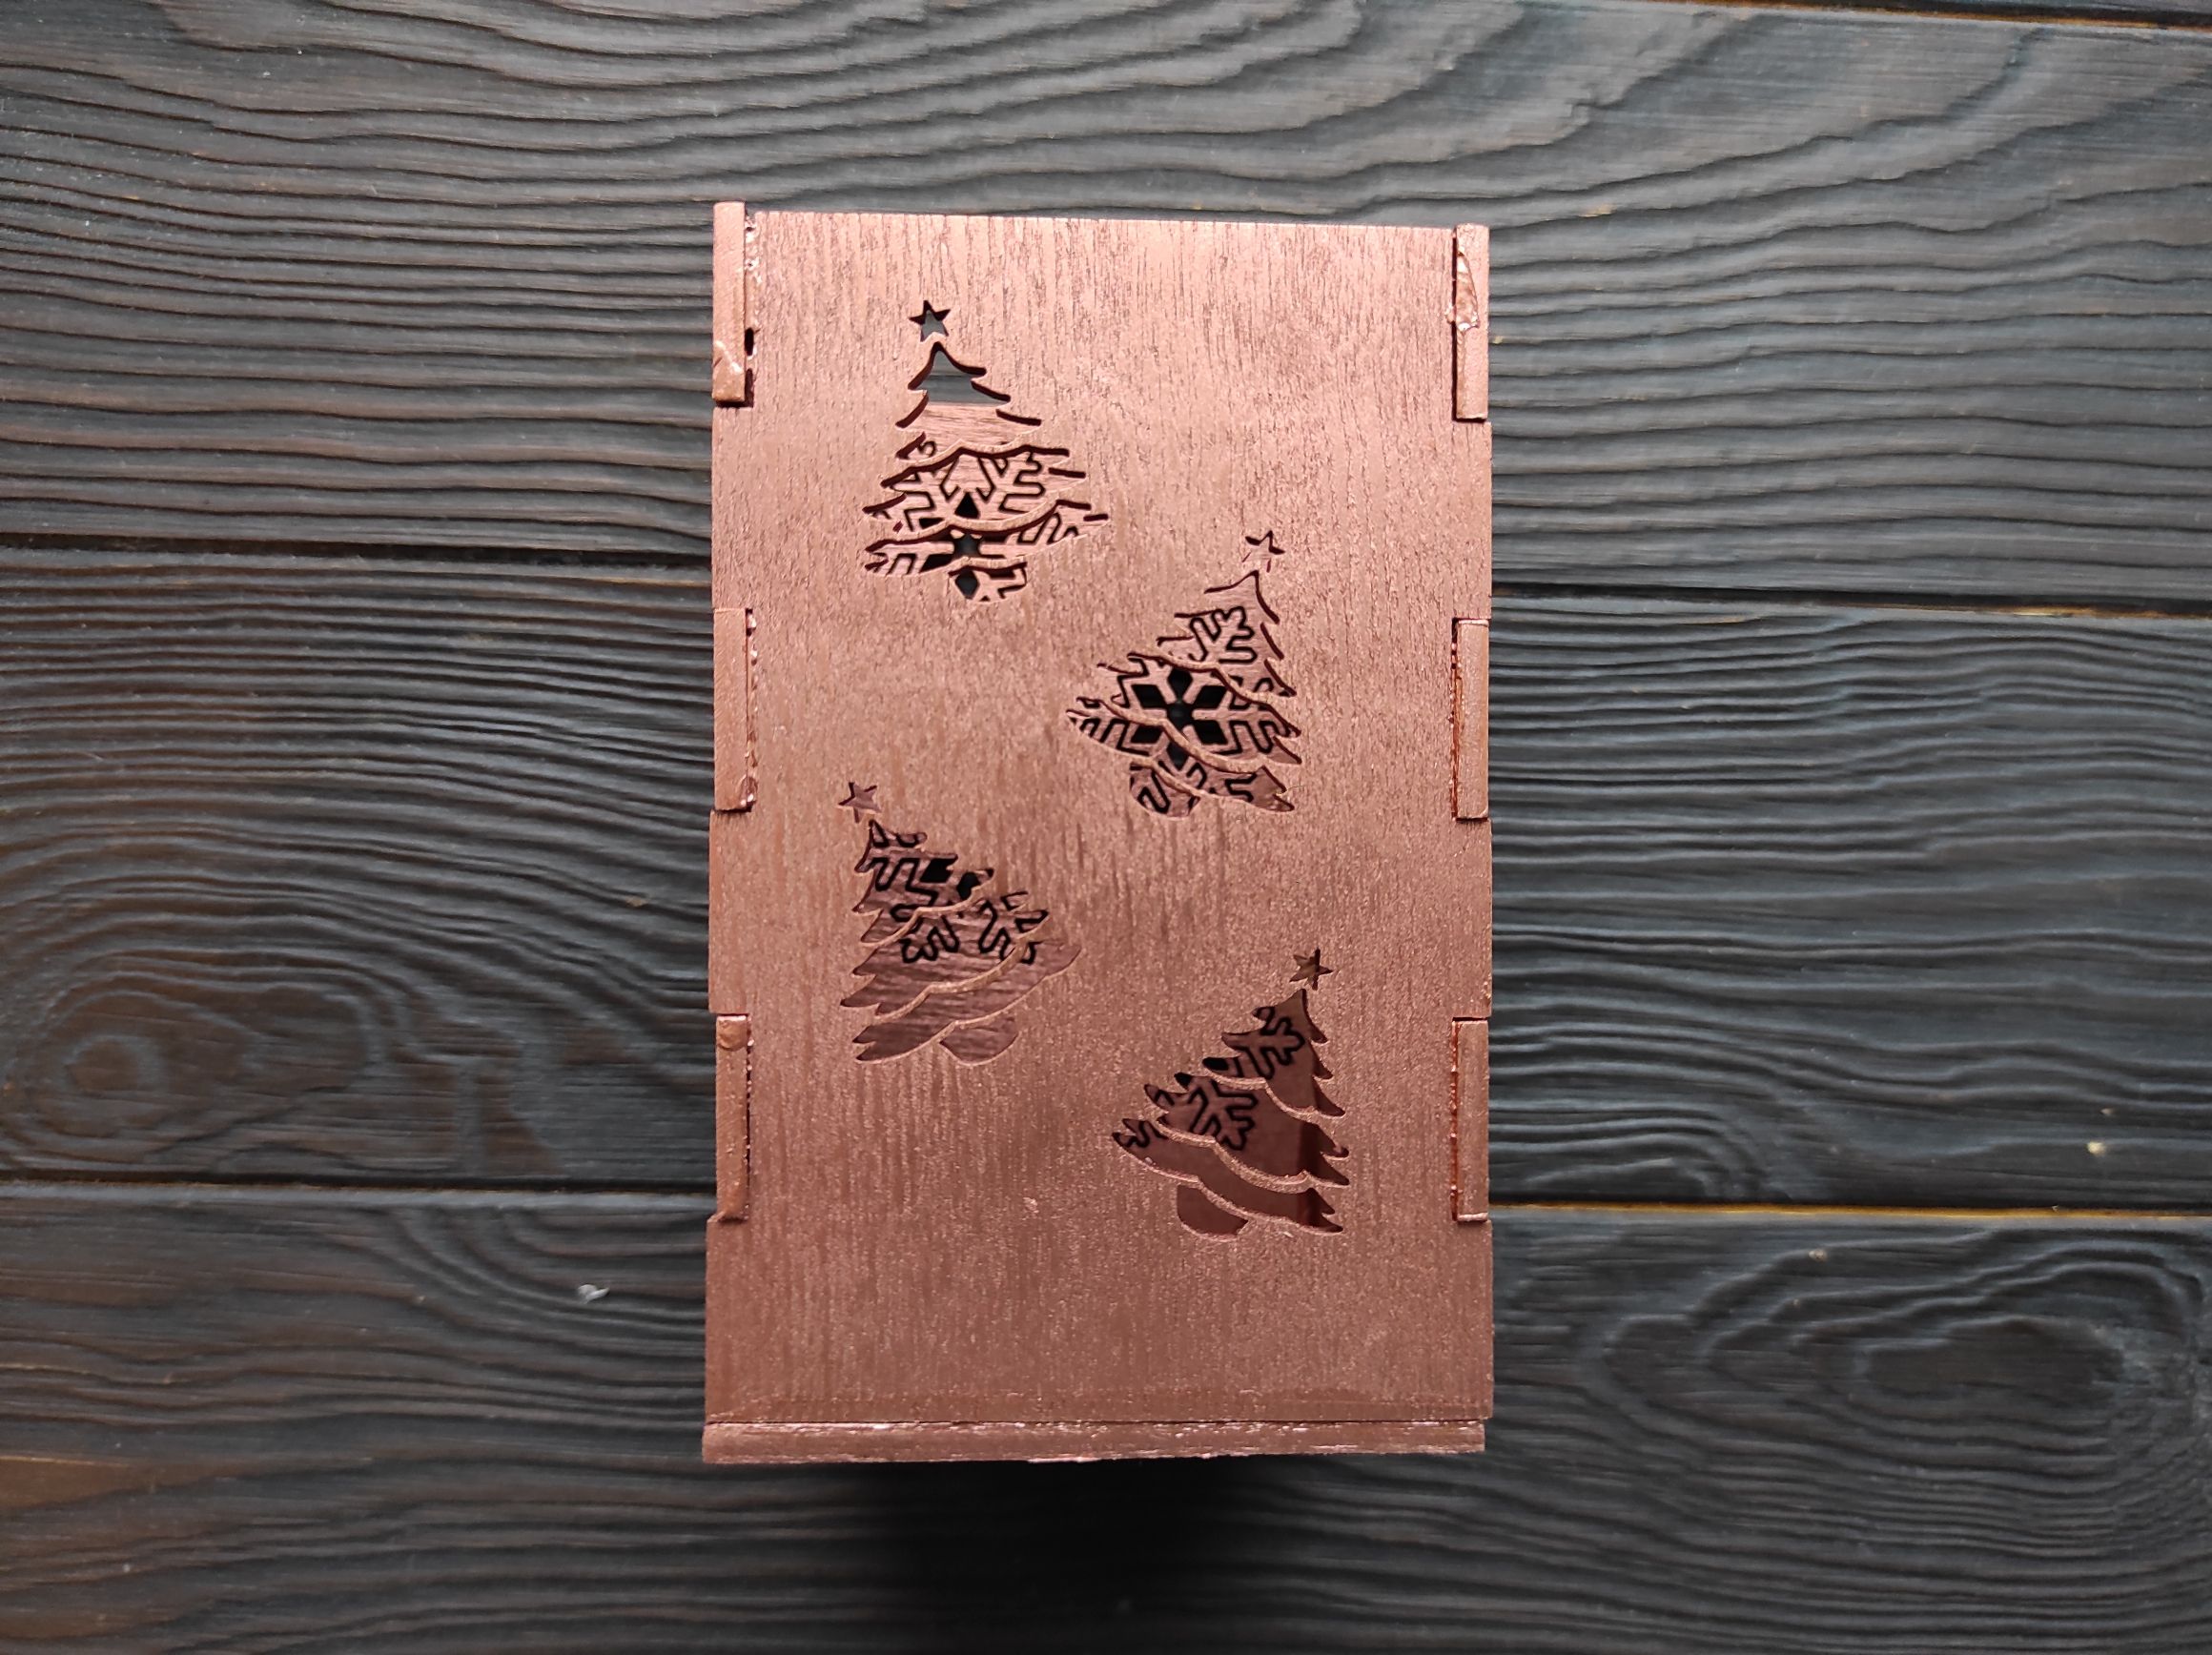
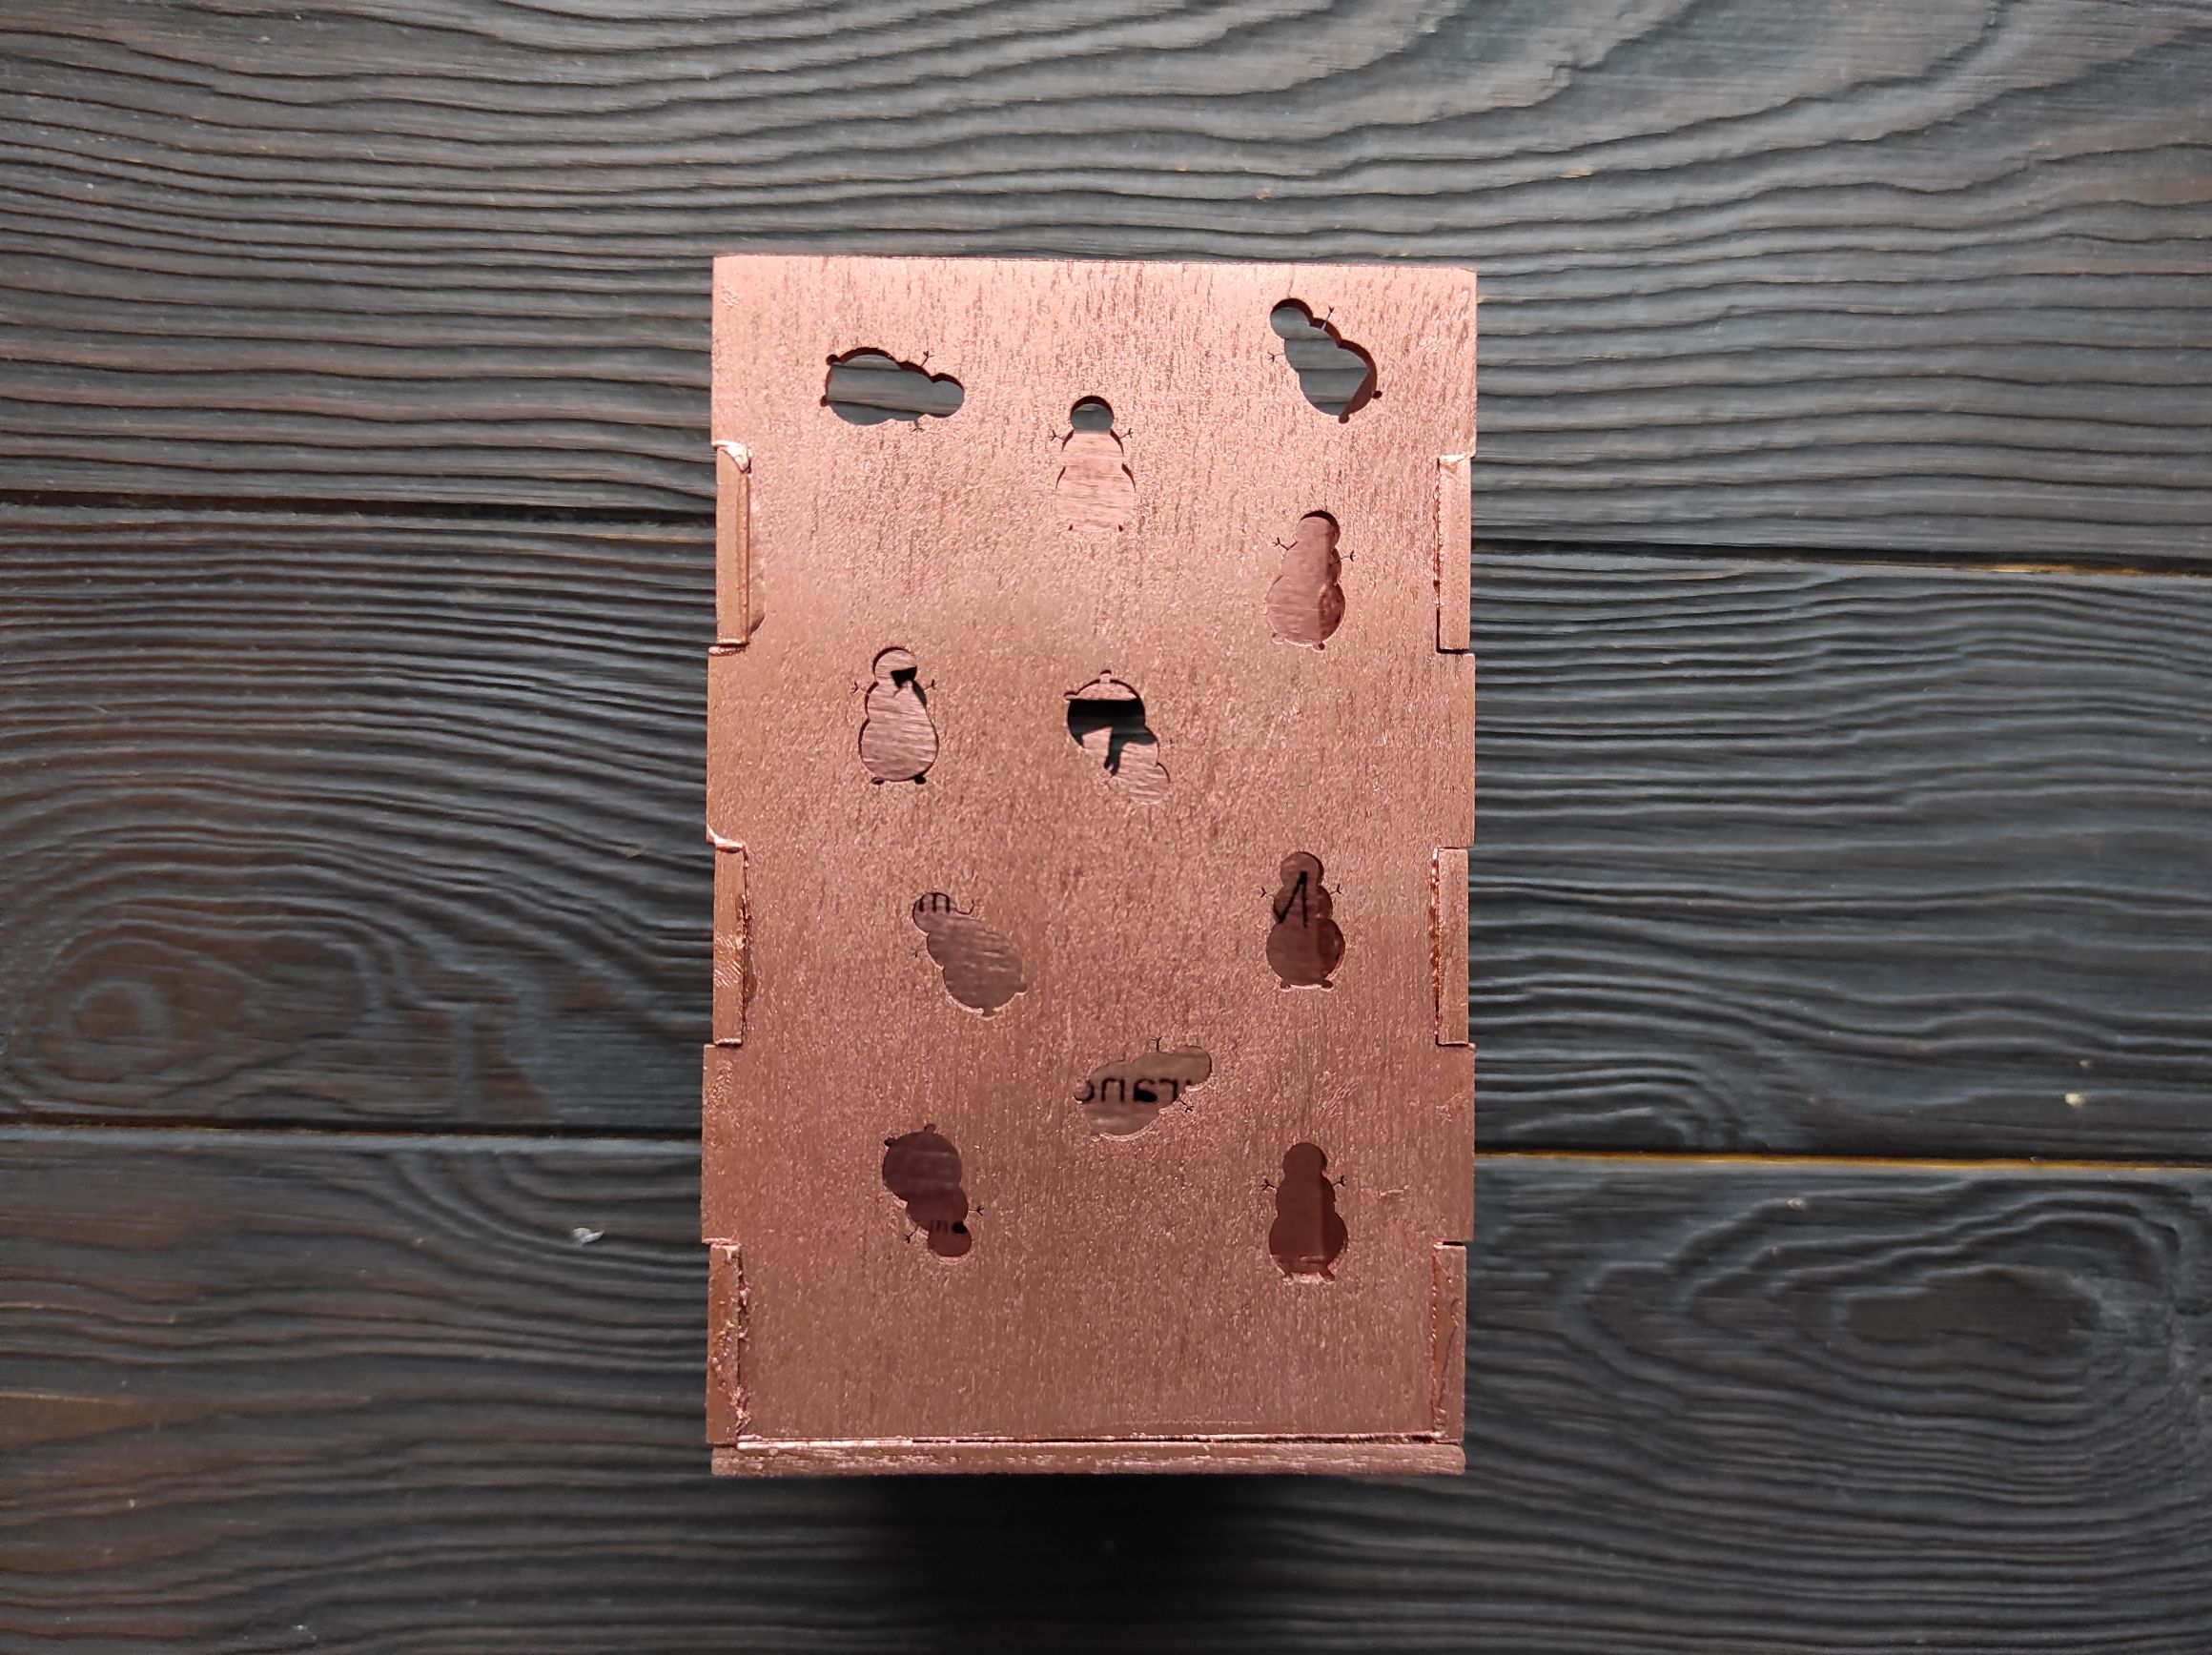
Below you see our sketch of the candle holder:

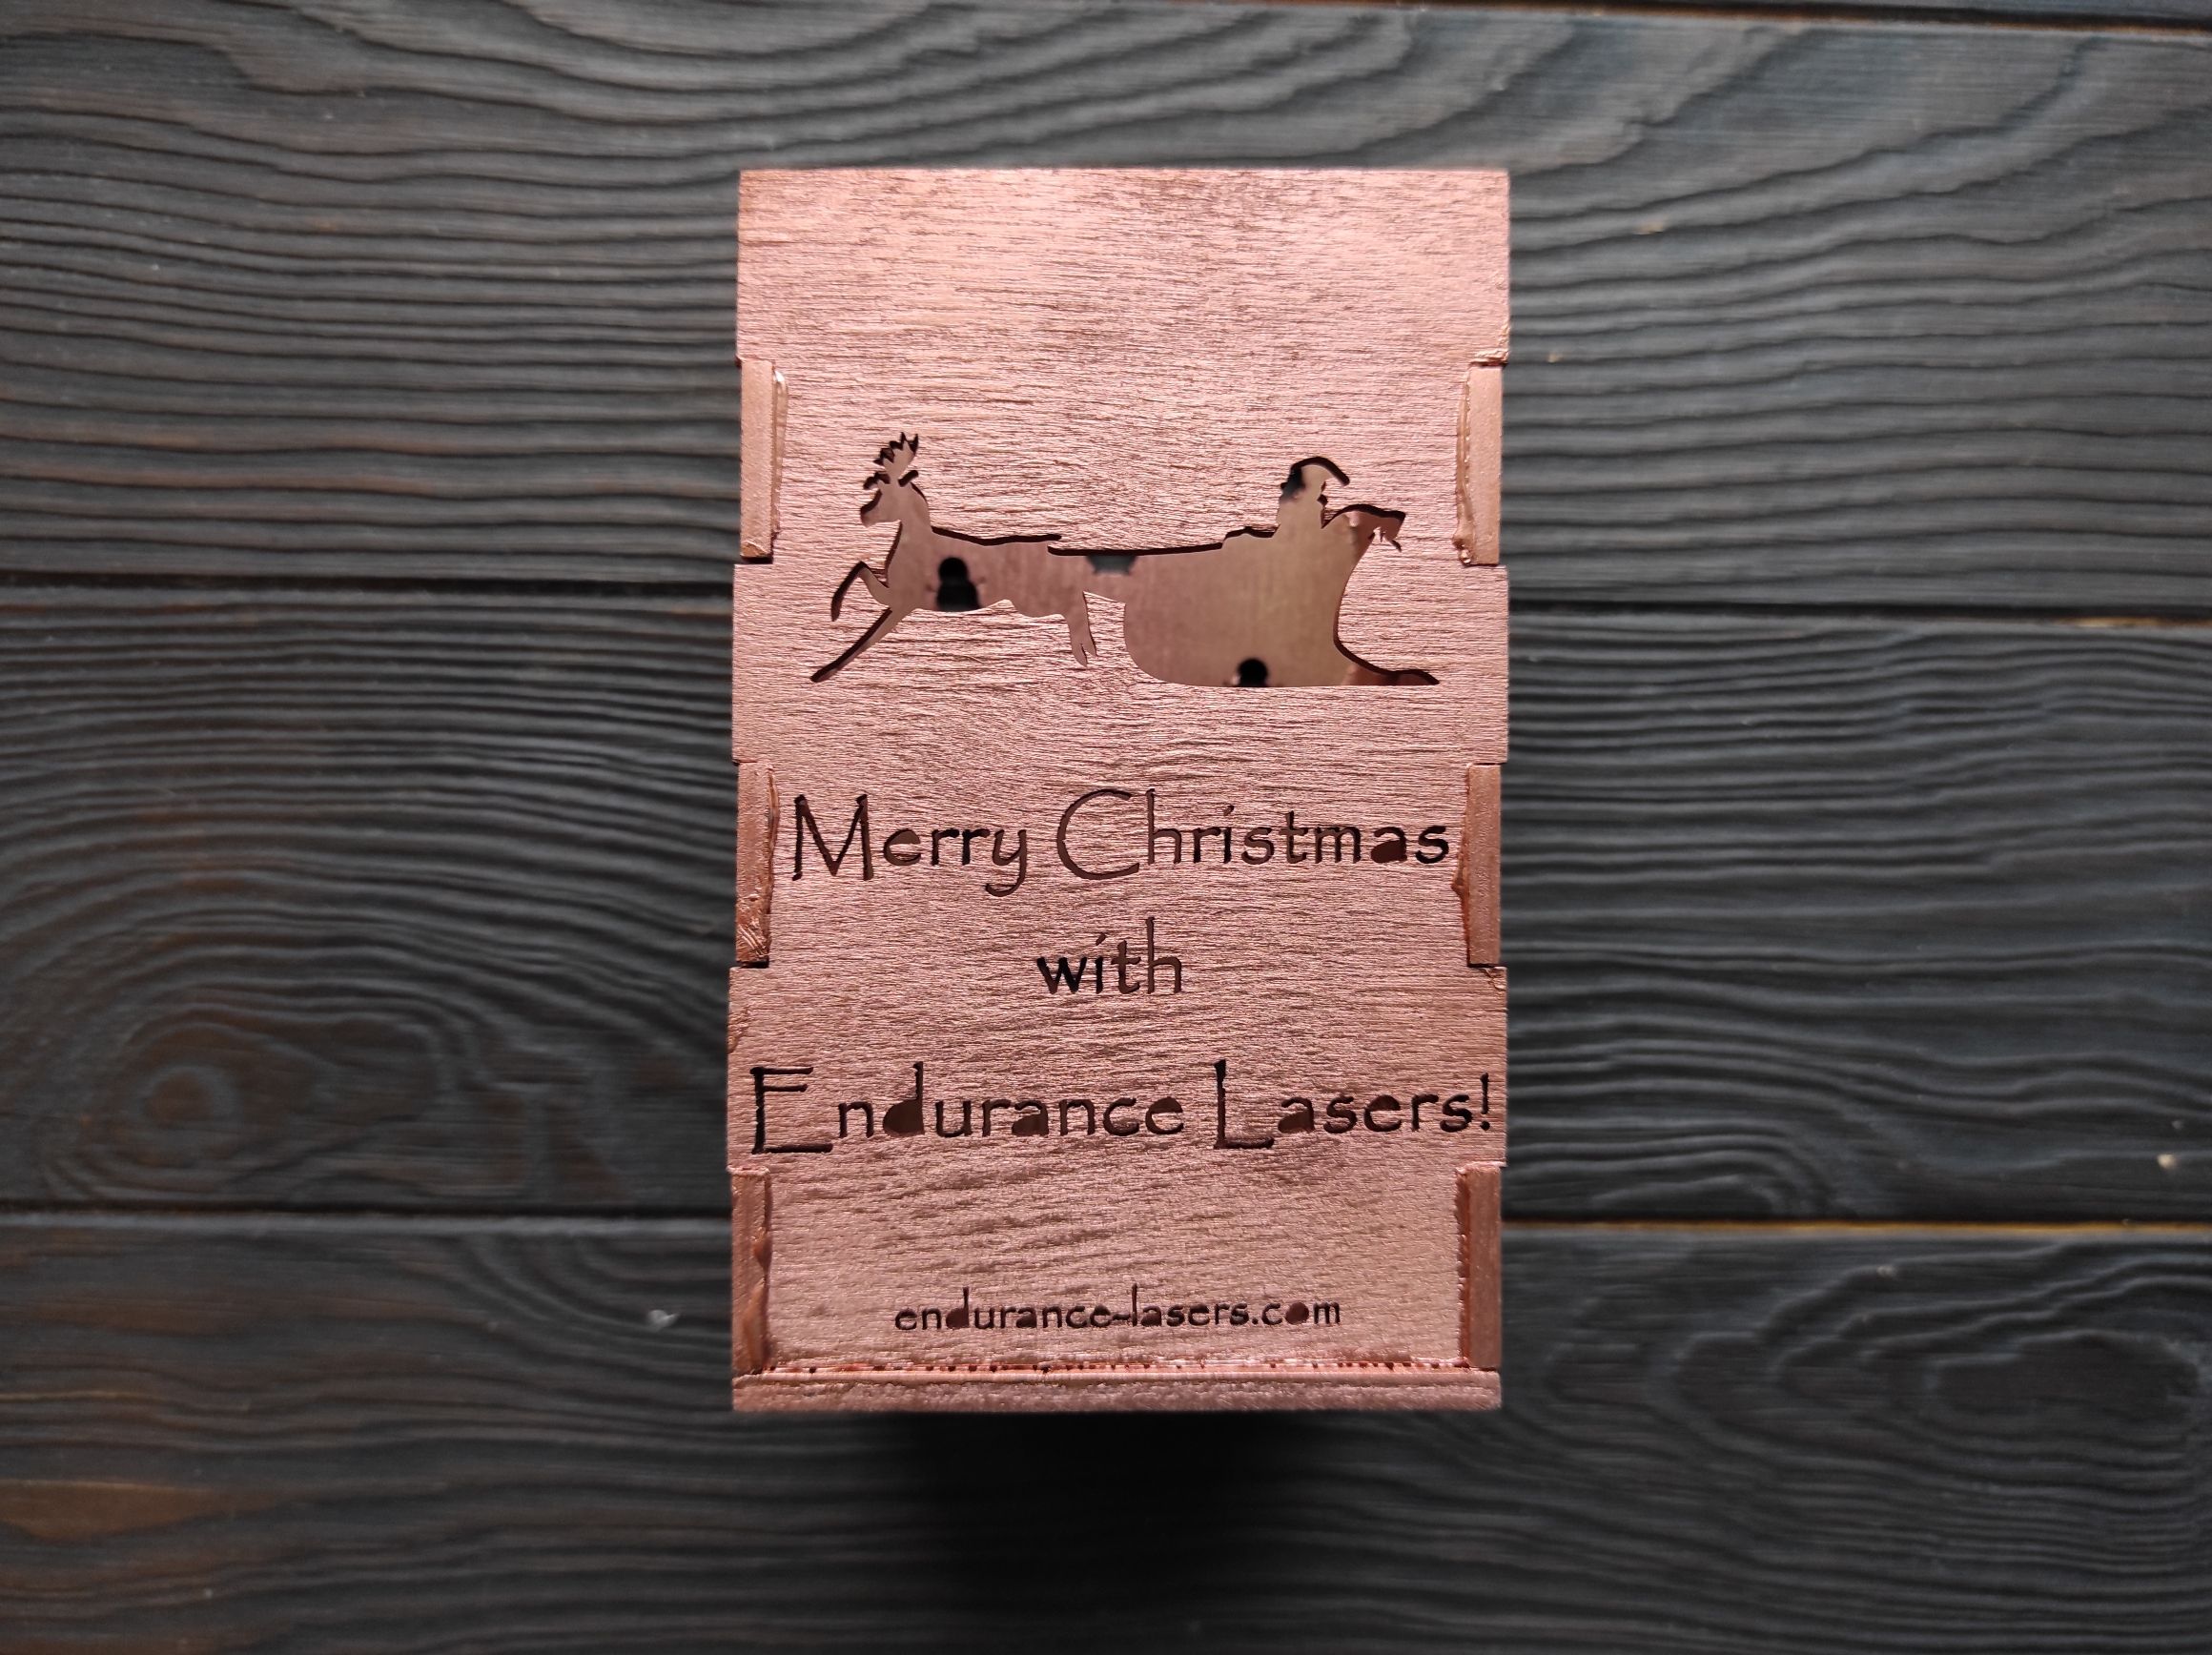
We export the image as an SVG file to LightBurn. In the LighBurn program, we add a caption to the image with Santa.
Here it is:

Now it’s time for plywood laser testing.
The parameters for the best results are as follows: speed 300mm/min, power 100%. Pass count 3.

After this, we are ready to laser cut.
The laser processing took us no more than two hours.
Additionally, using the same settings we cut out a bottom for our candle holder, just a simple square of a corresponding size.
Don’t forget to wear your safety goggles when working with a laser!
It is also recommended to use an air assist. This will improve the cut quality.

When all the parts are cut out you can process them with sandpaper to make their edges brighter and more pleasant to the touch.

In the same way we process all the planes of the parts to make them smooth.
The next step is glueing. For this, we use PVA glue. It is non-toxic, within general reach and great for glueing wooden surfaces.
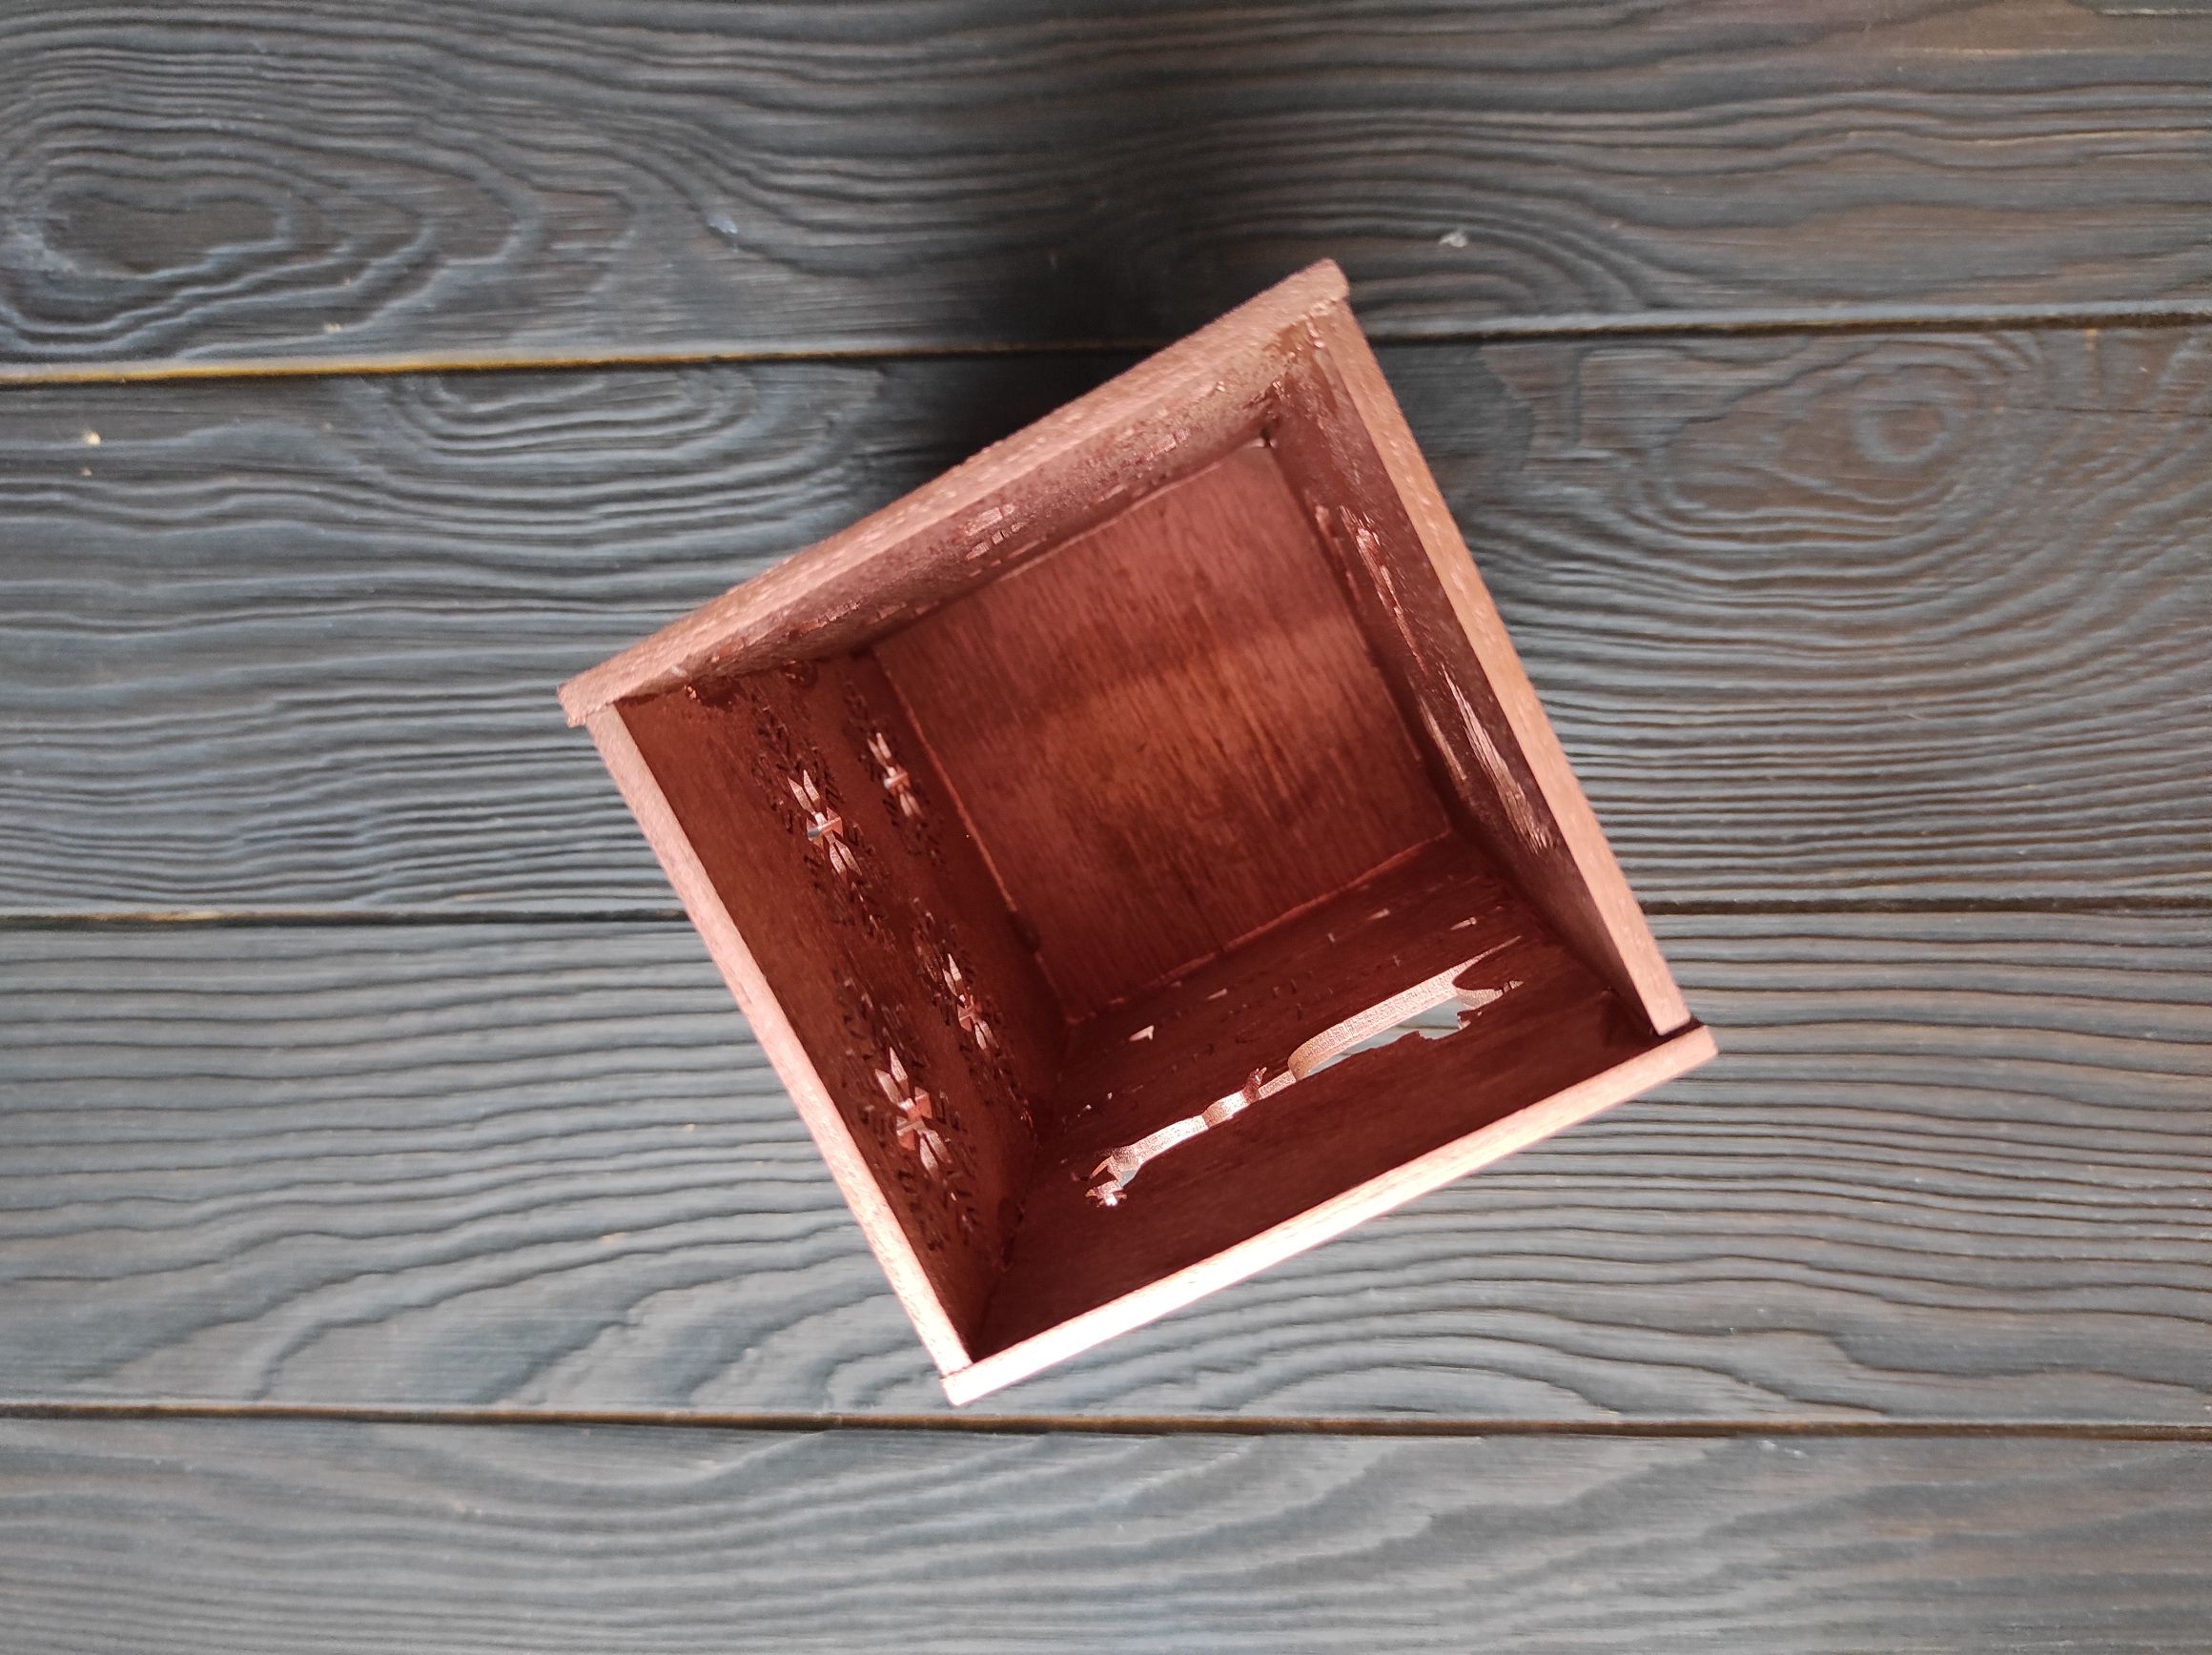
At first we join the sides of the item together tongue-and-groove.

At the end, after the glue has dried, we glue the bottom.
All that remains is to light a candle and you are done!

But! We also wanted to make the candle holder look more attractive, so we sprayed it with bronze paint.
This is how it looks now:

The item is ready to be used! So we did and liked the result very much!

Download candlestick files (g-code, Lightburn files, SVG)

If you want to share your project with us – please send it over in doc format to gf@EnduranceRobots.com and check our page (call for writers and bloggers)
Merry Christmas and Happy A 2022 New Year with Endurance Lasers!
https://3dprint.com/284190/the-top-10-things-you-can-do-with-a-diode-laser/