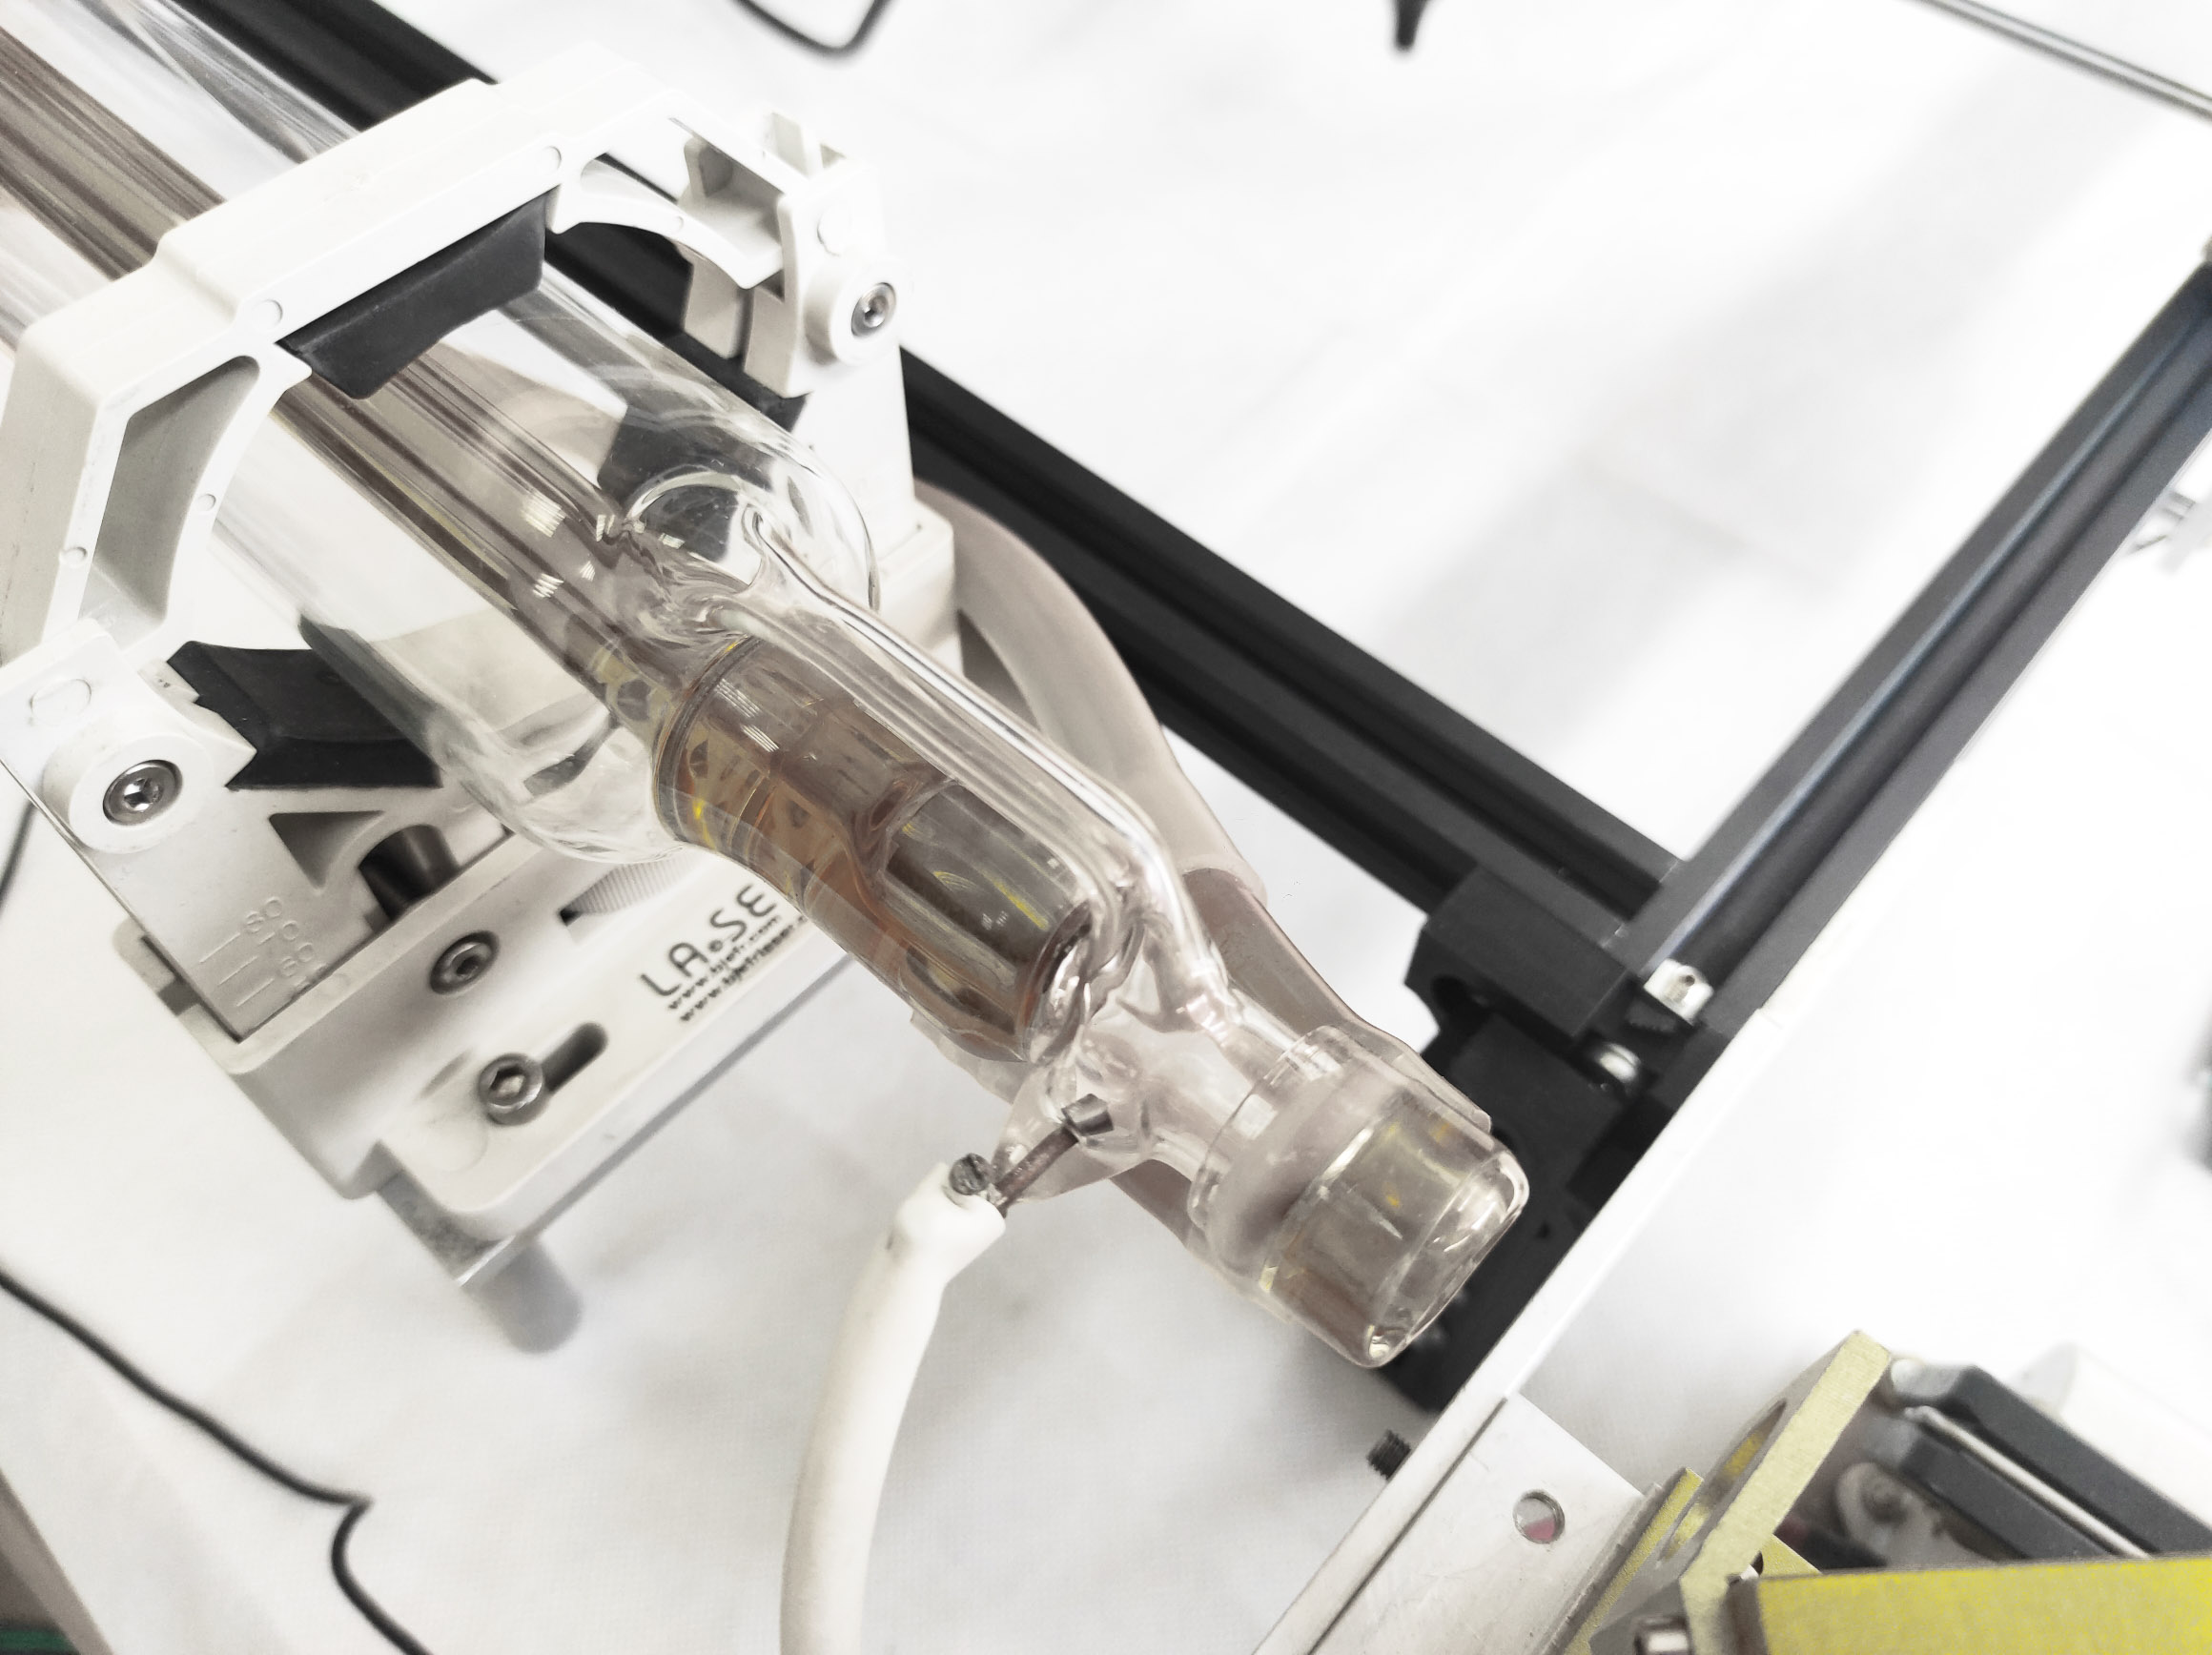
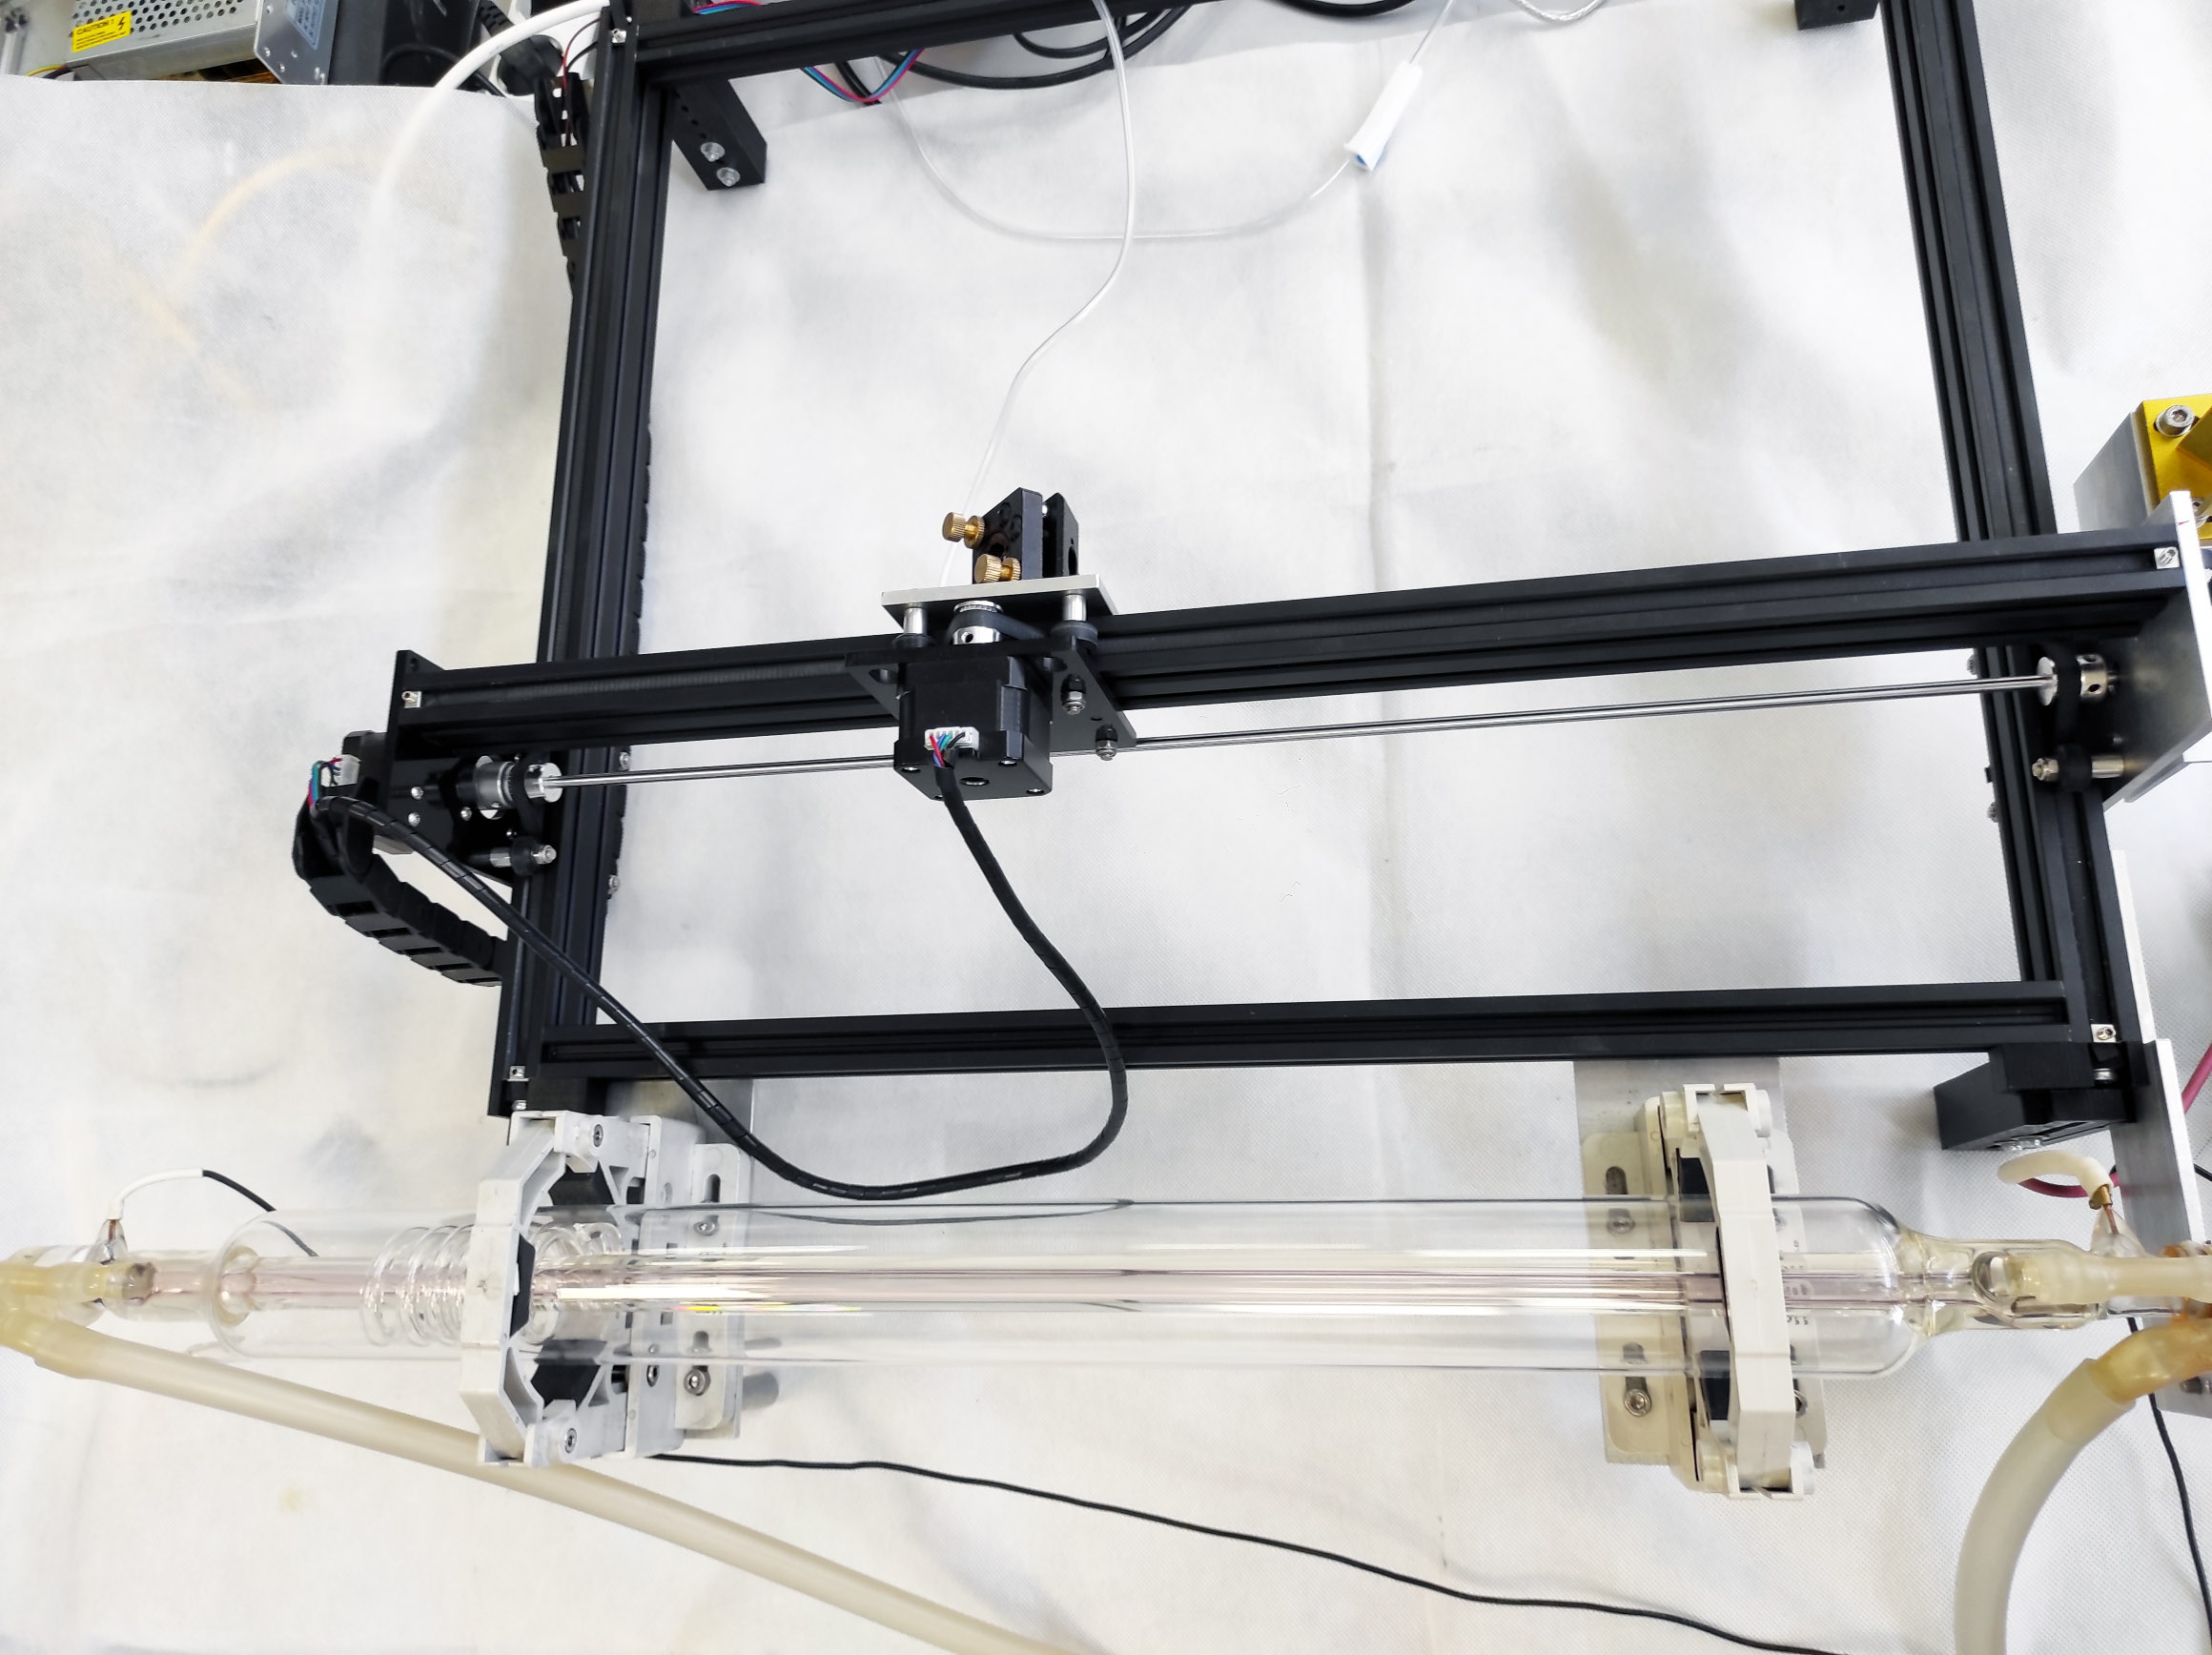
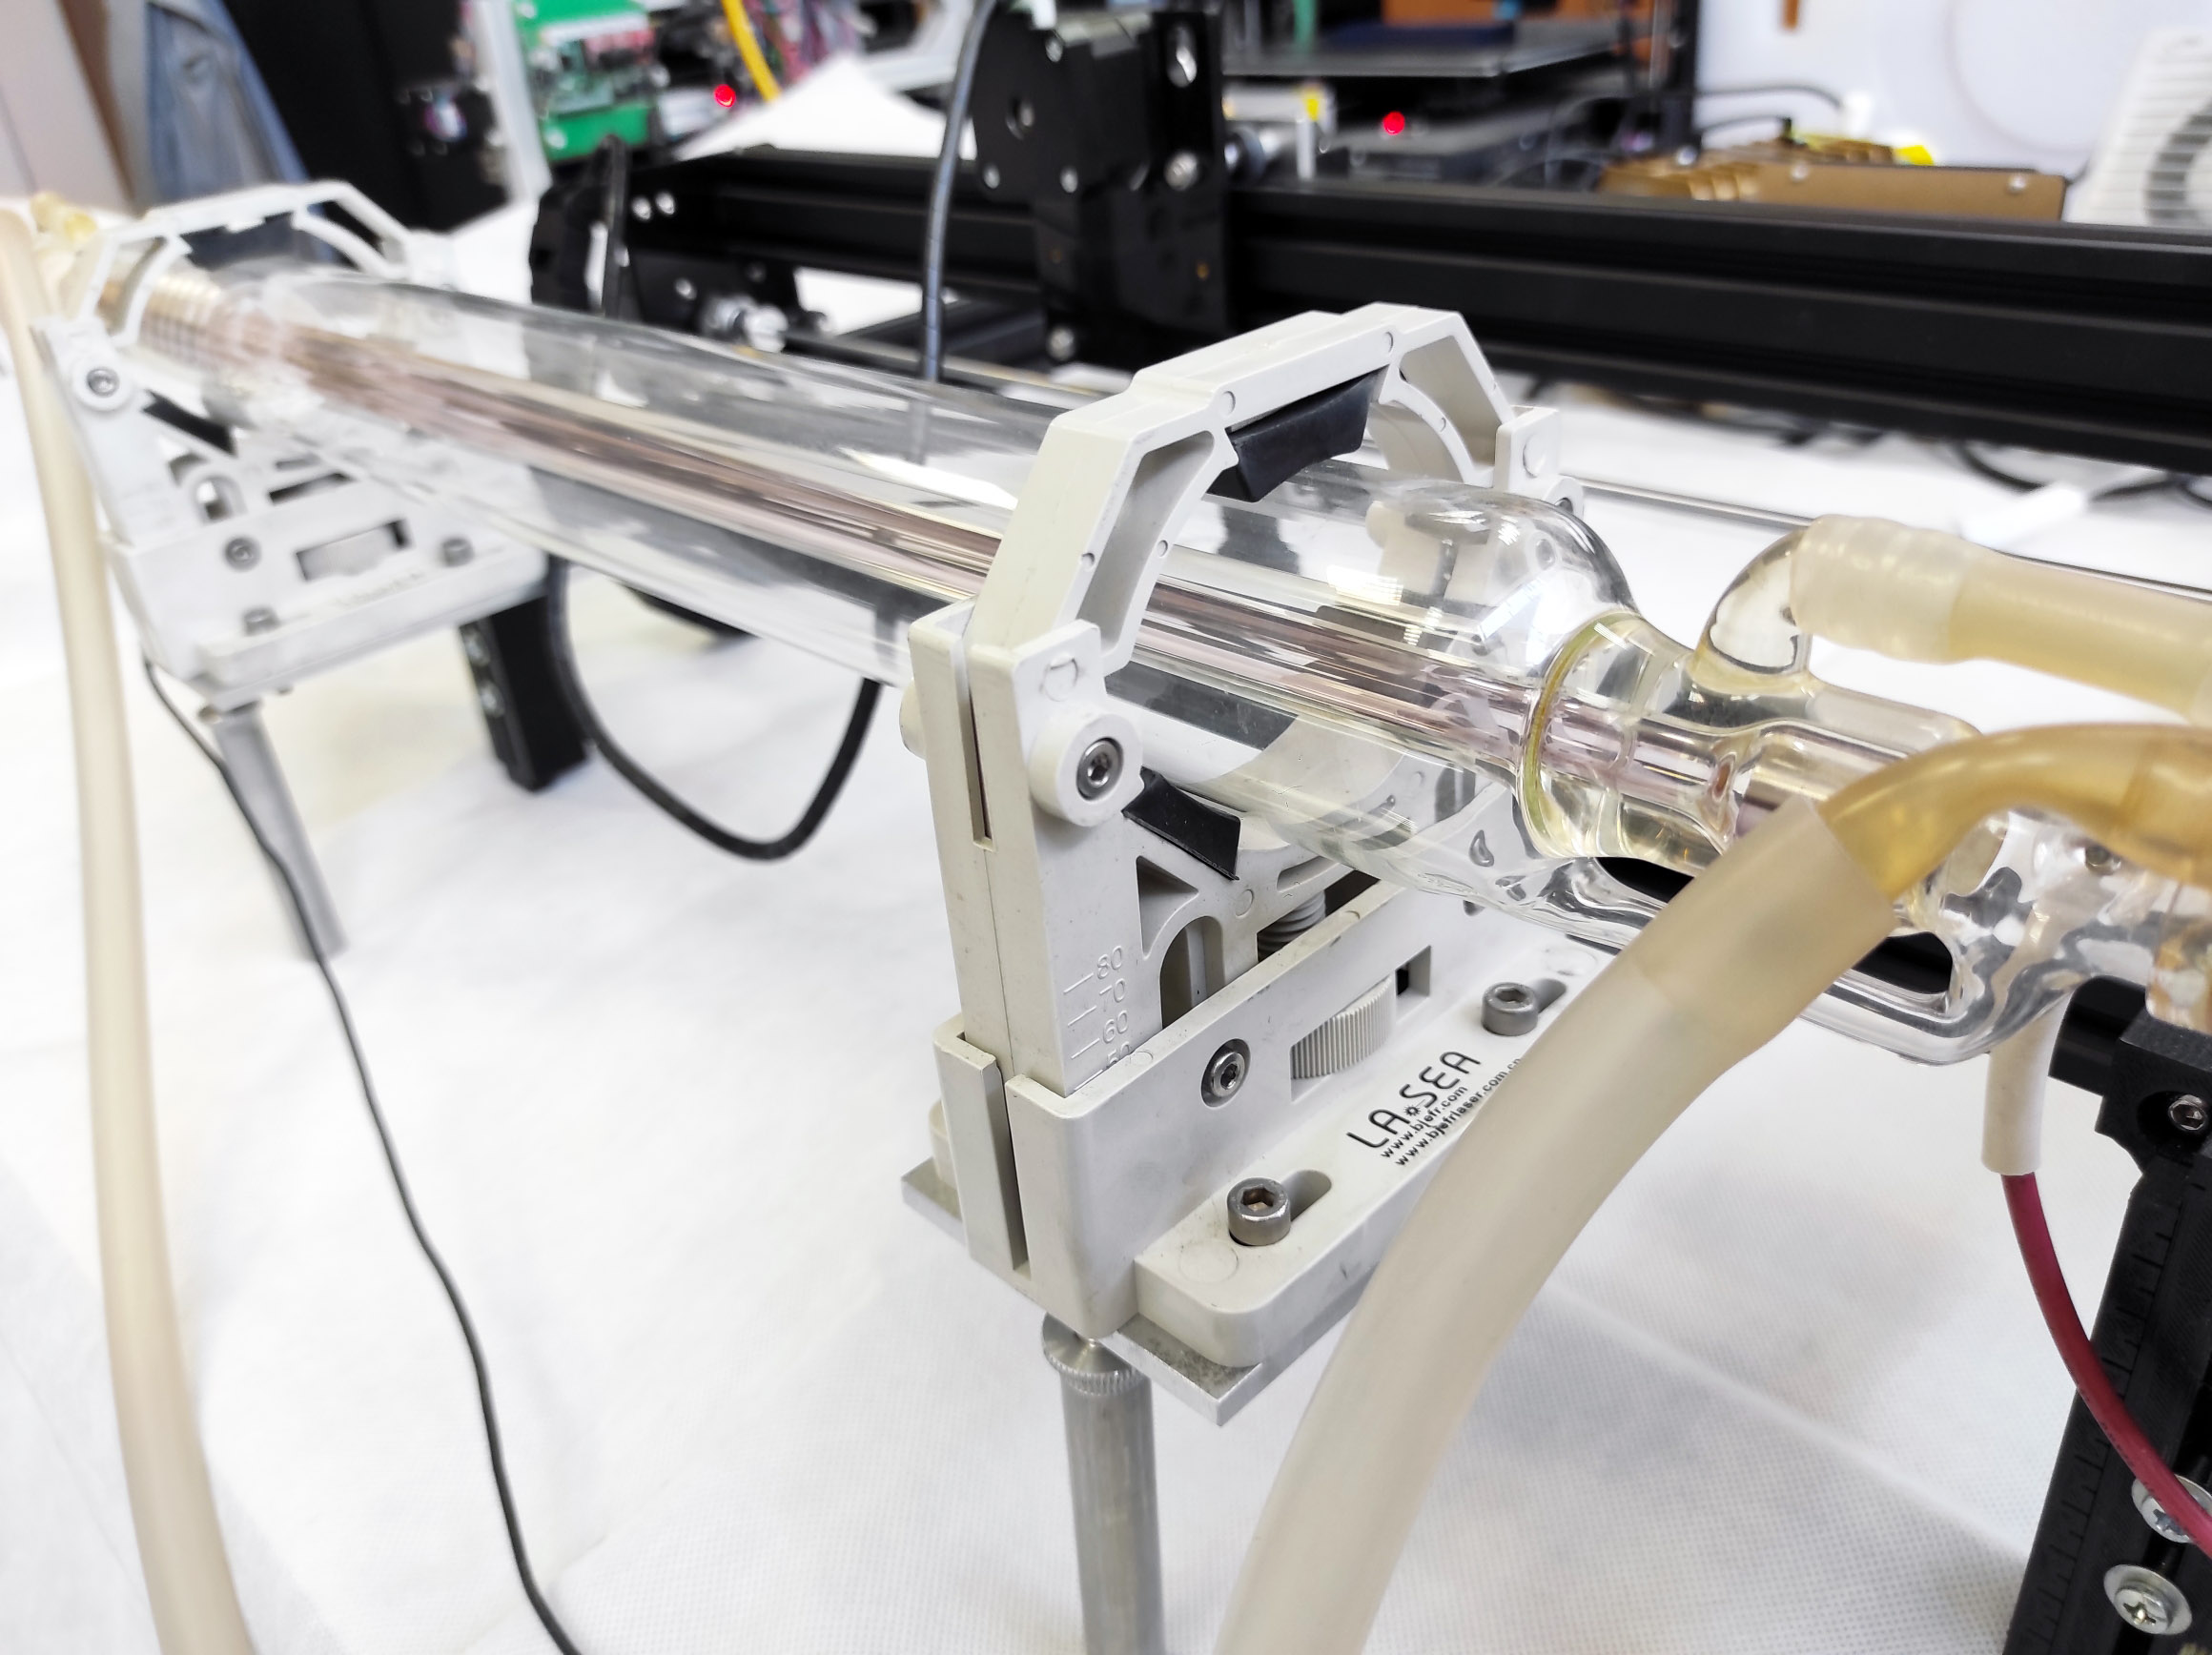
Co2 tube – make sure it has no damages. Glass is very fragile and has to make sure it is in a good condition
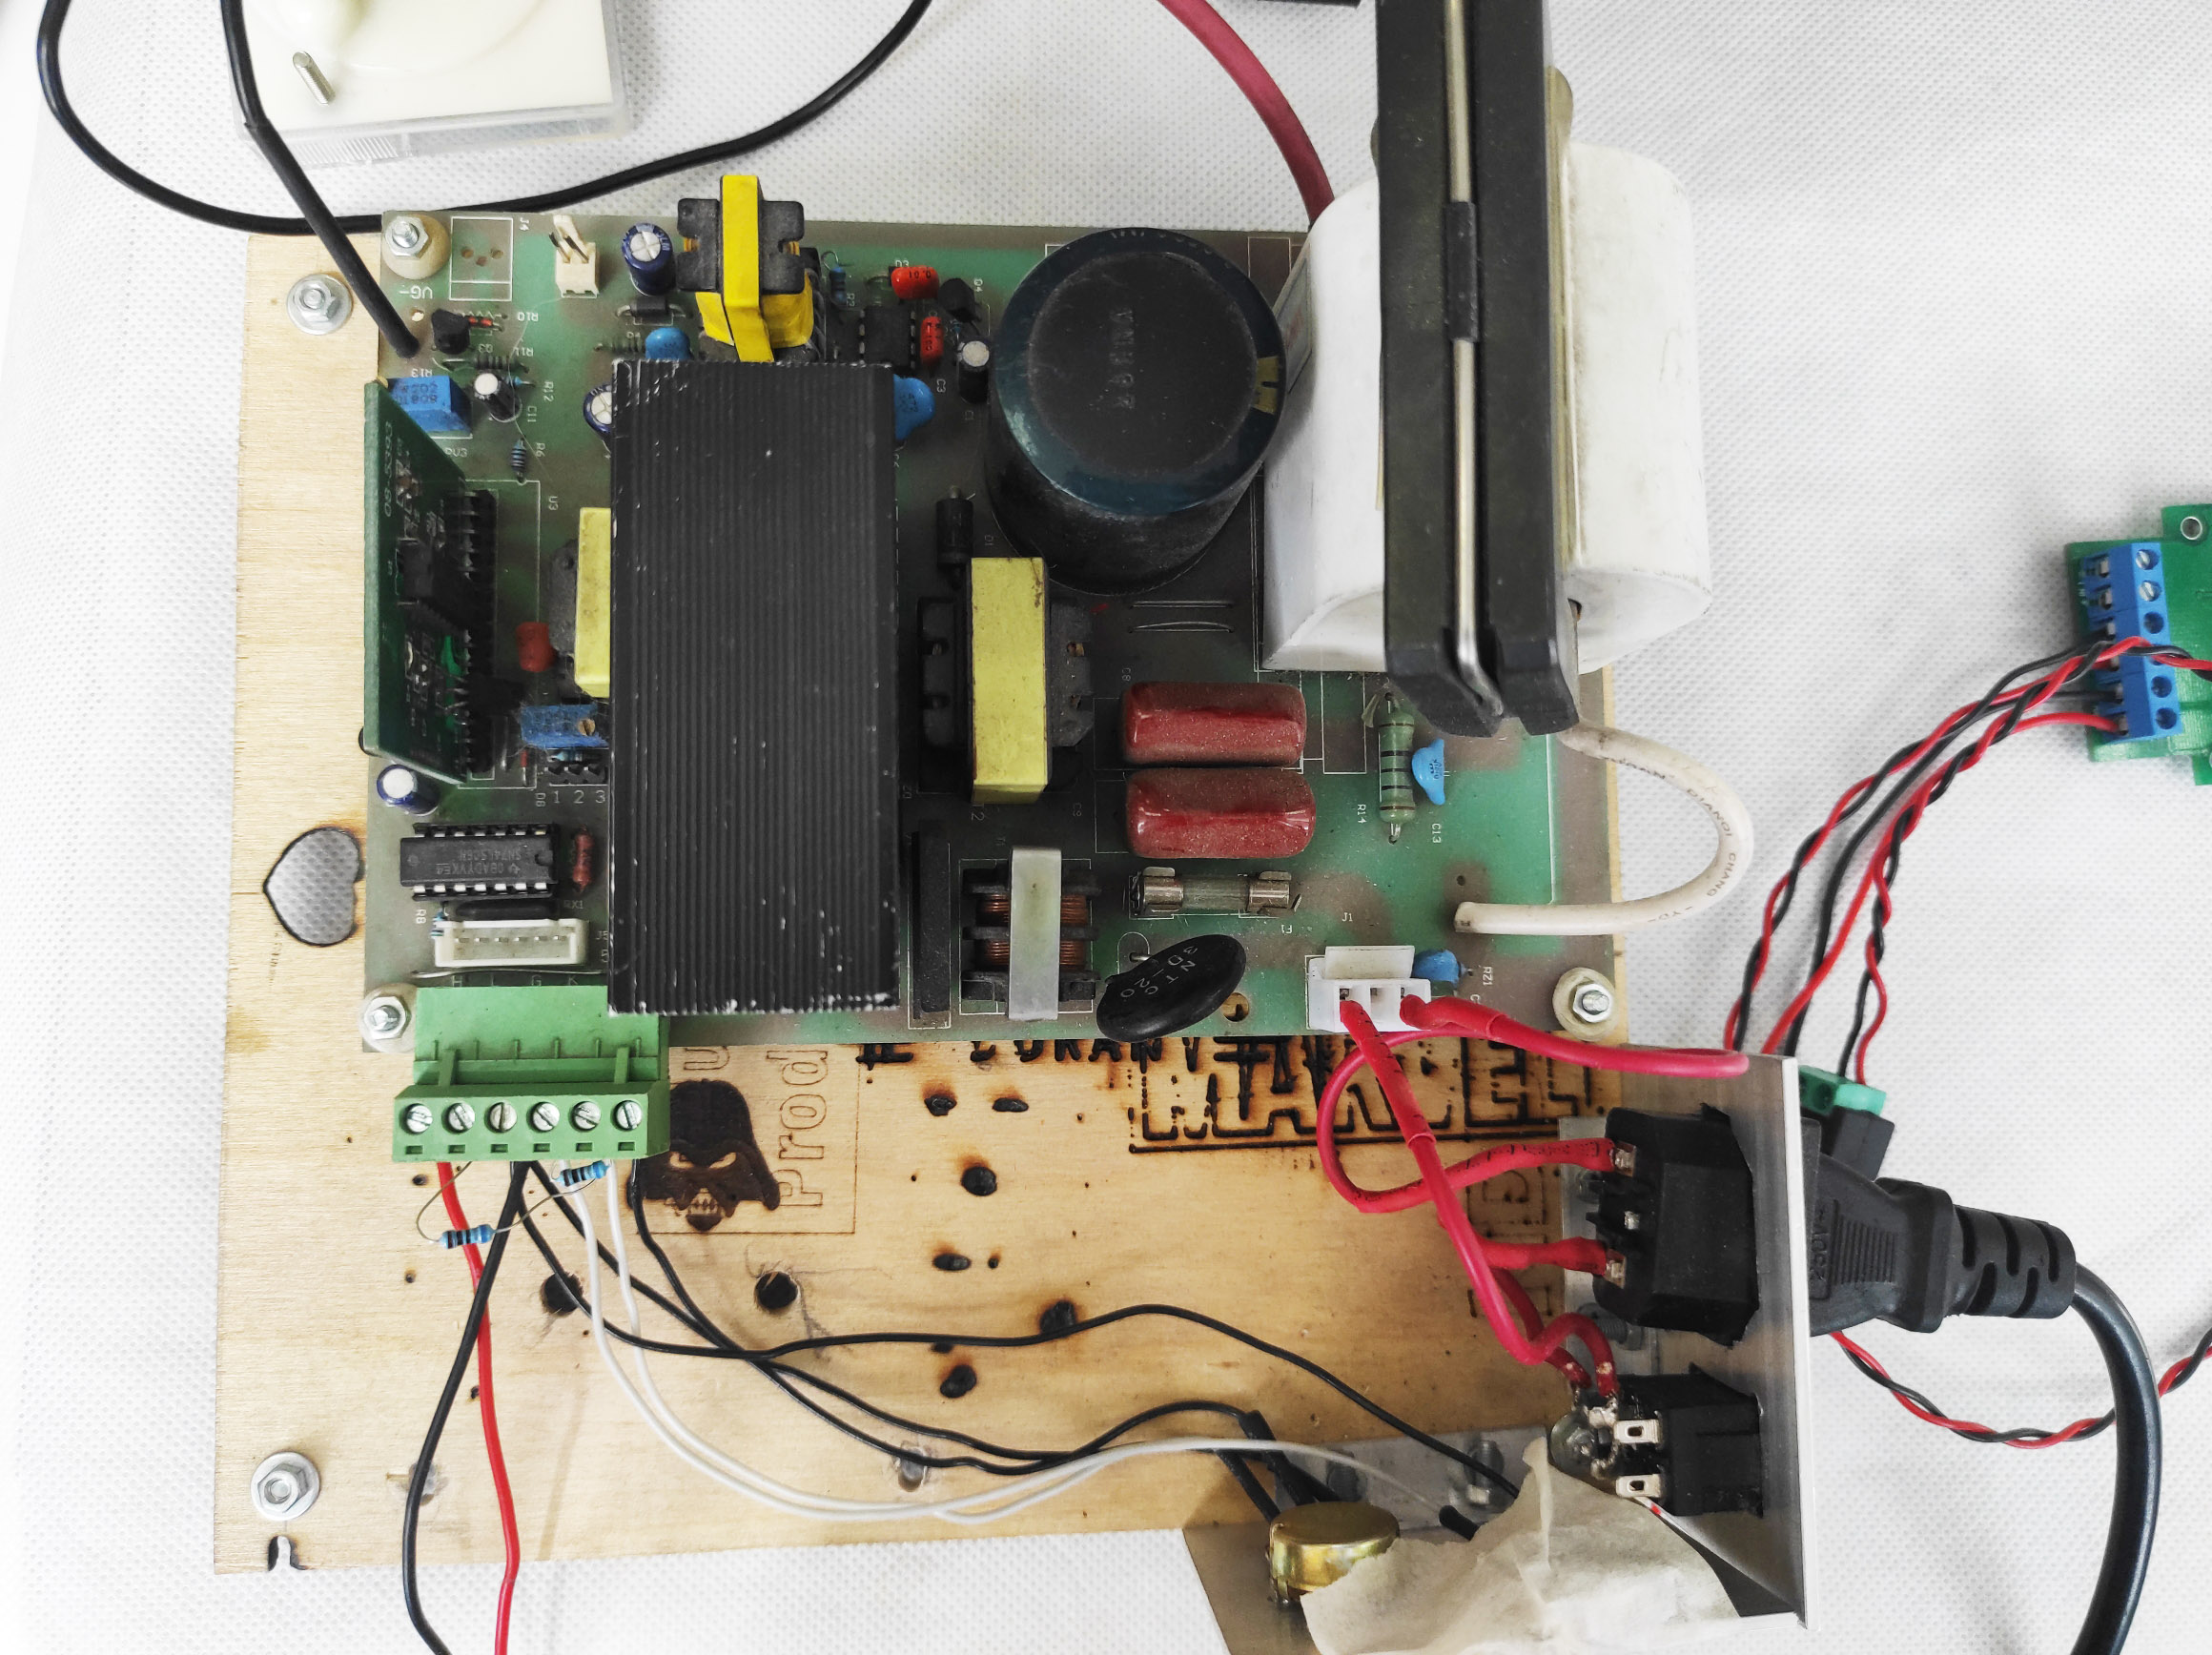
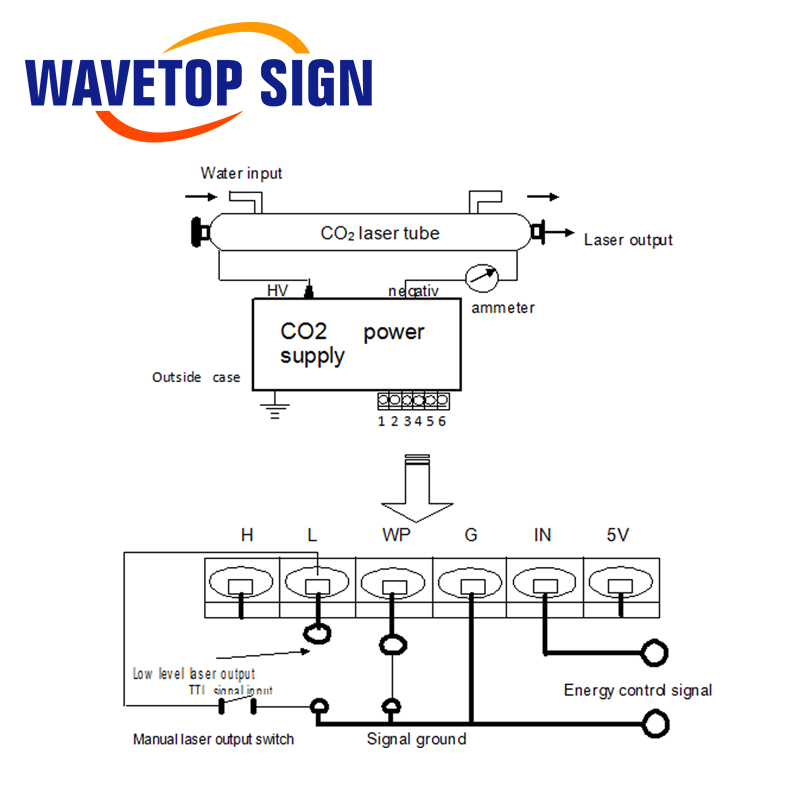
A high voltage power supply is needed to blast the Co2 tube. Make sure that you need a high-voltage power supply especially for the Co2 tube wattage you have.
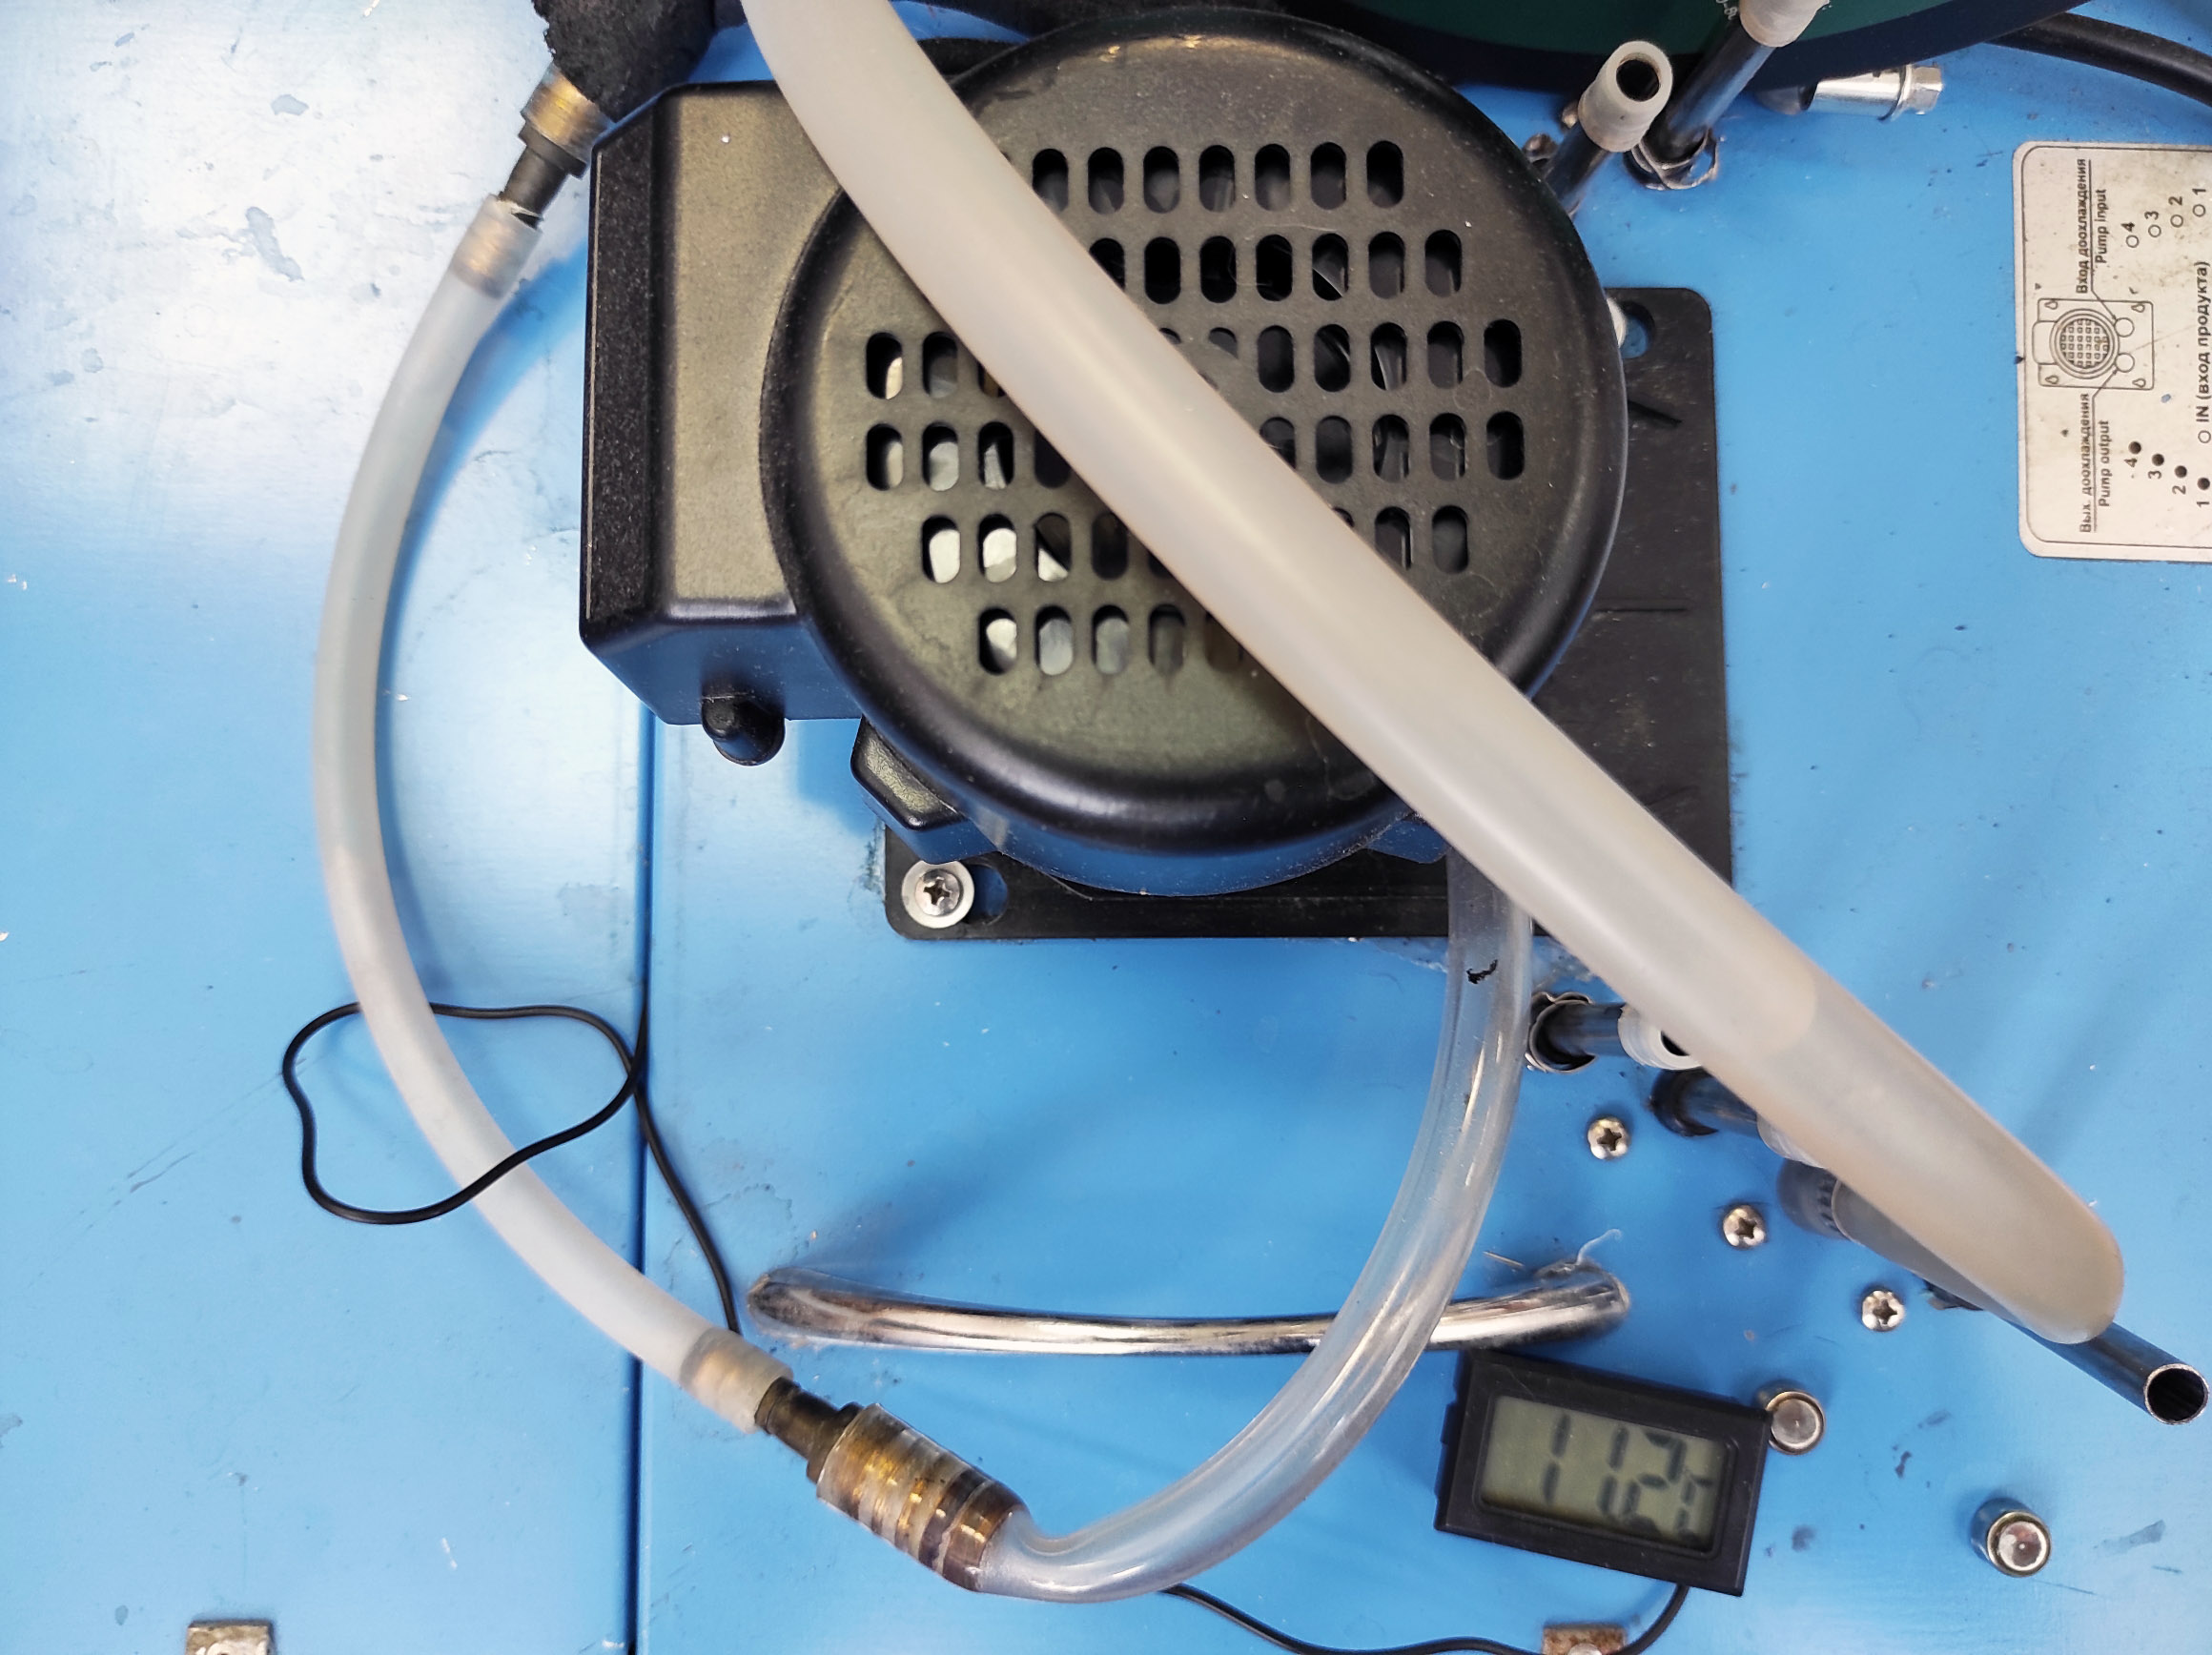
Water pump – you may use a car washer pump to get started.
Water tubes – since the water will be under high pressure you need to make sure that is can be connected tightly and we recommend using silicone wires.
mA ammeter is needed to be able to setup proper current. Keep in mind that since you have a very high voltage then the current is setup in mA, which is 1^-3
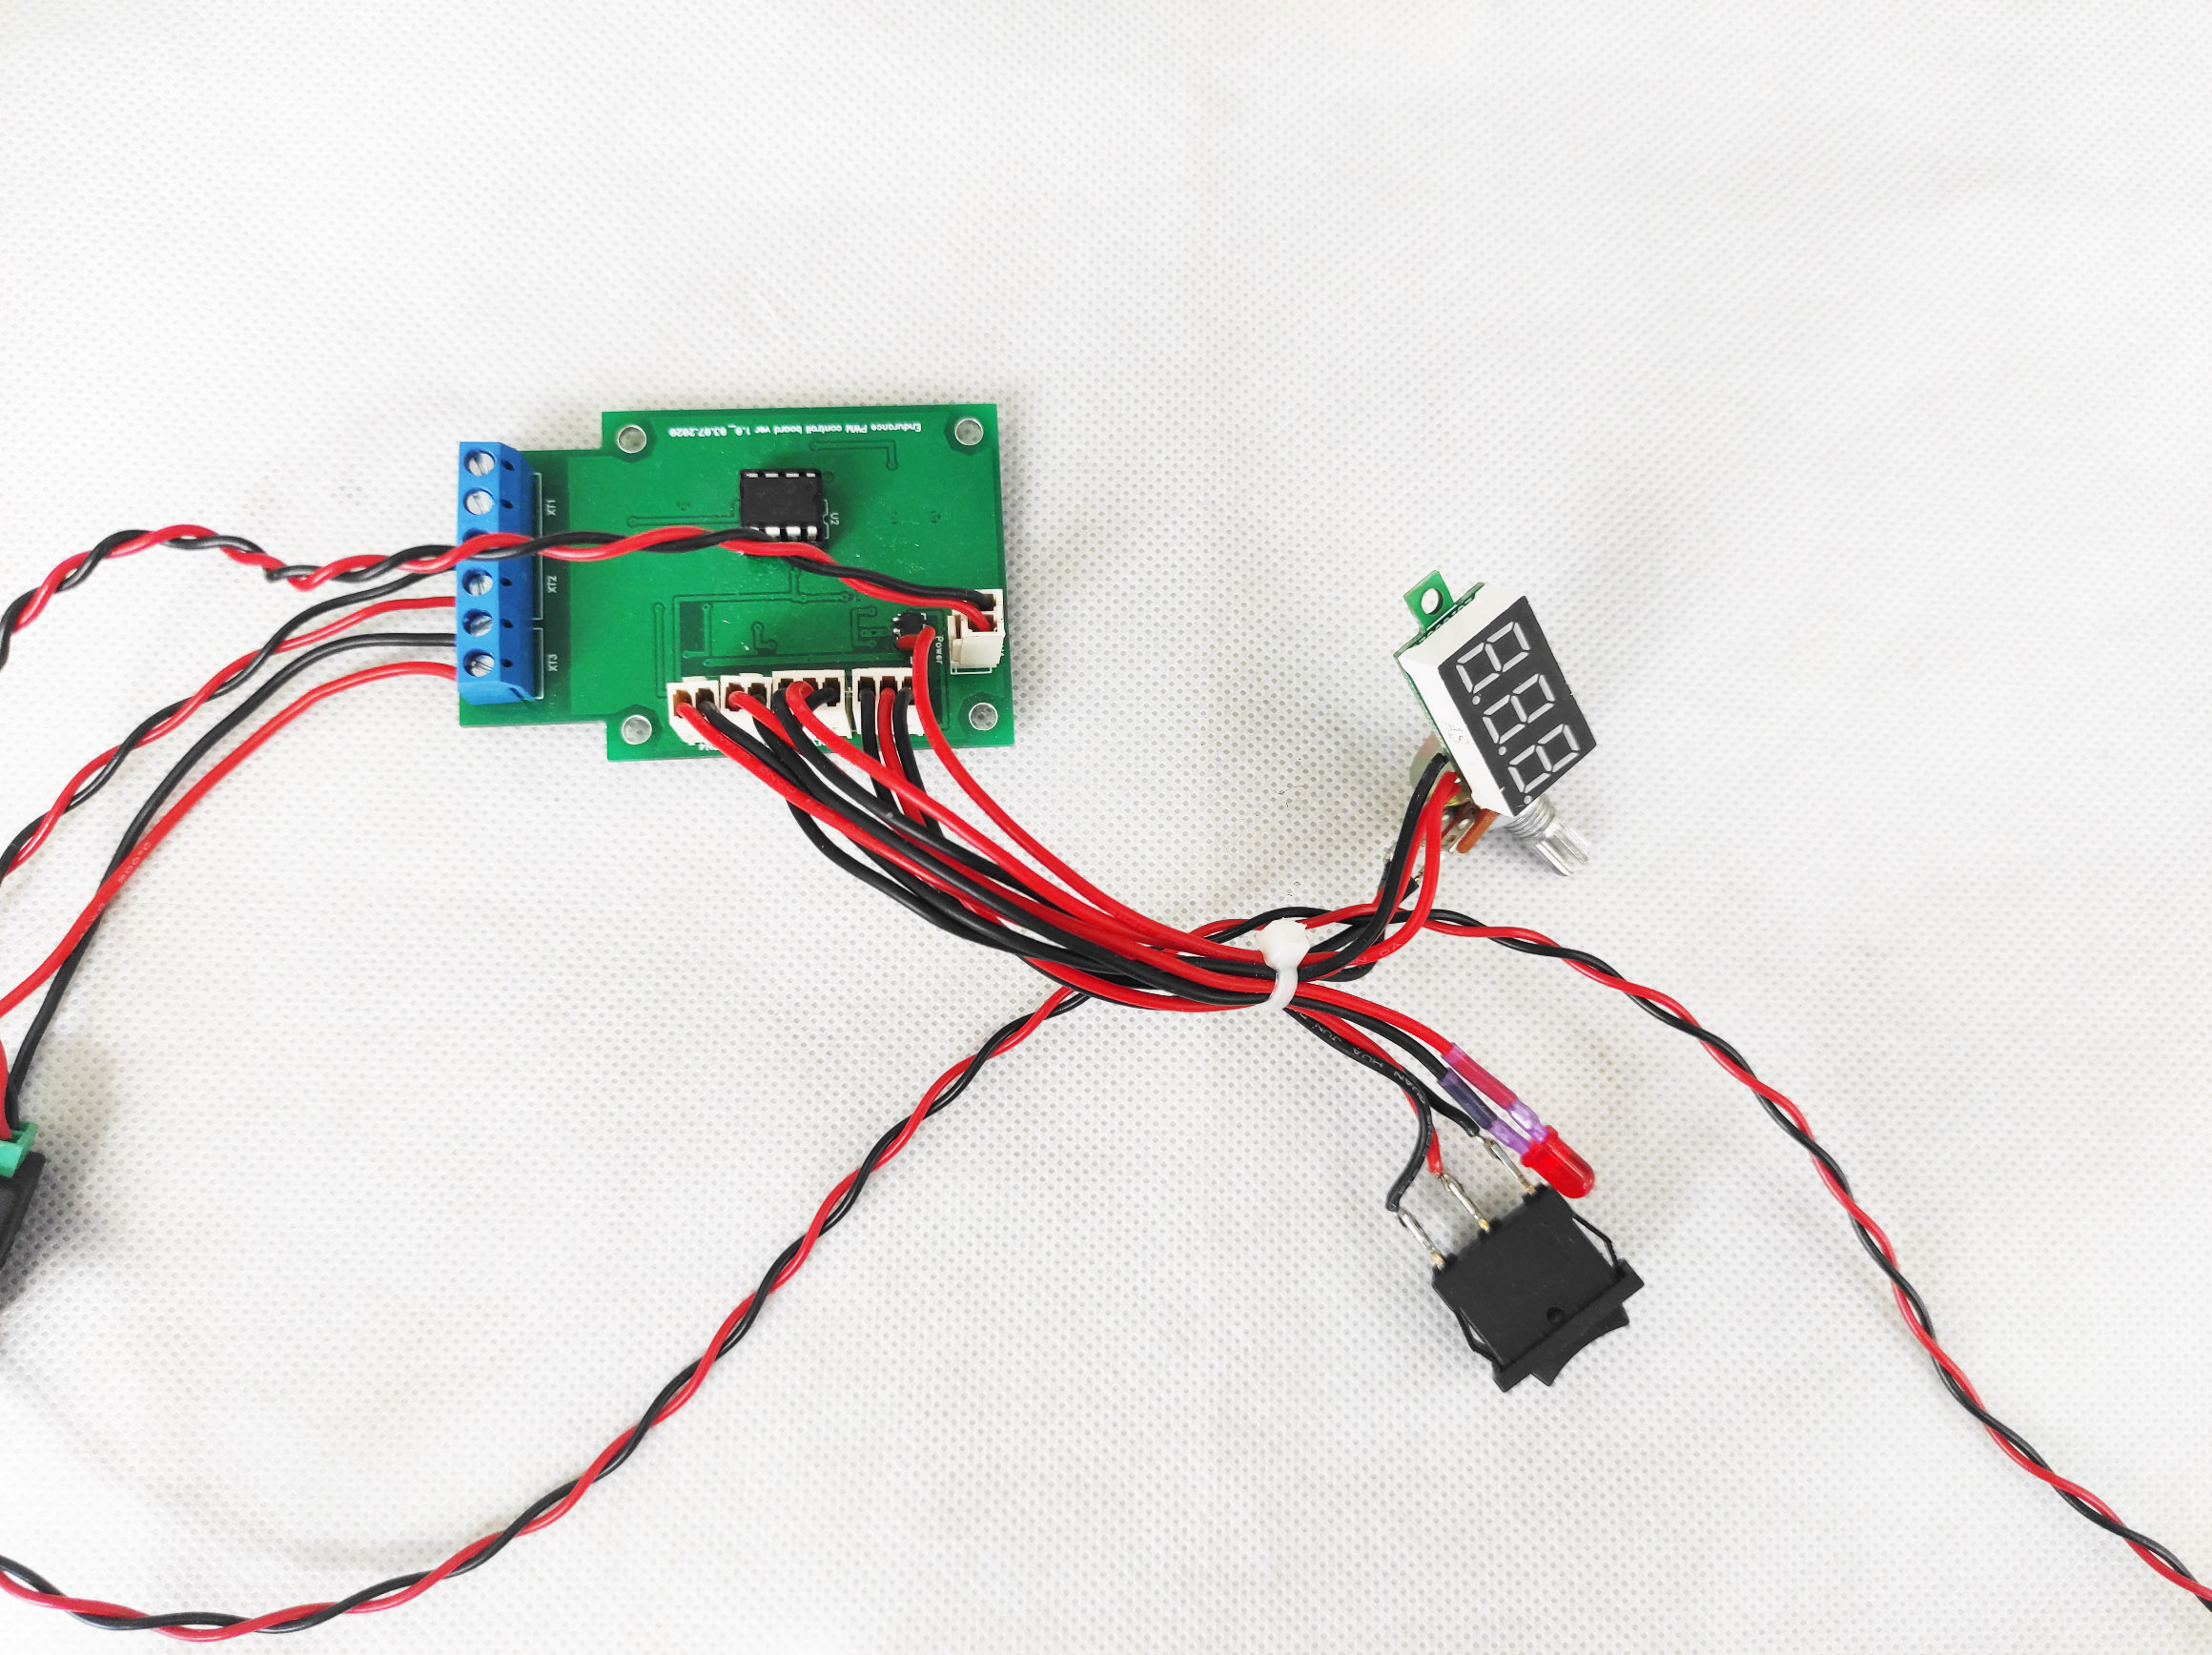
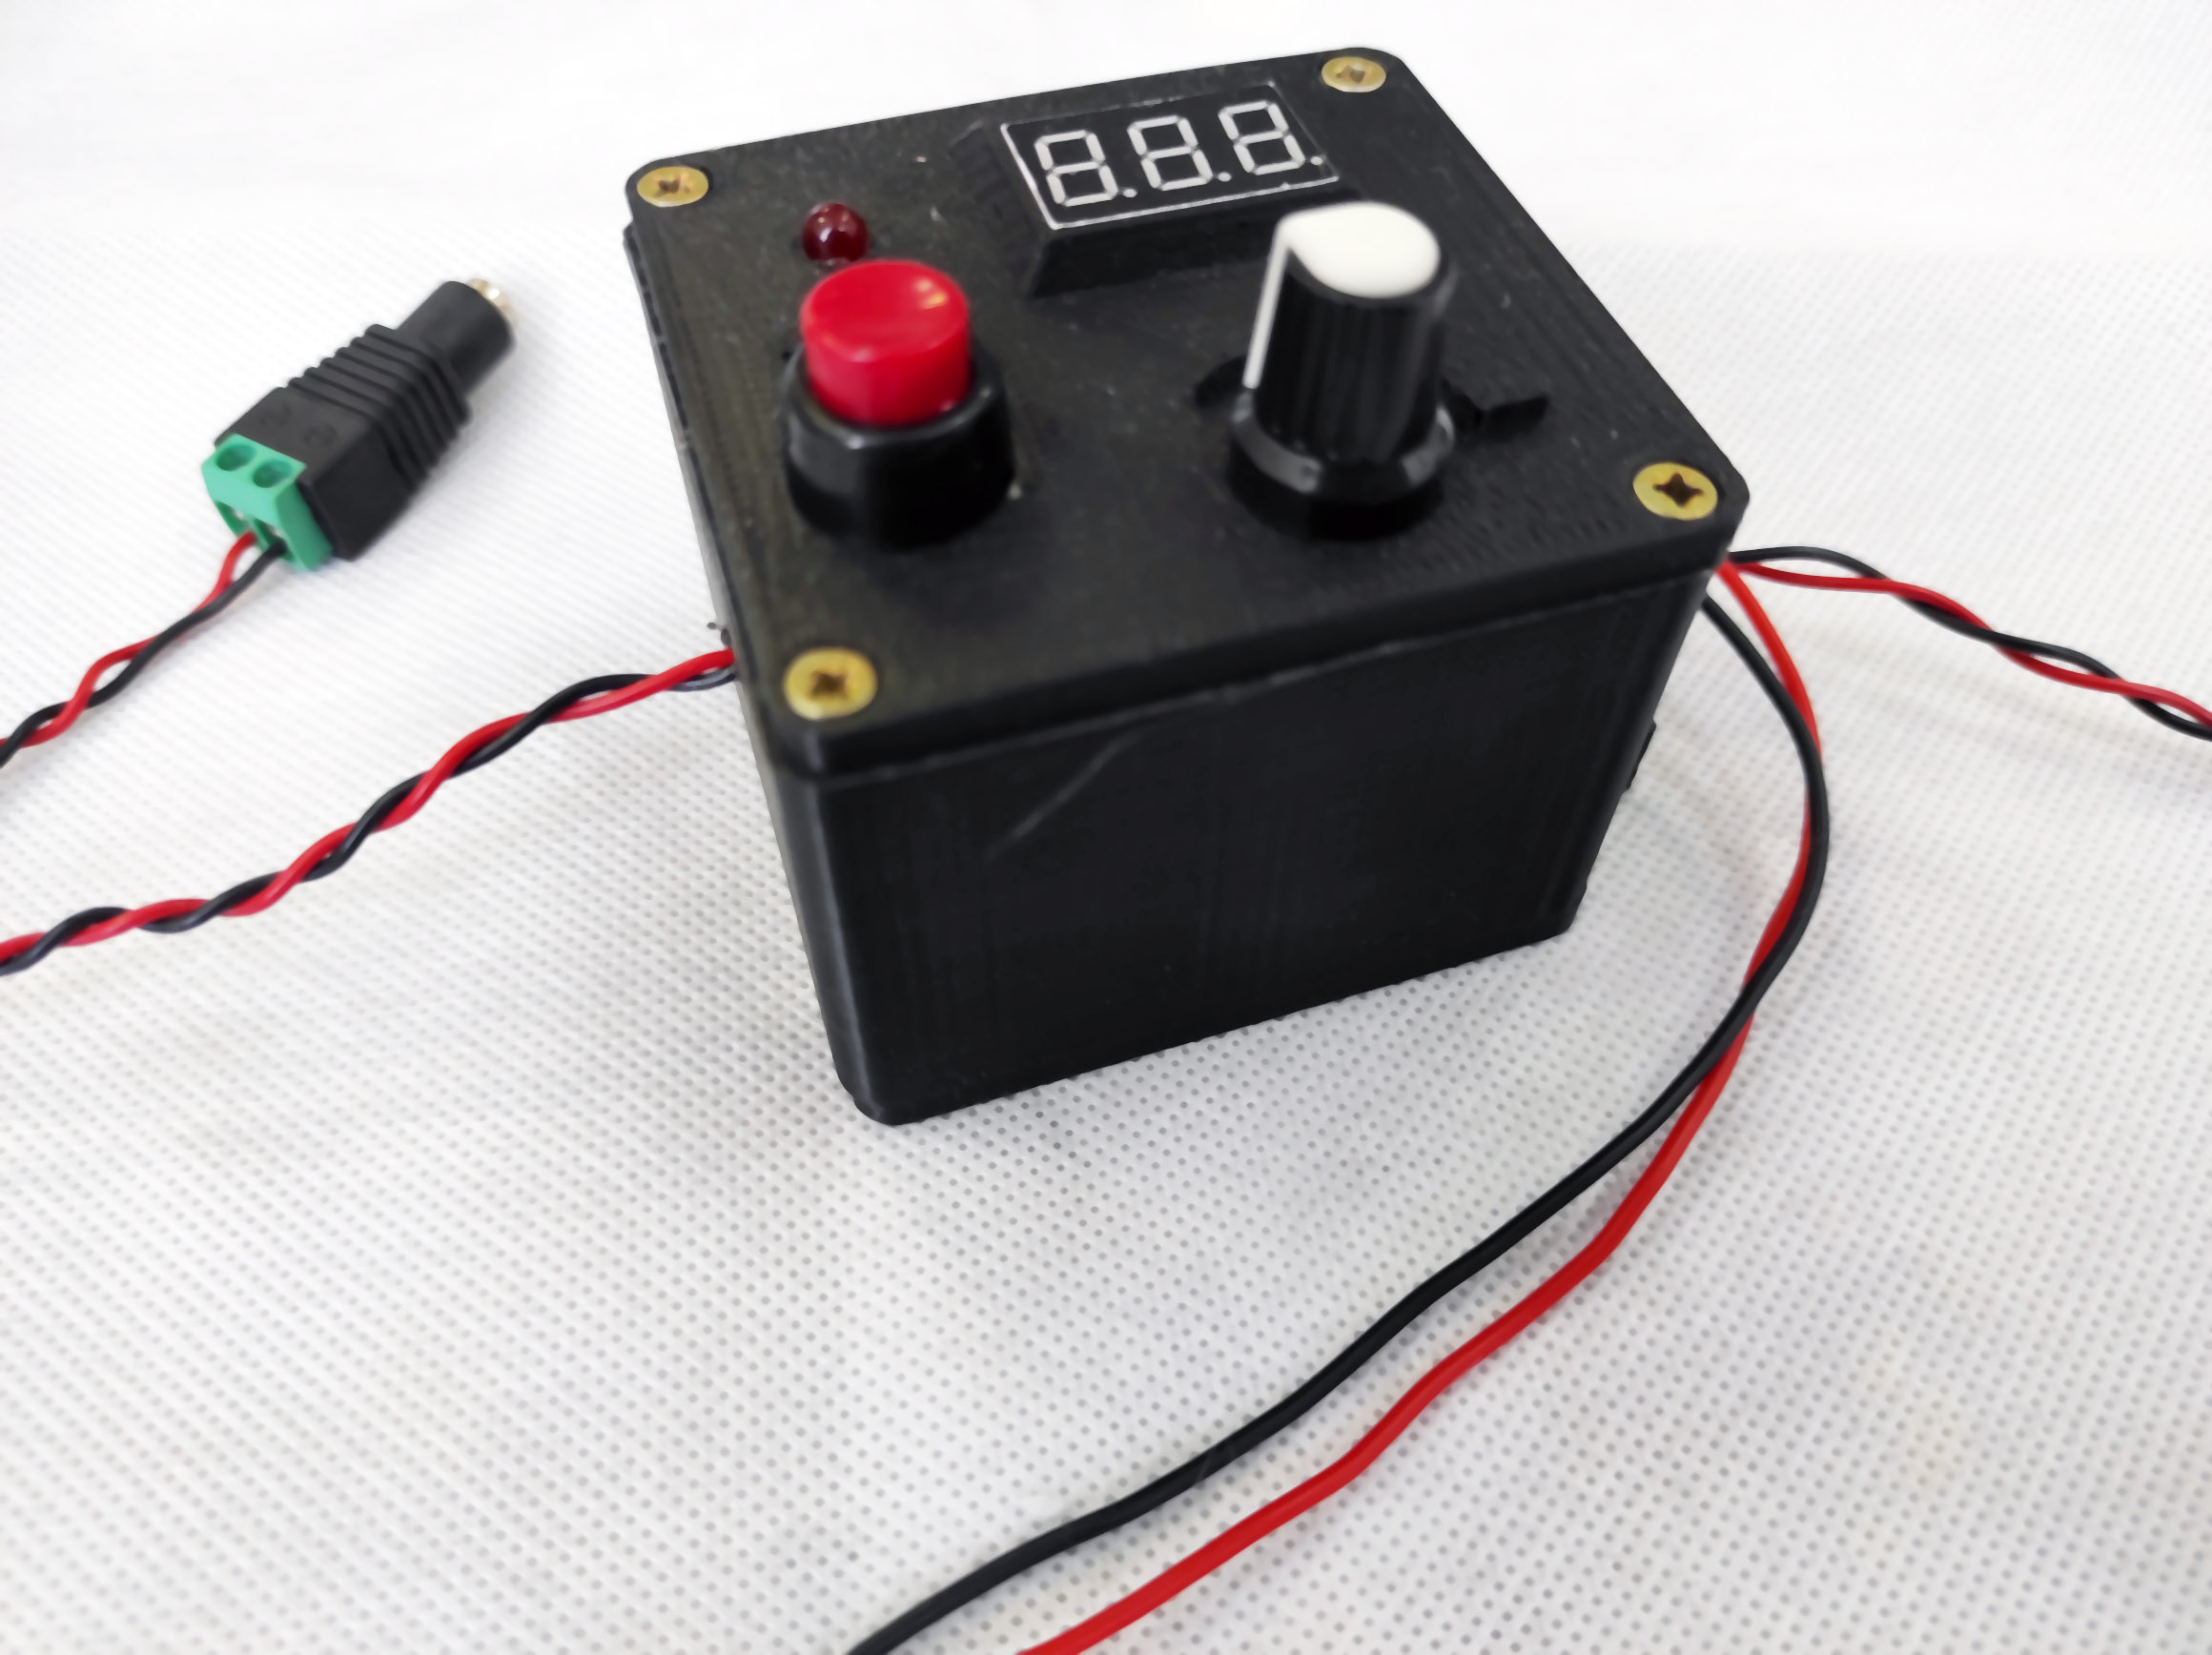
Switch – is needed to be able to turn on/off the laser, sometimes you can have a more complex system
Potentiometer – is needed to be able to set up needed current, usually, a potentiometer should be in kOhm.
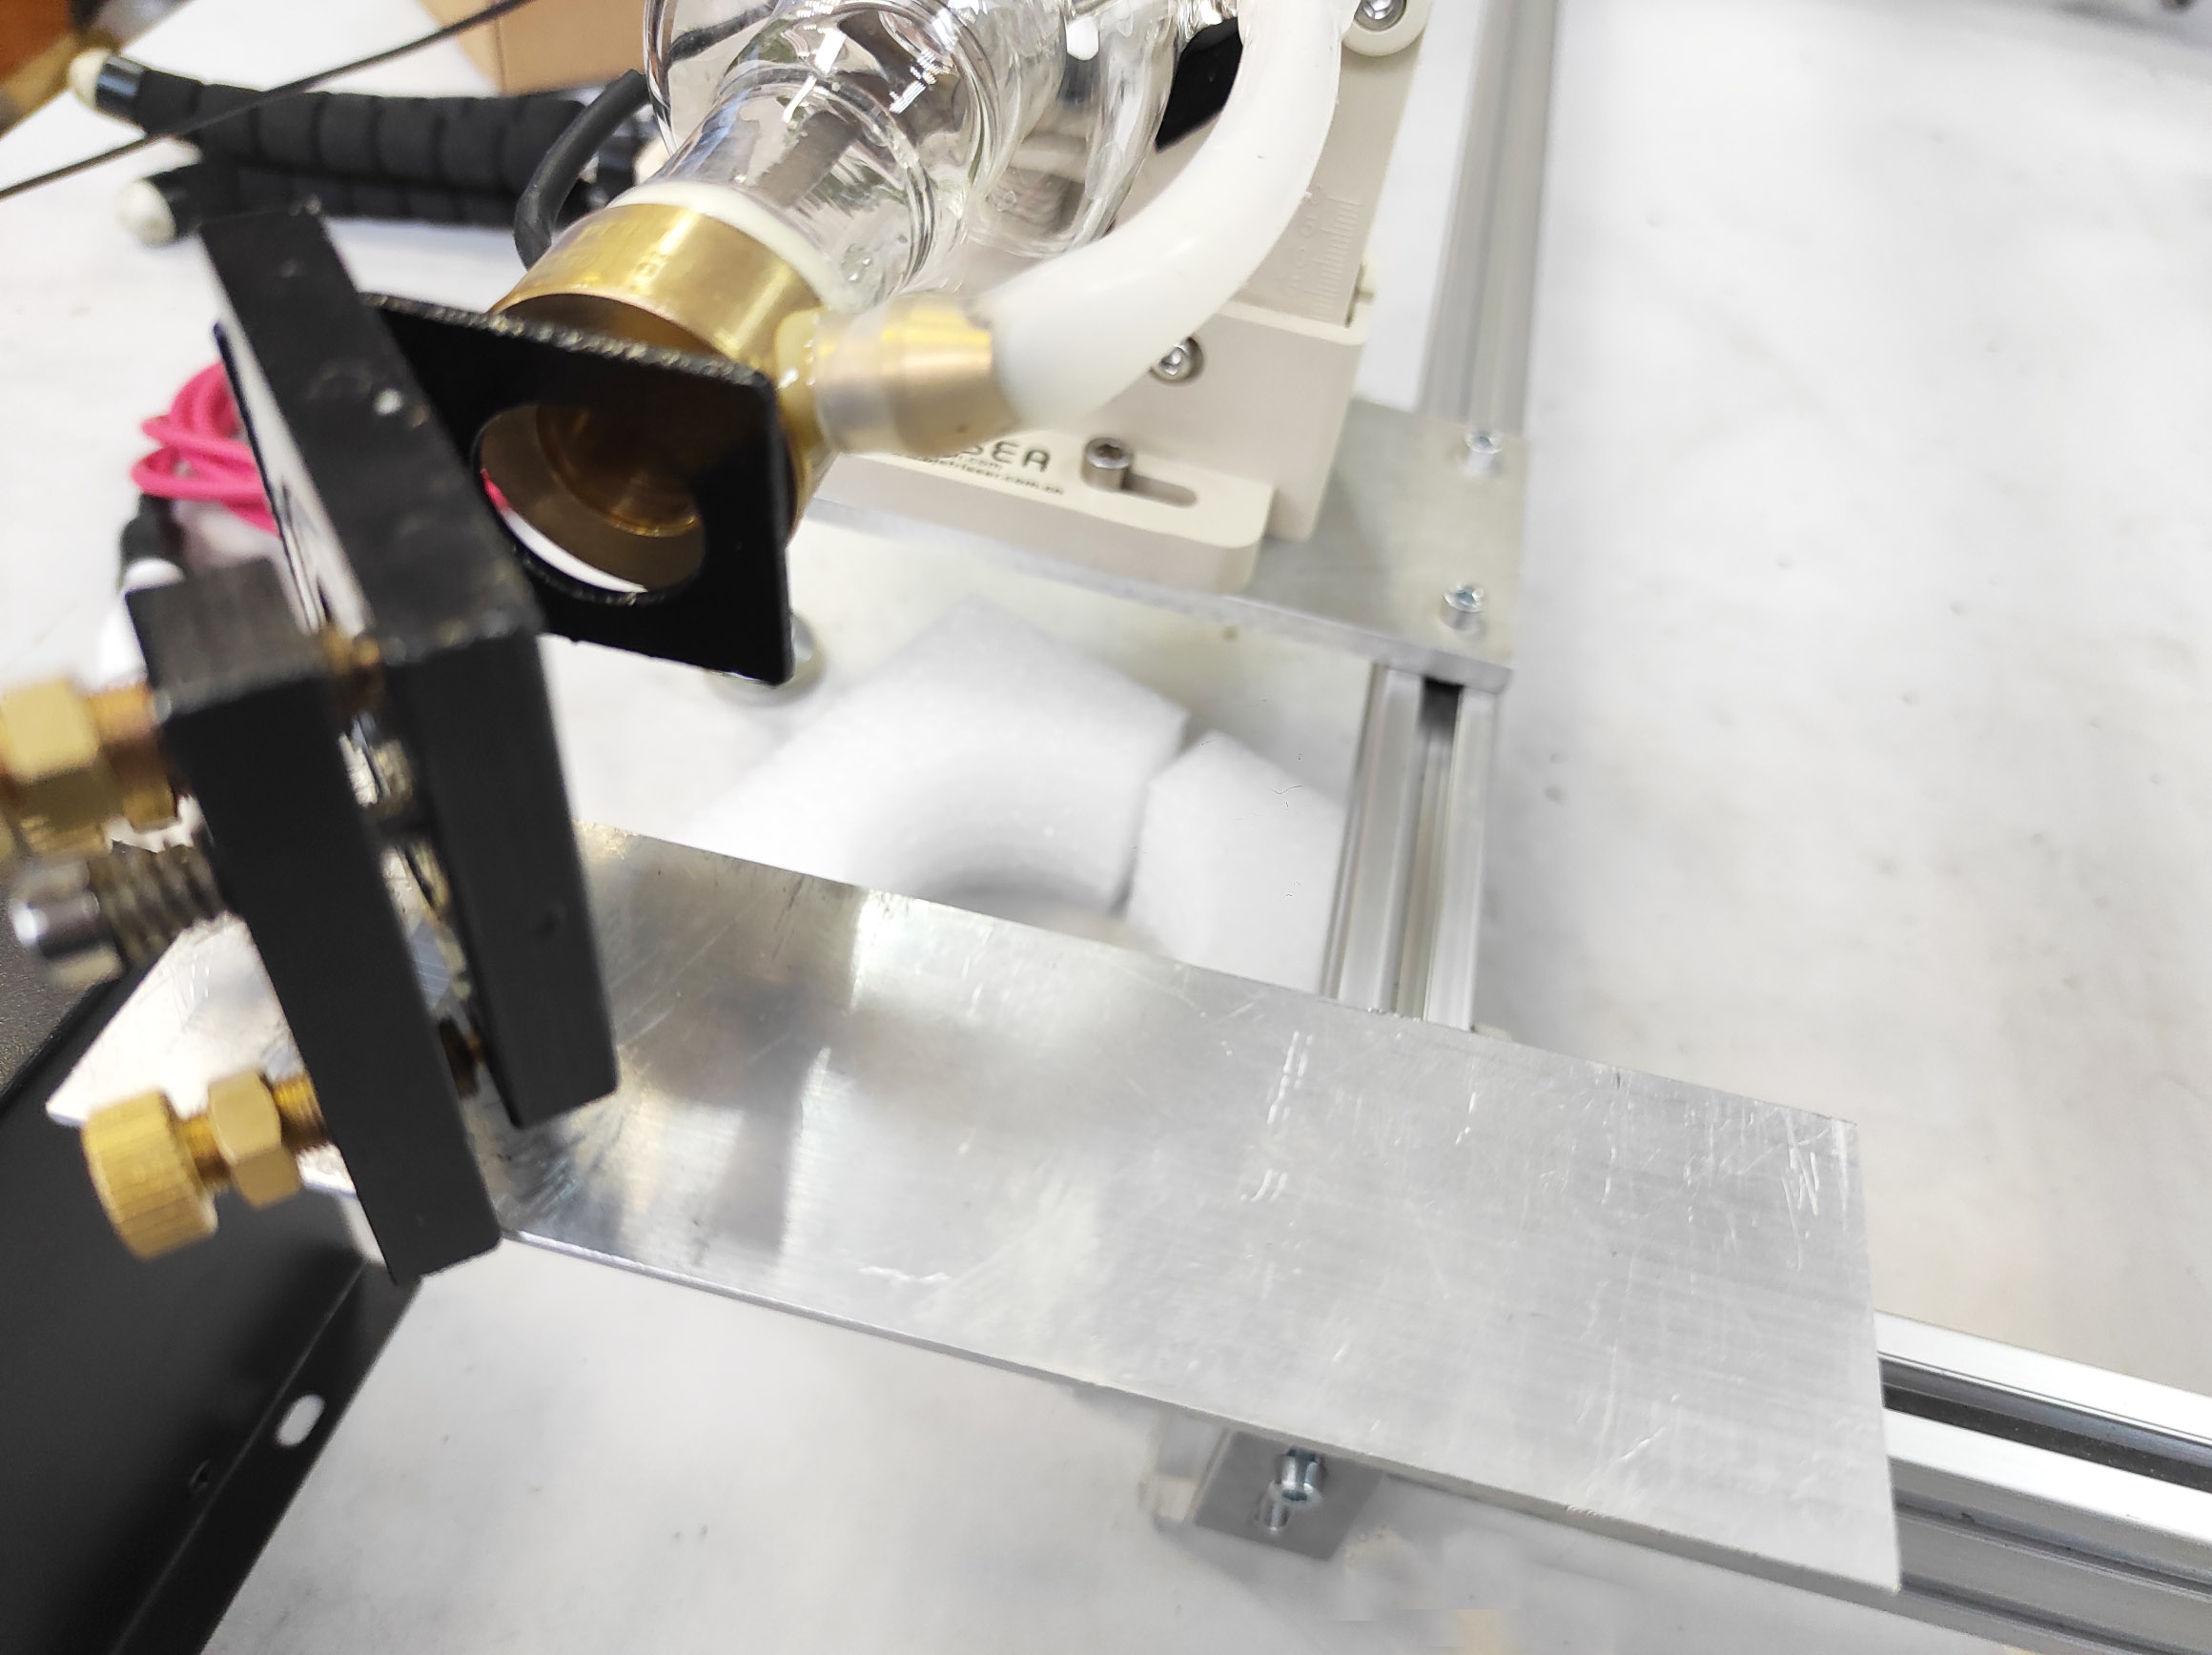
Once you setup all systems you would need to deliver the laser power and focus it at the end, therefore, you need some special Co2 mirrors and well as a focusing lens.
Schematic parameters:
Length
700mm (±10)
Diameter
50mm
Power
40W
Wavelength
10.6μm
Laser Beam Diameter
3mm
Length
1250mm (±30mm)
Diameter
80mm
Power
80W (Peak power 90W)
Wavelength
10.6μm
Laser Beam Diameter
5mm
Length
1650mm (±30mm)
Diameter
80mm
Power
150W (Peak power 160W)
Wavelength
10.6μm
Laser Beam Diameter
8mm
Power parameters: Current: 15 – 20 mA Voltage: 21-25 kV
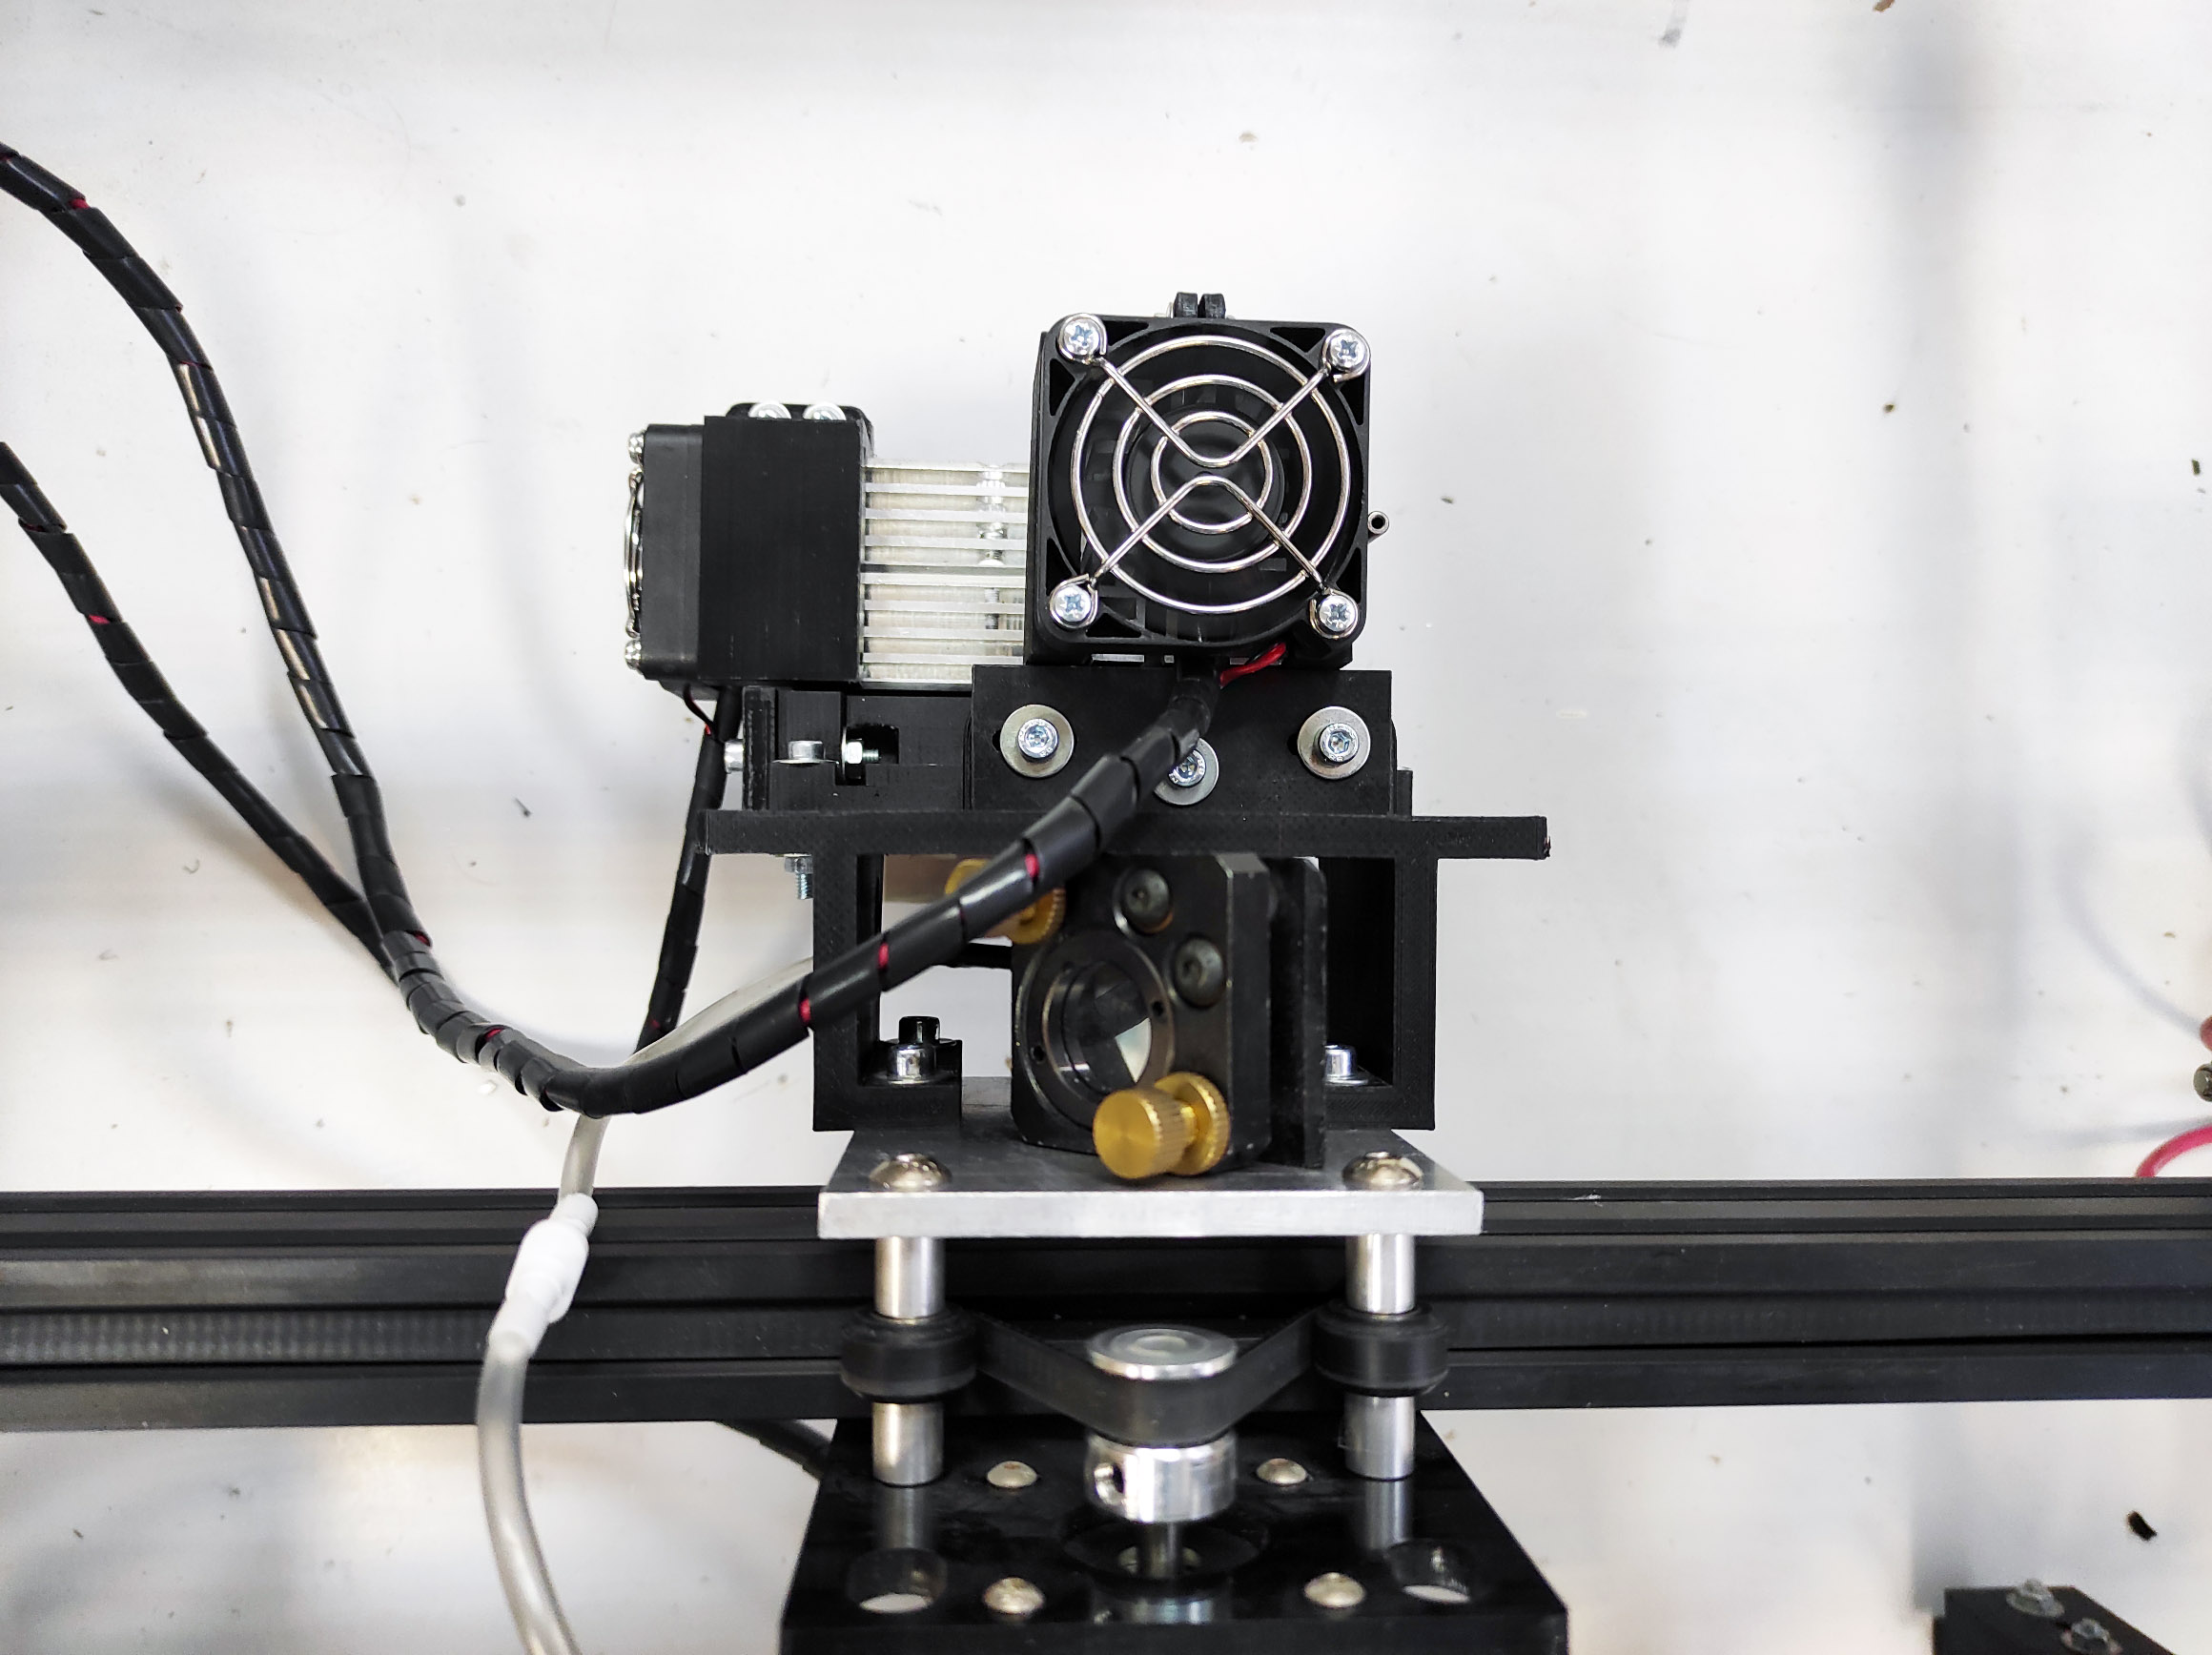
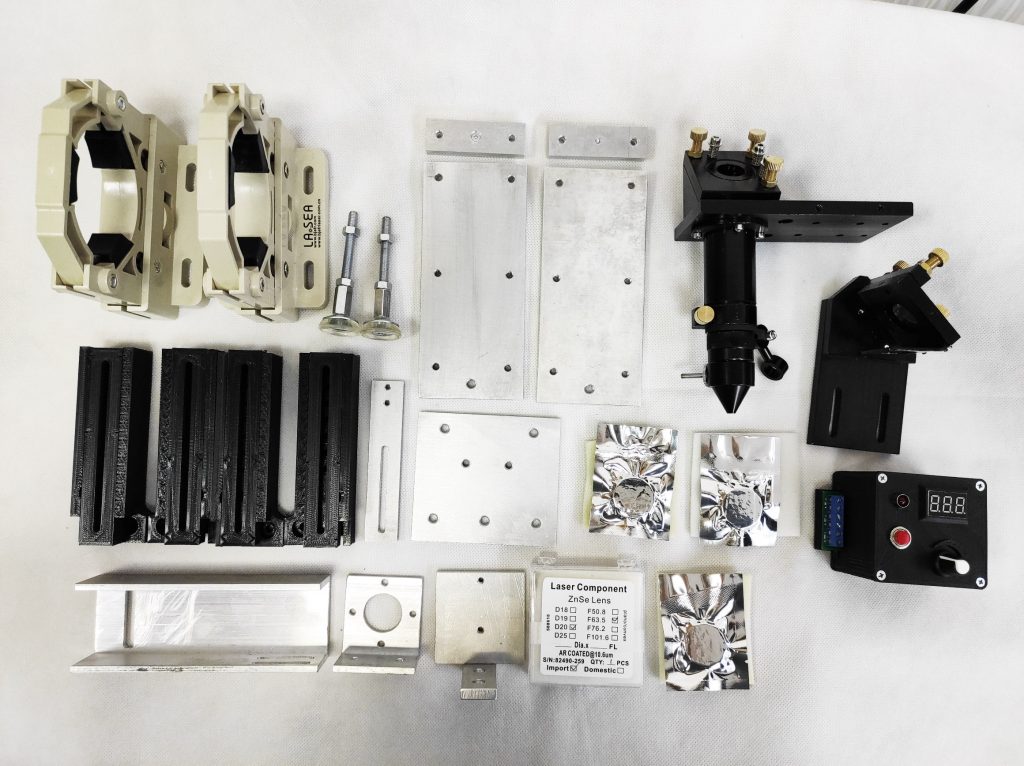
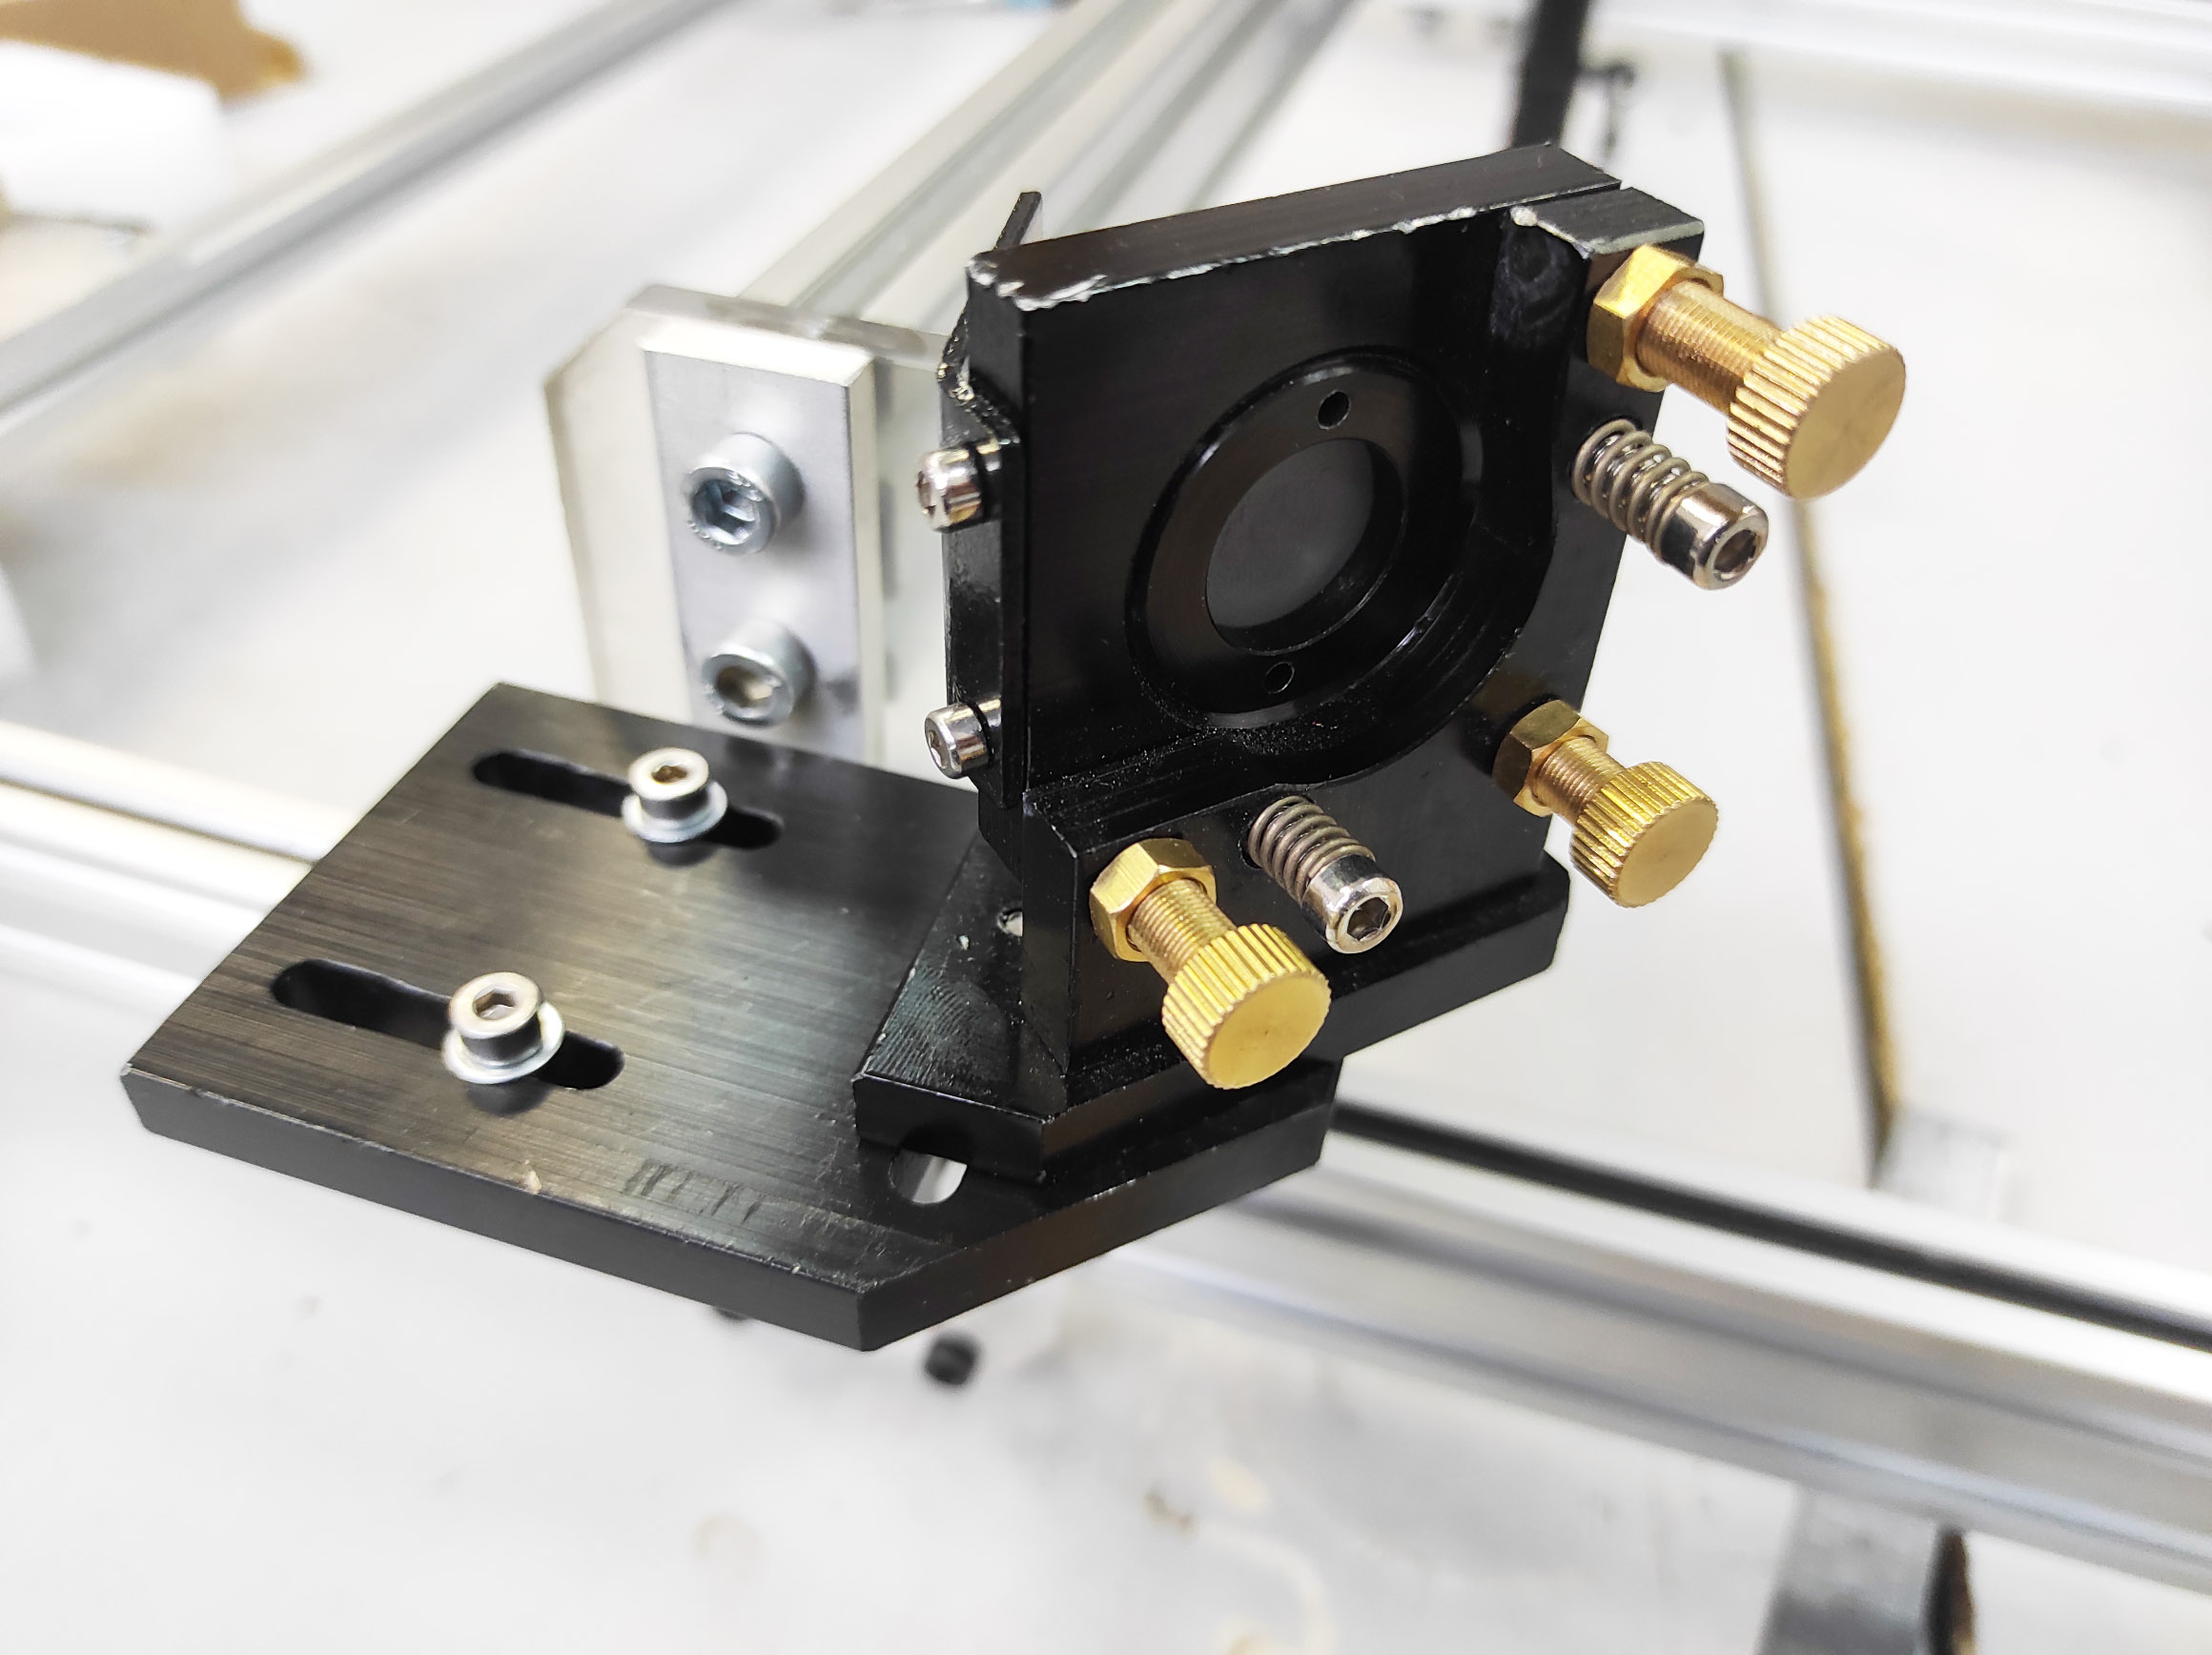
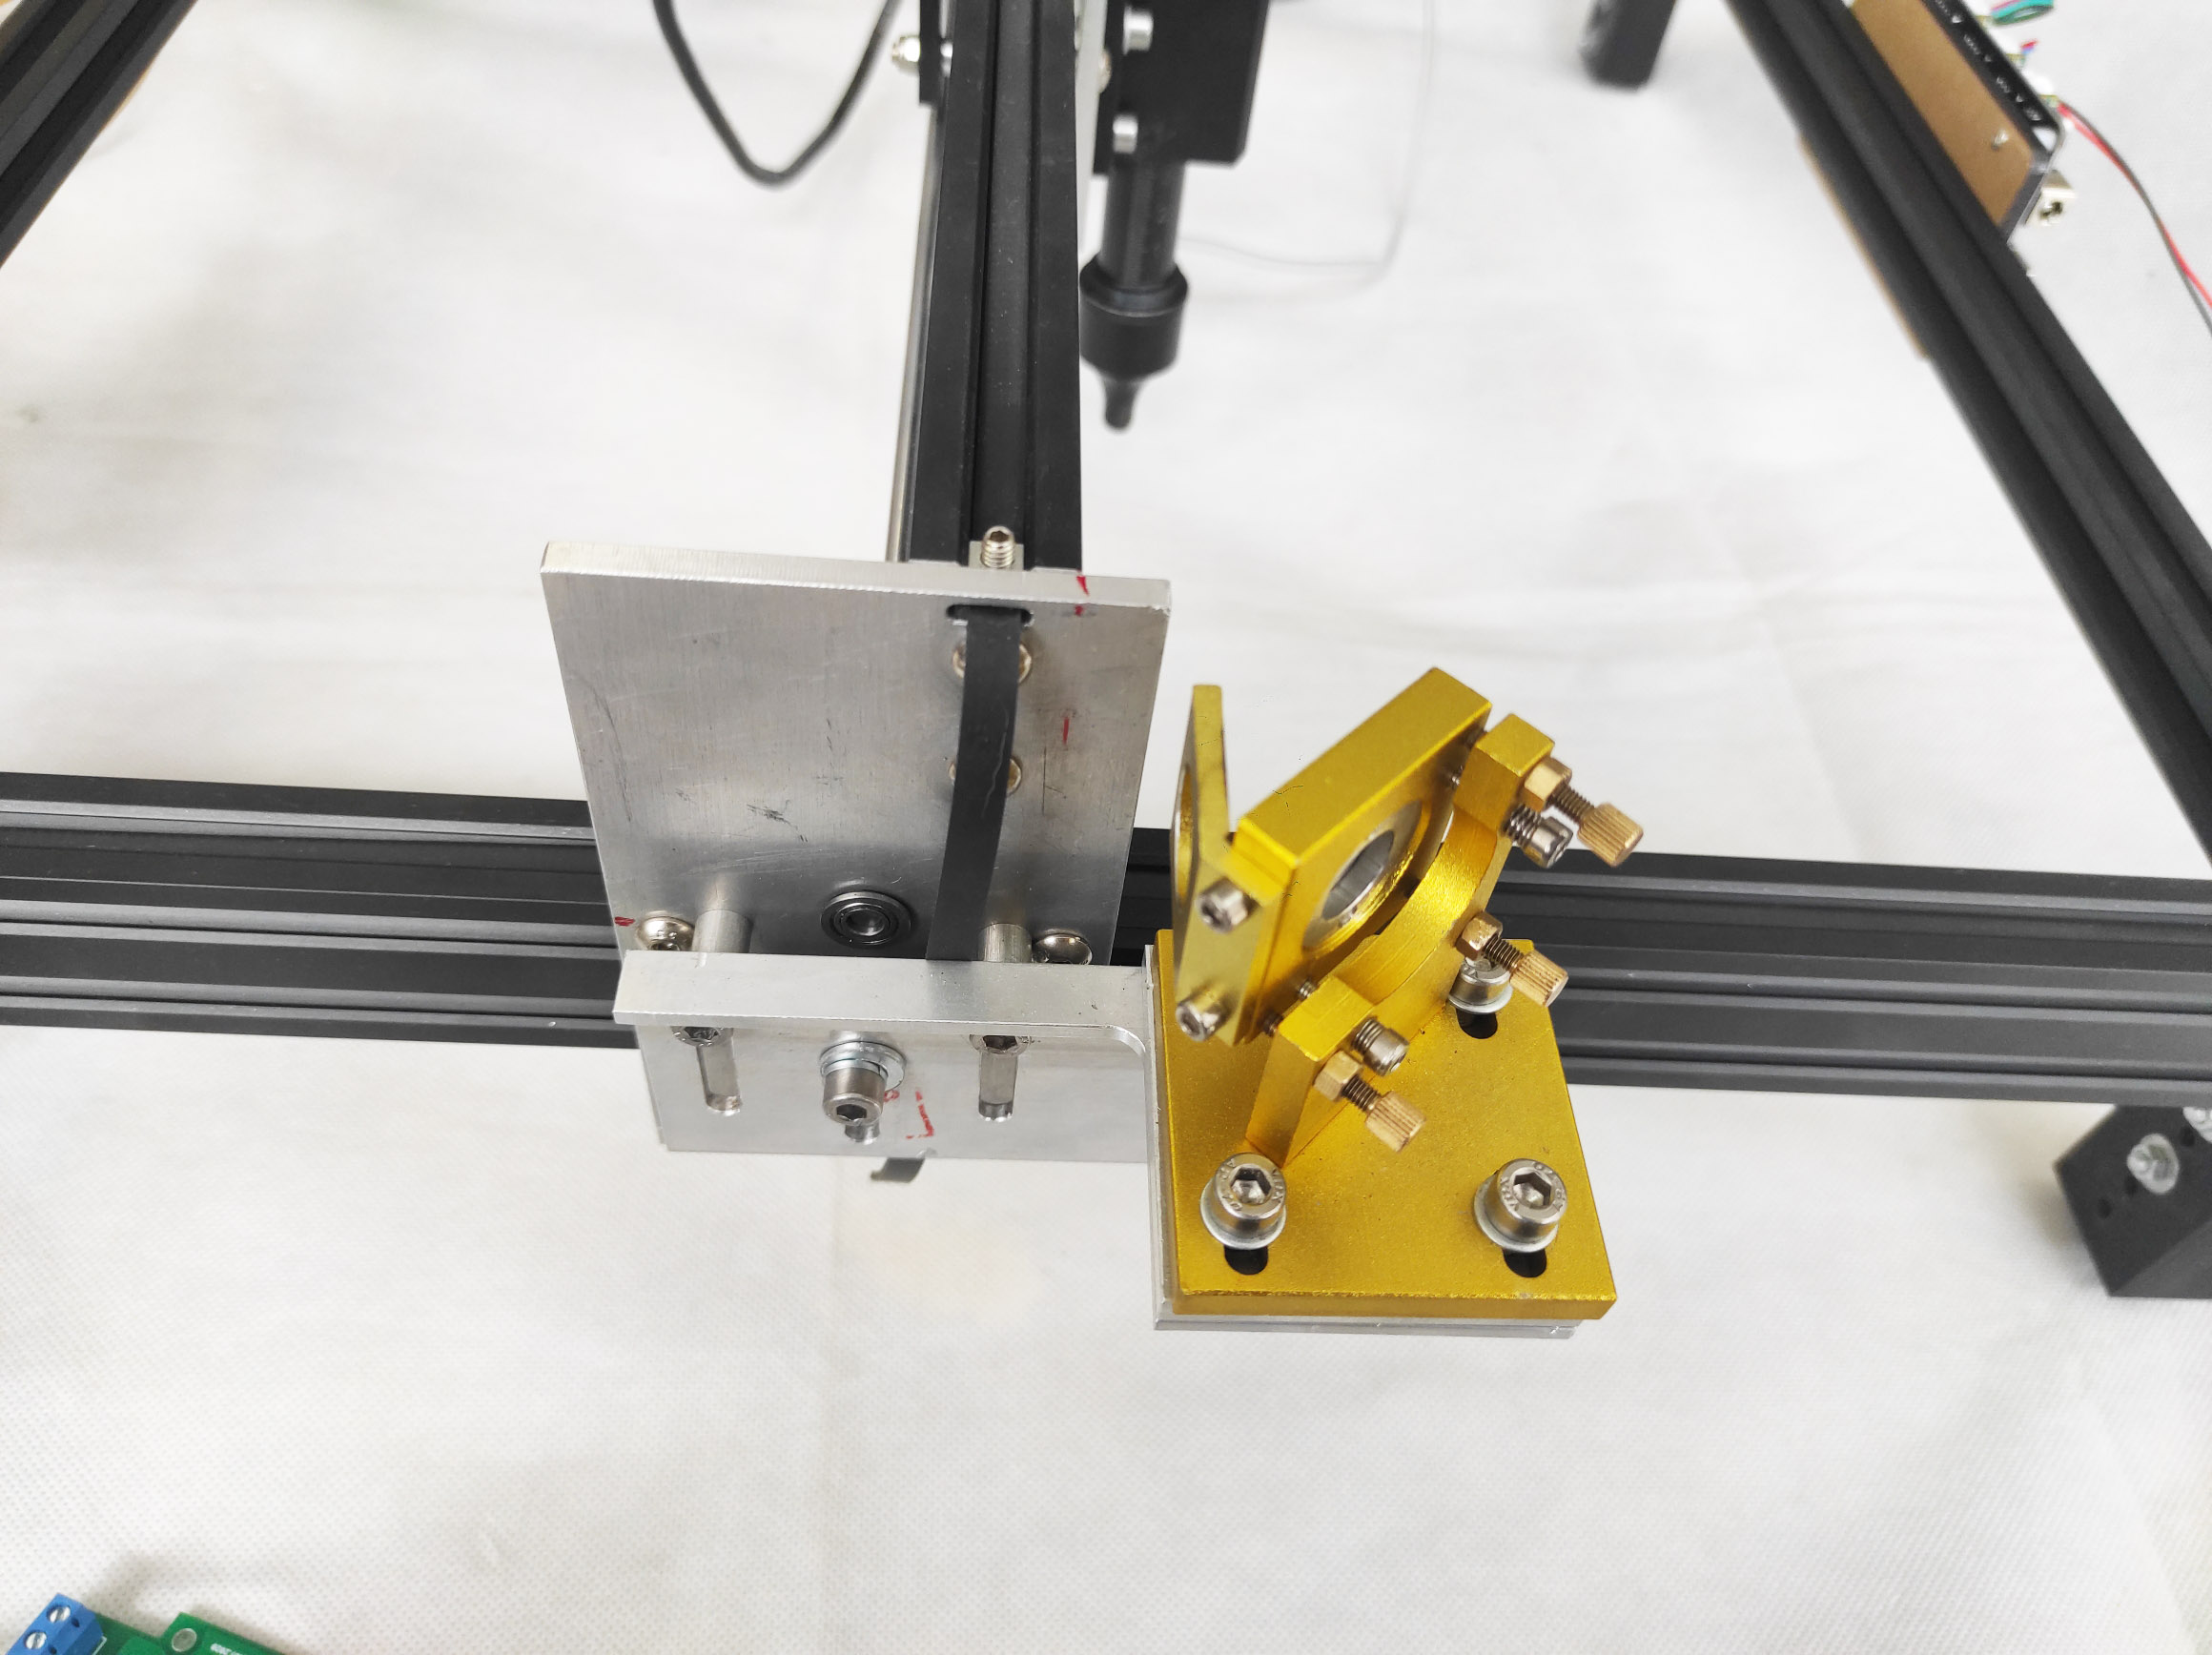
Head mirror 30 mm lens 25 mm with height regulation
Mirror 30 m
Height sensor
Lens 25 mm
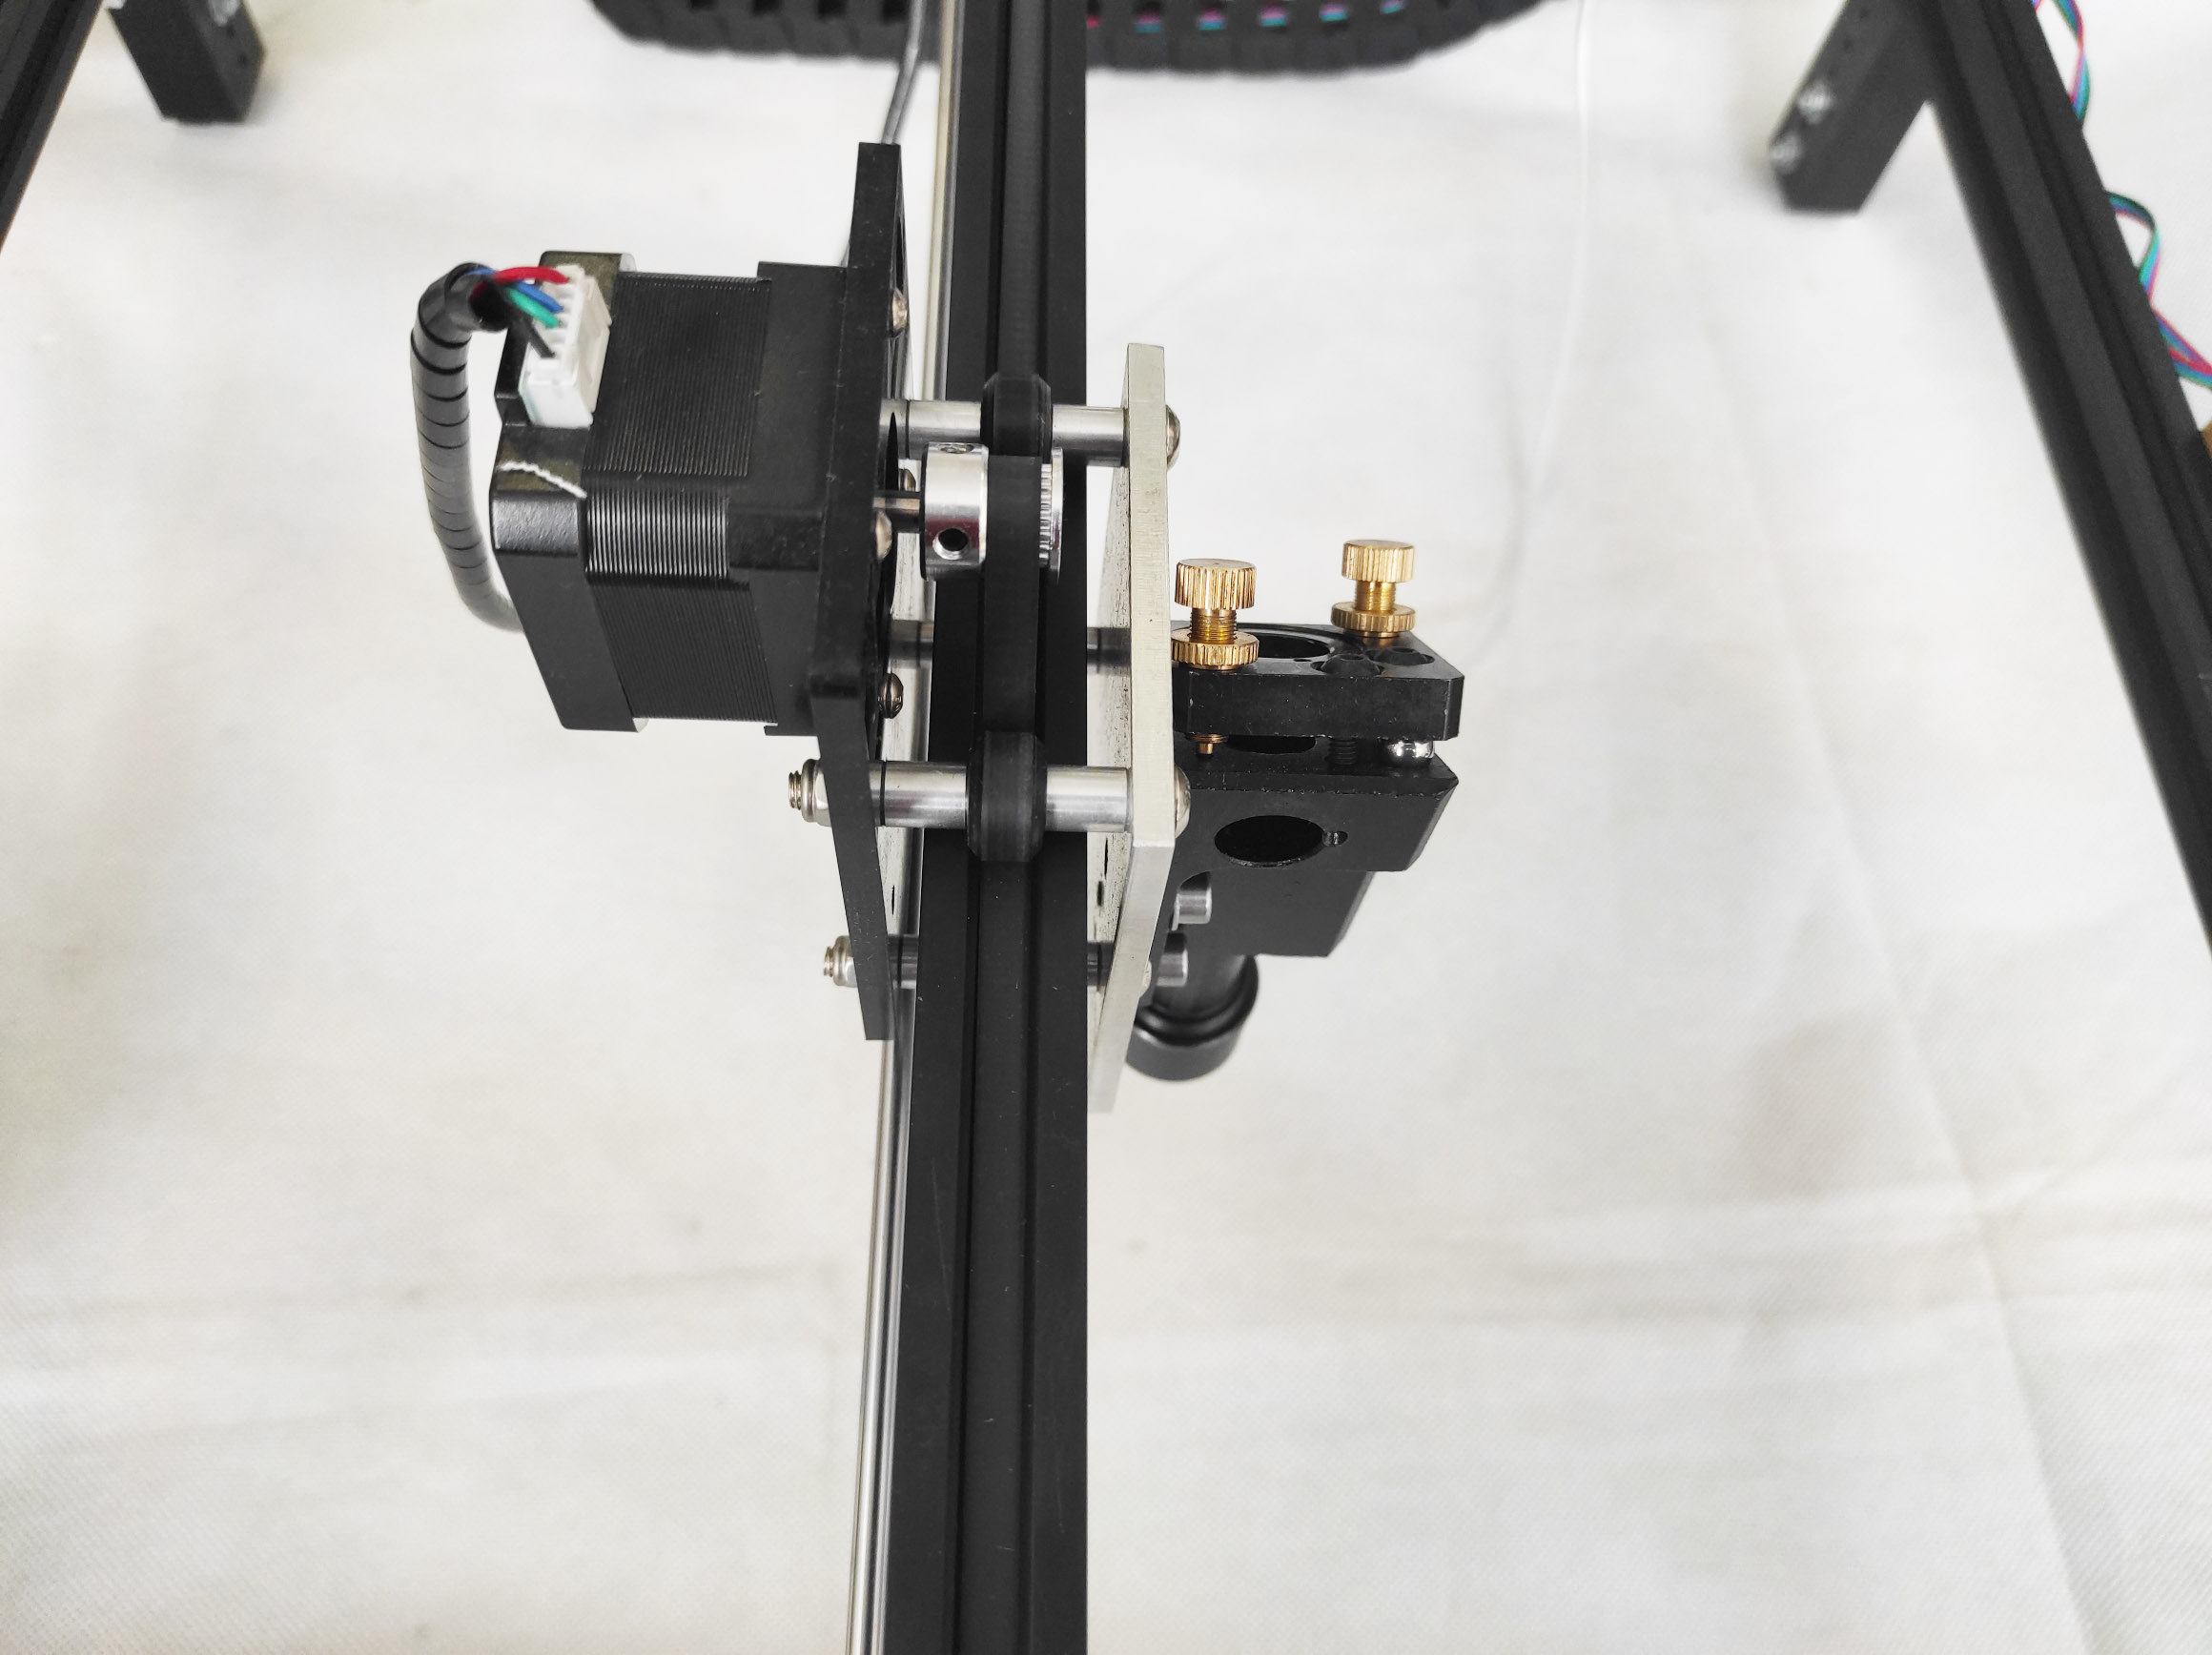
Motor 42HS03 + driver DM542
Chiller CW-5200
Mirror 30 mm
Fume extractor ventilation 750 watt
Lens 25 mm
Compressor 016
Chiller CW-5200
Potentiometer
Fume extractor ventilation 750 watt
Milliammeter
Compressor 016
Wires
Potentiometer
Tubes
Milliammeter
Tube
Wires
Fitting for a head
Tubes
Tube
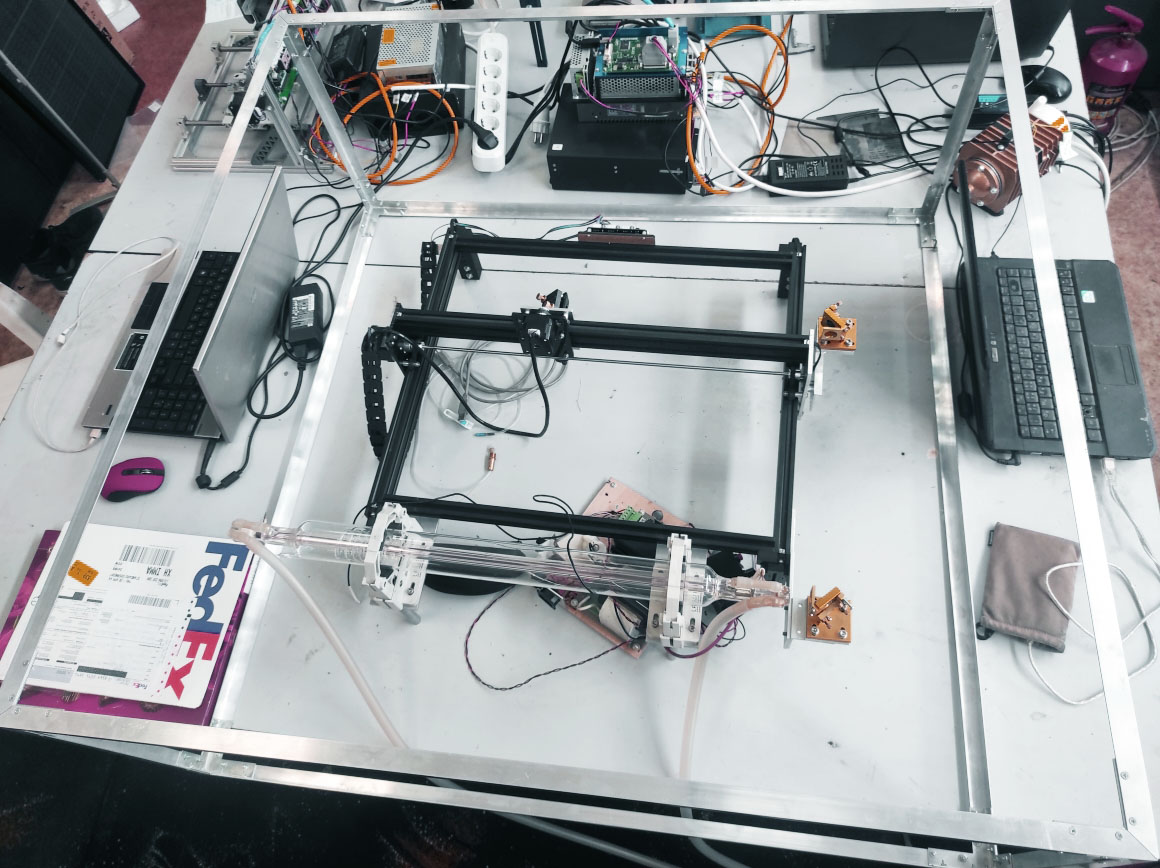
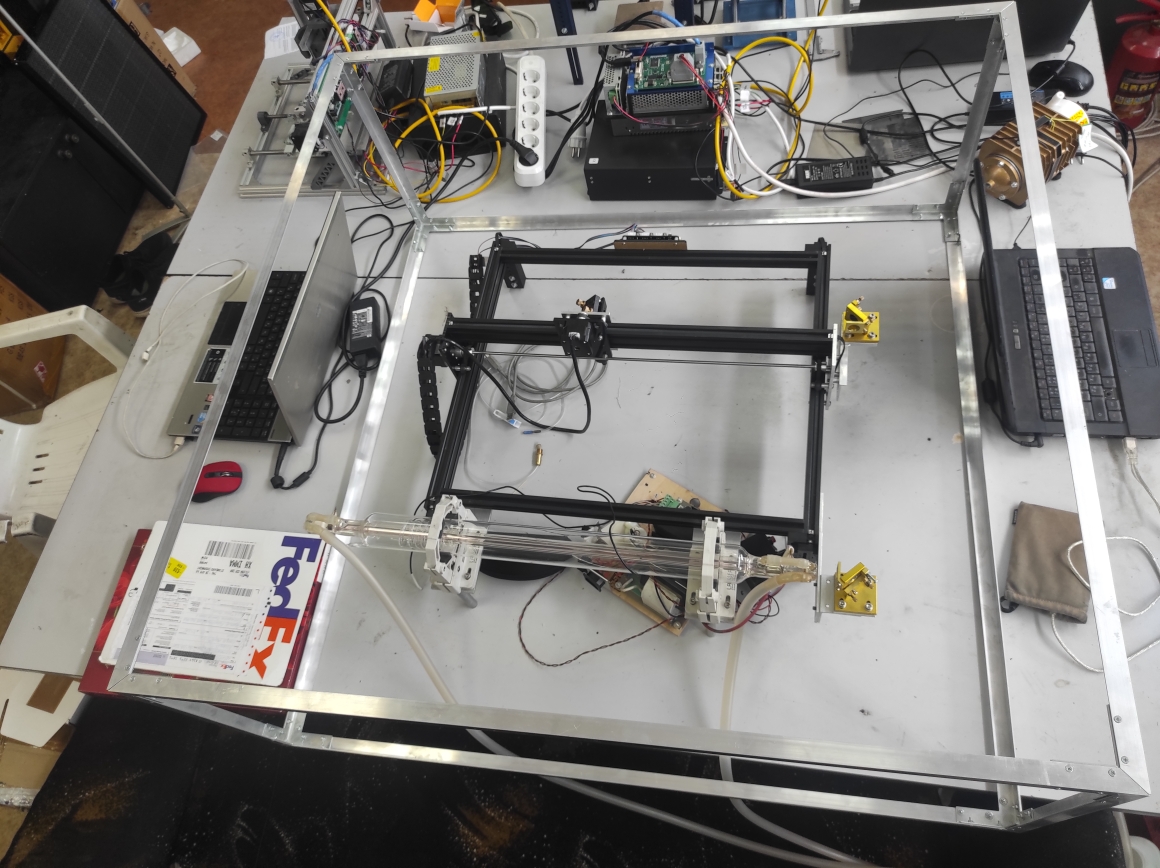
Assembling, tuning, and installation process
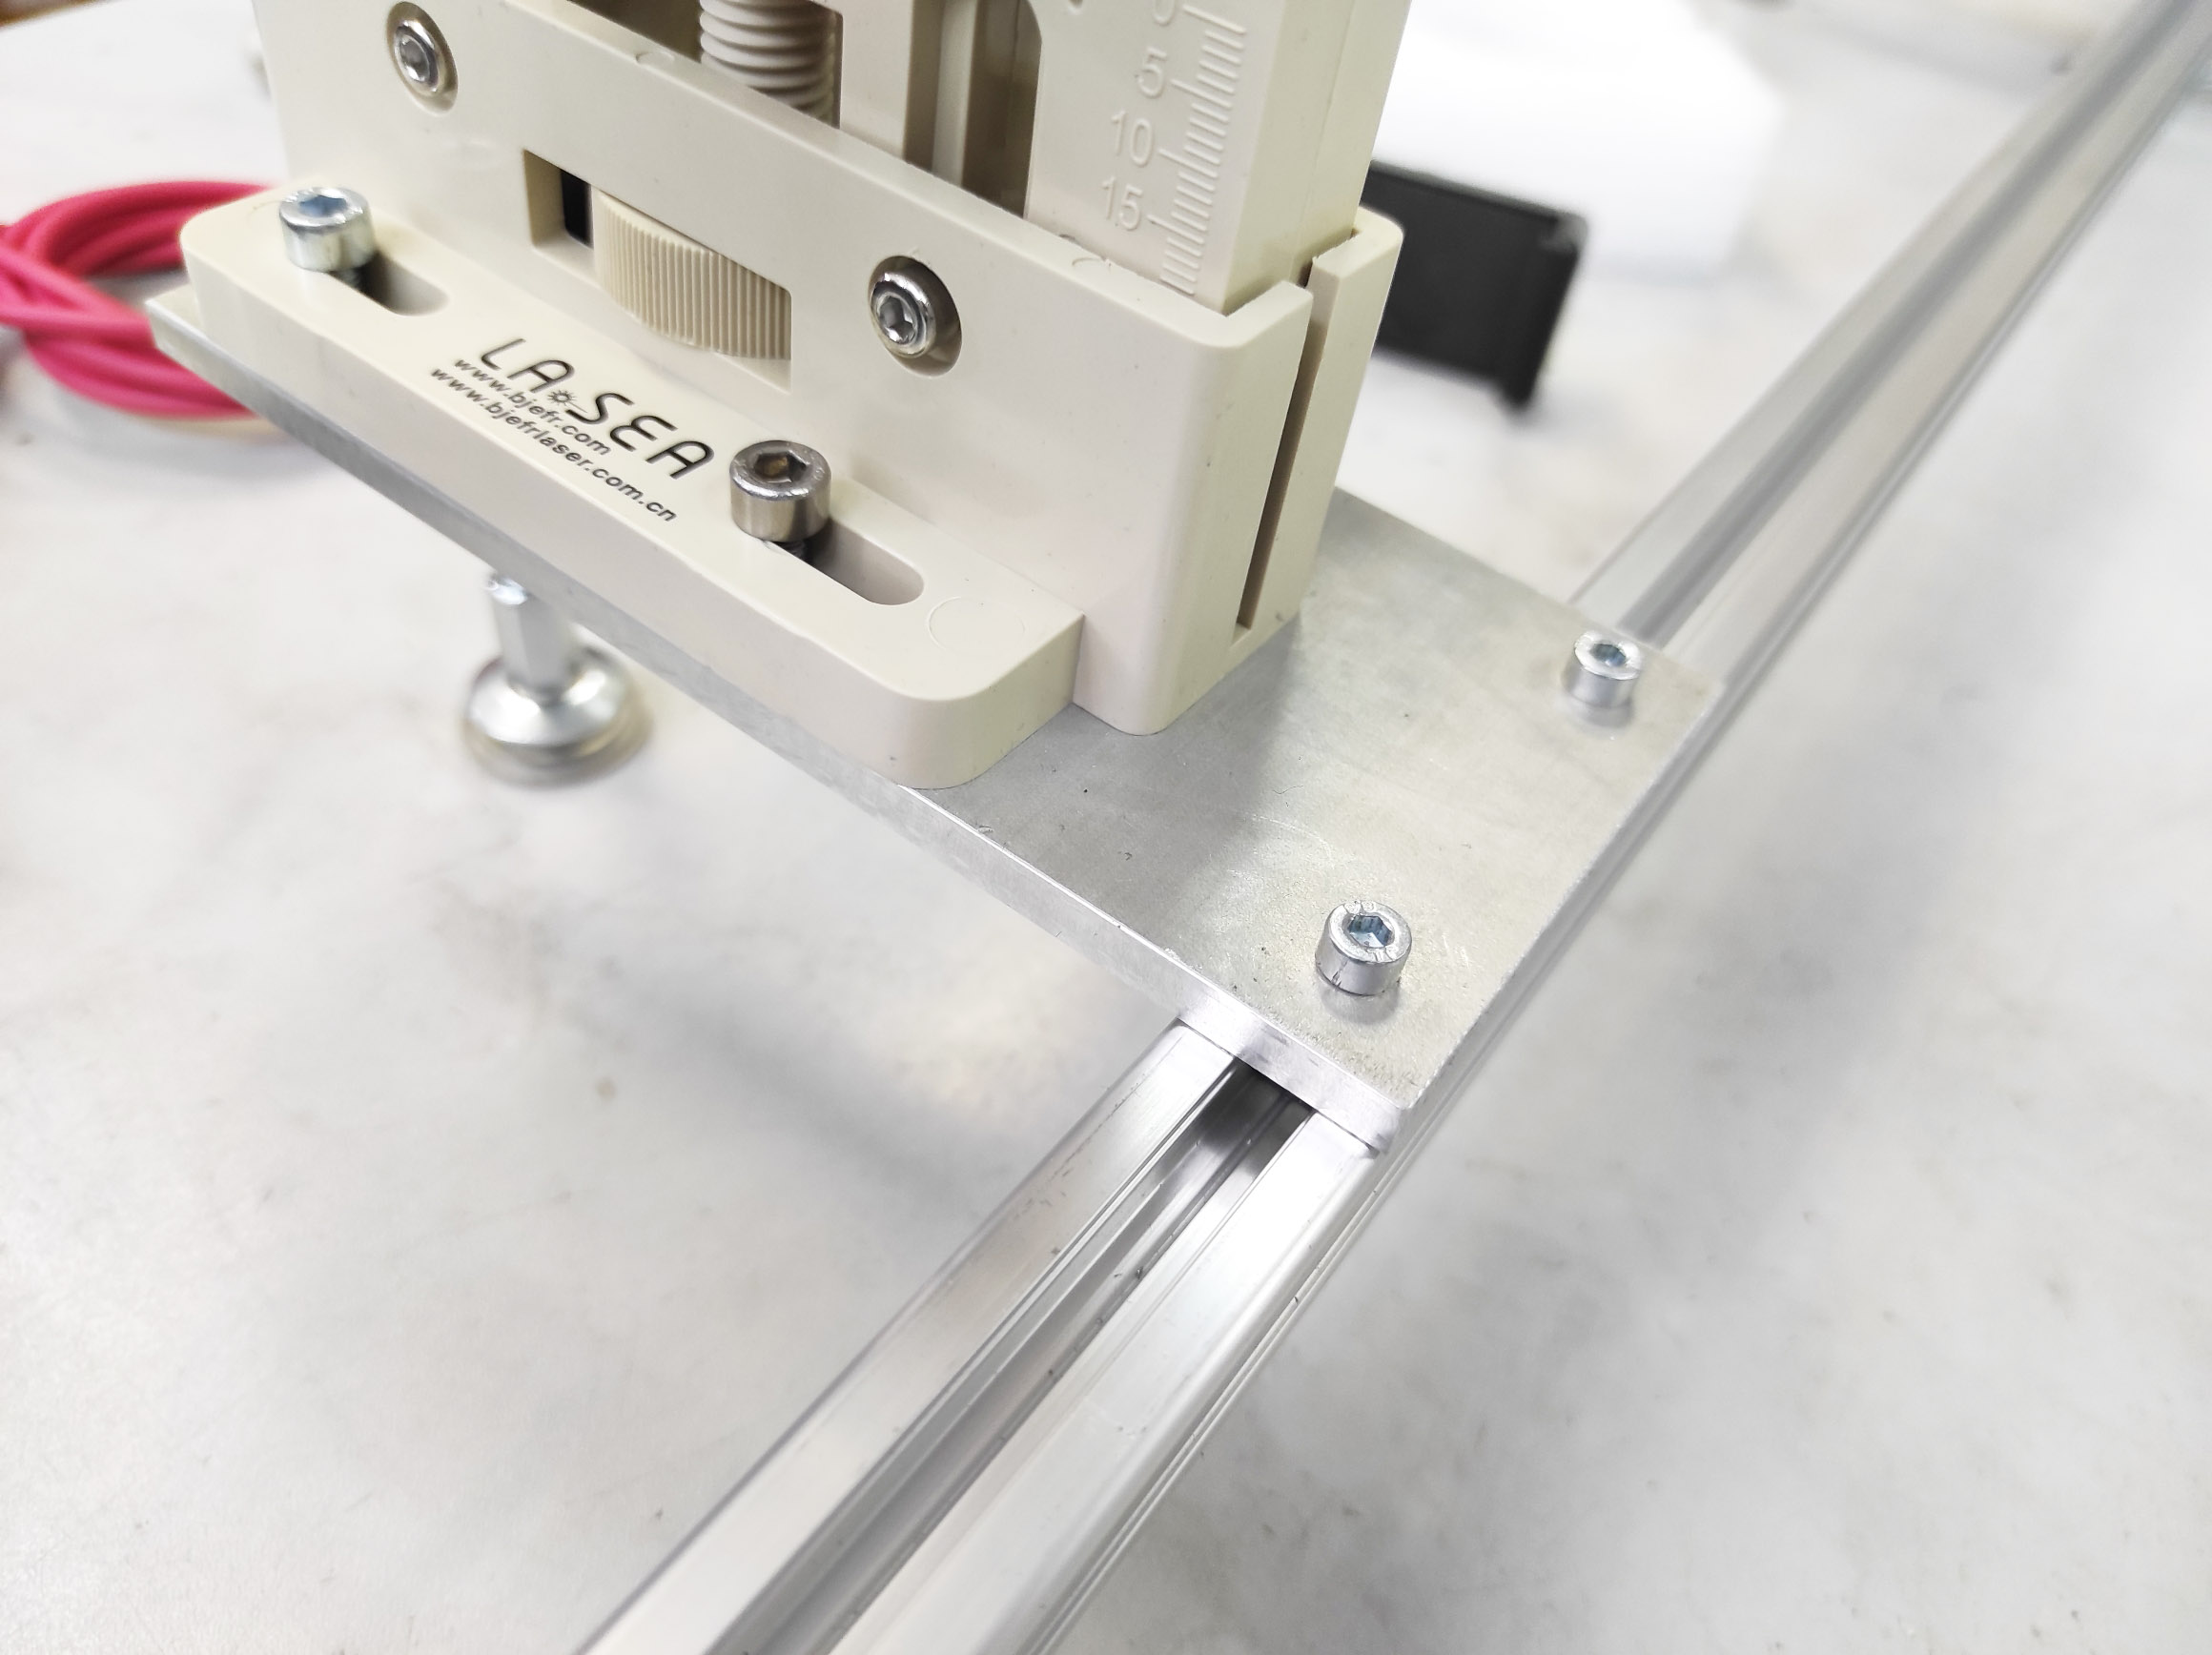
Installing the legs
To install the legs on the machine, you will need:
Directly the leg.
2 screws for a screwdriver
1 screw for a 6гранный-face wrench
Special nut
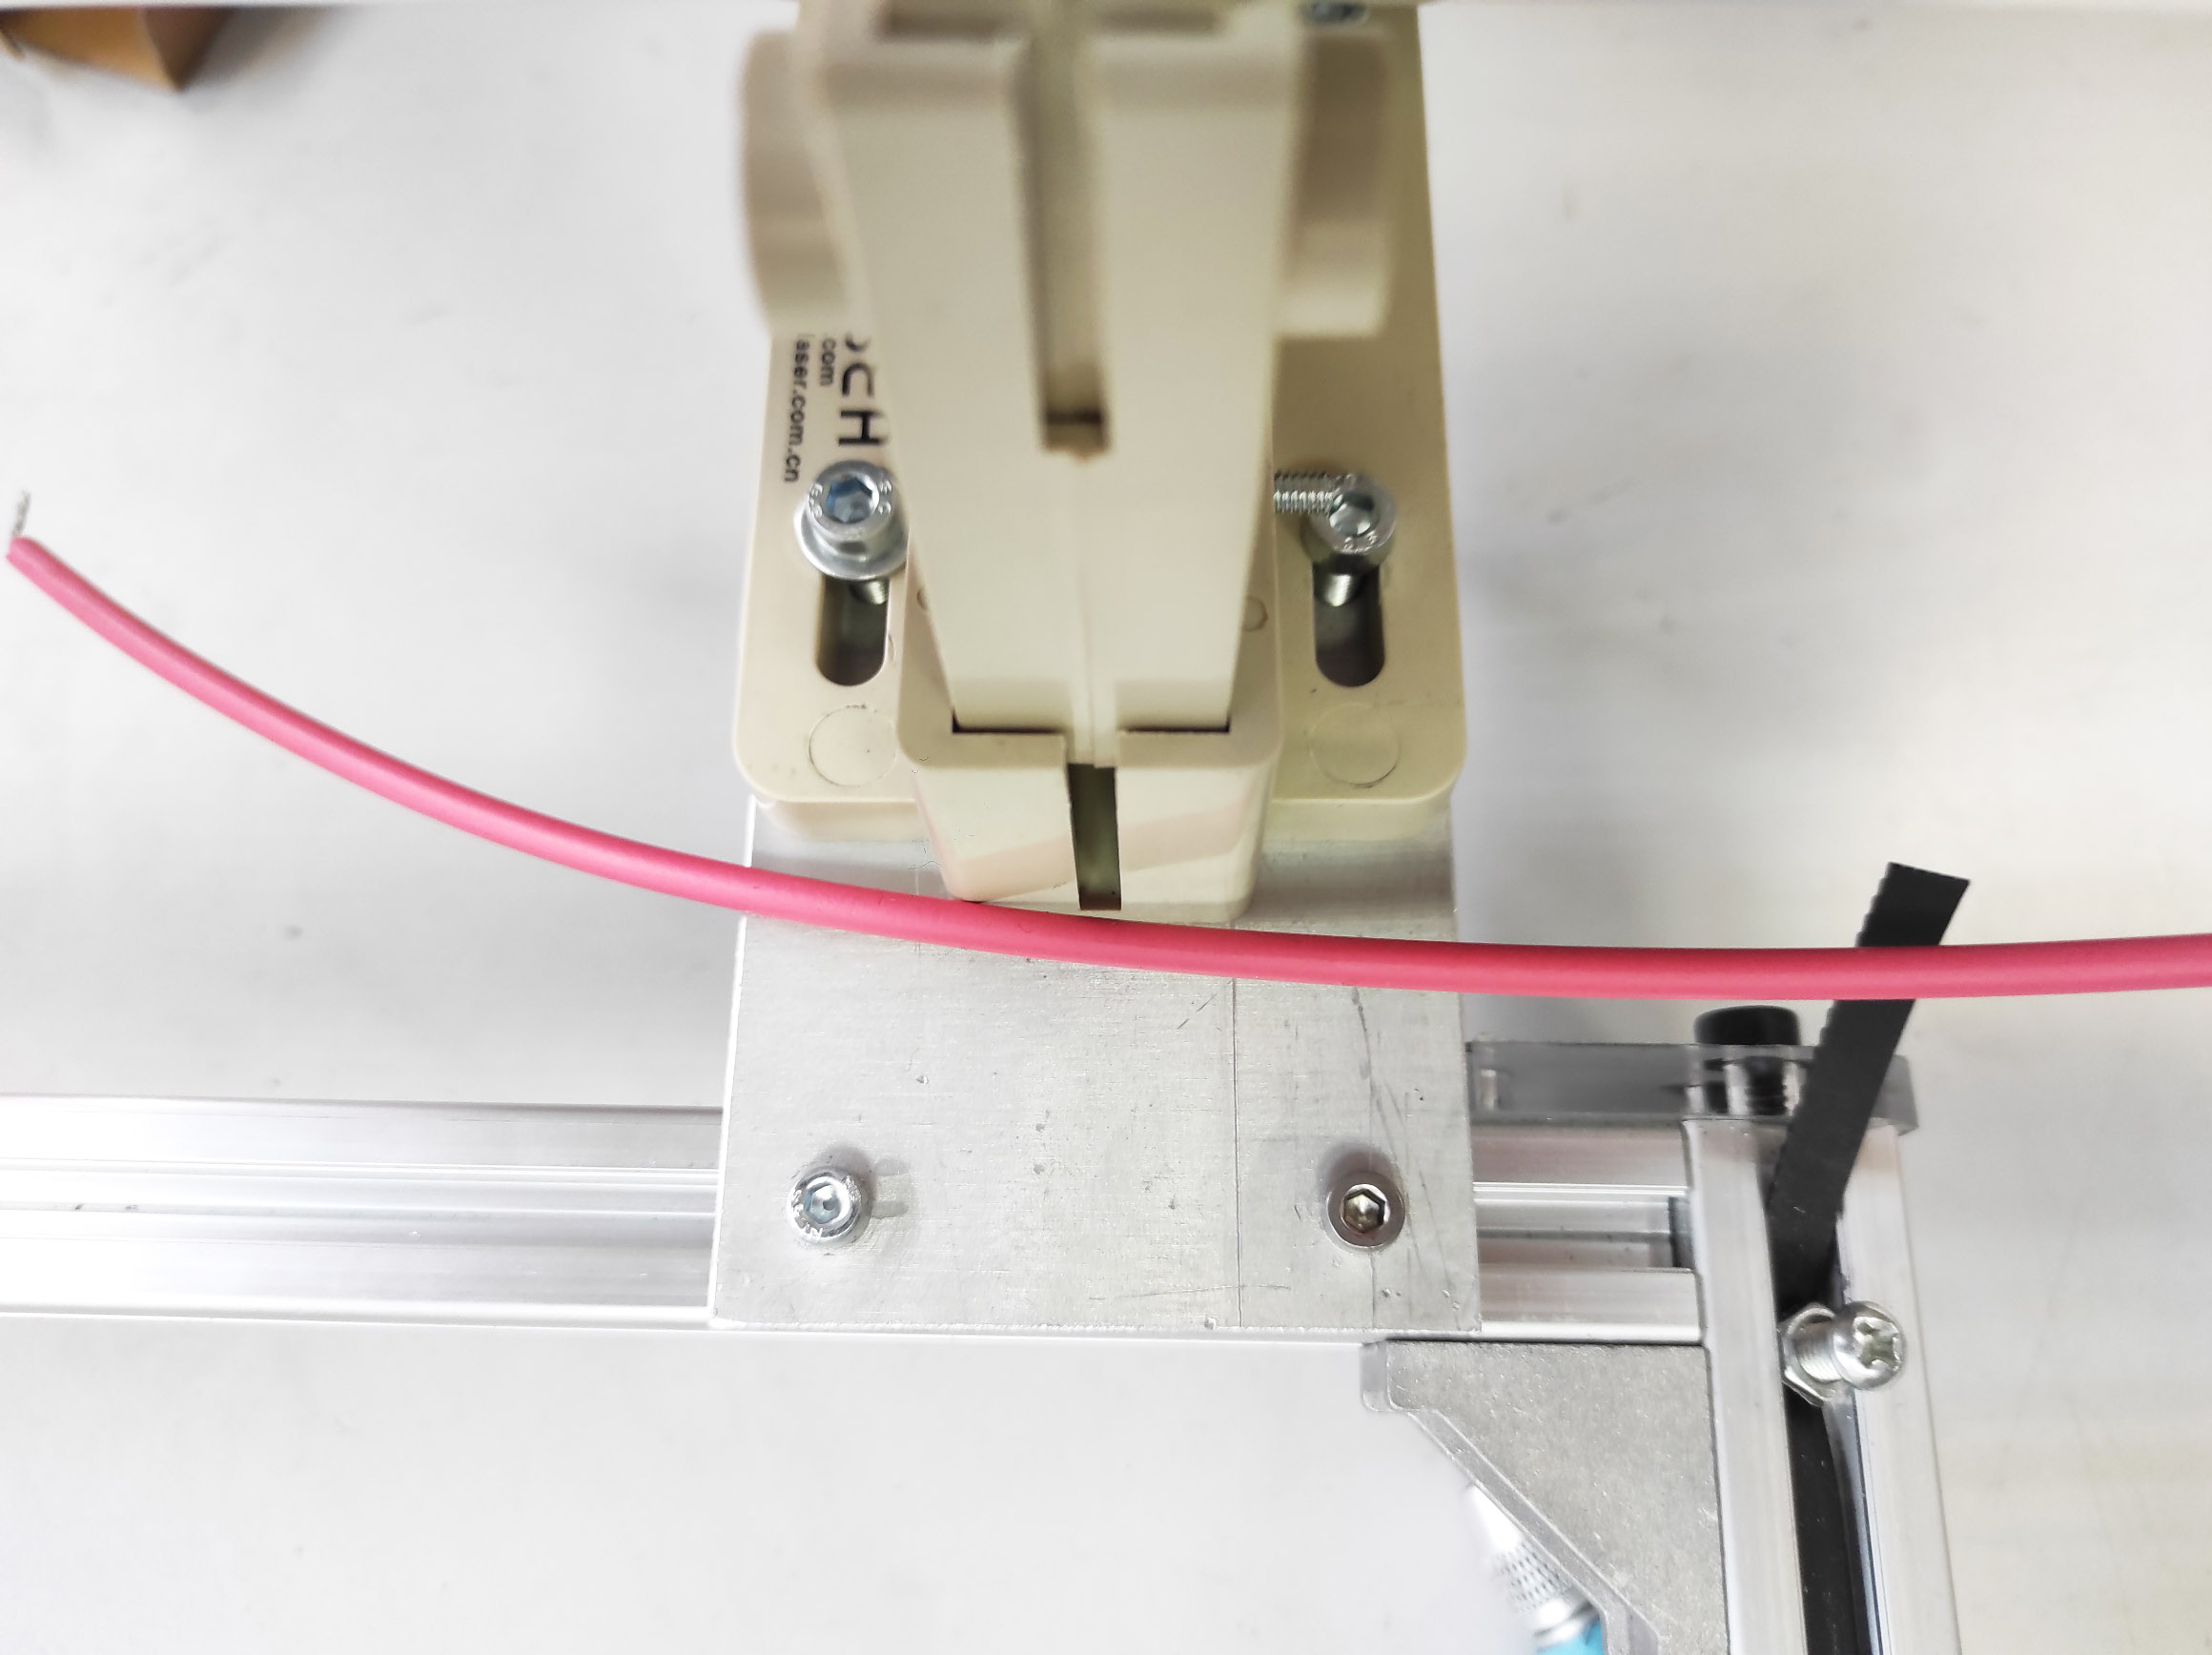
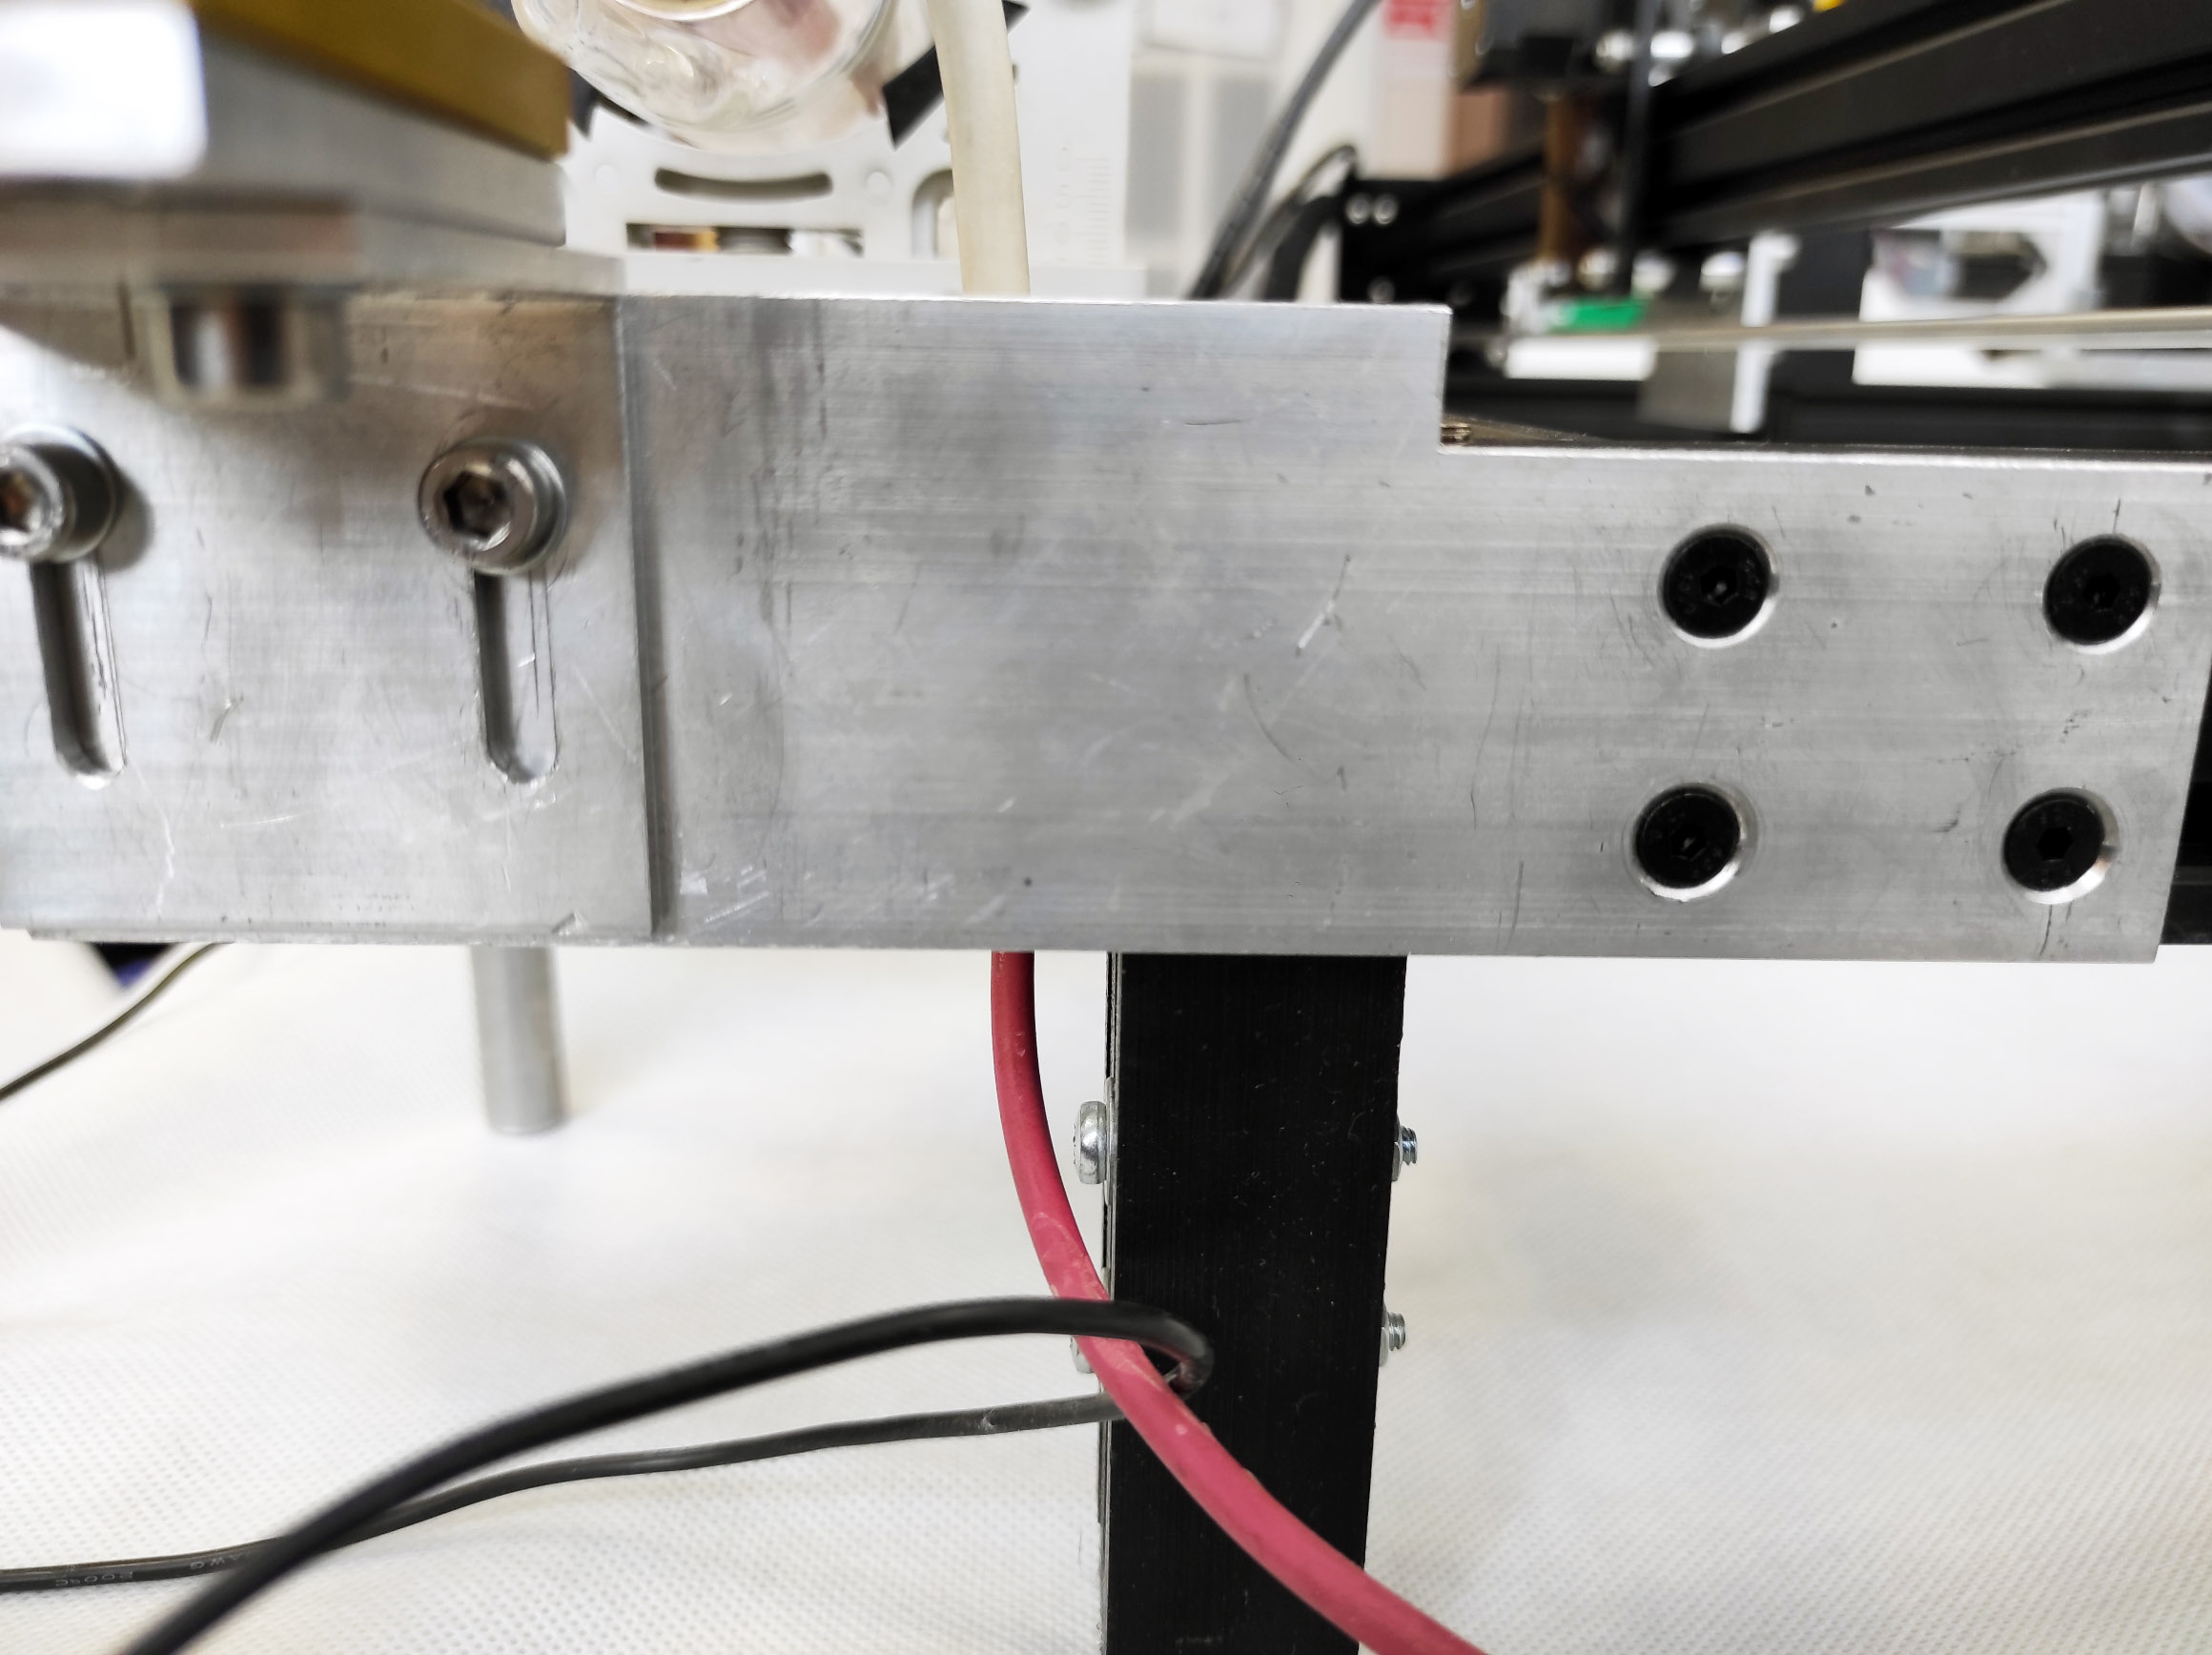
Install the hex screw in the upper right hole. And we screw a nut on it a little as in the photo.
We place the nut in the chute of the machine and tighten the hex screw. Now we are doing this so hard that we can still move the machine leg along.
We place the leg as shown in the photo. So that the holes on it match the holes on the machine.
Tighten the remaining 2 screws. Then tighten the hex screw.
Repeat steps 1.1-1.4 for the remaining legs of the machine. After that, you need to install the legs that support the laser tube.
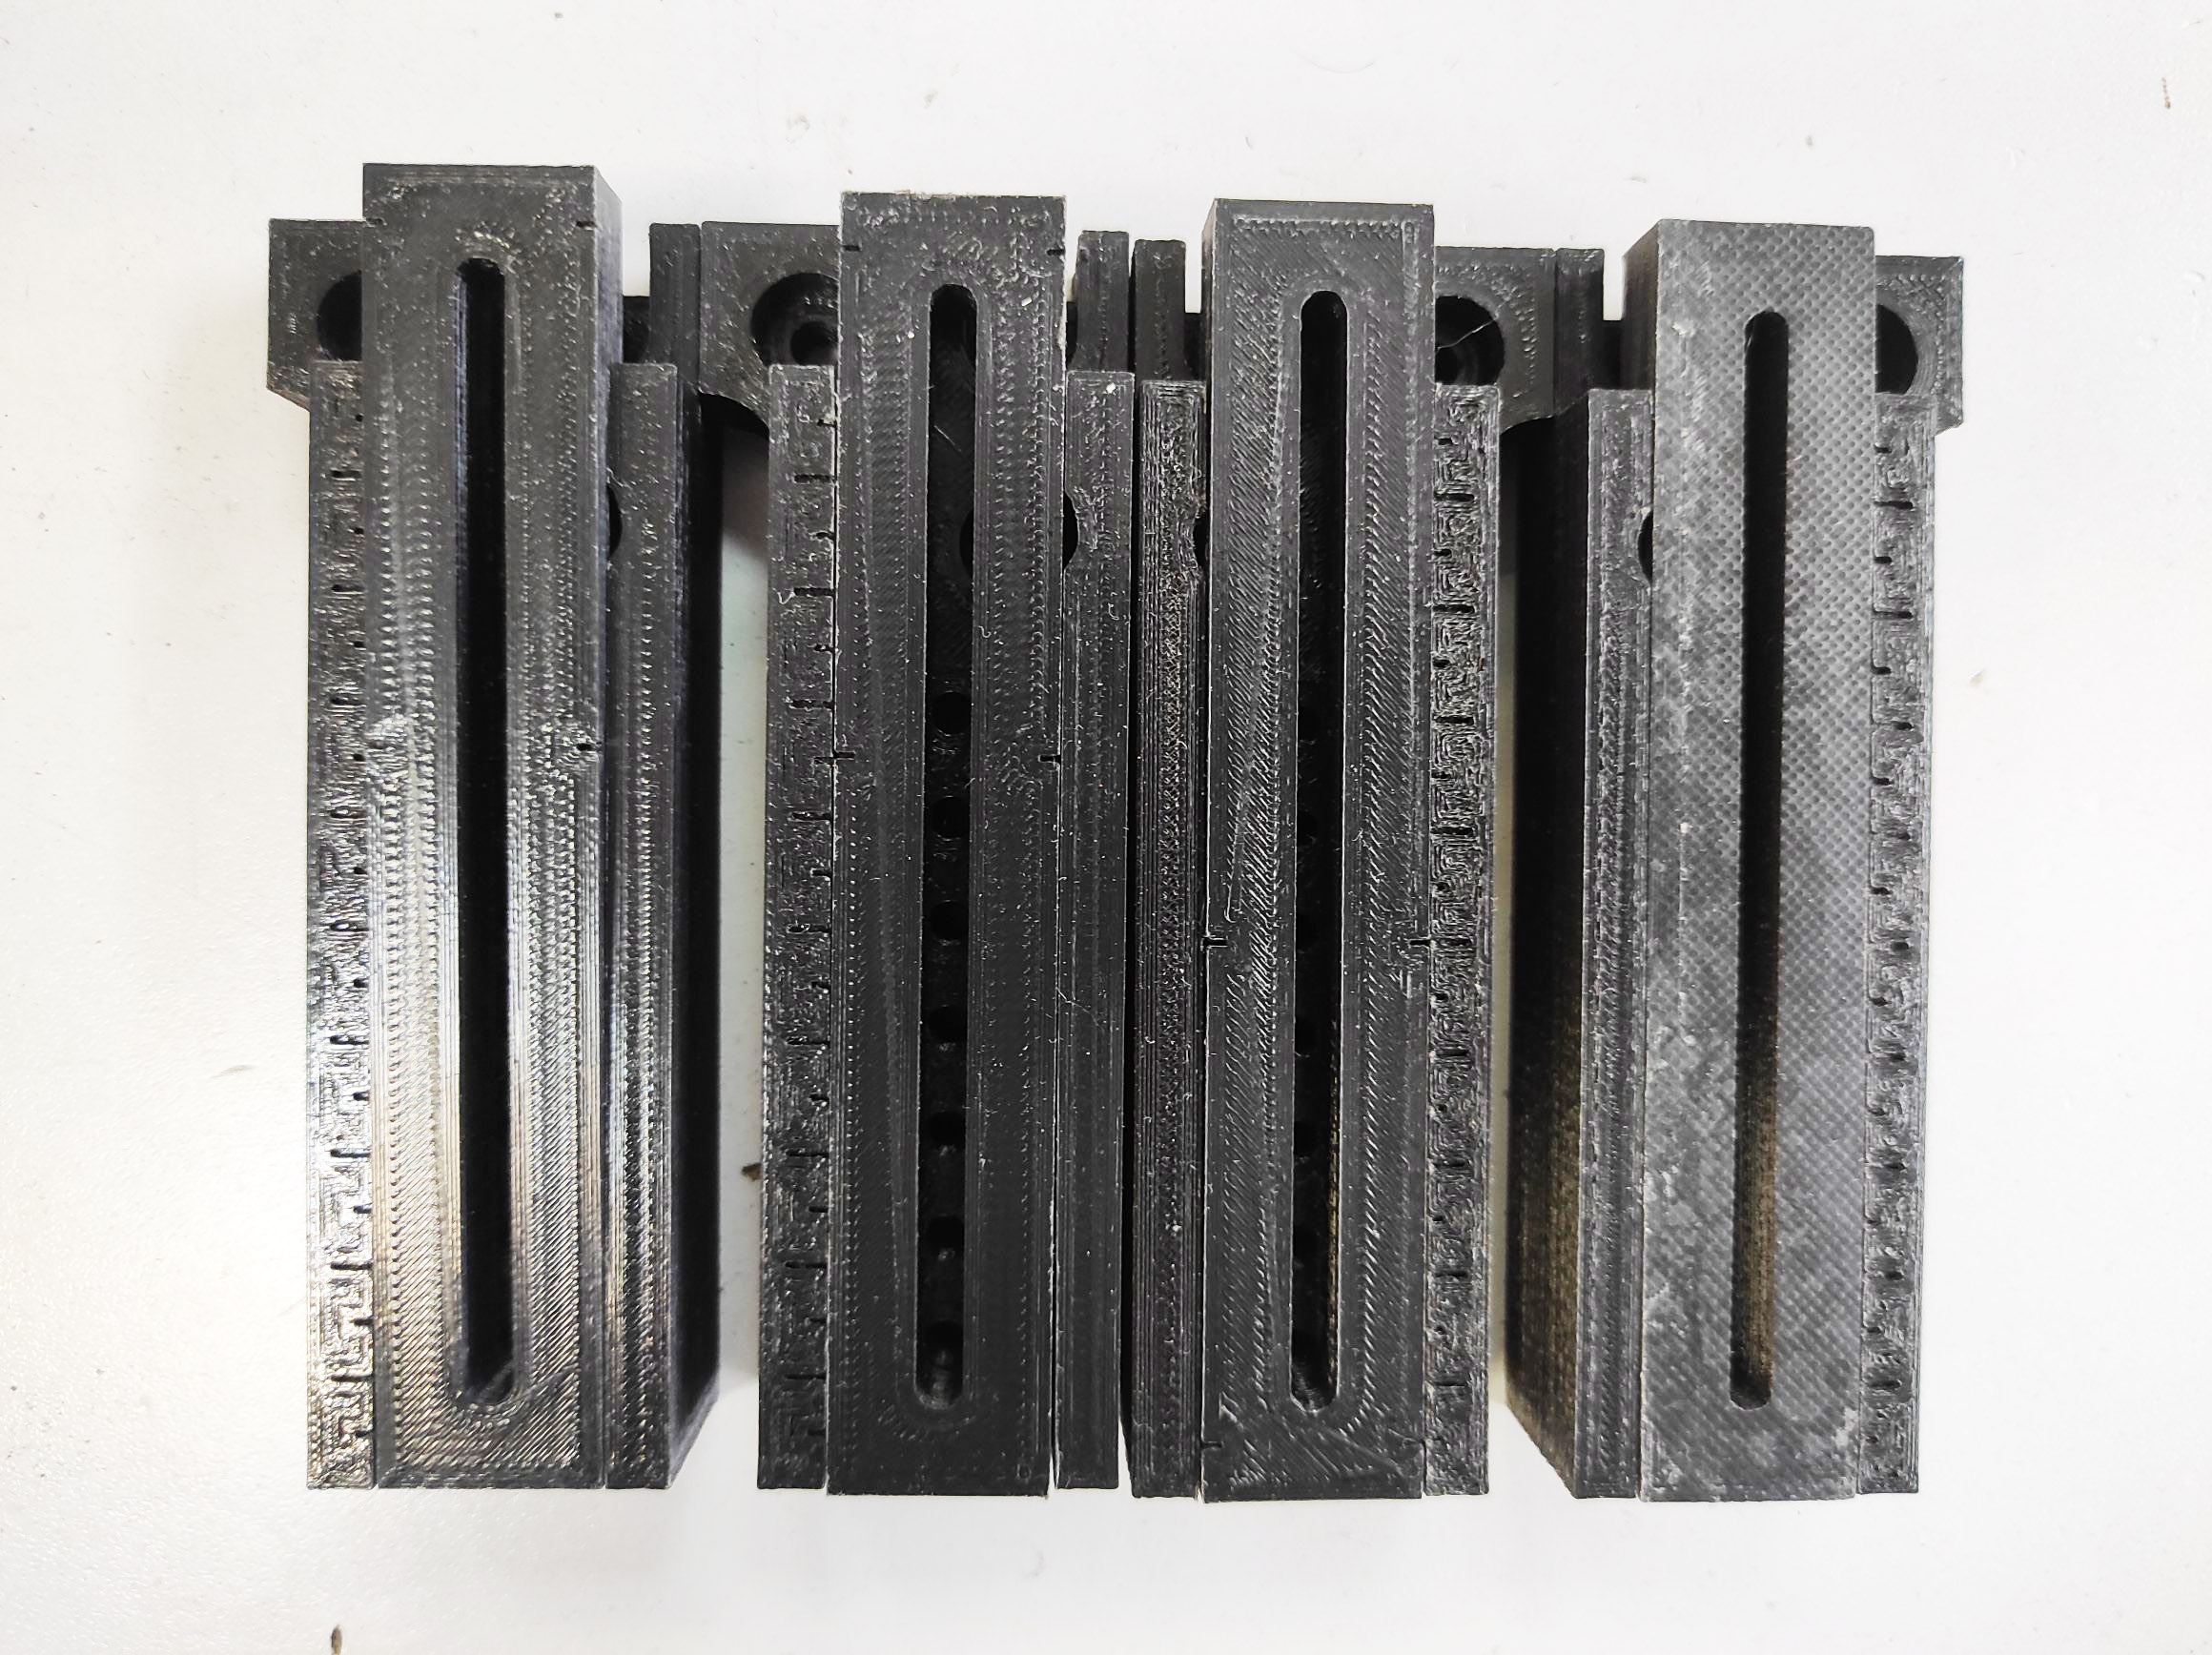
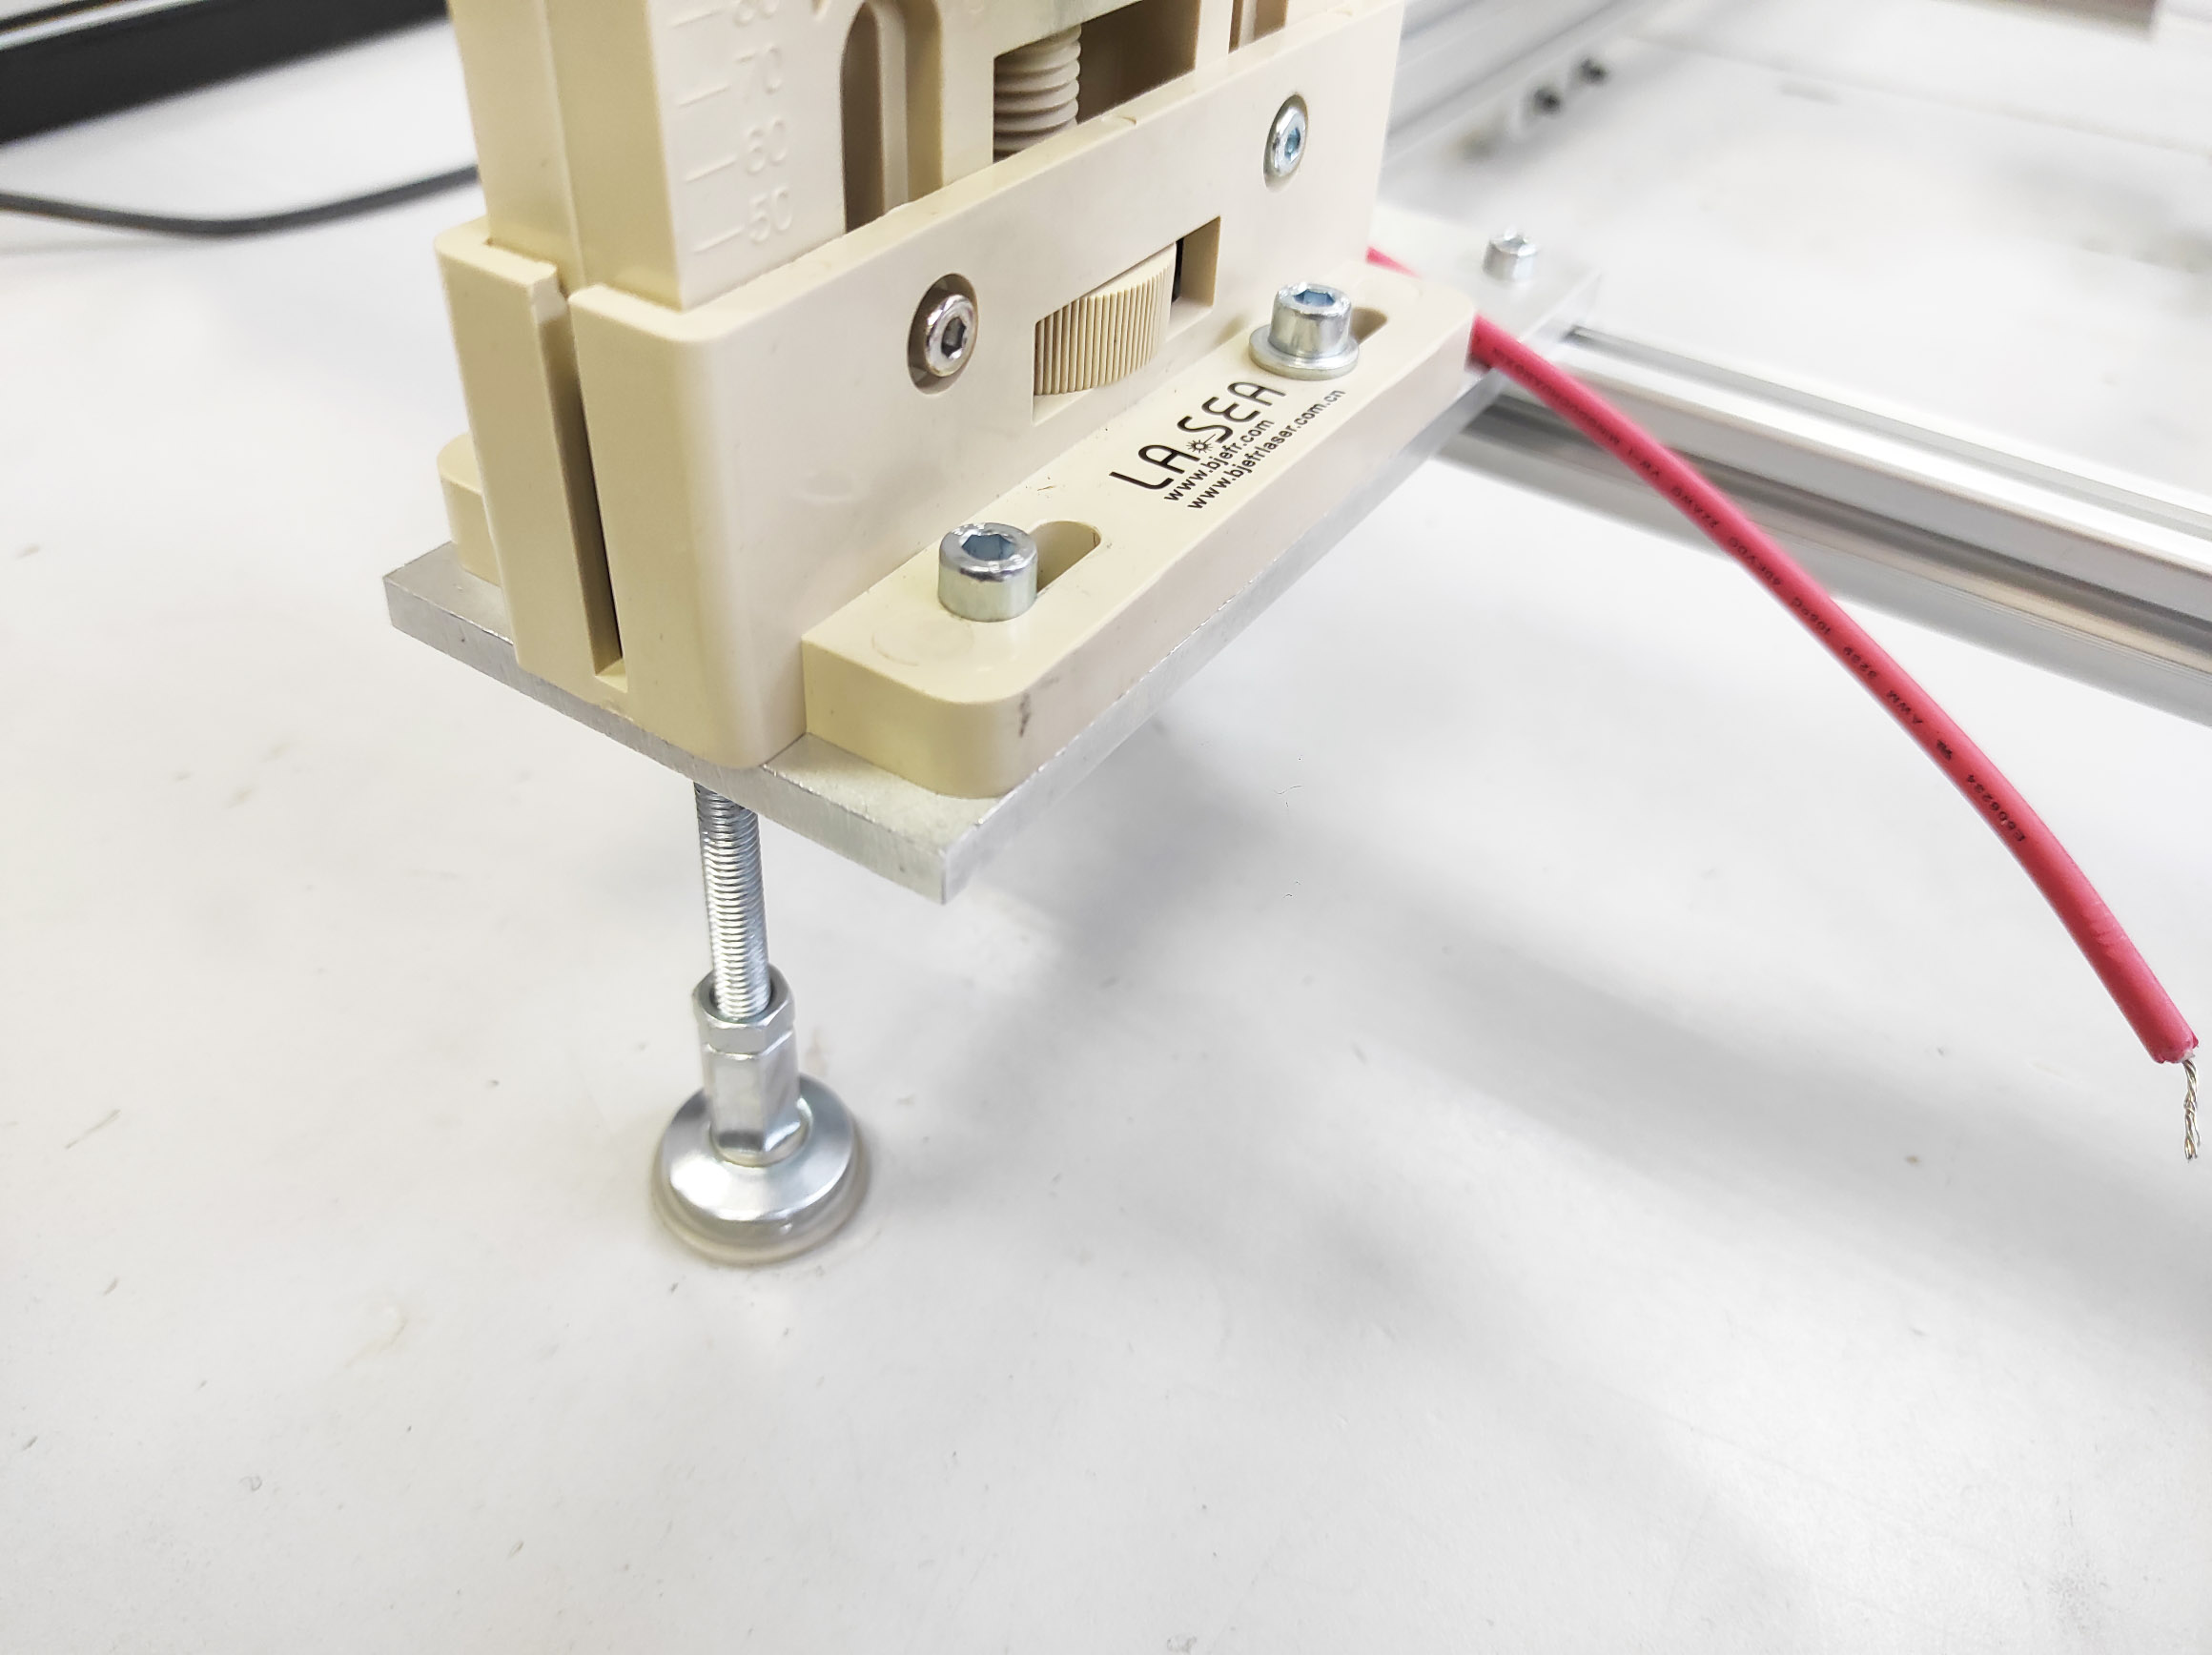
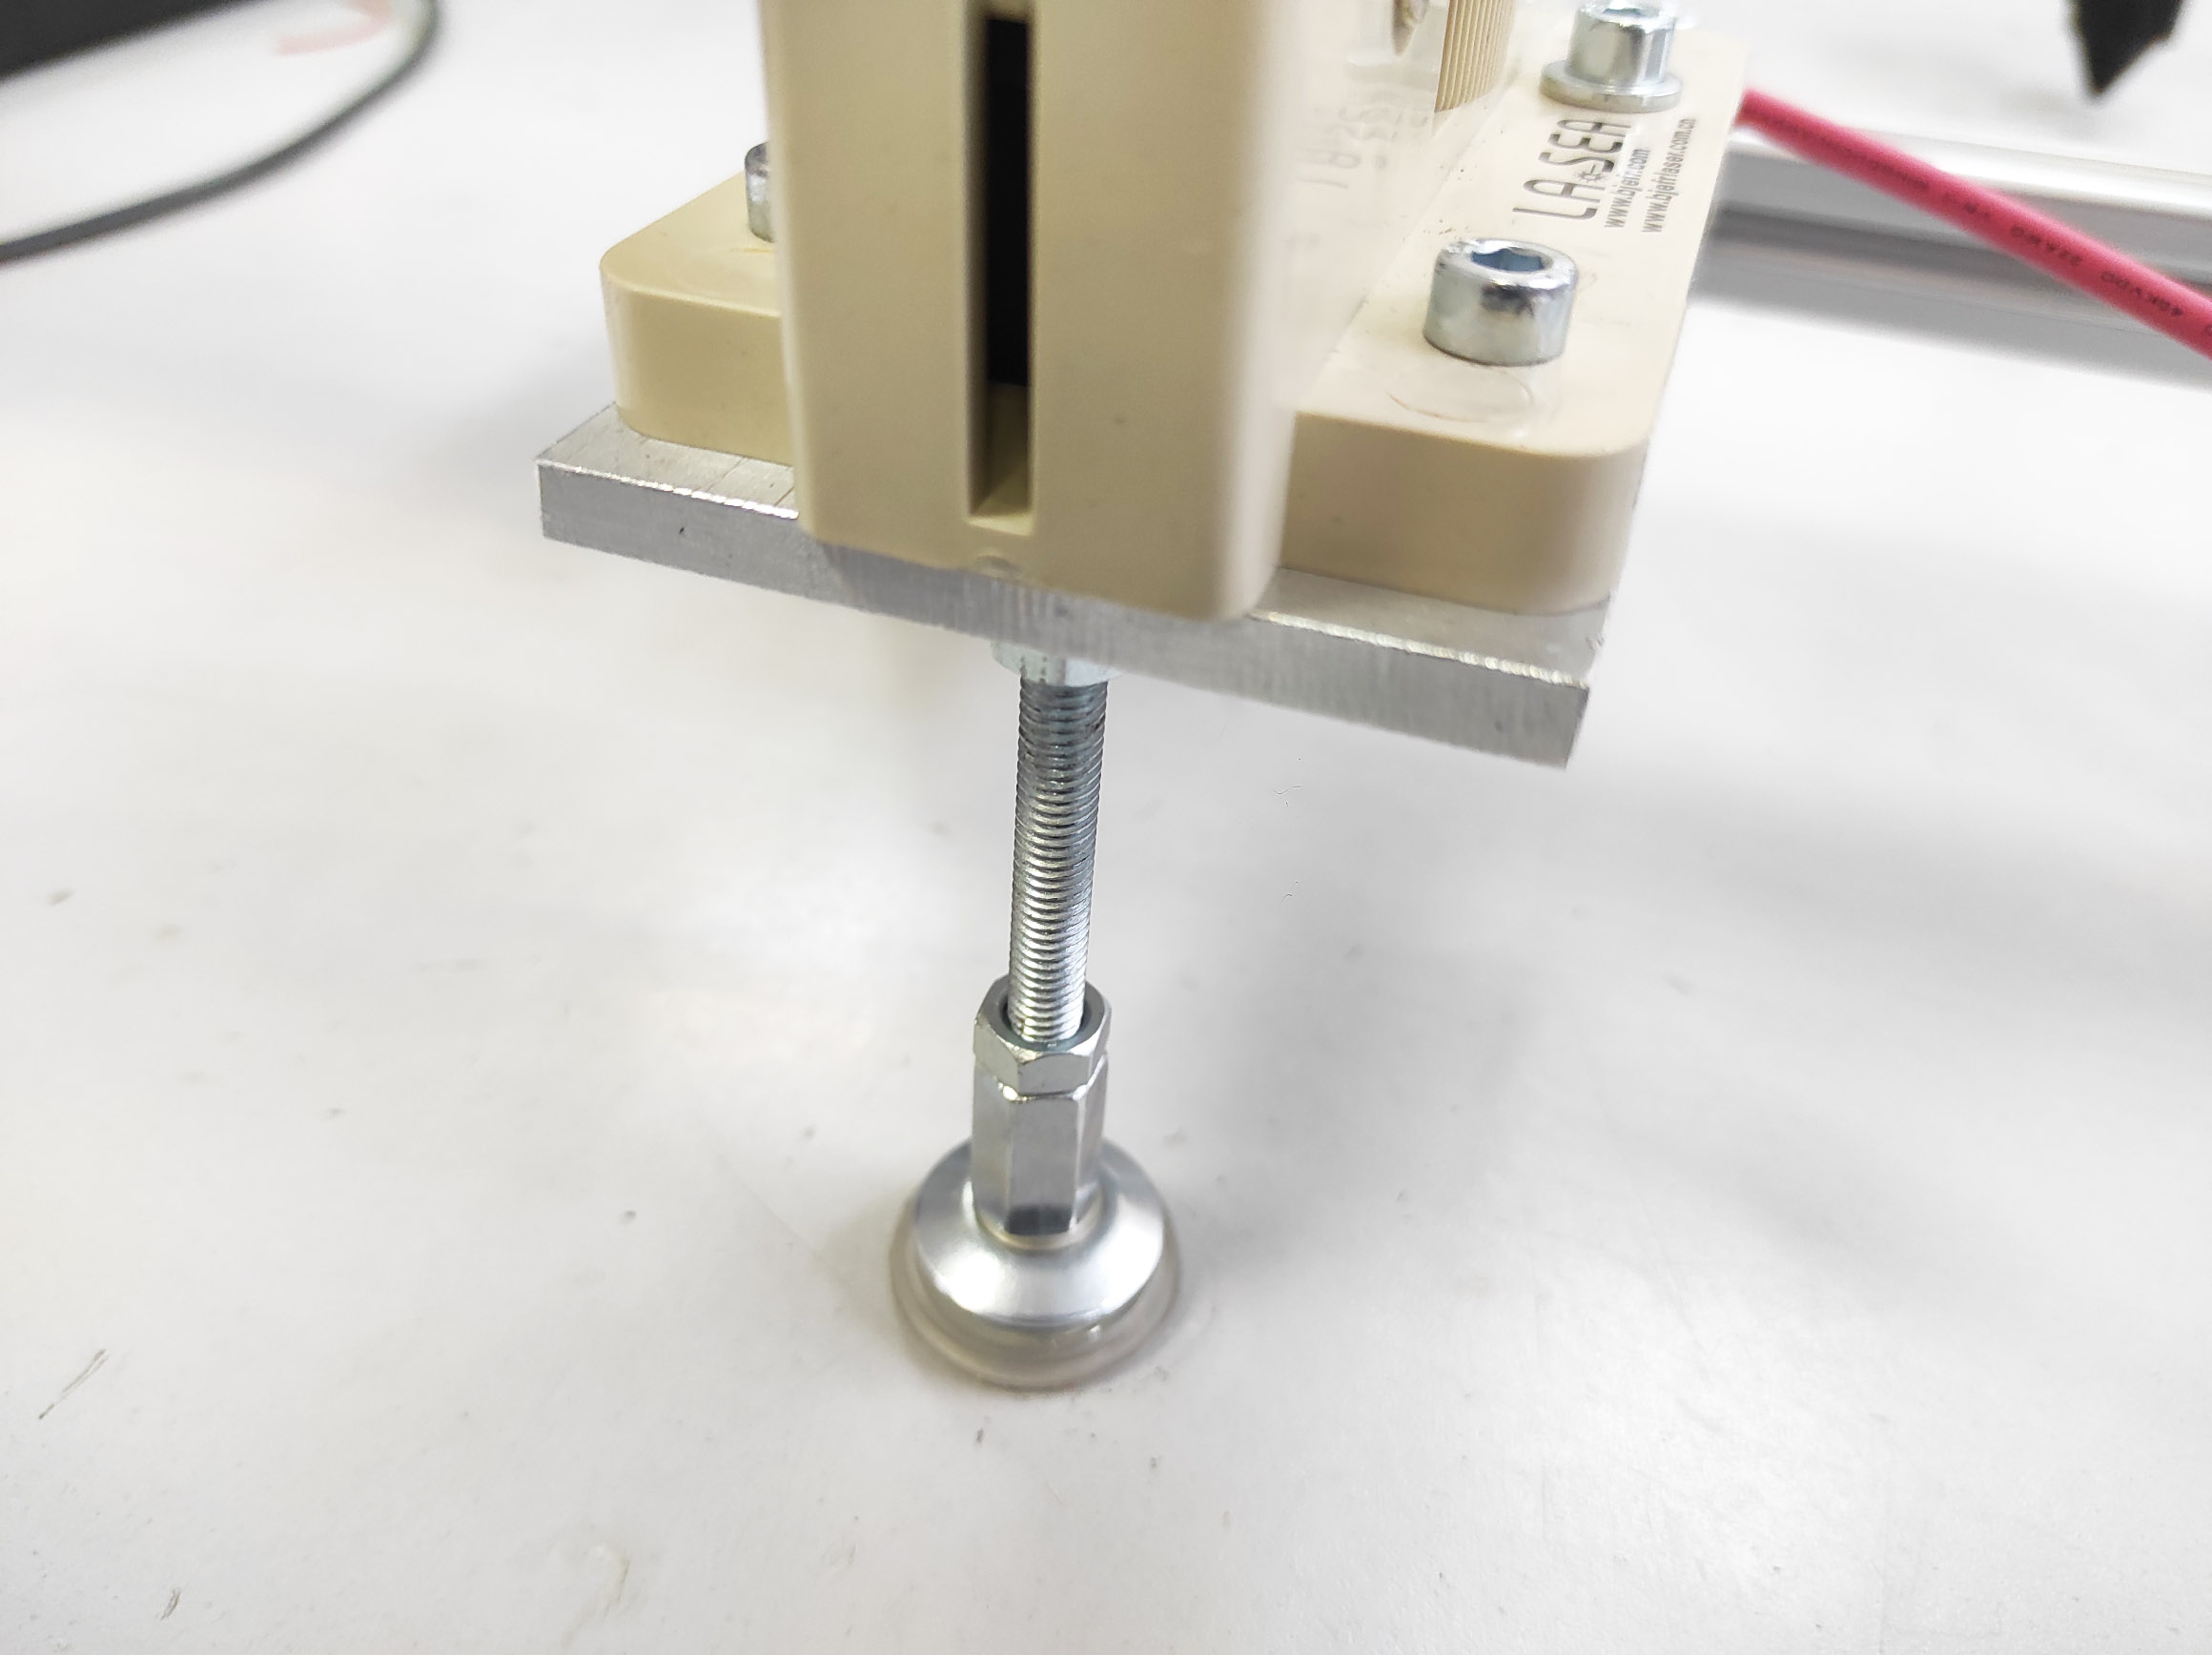
The legs that hold the tube are as follows.
After that, we screw it into the hole at the bottom of the base of the tube. You can see it in the photo below.
After installation, it is possible that the legs will not be short. And will not support the tube (will not rest on the surface) just like in the photo. Or vice versa, they will be too long.
Then you will need to slightly unscrew or tighten it accordingly.
then-clamp with a contouring nut
When all the legs are set, you can move on to the next step.
Fill in the water
Only DISTILLED WATER should be used as the cooling liquid.
You will need approximately 2 liters OF DISTILLED WATER.
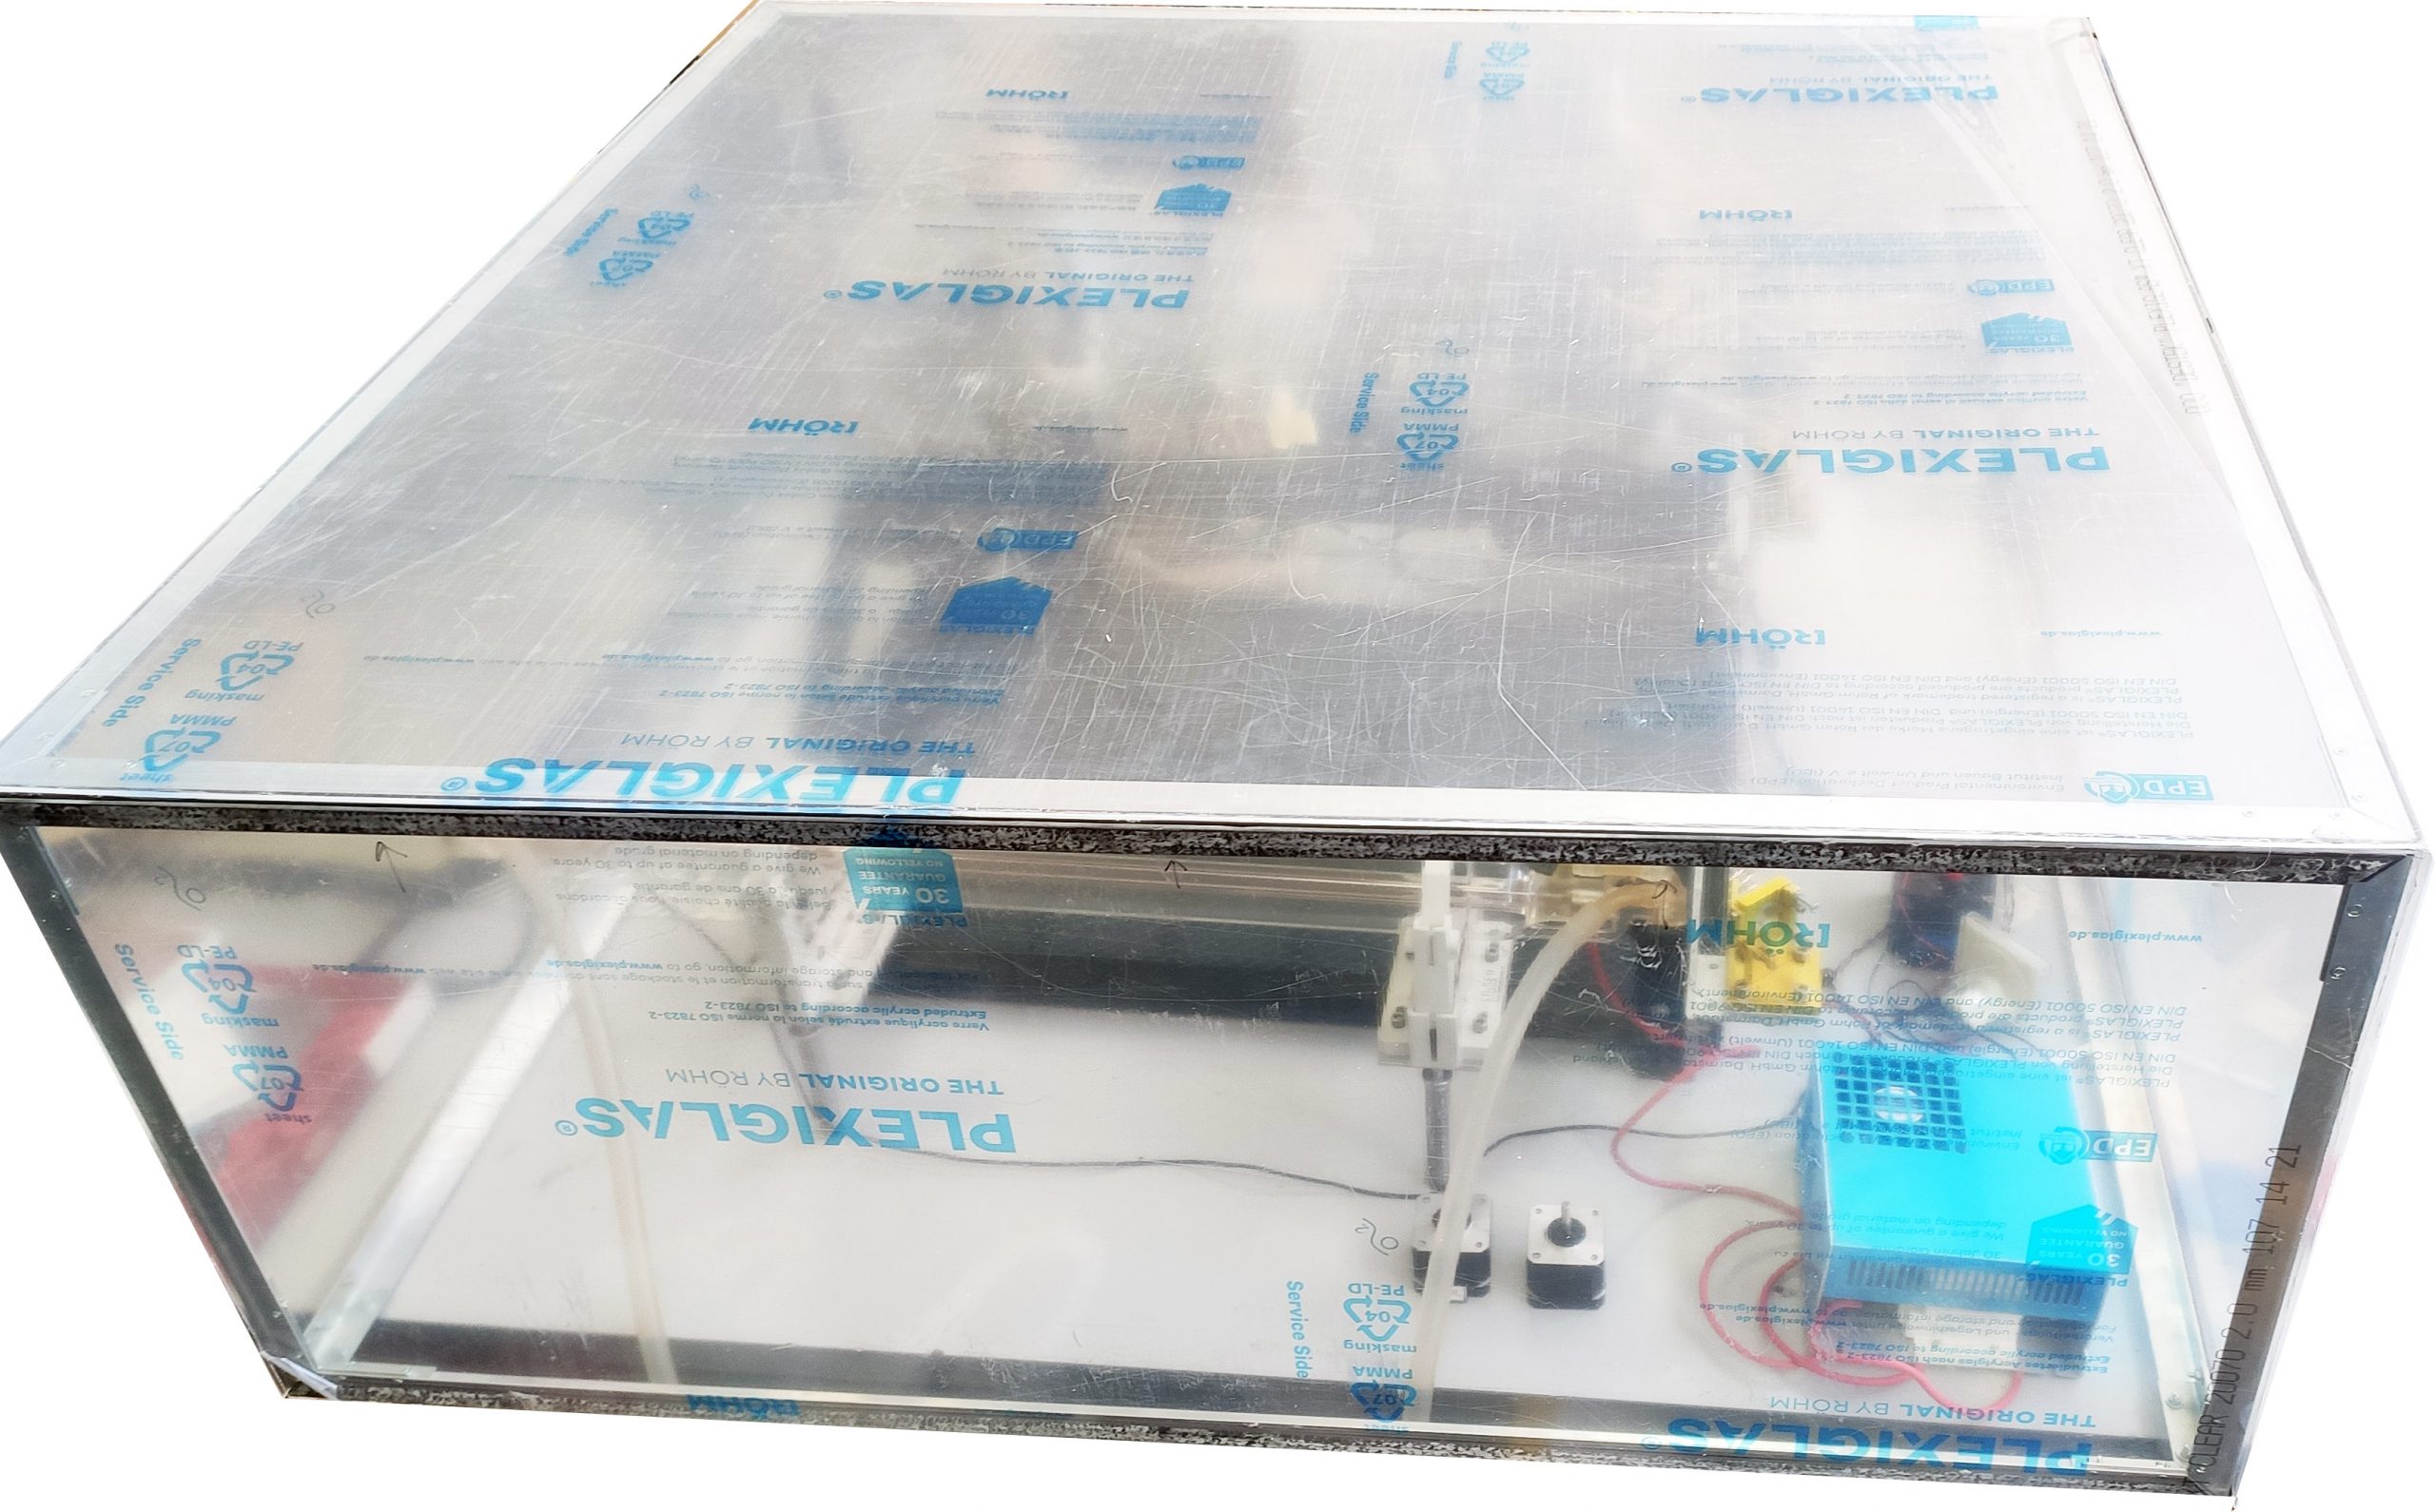
Opening the lid
Fill in the water
Closing the lid
After pouring water, make sure that the water hoses are free of creases before turning on the pump. When the pump is turned on, when there is a hole on the hose, the load on the pump increases significantly. And the flow of water, and accordingly the cooling of the laser worsens.
Connecting the power supply.
When the water is filled in and the machine is stable on the table – you can switch to switching on the power supply. But before that, make sure that the wires from the laser tube do not fly off during the delivery process. In the photo below, you can see how they should be connected.
If all the wires are in place, you can plug them in. First, we need to connect to the electricity:
Power supply for the laser ignition unit
Блок питания TEC Power Supply unit
Power supply unit for 12V line
After a few seconds, you will see the water begin to fill the laser tube. It is important that there is a minimum number of air bubbles left in it.
Also, after connecting the power supply, the water temperature will gradually decrease. When it enters the range of 15-25 degrees Celsius – you can start testing.
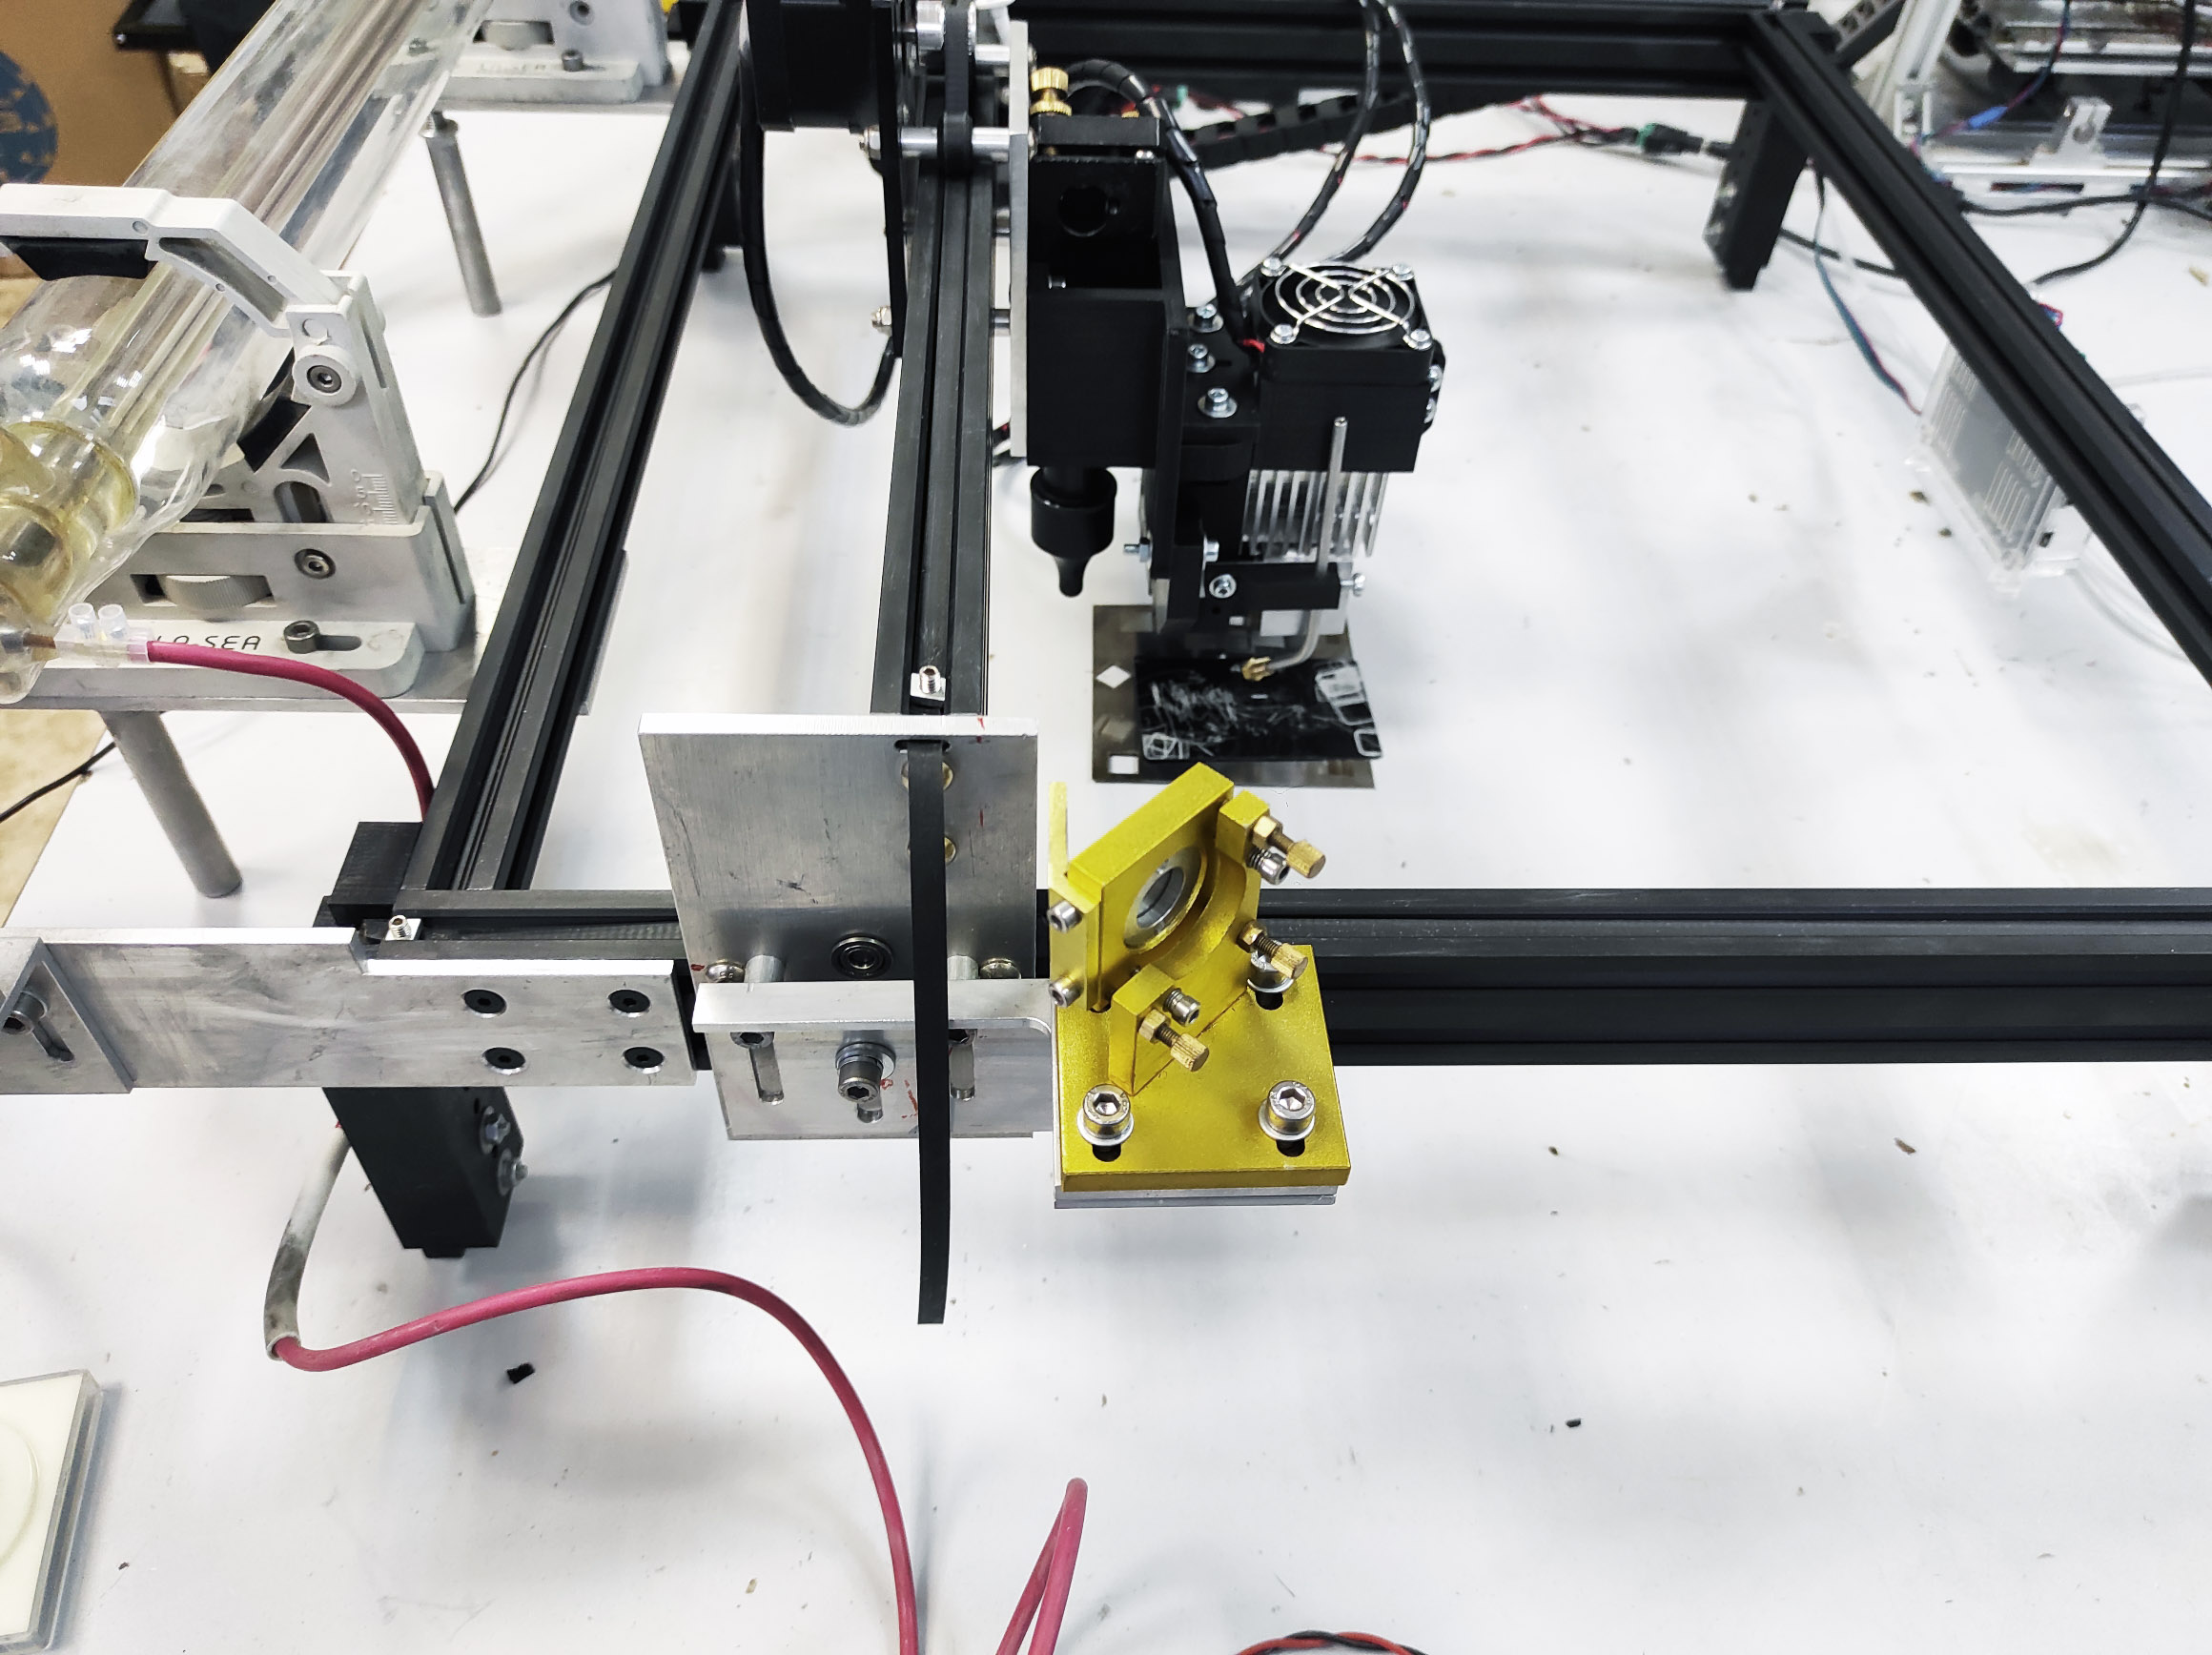
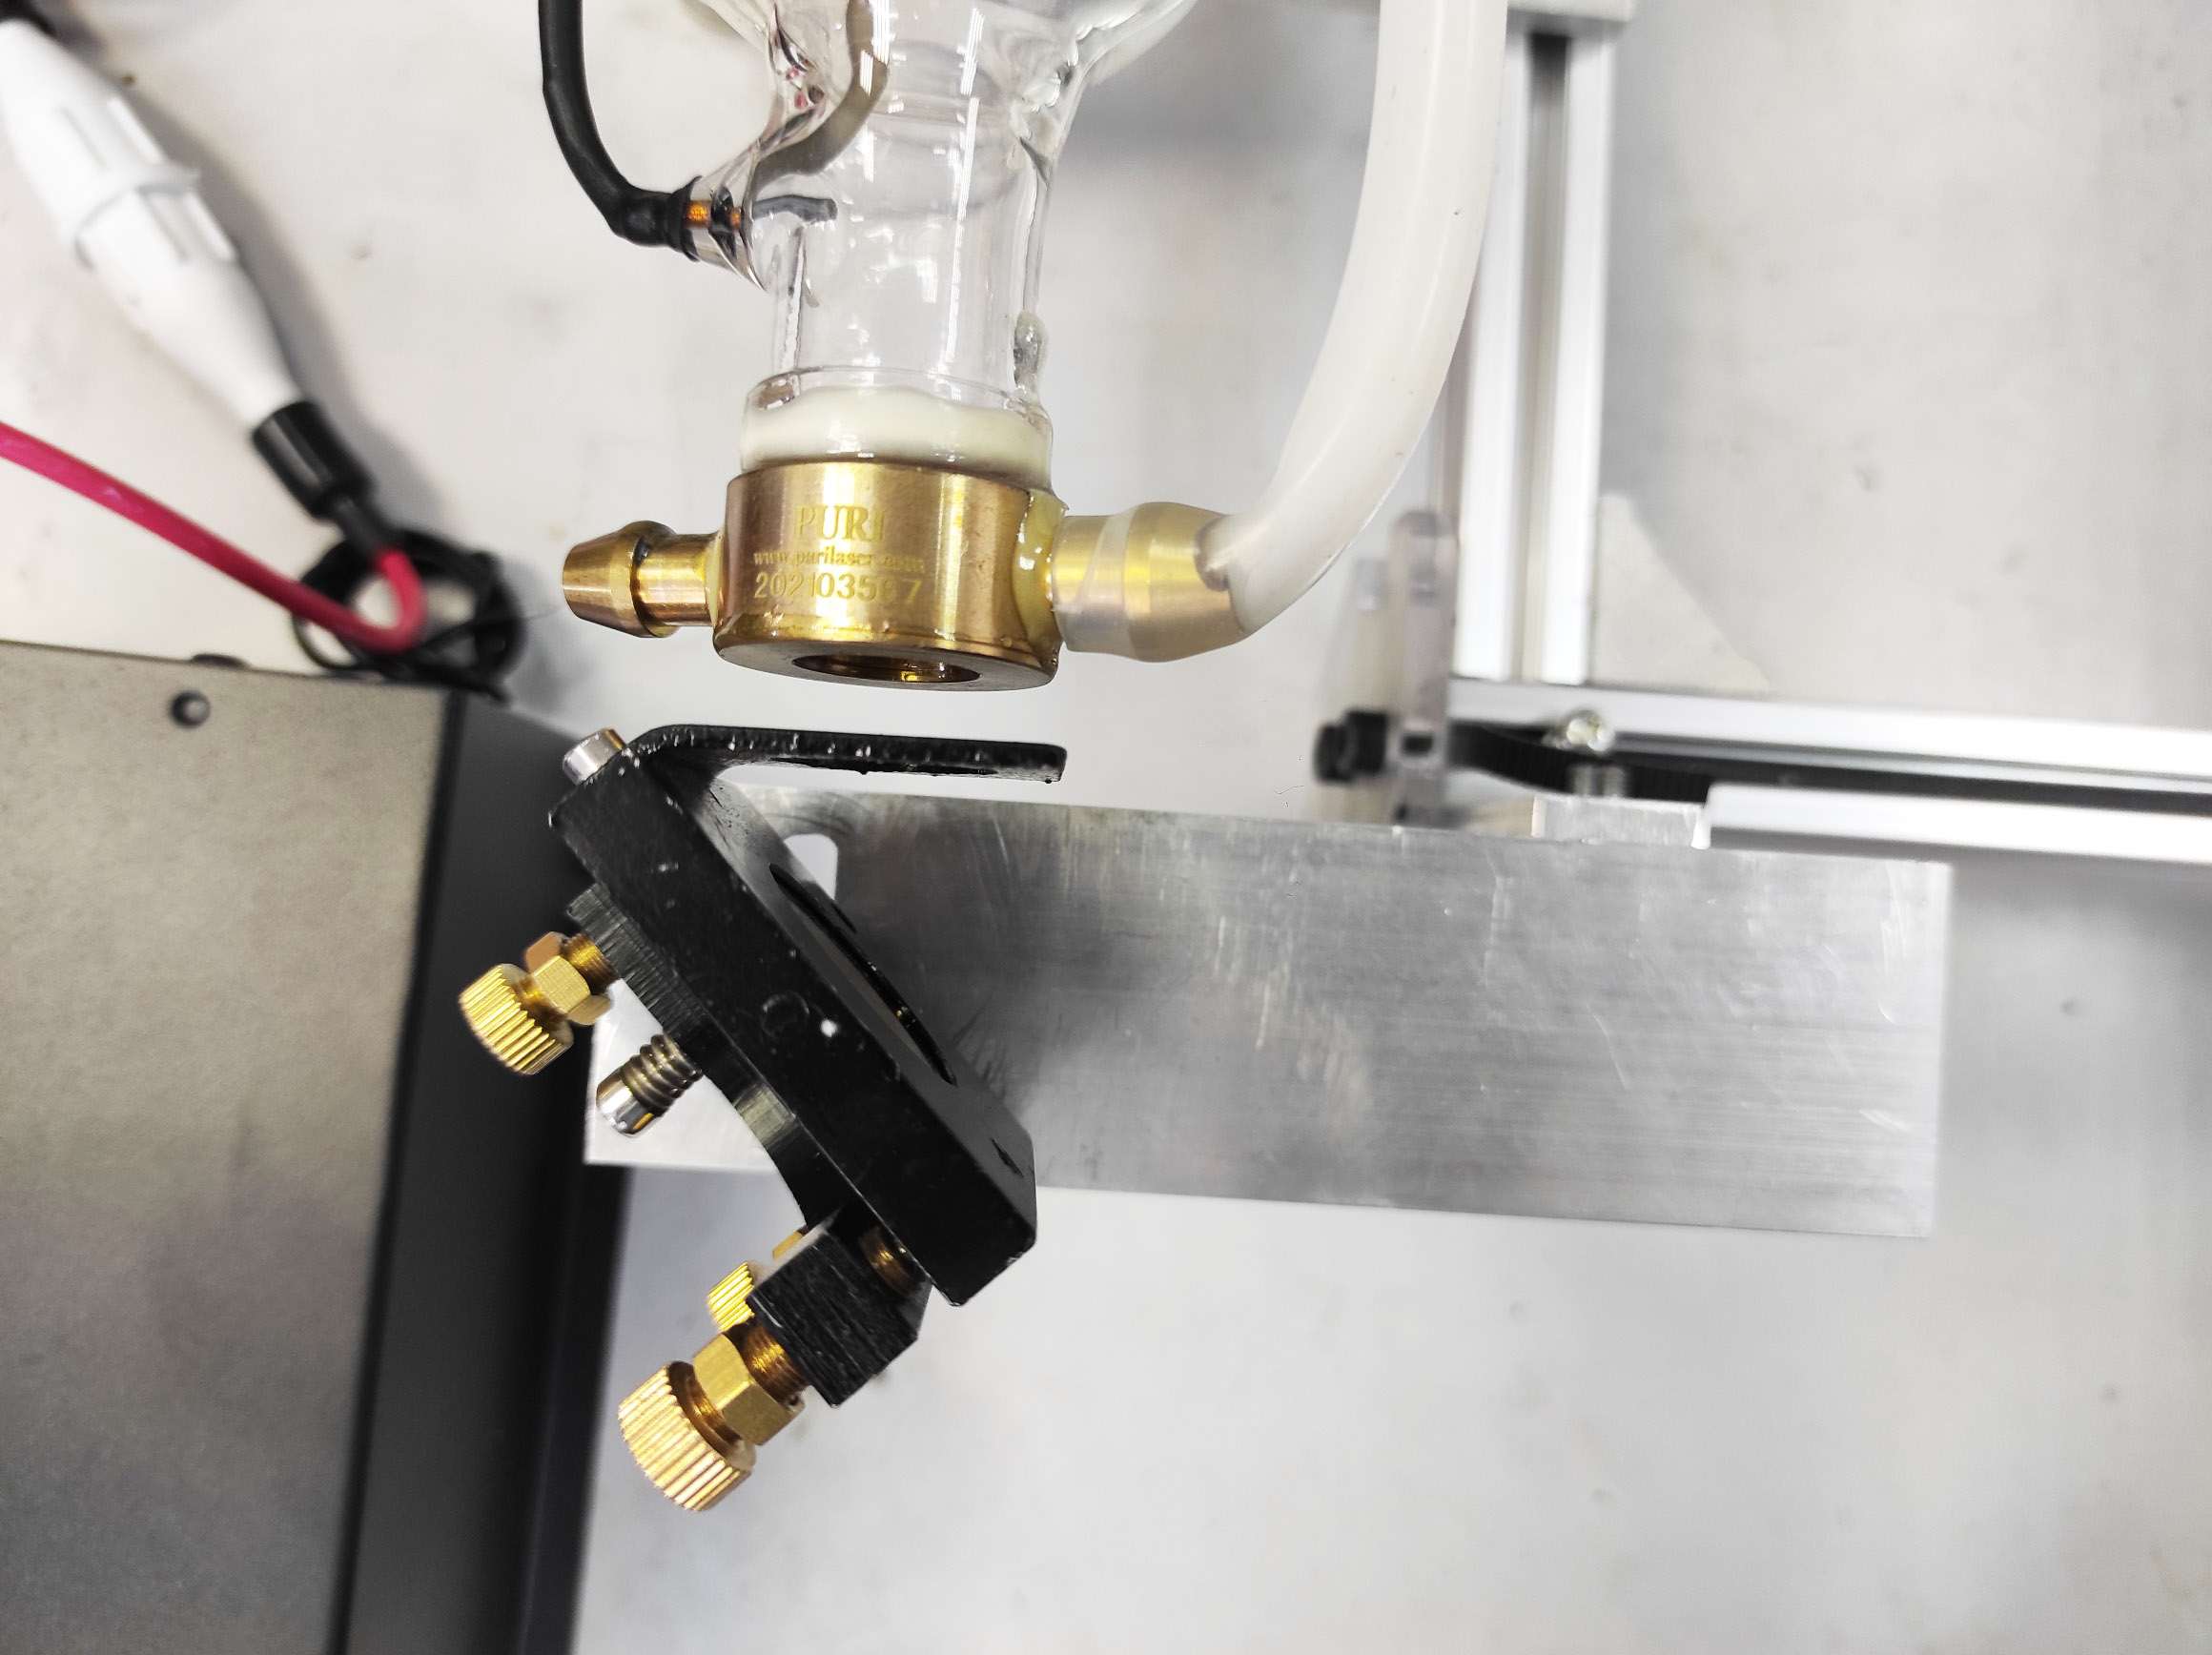
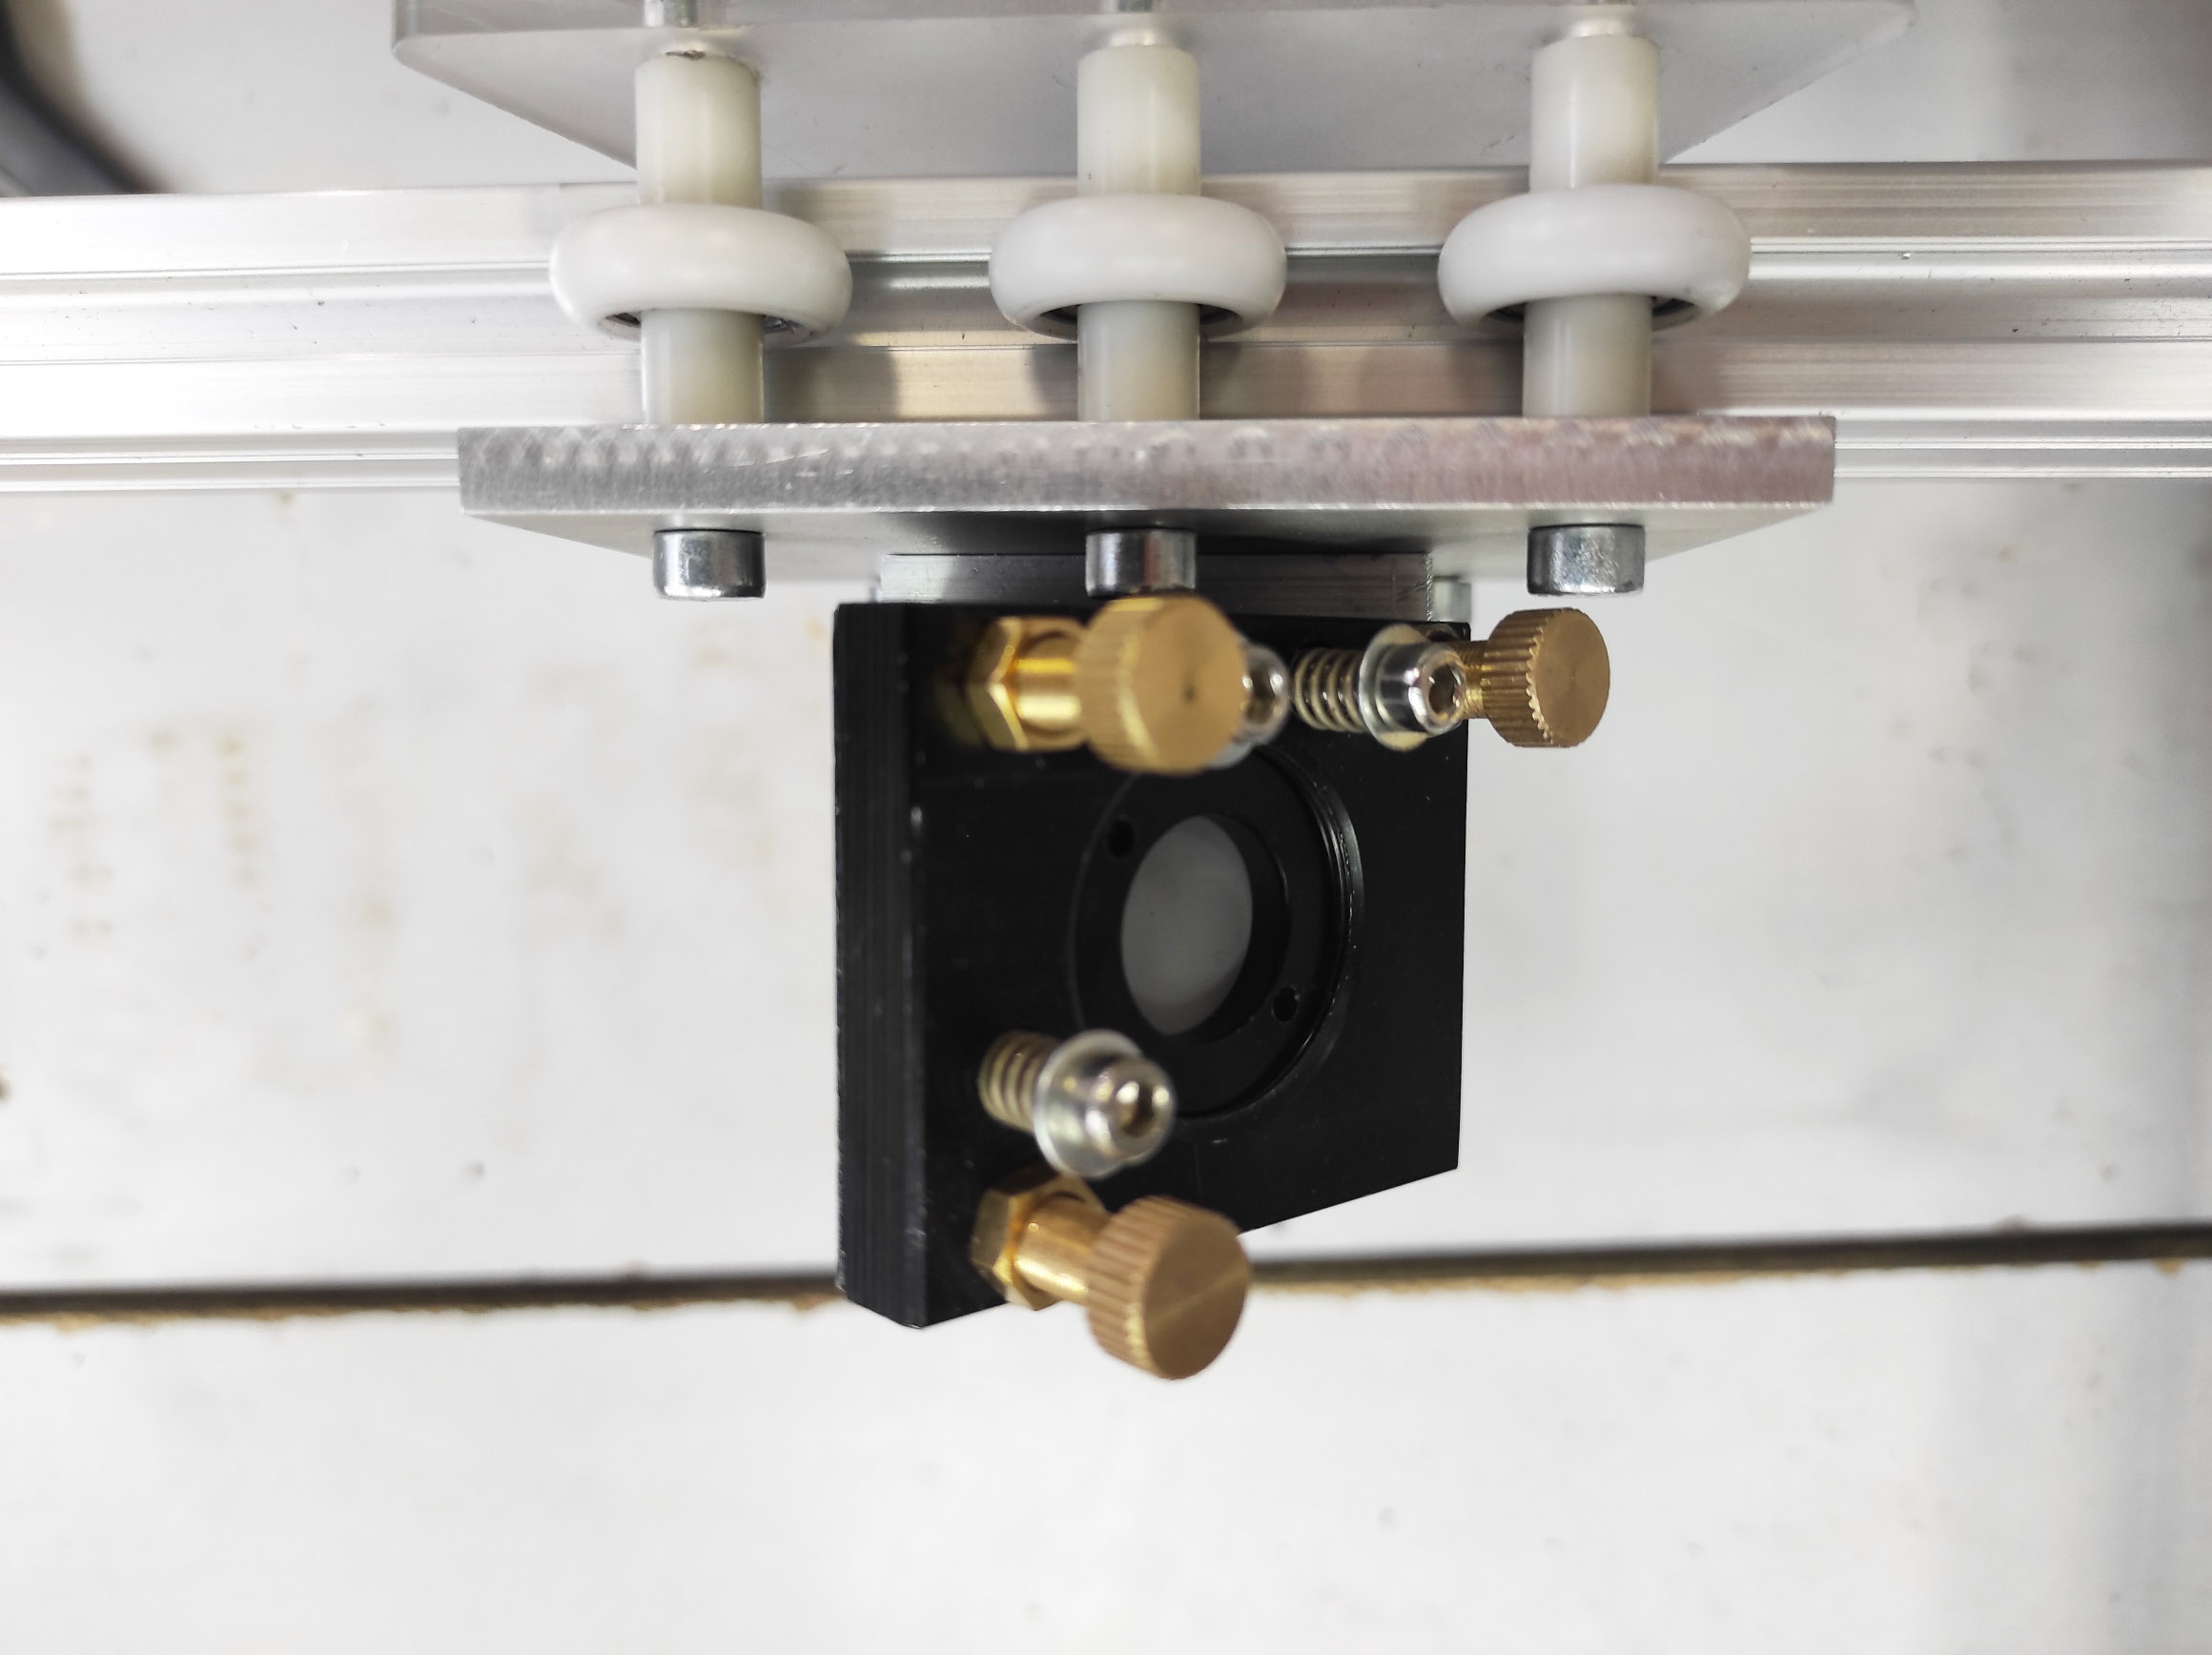
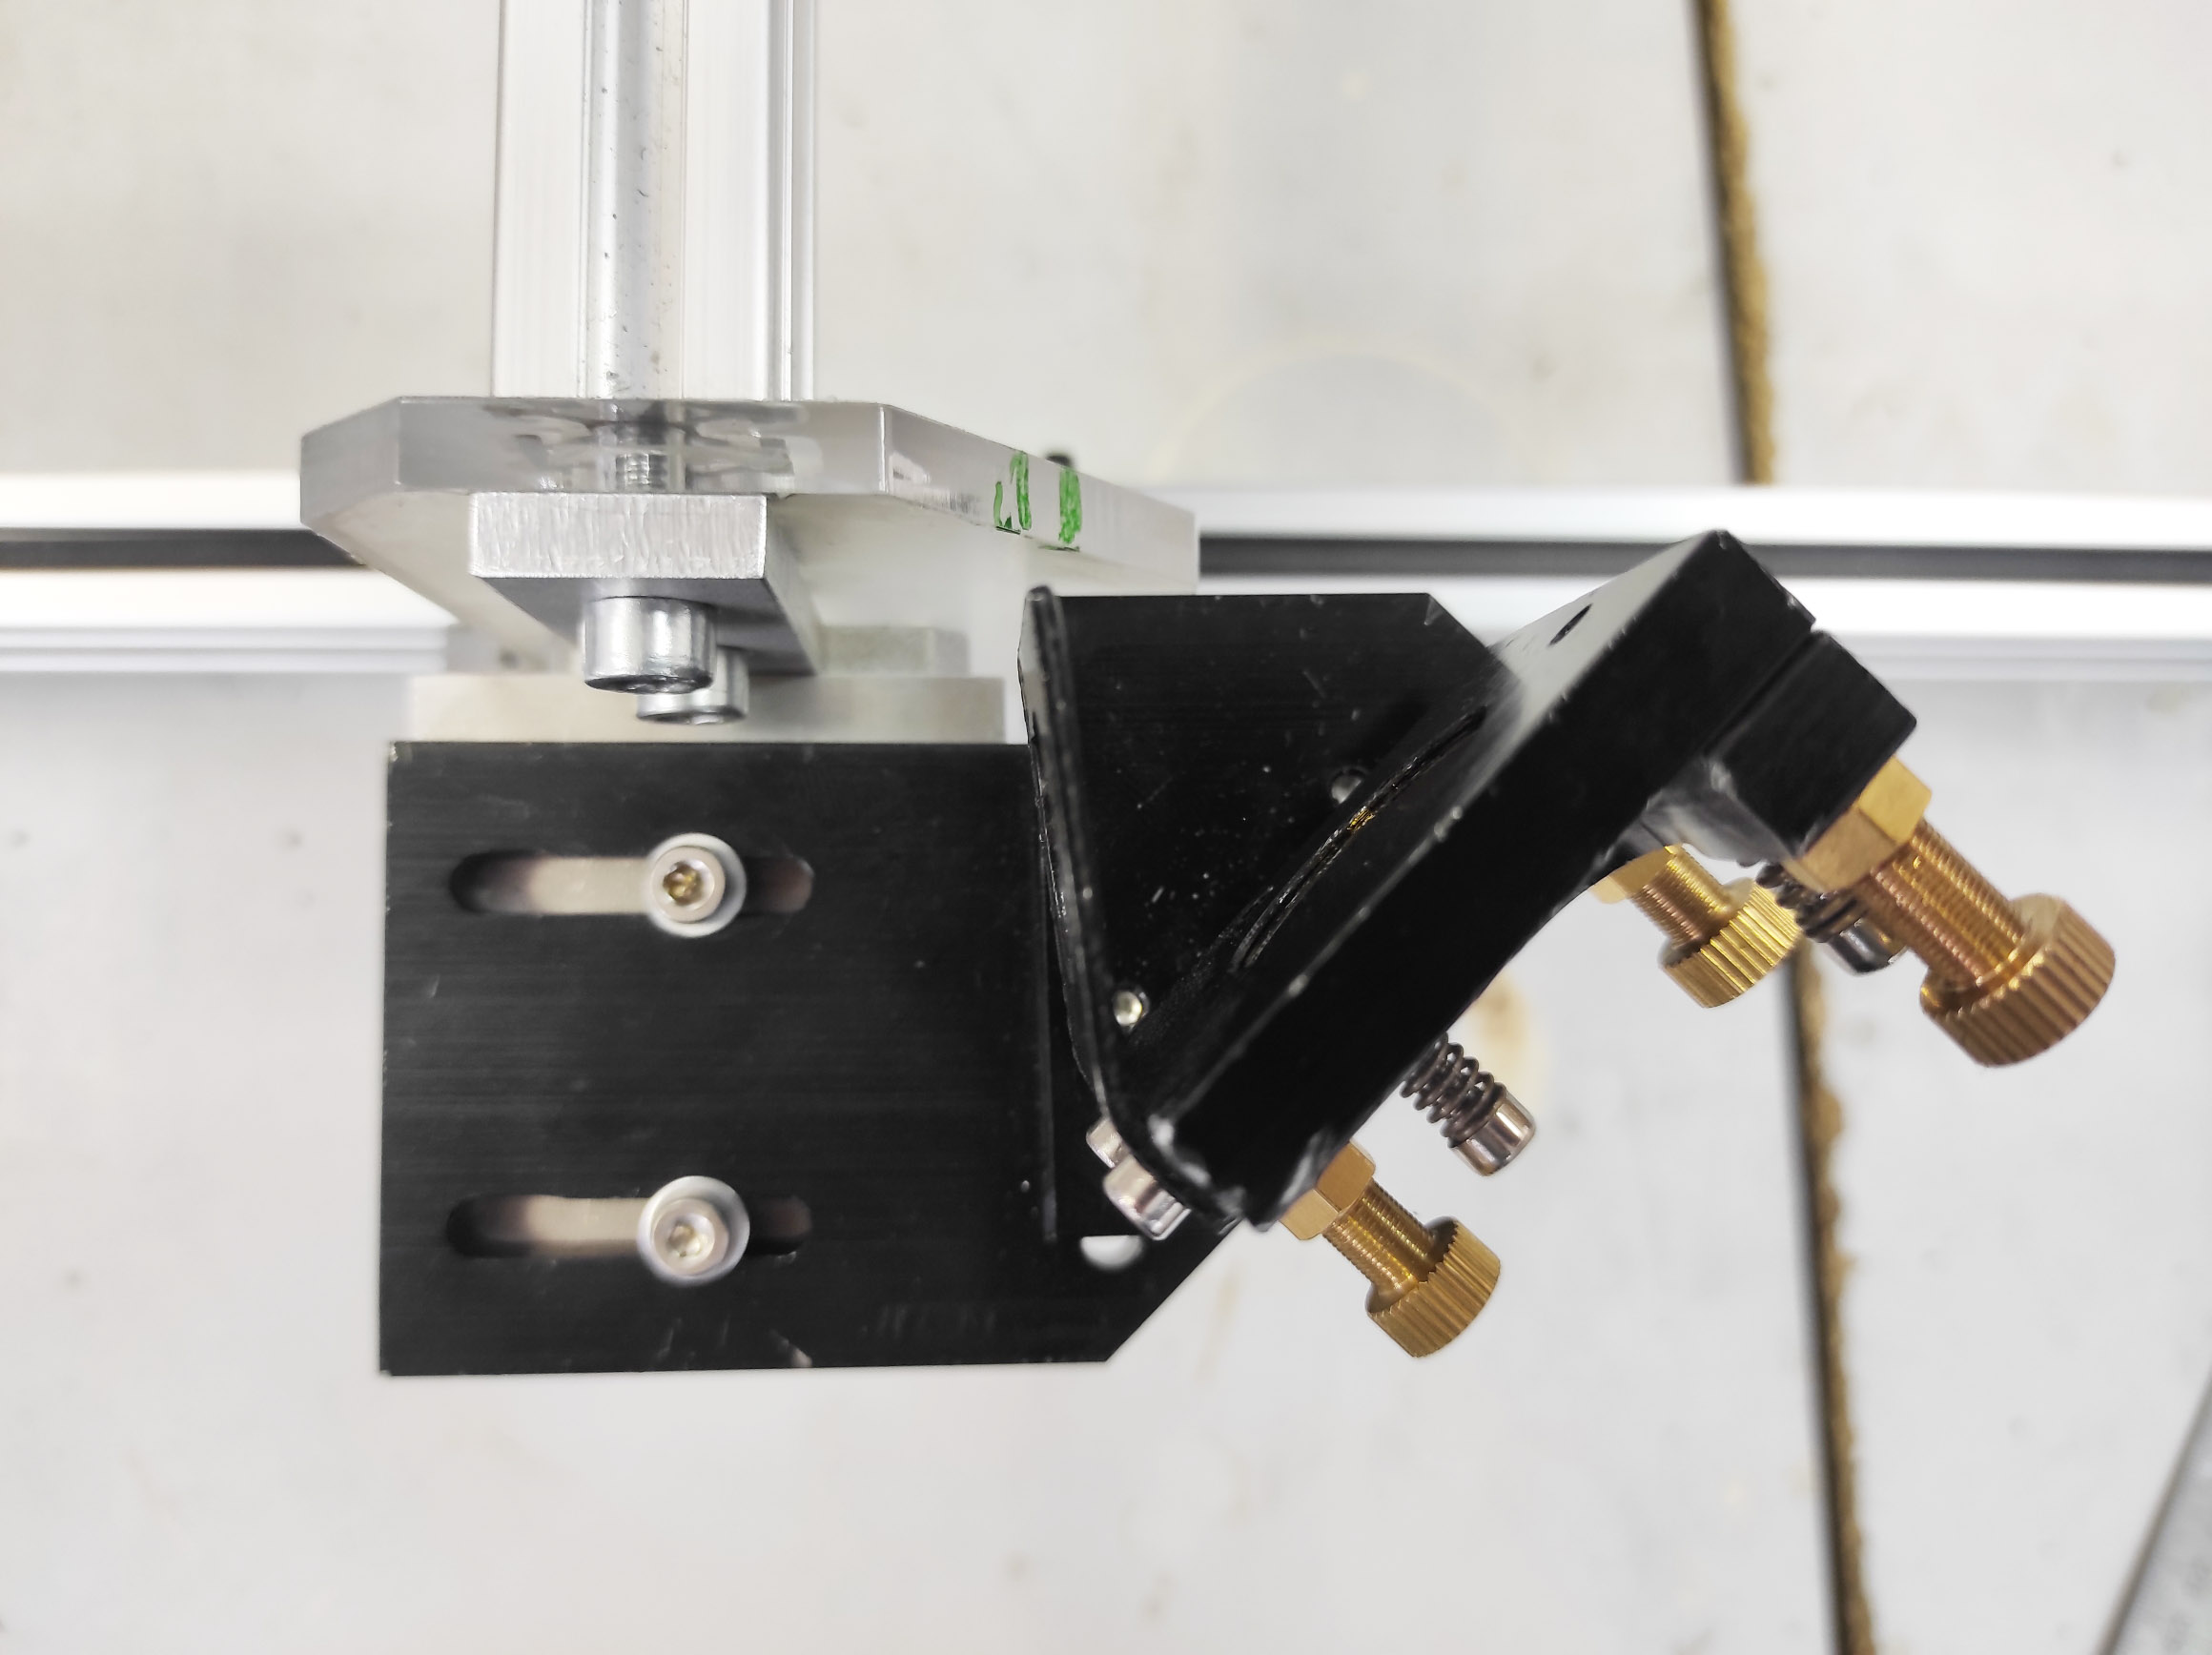
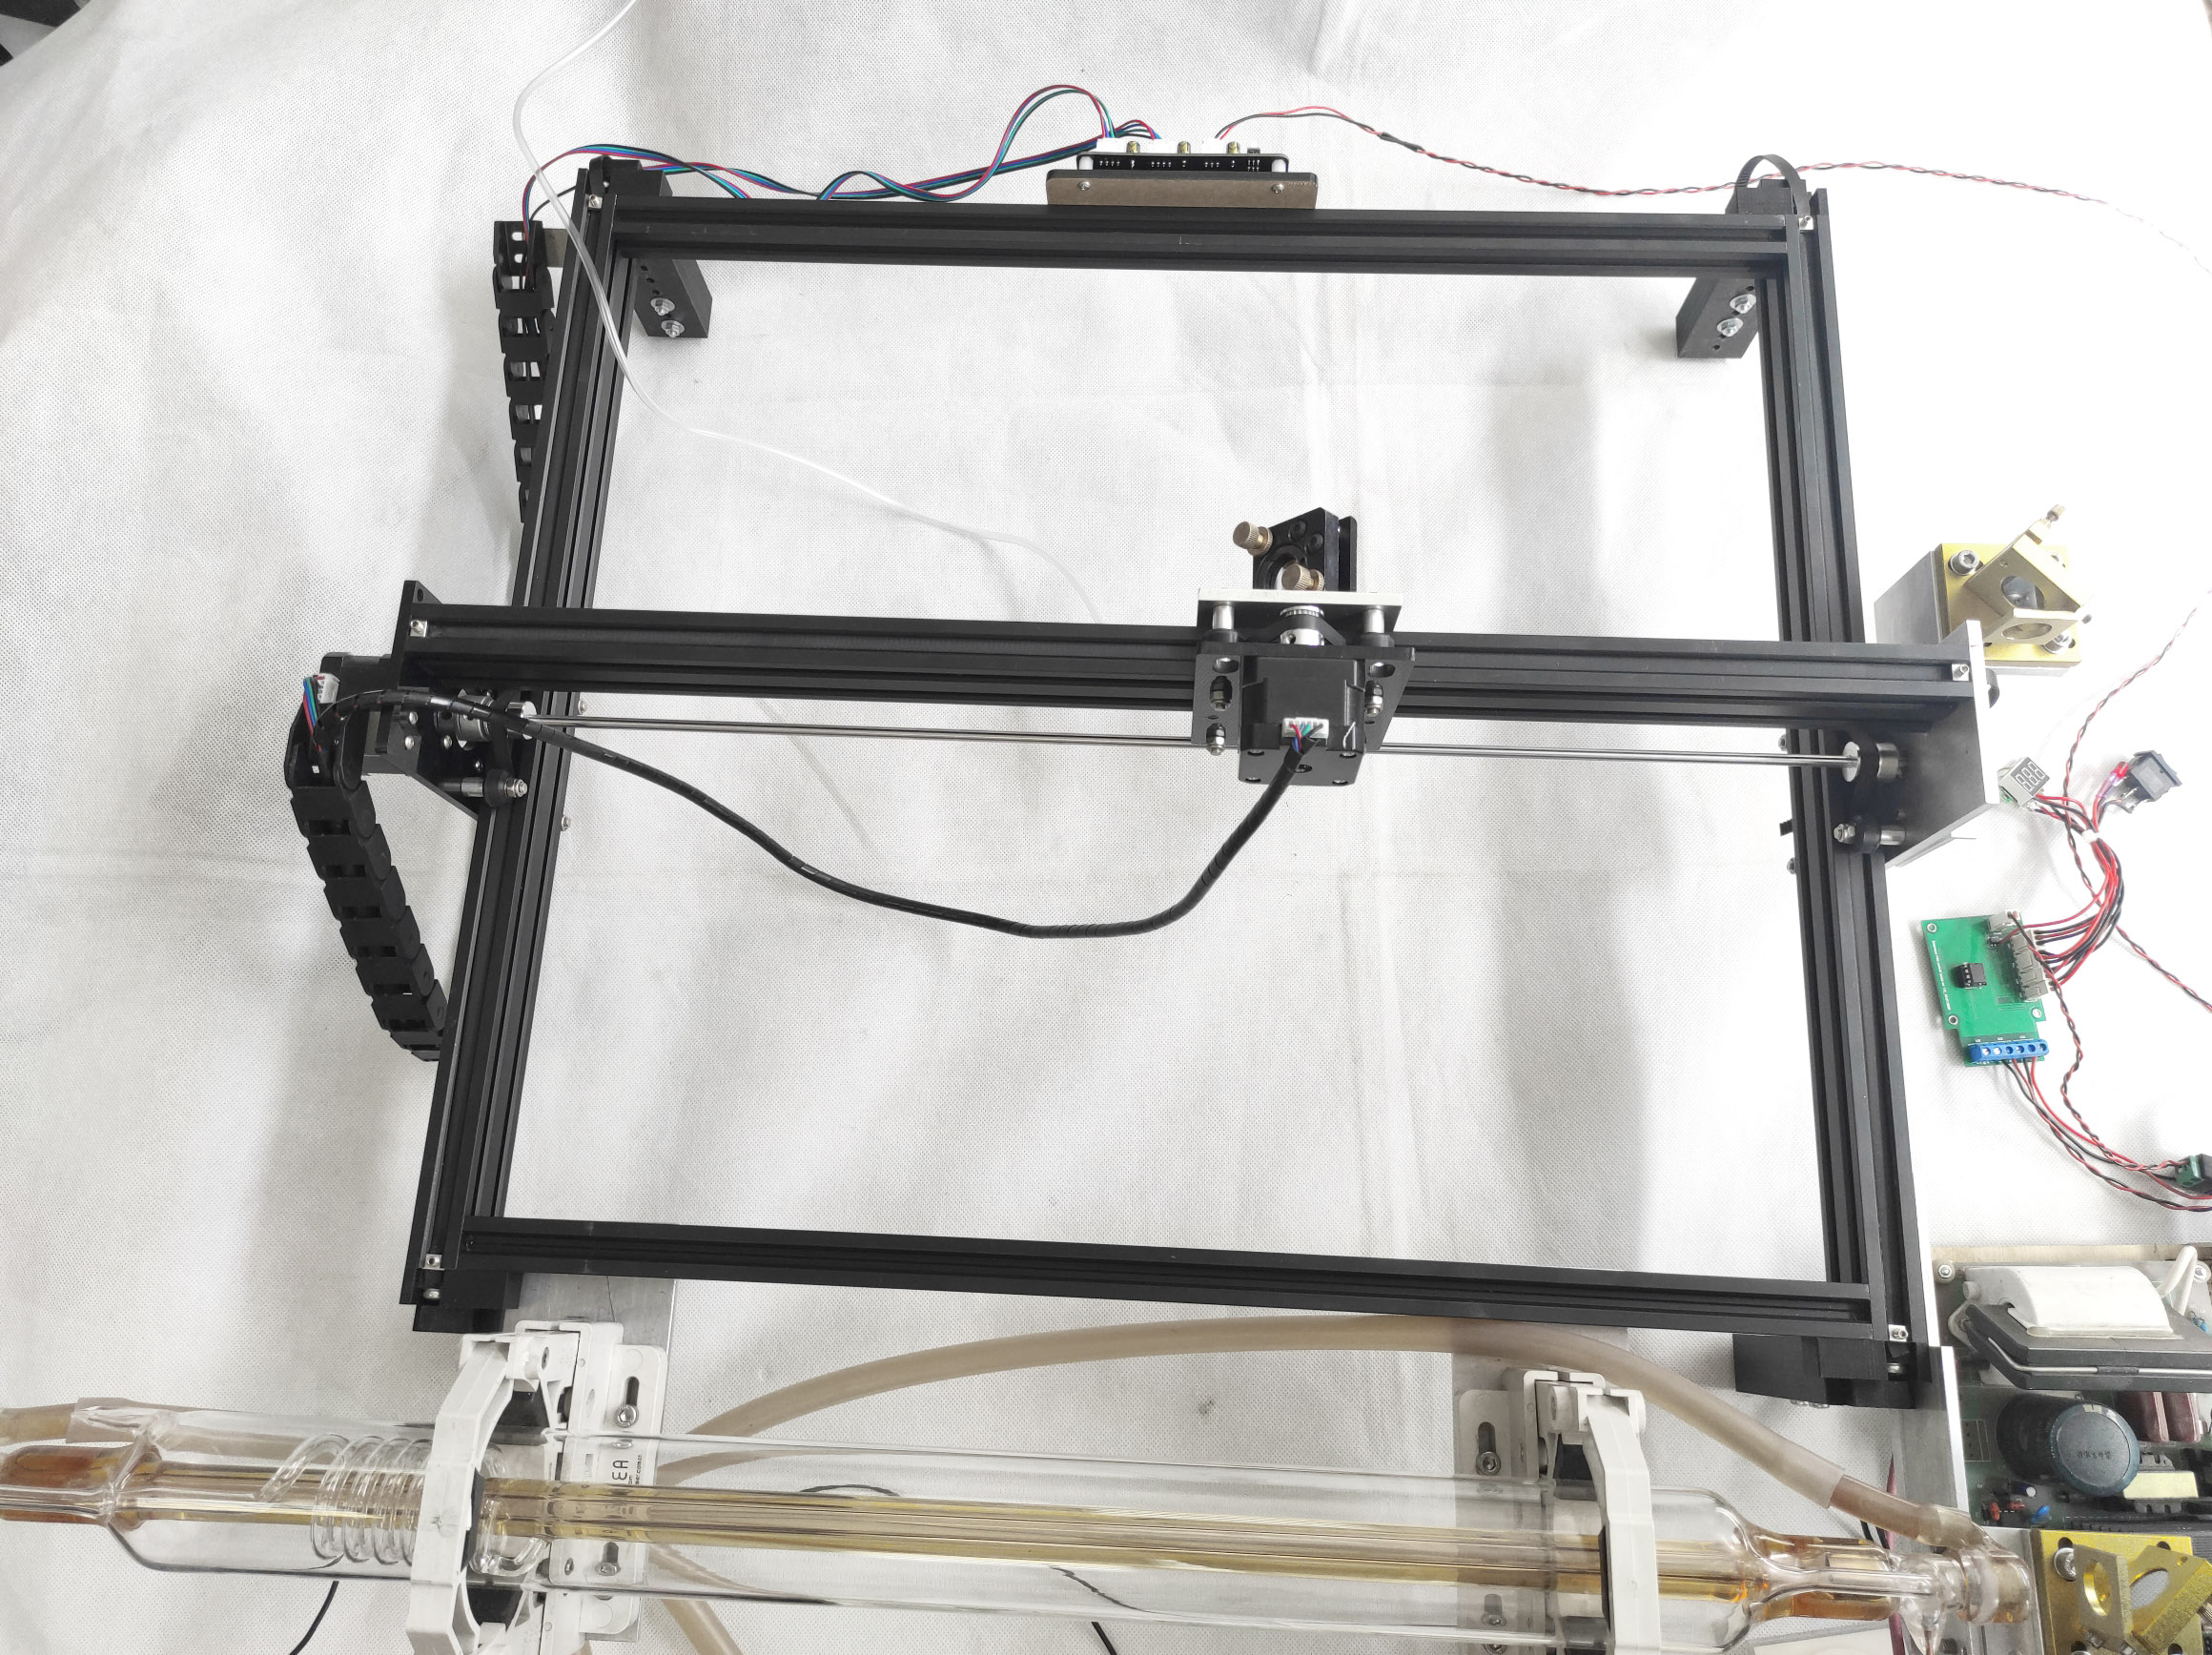
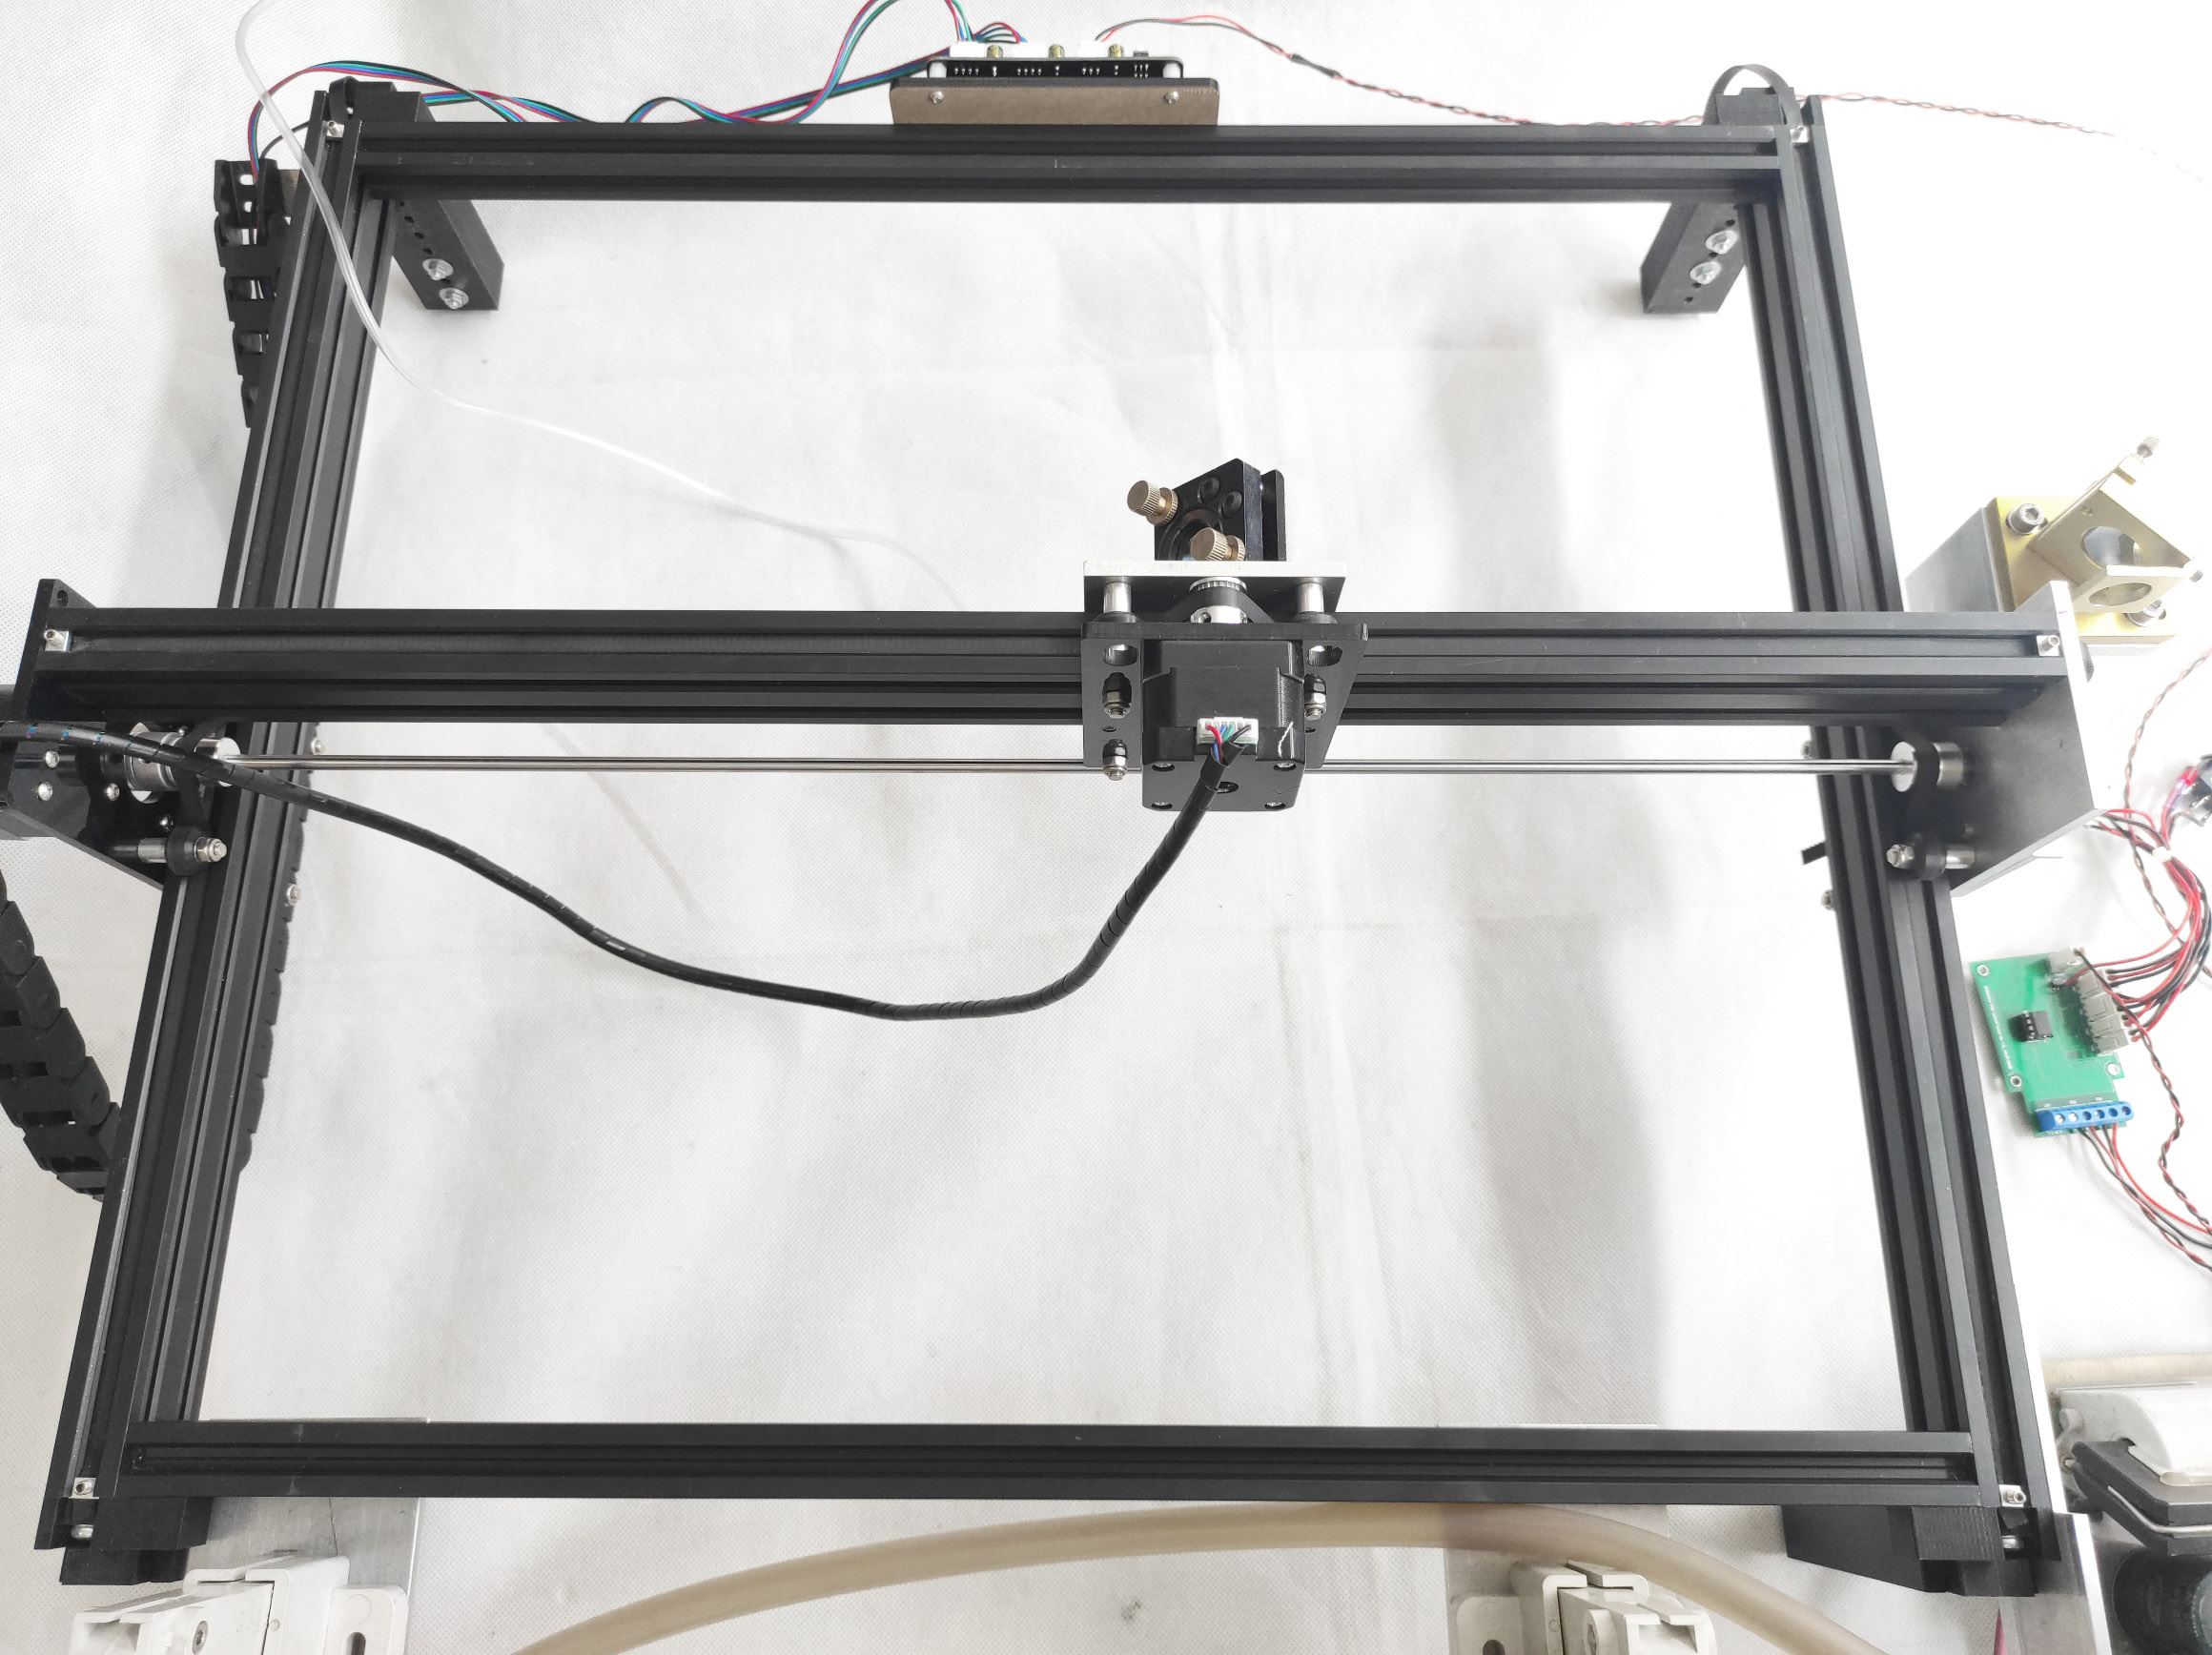
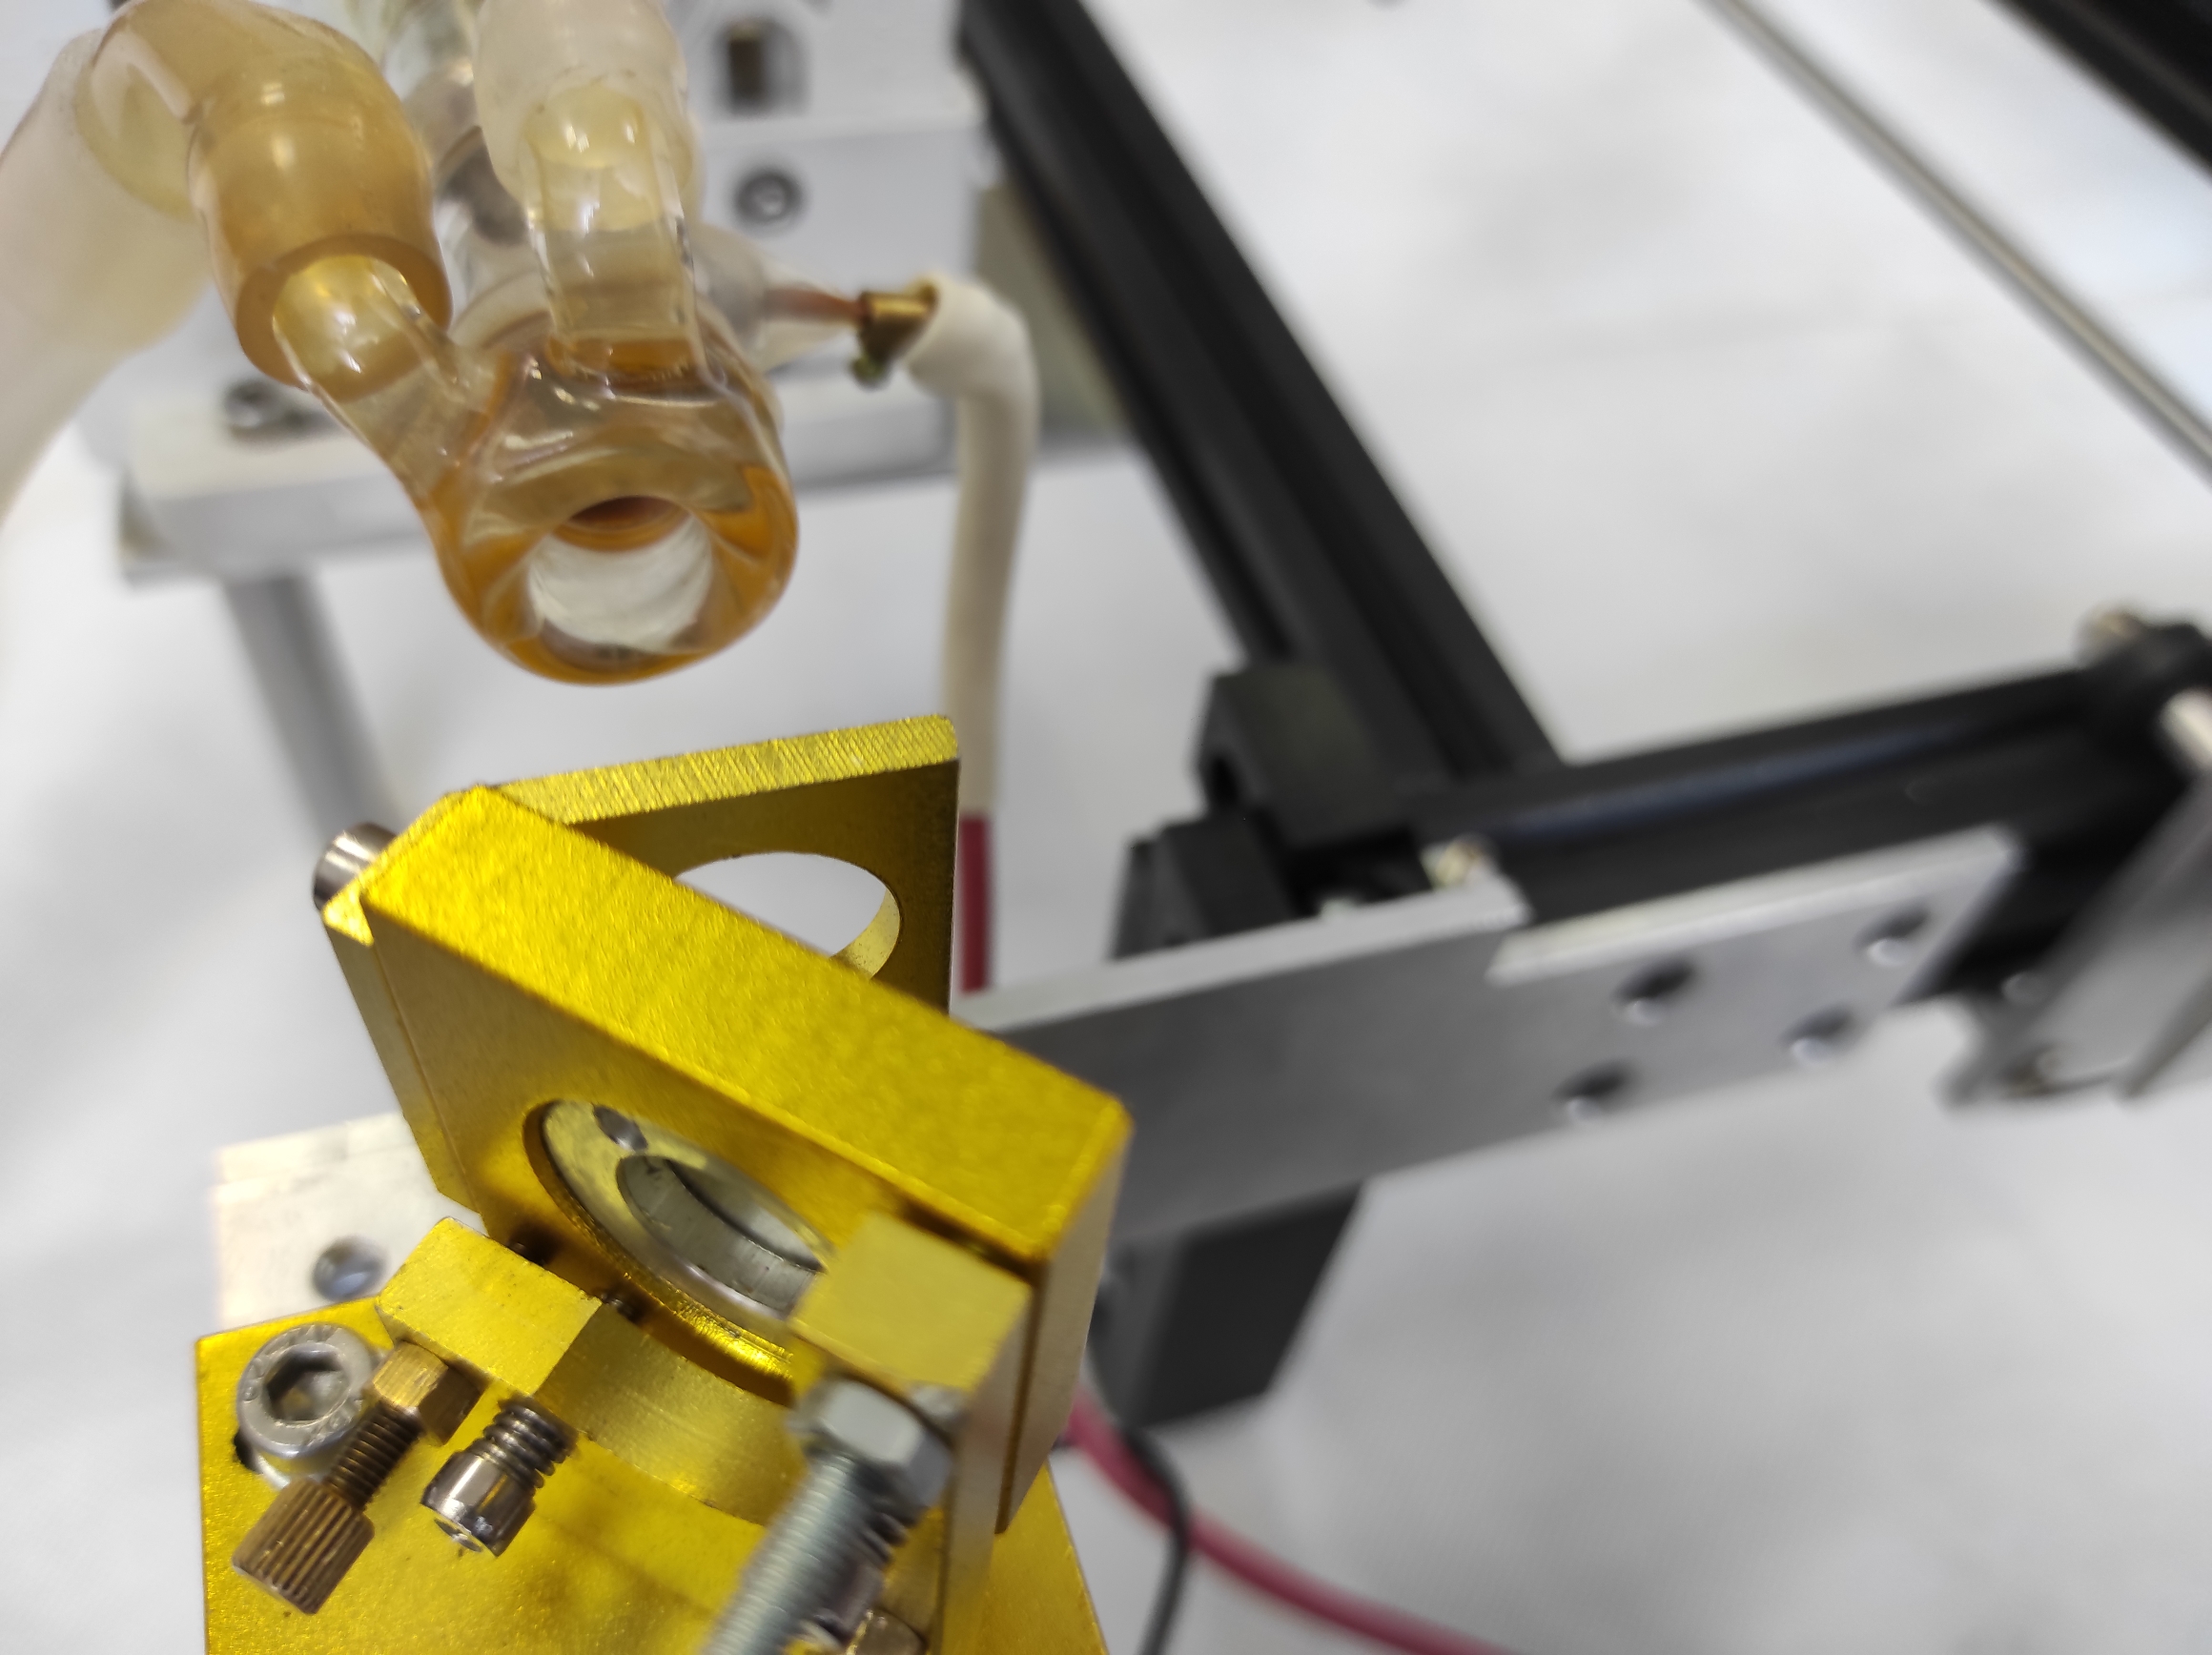
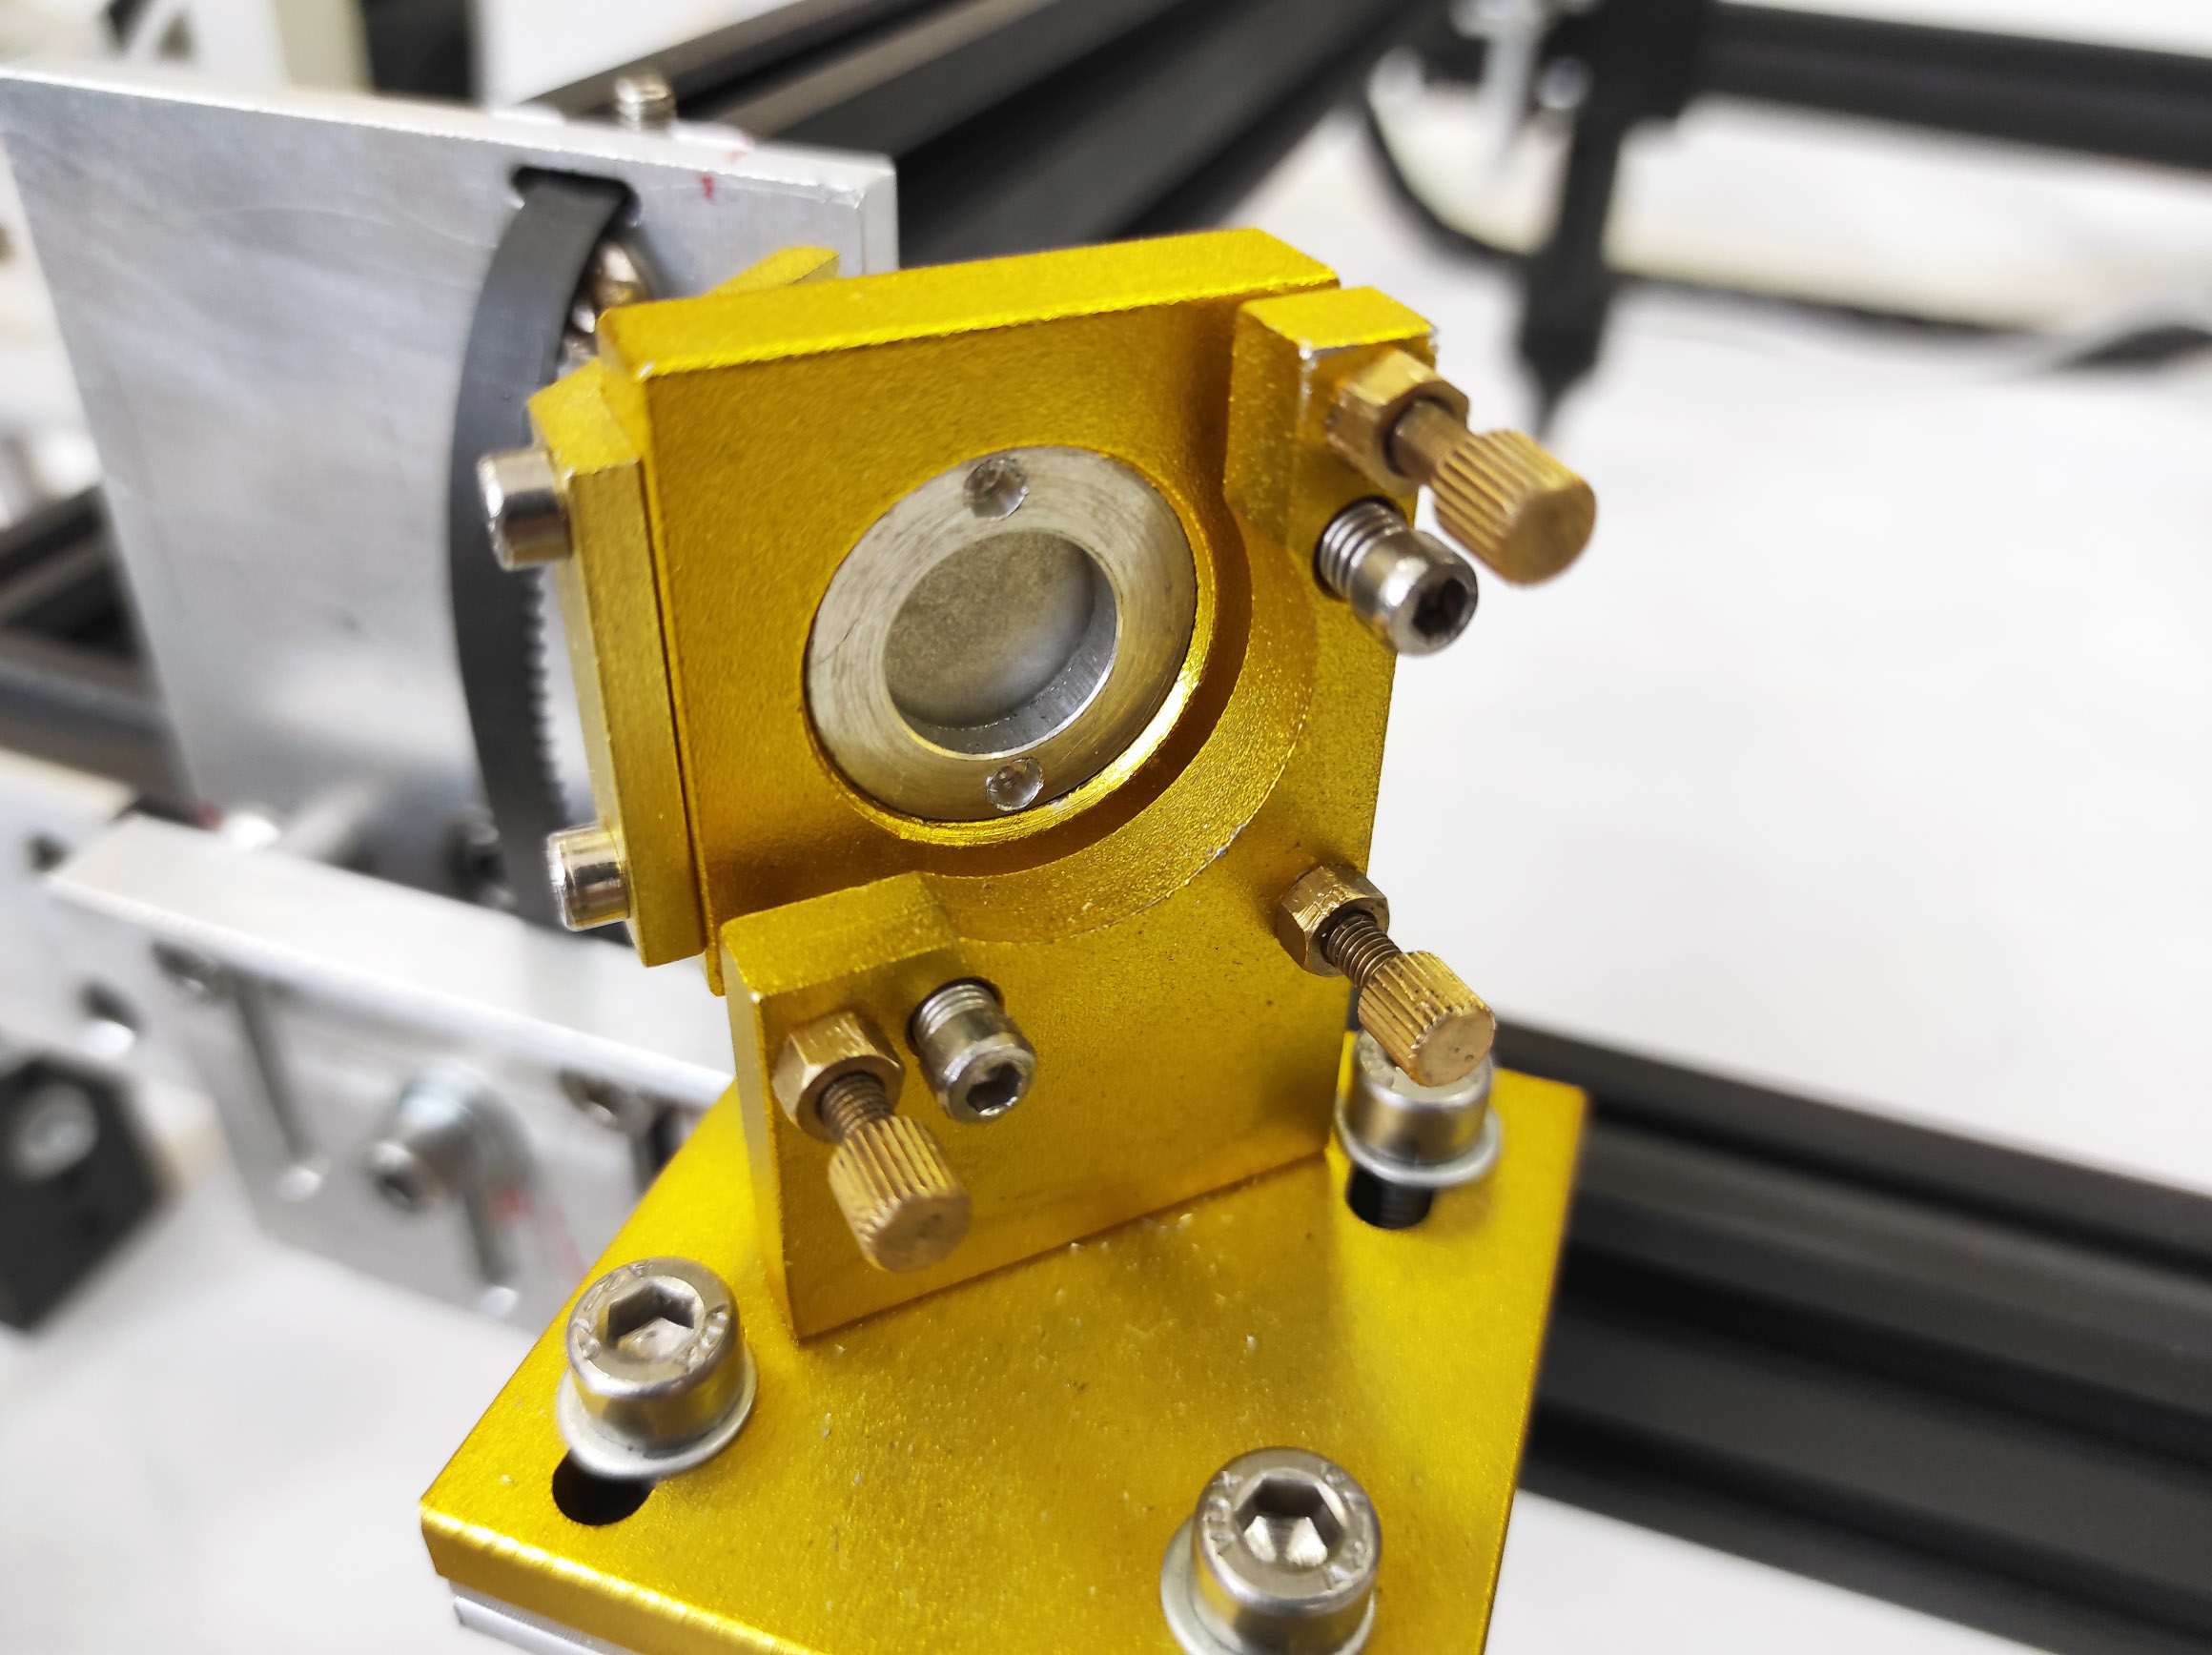
We check the alignment of mirrors.
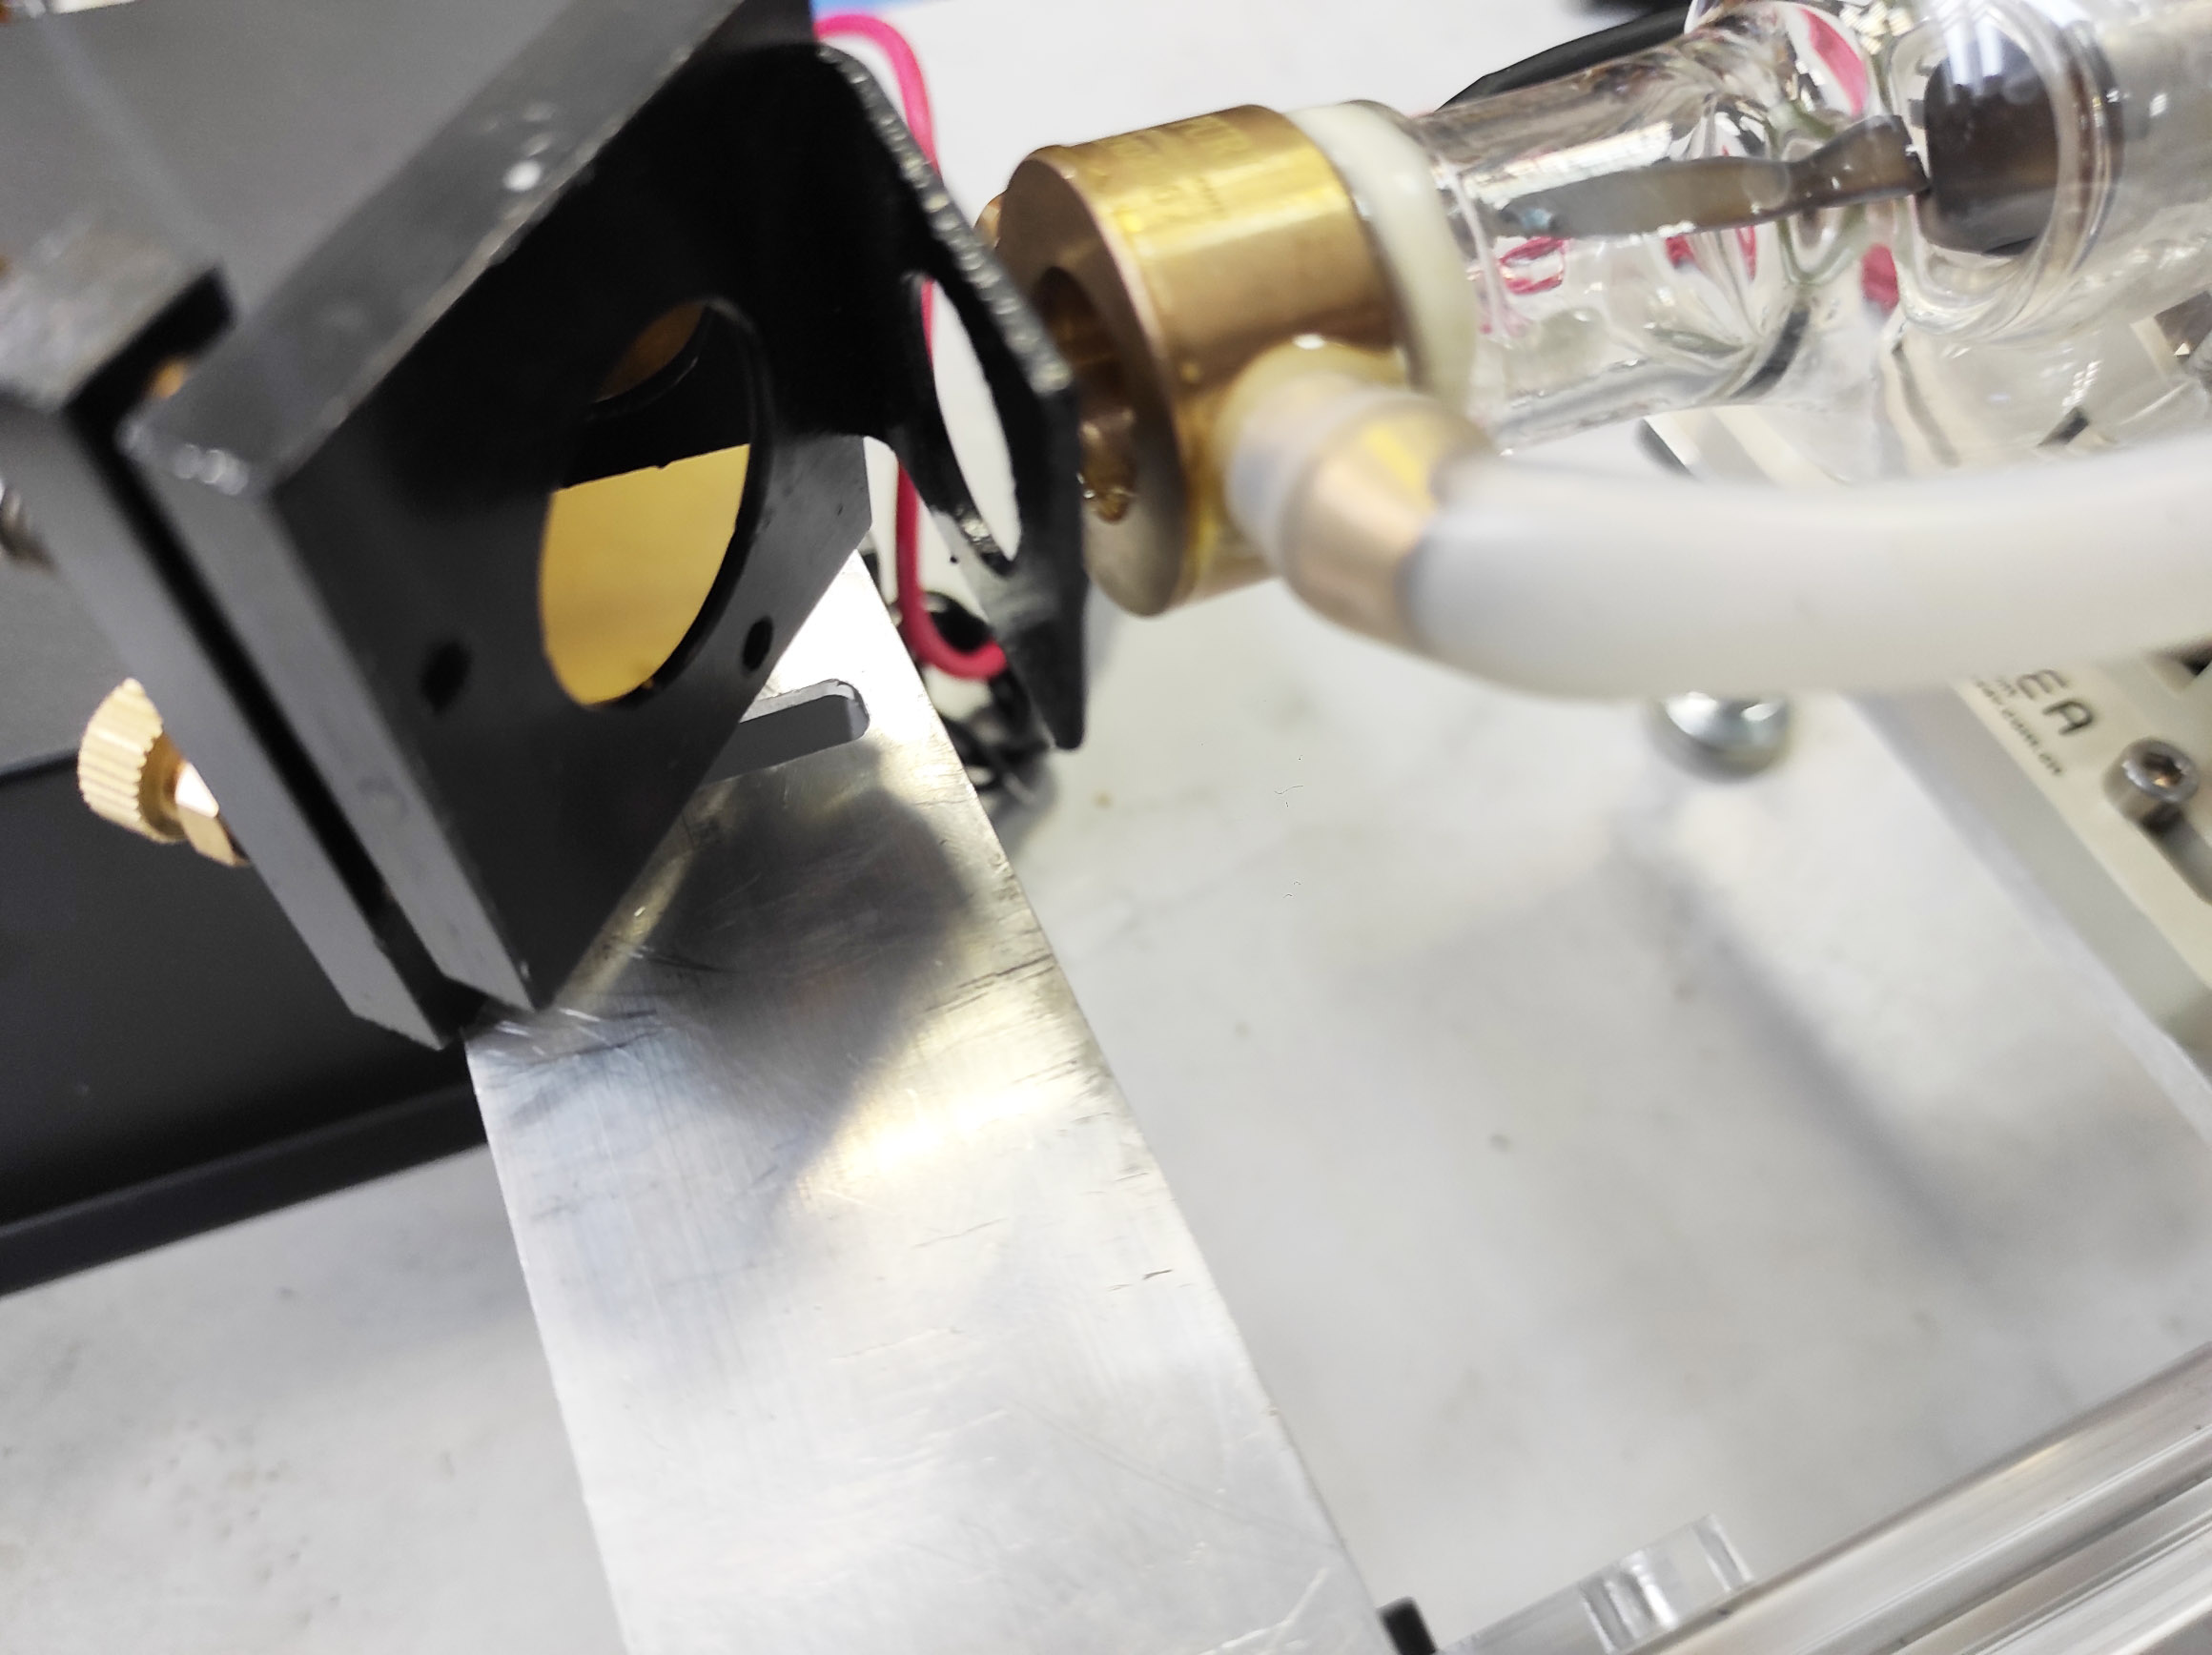
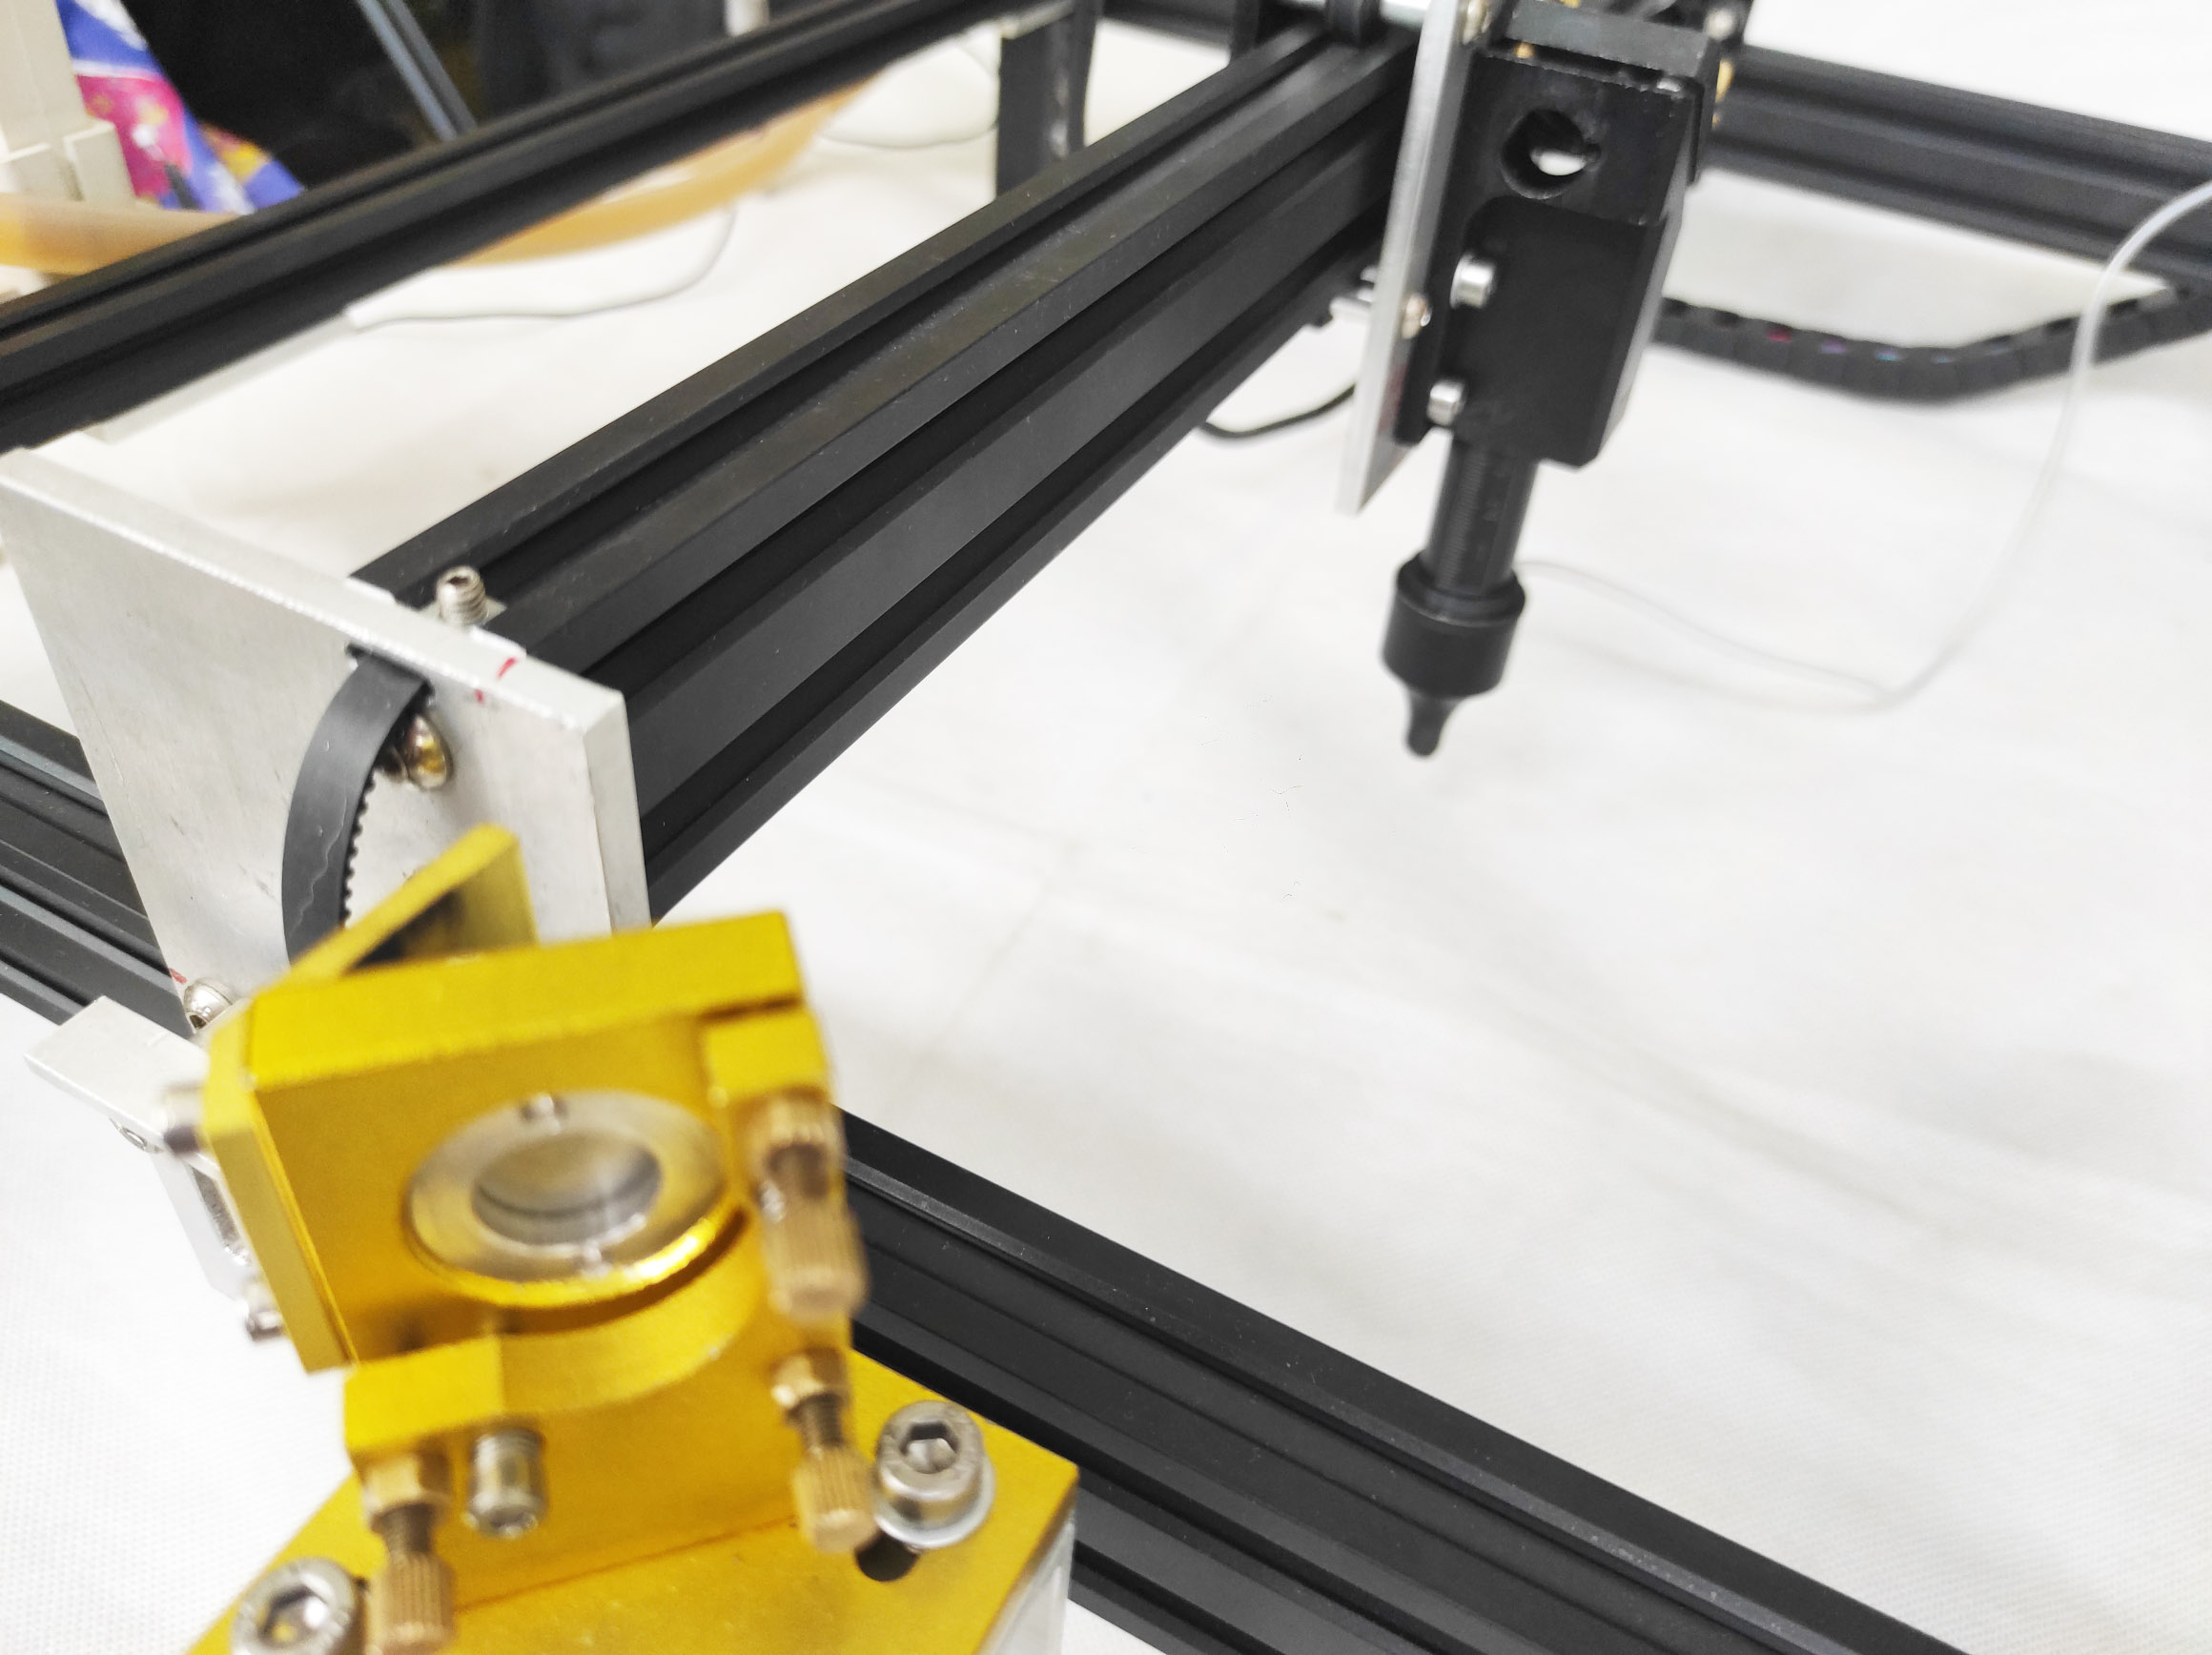
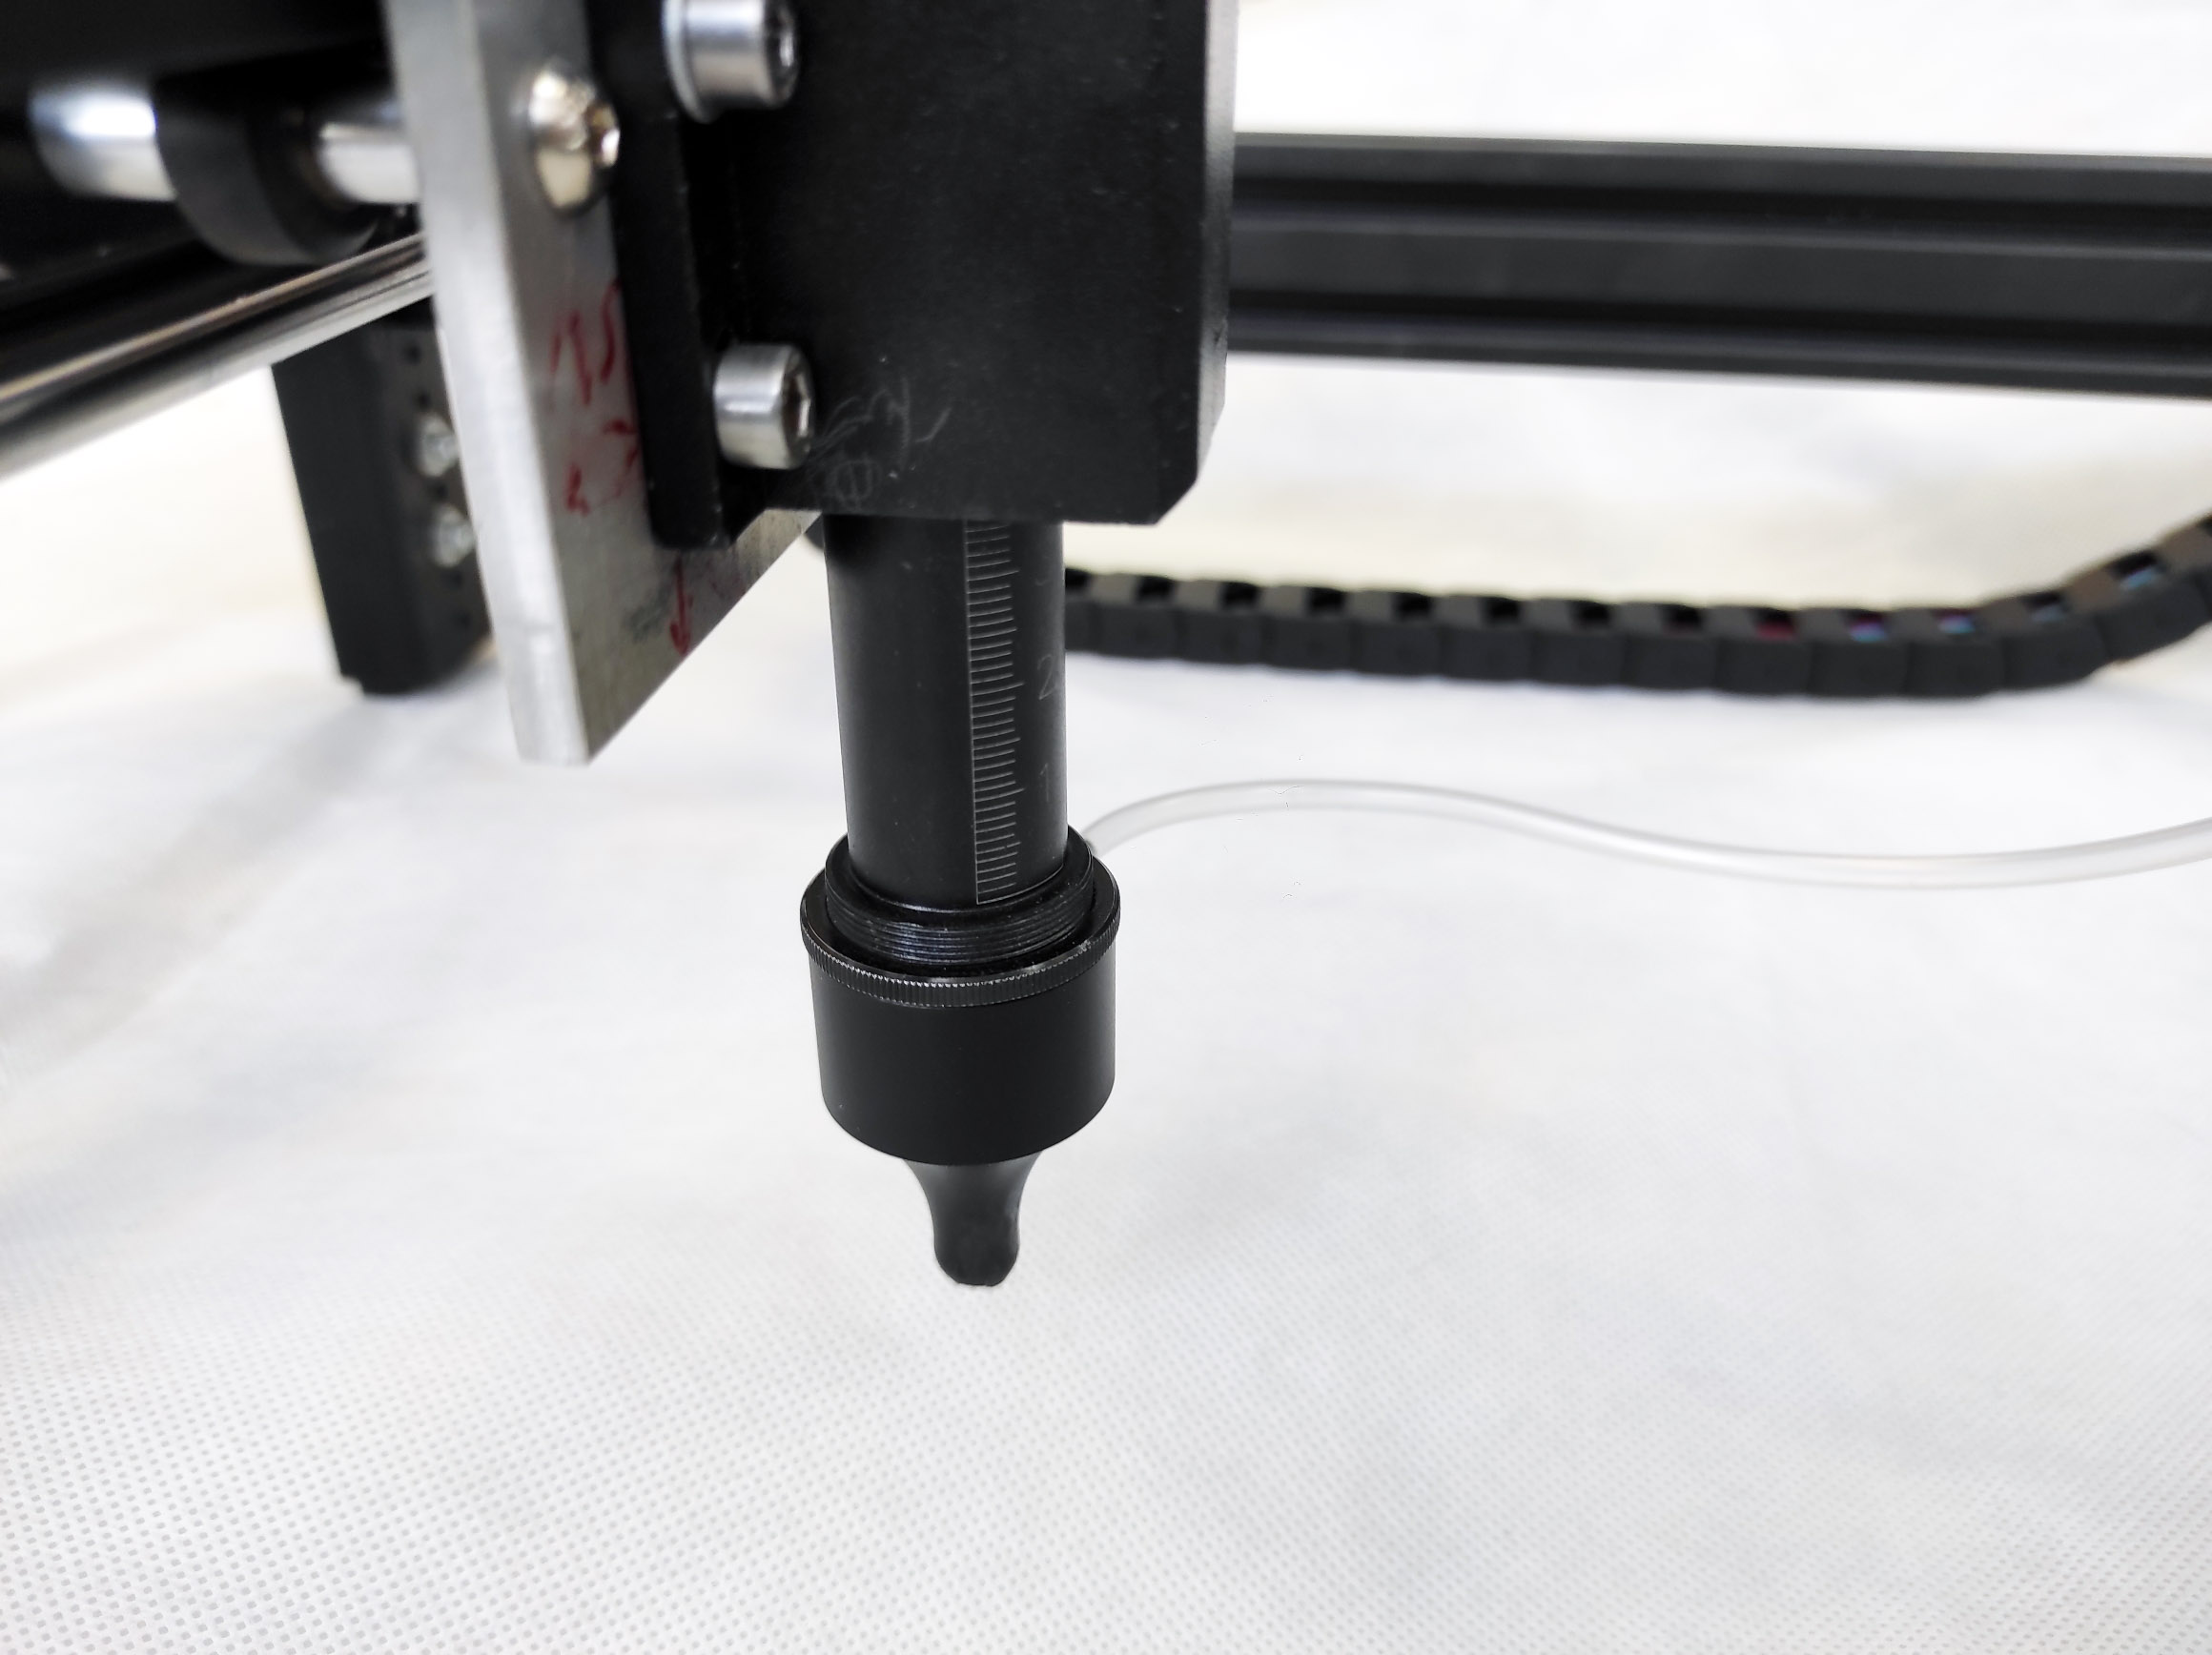
The optical system of the machine is arranged as follows. The laser beam coming out of the tube is reflected from the mirror system and enters the nozzle with a focusing lens. All mirrors must be positioned so that when the carriage moves around the machine, the laser beam always hits the center of the nozzle.
The mirror alignment process is quite complex. Therefore, it is better not to touch them again, so as not to confuse the exact setting.
Before shipping, everything was set up and tightly clamped so that nothing would get lost during the delivery process. But there is still a chance of misalignment. Therefore, before you start working, you should make sure that everything is in order.
To check, you will need paper tape.
We cut off a small piece of tape, and glue it to the nozzle as shown in the photo.
Move the caret to the left top position
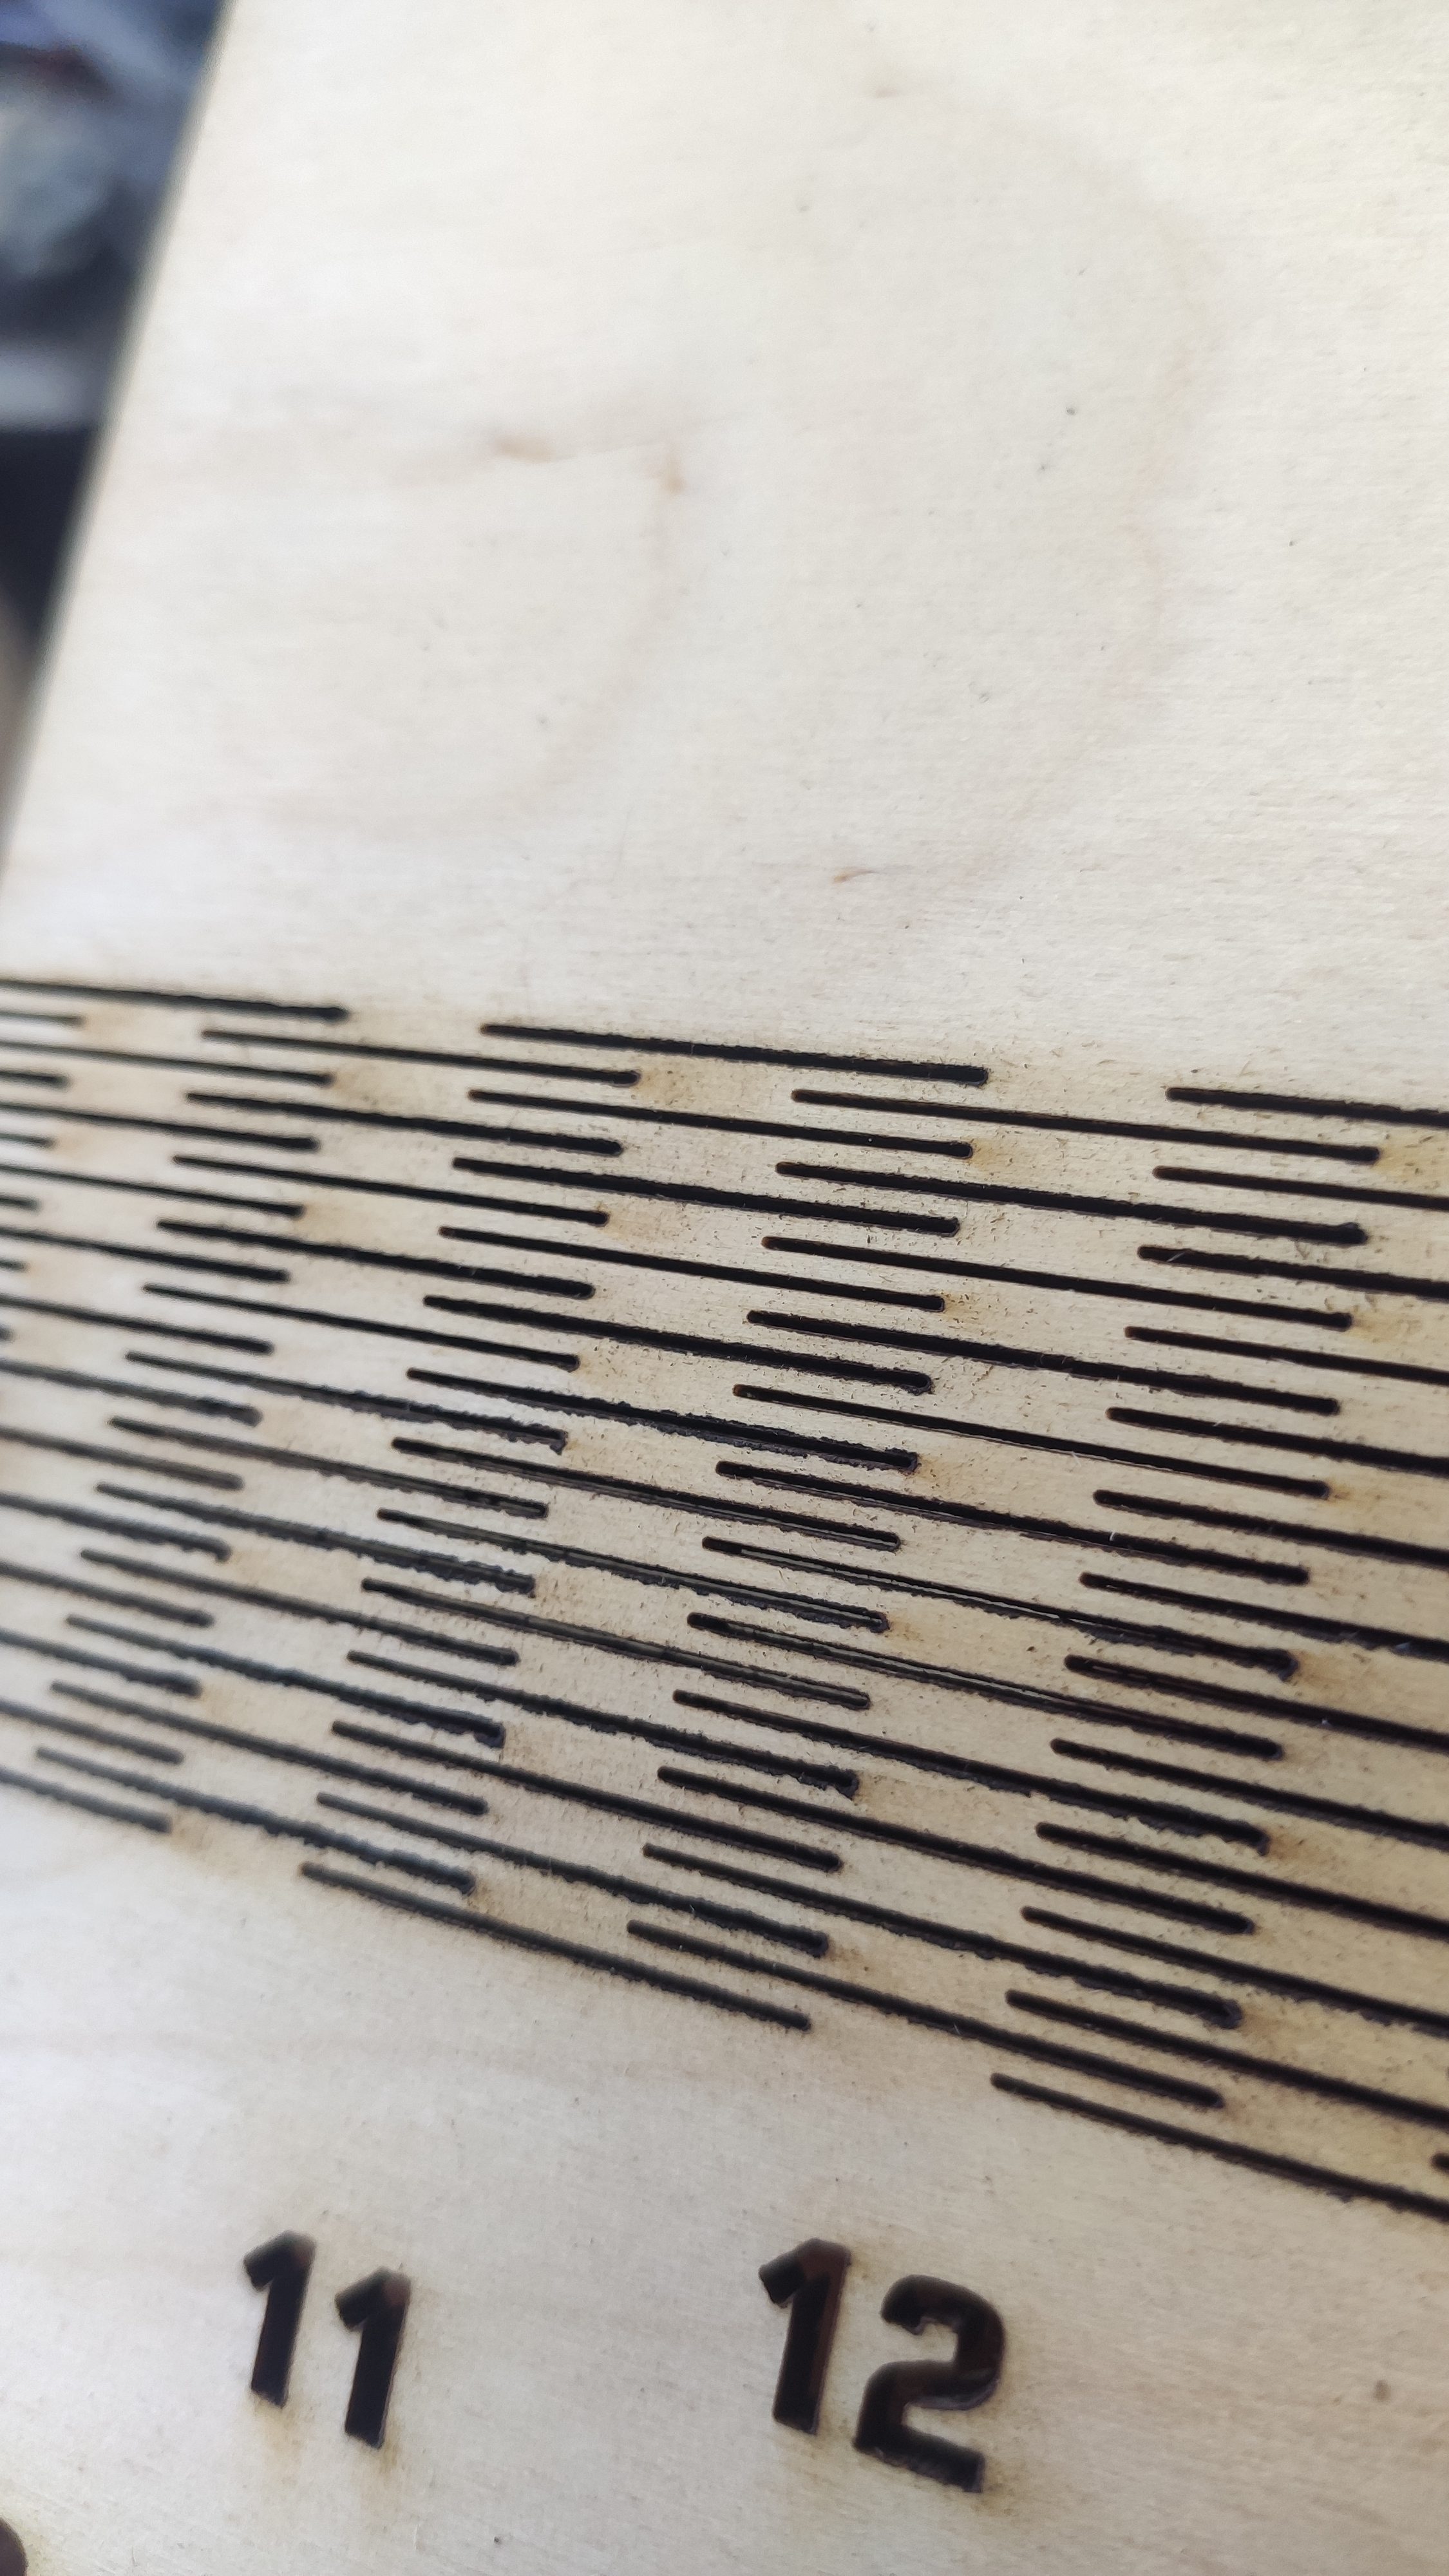
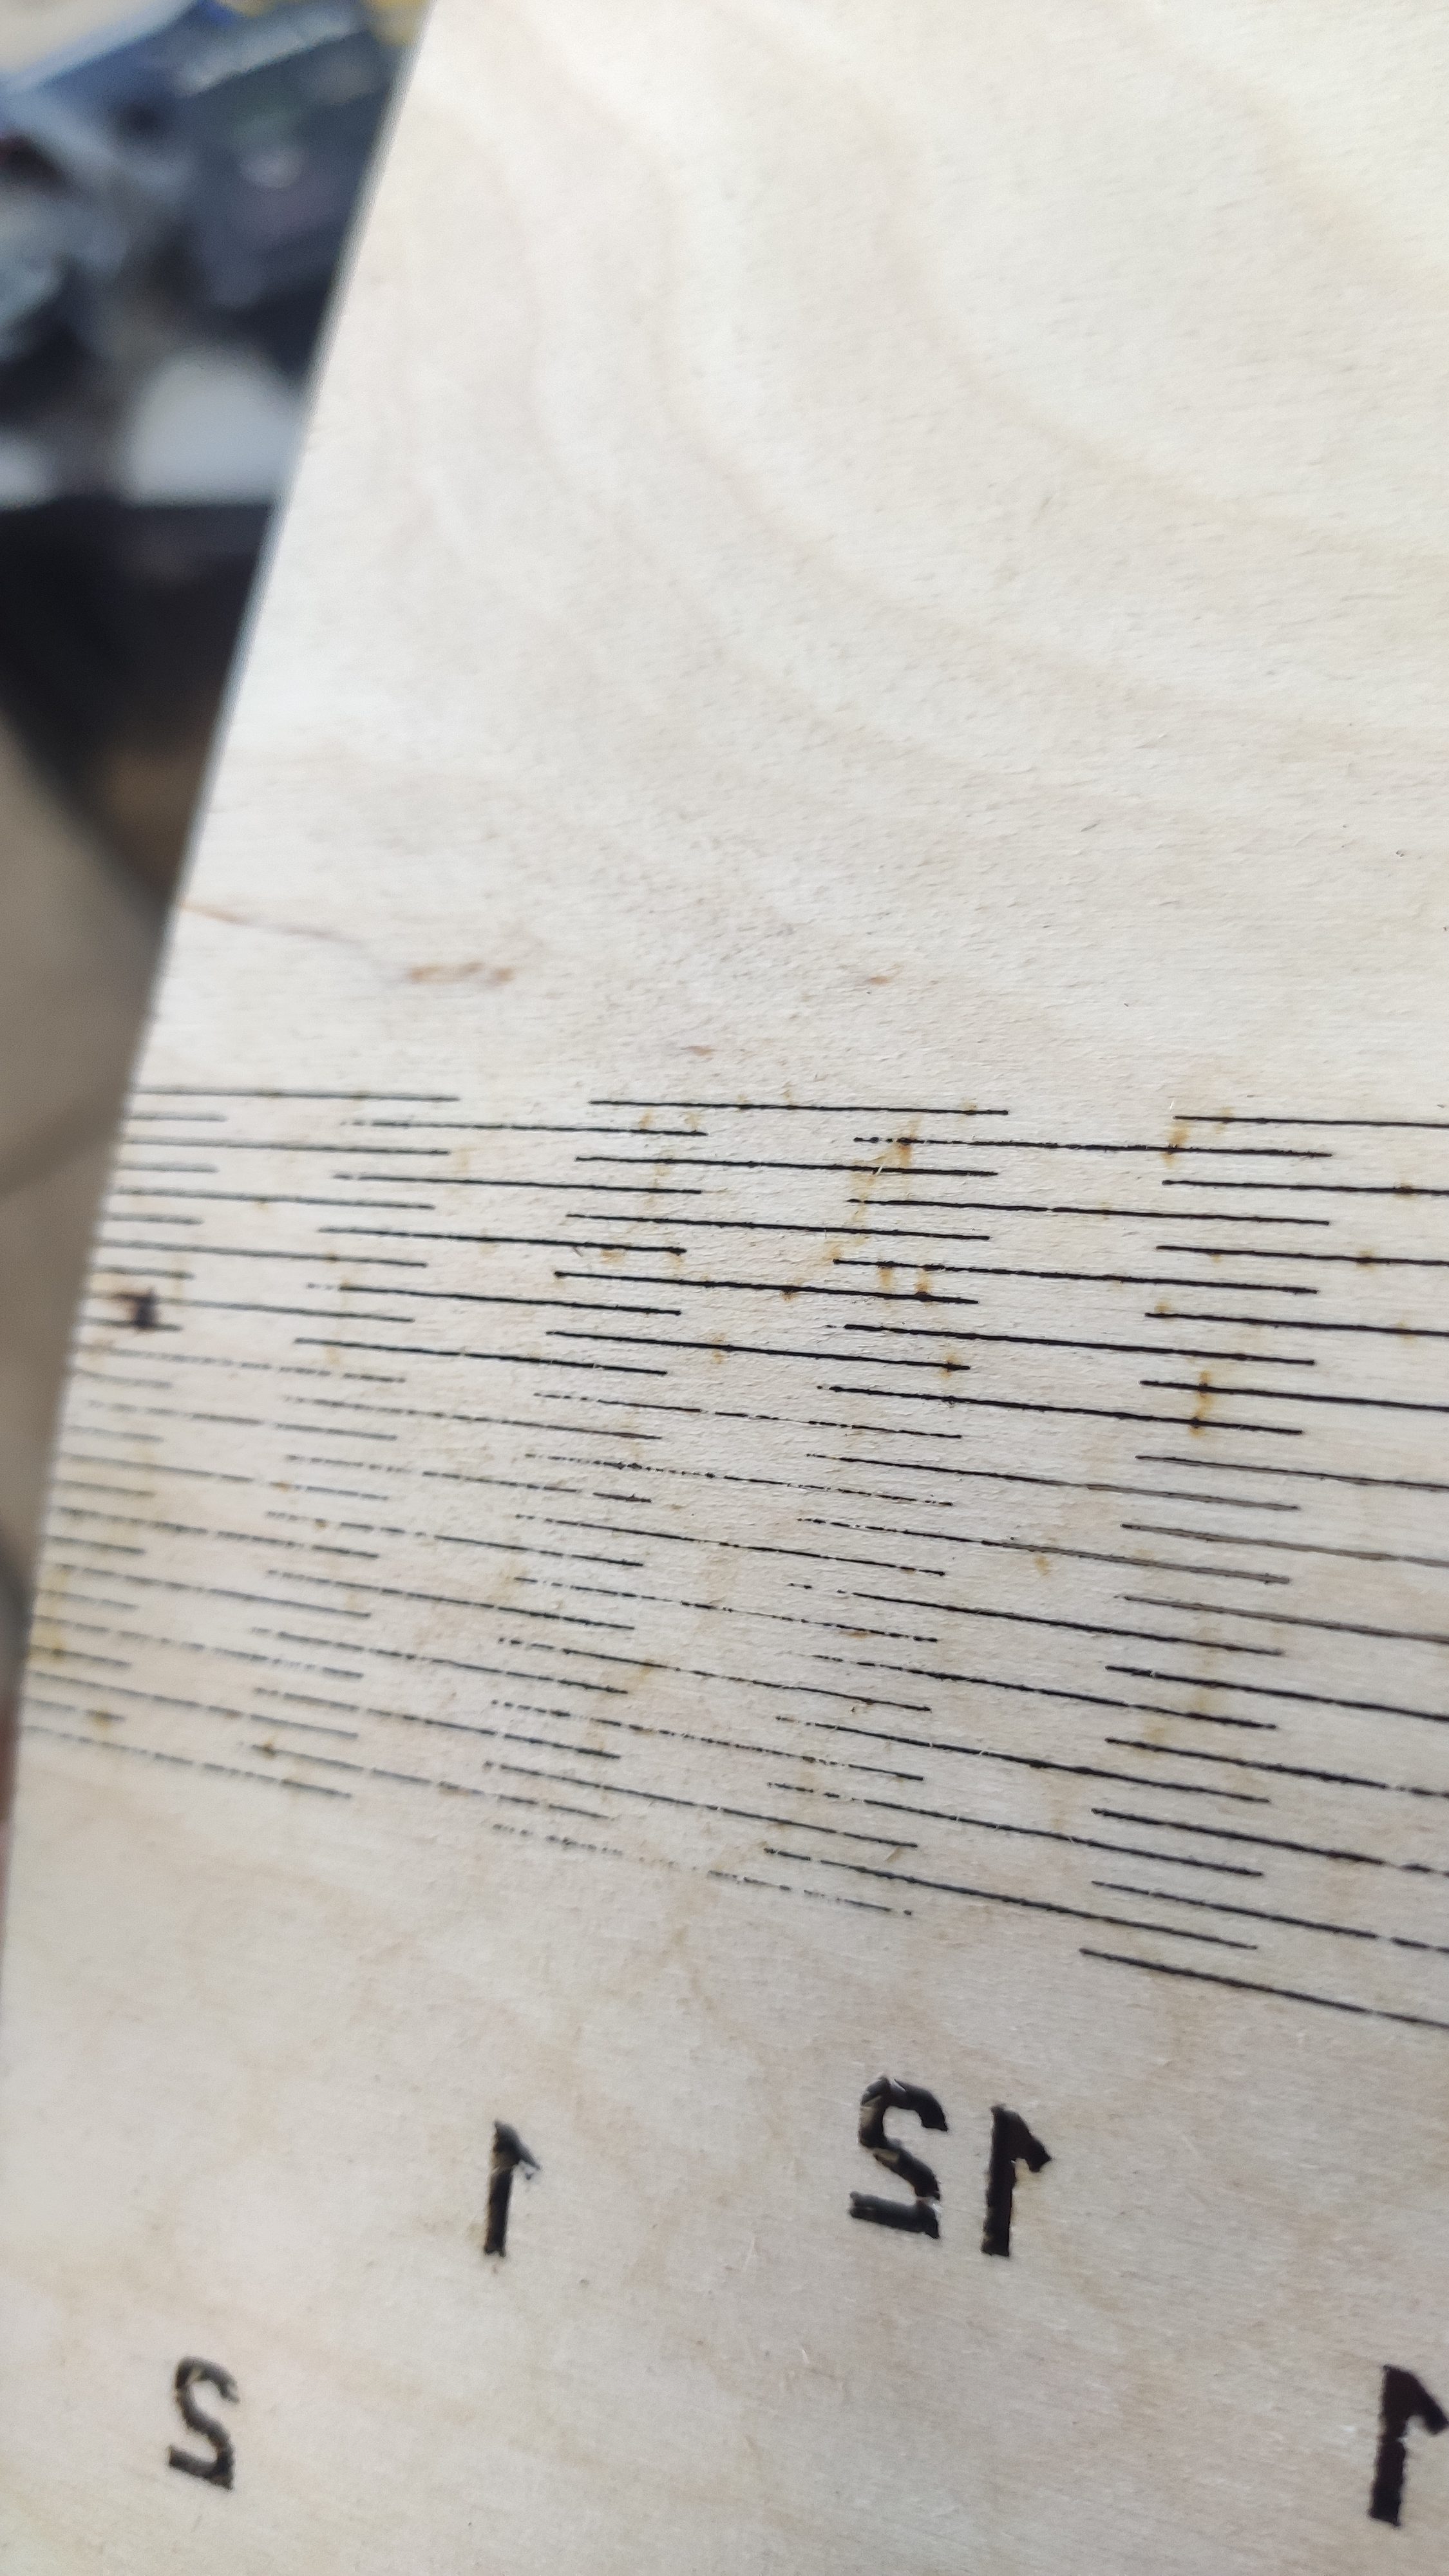
We set the power to about 50%. The pulse time is also increased by 50 milliseconds.
Now make sure that there is nothing in the path of the laser-click on the red button. There will be a short pulse and a hole will remain on the tape.
We peel off the tape, but do not throw it away!
Repeat these steps by moving the caret to the lower-right corner.
Then compare the 2 spots (from the left one upper position and lower right position).
On the left – a spot with a violation of alignment, on the right – everything is normal
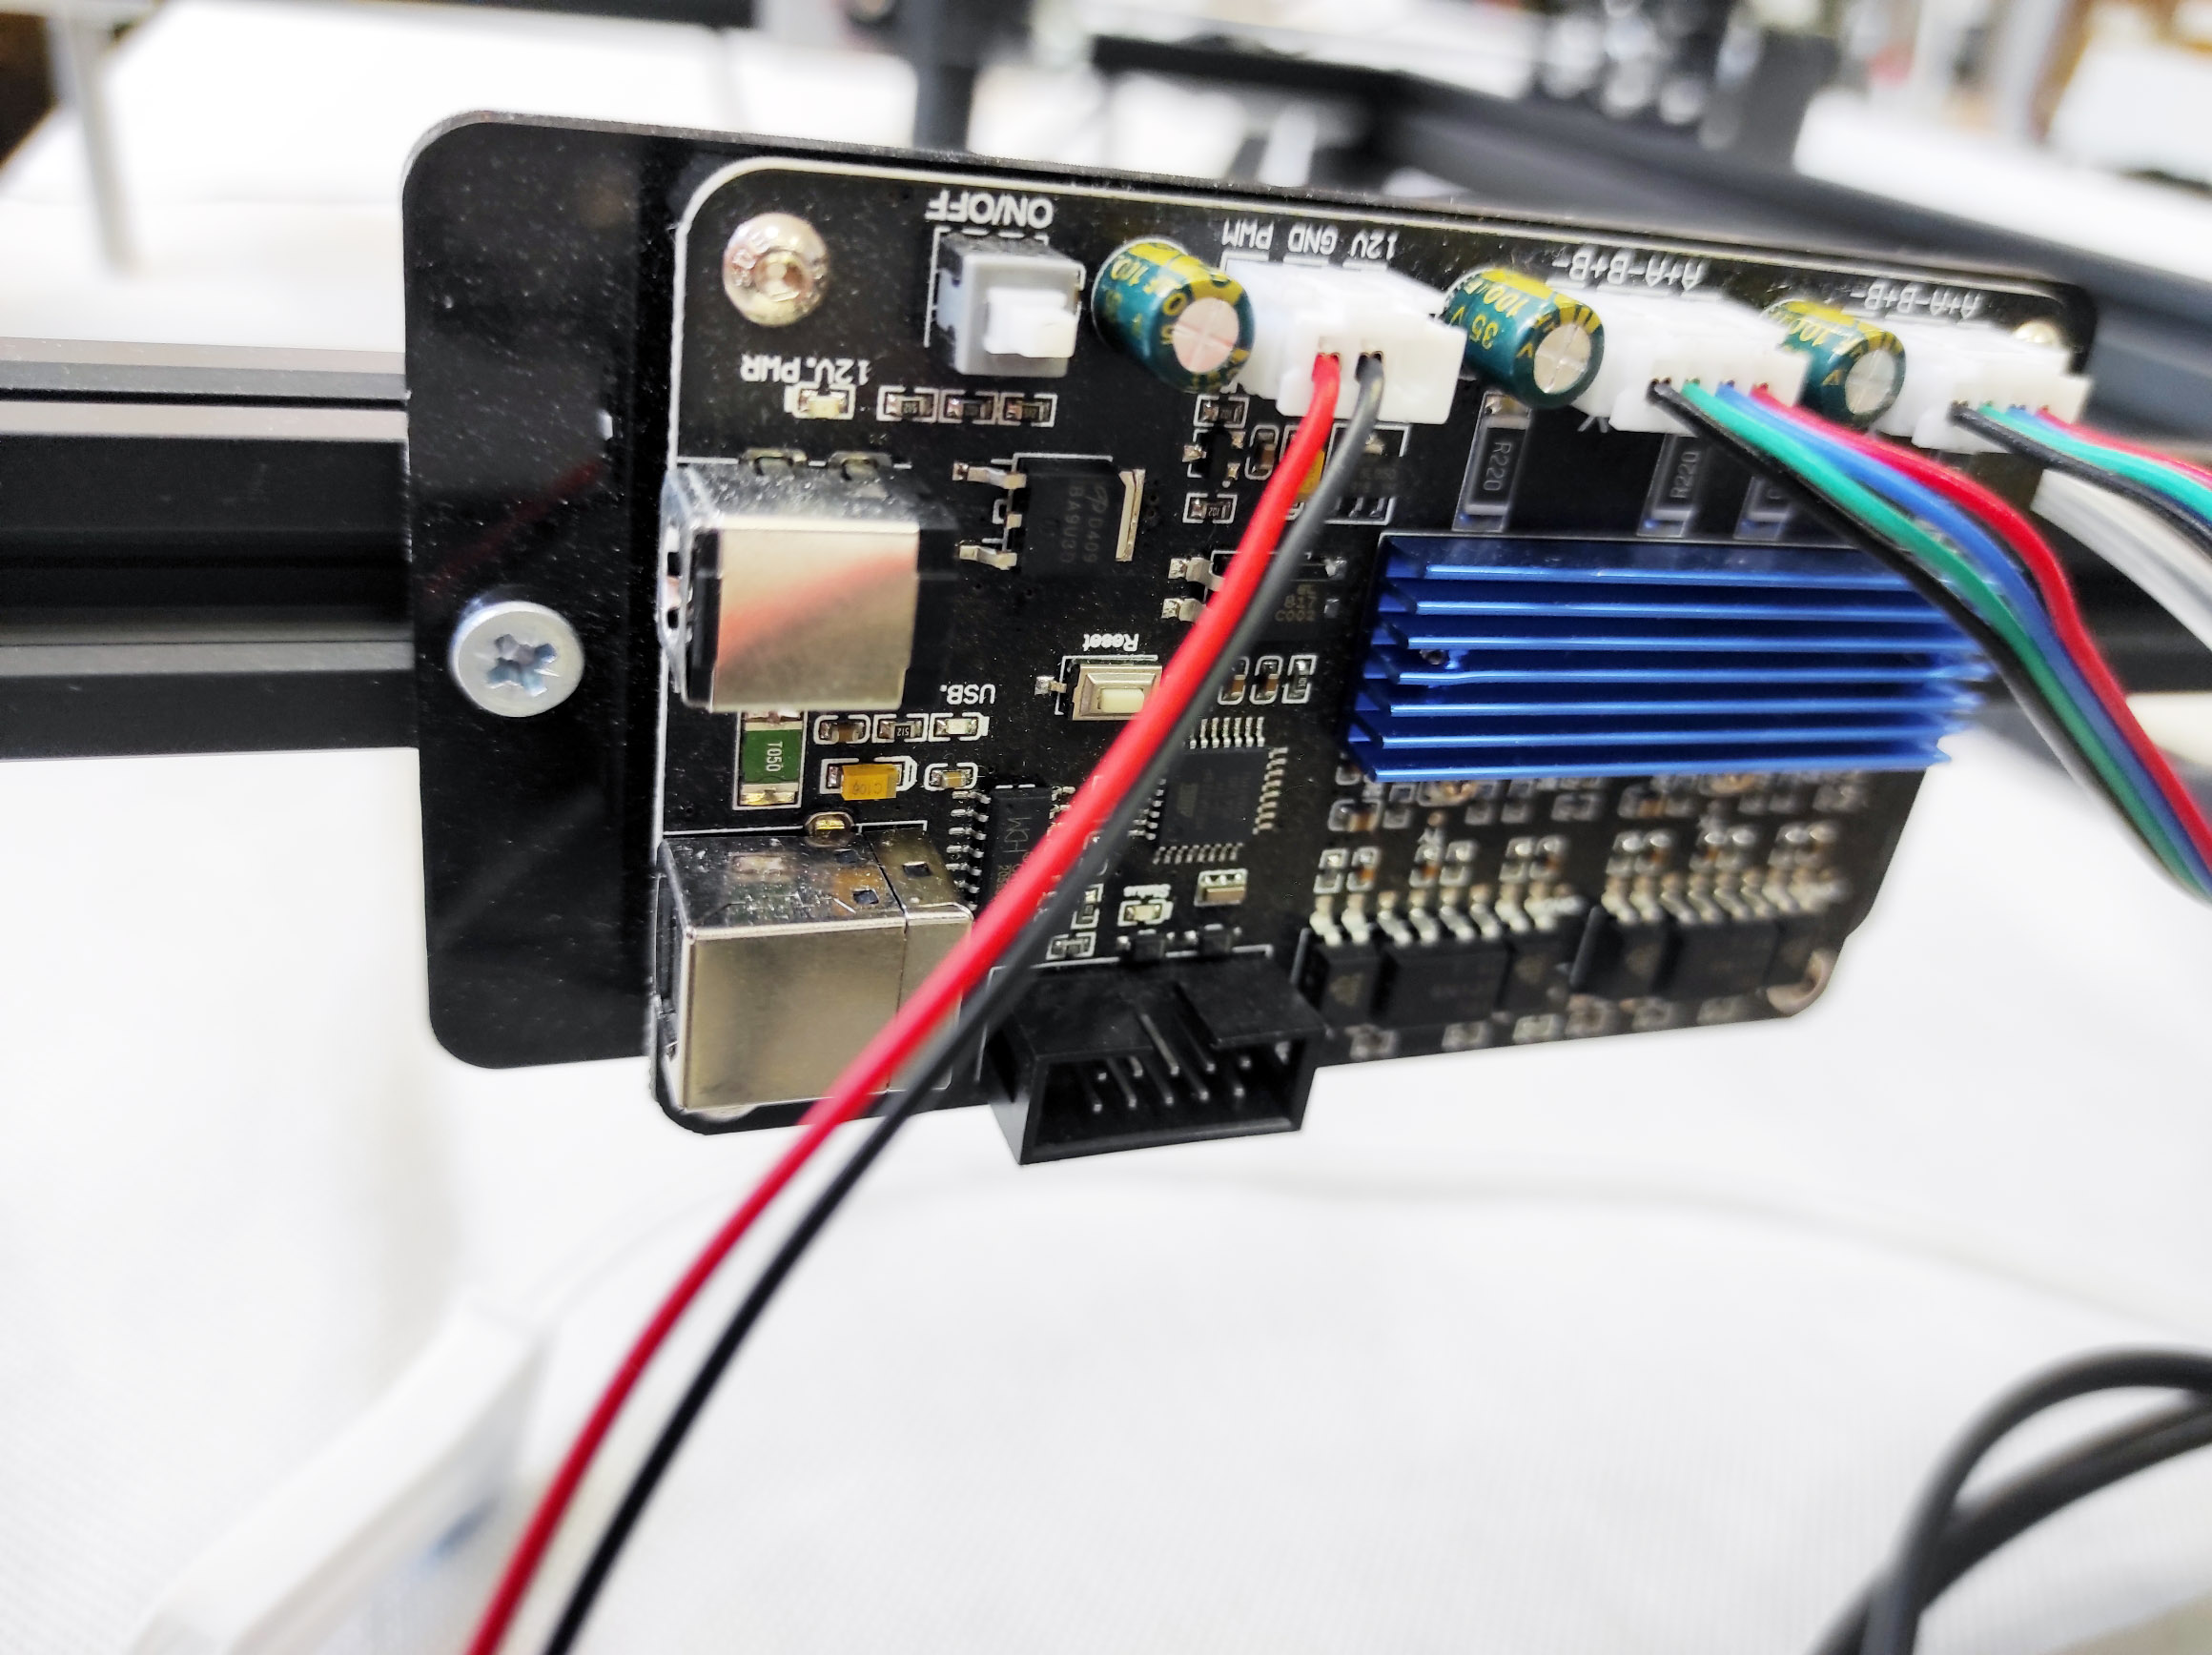
Connecting it to the board
When everything is checked, we connect the laser to the machine board. If you use a CO2 laser, connect the wires from the ignition unit to the red connector on the board (PWM)
Monitor the temperature
During the operation of the machine, it is extremely important to monitor its temperature. Itа should be in the range of 15-25 degrees Celsius. When approaching the upper limit, you must pause the process in the LightBurn programLightBurn.
When the temperature drops – you can continue the process.
If you want to increase the efficiency of the cooling system, you can replace its tank. To a larger capacity.
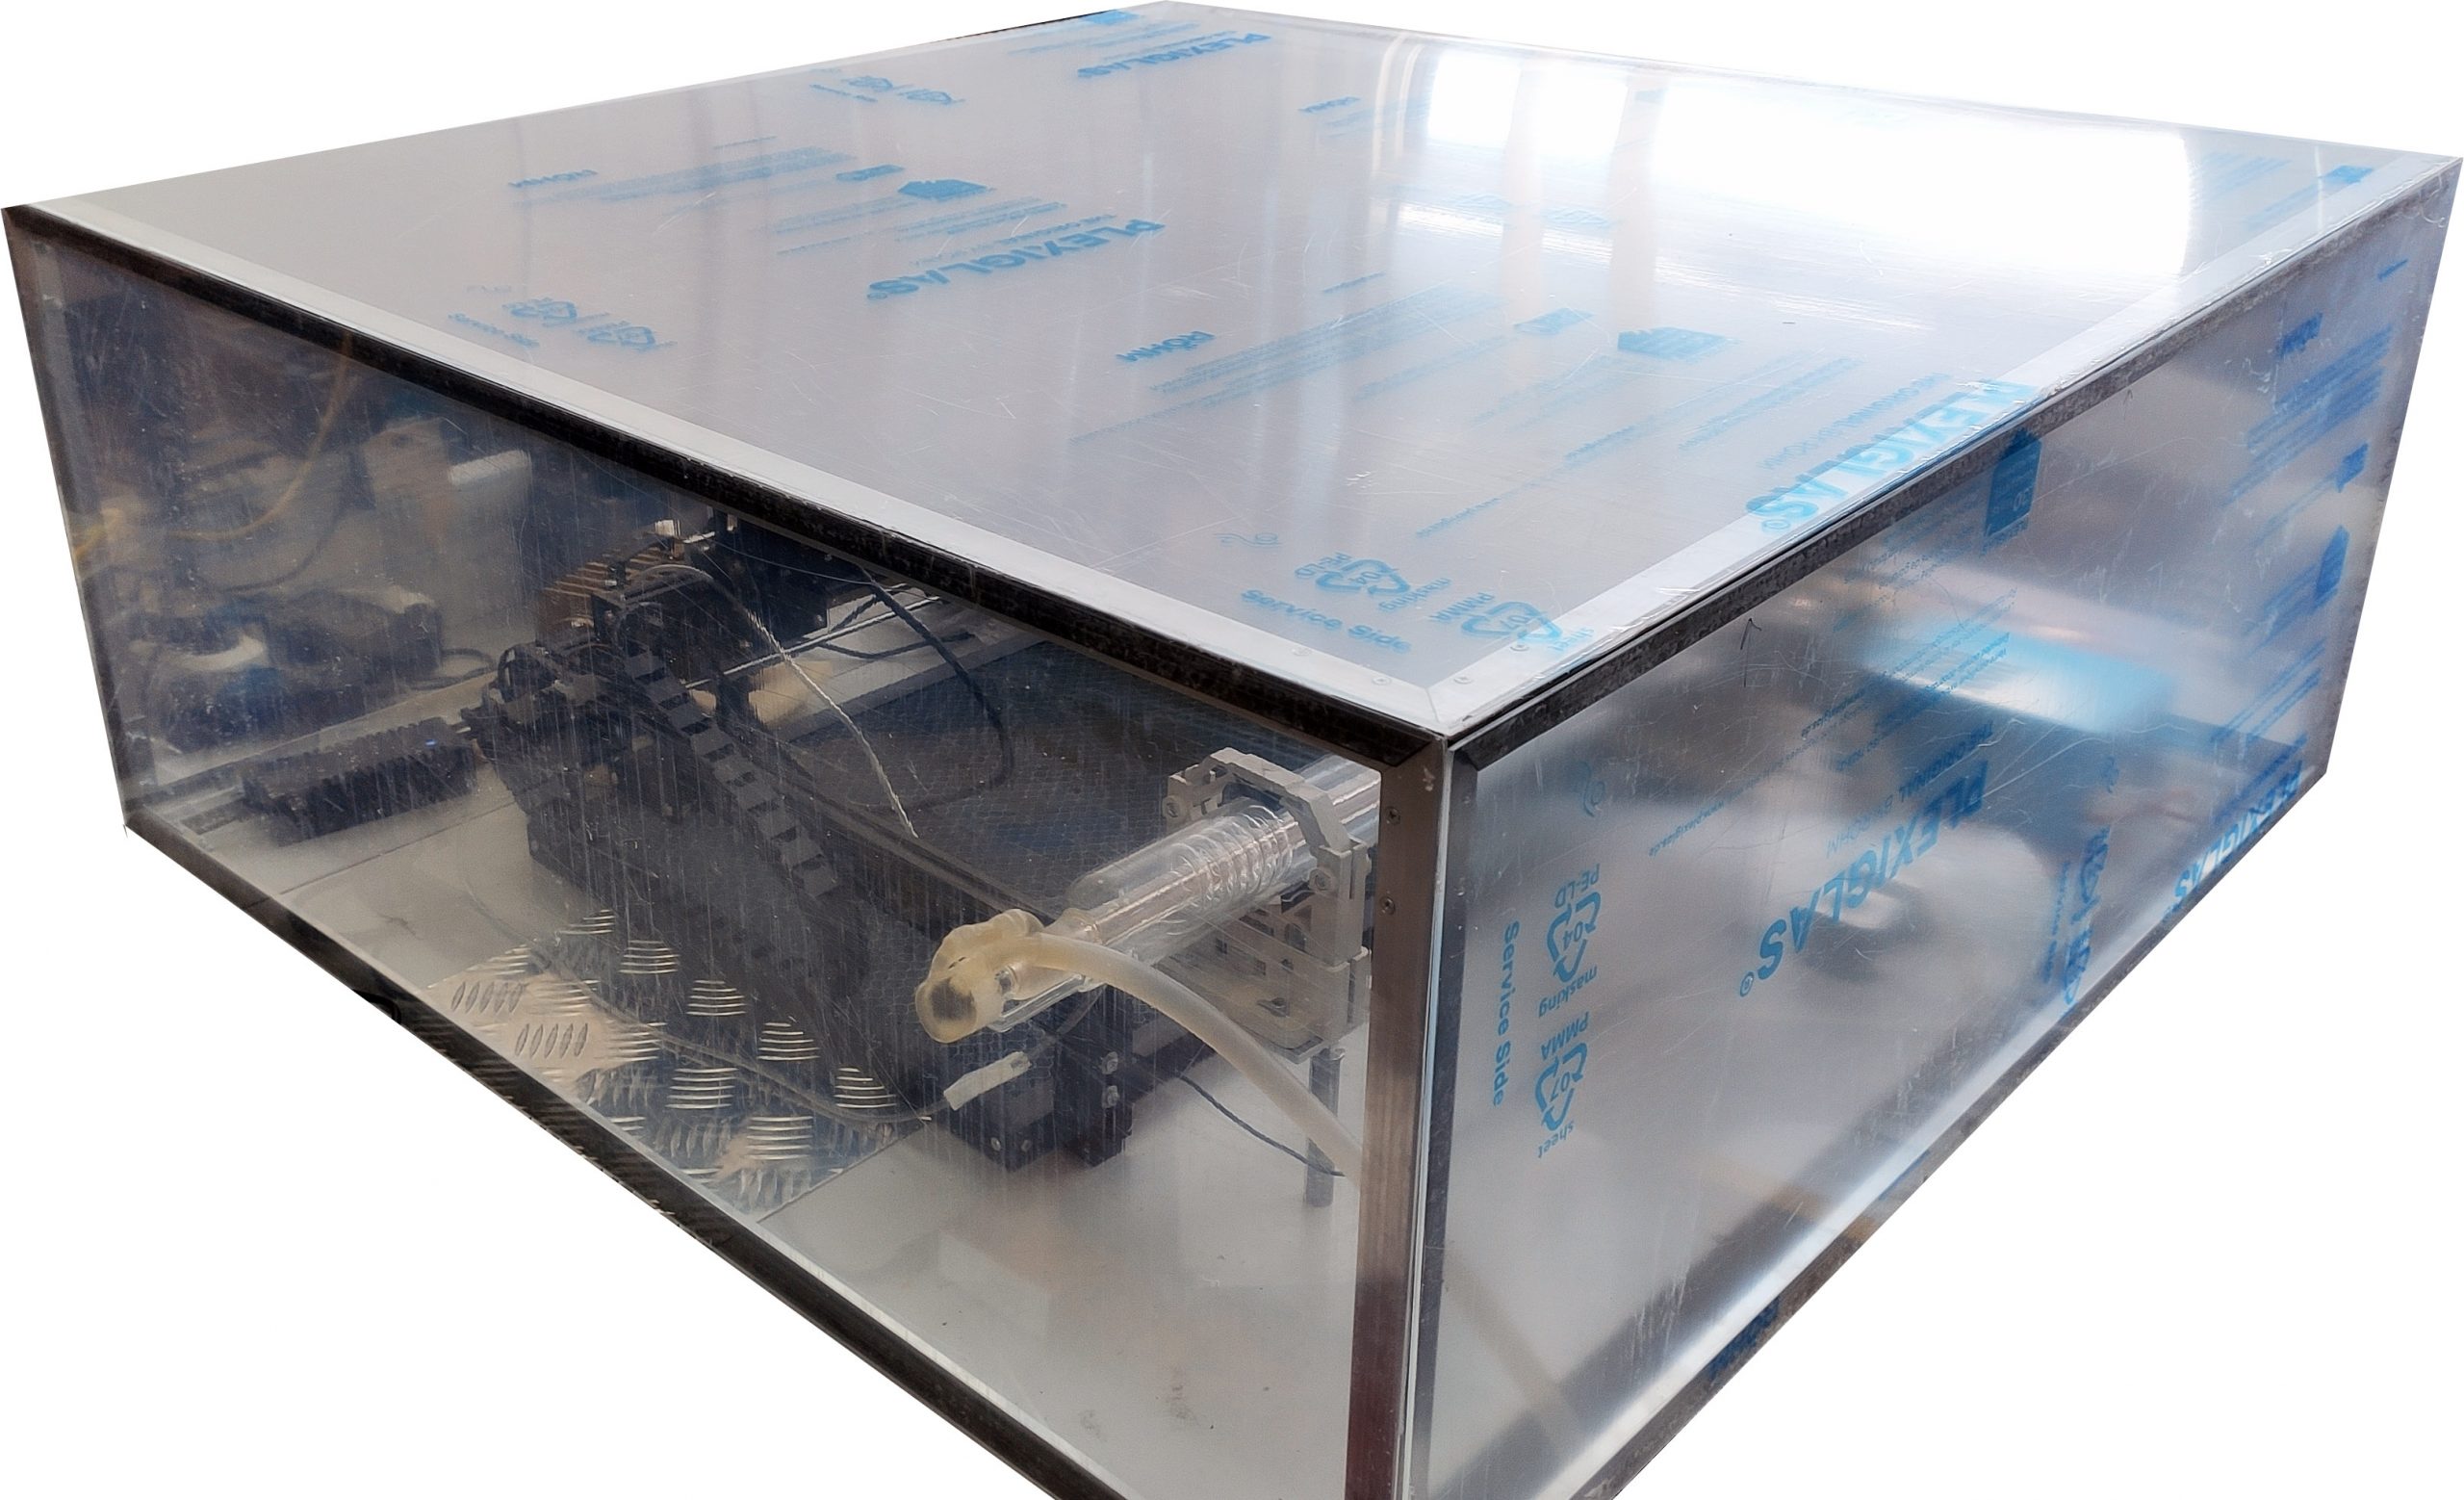
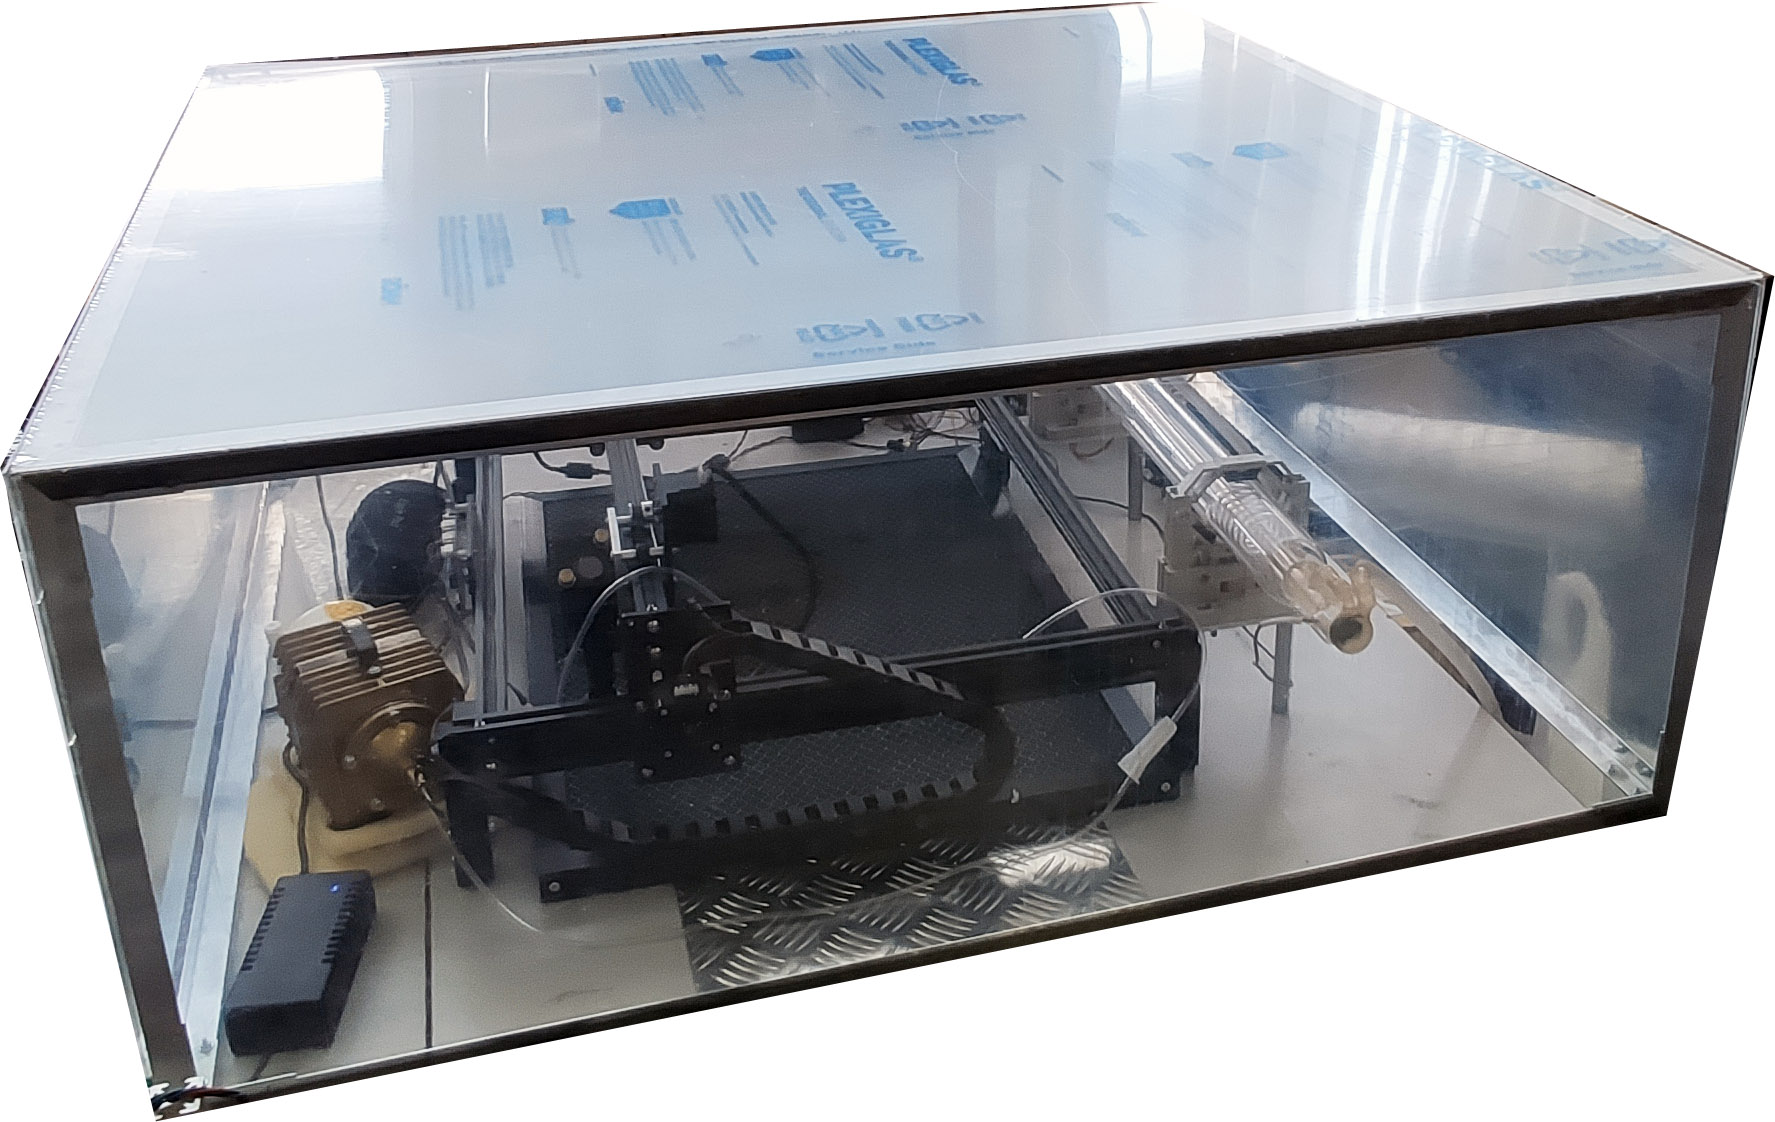
Safety precautions
It is worth starting cutting only after careful preparation and checking of the ventilation system. Many materials, when cut with a laser, evaporate substances harmful to the body. Therefore, carry out the work in a box.
Also, do not forget that you should exercise maximum caution when manipulating in the working space of the laser. In contact with the skin, the laser leaves serious burns.
Don’t forget about using glasses.
Work in LightBurn.
You can use our program instructions, or any other. However, we only distinguish that the power adjustment is made not in the program, but on the laser ignition unit.
")