Unboxing of the Tron XY 2 pro 3D printer
I ordered it and it showed up three days later. There was slight damage on the outside of the box. Lots of foam on the inside. Everything is very nicely packed.

In the box;
Sample roll of .25kg white PLA 1.75-millimeter filament.

Micro SD card with all of the manuals and software on
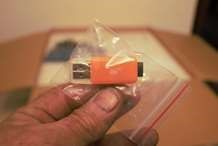
Micro SD card to USB converter
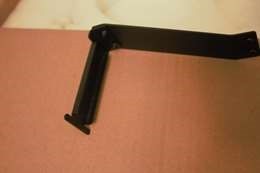
A very nice spool holder made of aluminum, very sturdy, very functional
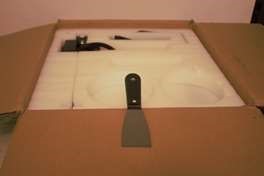
A scraper with a nice edge on it
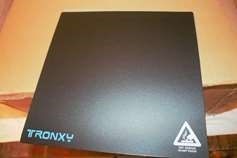
Flexible fiberglass bed
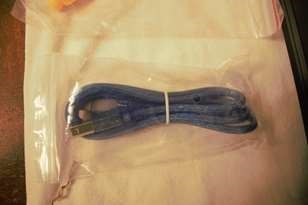
A USB cable to print directly from the computer
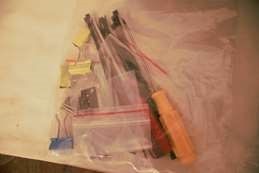
A bag of tools, It’s got a full size screwdrivers, miscellaneous hardware, zip ties, the clips for the bed, extra limit switch it also came with a gift card for some PLA a kilogram of white PLA in a kilogram of black PLA
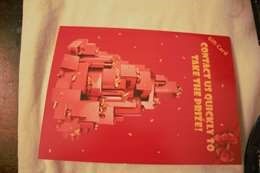
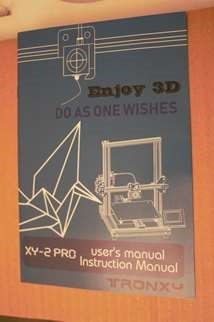
the manual is very detailed put together very nicely you open it up and you got the install video QR code, the after sale contact QR code and the Facebook QR code
The Z access is completely assembled. It has a 20 by 40 side rails and a 20 by 20 top rail and 20×20 rail for the Y access to run across. Has a 6-millimeter leadscrew for the Z-axis.
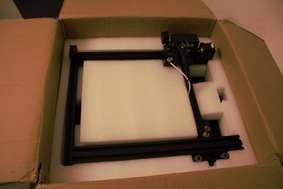
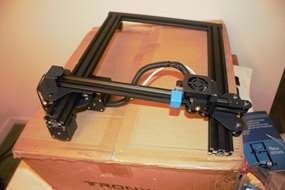
The base is made of 40 by 40 side rails and a 20 by 40 front rail and the back is a panel sheet metal your X access is a 20 by 40 rail. The touch screen is mounted inside to protect it during shipping.
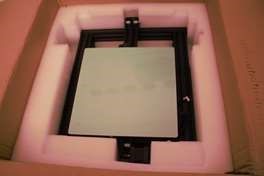
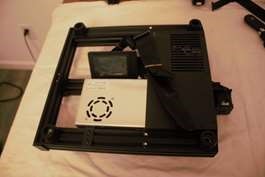
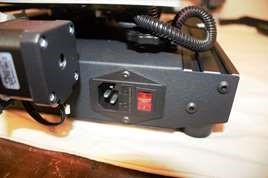
All in all it’s very well packed, lots of foam around it. The base is completely assembled the power supply and motherboard are mounted underneath the build plate. The base has nice rubber feet keep from vibration. It has a single ribbon cord for connection between the gantry and base for easy cable management has very nice on off switch, power plug in the back and that completes the unboxing of the unit overall I’m very impressed with the way this was shipped.
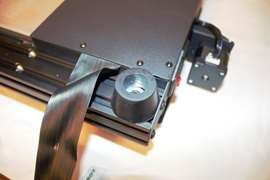
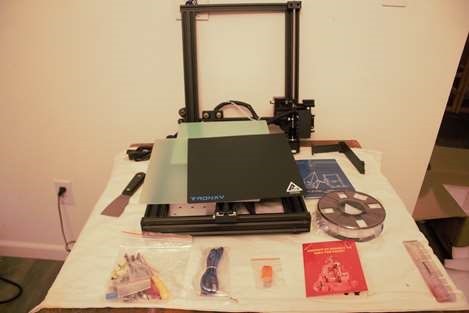
The bag of tools came with everything you need to put this together.
Specs:
Print volume on this machine is 255mm by 250mm by 260mm, So it has a very good print volume, The print accuracy is .12 to .3 millimeters. The nozzle size is .4 millimeters. The print speed is 2200 millimeters per second by 60 millimeters per second. The position accuracy is down to .00625 millimeters on the X & Y and .00125 millimeters on the Z-axis. It will print PLA, ABS and all of the common filaments. The nozzle temp is 275 Max has a 24 Volt DC 360 watt power supply. It will use Tronxy, Cura, Simplify 3D slicers or you can import your own files in STL or OBJ output format is gcode. You can print buy SD card or USB to the computer. The overall size of the machine is 478mm by 455mm by 520 mm. The package was 510 mm by 480 mm by 230 mm. The weight was 12 kilograms.
On the next page of the instruction manual is a packing list of everything that came into the in box and I got everything is on the box and a packing list now we’ll go to put it together
The assembly instructions are very detailed I’m very simple the Z-axis bolts on with four bolts and two plugs
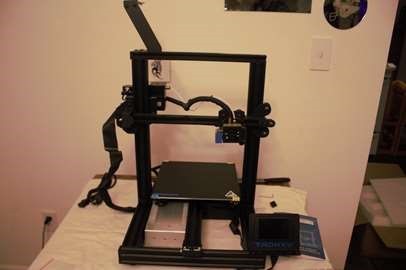
OK assembly complete there’s only three steps to it mount the gantry to the base step one mount the screen to the front of the unit Step 2 and mount the spool holder to the top of the gantry Step 3 you have 2 plugs to put plugin.
And that’s all there is to assembling this unit. I got the version XY2 pro-Titan
This features auto-leveling, 3 inch By 2 inch touchscreen Filament runout sensor Power loss resume feature and a flexible bed.
Time to power it up this comes with the power supply of 24 bolts which can be run on 110 or 220 you make sure that your switch is in the right position for your area.
OK once you power it on the first screen that comes up is your home screen it has system tools and print in the system menu. you get info about English default TPA adjusts in the tool menu you have manual Preheat filament, Level, Fan speed, Stop, Z offset.
Time to set up the printer level it and make sure that all of the wheels and everything are nice and tight because something might have come loose and shipping and we did that the leveling process is very easy on this machine just powered, on go to tool, then to level, then you’re gonna go have to set your the four corners, once you get your four corners set now you can do the auto-leveling. To make the micro-adjustments took me three times after I did my four corners to get it within .03mm on the whole bed once you got to bed level then you can set your Z offset and you’re ready to print.
I loaded the software onto my computer TronXY has its own slicer. I opened up the slicer and set up my machine it was very easy. My computer could not connect to the machine (my fault did not set up parameters correctly). So I loaded the test cube on the micro SD card and sent it to the machine one enter the print menu there it was and I hit print The first layer went down very nice.
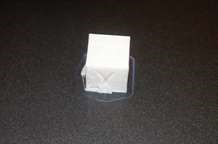
It estimated 18 minutes to complete, the total printing time was 38 minutes touch cube came out really good, looks even, measurements are 20 millimeters by 20 millimeters by 20 millimeters the lettering is good. let’s try a Benchy. It’s saying an hour and 12 minutes for completion we’ll see how long it actually really takes it took two hours, but it came out very well no stringing, no dipping. The Archers look very good the part is very crisp the layer lines are perfect. All in all I think this is a pretty good machine for the money.
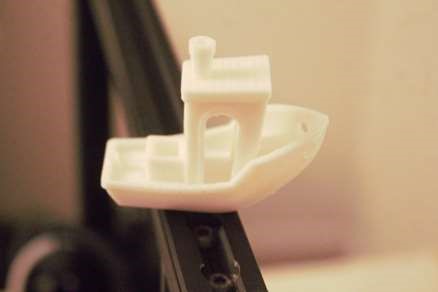
I have had the machine for a month and have run about two spools of filament through the machine. Now I have found some weaknesses after about 20 prints hot end started leaking on top where the cooling block meets the heater block and started running down the side and messing up the print. I tried taking it apart and cleaning it making sure everything is tight. What I found was there was a crack in the heater block the titan clone that comes with the machine is not that good.
That is the first upgrade that I made. I think it is a good entry level machine. I would not opt for the Titan head upgrade as it is a clone and not a very good one. I would get the regular pro and upgrade the hot end myself. As far as the flex bed I found the black bed cover started to warp so my next upgrade I will be doing is a removable magnetic flex bed. But with a little tweaking and small adjustments, it is worth the money for this machine.

This review is my opinion and my findings. You should do your research on any equipment you buy. Get what will work for you.