
Endurance offers a 15 watt DUOS laser beam DIY upgrade kit for an Endurance or any Chinese, or other OEM laser
The laser beam combiner DIY system works with all diode lasers with wavelength 440-455 nm.


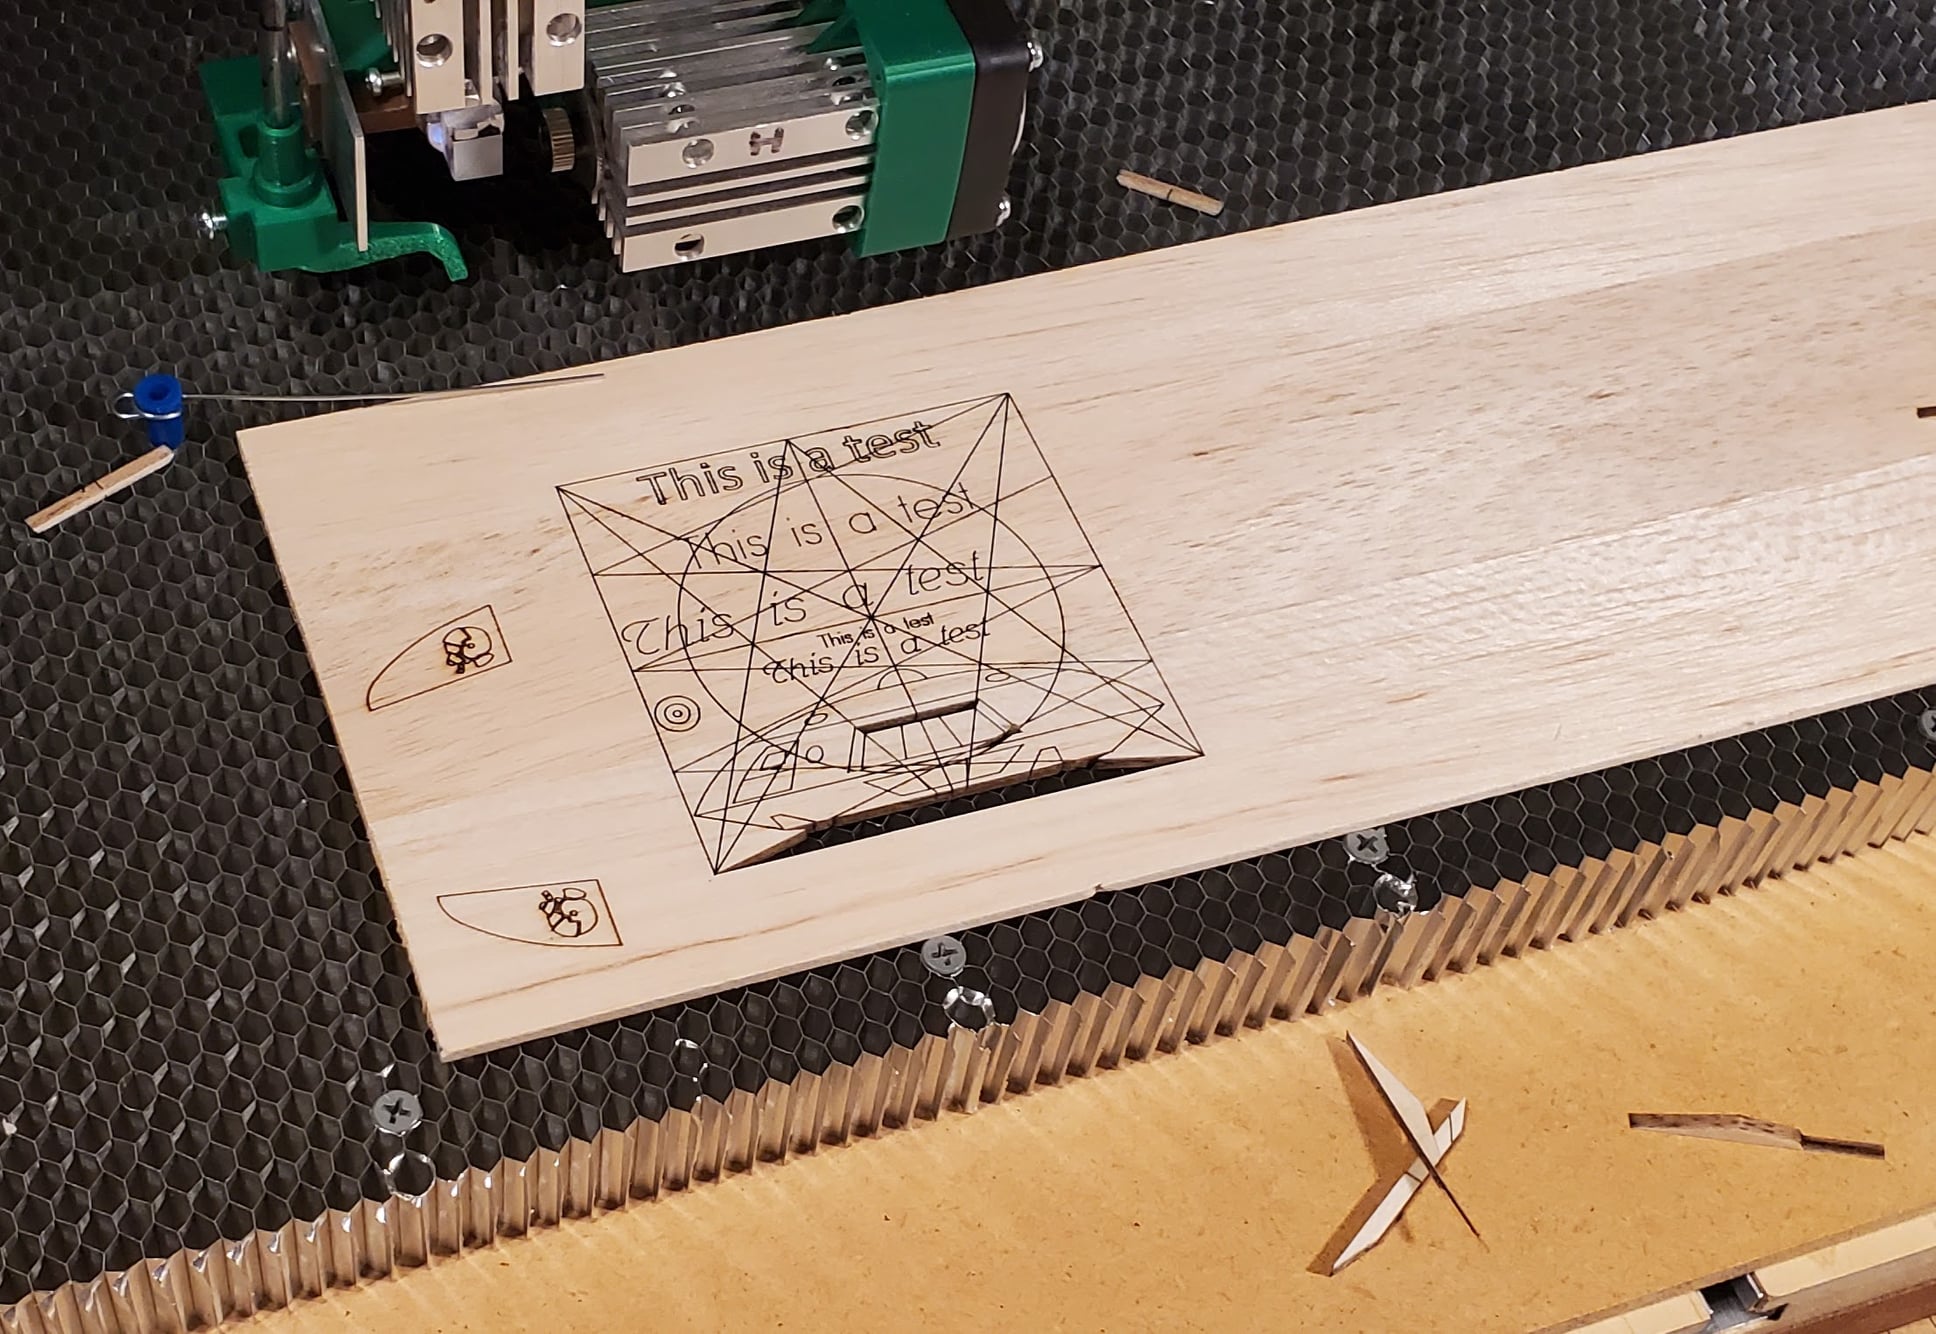
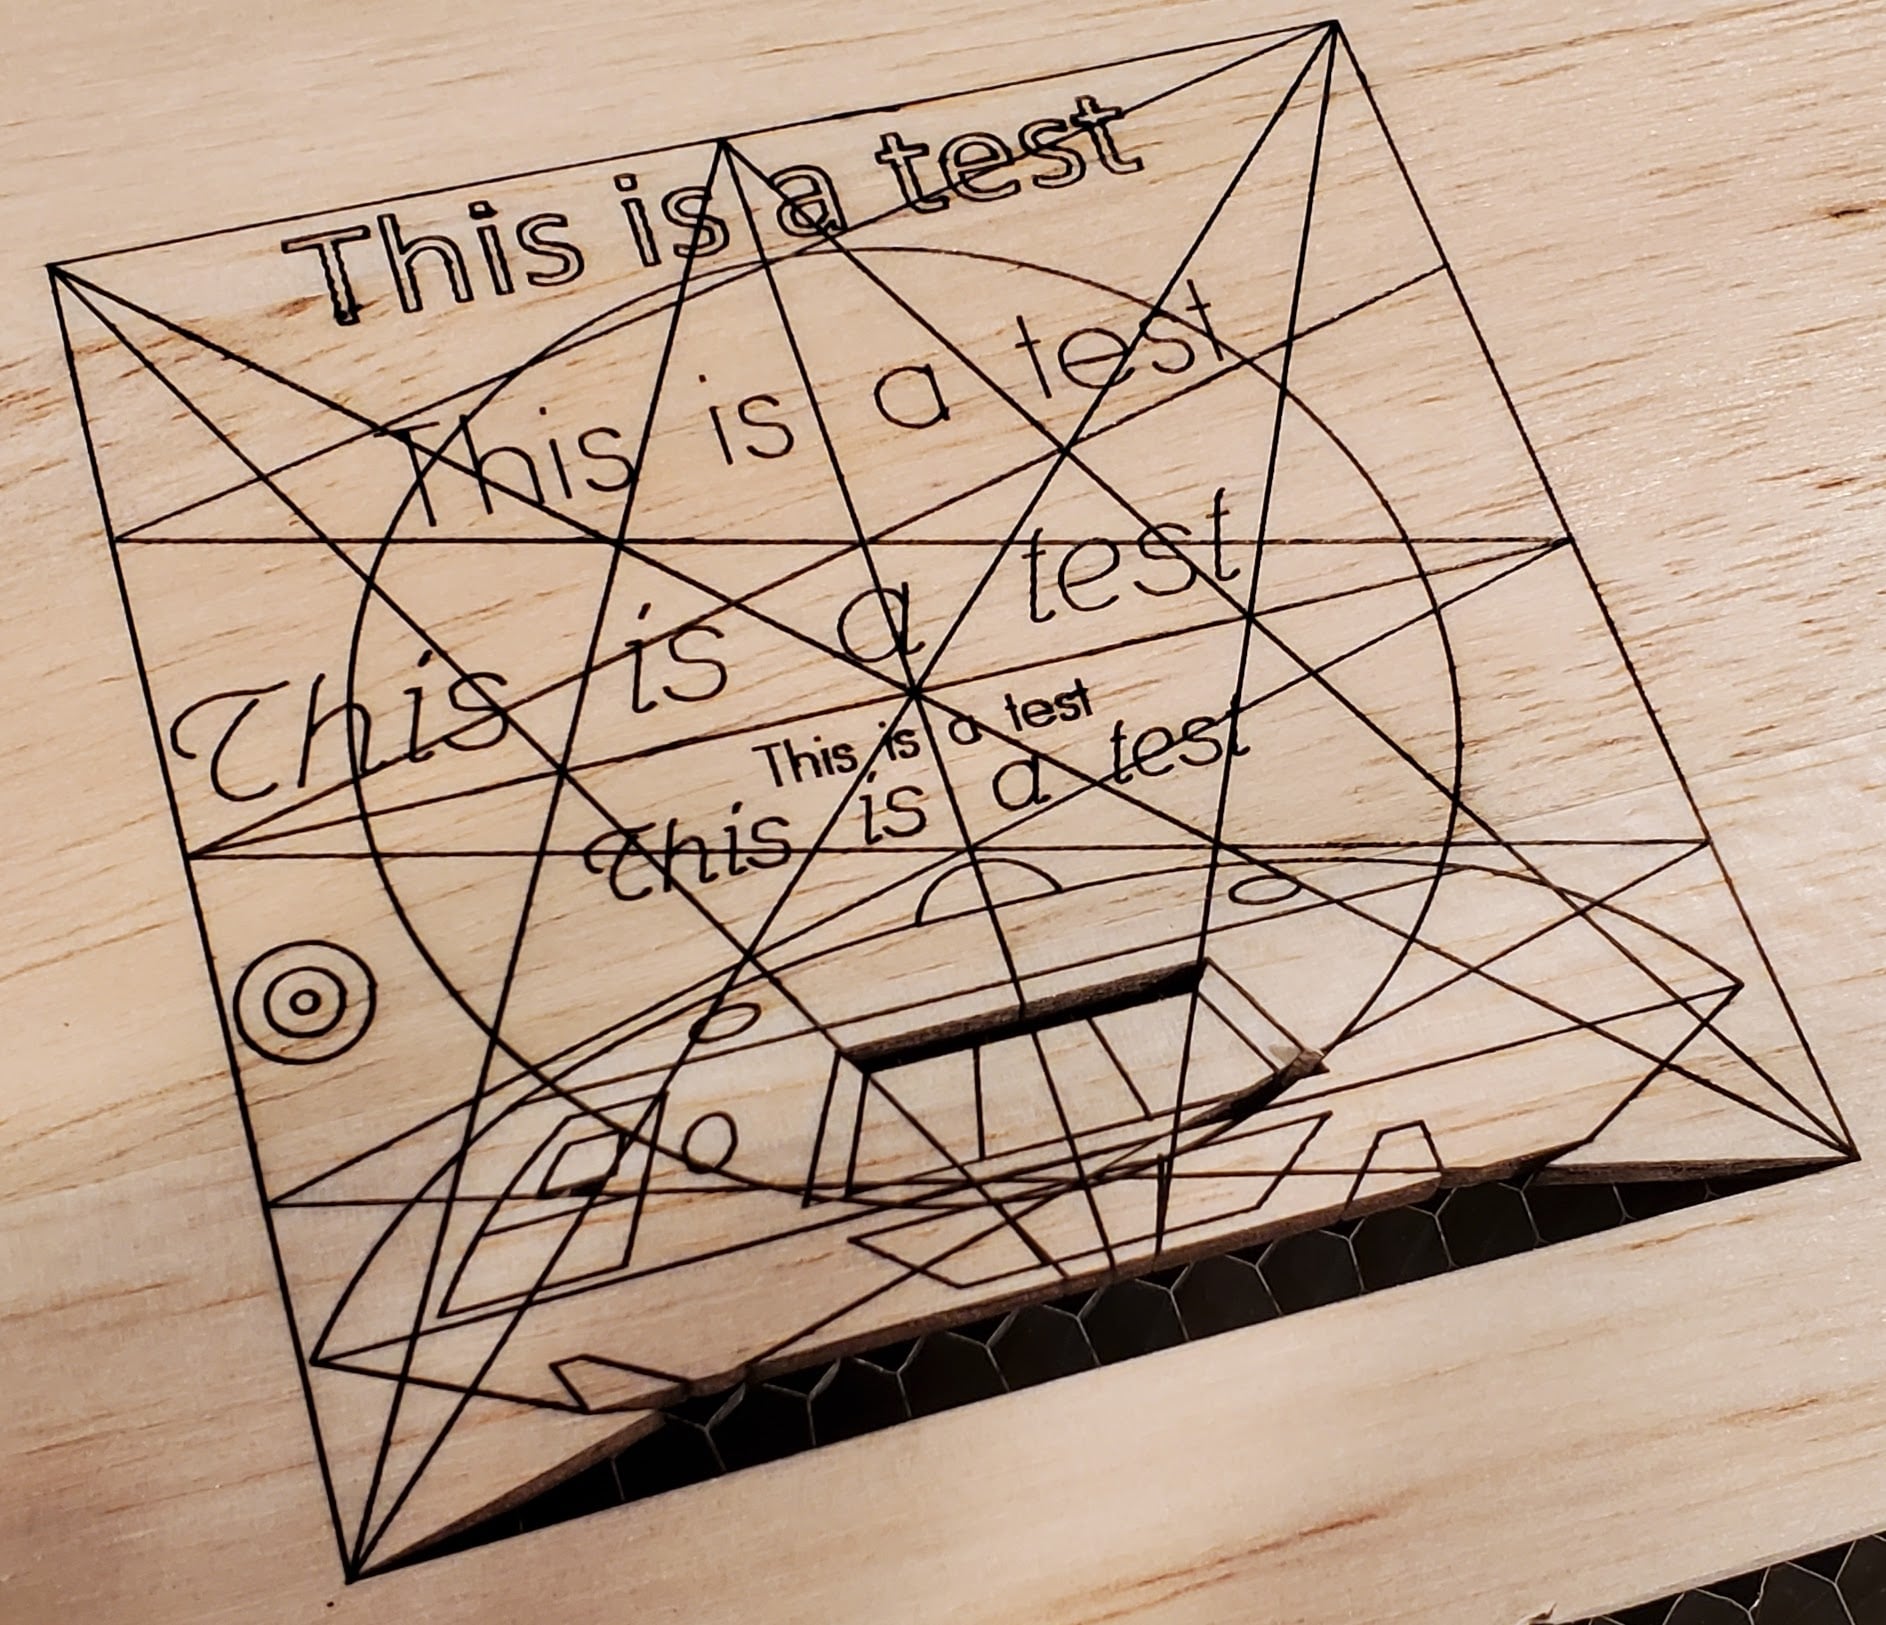
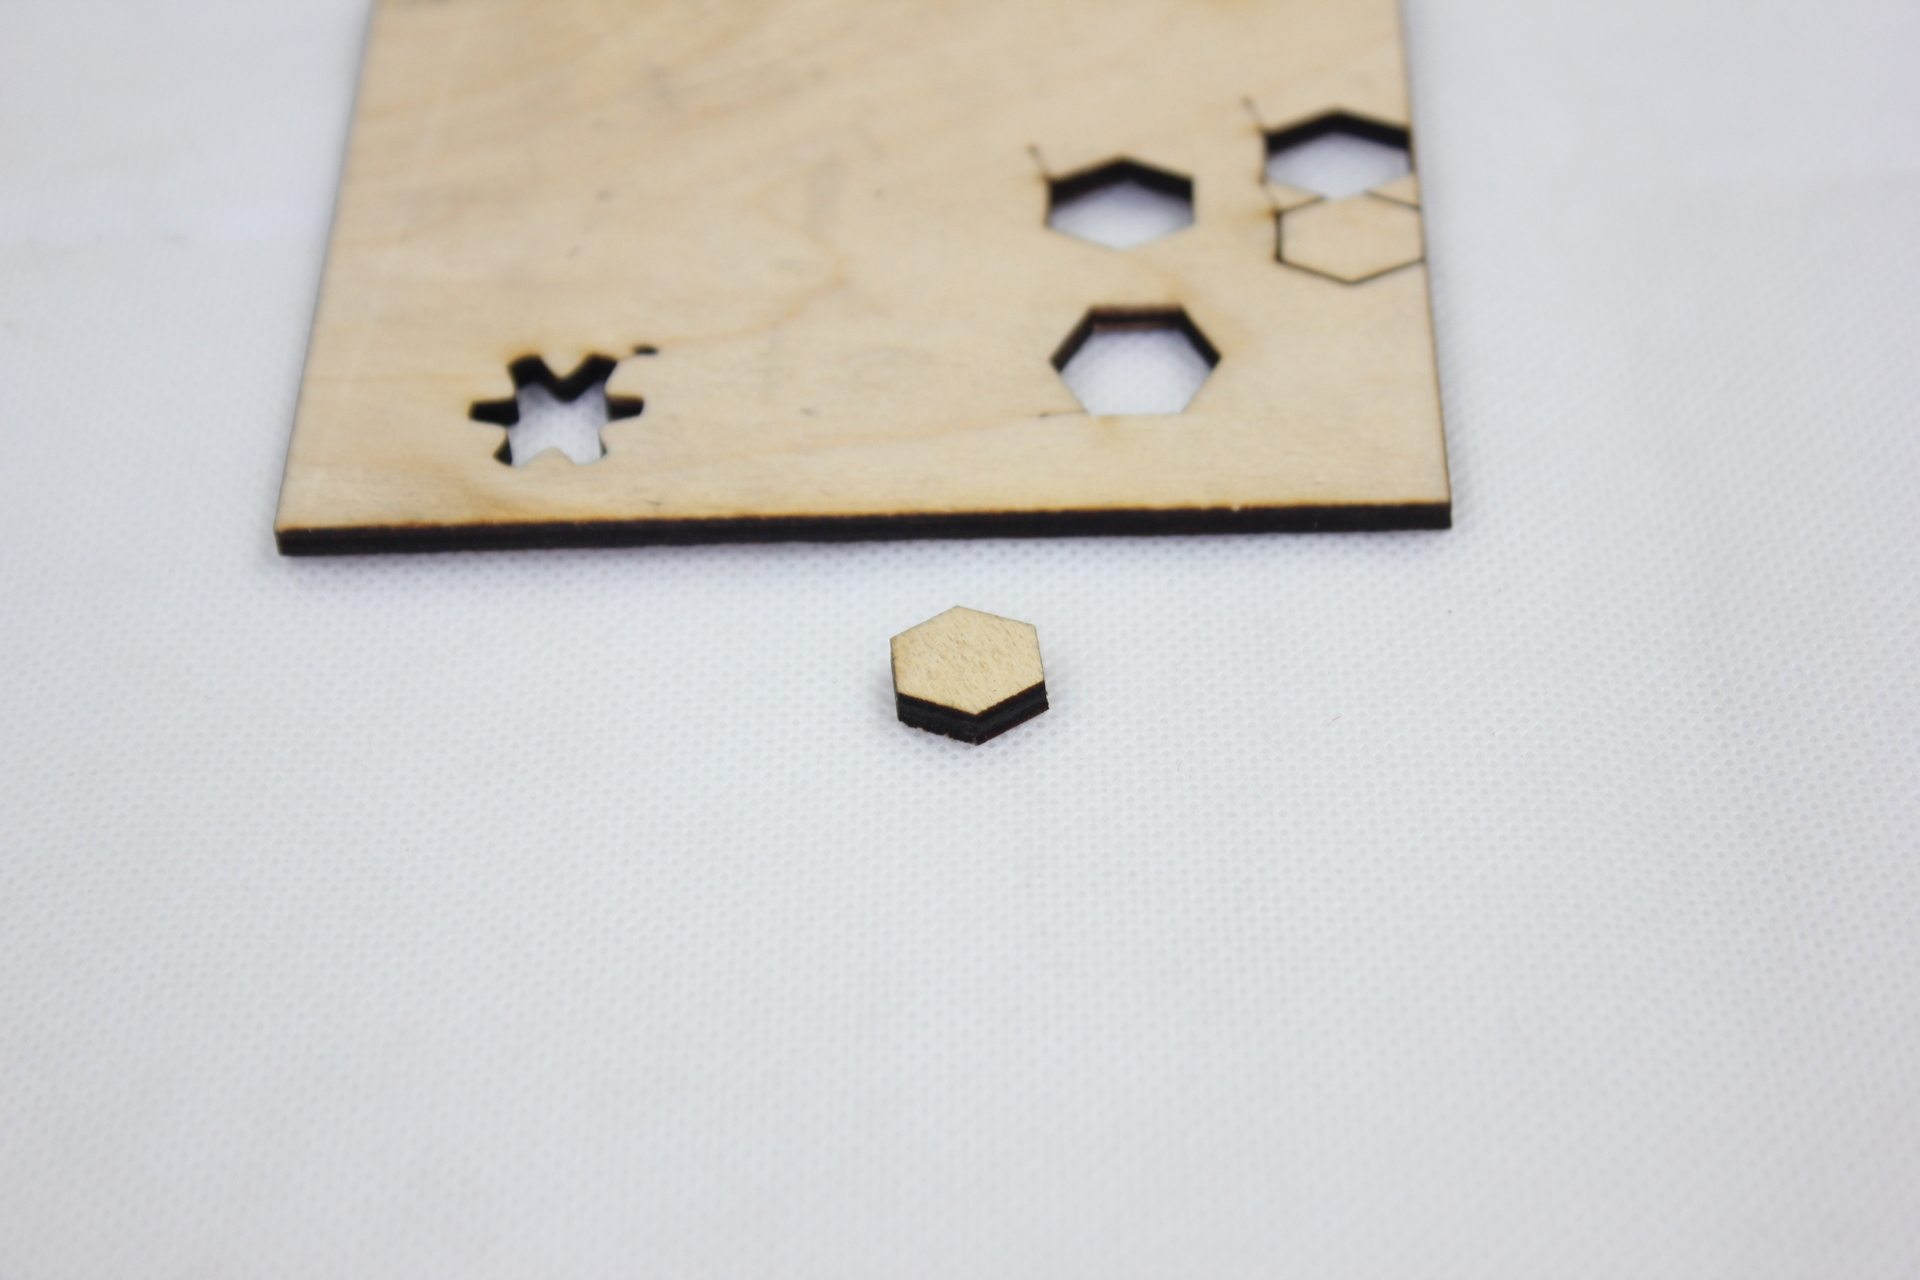
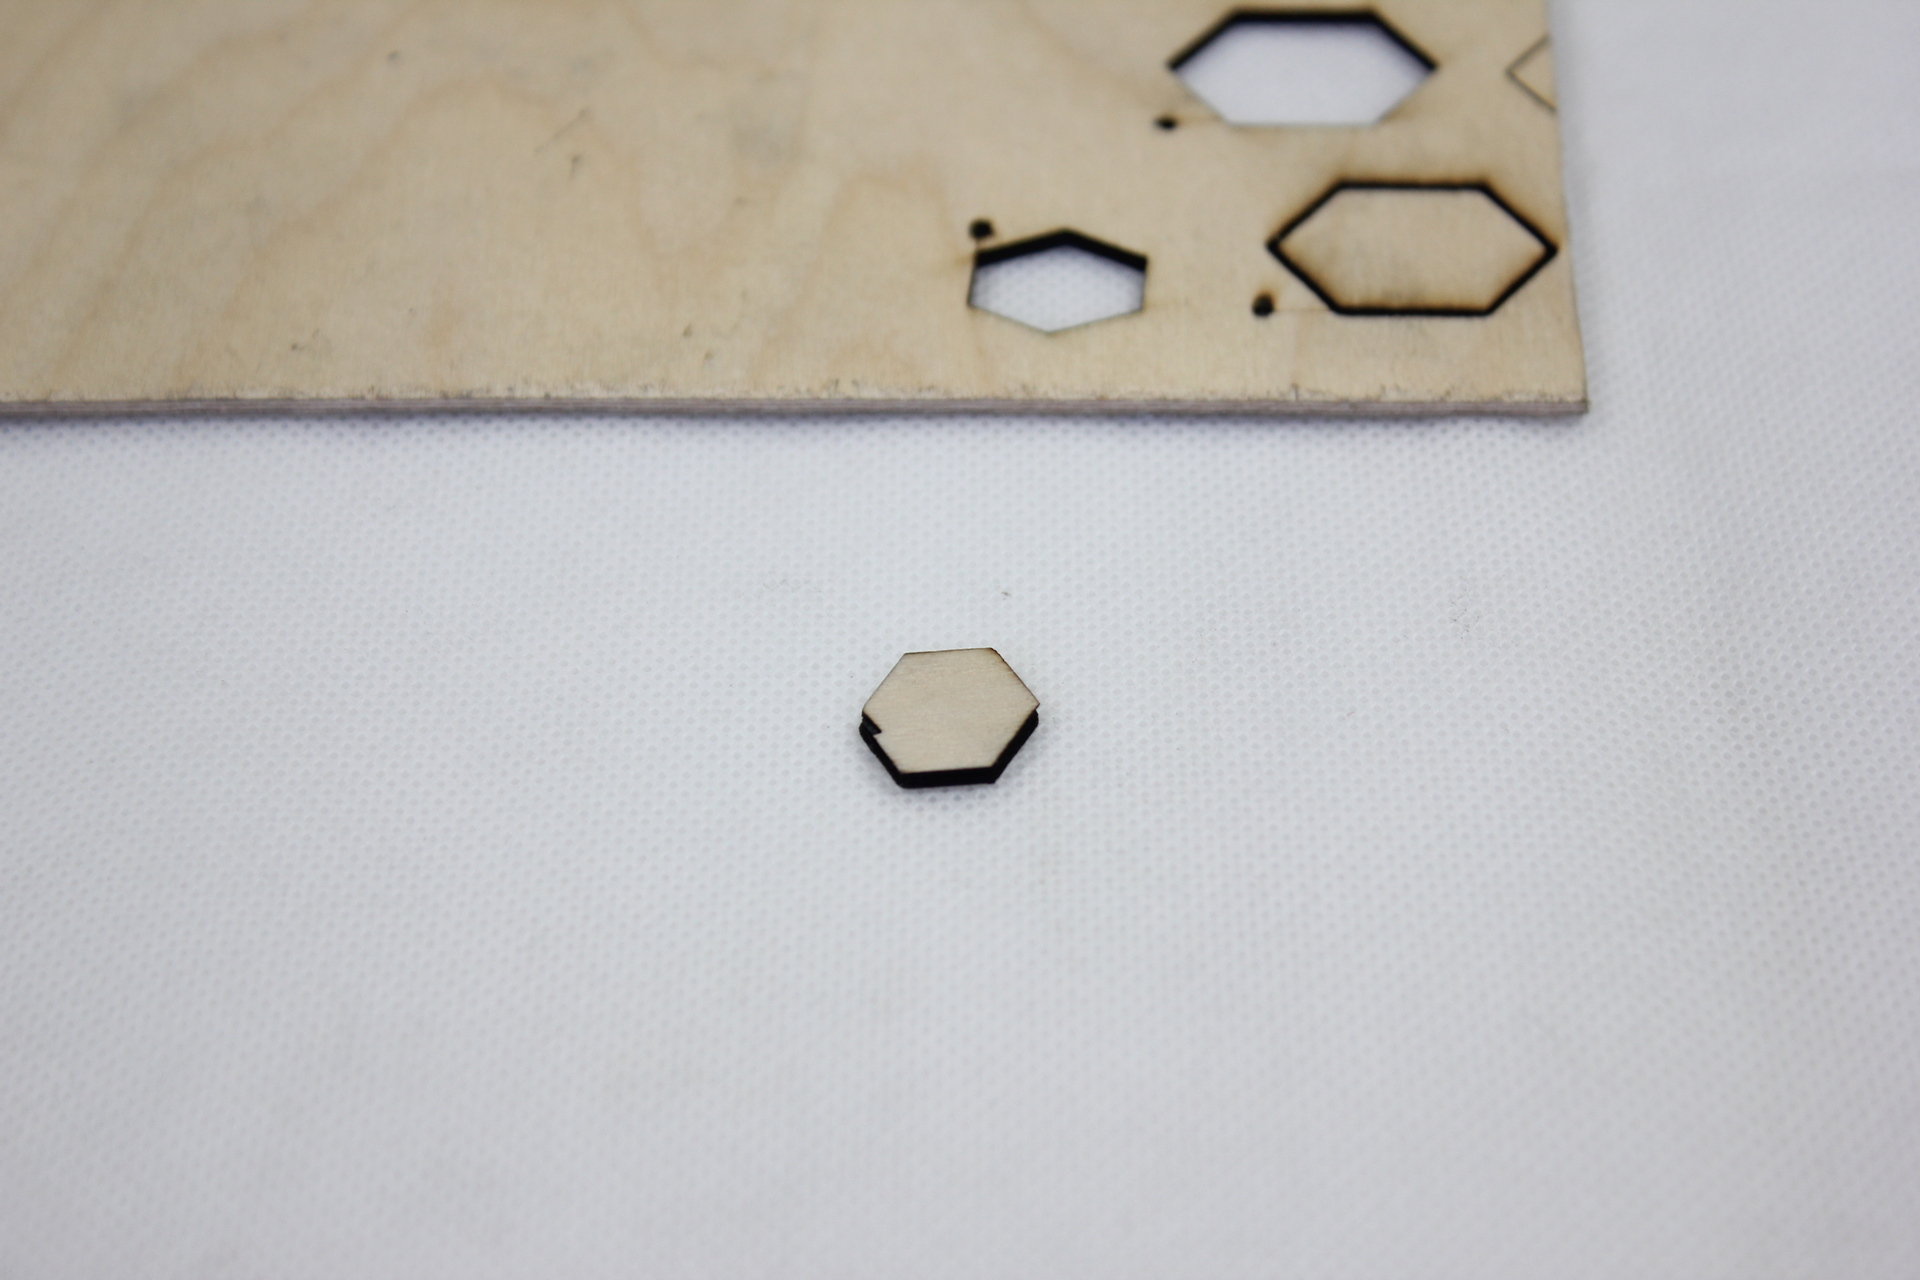
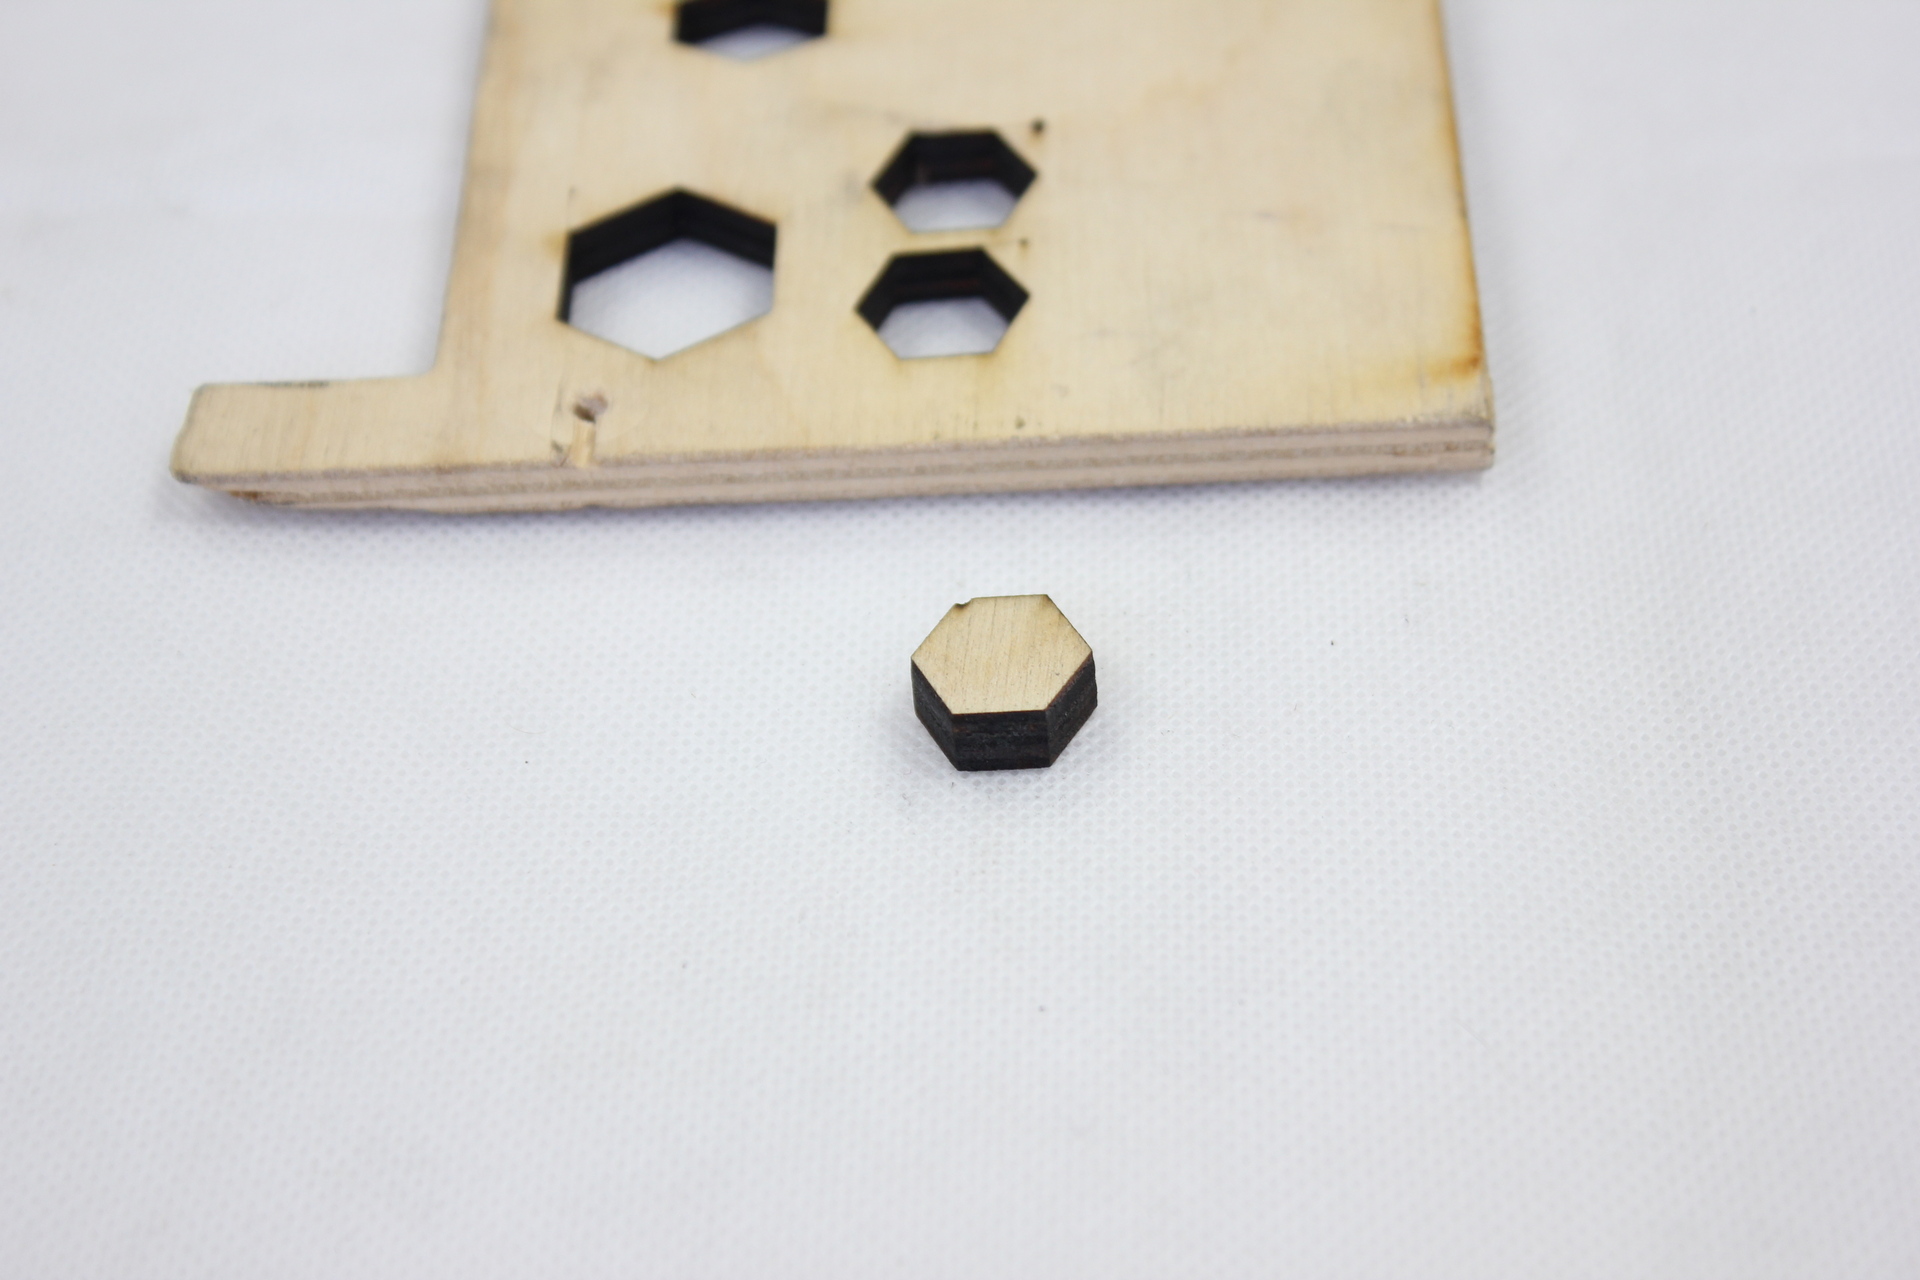
“1st Cut Tests (with air assist) of dense 1/8” Balsa Using Duos 15 Watt DIY Kit. Almost through cut with 1 pass at 90% power with FR of 15 ipm. Complete Through cut with 2 passes at 70% power with FR of 15 ipm.
Would have taken 15 passes with JTech 3.8 watt laser (and air assist).
I’m extremely happy with the power increase and laser dot size. Appears to be just as tight as my single 3.8 watt JTech Photonics laser.
Will cut kit plane as next test.”

How to install 15 watt DIY DUOS Endurance blue 445nm laser on Ortur LM2 & CNC 3018 SainSmart
Impressive metal engraving results with an Endurance 15 watt DUOS DIY laser.
Fishing line (thread) laser cutting on CNC 3018 SainSmart machine
A 15 watt DIY DUOS laser installed on LE5040 engraving machine


A 15 watt DIY DUOS laser installed on CNC 3018 frame


A presentation on an Endurance DIY laser beam combiner system.
The combination with an Endurance laser diodes ver 1.1.


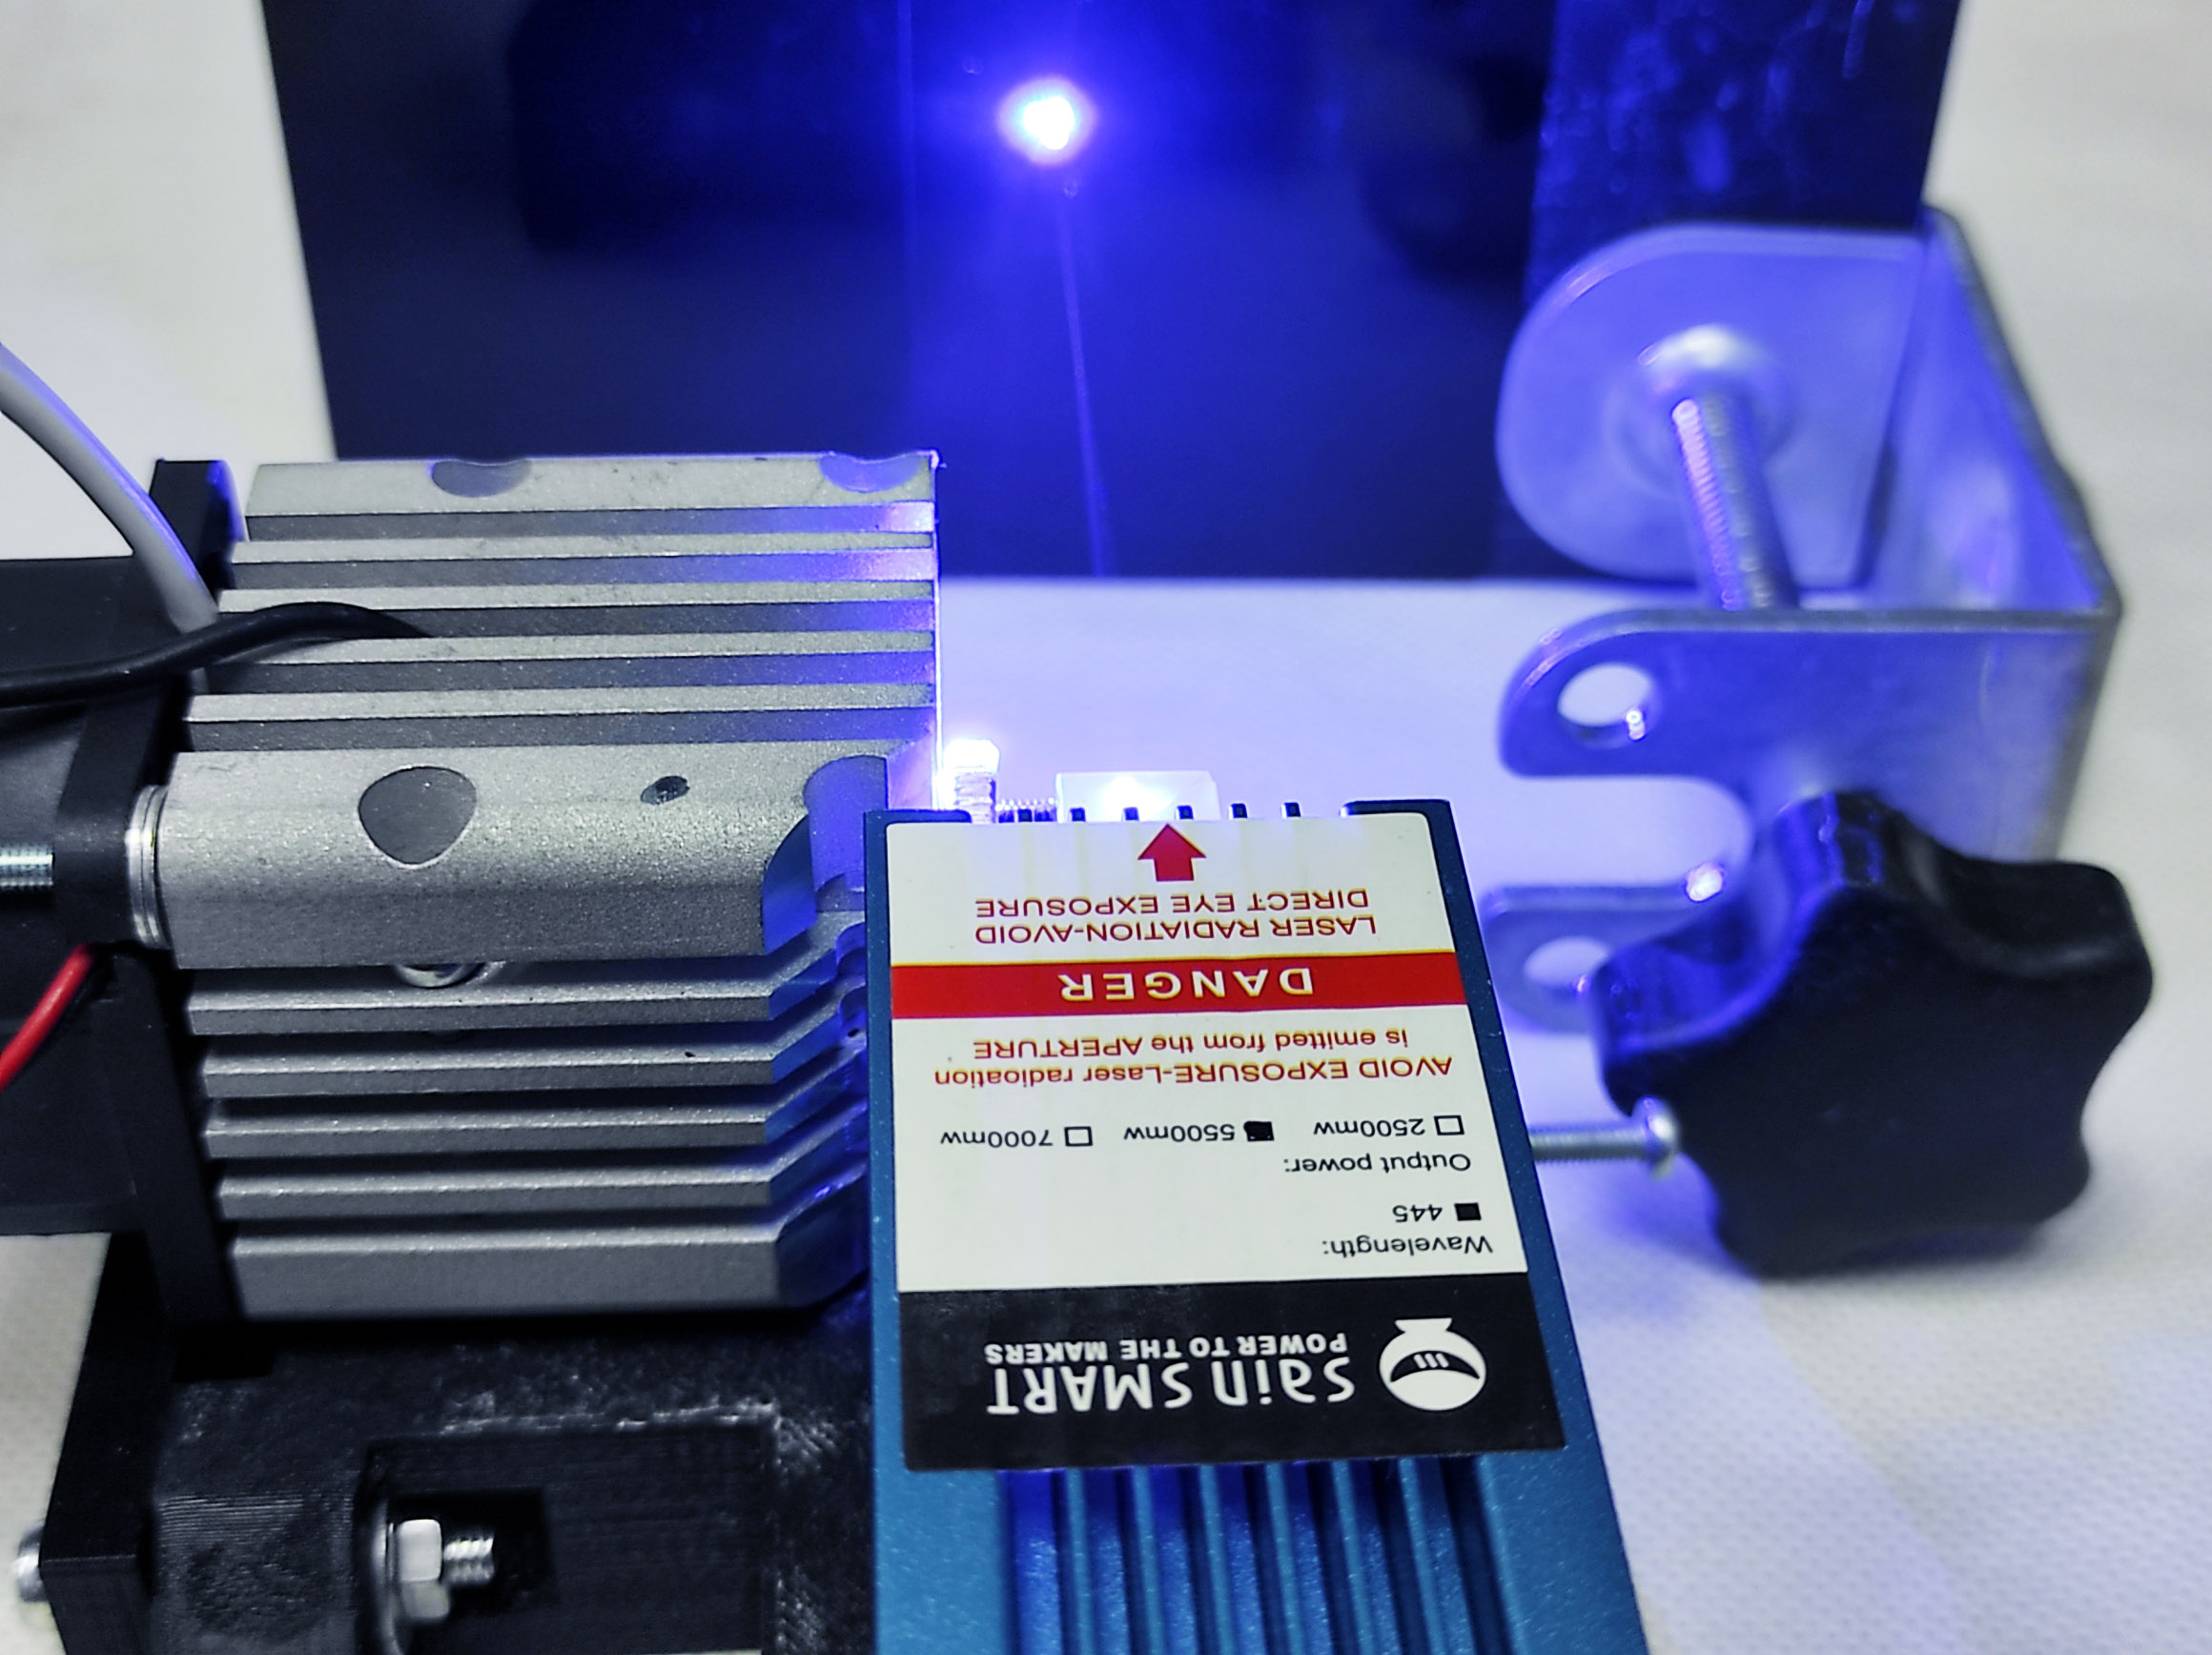
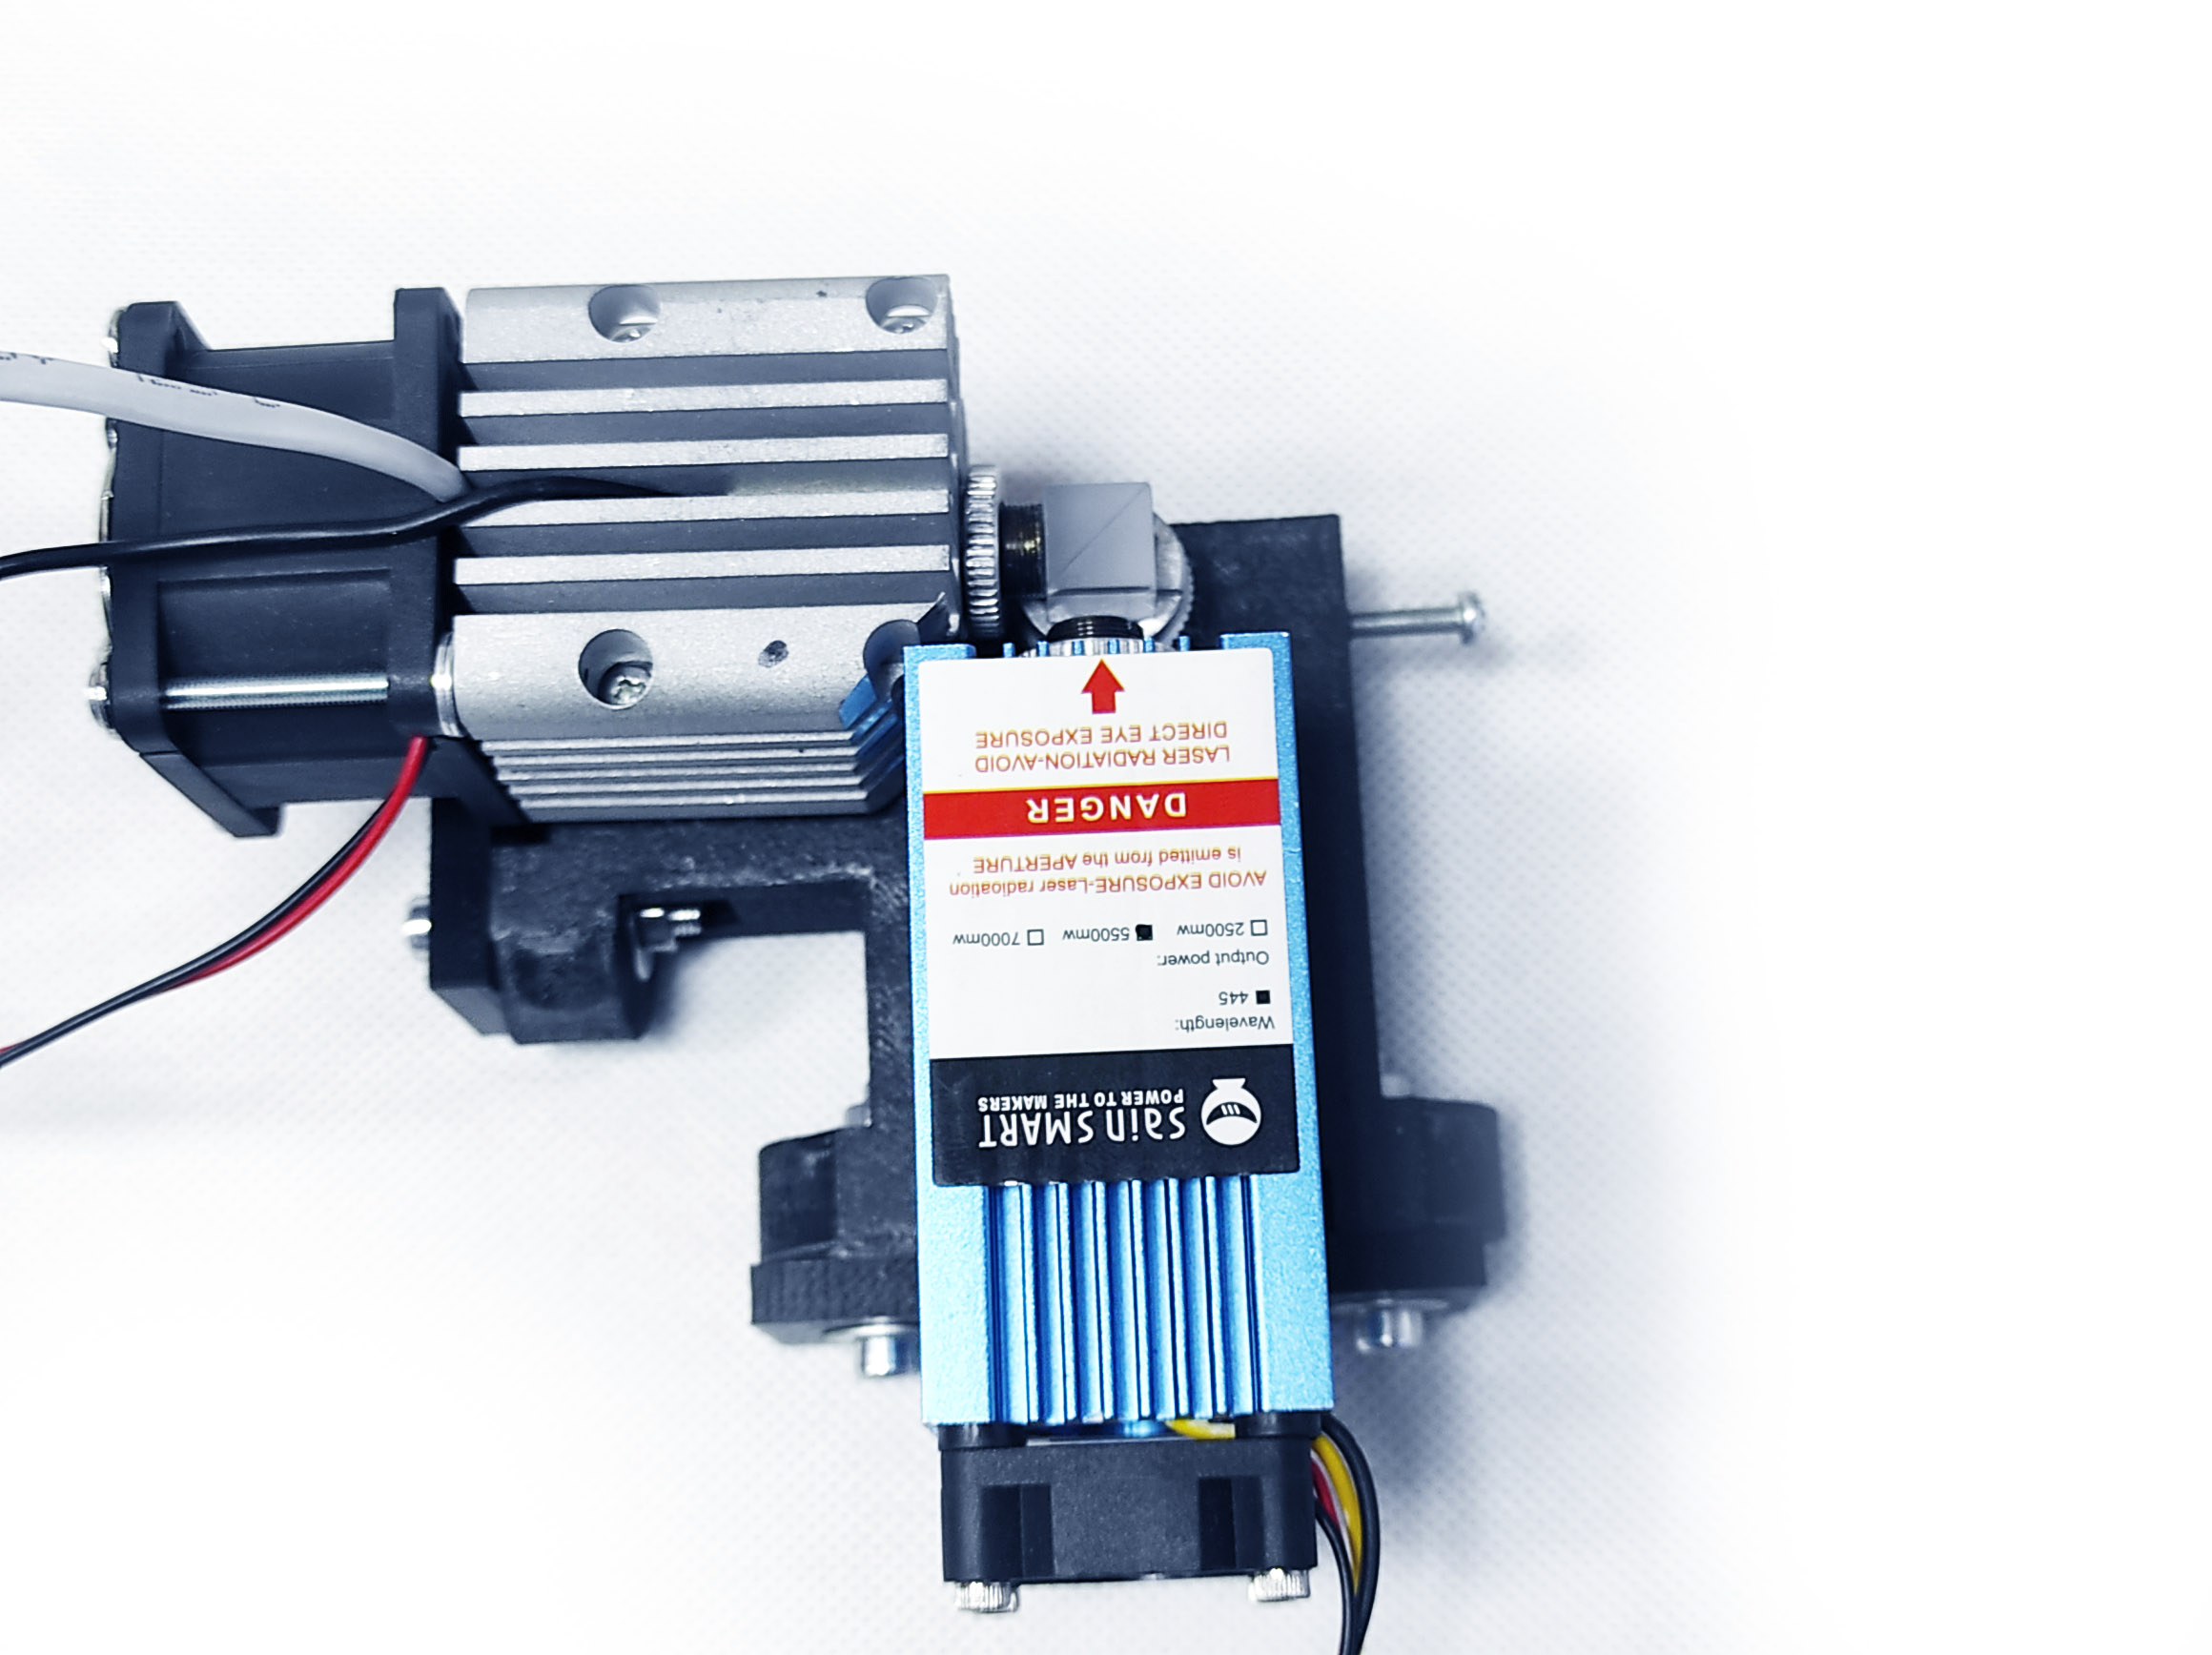
The combination with an Endurance laser + Chinese (Sain Smart) laser.


The combination with an Endurance laser diodes ver 1.0.
Download STL model from Thingiverse
https://www.thingiverse.com/thing:4566250 ver 1,0
https://www.thingiverse.com/thing:4612586
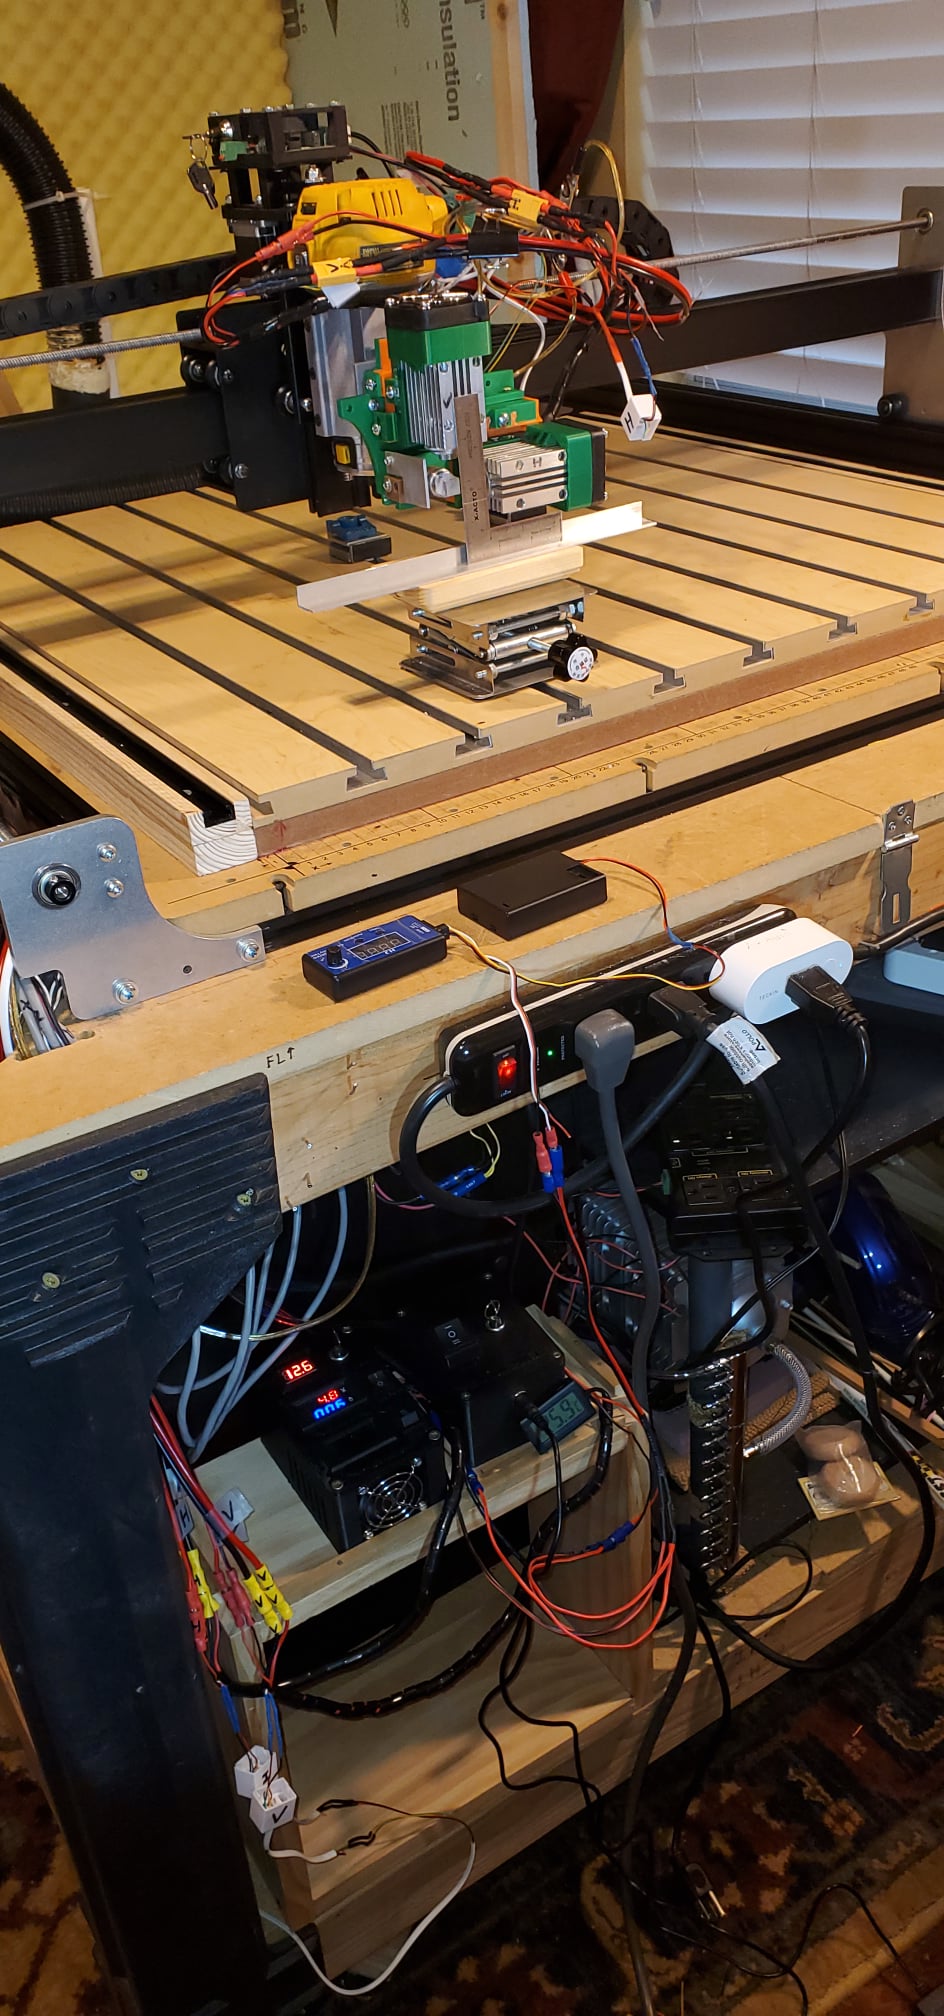
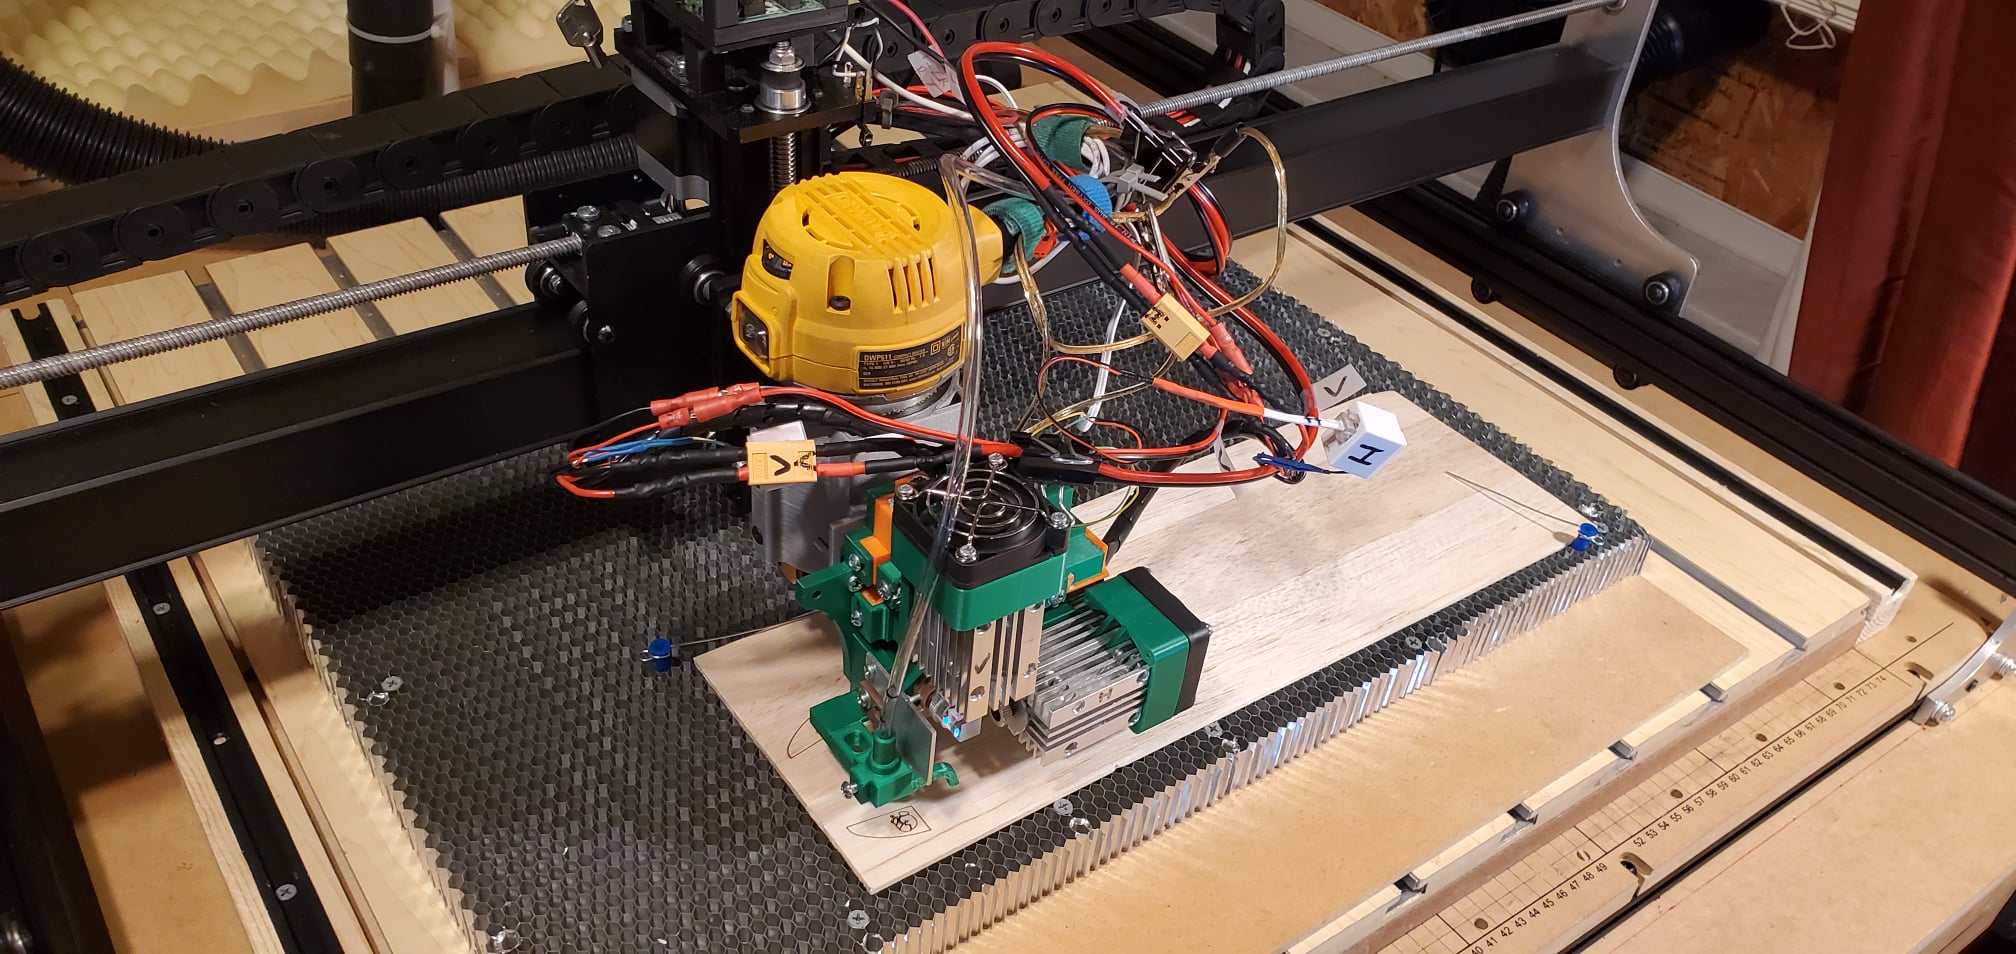
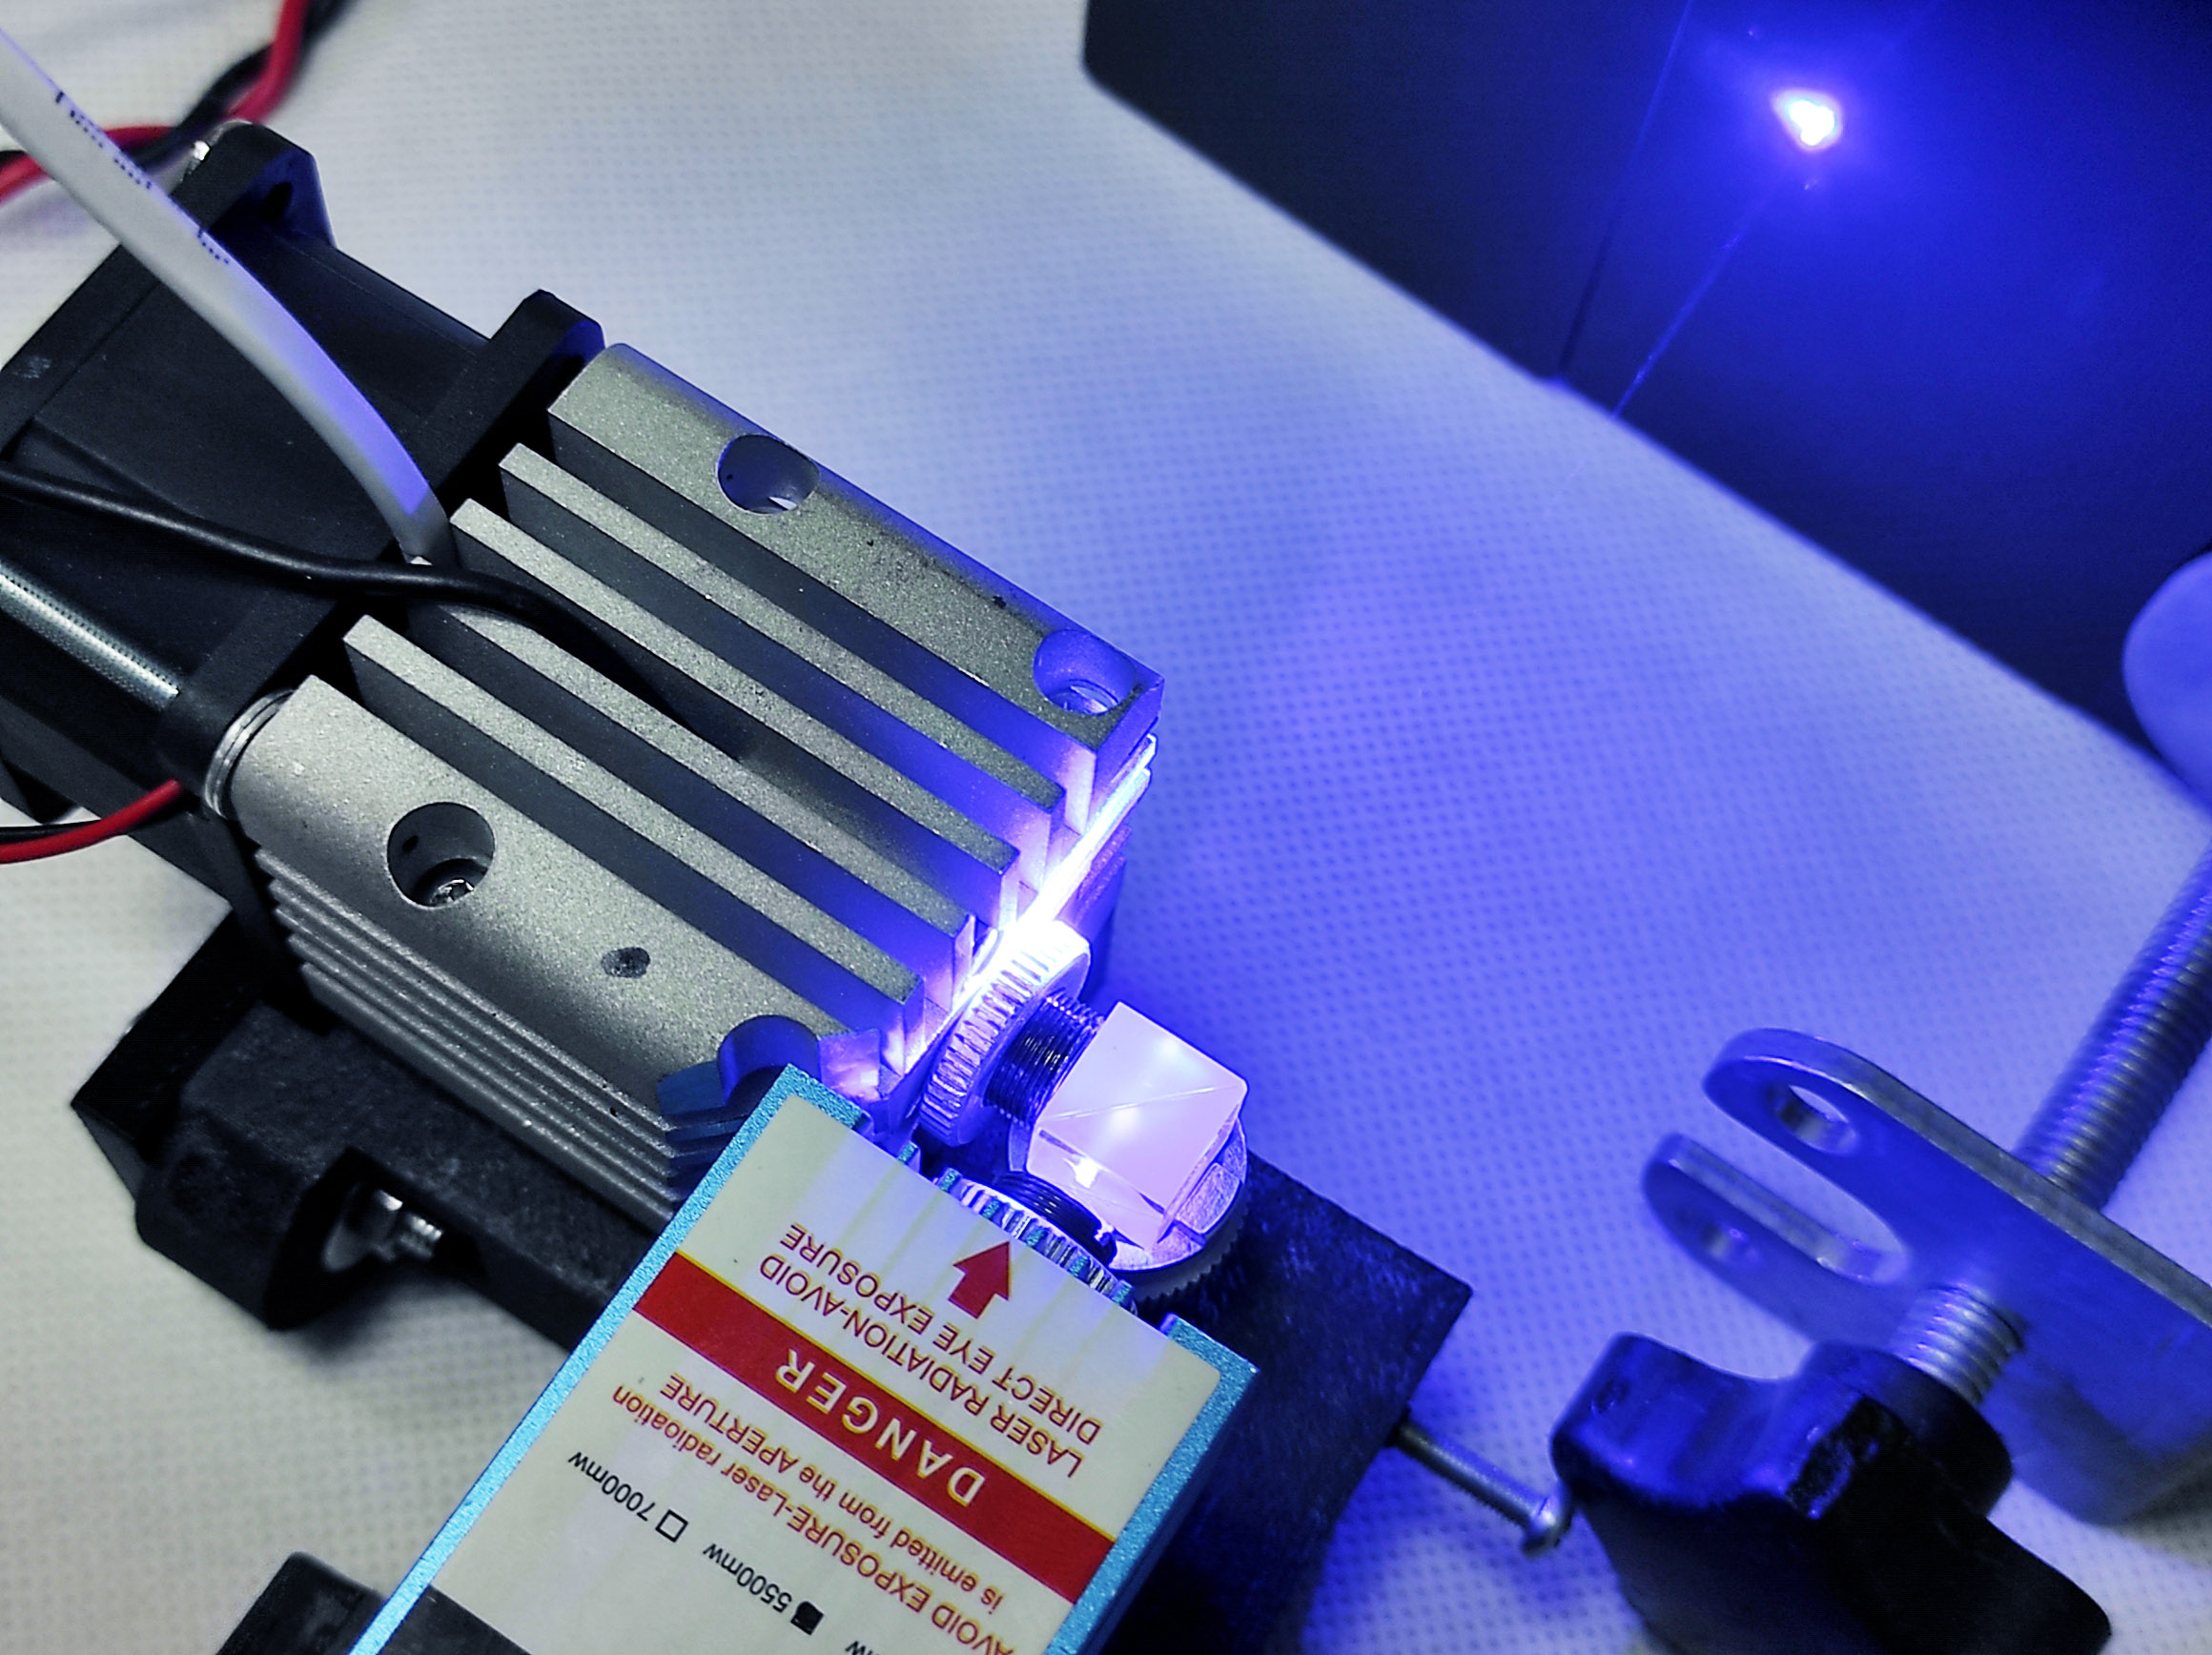
An Endurance 15 watt DUOS laser beam DIY kit in action.


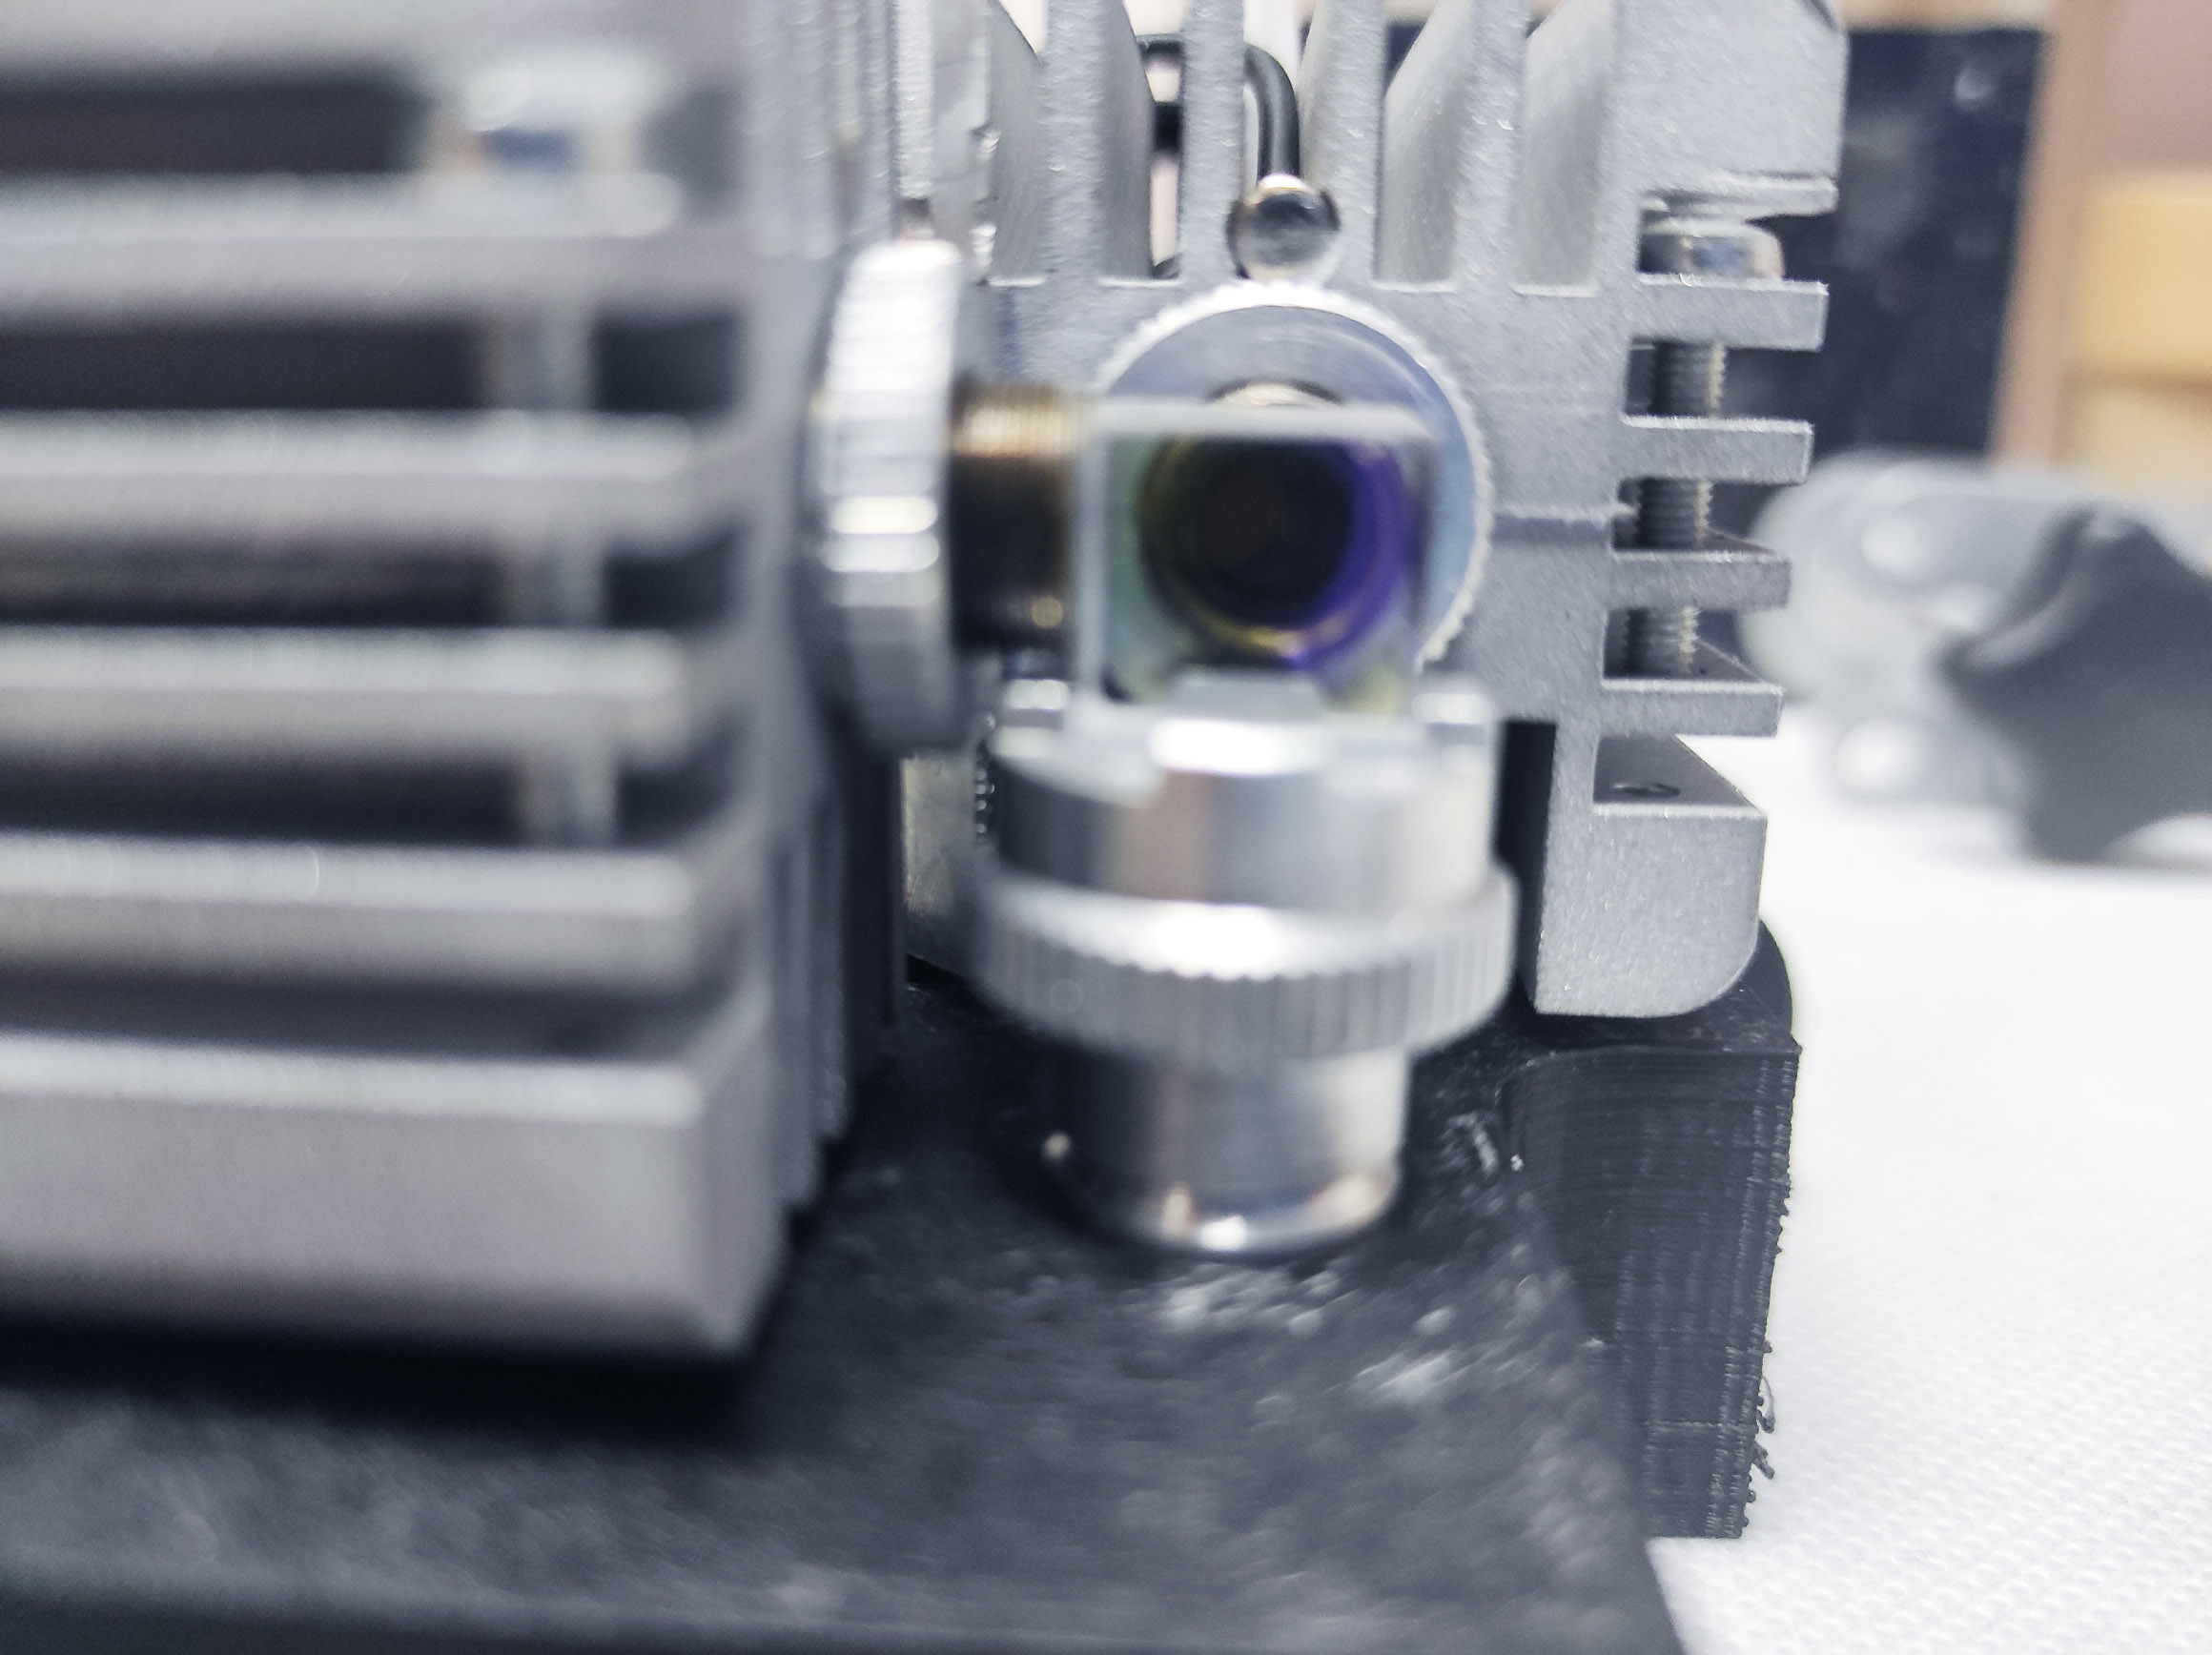
Laser beam spot

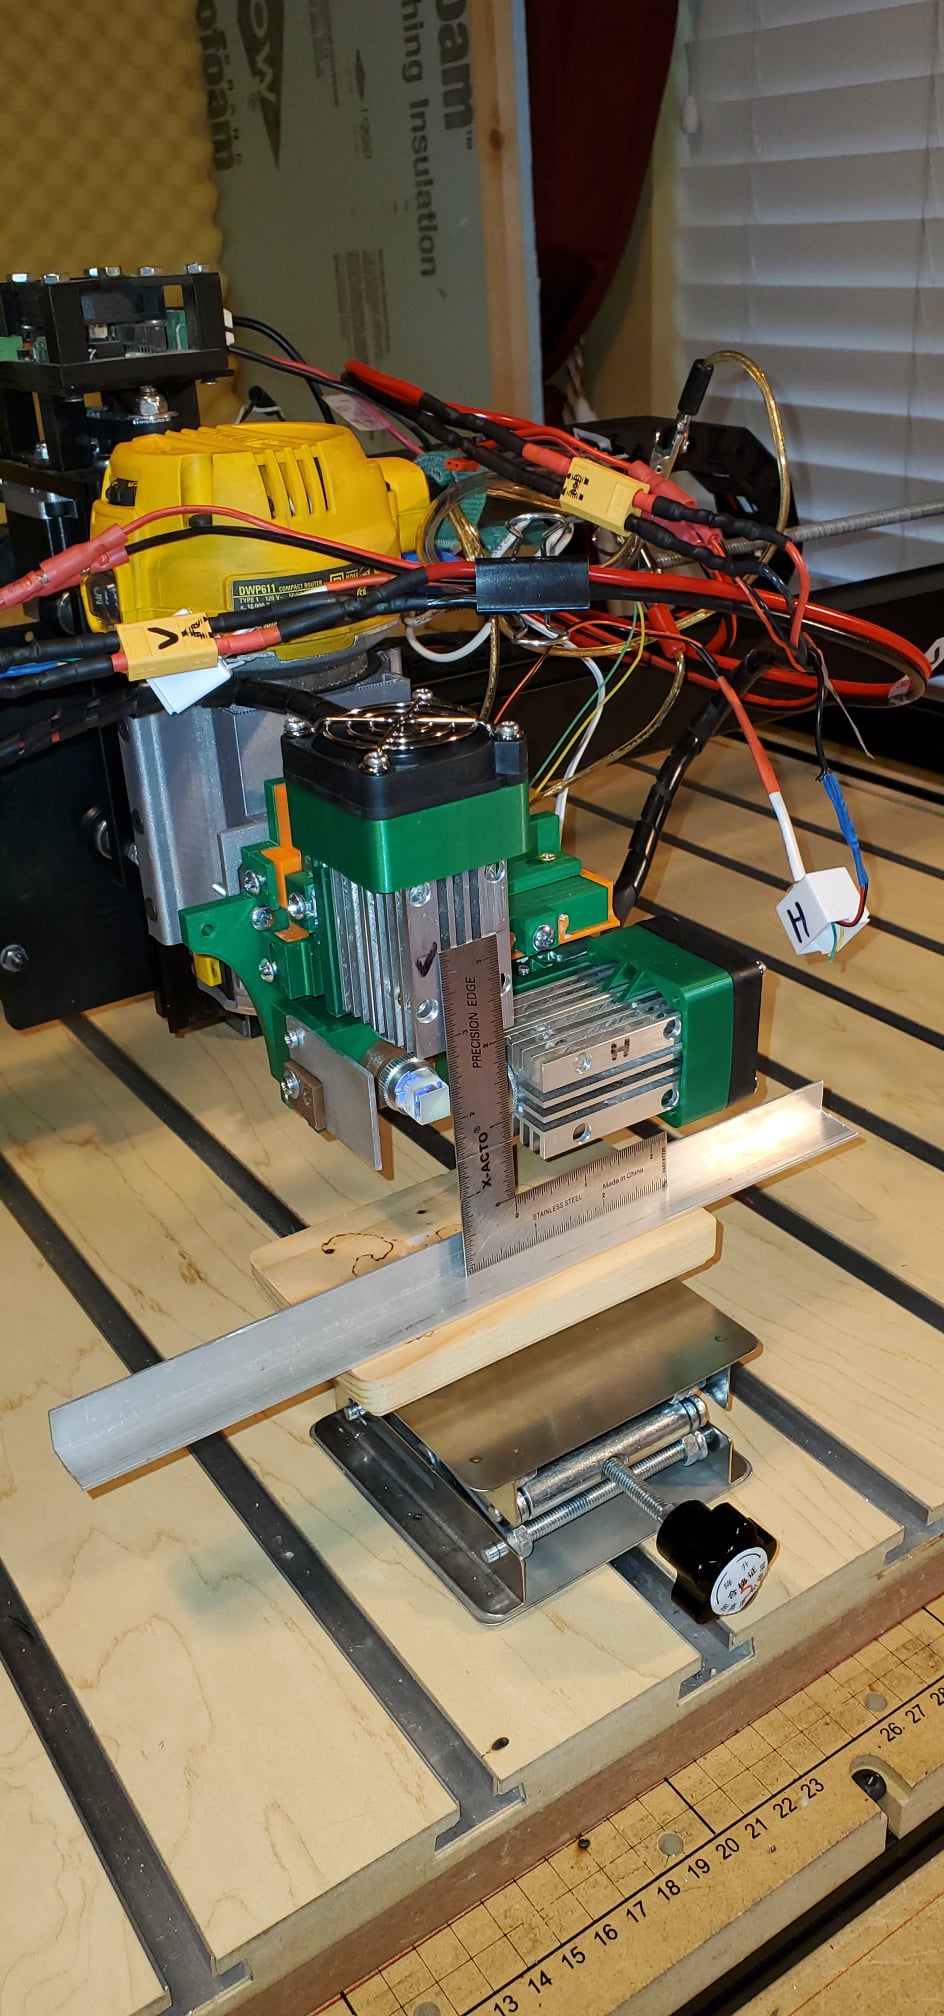
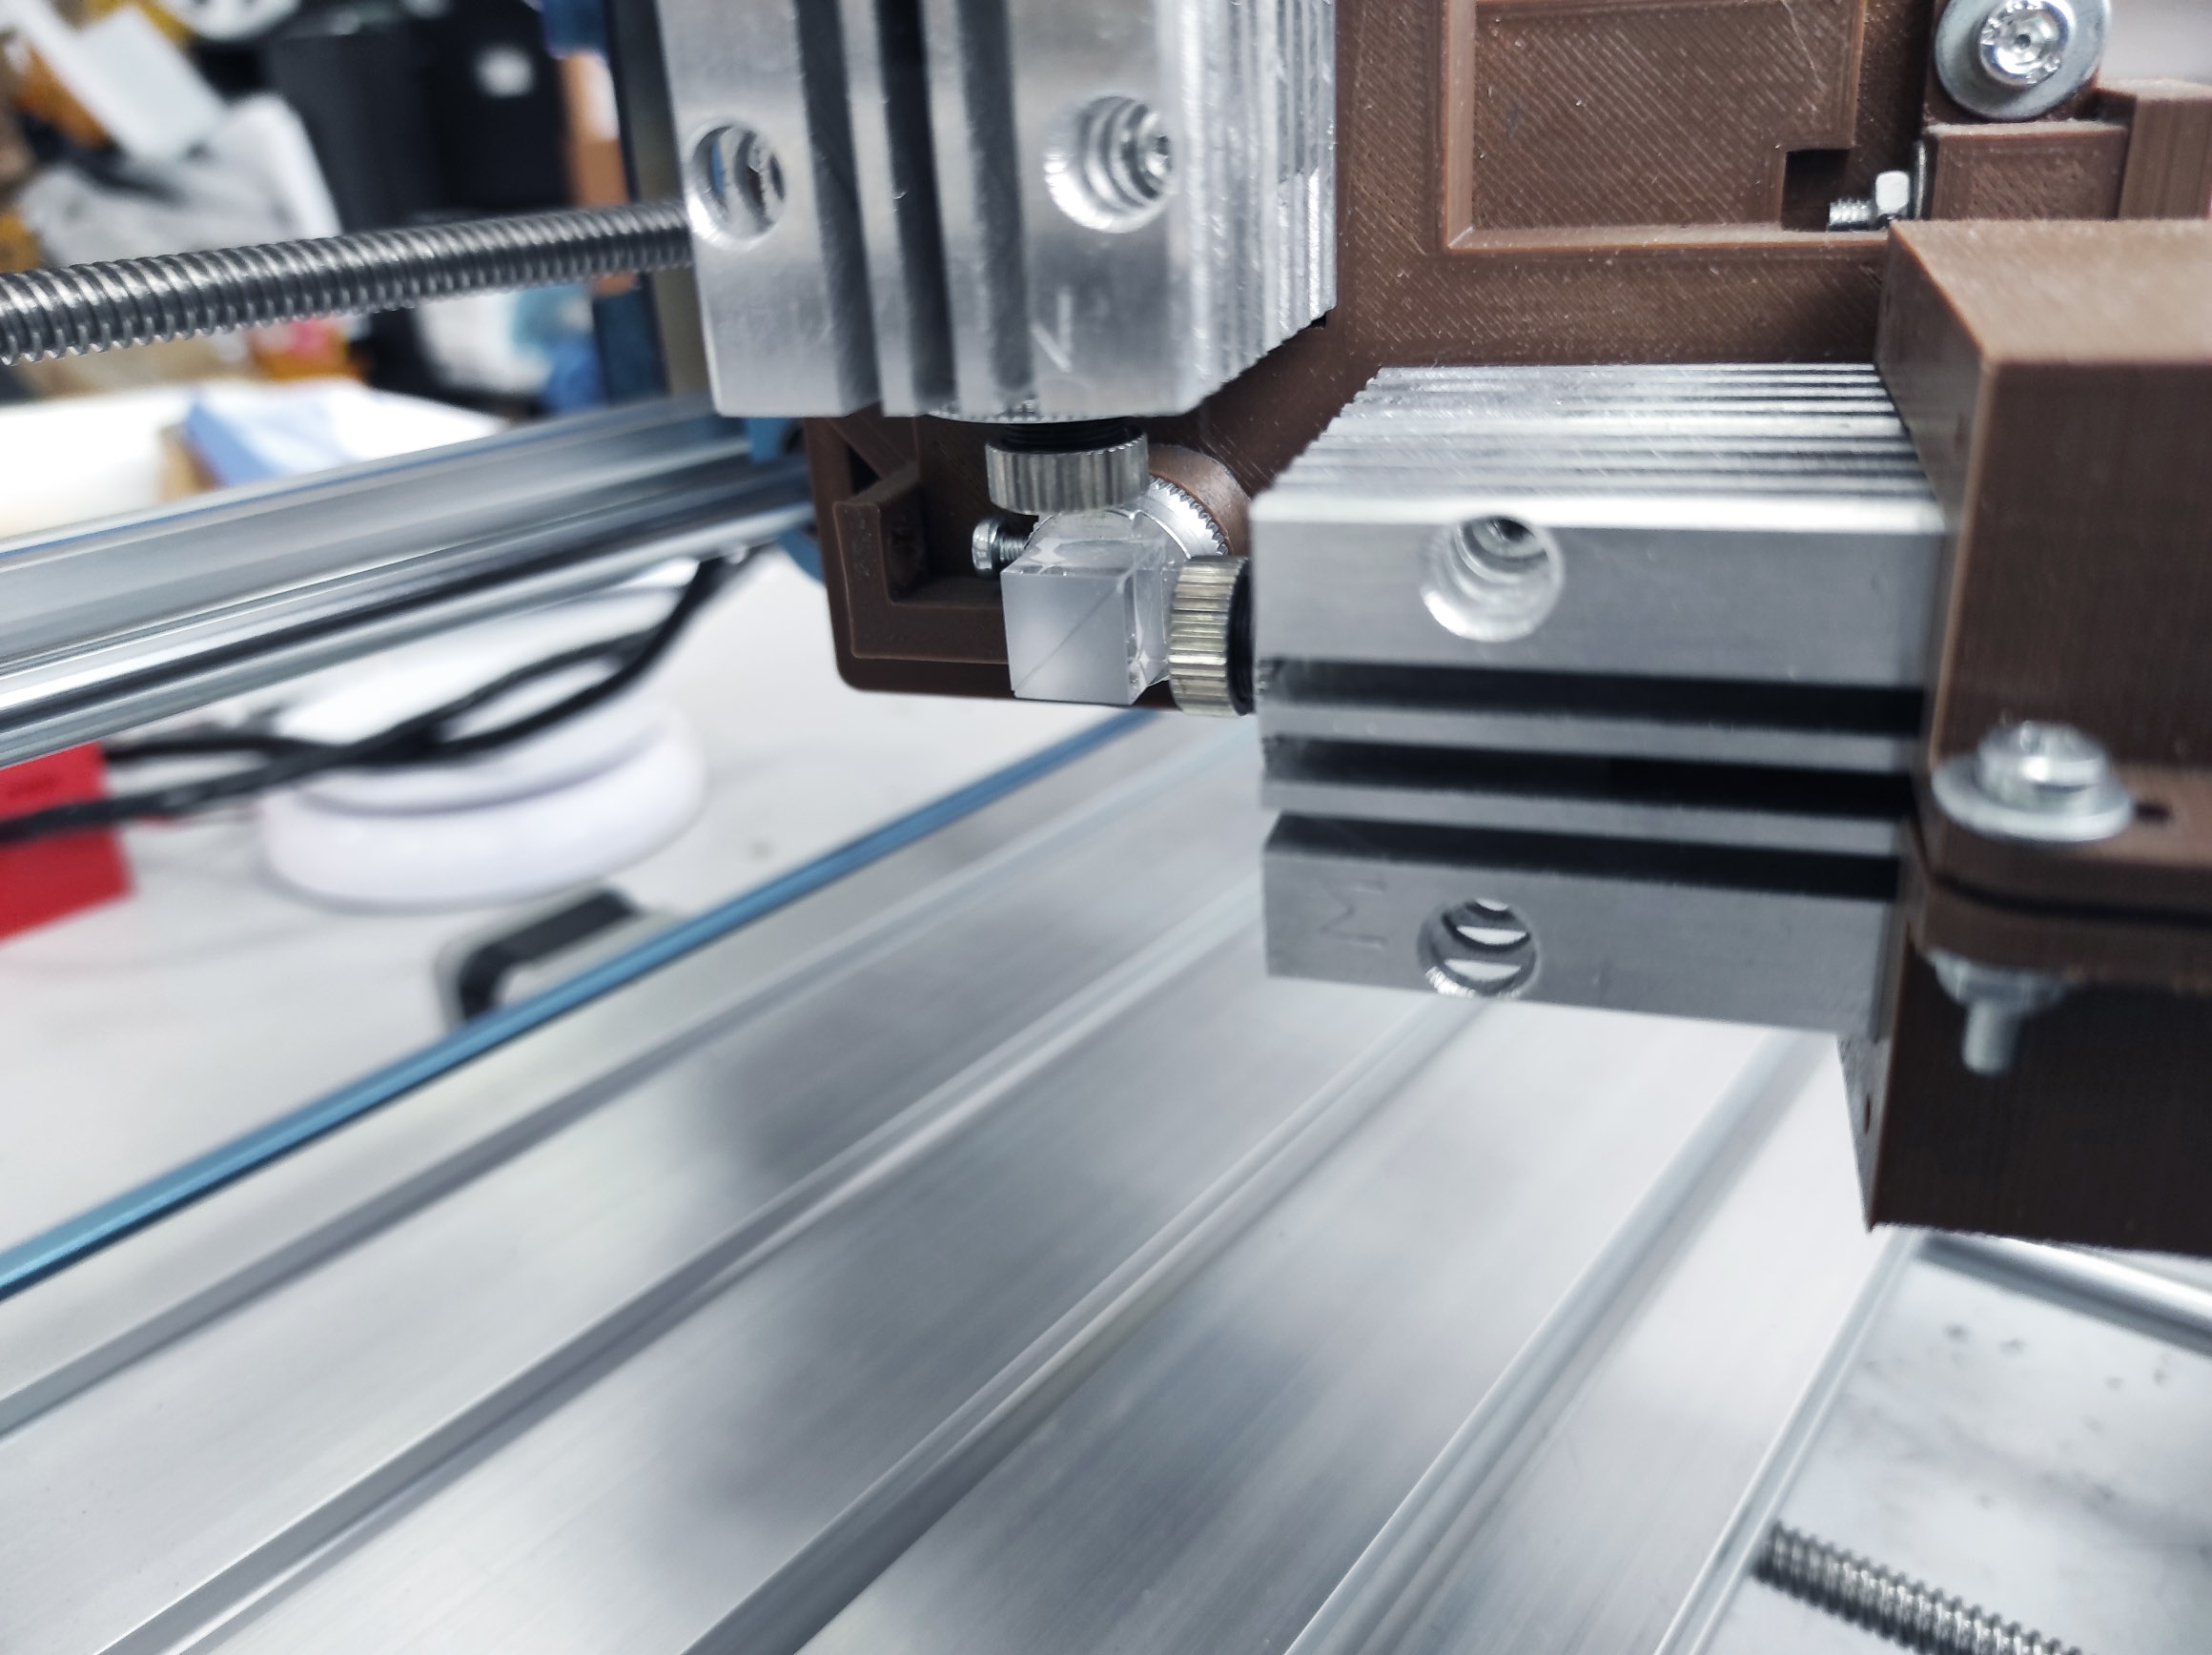
Laser focusing
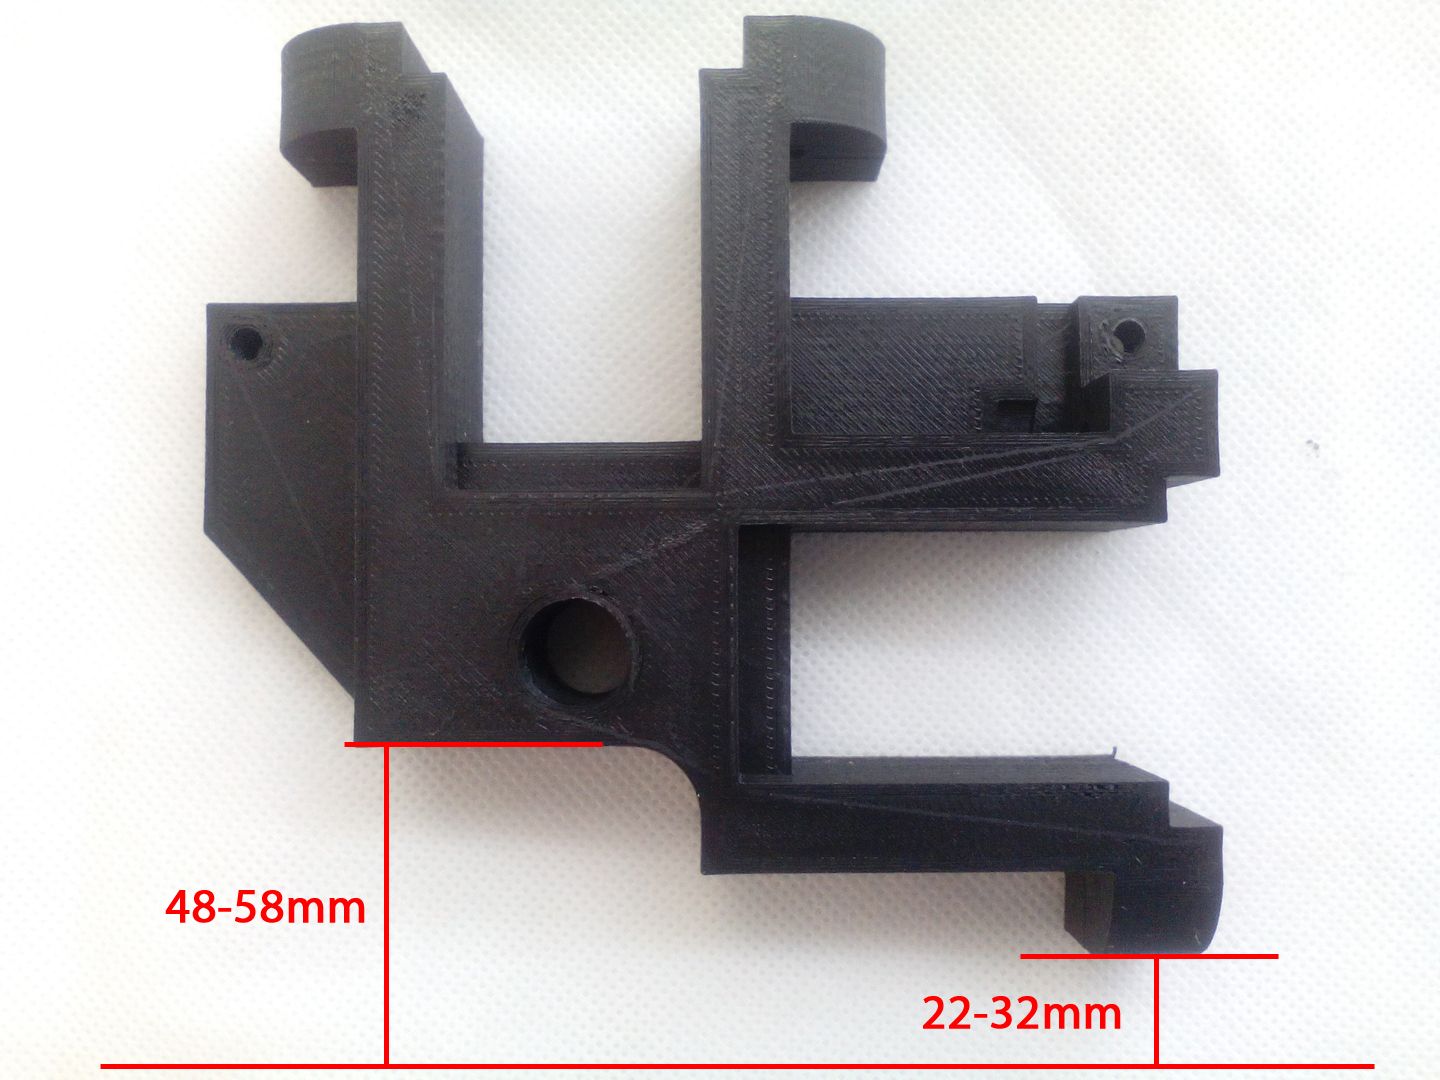
15-watt DIY DUOS If the lens setting has not been changed, then the focal length of the laser should be 48-58mm (optimal 53 + -1mm) from the edge of that part of the laser where the prism is installed; or 22-32mm (optimal 25 + -1mm) from the bottom of it (as in the attached picture). From the bottom edge of the prism to the working surface, the focal length should be approximately 52-62mm (optimal 57 + -1mm).
An upgrade package
| Your existing laser (Endurance 20 watt) | Your existing laser (any Chinese laser) |
 |  |
Min: 264$ Max: 384$ |
+ you need an Endurance either: 10 watt “Invincible” / Delux / Plus laser Min: 297$ Max: 417$ |
How to assemble your own 15 watt DUOS laser beam if you already have an Endurance watt “invincible” / “Delux” or “Plus” laser
Assembling a 15 watt dual laser beam system. Getting started 15 watt dual laser beam – DIY guide
Assembling a 15 watt dual laser beam system. A DIY option.
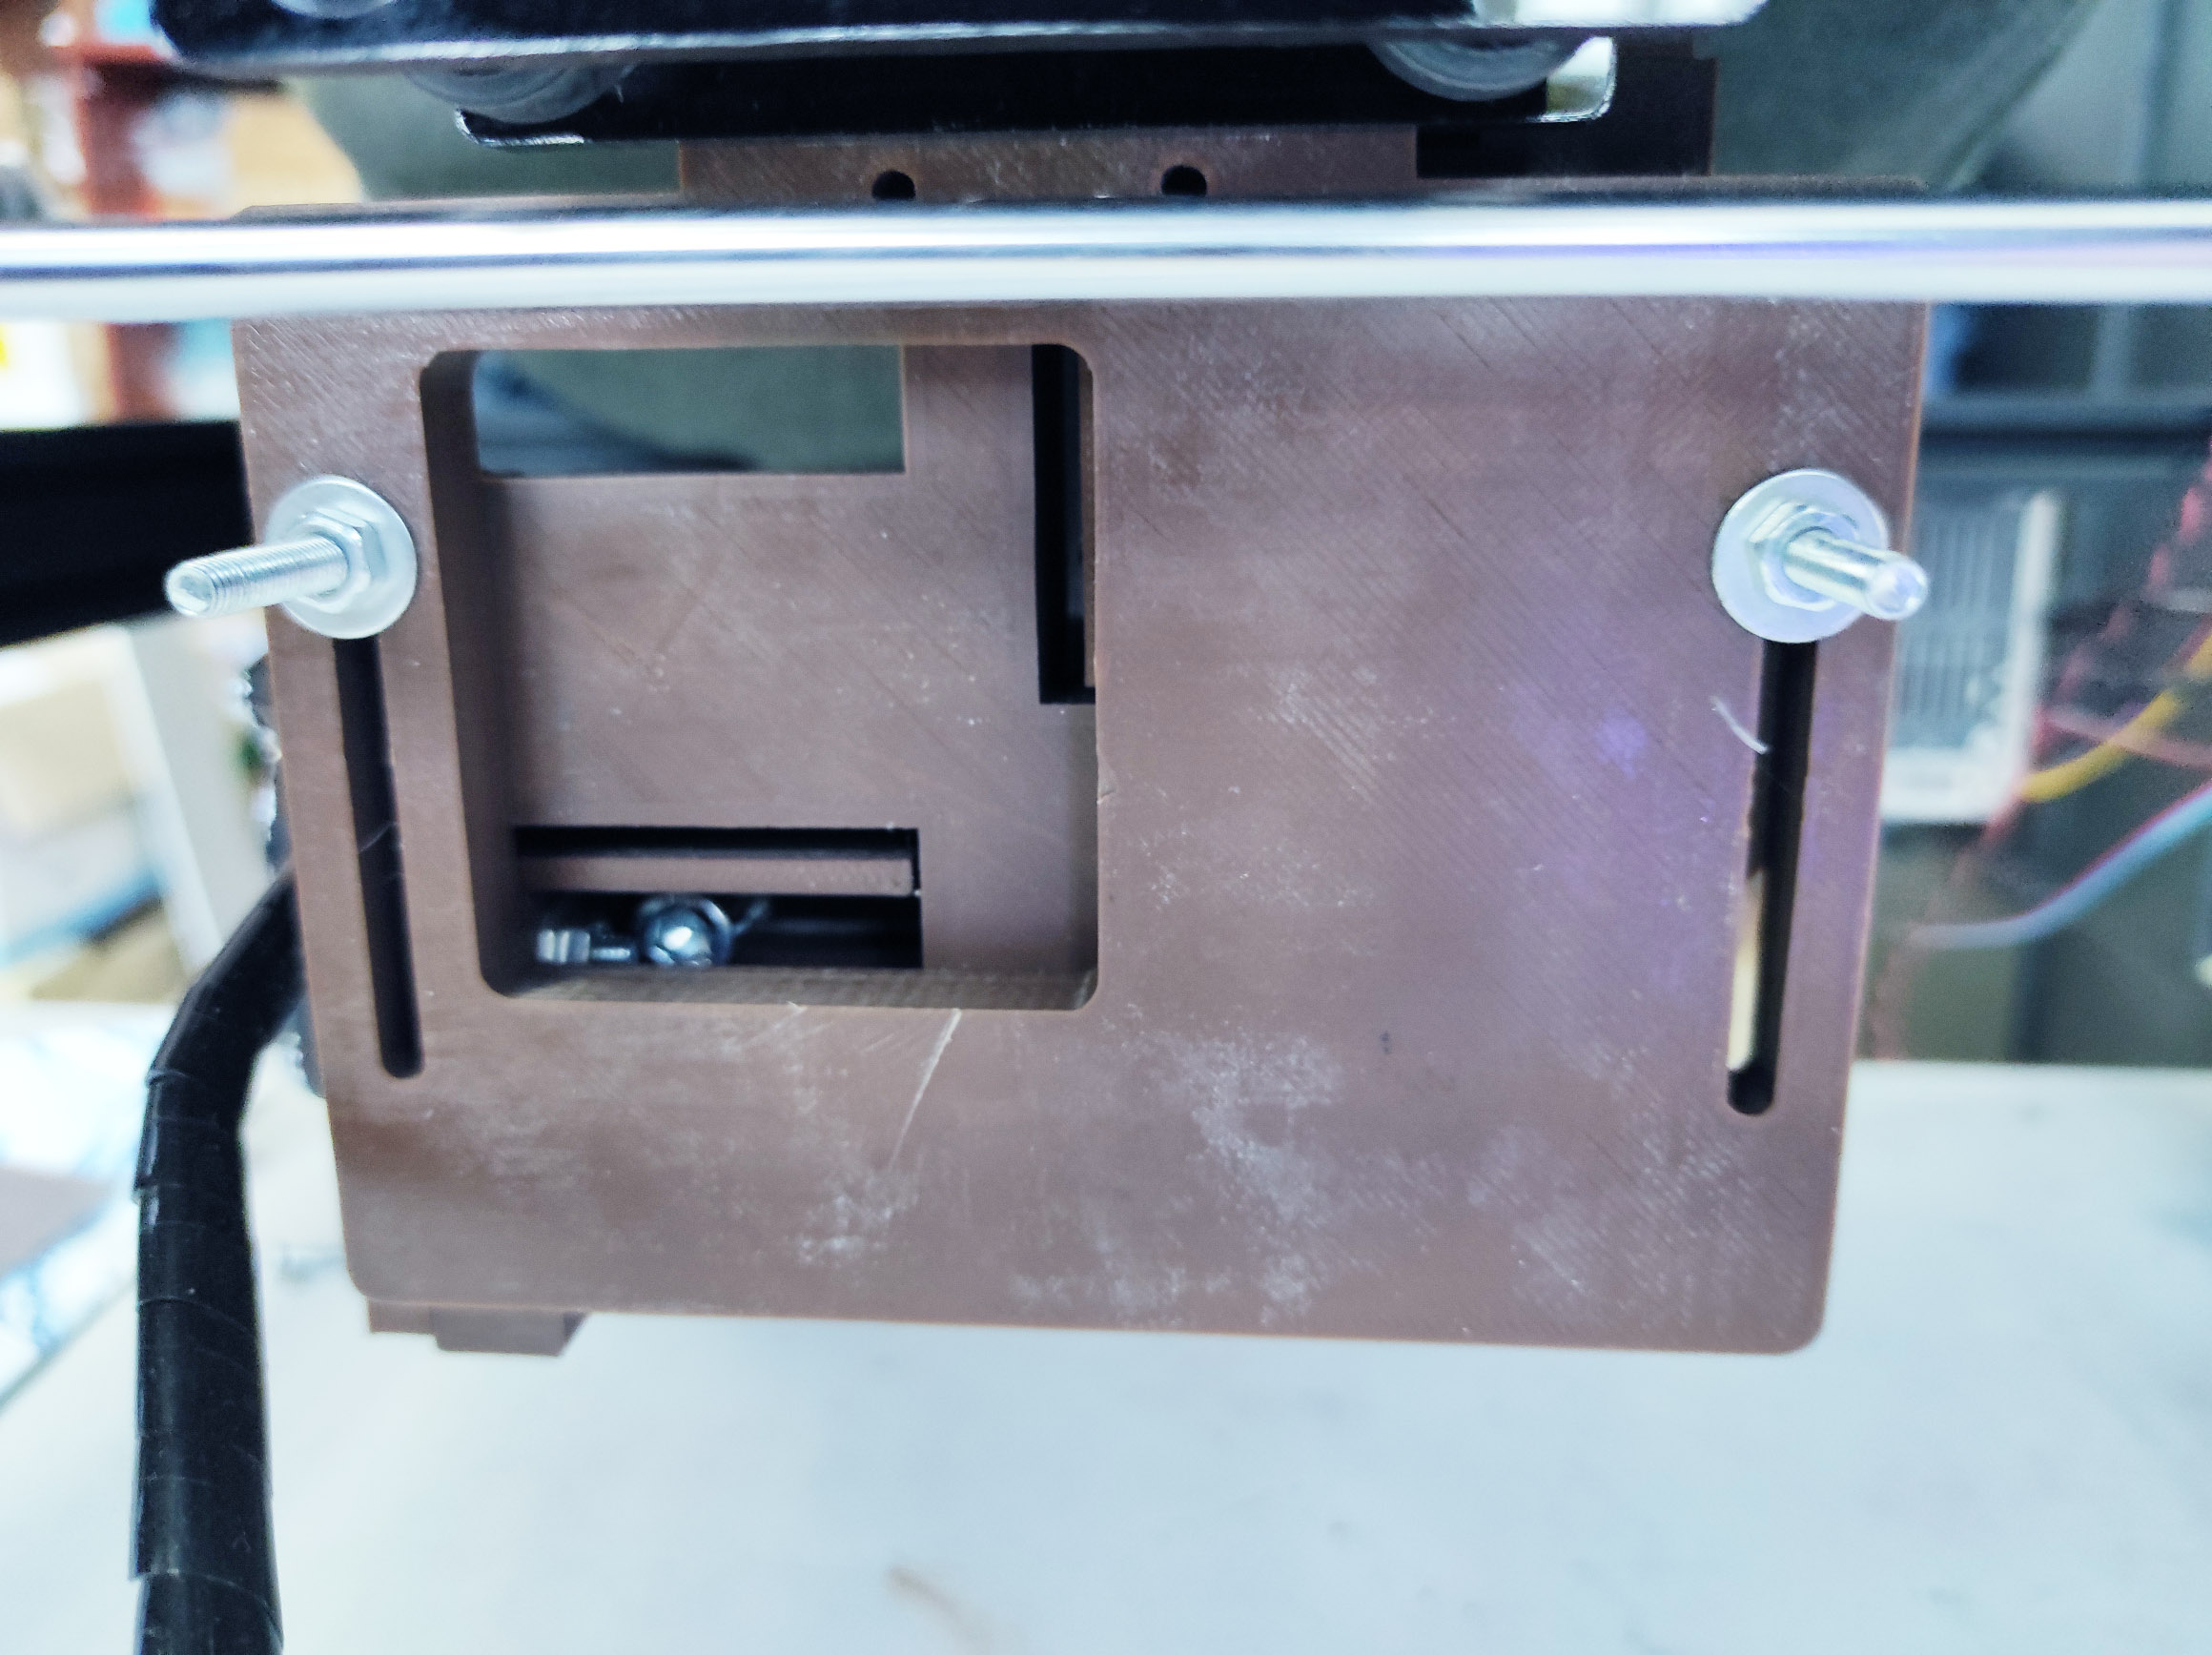
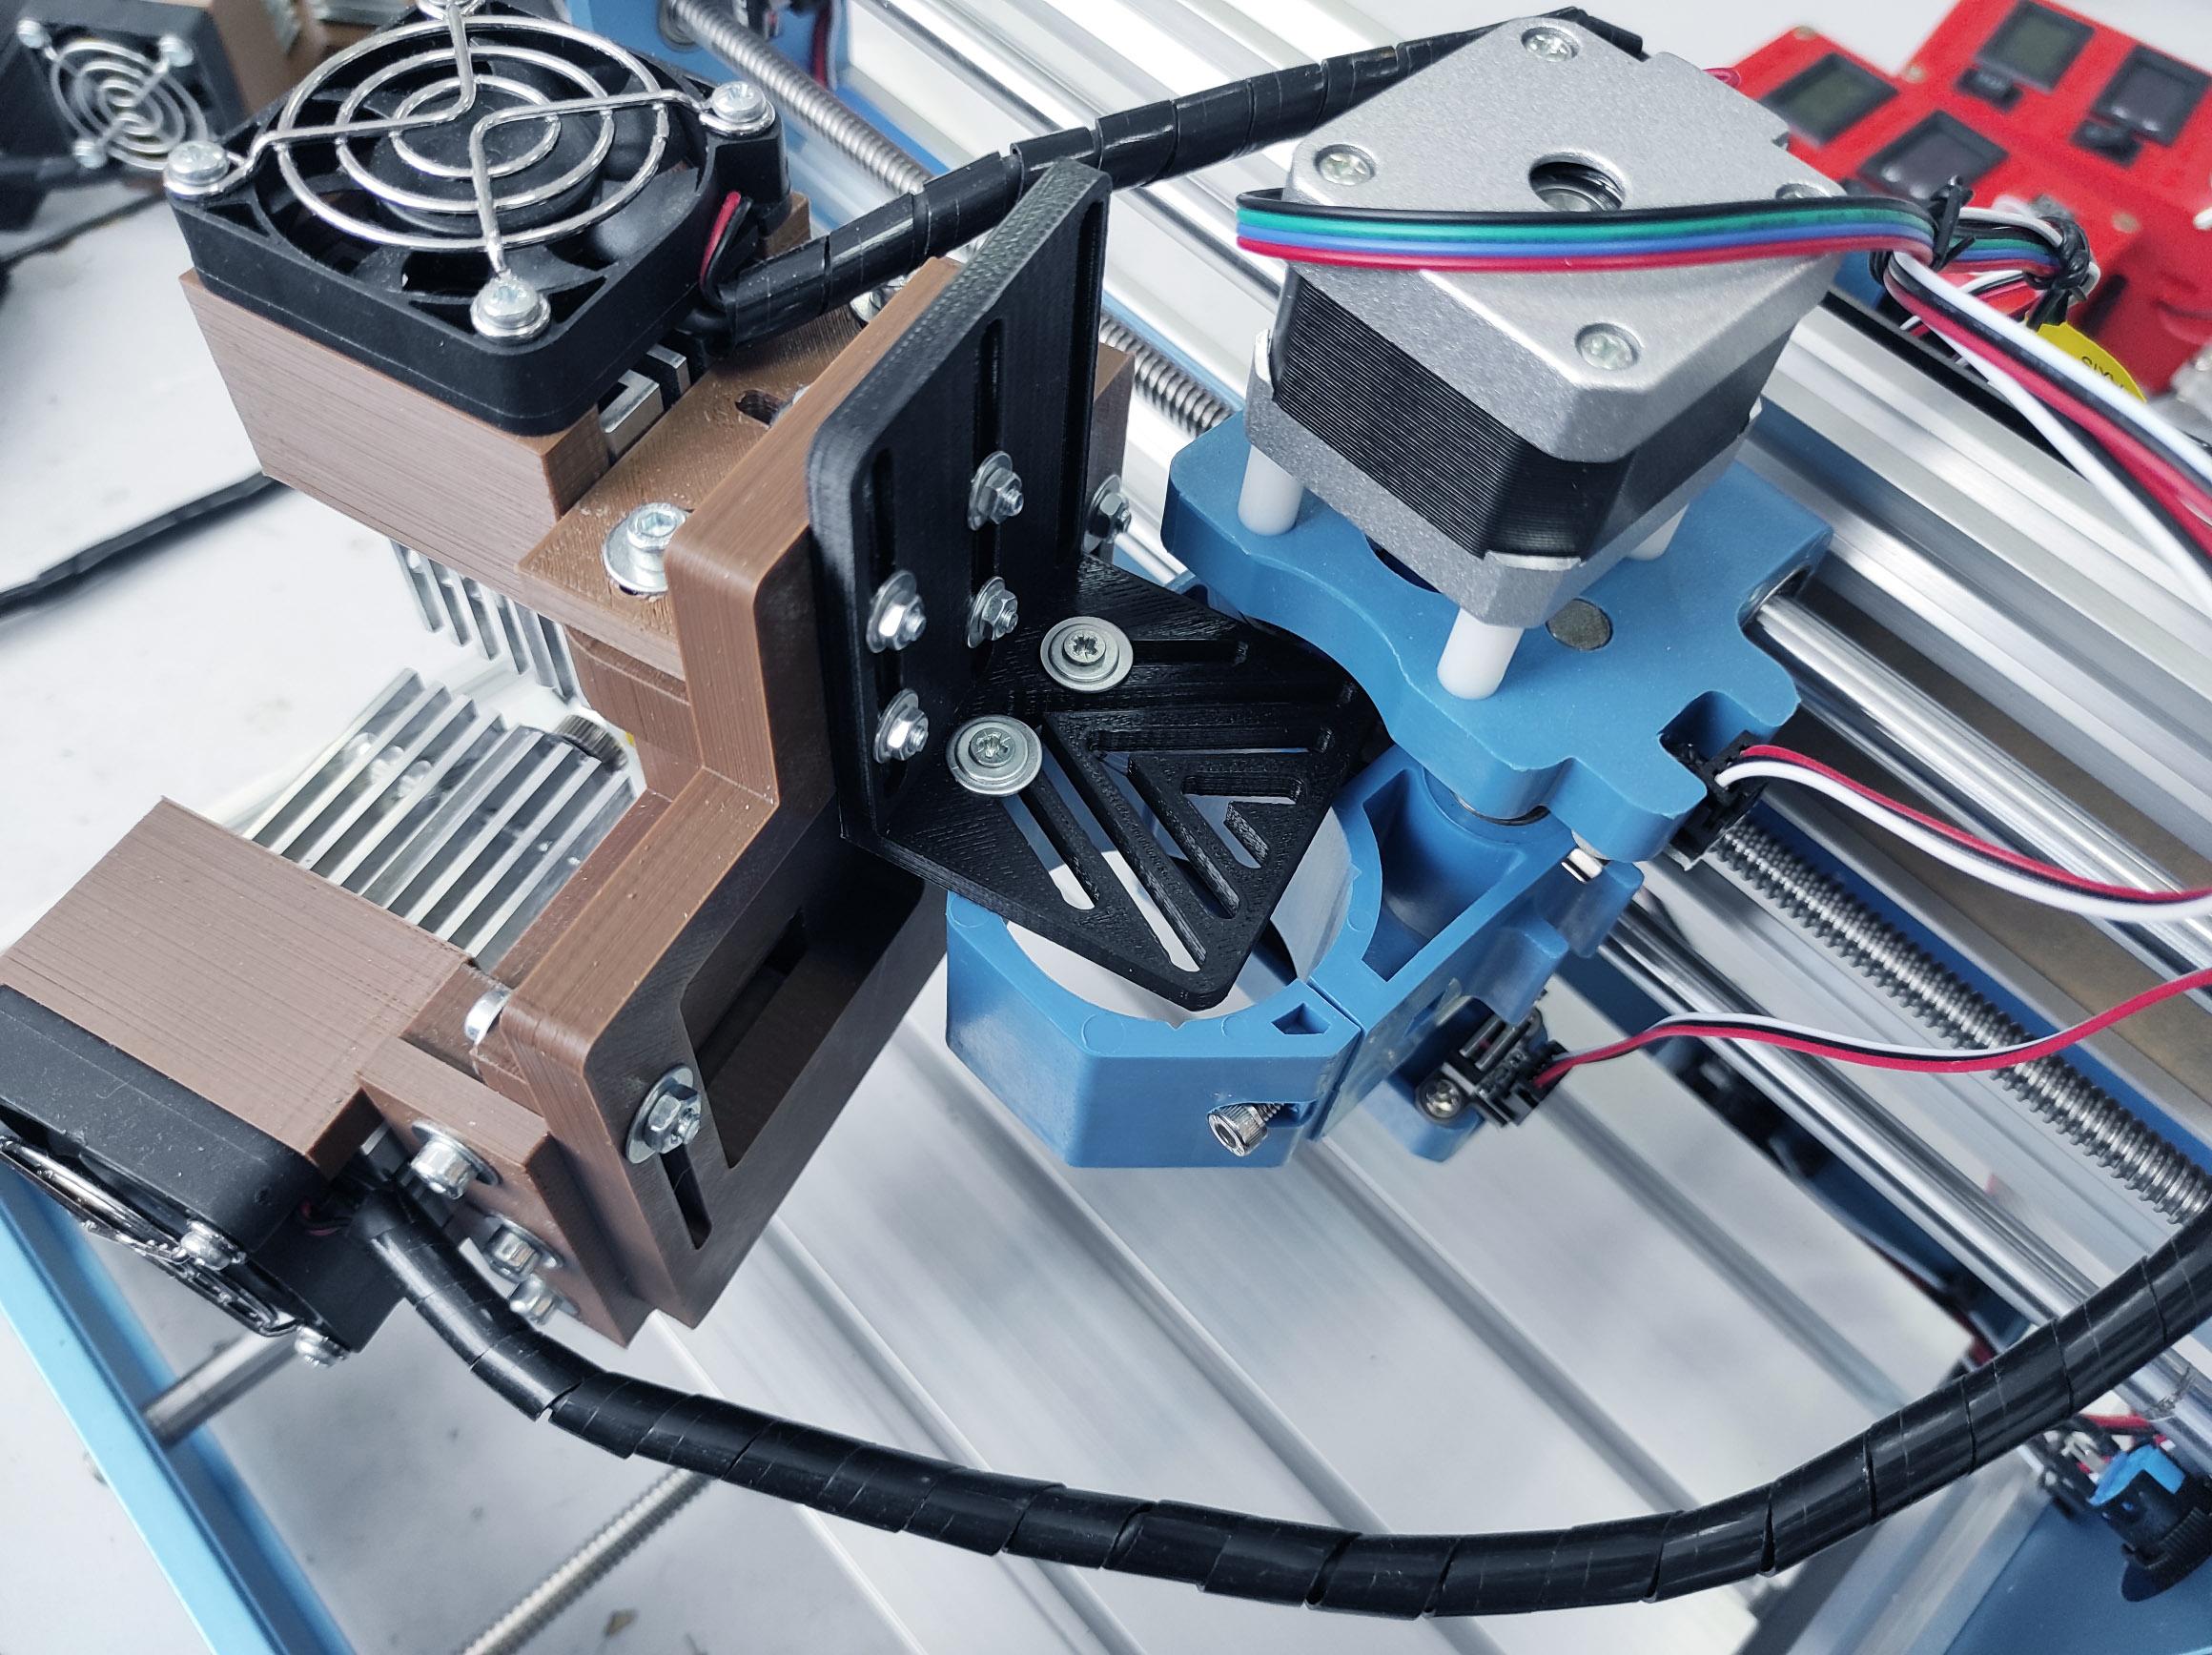
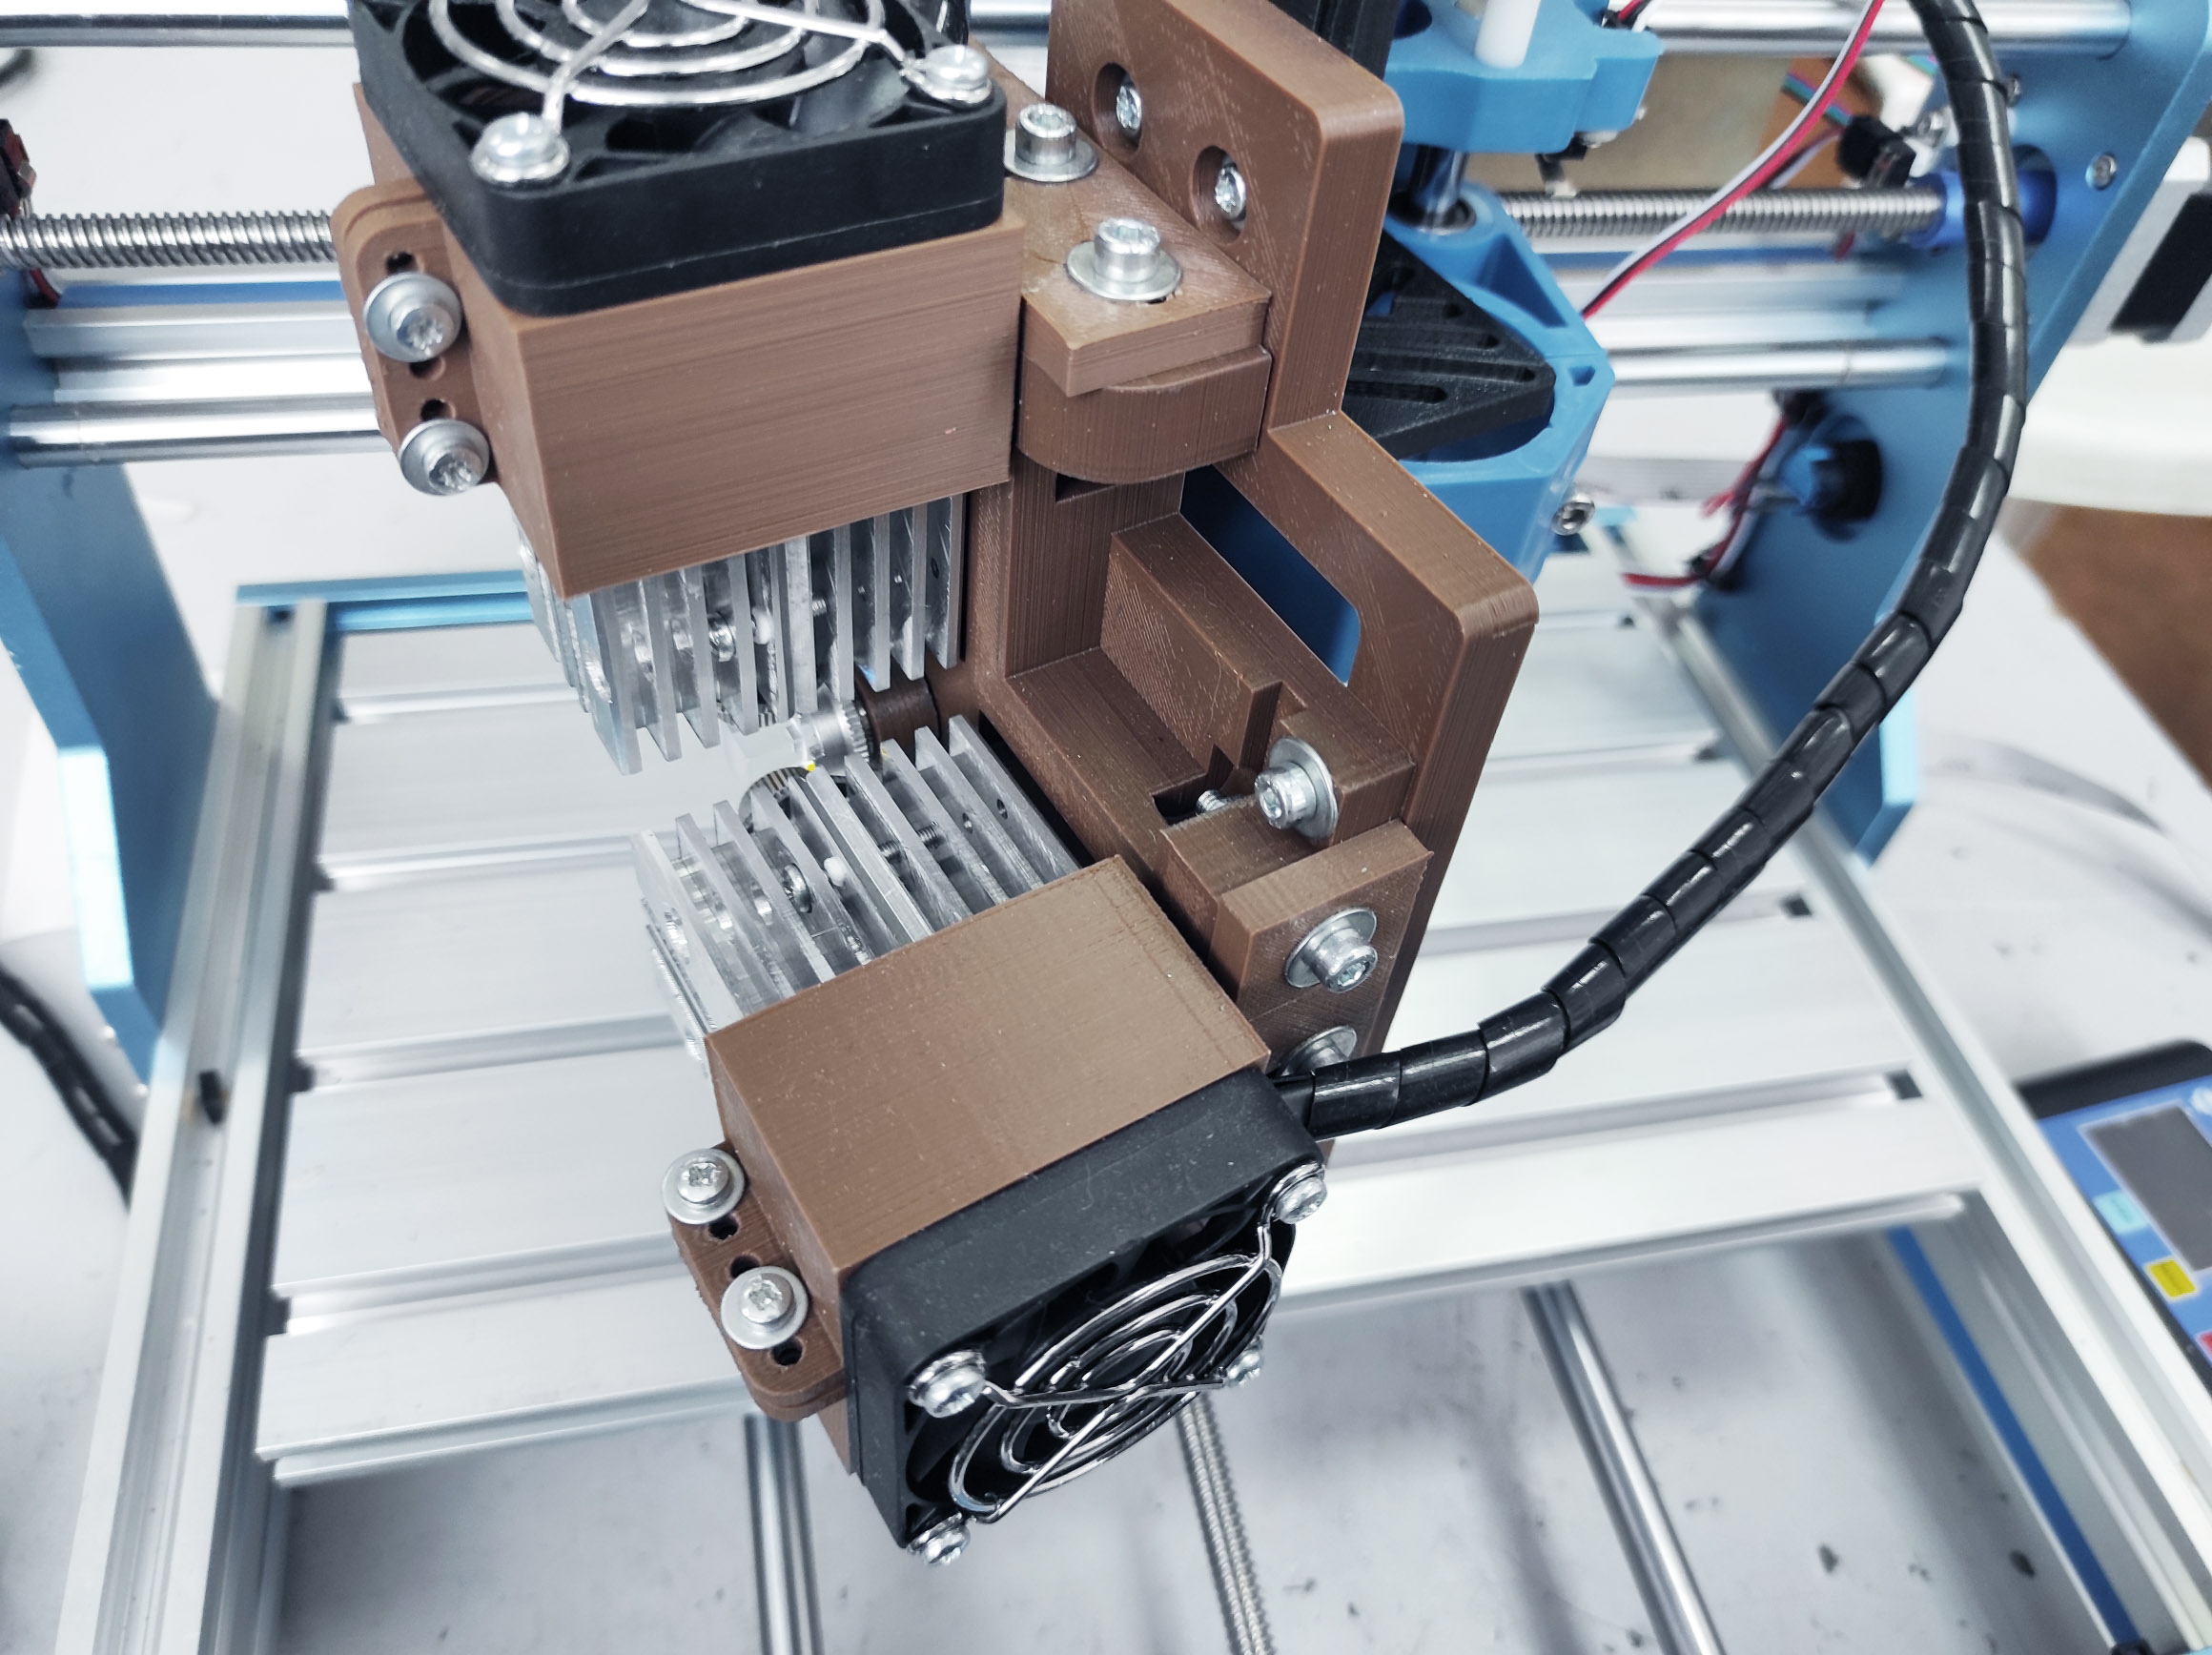
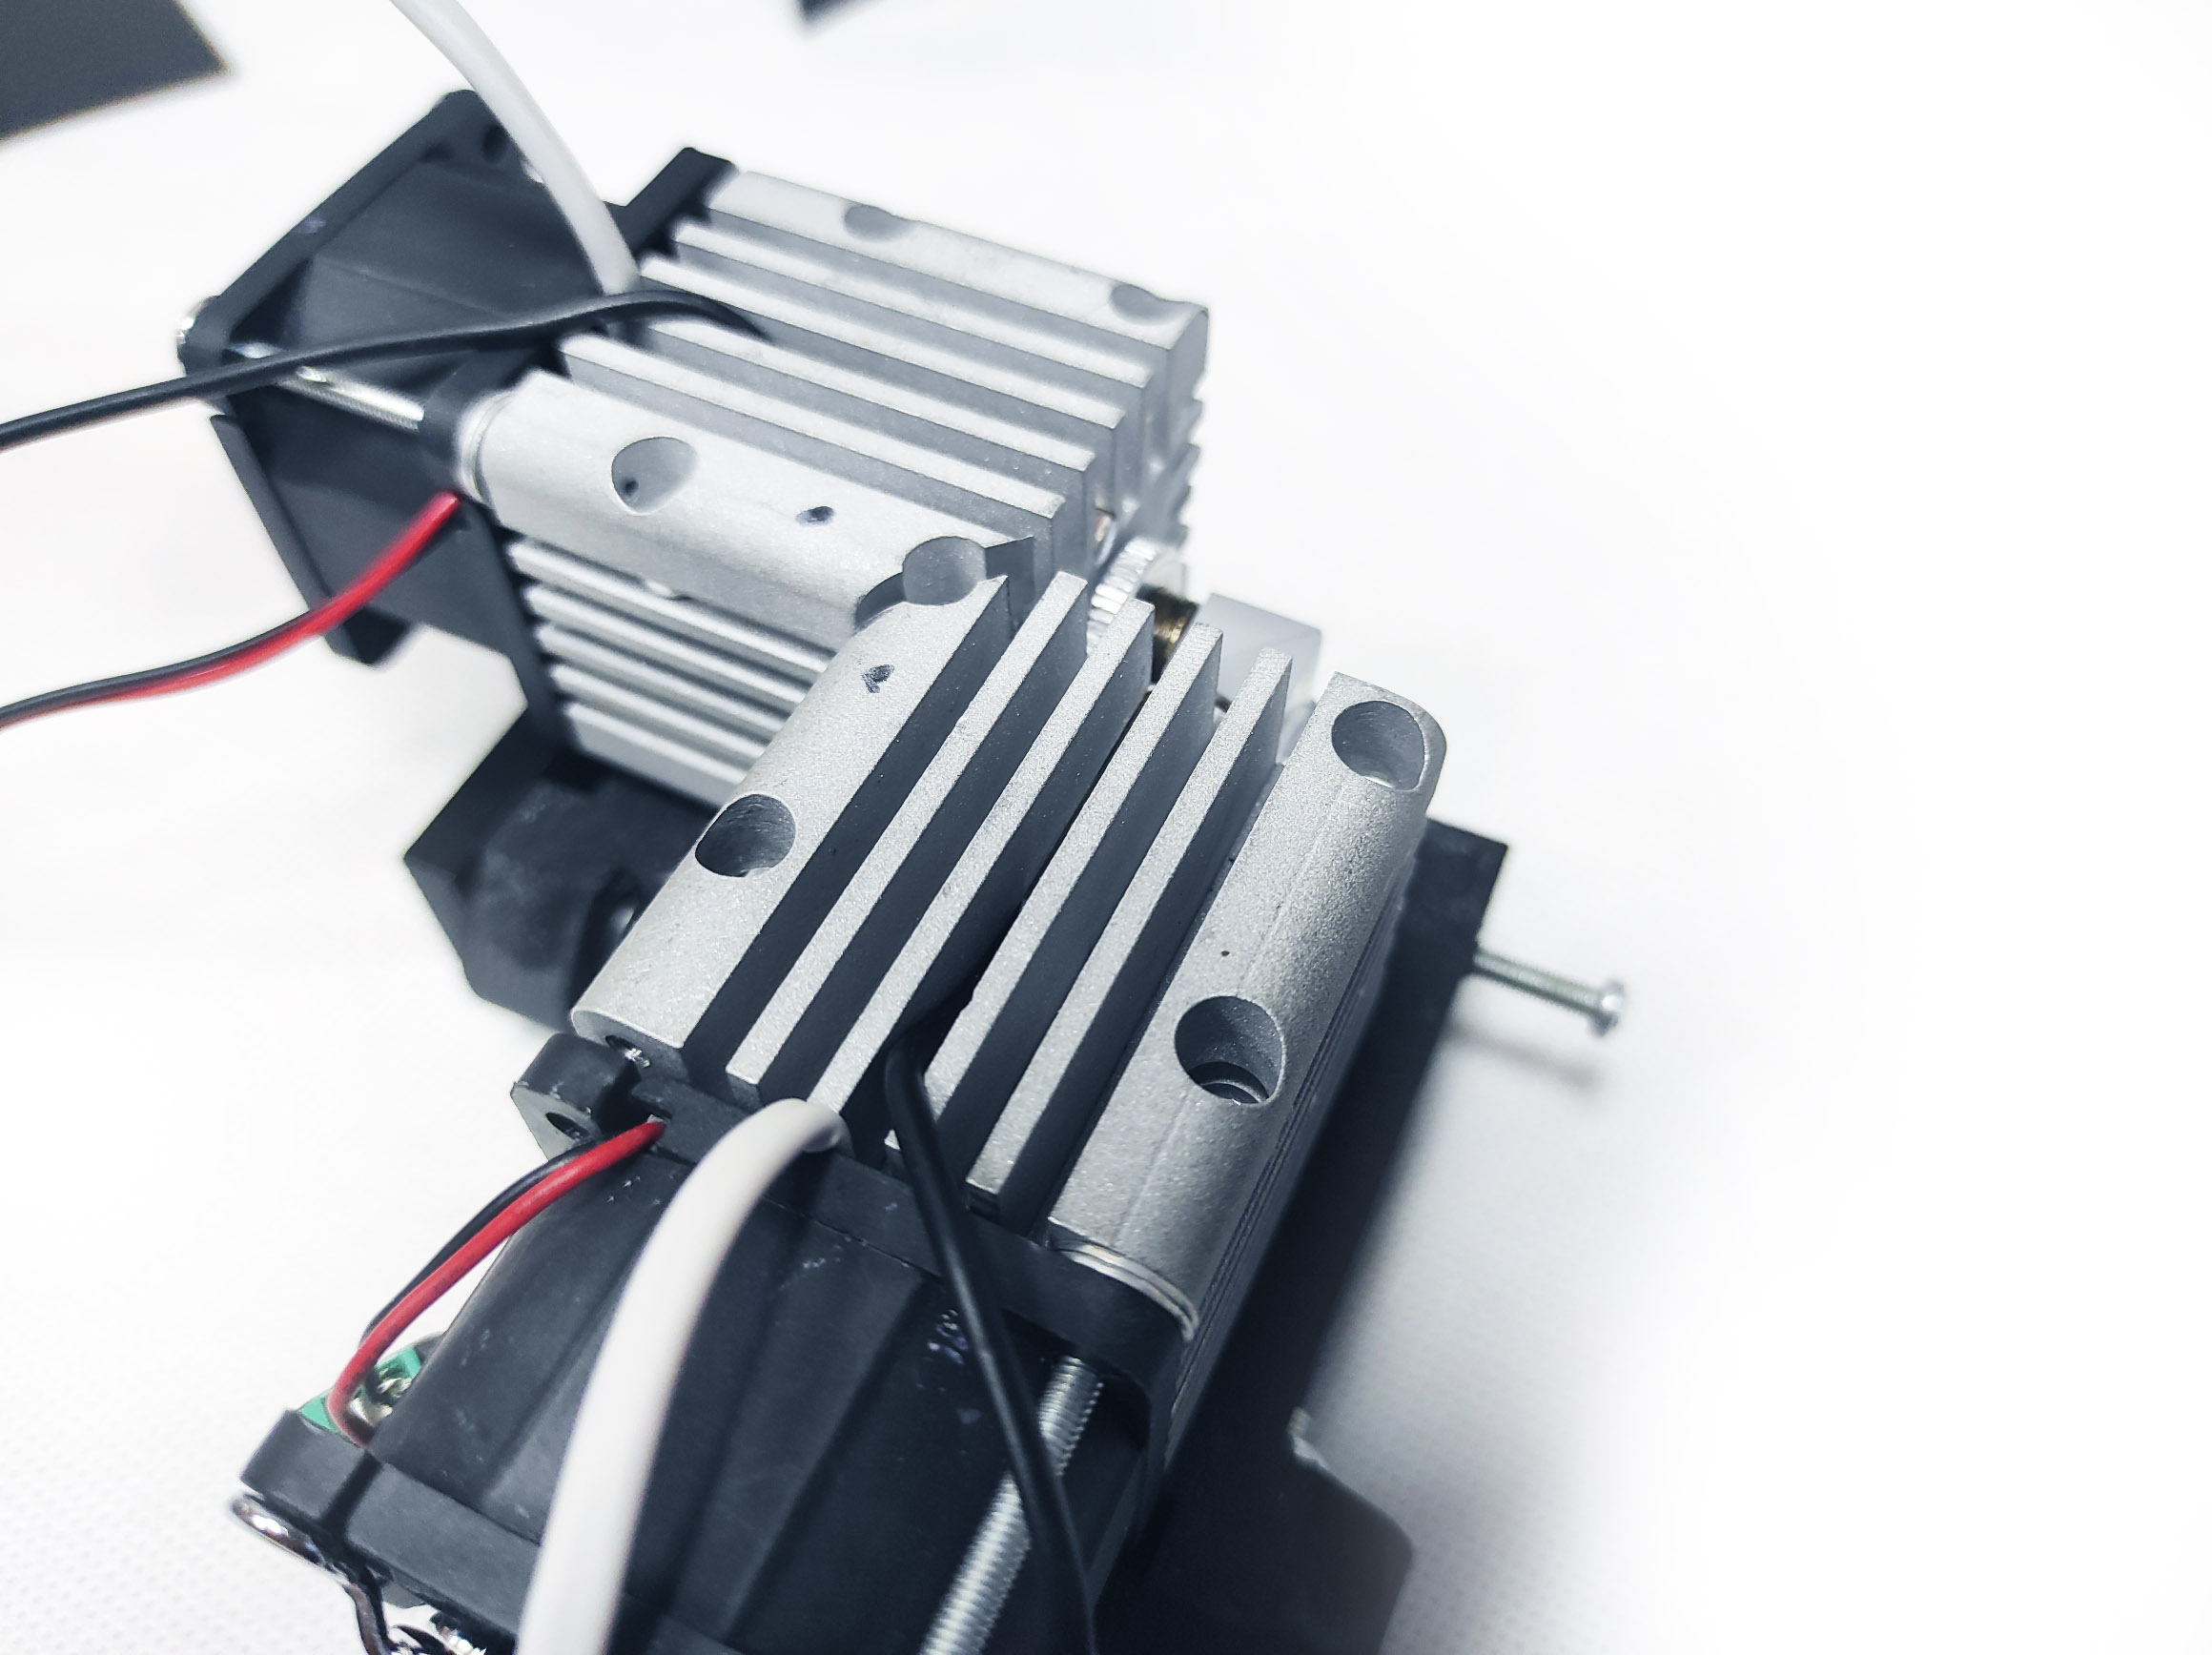
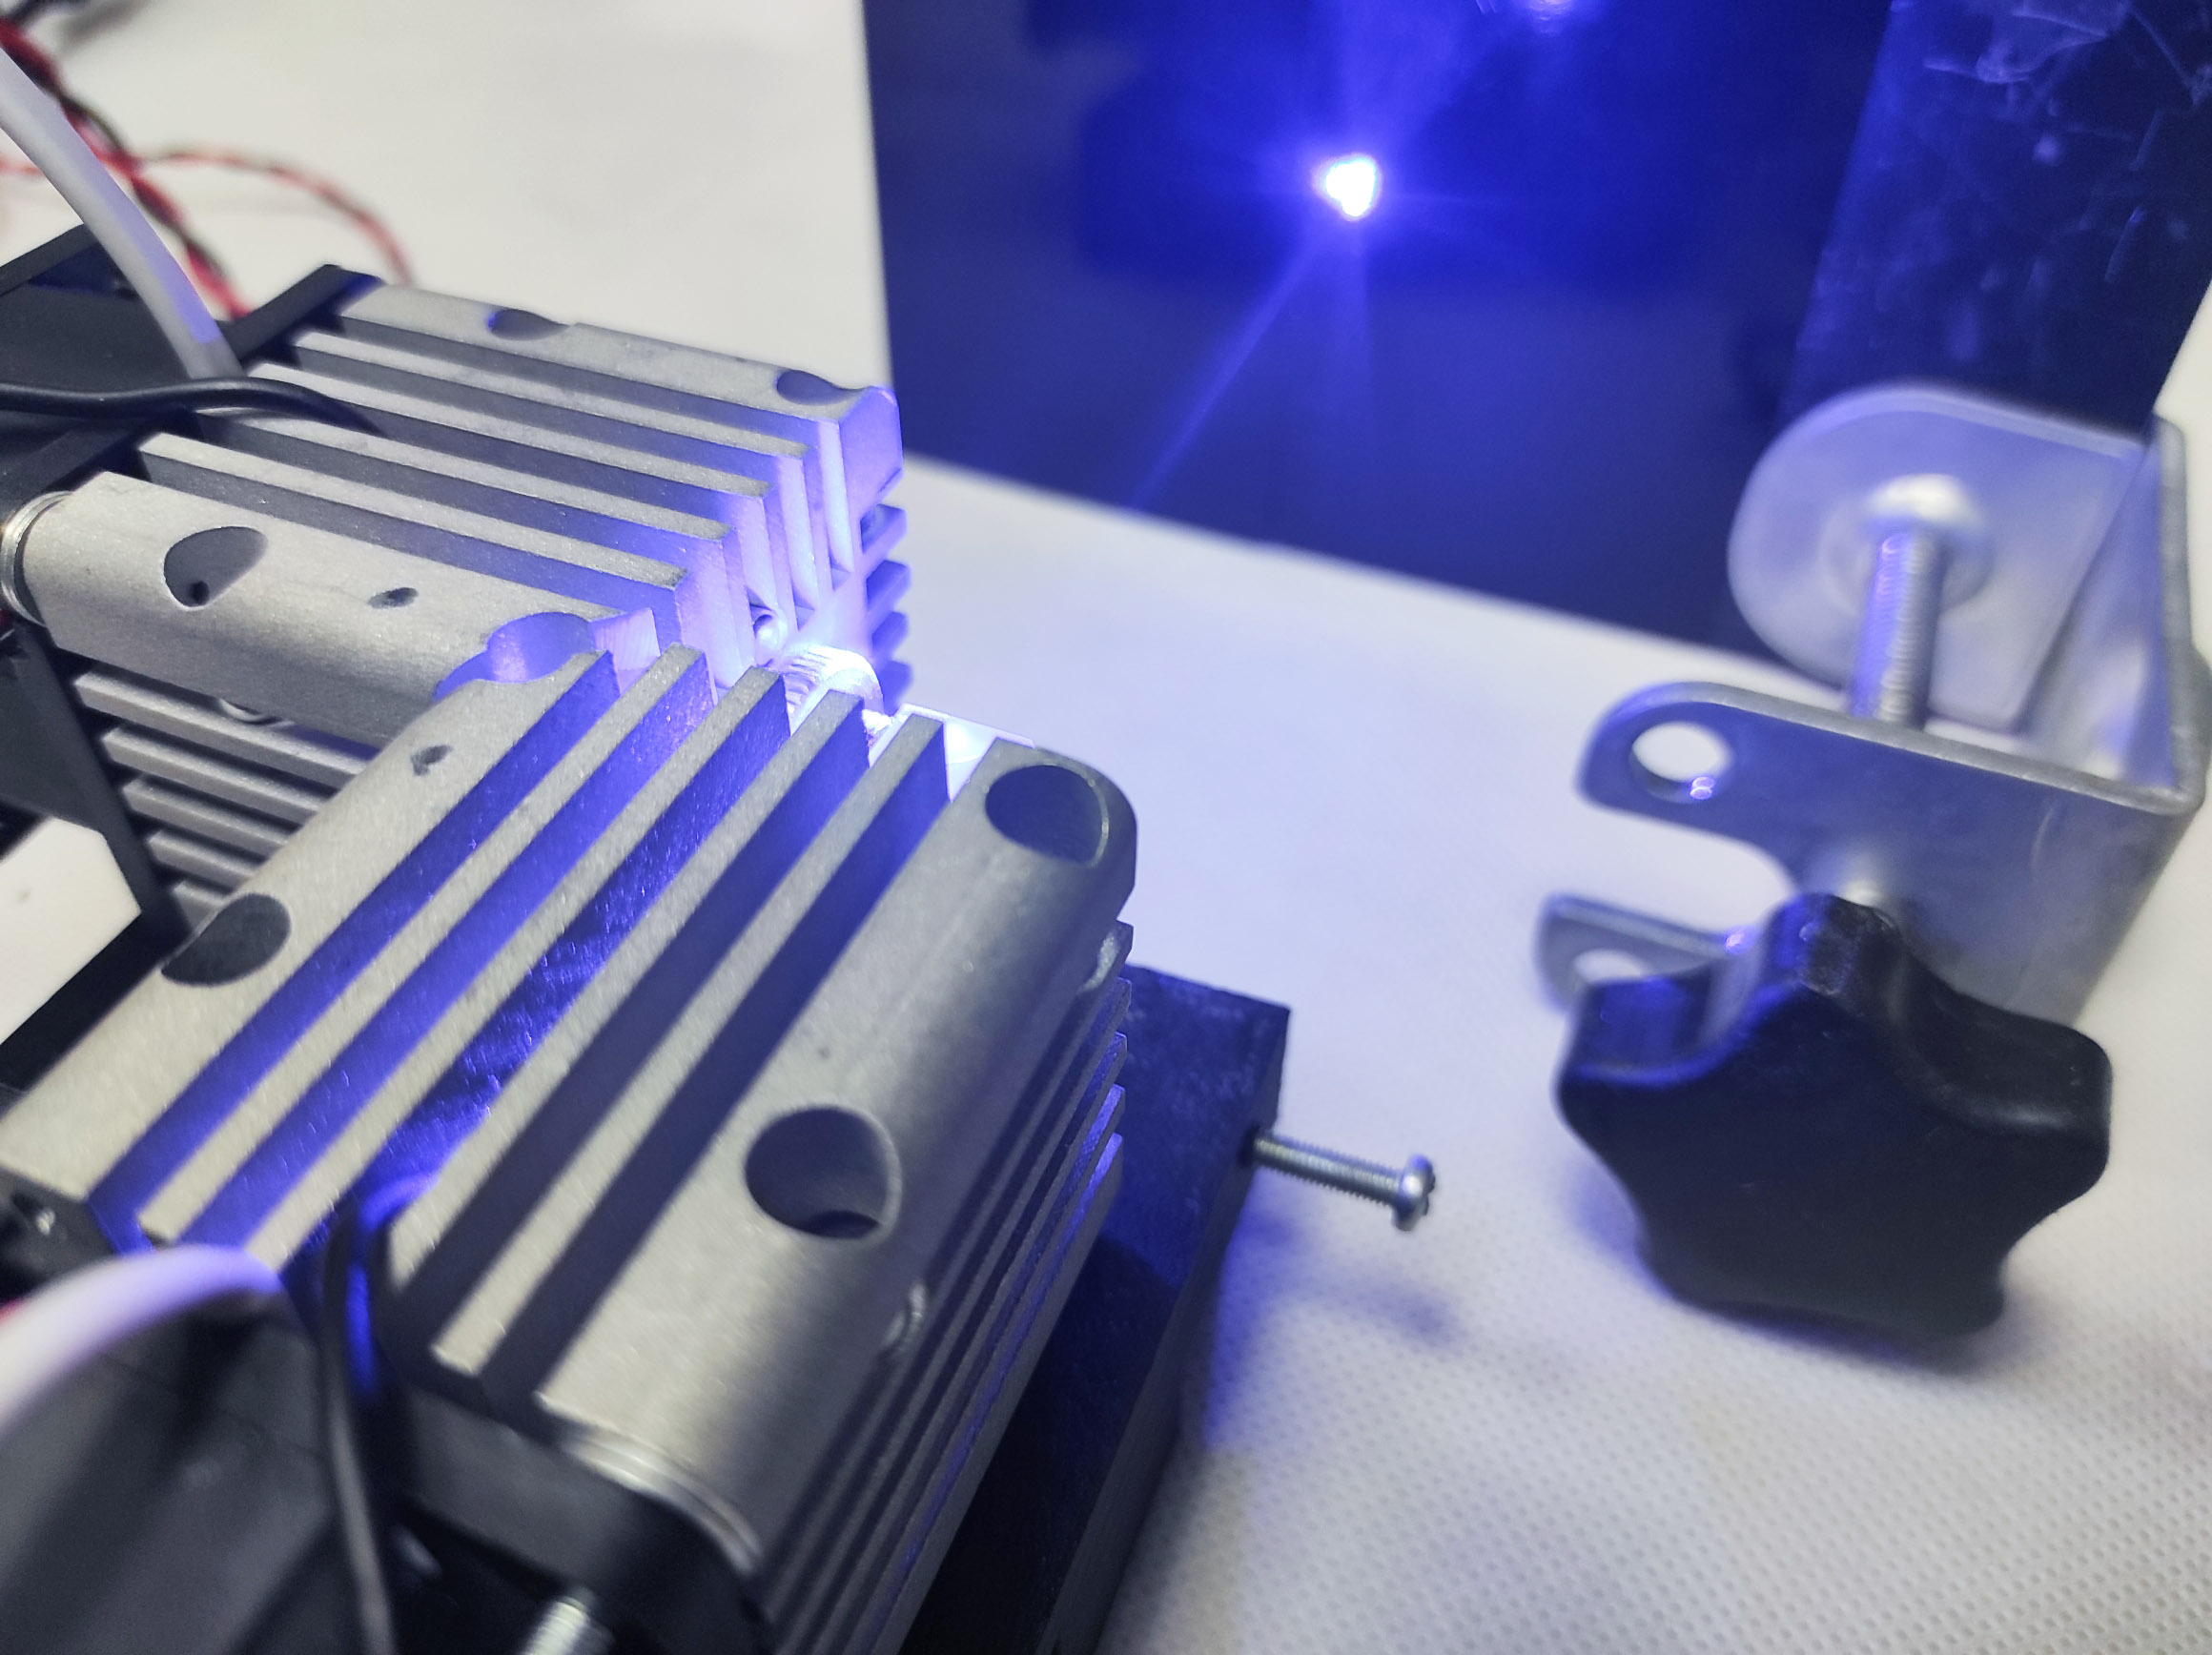
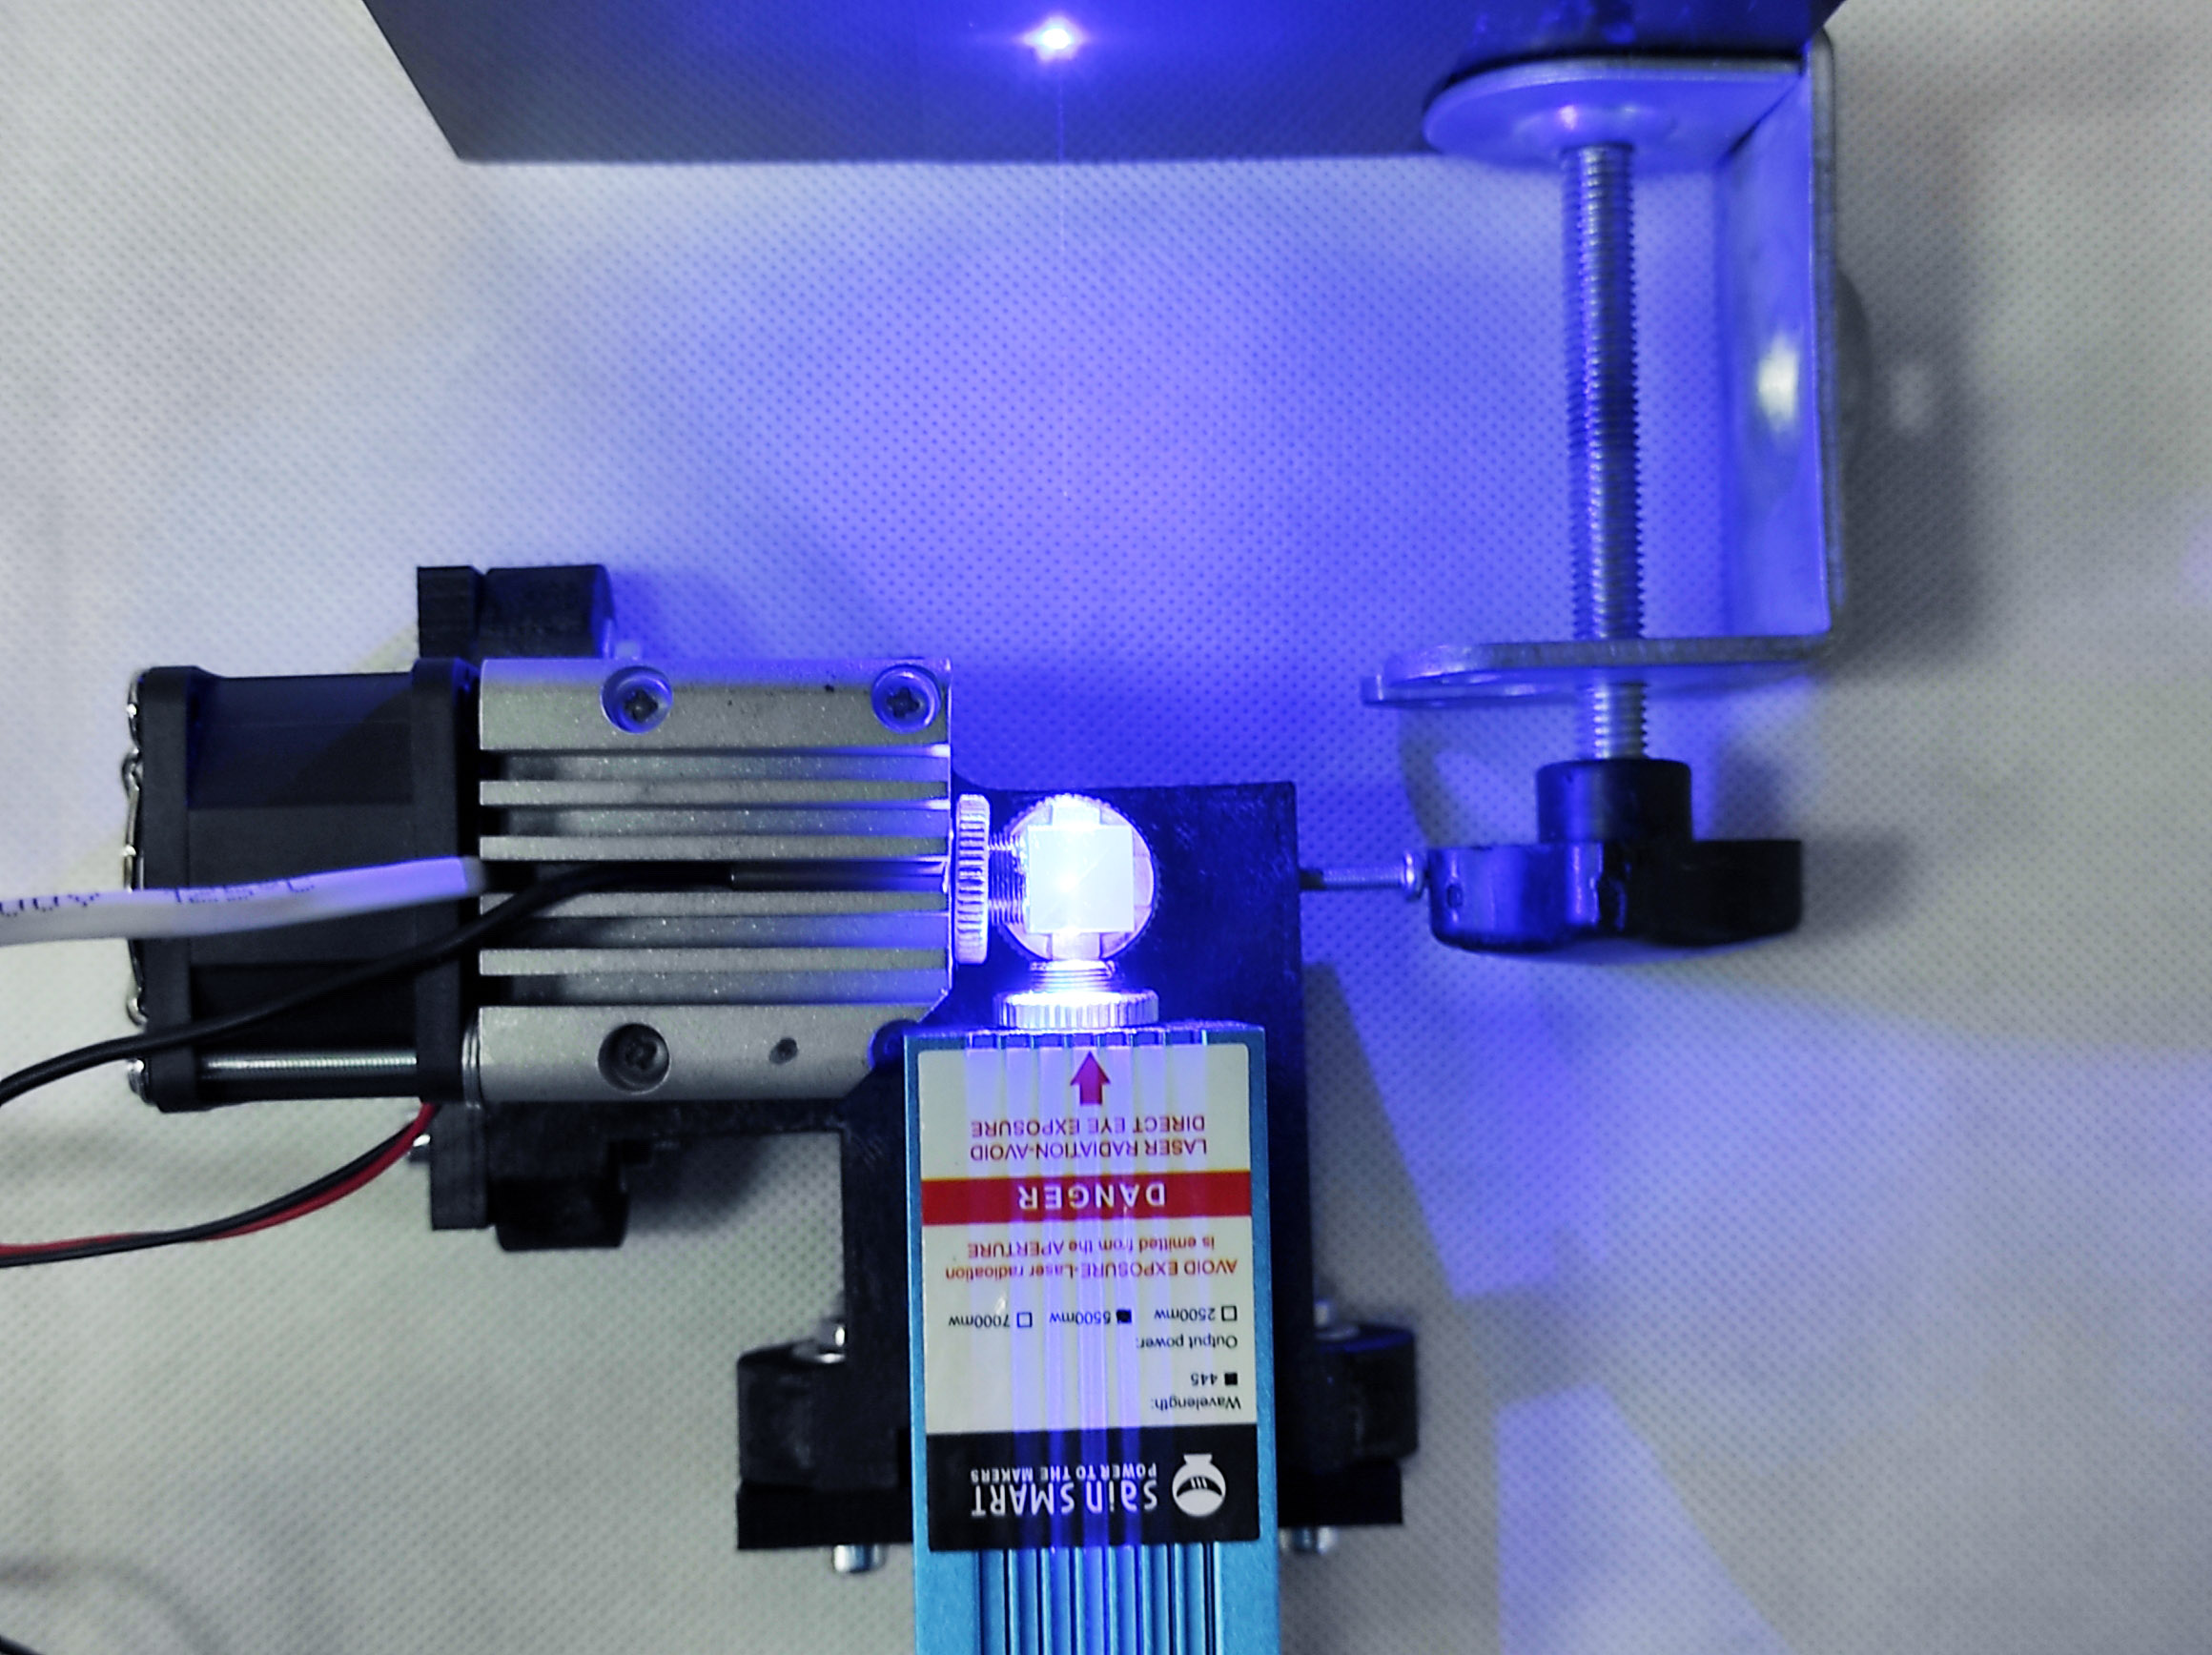
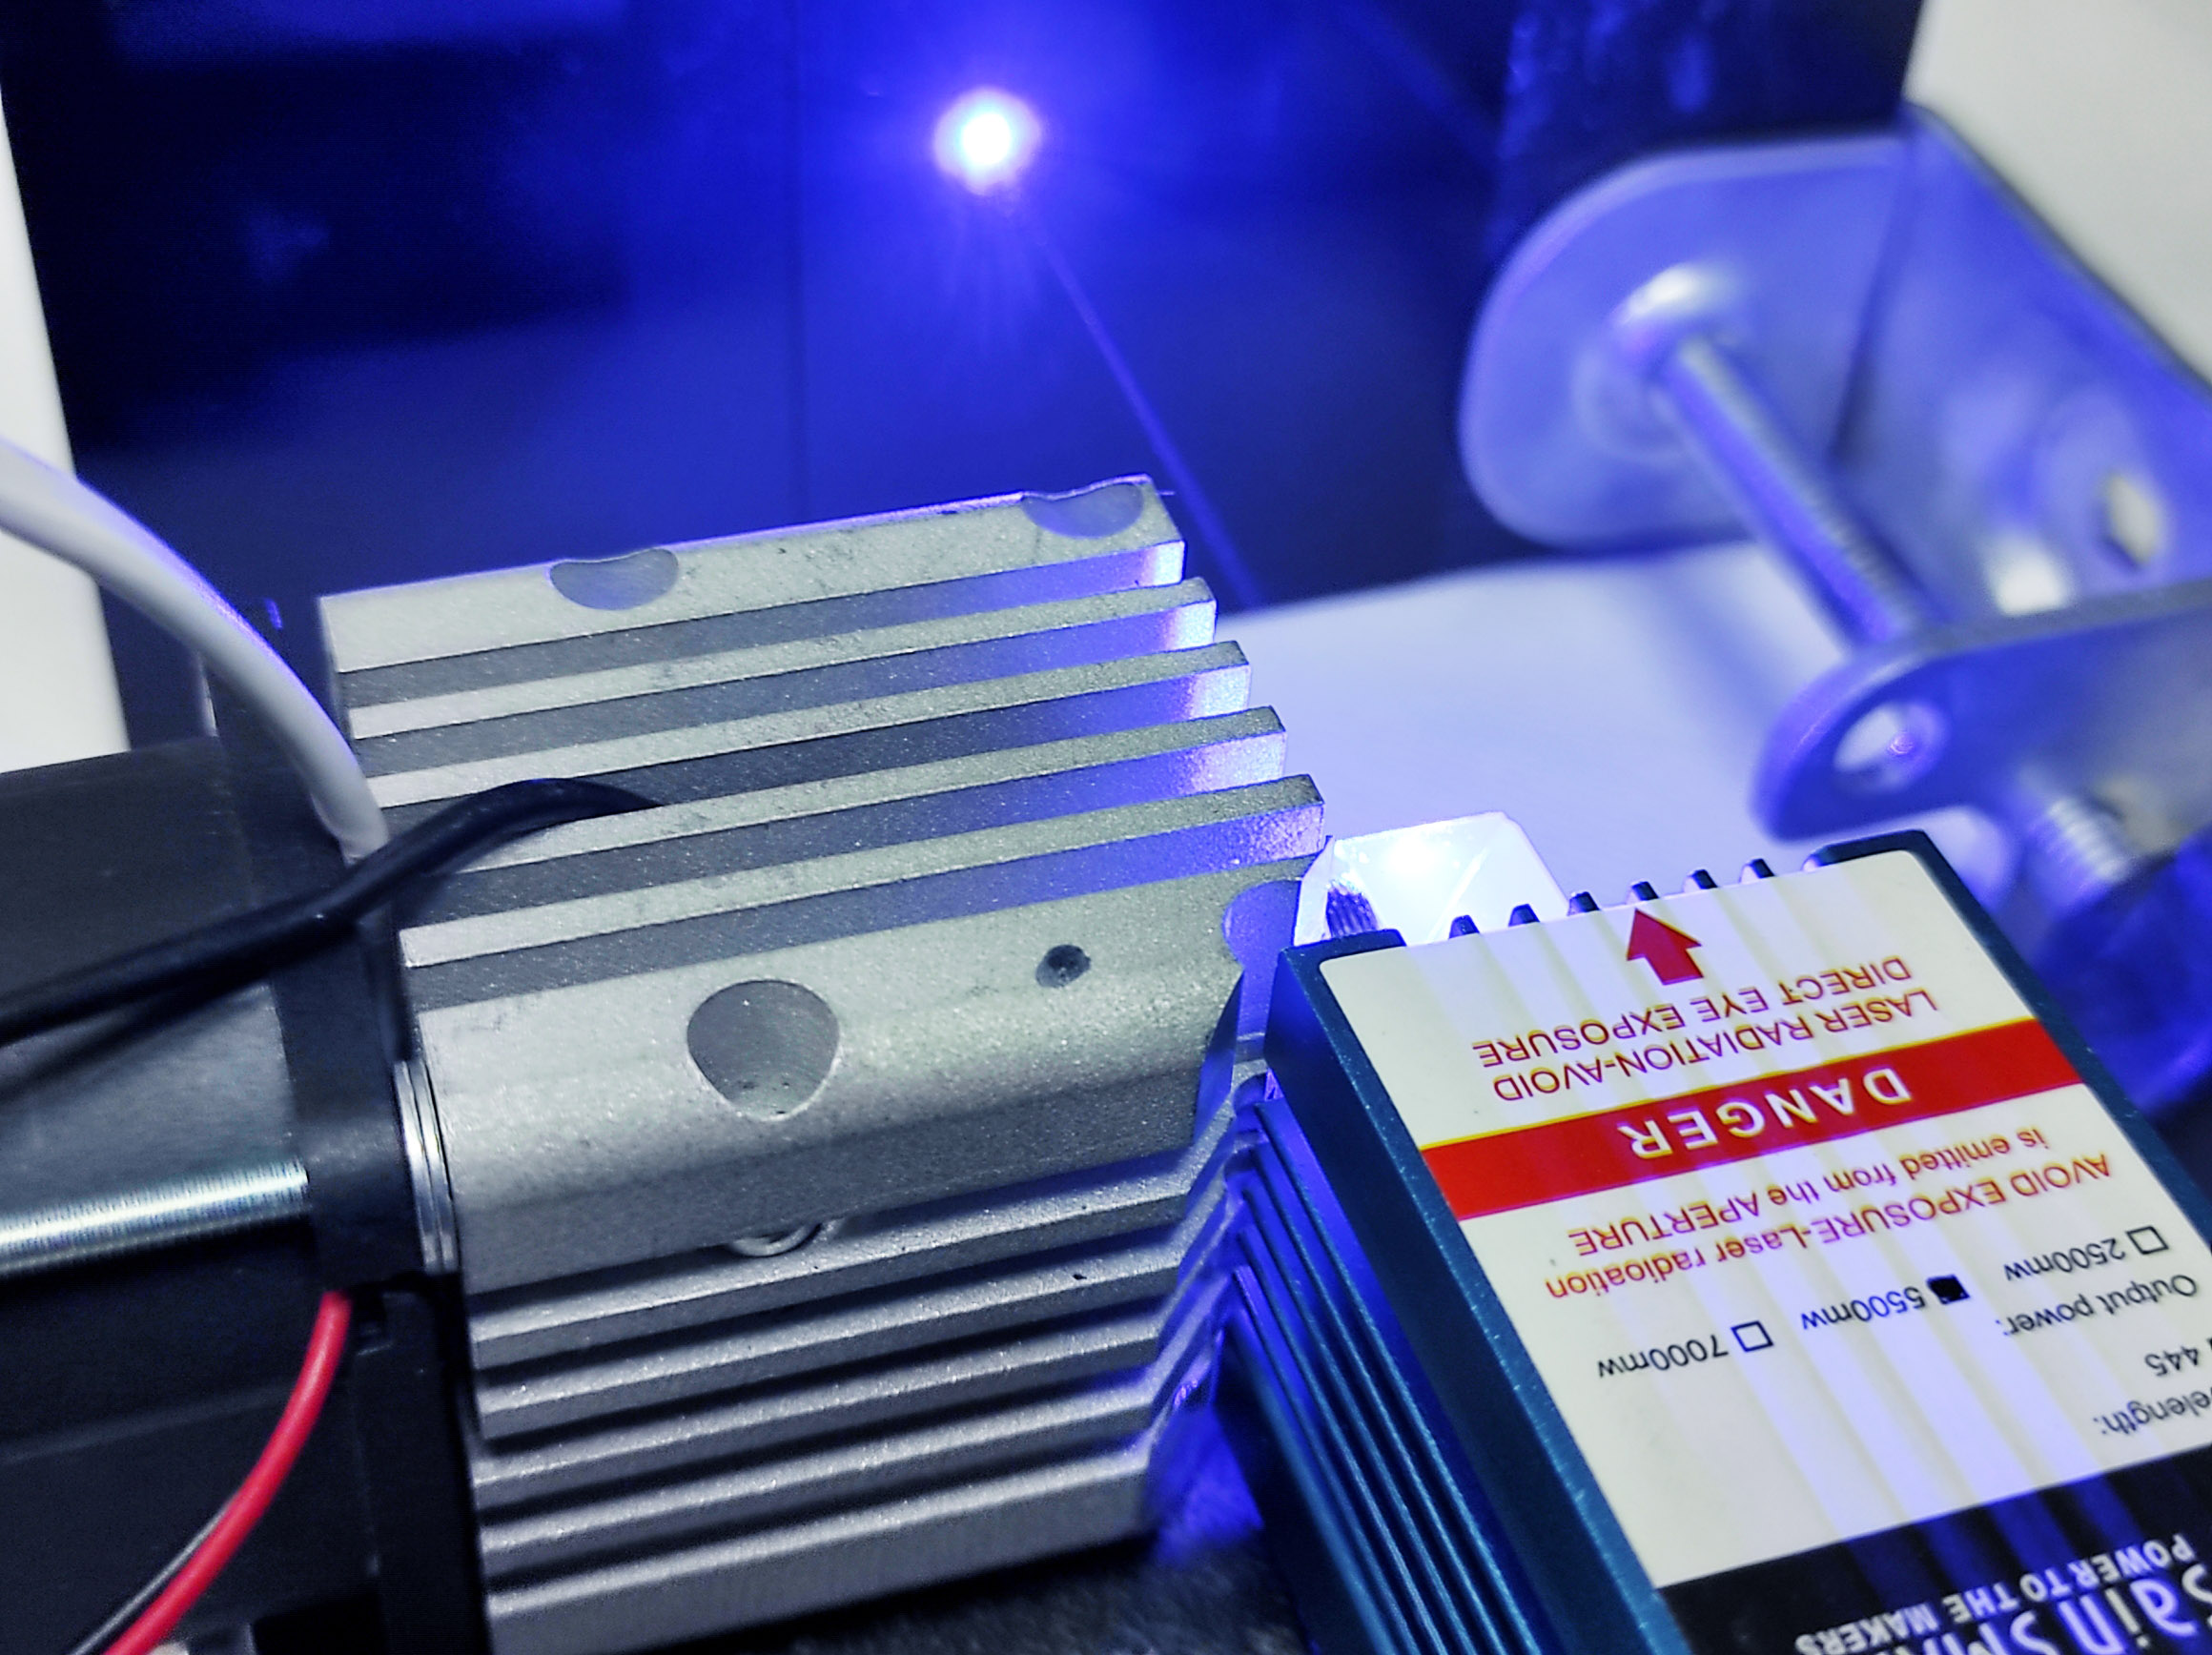
In order to assemble a combined laser from two, first of all, you need to make sure that the diode beams are located as follows

(if this is not the case, you need to unscrew the case and the radiator and twirl the diode until the rays are in the desired position)
After that, you can print the fasteners on a 3D printer (or come up with your own fastener) https://www.thingiverse.com/thing:4566250
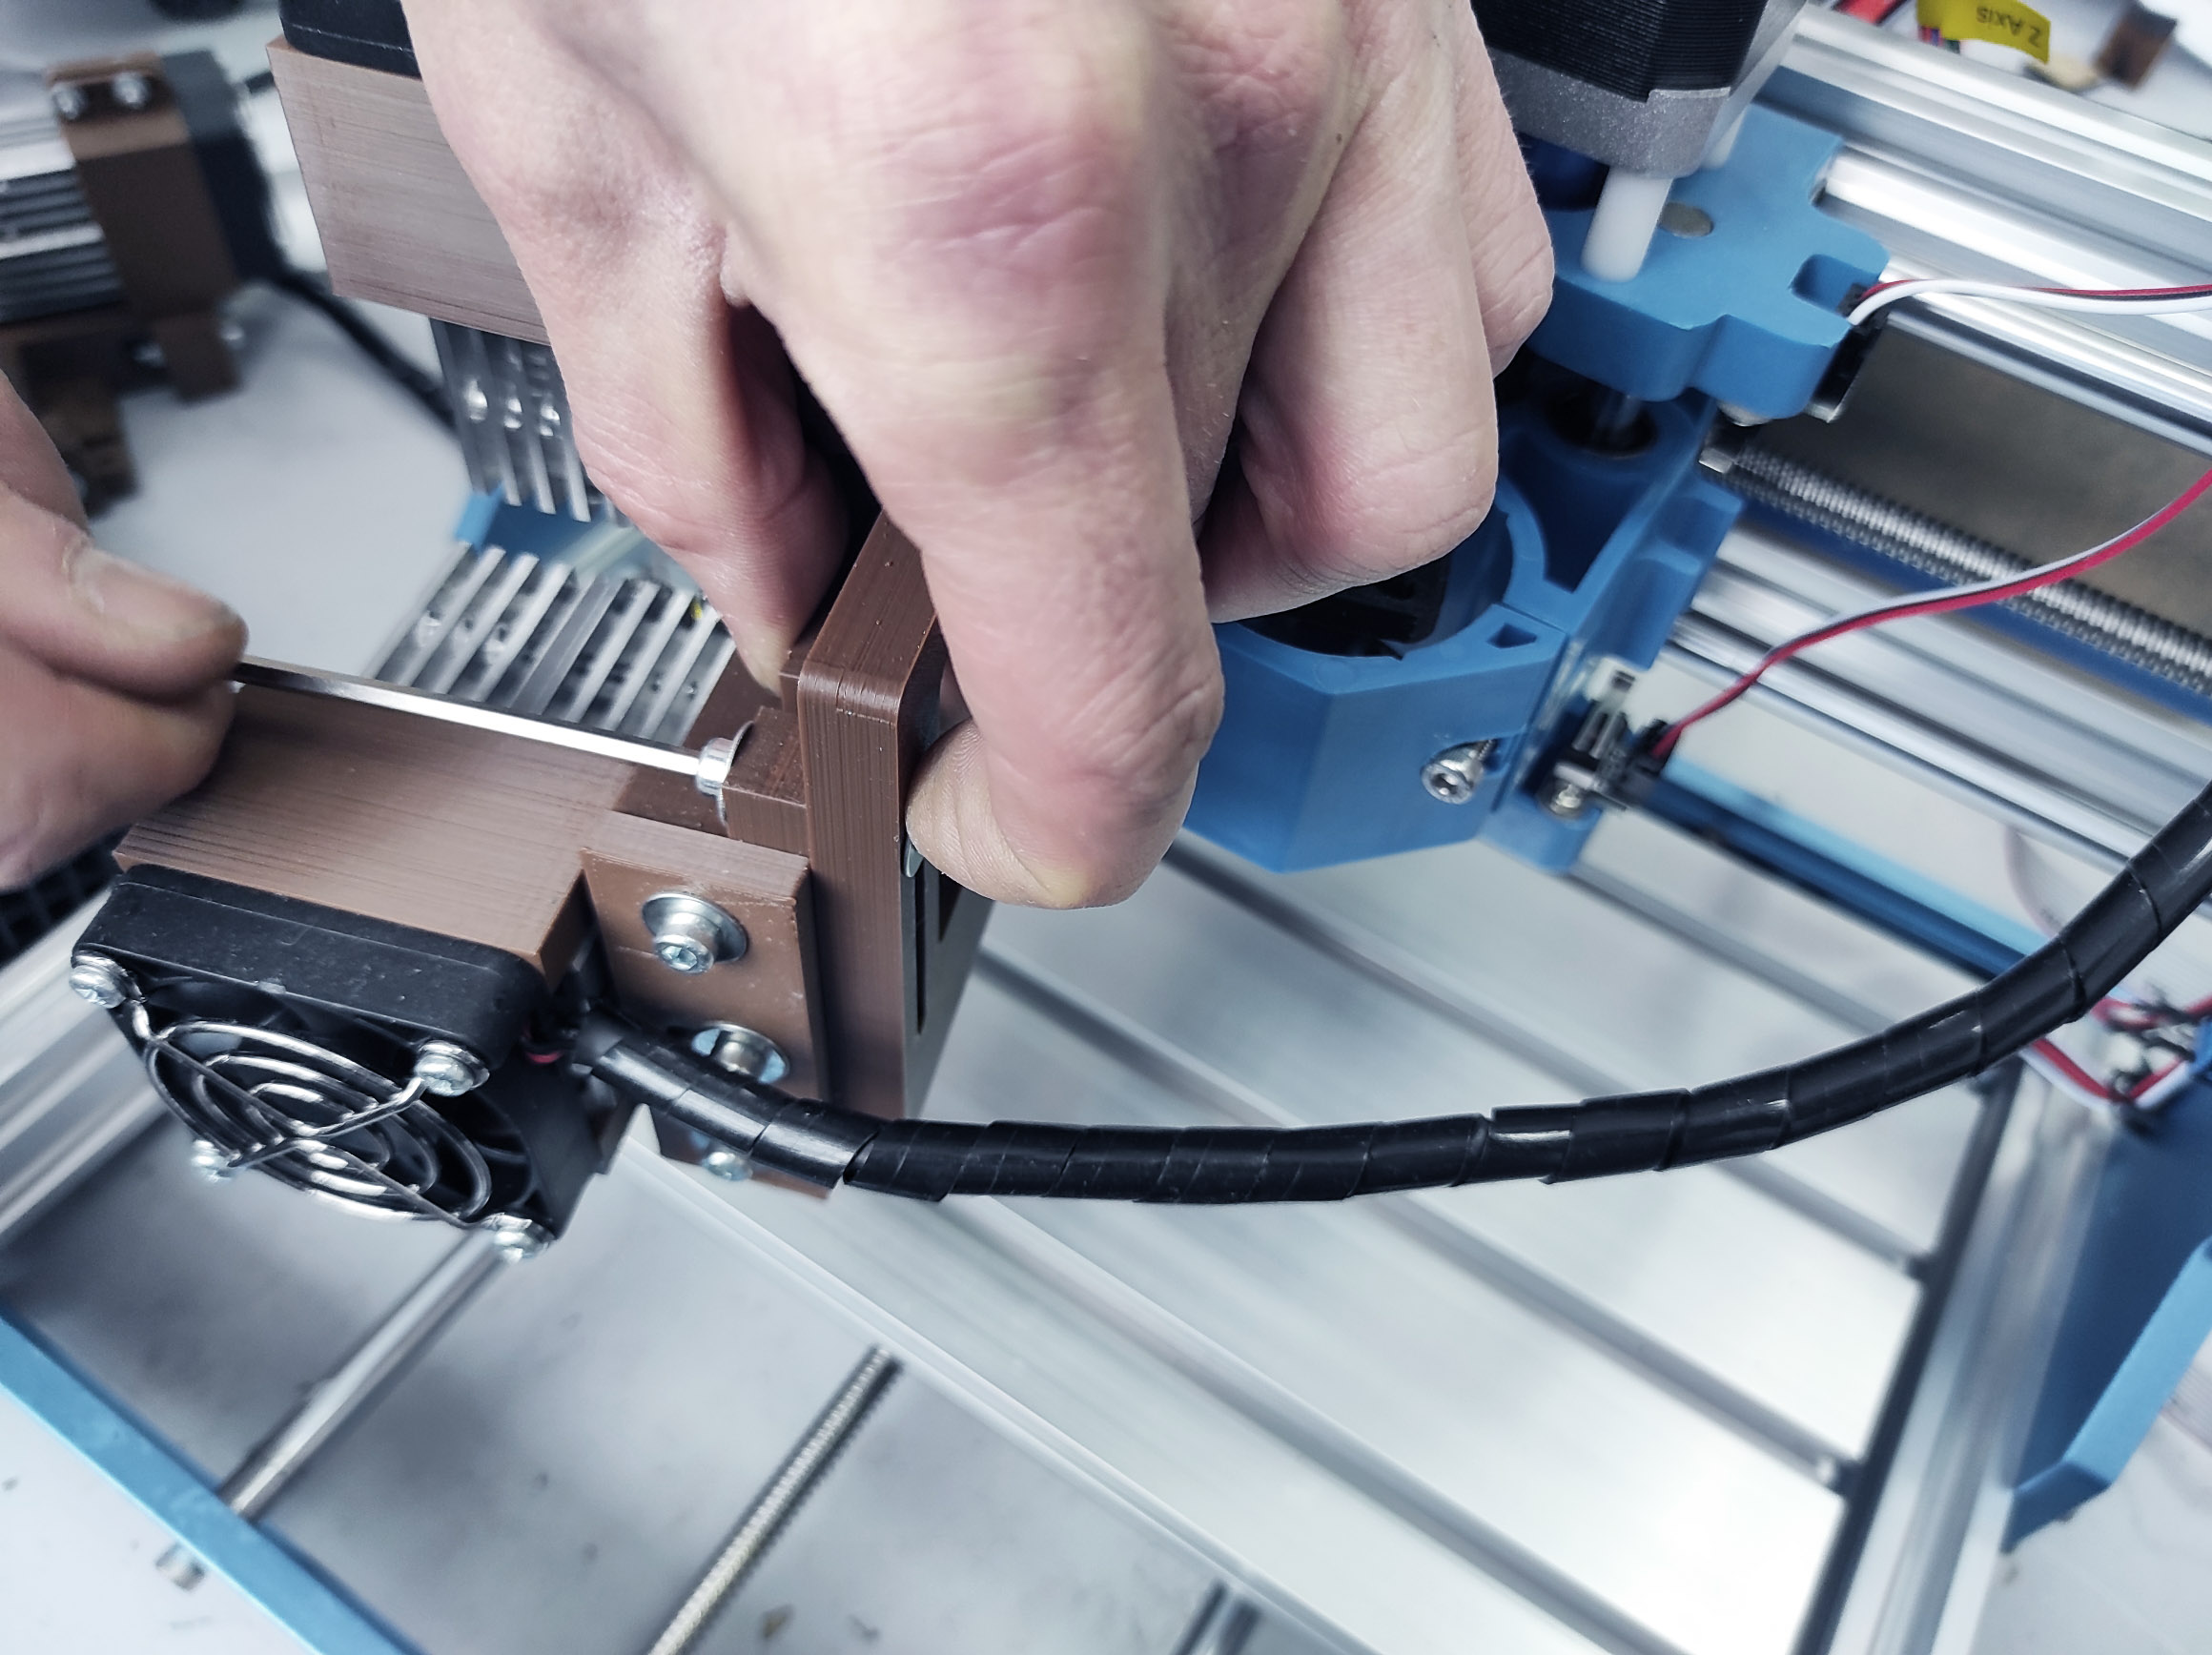
Then follow the instructions:

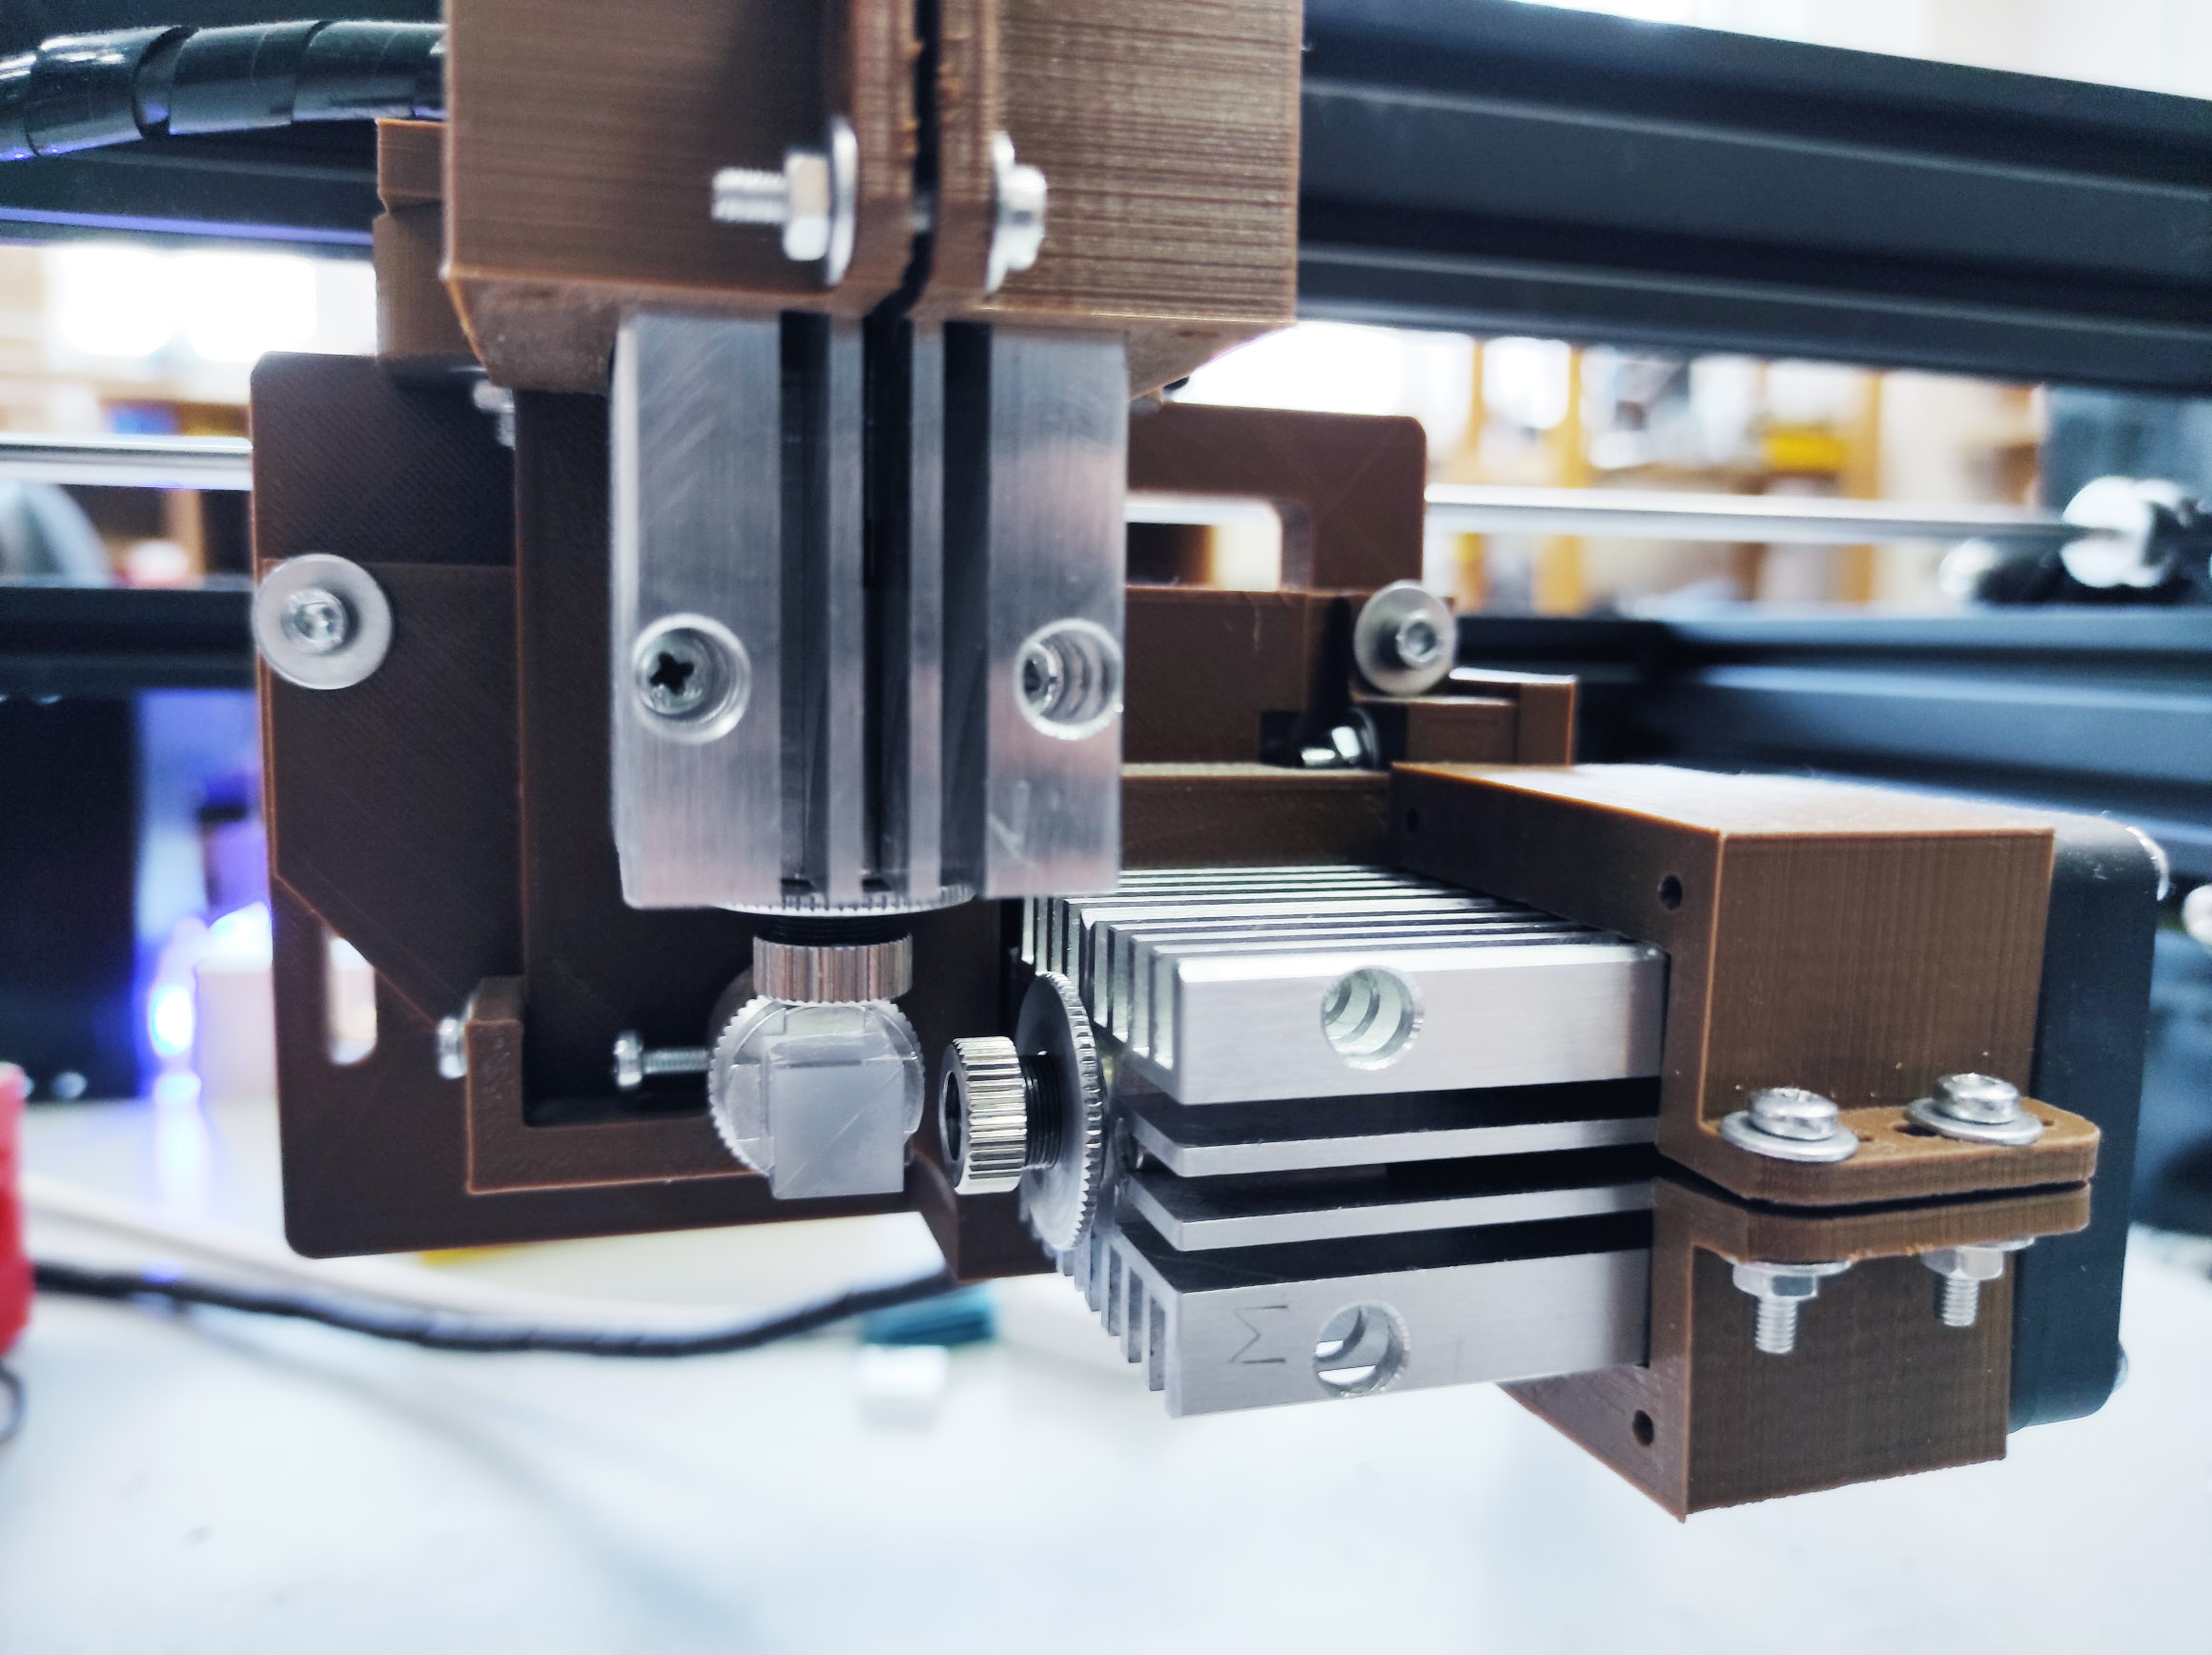
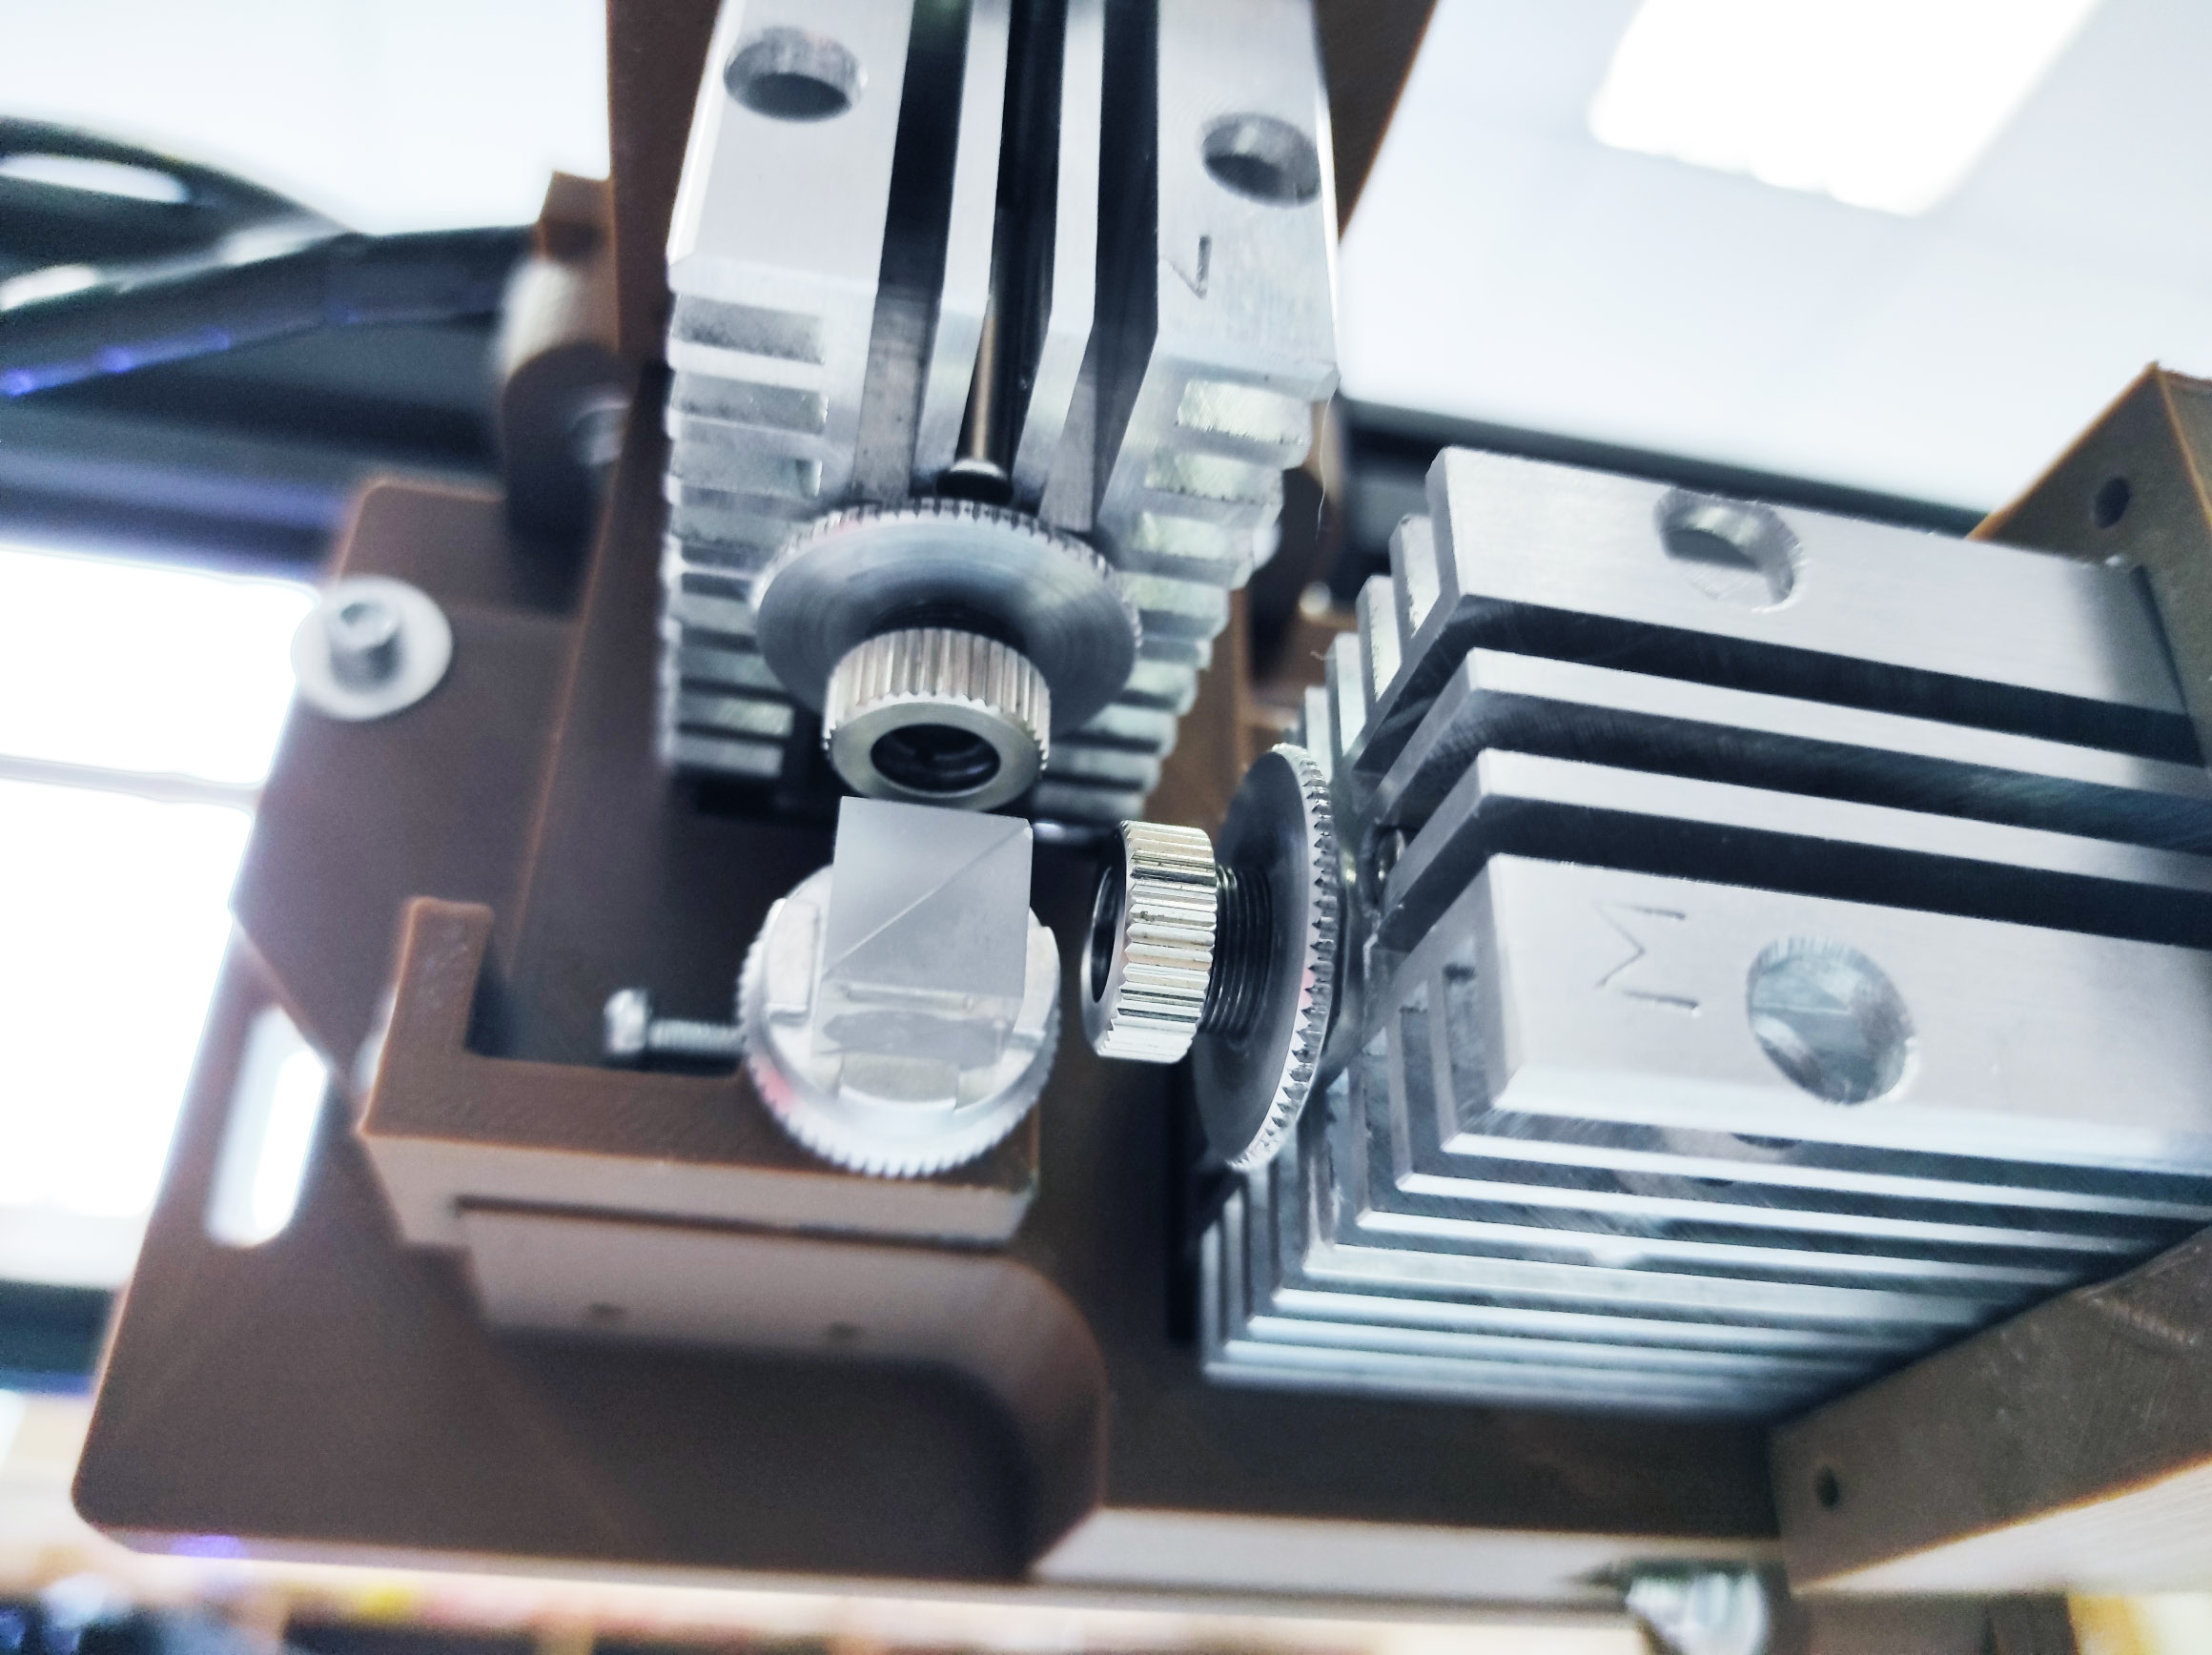
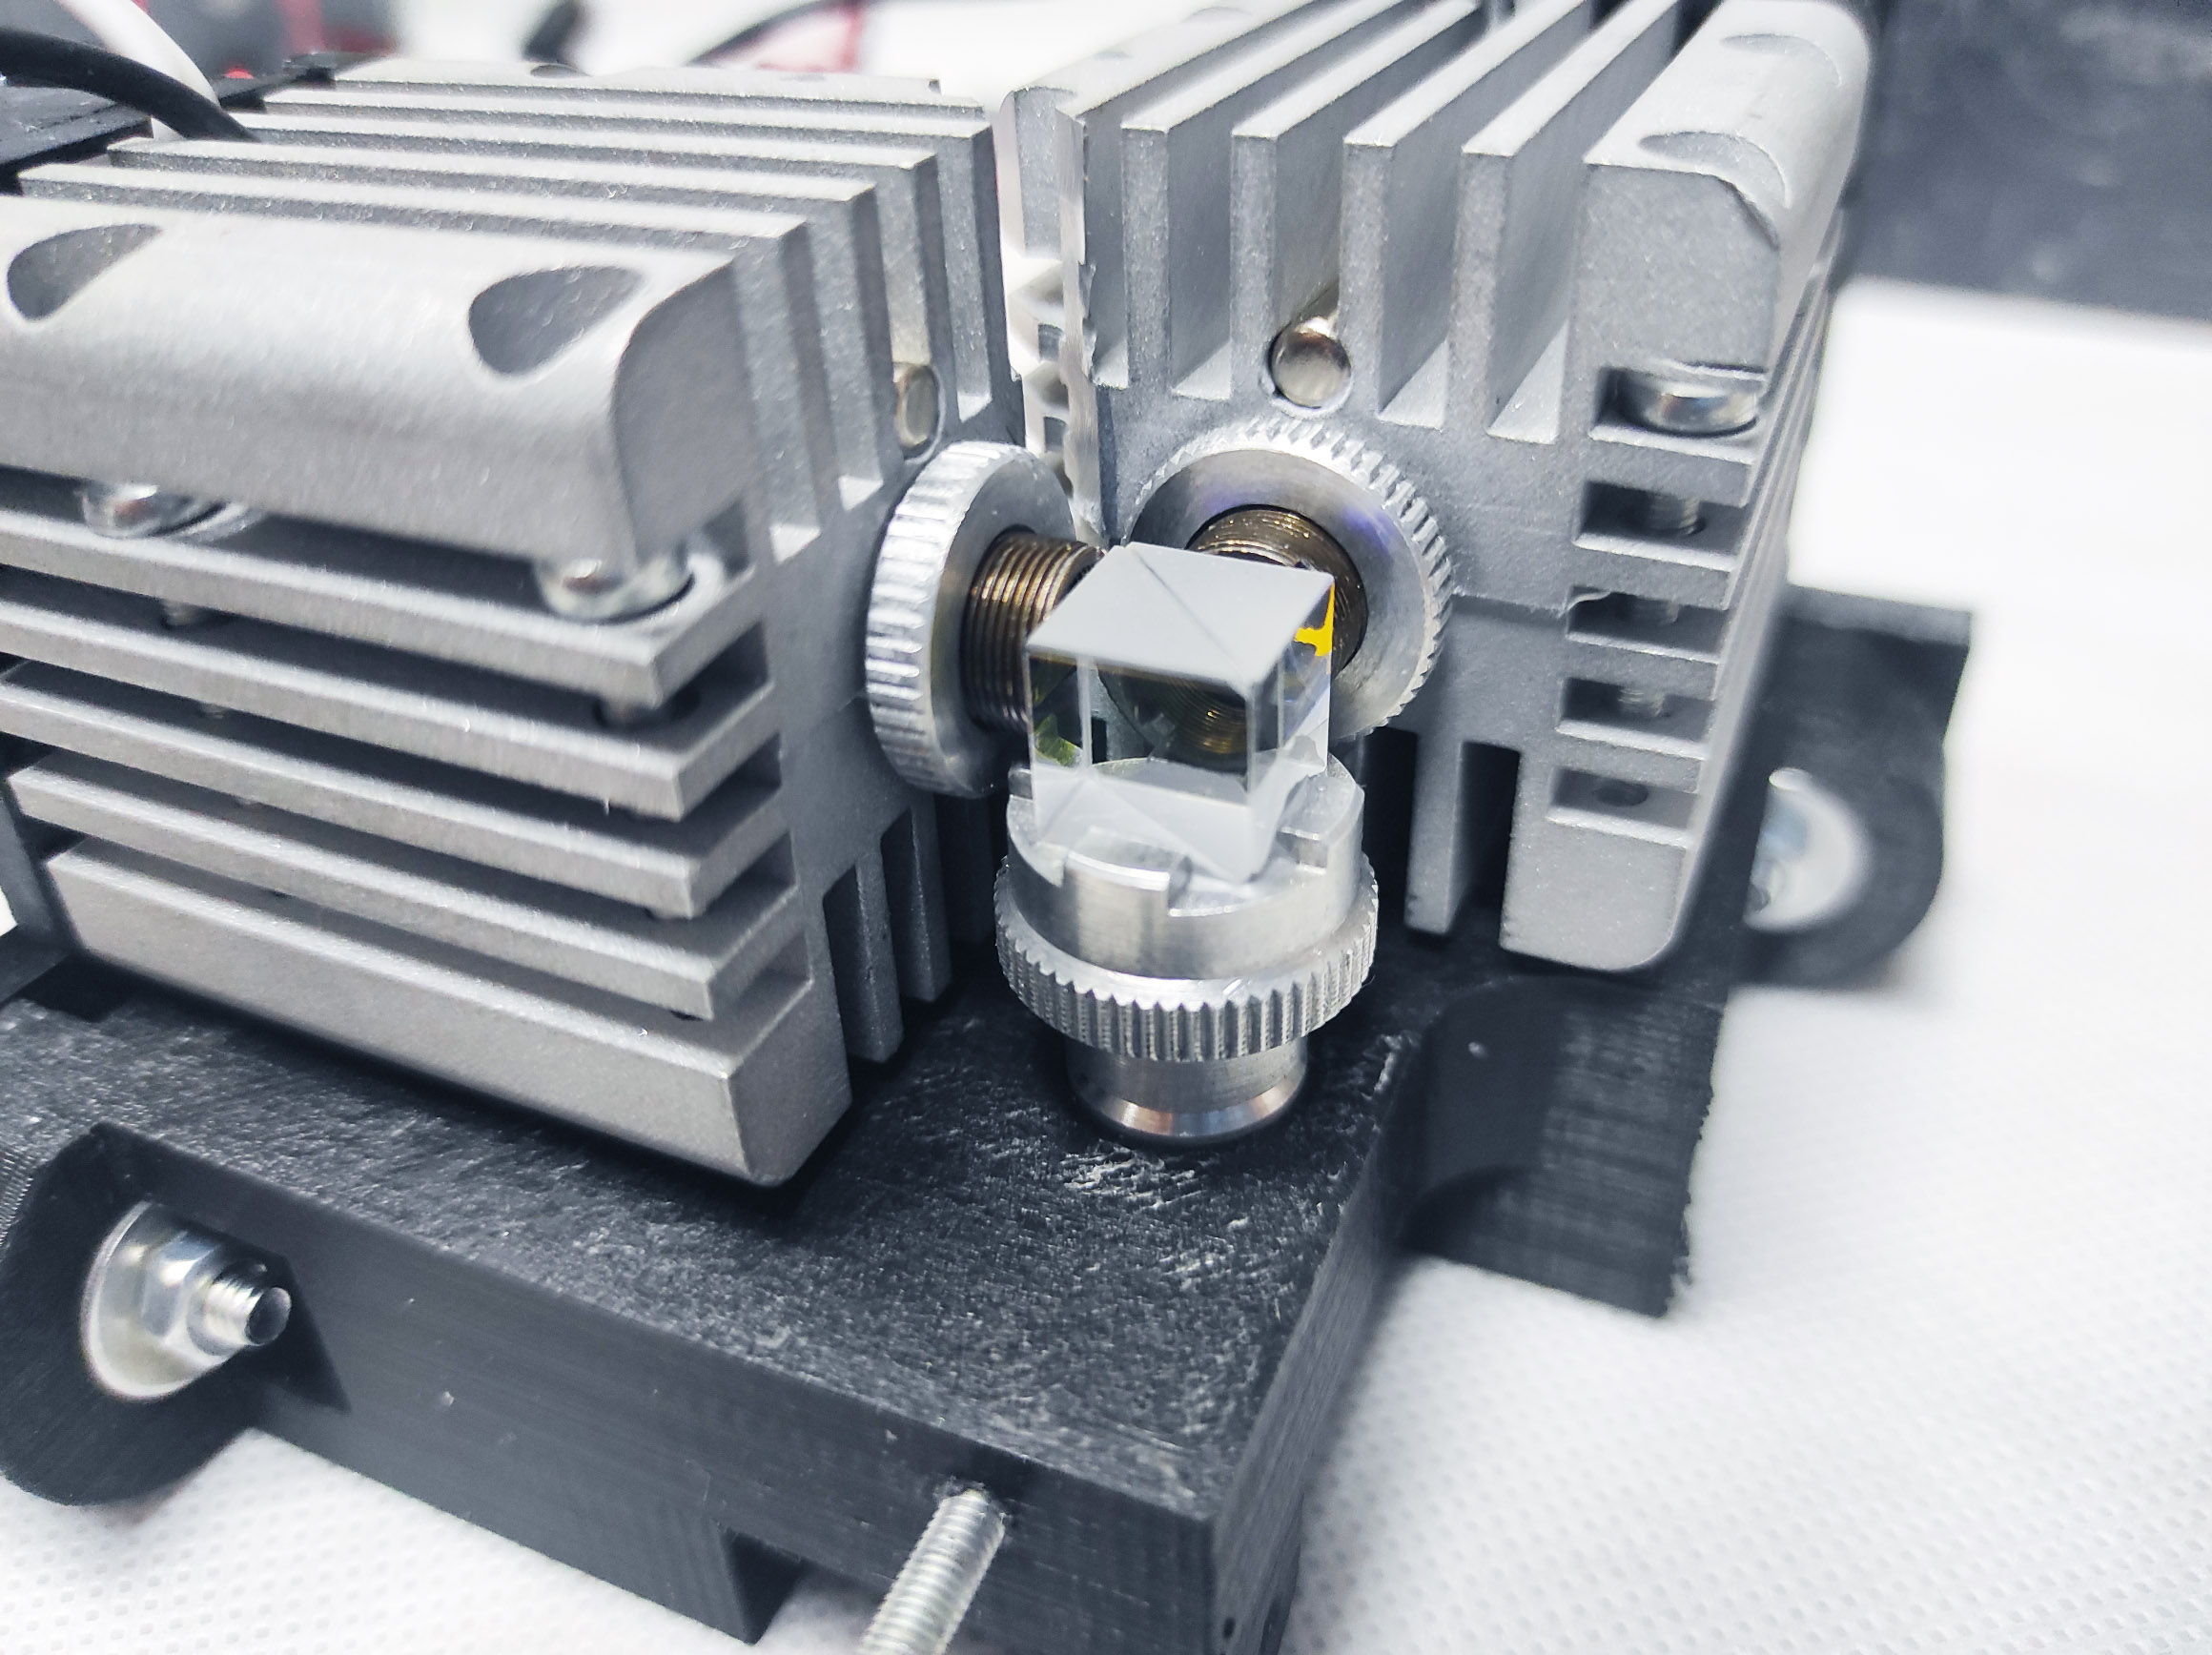
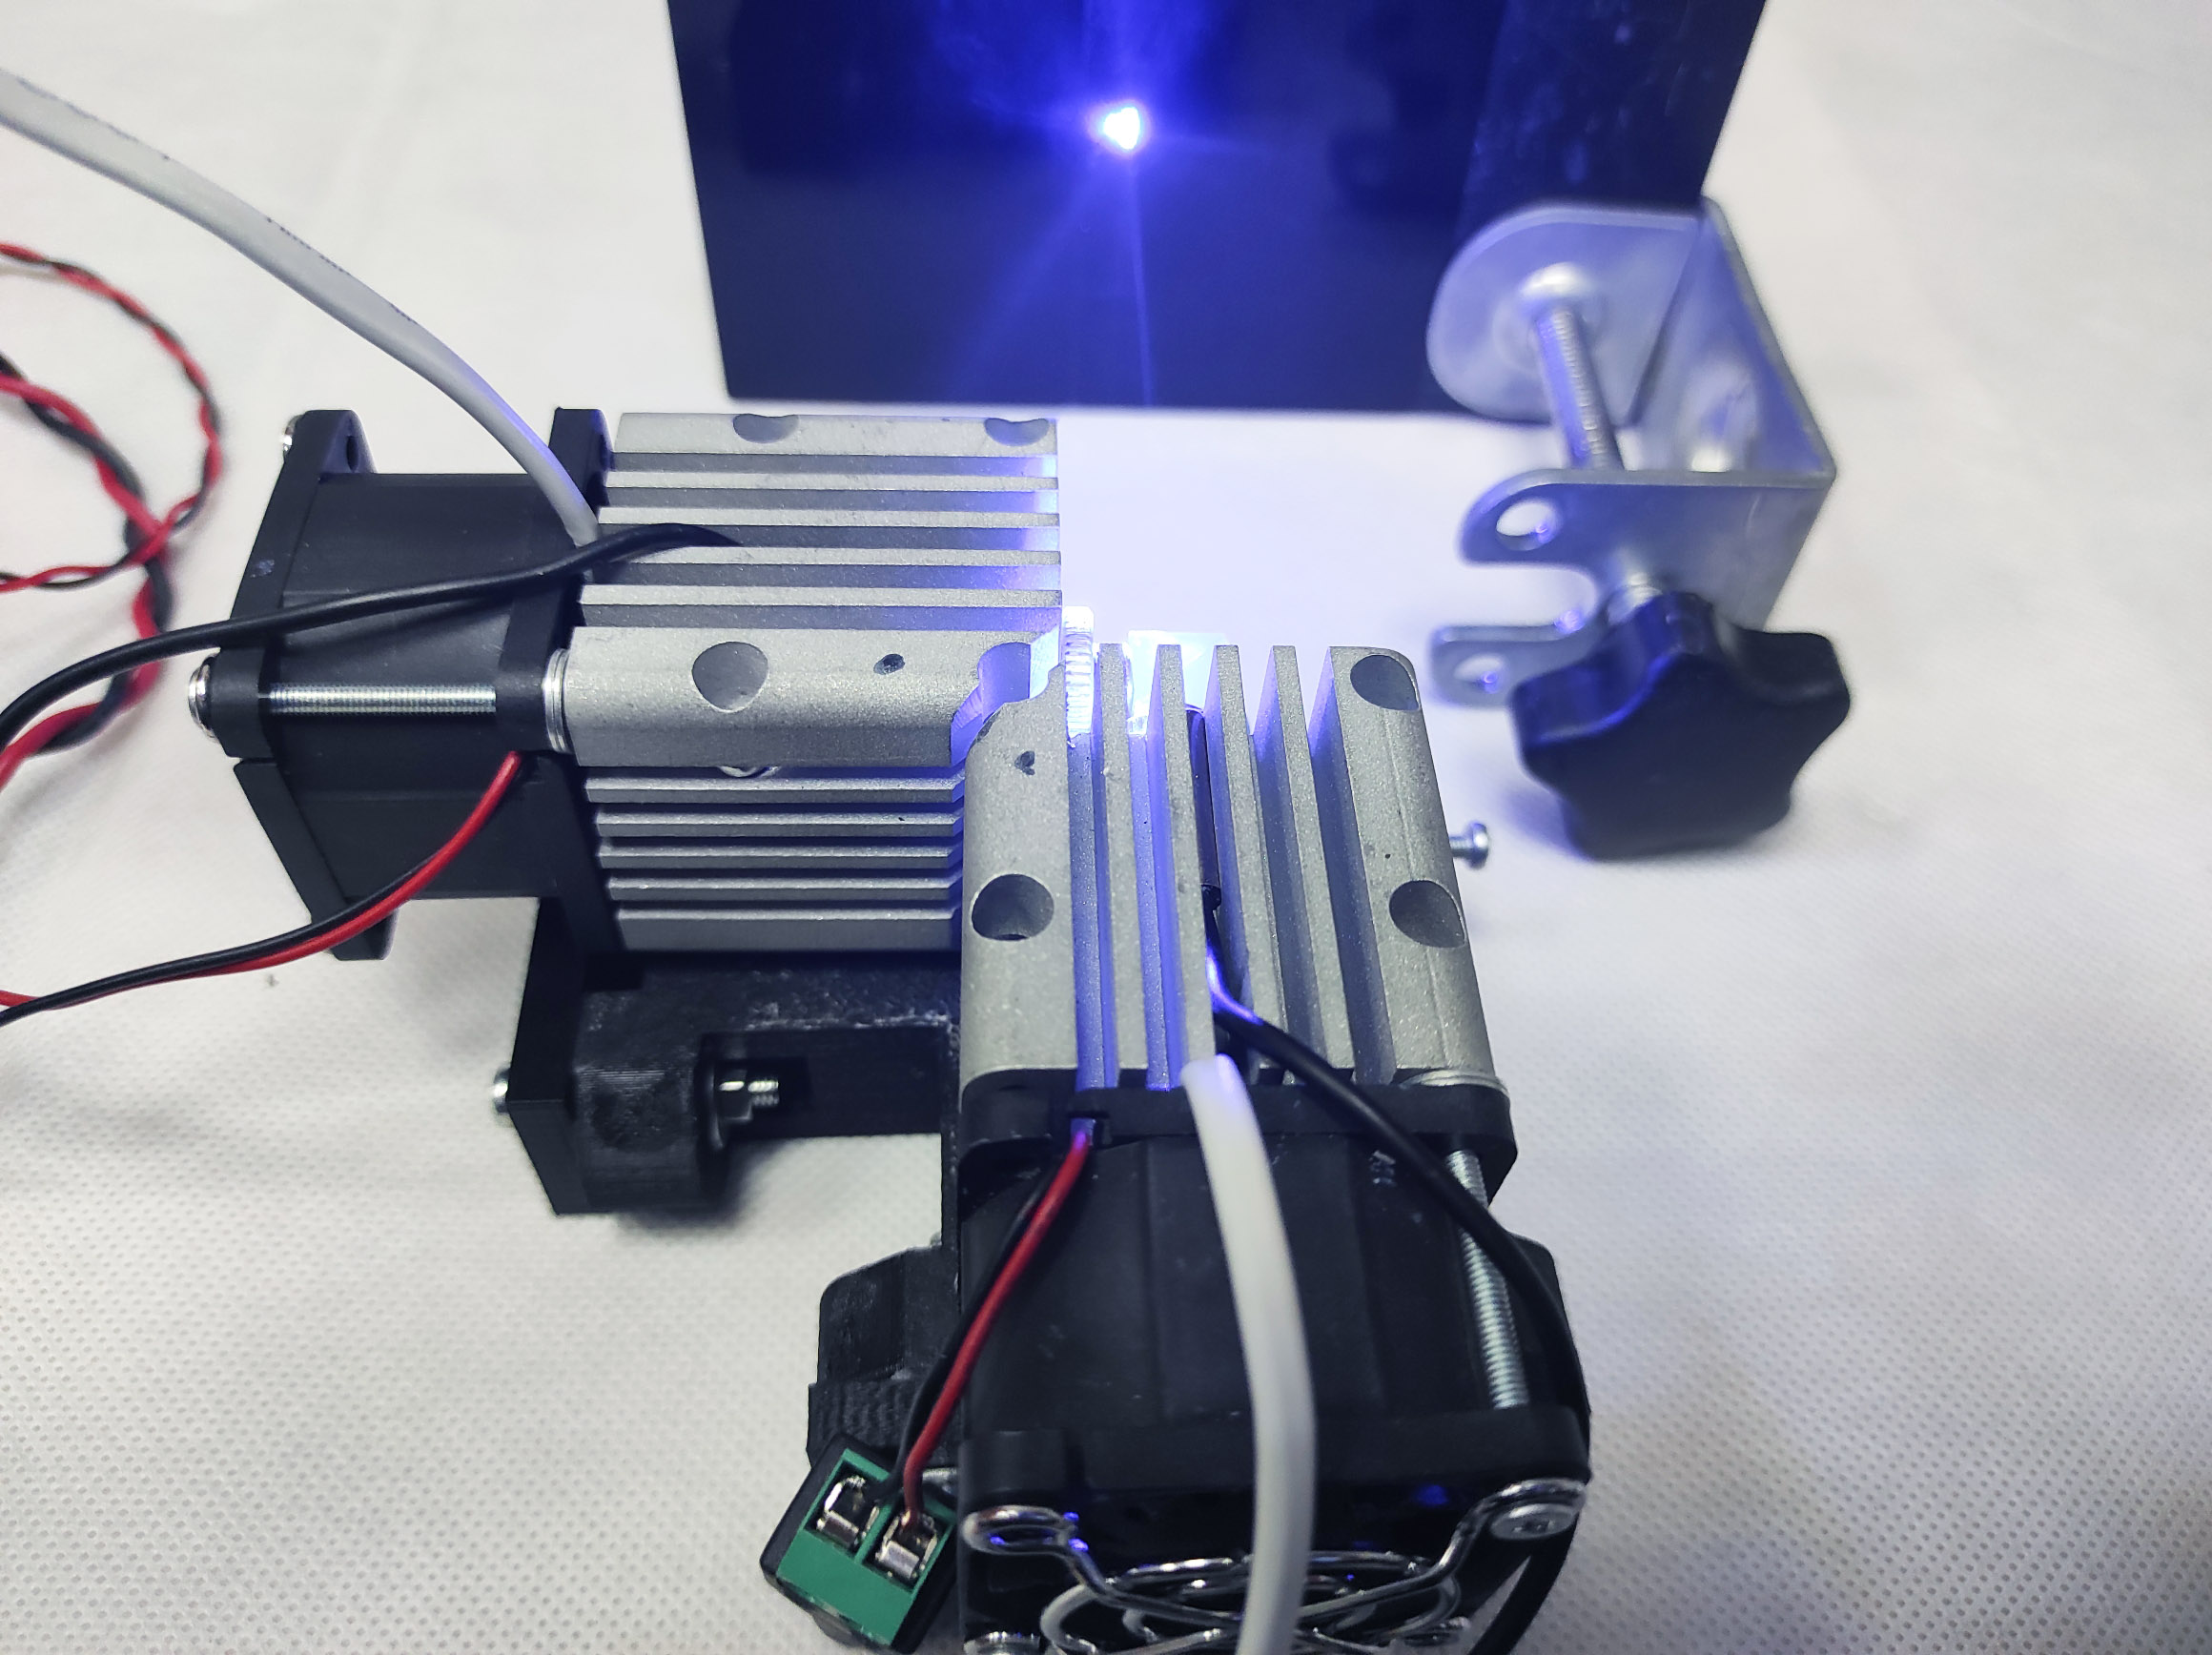
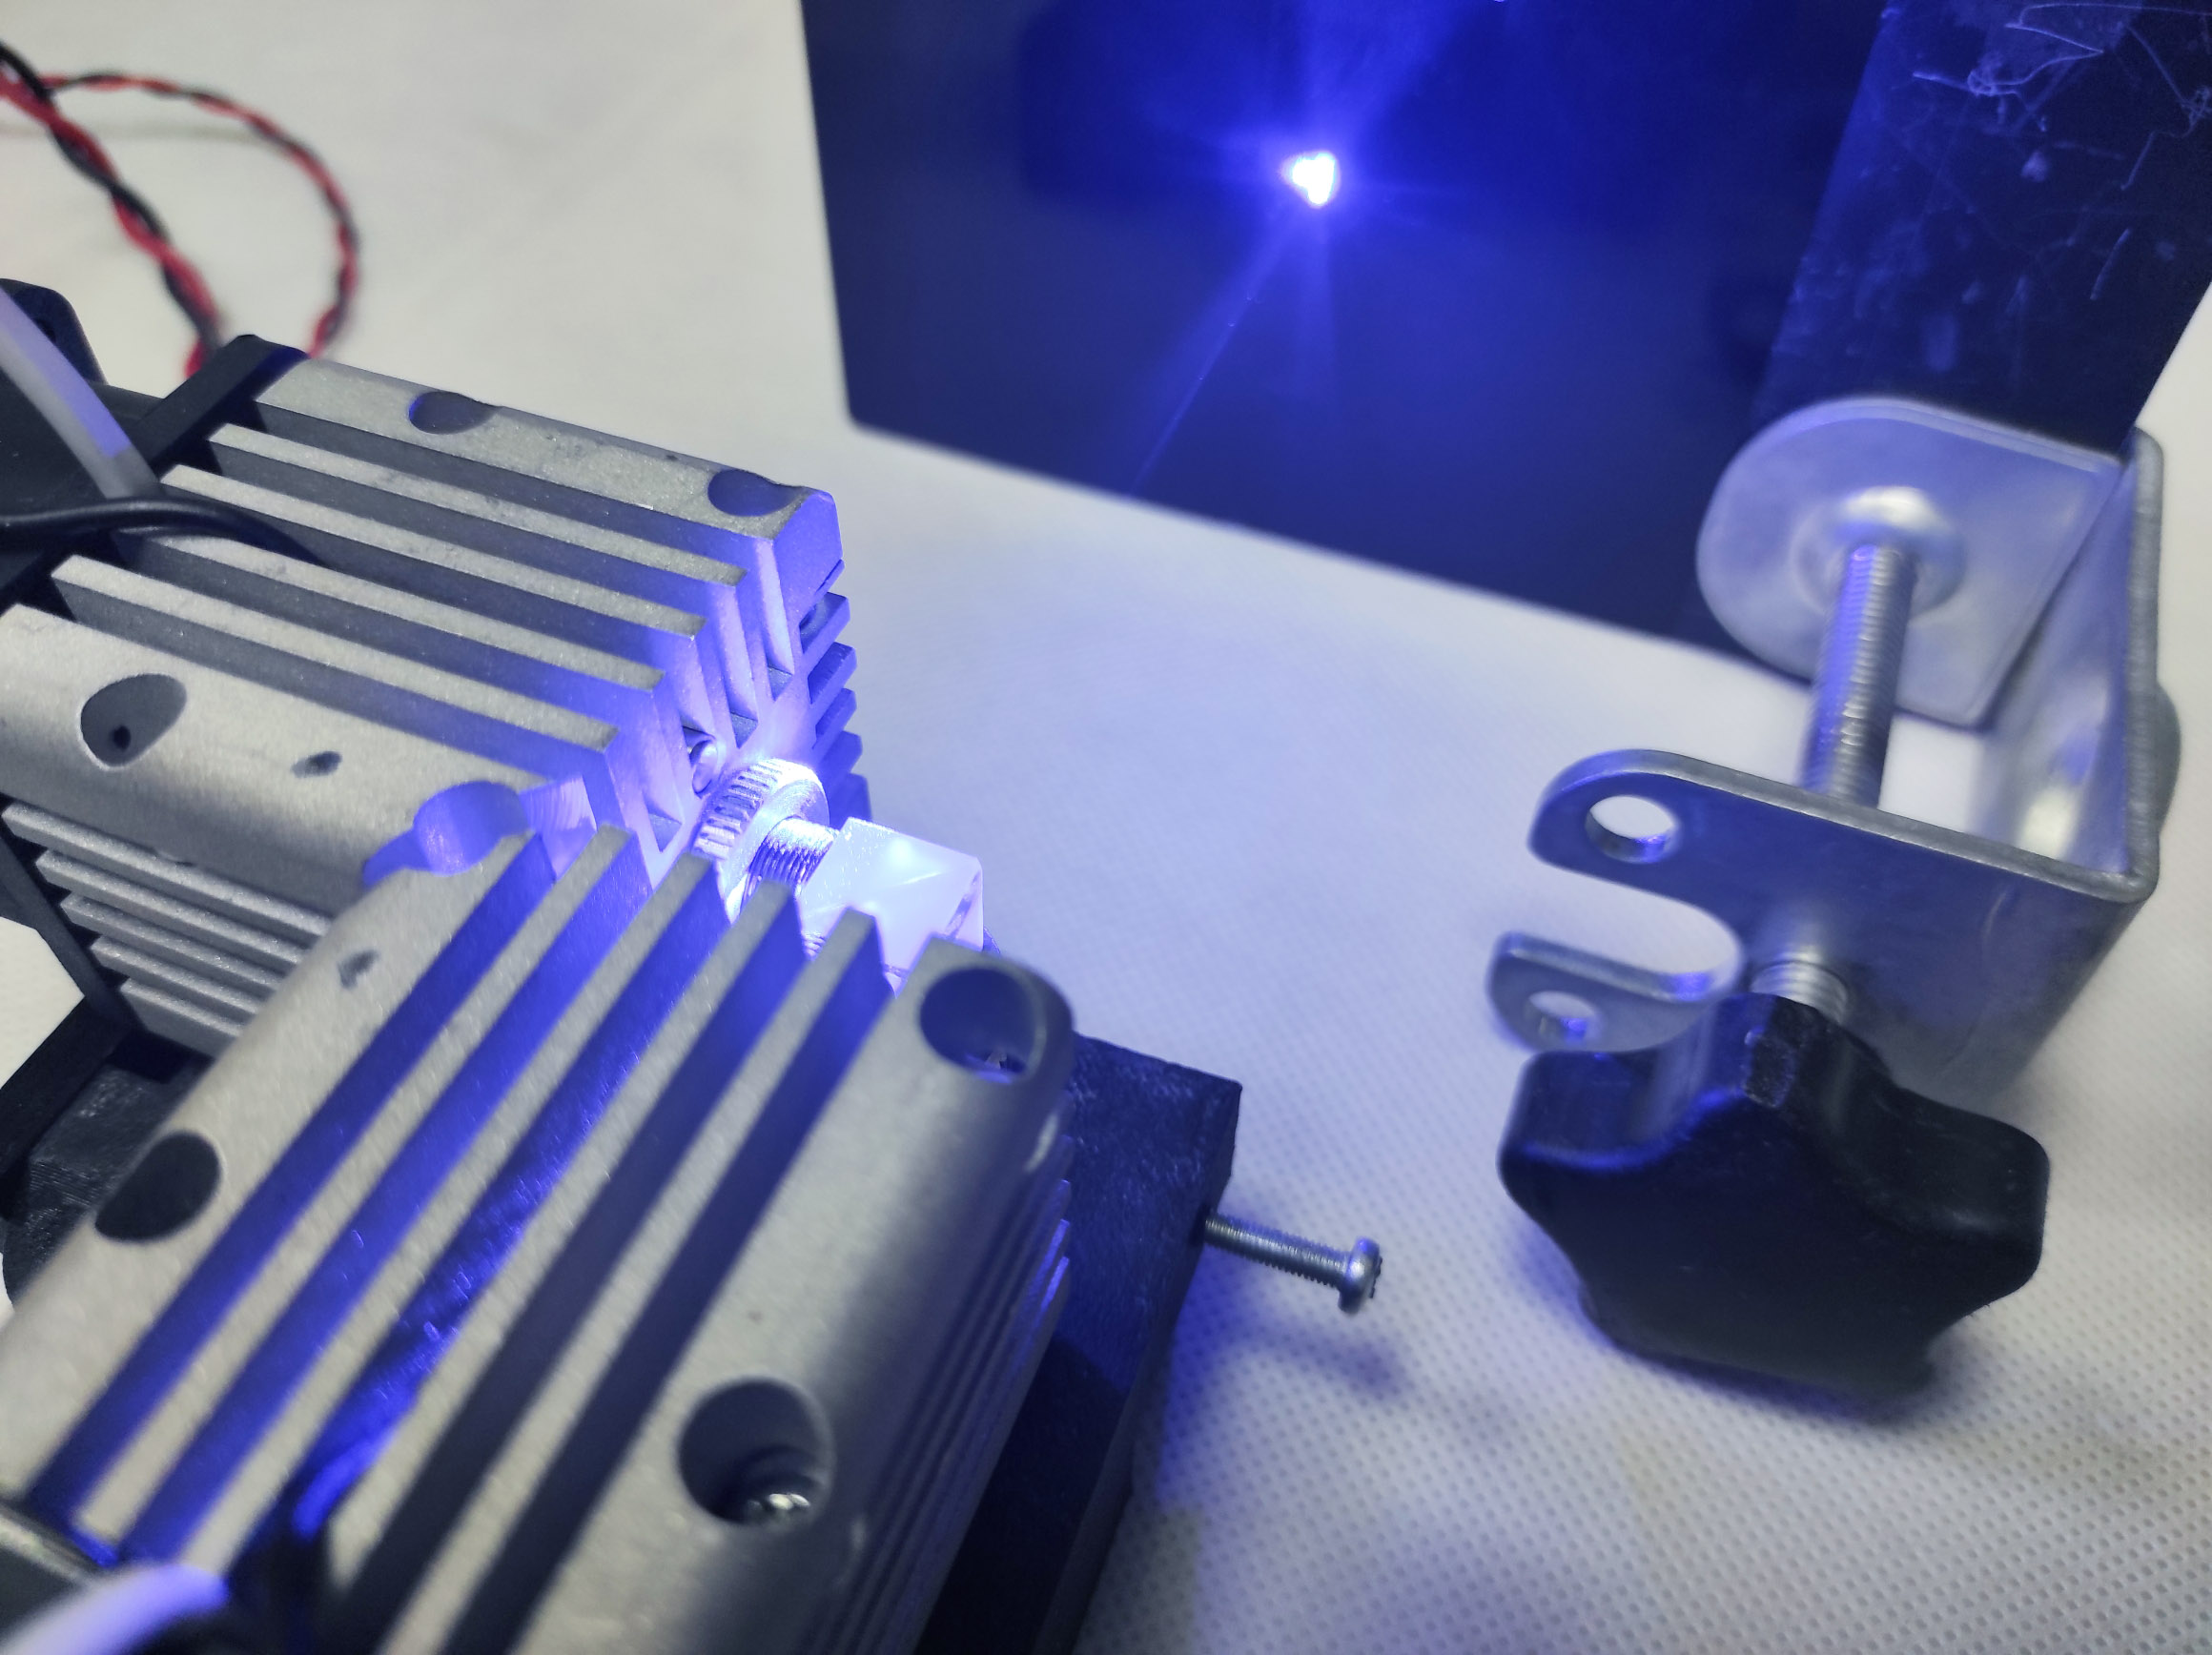
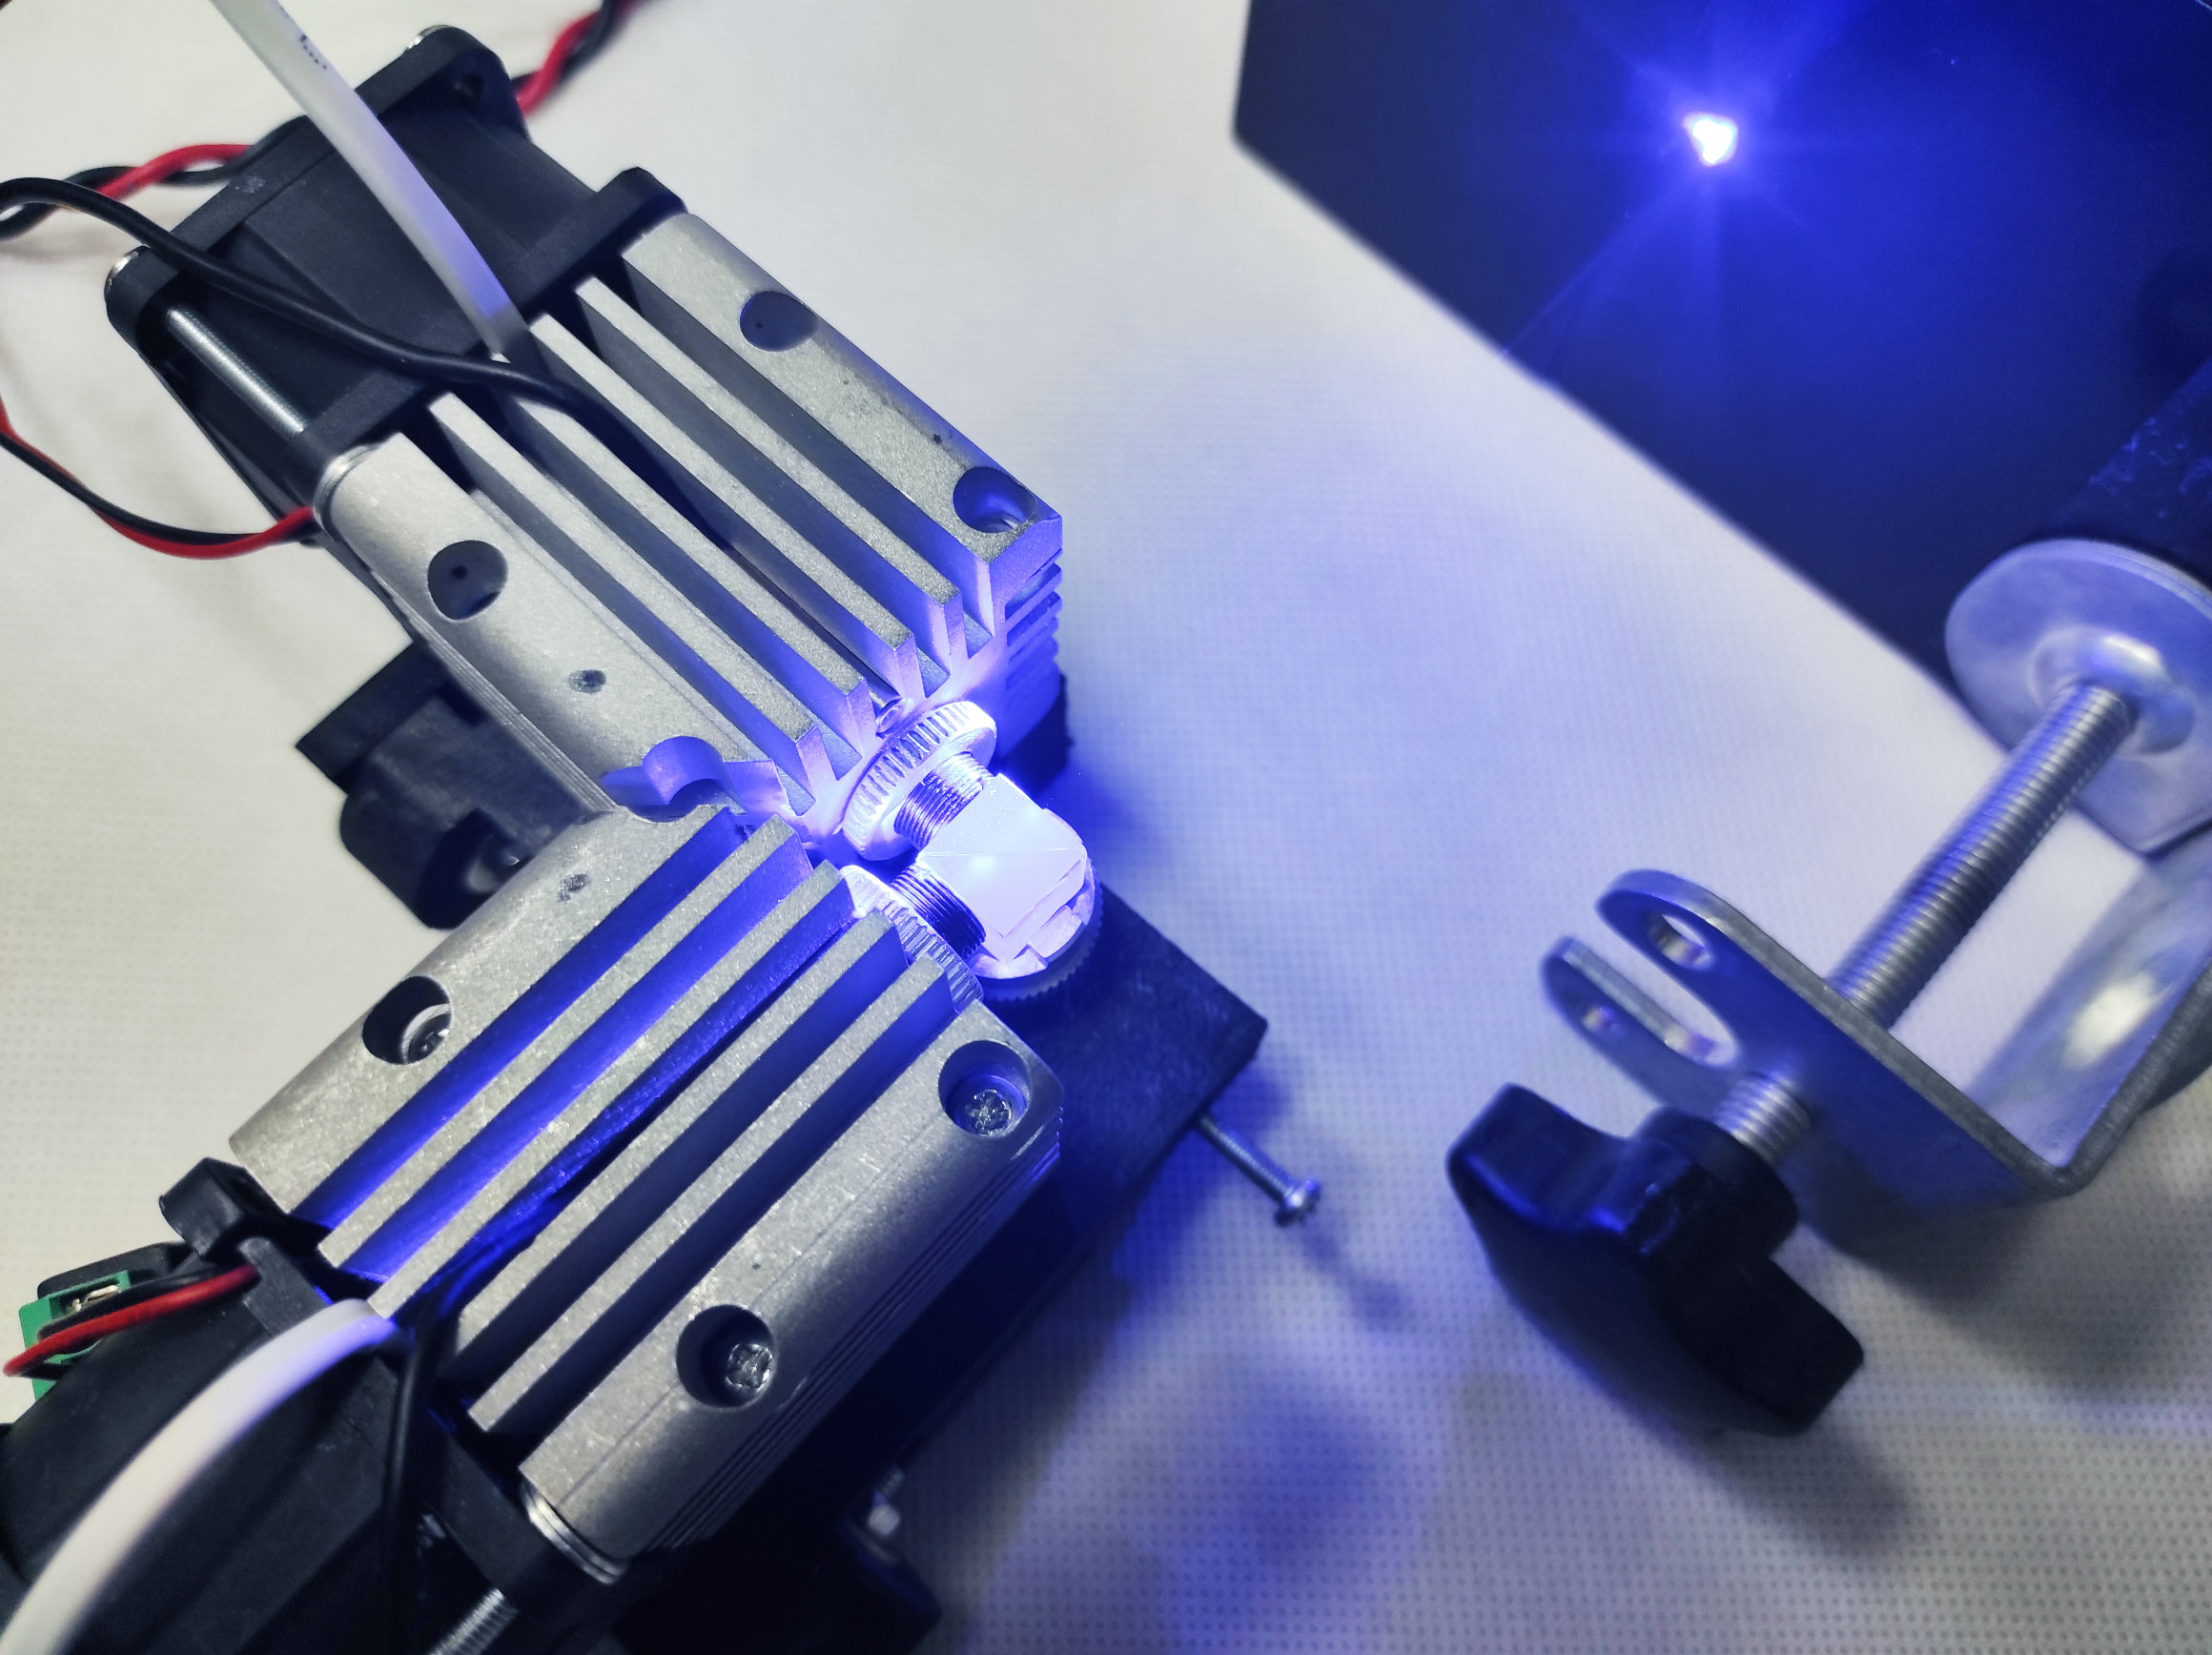
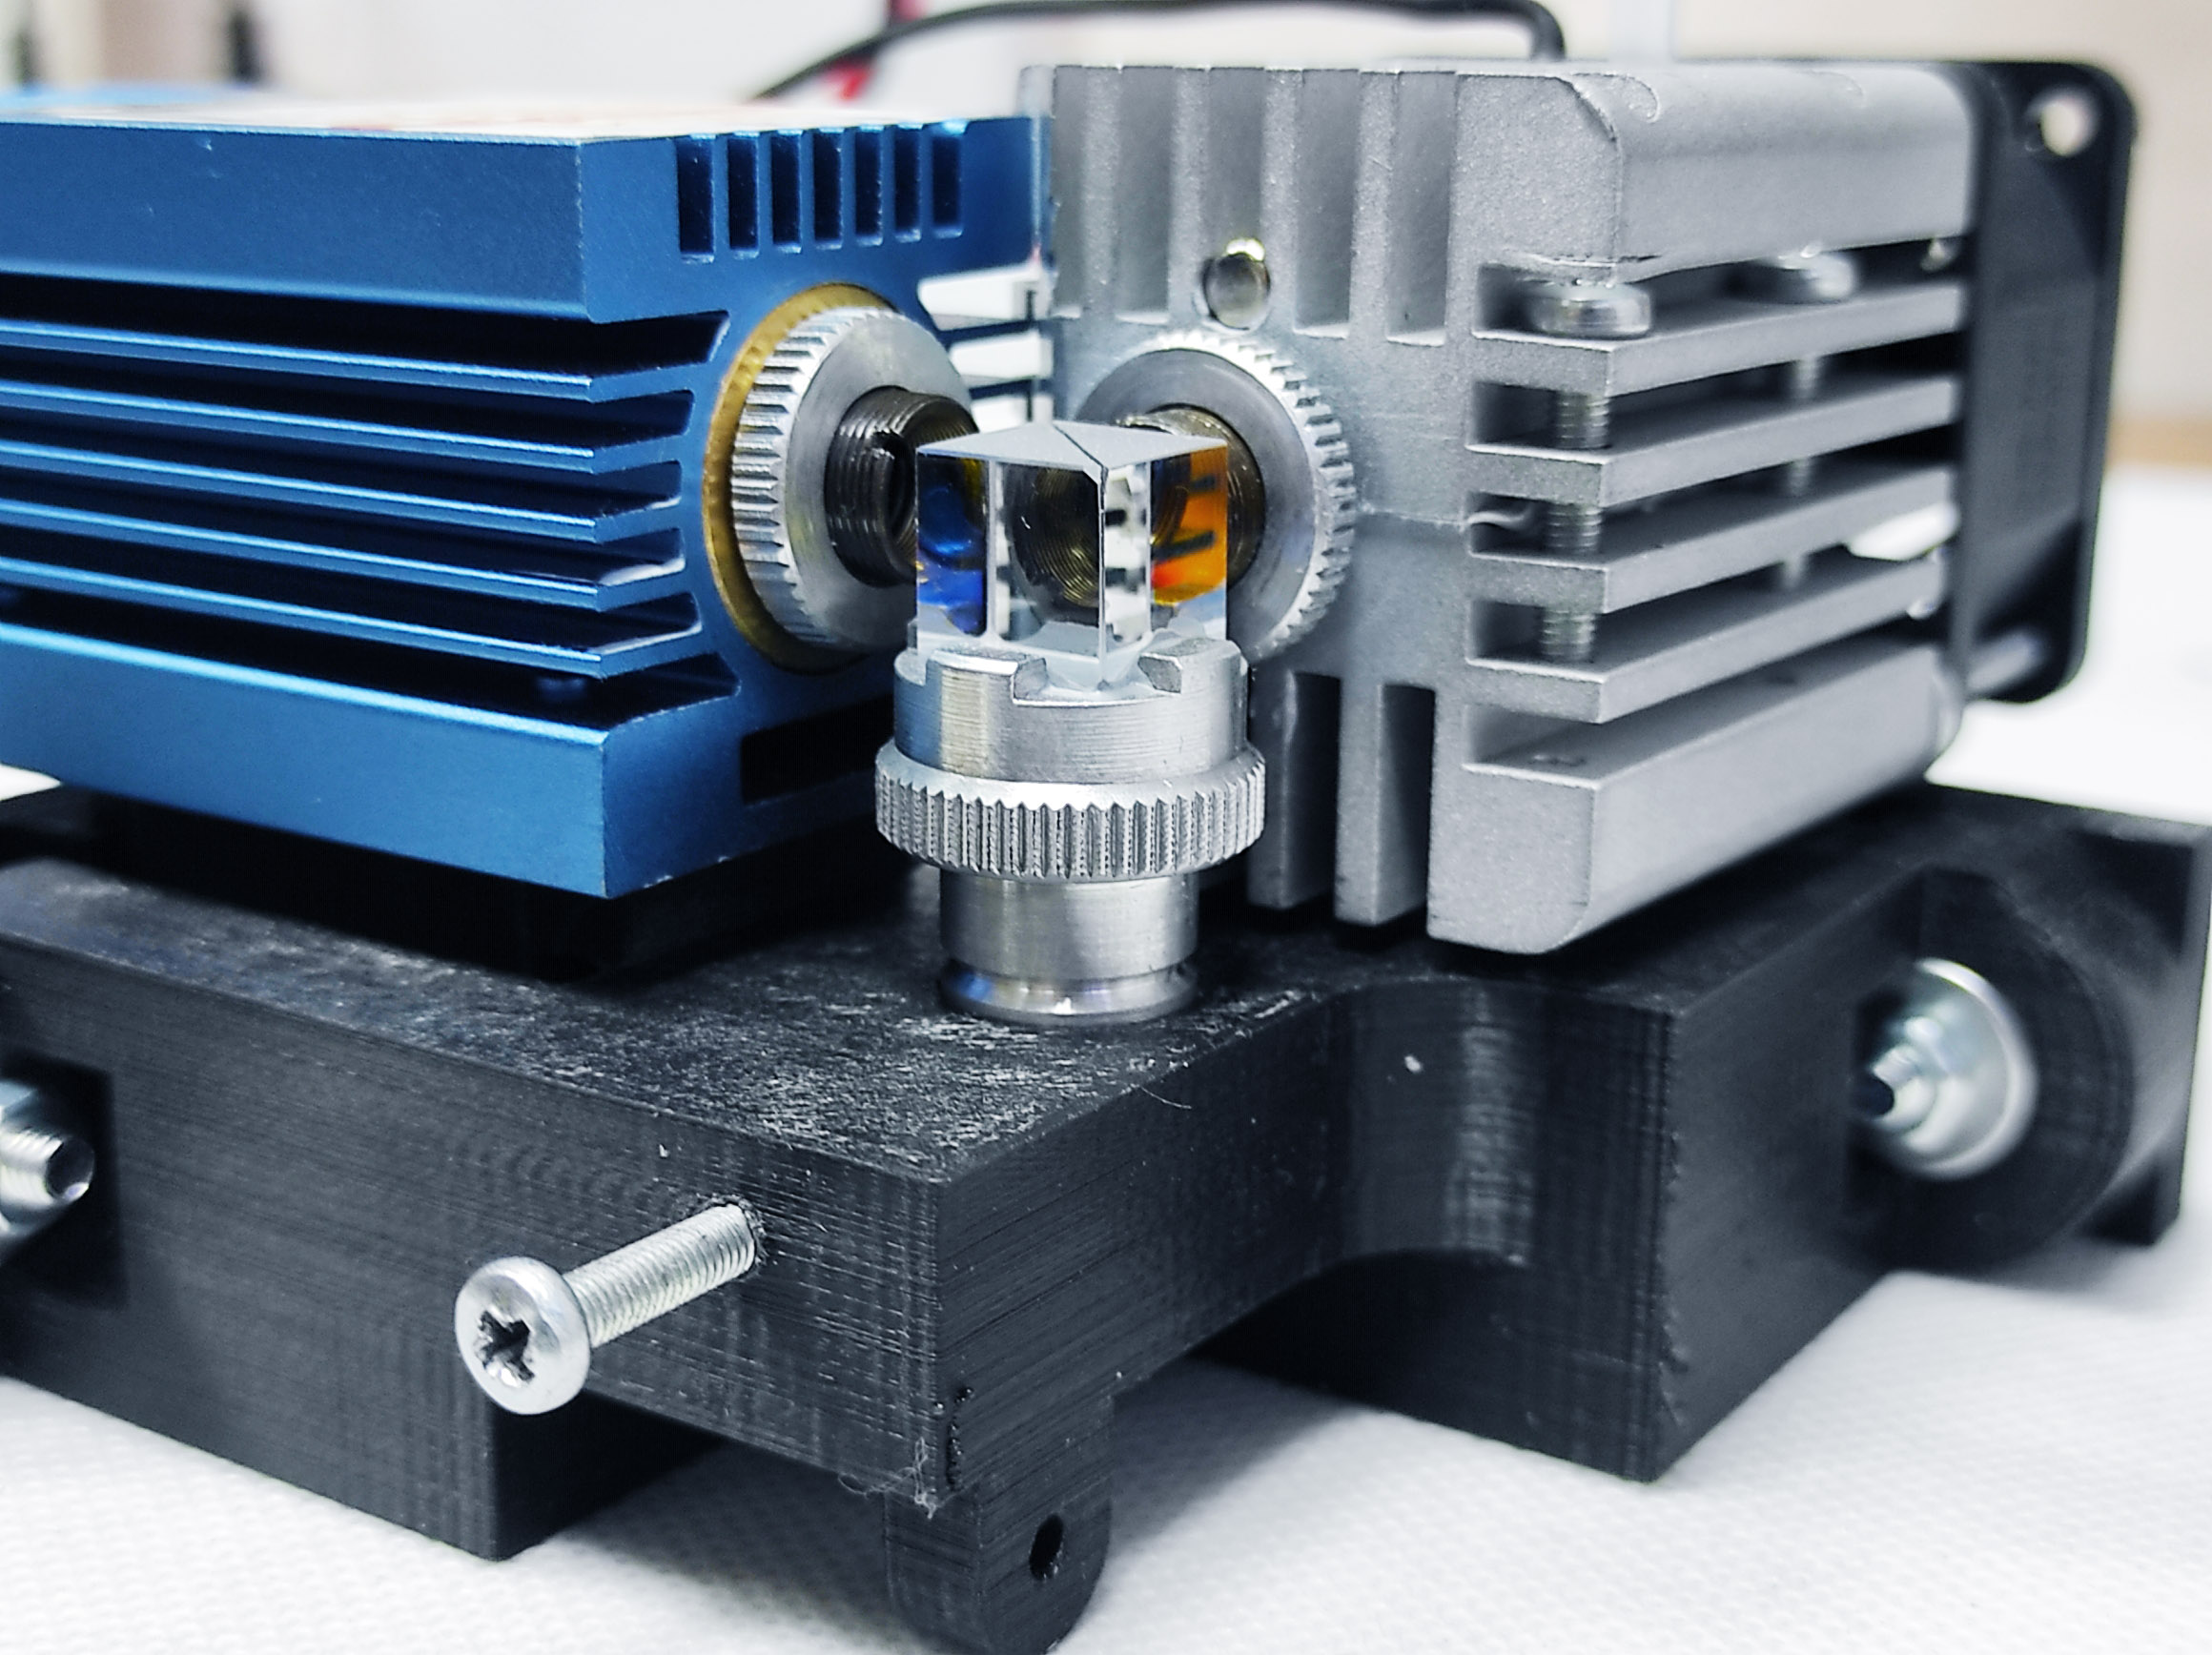
Install the prism in this place (glue)

Fix the diode, the beam of which will be refracted, on the base. It will be stationary. Use 3mm screws, there are already threaded holes on the laser body.

Install the diode, the beam of which passes through the prism without refraction, on the adjustment bracket.

The adjustment mount is installed on the base through the slots. Use screws with a diameter of 4mm or less, but consider sufficient base length.
Now you can mount the entire model on the machine using the holes in the base (4mm diameter). Then focus both lasers at the same distance and move the “upper” laser using the adjusting mount so that the beams converge into one. Once you get a uniform point on the surface, tighten the adjustment mount screws (safer to do with the lasers off).
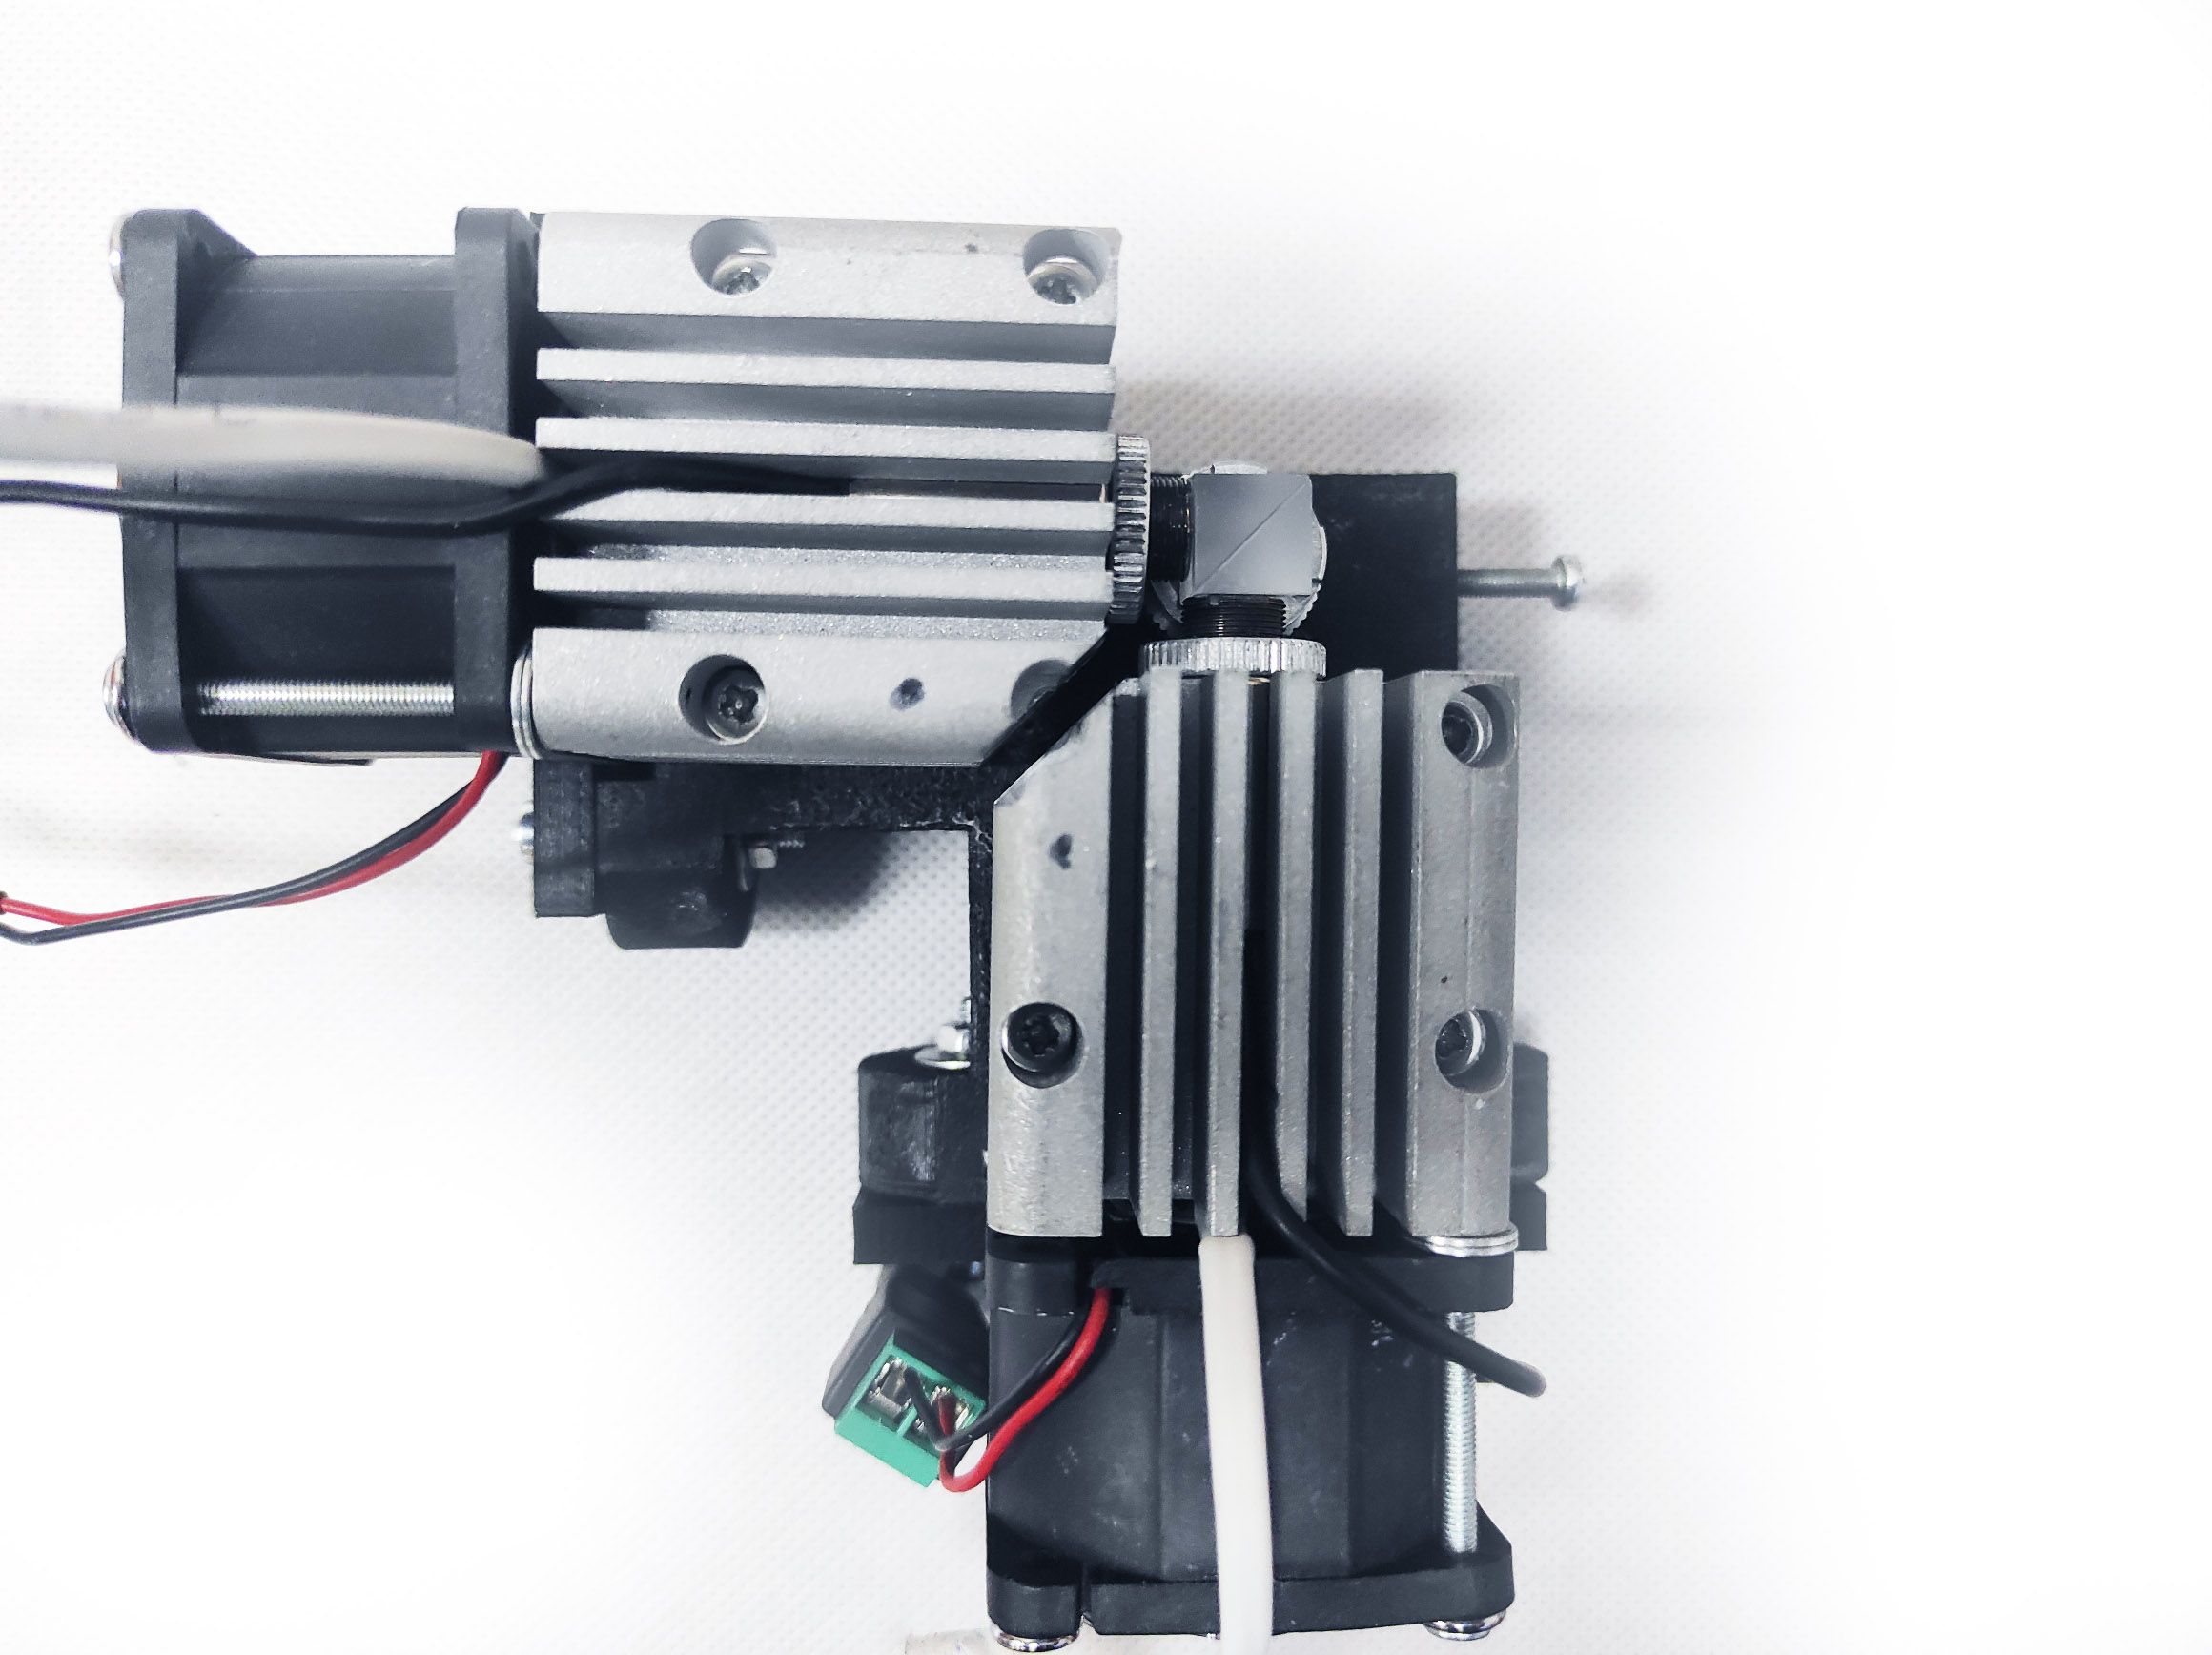
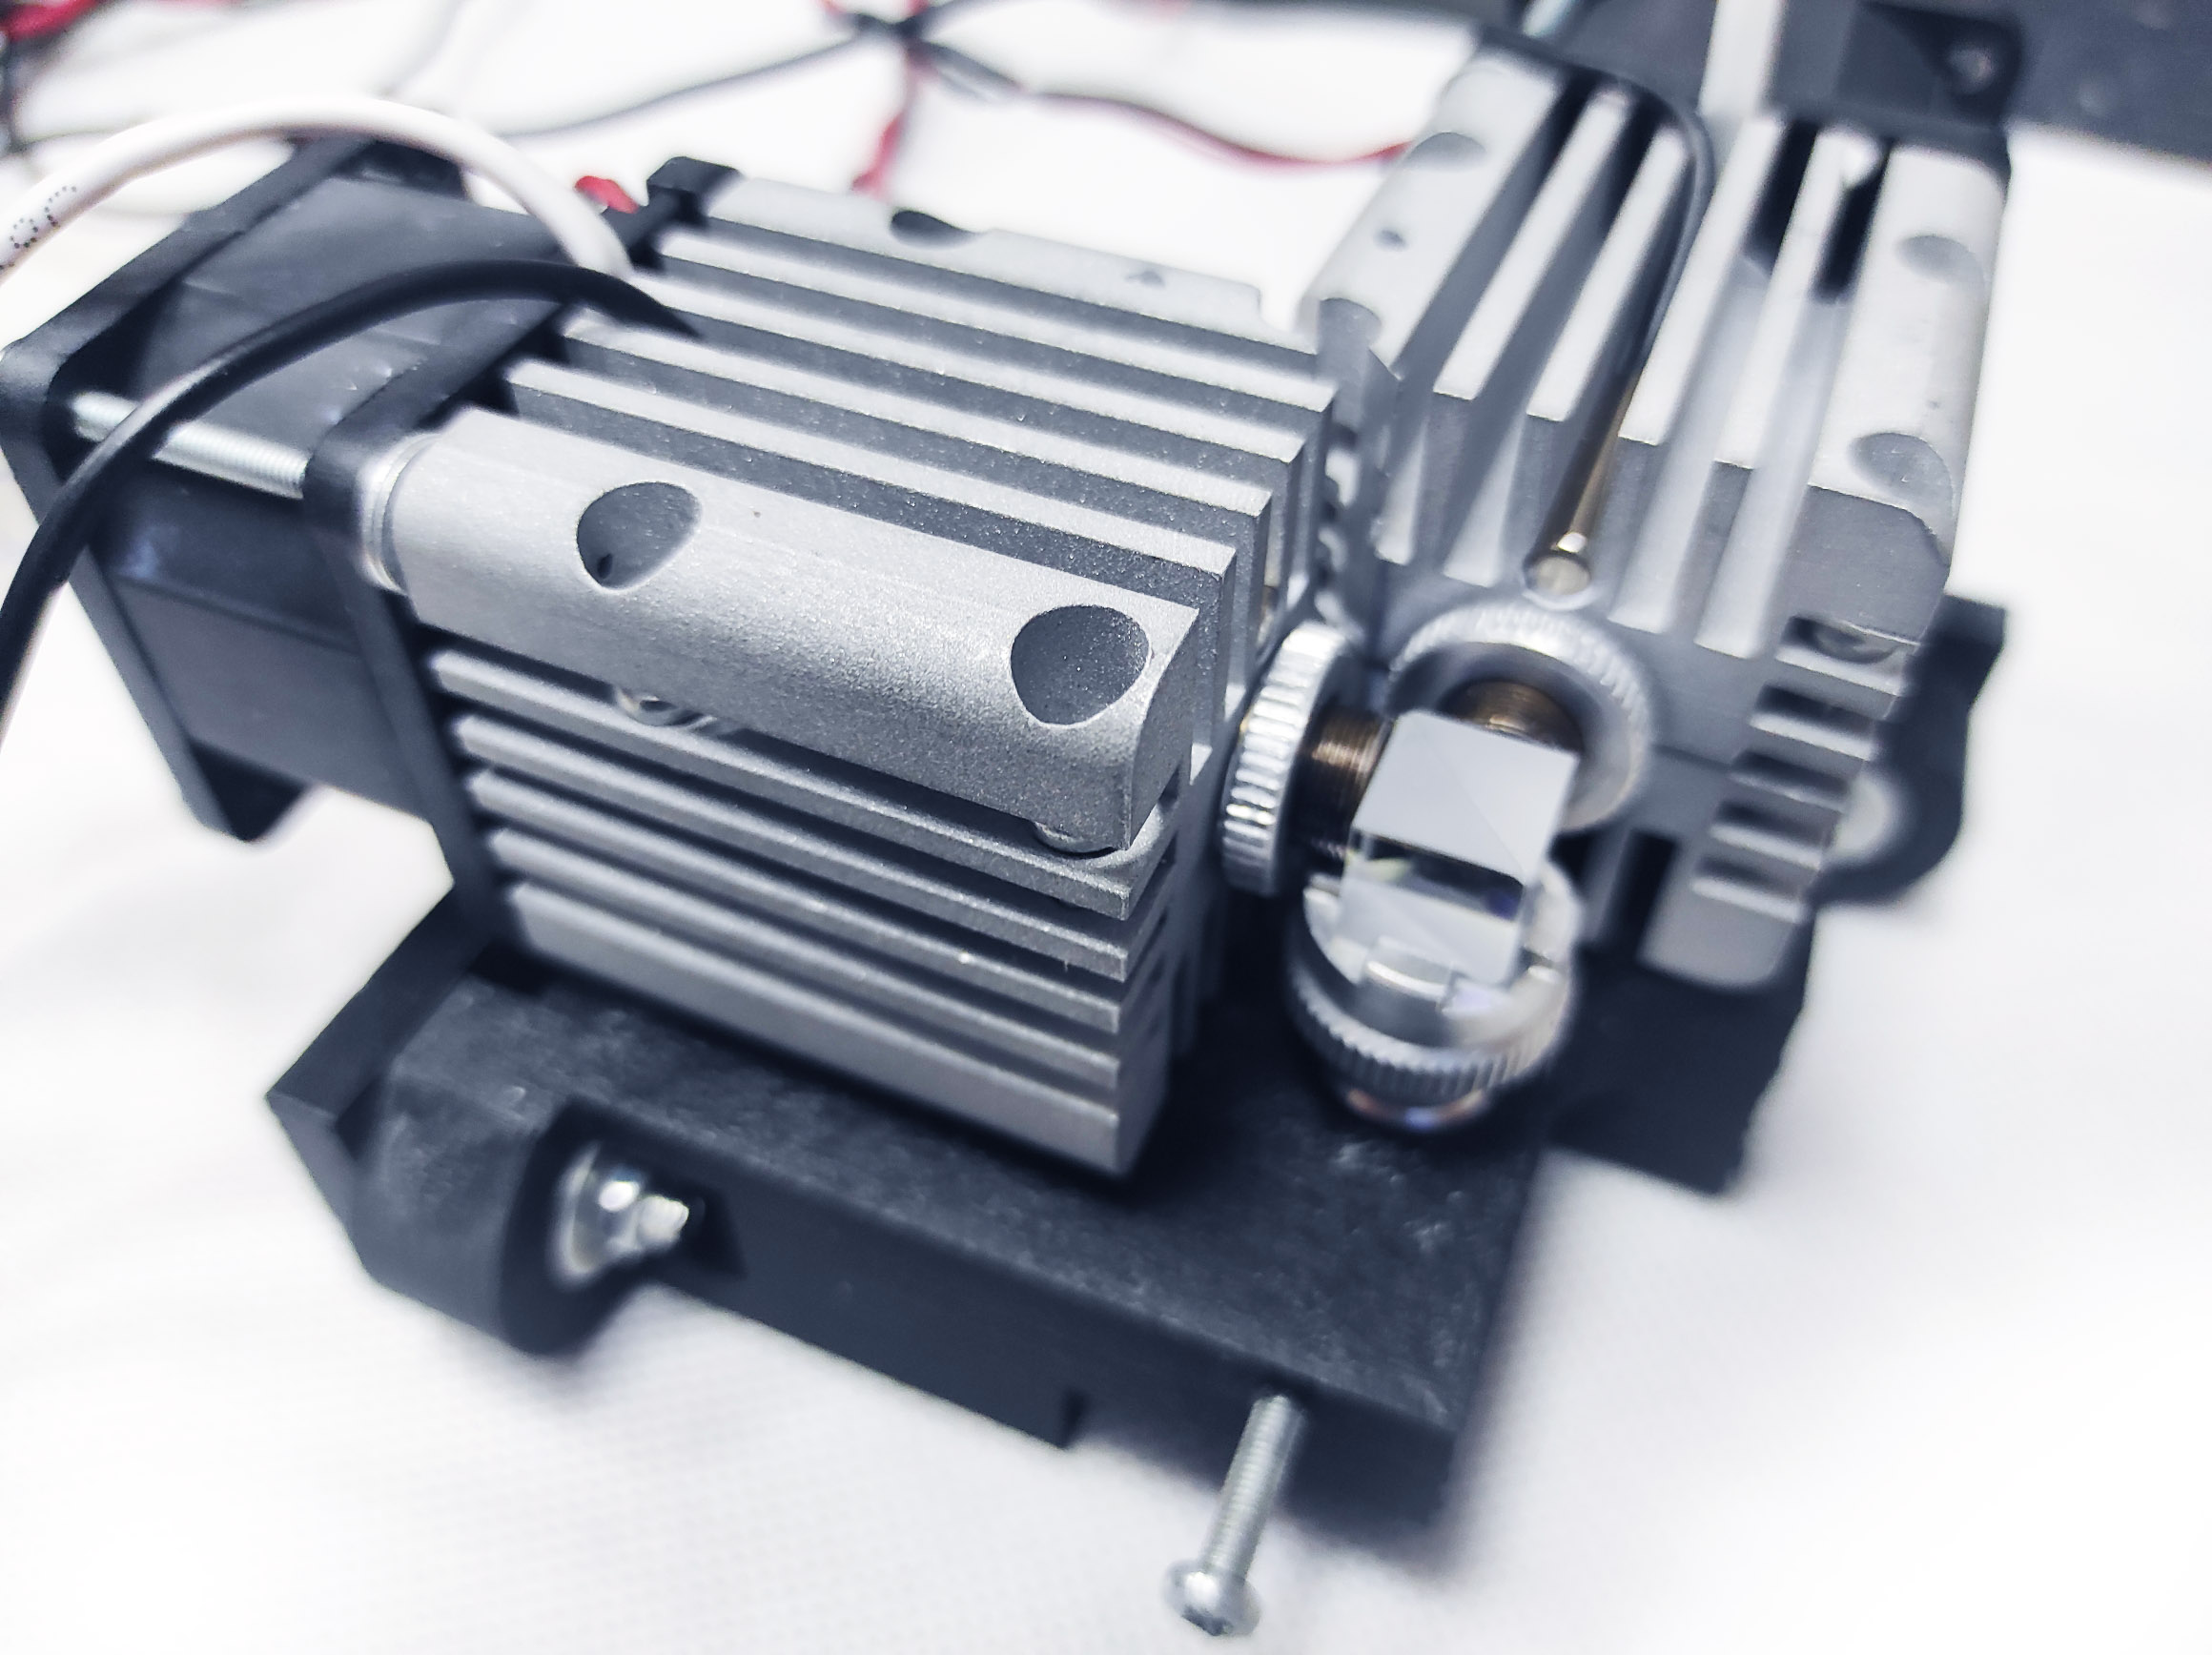
Our assembled multi-laser:


Endurance-15-Watt-DUOS-Laser-Beam-DIY-Upgrade-Kit-Customization-for-X-Carve-CNC-V01
Endurance-15-Watt-DUOS-Laser-Beam-DIY-Upgrade-Kit-Customization-for-X-Carve-CNC-V01-STLs