
All you need to know about a DIY leather wallet.
Making a leather wallet using a DPSS laser (Endurance 10 Watt DPSS Laser Nd: YAG, 1064 nm, F = 30mm)
This article describes how to laser cut, assemble and engrave a leather wallet.
1. First of all, we need to choose a suitable leather material. There are many varieties and types of leather;
here are the most common types of leather:
Suede is a kind of natural leather material made of small dense cattle or pig hides, 1.5-2.5 mm thick with a velvety surface.
Chamois is soft velvety leather of high quality, made of deerskin, doeskin, antelope hide. The average material thickness is 0.5-1.5 mm.
Nubuck is a kind of leather, 1.5-3 mm thick, with a fleecy sanded surface and a matte face side.
Buff leather is the thickest and densest leather made of cattle hide butt. This material boasts of high tenacity and resistance to deformation. It is 2-5.5 mm thick.
Chevreaux is soft, flexible chrome-tanned kid leather, 0.3 – 1 mm thick. Highly elastic material used for the production of haberdashery, bags, shoes.
Russian (oiled) leather, 1.5-3 mm thick, made of cattle, horse, pig or deer hides. Most often used in the manufacture of footwear and haberdashery. Highly tenacious, flexible and moisture resistant.
For our wallet, we choose Russian leather of medium density, 1.5 mm thick for the main part (a section for banknotes), soft Russian leather, 1.5 mm thick for a section for coins, soft suede, 1.2 mm thick for decorative elements, chamois with textile backing (for density), 0.8 mm thick, to separate the banknote section from the sections for plastic cards, magnetic clasps.
2. Now we need to create an electronic pattern.
It should be done in a vector graphics format, otherwise, the processing will be too slow and not accurate enough. We use Adobe Illustrator 2020. The overall size of the wallet is 230×90 mm. The face side has the same dimensions. We create all template images as a linear drawing without color filling, marking seams with dotted lines. In total, we draw 13 elements: 2 decorative elements with oval holes, 3 basic parts for a banknote section, 6 parts for plastic card sections, 1 for a coins section, 1 for a clasp. The elements for plastic cards are drawn based on the size of the plastic card itself 85.6 mm x 53.9 mm. Later we’ll cut out every part using solid lines.

3. When all the patterns are ready we open them one by one in LightBurn 0.9.15.
Before cutting out the patterns from the leather workpieces it is necessary to check if all the patterns fit in. Next, we fix each workpiece on a ceramic tile with adhesive tape and put the plate on the laser desktop. Large workpieces can be treated with liquid wax to prevent overheating and deformation of the leather. It also helps spread the workpiece on the ceramic tile more evenly. To cut out the patterns we use the following parameters: speed 400 mm / min., power 99%, number of passes 2. Two passes are needed for the laser to cut through the workpiece. The focus of the laser is on the leather surface. Now it is possible to start the laser (see the details of the laser installation on https://endurancelasers.com/an-endurance-brand-new-fiber-marking-module-for-metal-engraving/)


4. When all the elements are ready, we need to sew them together in a certain sequence.
To make this work easier we laser-cut seam perforations. A high-quality synthetic thread 0.7 mm thick, treated with wax is used for the seams. This thread does not stretch and is waterproof. We sew the elements together using double counter stitches. We sew down the card section first, then join the coin section to the inside of the wallet. After this we attach the decorative elements and clasp fittings to the outer surface of the face part of the wallet, then we attach a magnetic clasp. We use another magnetic clasp for the coin section.
5. Next, we assemble all the rest parts together. Now the wallet is ready.


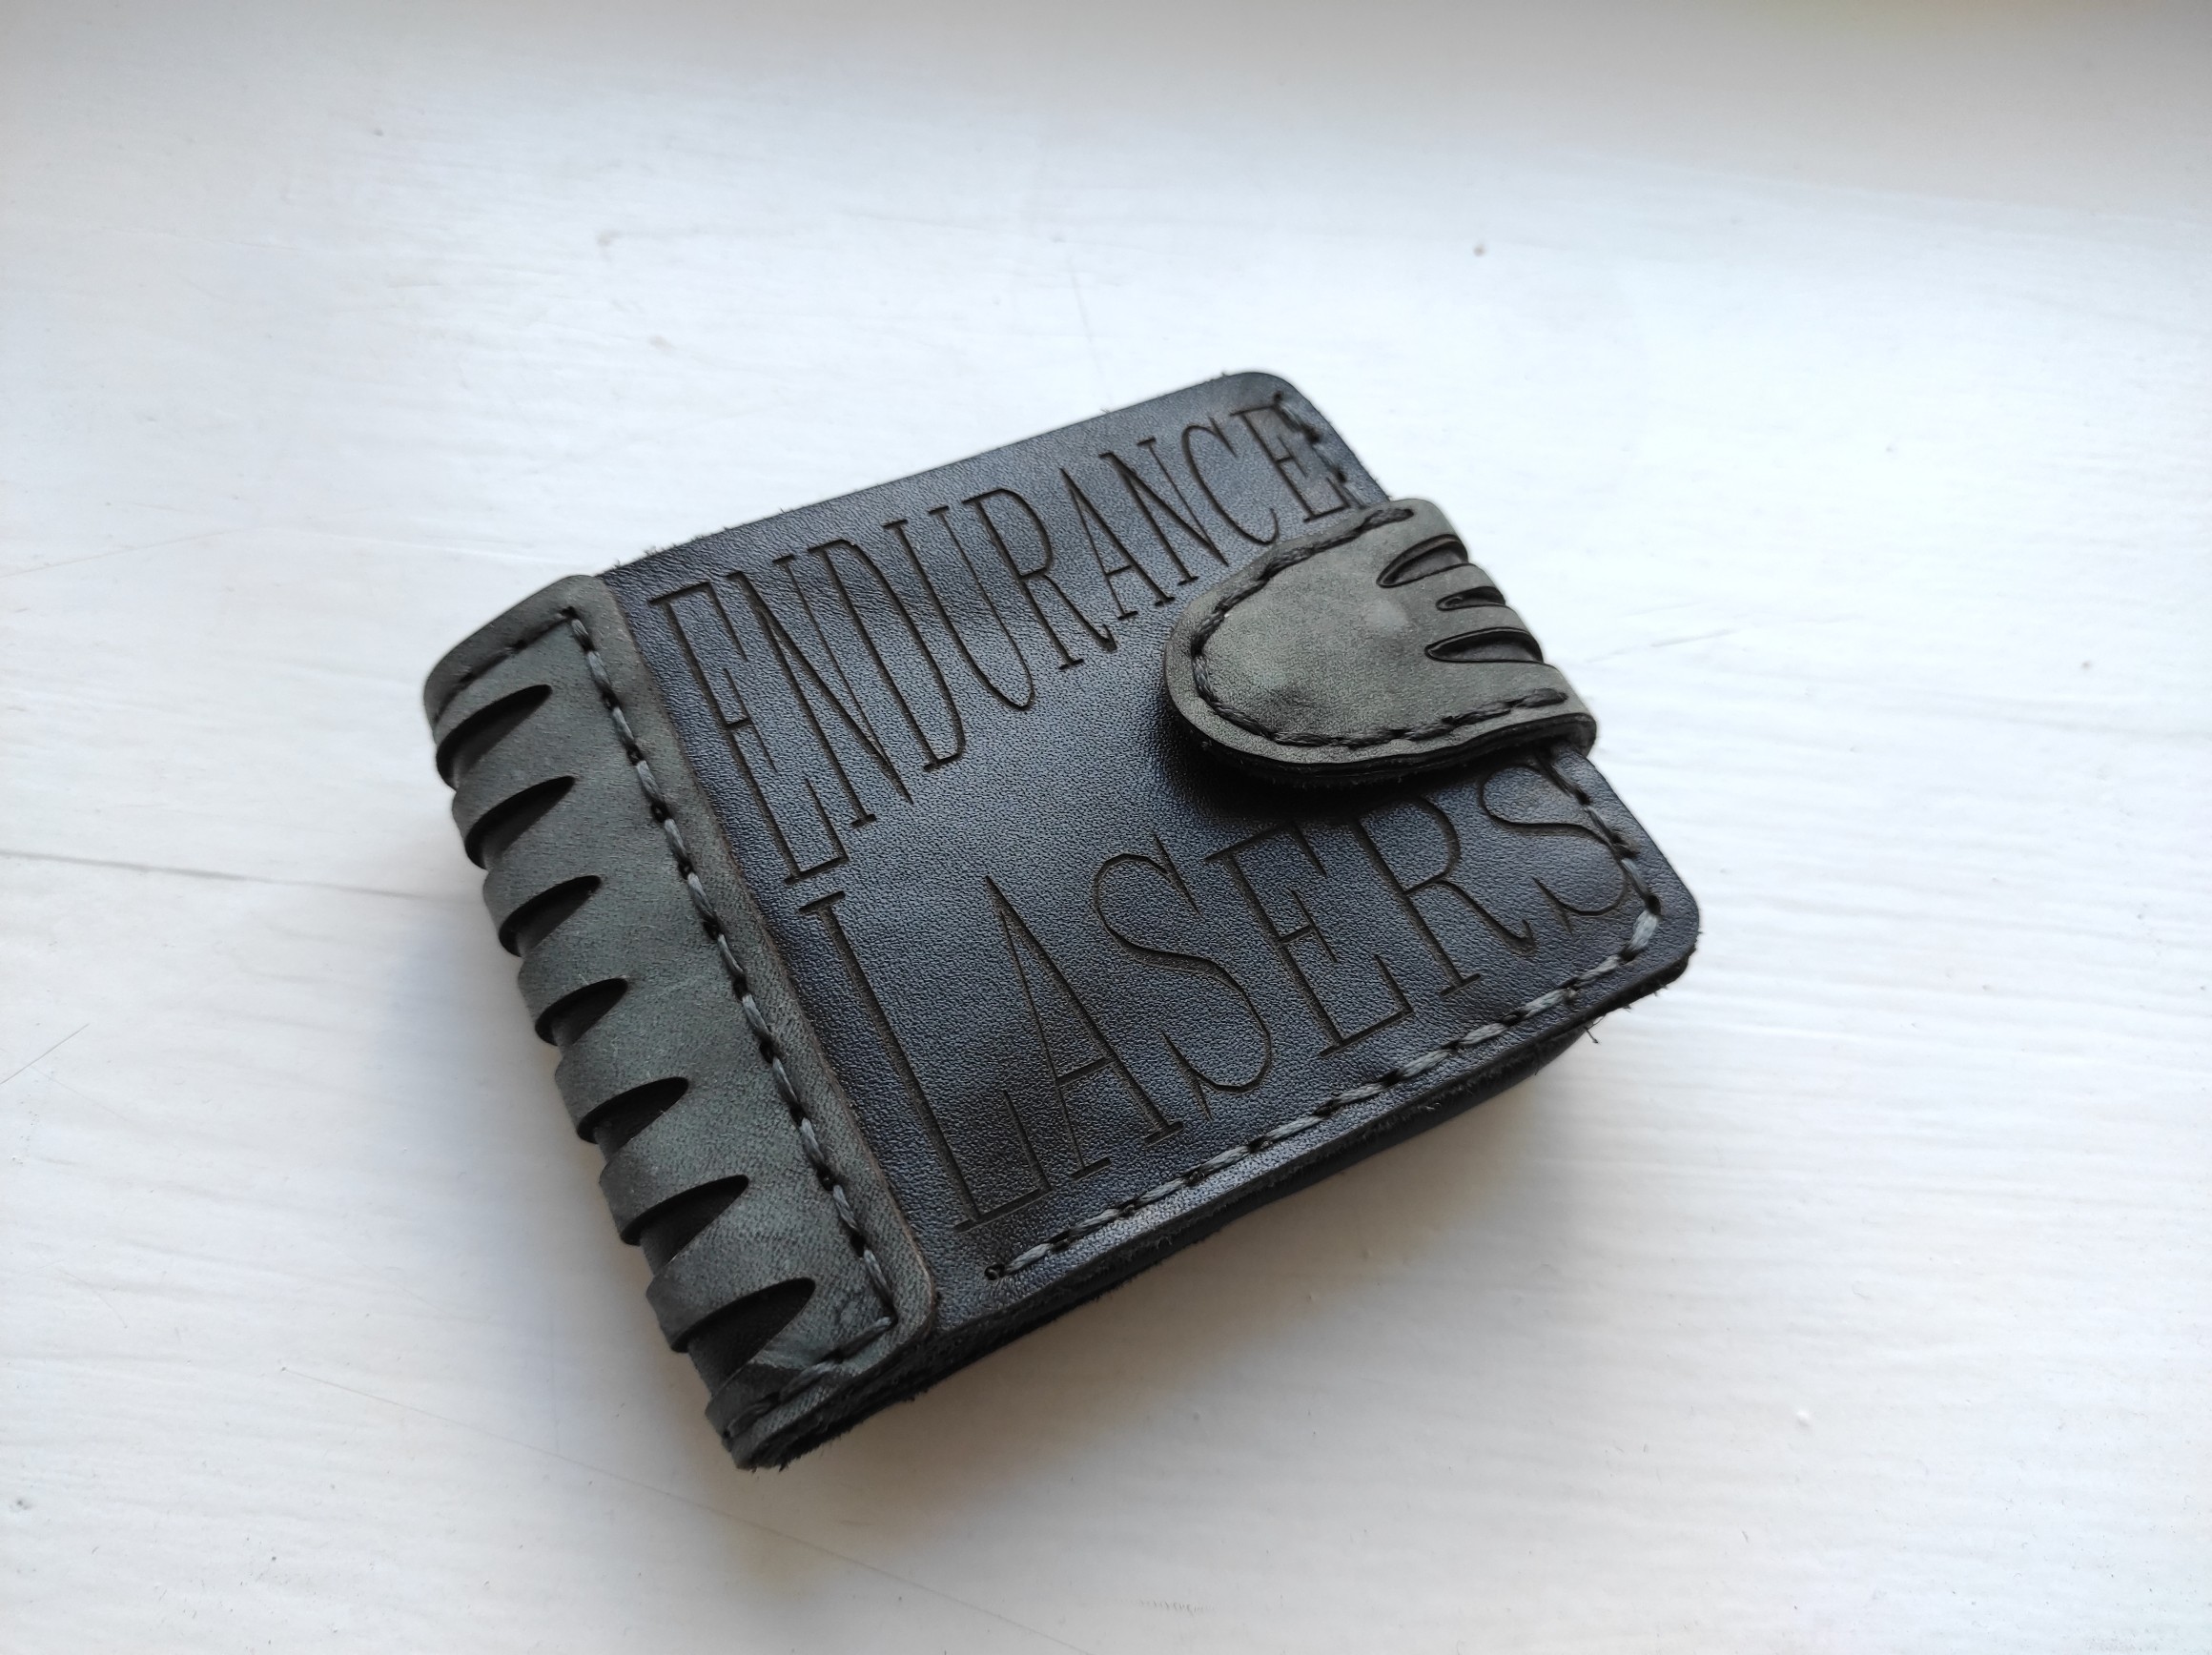
6. The last step is inscription engraving.
To engrave the face side of the wallet we use the same laser. The focus is set on the leather surface. For engraving we change the operation mode parameters: processing speed – 900 mm / sec., power – 30%, number of passes – 1. In this mode, the engraving depth is about 0.2 mm. This makes an engraved inscription clear enough but does not violate the integrity of the material. More information on leather engraving can be found here: https://endurancelasers.com/laser-engraving-on-leather/


Once the engraving is done we have a beautiful hand-made wallet of high quality. It has an aesthetic look and is pleasant to hold in one’s hand. With such close control equipment as an Endurance 10 Watt DPSS Laser, it won’t take much time and effort to create this item and many others.

https://3dprint.com/284190/the-top-10-things-you-can-do-with-a-diode-laser/