This is a page with instruction on how you may test and check your laser.
Laser check
Check the power supply >>>
Remove the lens (except 15W laser) look at the quality of the laser spot on the wall >>>
Check operation at full power. Turn on the laser at full power. >>>
Check if PWM works. Take a 3.5V battery and connect + (red) and – (black) and in PWM mode the laser should turn on at full power >>>
Control board check
Check your GRBL settings >>>
We recommend using Lightburn or Mach3
Before making tests and measurements, please check
- You have a proper power supply (PSU / ACDC) and it has enough power to feed your laser. (watch a video)
- If you extended wires you used at least AWG10 / AWG12 wires. (read a post)
- All wires are connected well and nothing hangs + everything is fixed rigidly.
- You focused the laser properly. (explore a full guide)
- Your laser lens is clean.
- You do not try to cut or engraving that is not possible to process with our laser
If you are not sure about PWM. It is very easy to check it.
Get a 3.3V or higher voltage (12V max) battery. Connect PMW wires red with “+” and black with “-” and in PWM mode the laser should turn on full power.

Checking the Endurance DPSSL laser module:
Remove the tube with the optics from the laser, so that only the fasteners remain, which are screwed into the laser itself. Place the anodized plate in front of the laser (20-30mm away from the optics mount). Turn on the power supply to the laser. Wait 20 seconds. Connect the PWM wires from the laser to the 3.5-5V battery. Red wire (PWM) – “+”, wire without insulation (GND) – “-“. Move the plate moving closer and further away from the laser. Will the laser spot be visible on the plate?
Please follow this guide
If you have any problems with the Endurance laser, perform the following steps.
Perform the steps strictly in that order. Enter your measurement data in your table (below). The photos must be of high quality and taken in a good light.
Upload the completed tables and photos to cloud storage like Dropbox or Google drive. Attach the download link to your letter describing the problem. In the letter describe the circumstances under which the malfunction occurred. Describe the problem with the laser in detail.
Laser box guide

In the next step the laser unit should be fully assembled.
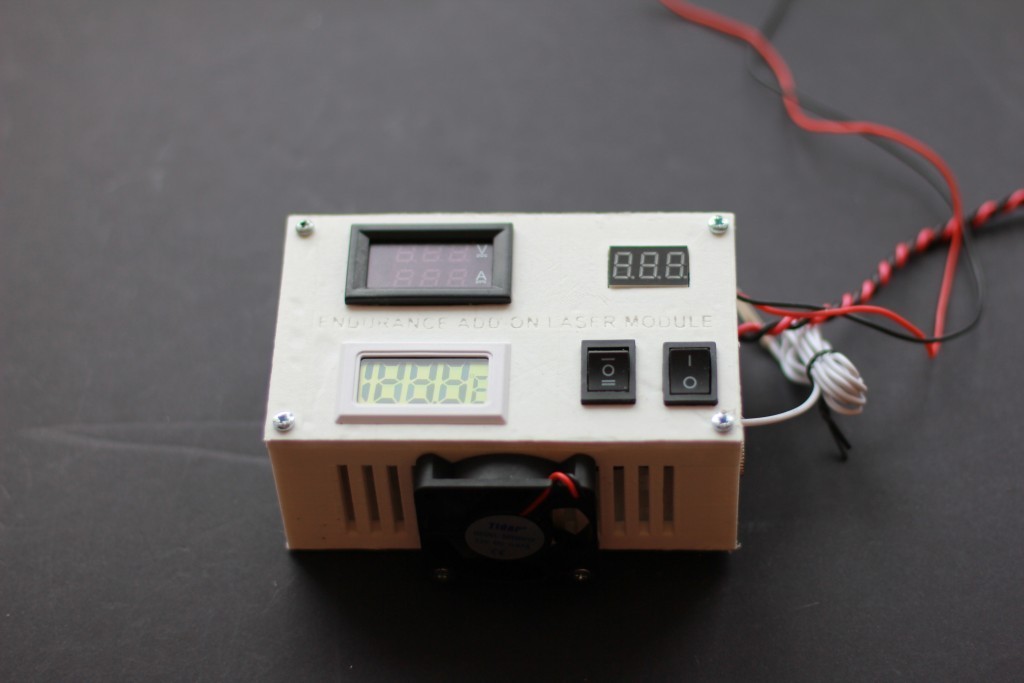
- Take a picture of the laser control unit. Top view. Rename the photo file as Figure 1.
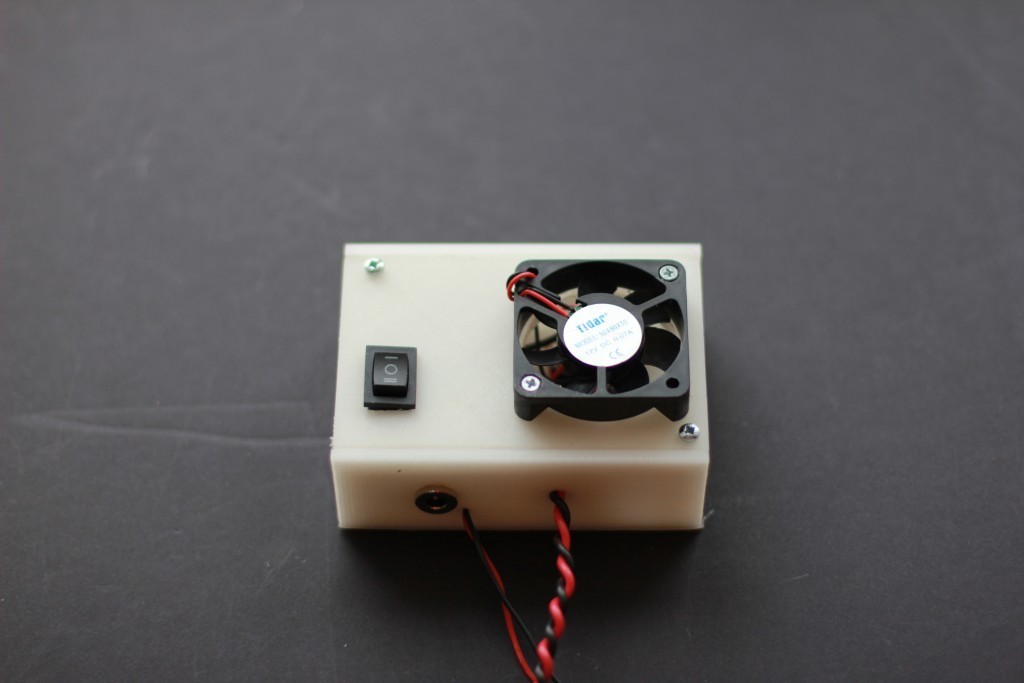
- Take a picture of the laser control unit. Side view. Rename the photo file as Figure 2.
- Take a picture of the 12V power supply. Rename the photo file as Figure 3.
- Take a picture of the general view of the laser system with all the blocks and wirings. Rename the photo file as Figure 4.
- 5. Disconnect the TTL connector. Put the mode switches in the following positions. Left switch – O. Right switch – O. Take a picture of the TTL connector and the position of the switches. Rename the photo file as Figure 5.
- Turn on the 12V power supply. Connect the power plug 12v if it was not connected. Take a picture of the laser control unit and the voltage values on the standard devices. Rename the photo file as Figure 6.
- Select the position Iusing the right switch. Photograph the laser control unit and the voltage values on the standard devices. Rename 2the photo file as Figure 7.
- Using the right switch, select the O position and in 5 seconds select the position I. Enter the voltage and current values in table 1. In 20 seconds, enter the voltage and current values in table 1 again.
- Repeat step 8 five times recording the voltage and current values in table 1 every time.
- Using the right switch select the O position. Using the left switch select the position I. Take a photo of the laser control unit and the voltage values on the standard devices. Rename the photo file as Figure 8.
- Connect the TsR2032 battery to the TTL input. The battery plus to the red wire; the minus to the black wire. Take a picture of the laser control unit and the voltage values on the standard devices. Rename the photo file as Figure 9.
- Disconnect the battery from the TTL connector. Turn the mode switches to the following positions. The left switch to – O. The right switch to – O.
- Disconnect the 12V power supply.
- Disassemble the laser control unit. Remove the top cover.
- Take a picture of the MO1 board. Rename the photo file as Figure 10.
- Take a picture of the controller DC-DC. Rename the photo file as Figure 11.
- Take a picture of the mode switches,both the left and the right in one photo. Rename the photo file as Figure 12.
- Take a picture of the voltmeter ammeter. Rename the photo file as Figure 13.
- Turn on the 12V power supply . Connect the 12v power plug if it was not connected. Using the right switch select the O position. Using the left switch select the position I. Take a picture of the laser control unit and the voltage values on the standard devices. Rename the photo file as Figure 14.
- Measure the voltage at the input of the controller DC-DC IN + IN- with a multimeter. Take a picture of the voltage value on the multimeter. Rename the photo file as Figure 15.
- Measure the voltage at the output of the DC-DC OUT + OUT- controller with a multimeter. Take a picture of the voltage value on the multimeter. Rename the photo file as Figure 16.
- The left switch to – O. The right switch to – O. Disconnect the 12V power supply.
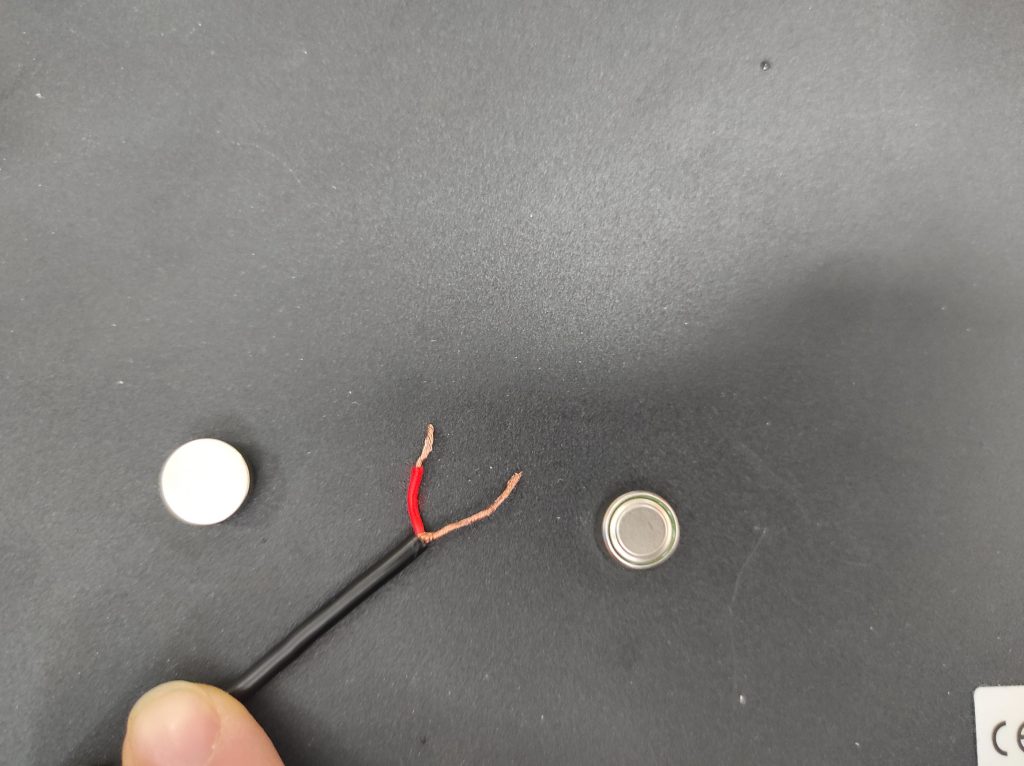
- Measure the voltage value near the laser diode at the connection of the thick and thin wires. To do this, remove the insulation at the junction of the thick and thin wires. Take a picture of the stripped wires. Rename the file as Figure 17.
- Turn on the 12Vpower supply. Connect the 12v power plug if it was not connected. Use the right switch to select the position I. Use the left switch to select the position O. Measure the insulated wires voltage. Take a picture of the voltage value on the multimeter. Renamethe photo file as Figure 18.
- Turn the mode switches to the following positions. The left switch to – O. The right switch to – O. Turn off the 12V power supply.
- Make a report. Upload all the files to the cloud storage. Send an e-mail to [email protected] Name the subject of the letter as “problem with the laser”. Attach the link to the files in the cloud storage.
| Start voltage, V | Start current, A | After 20 seconds voltage | After 20 seconds current | ||
| 1 | |||||
| 2 | |||||
| 3 | |||||
| 4 | |||||
| 5 |
troubleshooting endurance lasers list (Docx)
troubleshooting endurance lasers list (PDF)
Laser control board

- Disassemble the laser control unit. Remove the top cover.
- Take a picture of the MO1 board. Rename the photo file as Figure 10.
- Take a picture of the controller DC-DC. Rename the photo file as Figure 11.
- Turn on the 12V power supply. Connect the 12V plug if it has not been connected. Using the switch, select I. Rename the photo file as Figure 14.
- Measure the voltage at the input of the controller DC-DC IN + IN- with a multimeter. Take a picture of the voltage value on the multimeter. Rename the photo file as Figure 15.
- Measure the voltage at the output of the DC-DC OUT + OUT- controller with a multimeter. Take a picture of the voltage value on the multimeter. Rename the photo file as Figure 16.
- The switch to – O. Disconnect the 12V power supply.
- Measure the voltage value near the laser diode at the connection of the thick and thin wires. To do this, remove the insulation at the junction of the thick and thin wires. Take a picture of the stripped wires. Rename the file as Figure 17.
- Turn on the 12Vpower supply. Connect the 12v power plug if it was not connected. Use the switch to select the position I. Measure the voltage of the insulated wire. Take a picture of the voltage value on the multimeter. Rename the photo file as Figure 18.
- The switch to – II. At the input of the TTL apply dc voltage of 3-12 volts(from the battery) Measure the voltage at the output of the DC-DC OUT + OUT- controller with a multimeter. Take a picture of the voltage value on the multimeter. Rename the photo file as Figure 19.
- Use the switch to select the position II. Measure the voltage of the insulated wire. Take a picture of the voltage value on the multimeter. Rename the photo file as Figure 20.
Replacing a laser diode. A detailed howto guide!
Replacing a laser diode. A detailed guidance. Setting up DC/DC step-down converter
Testing NUBM44 / 47 NICHIA Laser Diodes. Measuring Voltage, Current, Optical Power.

