A detailed guide on how to make an original badge from transparent acrylic using a 10 DPSS laser and a 40 watt Co2 laser?
Our installation:
– 10 watt DPSS laser
– a DIY galvo system
– acrylic (plexiglass) 4 – 5 mm or thicker
– CoralDraw software
– EzCad laser software
I have a lot of experiments with acrylic. My idea was to make a 3D image inside it. My conclusion:
- An inscription in acrylic is more preferable as its quality is higher than that of any image.
- Vector files are better to work with. Raster images are prone to change.
First of all we need to choose the size of the intended name tag.
Mine is 90 x 55 mm.
With these sizes in mind I created a name tag in CorelDraw with the name of the company, my name and contacts. I also tried to add a QR code (with all the necessary info) but failed to make it sharp enough for the cell phone to read it.
But that’s enough, I believe.
Then I saved it as a .dxf file to go on working in EzCad.

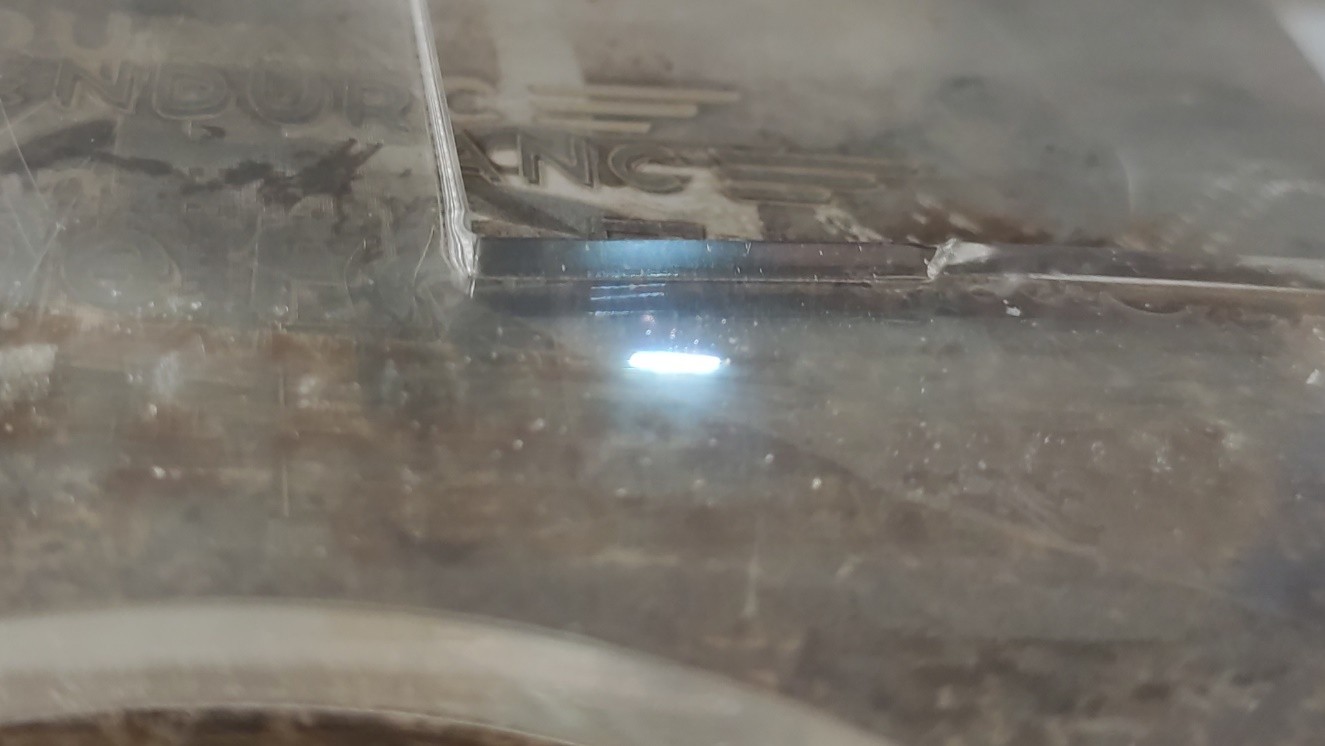
So I place a piece of acrylic on the working table and by way of the trial set an optimal focus centrally inside the acrylic workpiece.

When the focus is set, we put a new acrylic on which we will determine the parameters for work. I recommend doing it exactly on the model that we will engrave. Centering. Dxf file into EzCad. Then I fill it in the same way.

Now it is also necessary to determine the parameters empirically. All engraving consists of two parts. First, prepare the acrylic at a slower speed. Then we apply the required text at a higher speed.
I got the best result with:
– power 50%; speed 500 mm / s; repeats 5
– power 50%; speed 800 mm / s; repeats 4


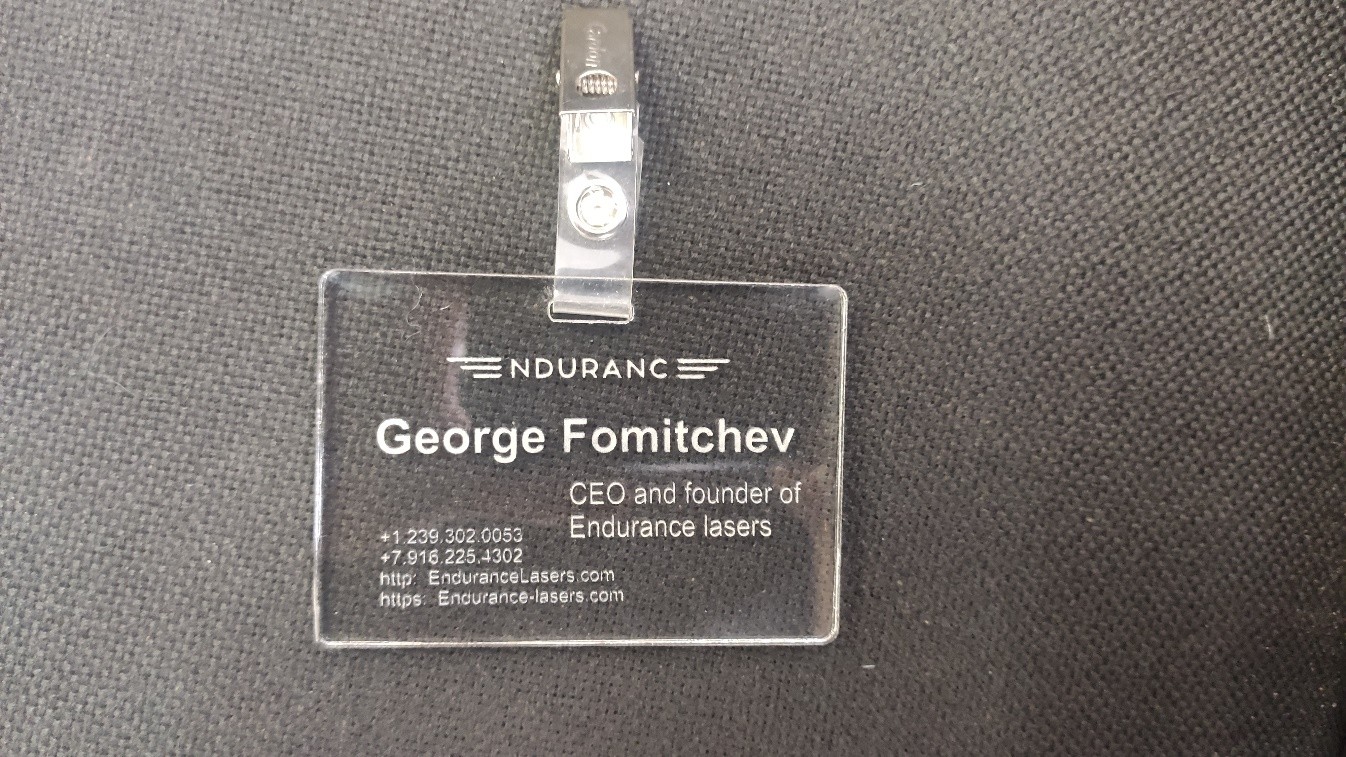
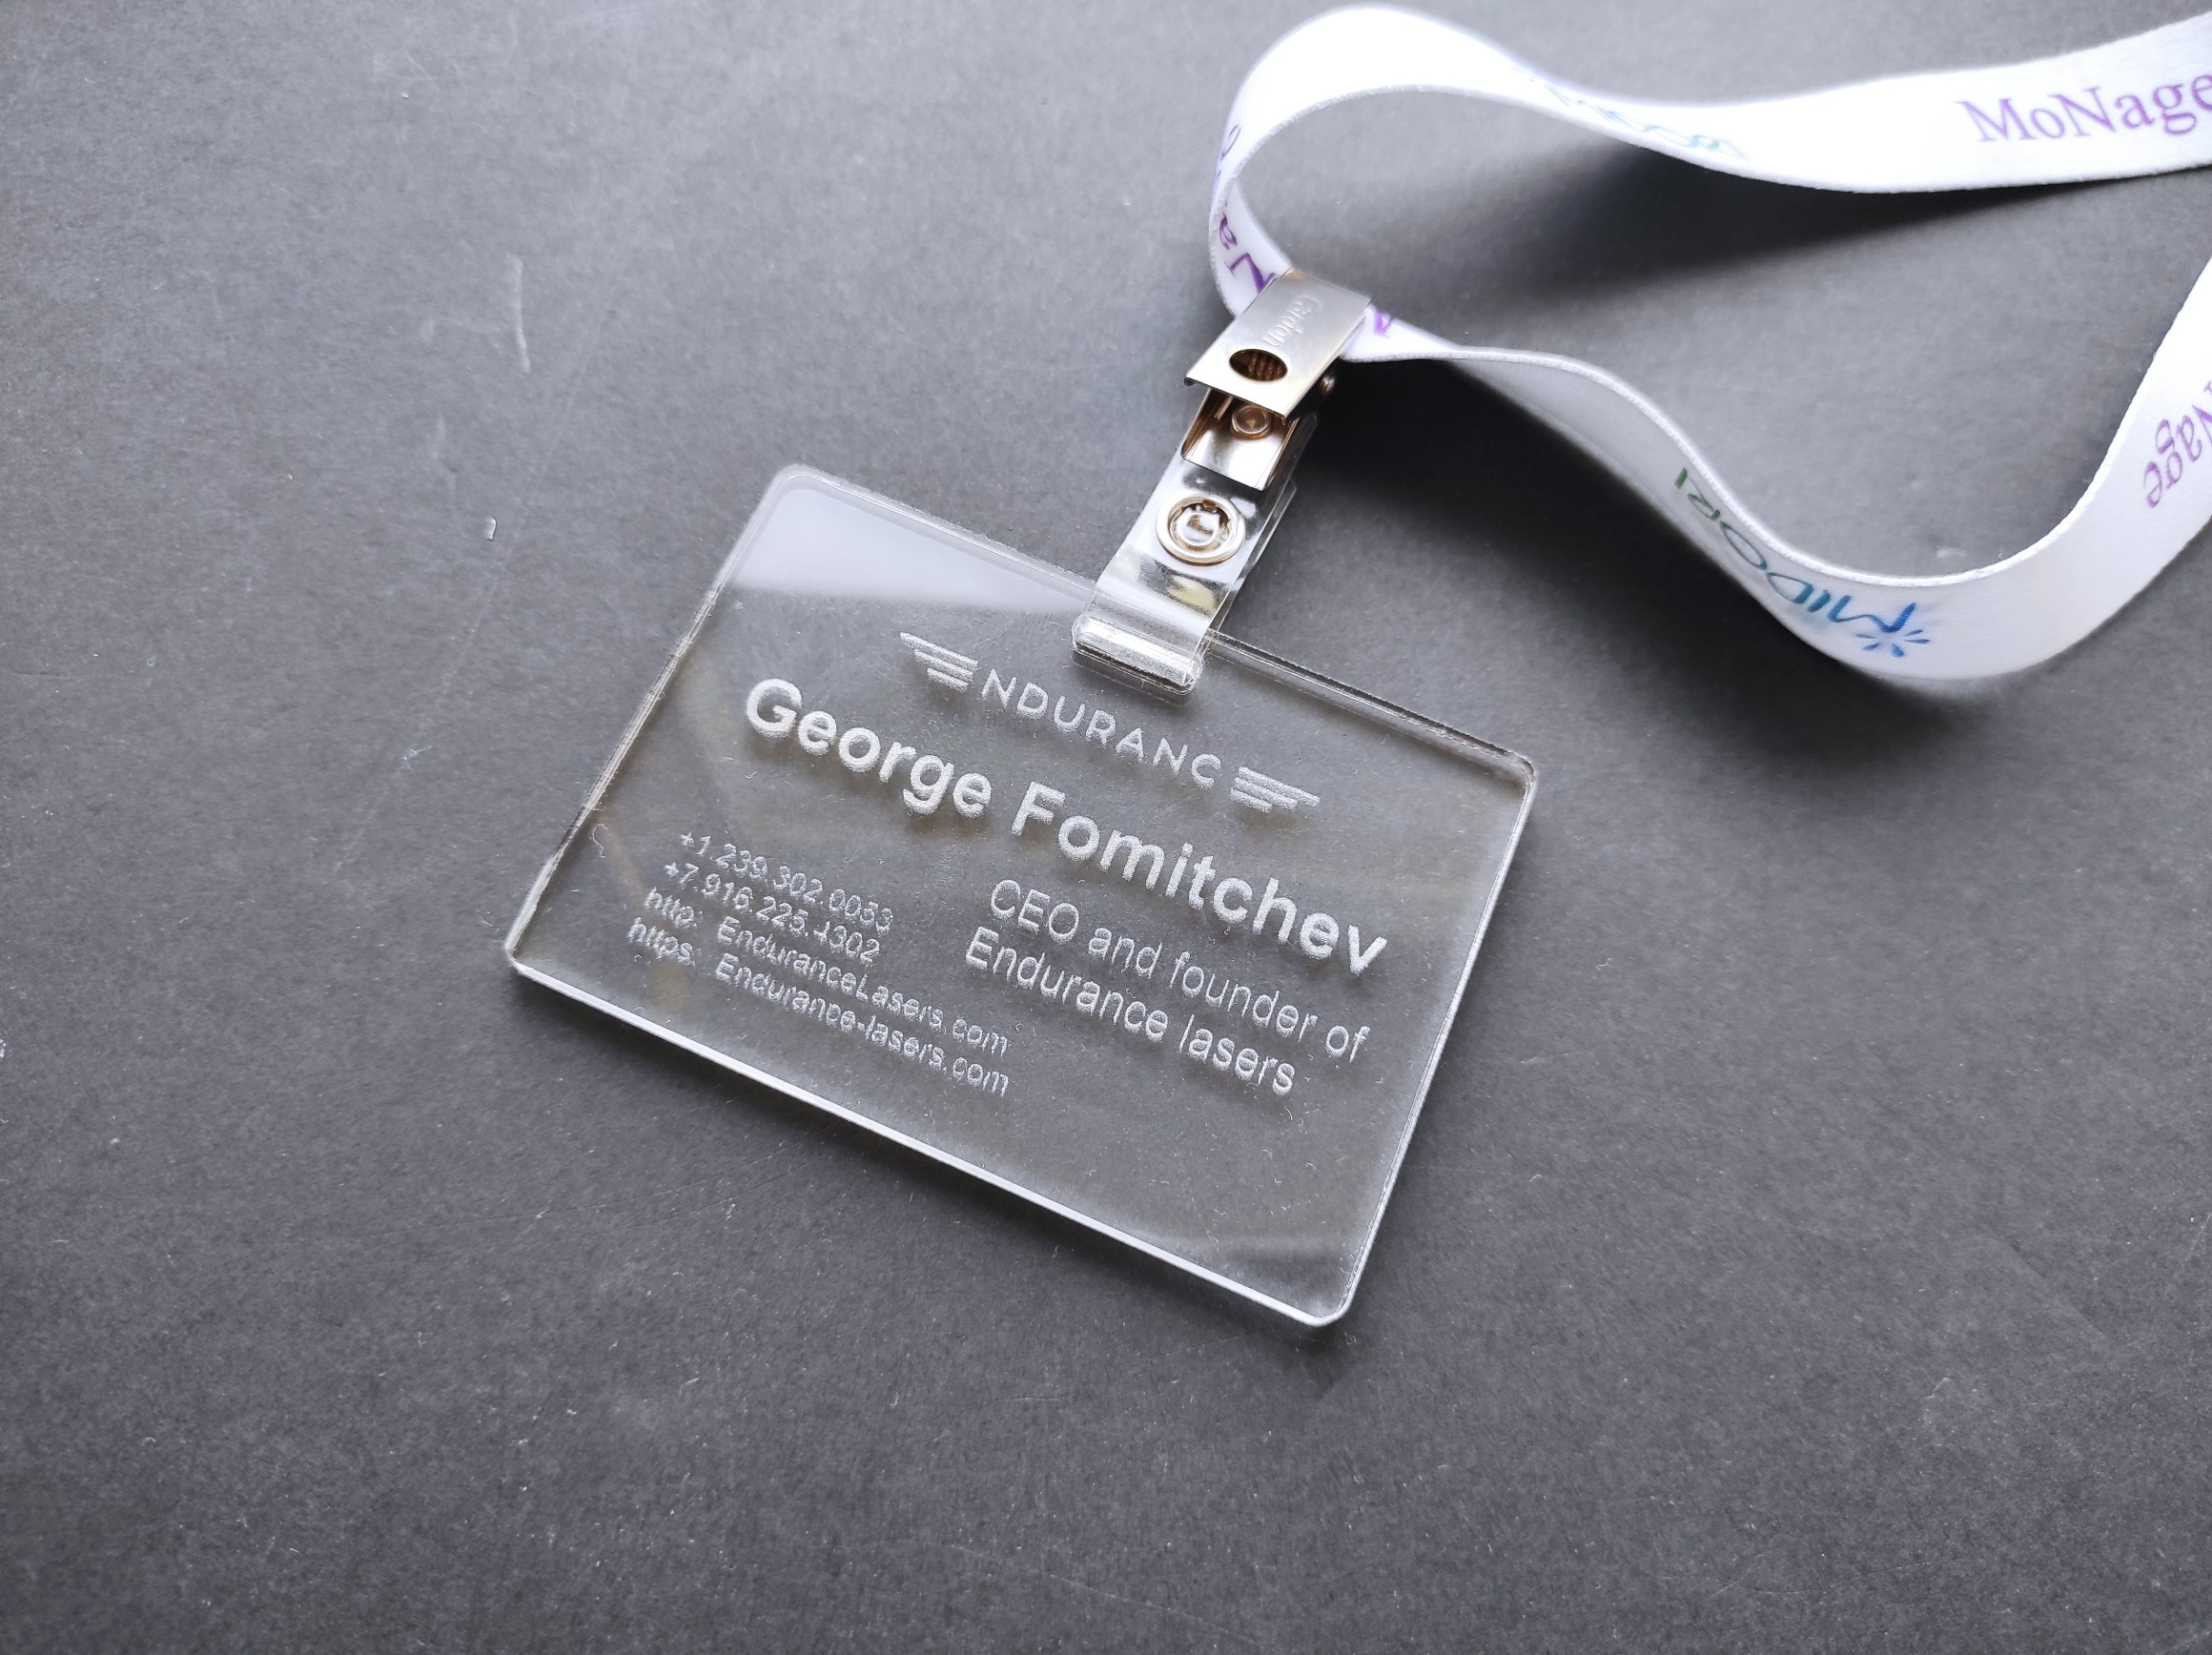
Now we run the same file with known parameters on pure acrylic. Here is the result. Then, for more accuracy, I cut it out with a CO2 laser and attached a strap.

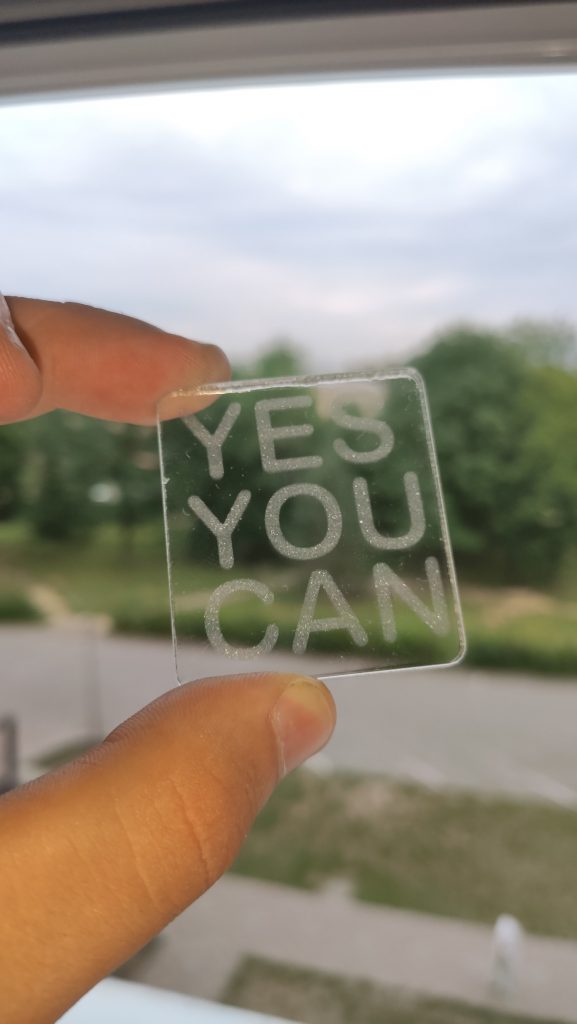
Another example – engraving inside the transparent acrylic!
Hope that you like that. If you have any more questions – let us know via Livechat.
How to make a beautiful laser engraving on acrylic and glass

