Sino Galvo RC1001 with EzCAD software")
Galvanometer Calibration Sino Galvo RC1001 + EzCAD marking software
Task: to calibrate a galvanometer and create a calibration file for EzCAD2.
Operation steps:
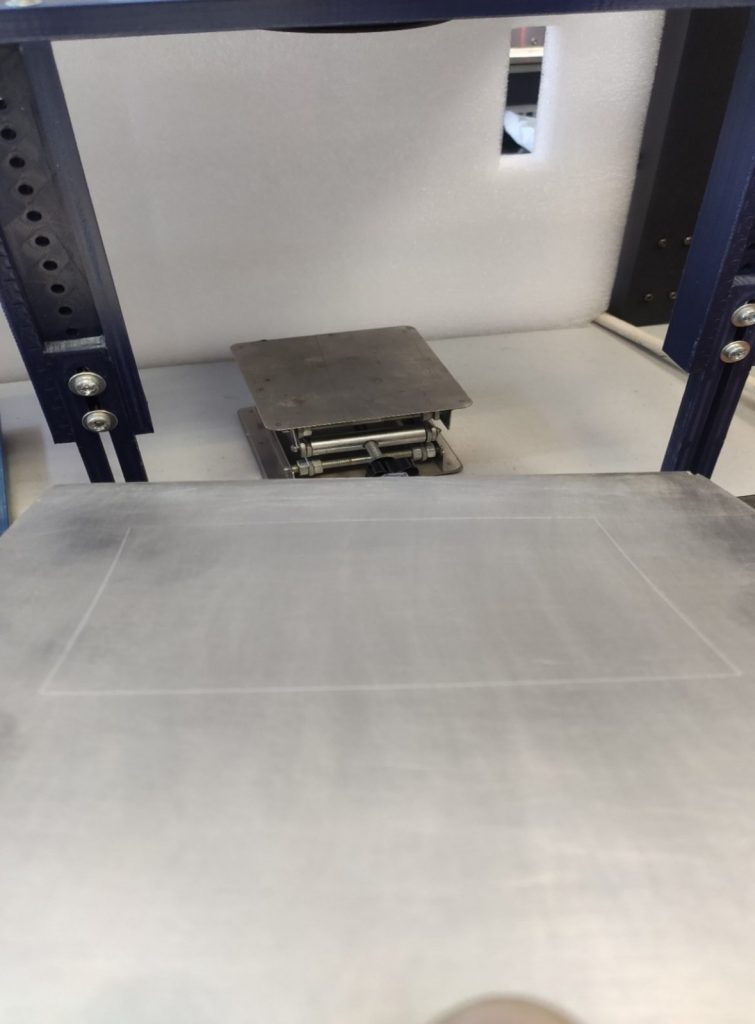
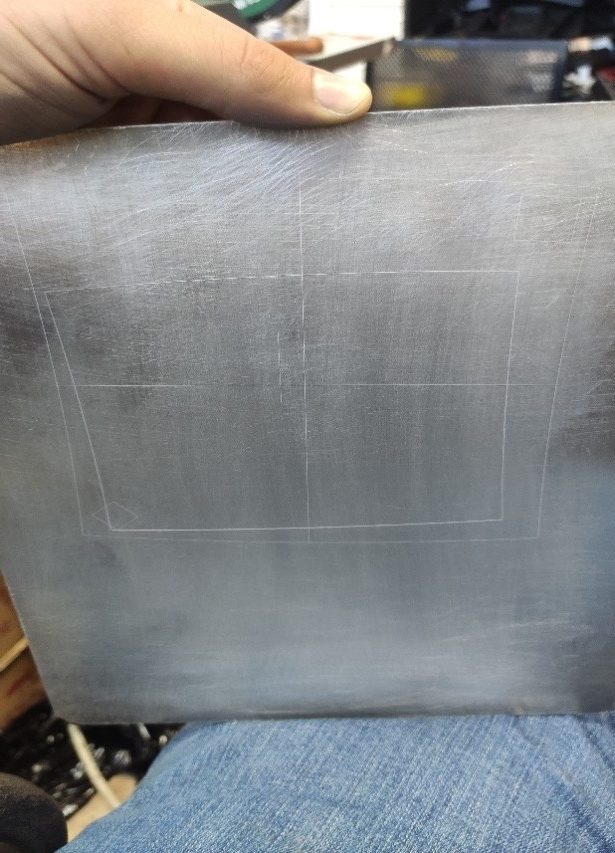
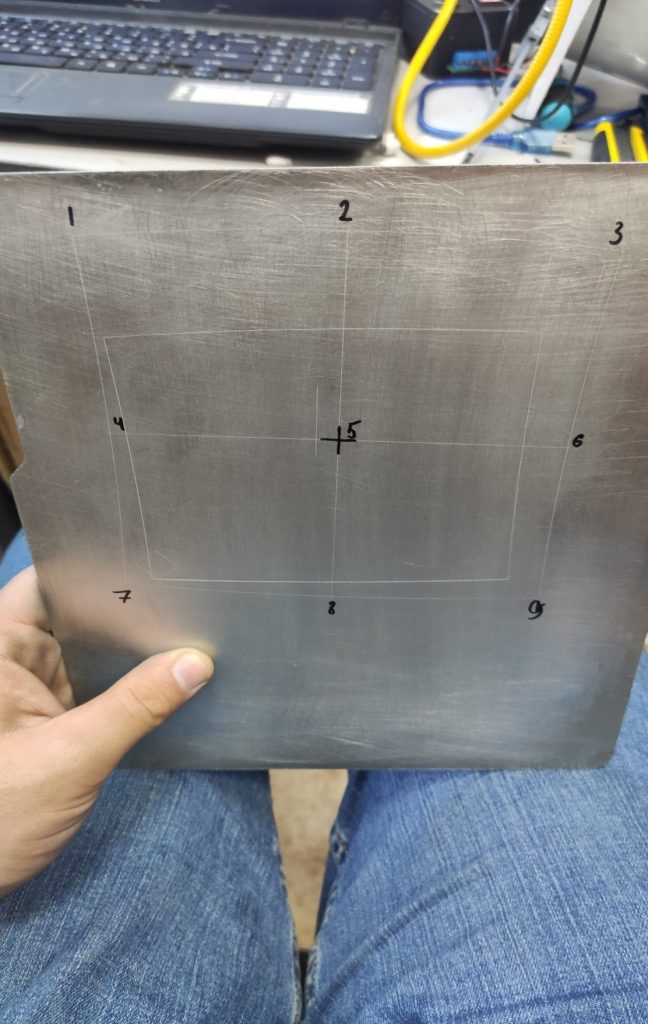
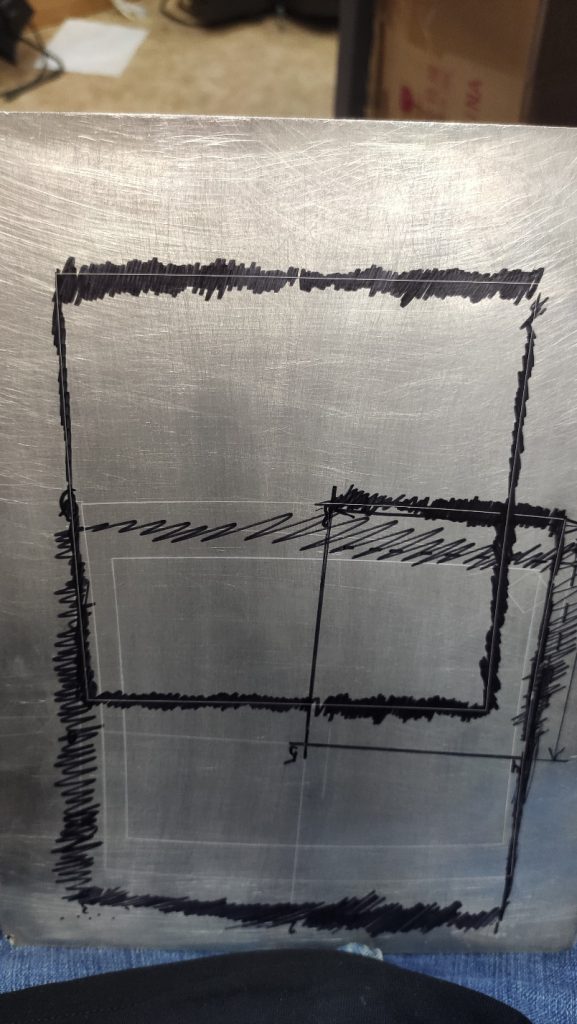
- In the working area, we create a square of arbitrary size (the larger the easier to see distortions). For calibration, it’s better to use black paper. We didn’t have it so we used a metal surface.
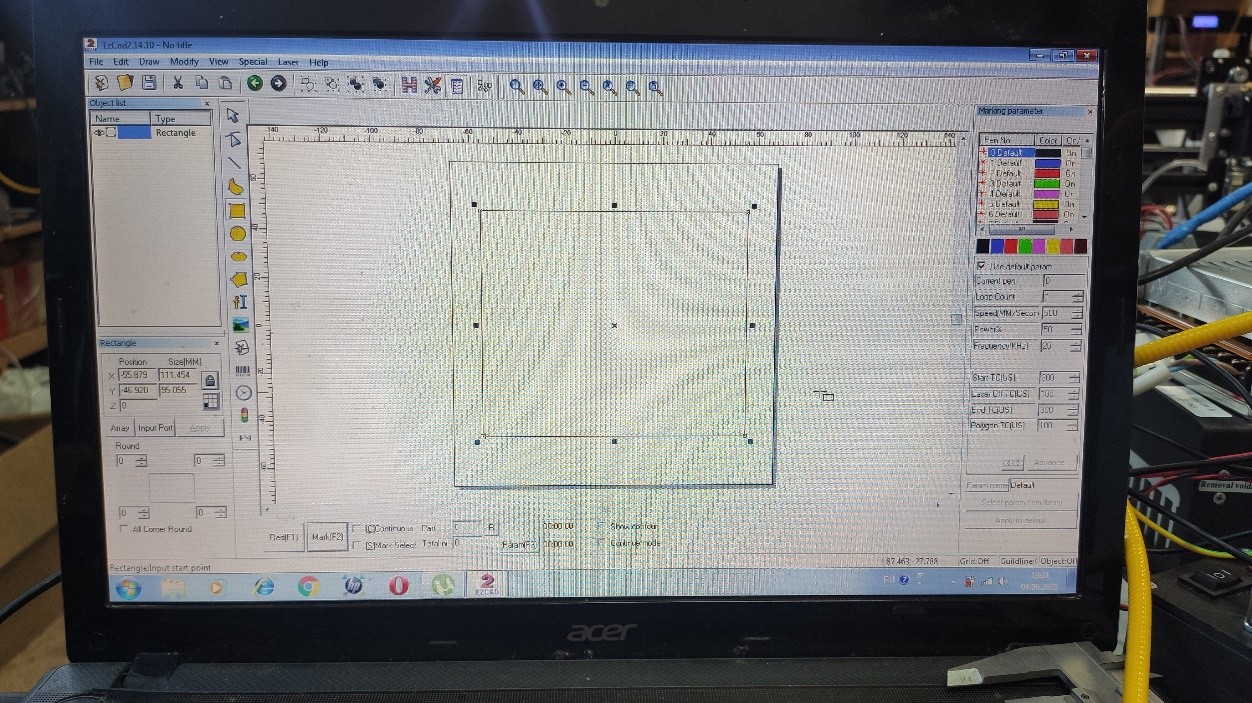

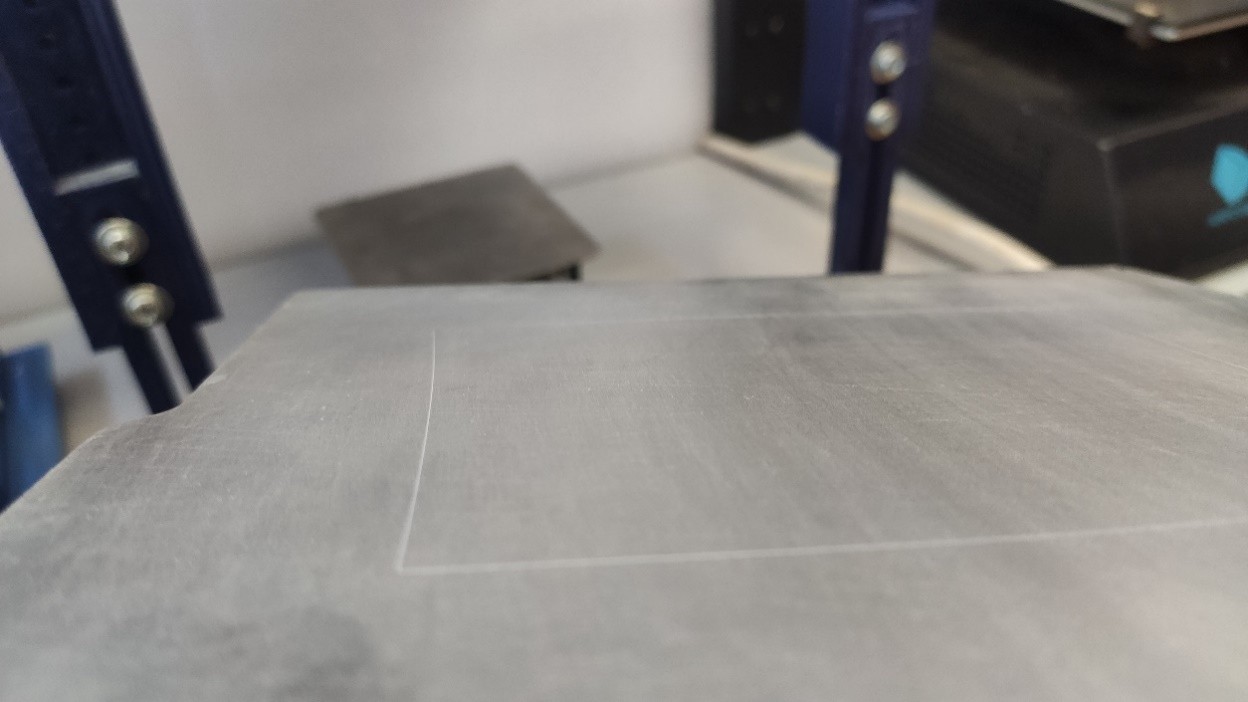
After engraving, we see that the square side are distorted.
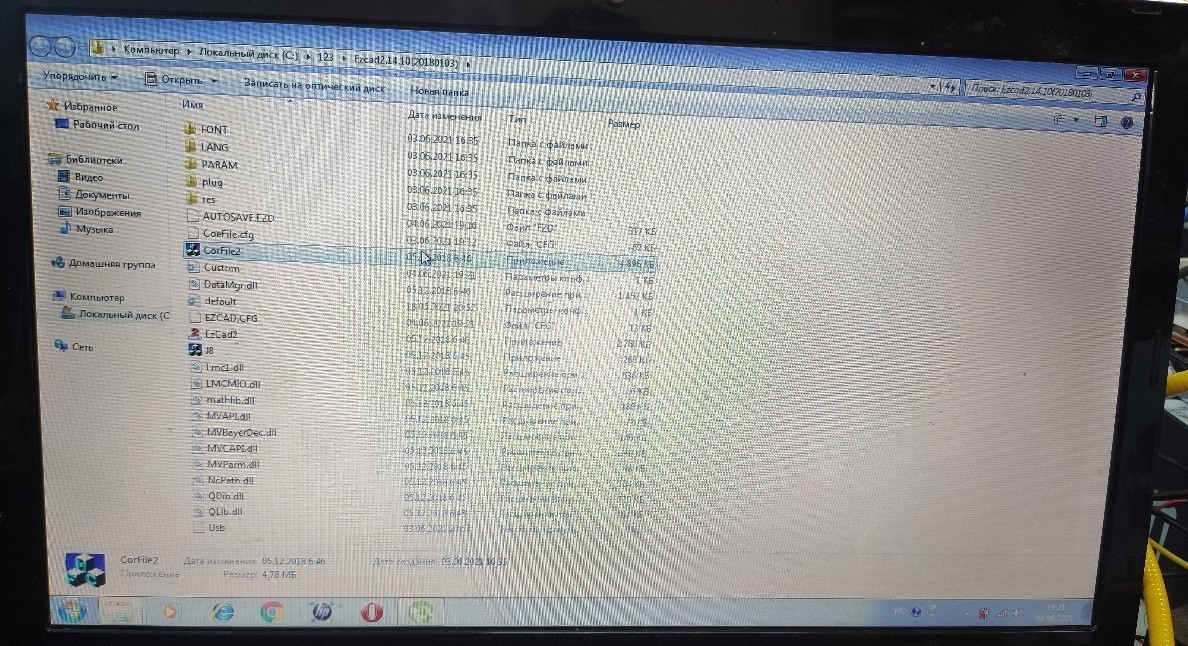
- In the Ezcad folder we ran Corfile 2, a 9 point calibration program.
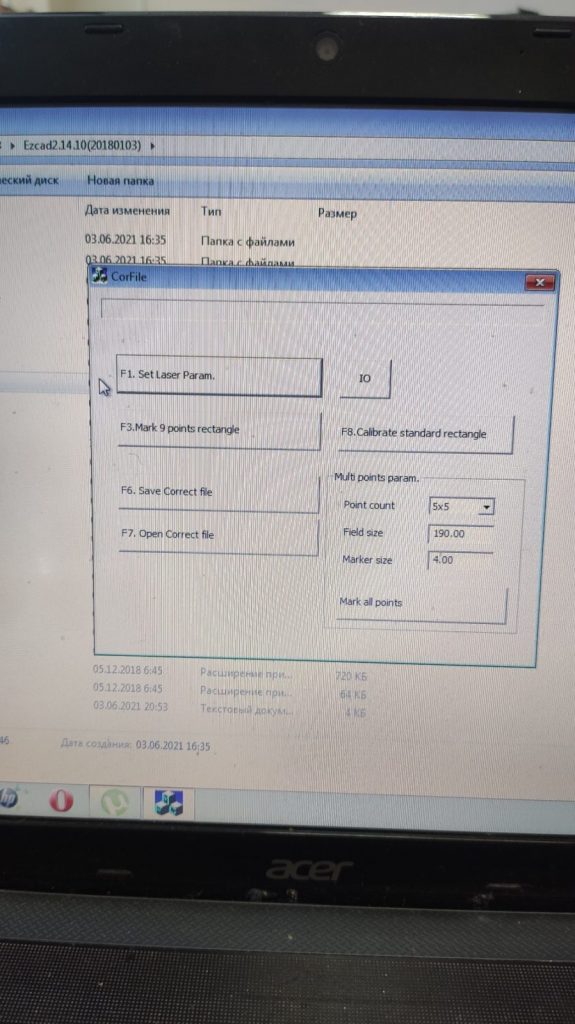
- Now we click F3 to engrave the test calibration square. The calibration square size may be larger than the laser engraving area. Take it into account beforehand.
When everything is ready we click F3, 9 point calibration.


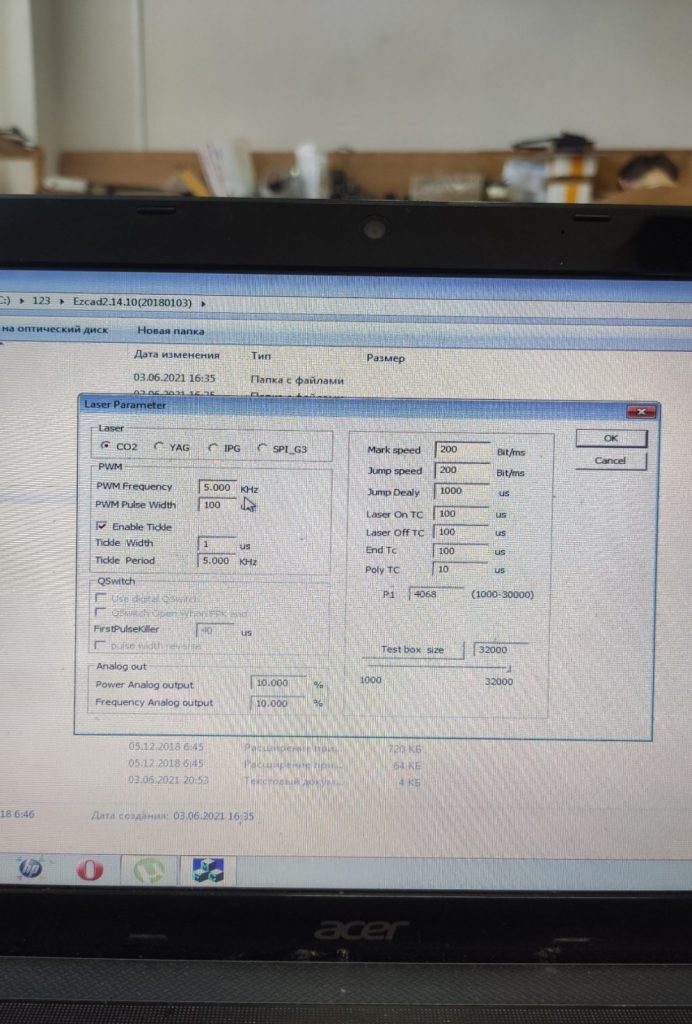
All numbers will be whole and equal to 50. We measure the sides of the resulting square: 220х220 against 200х200 that we need. We exit it changing nothing and go to the F1 window.
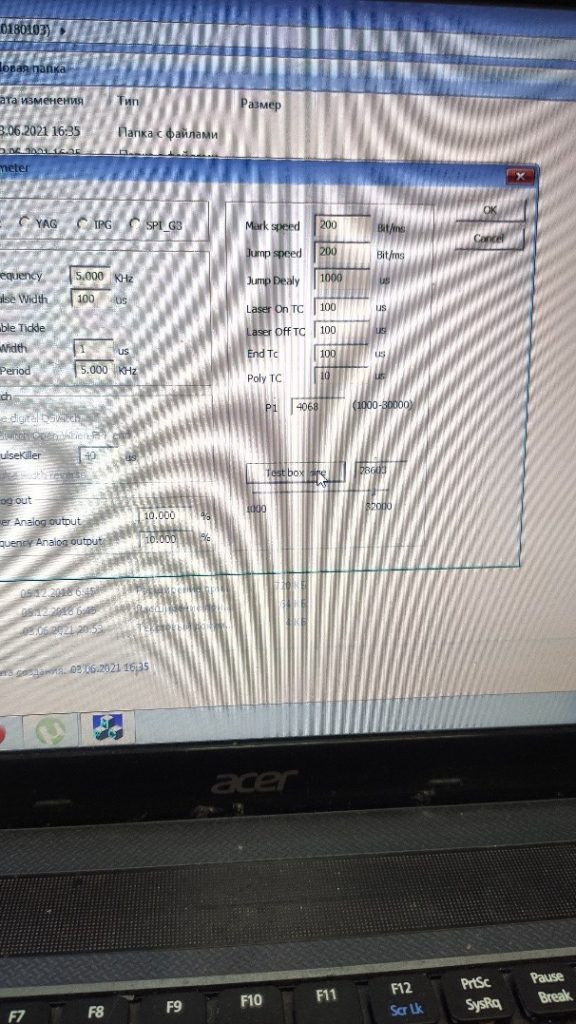

In the Test box size window at bottom right we decrease or increase the number proportionally (moving a slider or pressing the button, fill in the value). We do it approximately. The calibration size of the square should coincide with the size of the engraving working area.
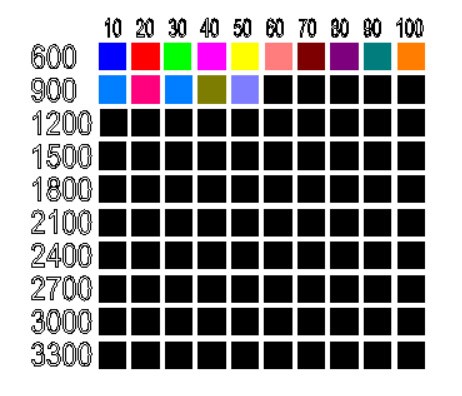
- The engraved image on the surface and on the screen differ in the arrangement of the small rhombs and squares.

By clicking the Change Image button we arrange the small rhomb and square in the same way as they got arranged after engraving.
We take into consideration a short line near the 5th point.
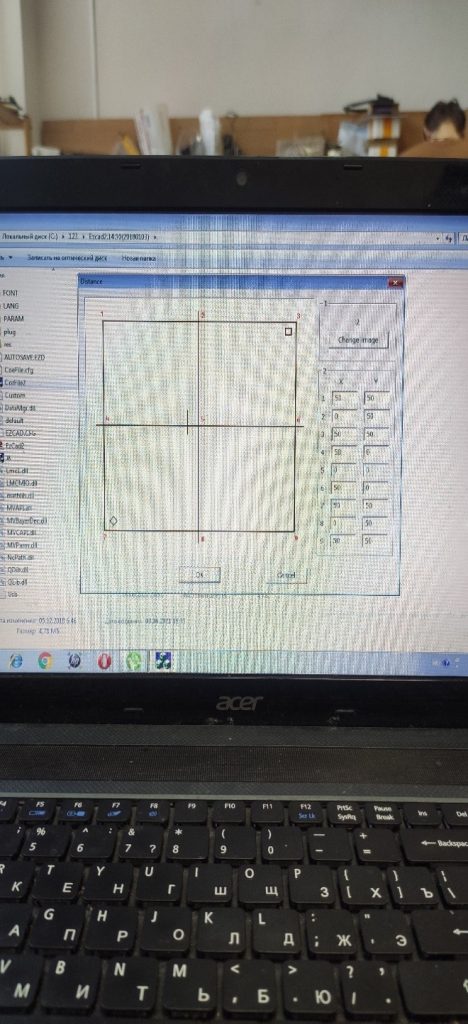
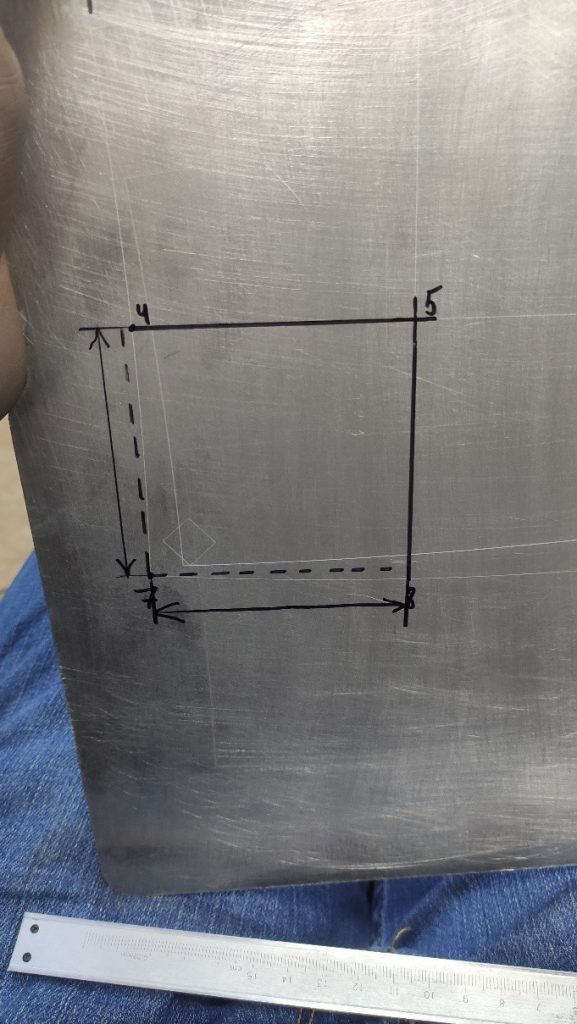
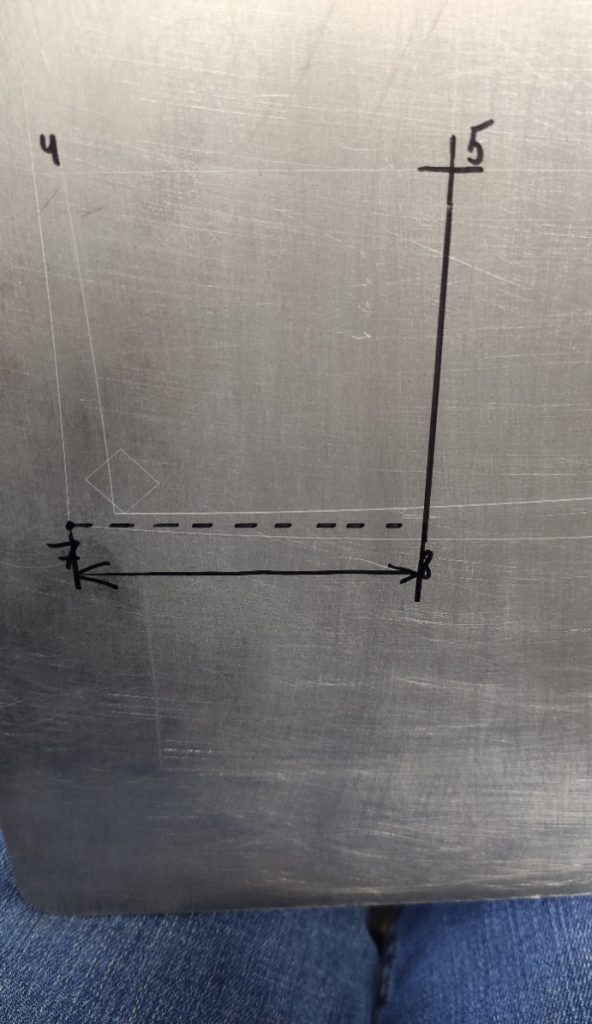
- Now with a caliper we transfer the actual dimensions to the calibration fields. The X value for point 7 is obtained by measuring the deviation from point 5 along the X axis. The Y value is obtained by measuring the deviation from point 5 along the Y axis. For all the other points we do the same. Point 5 is the center, so we take it as a starting point for all measurements. ith respect to it. Then we enter the resulting values. Decimal places are separated by a period not a comma.
- After entering all the data we click ОК.
- In the main menu we click F6 and save the calibration file.
- Then we exit the program and run EzCad2, click F3 and upload the obtained calibration file (specifying the path to it).
If your equipment works correctly you will enjoy new accuracy. The accuracy depends on how well you performed the calibration.
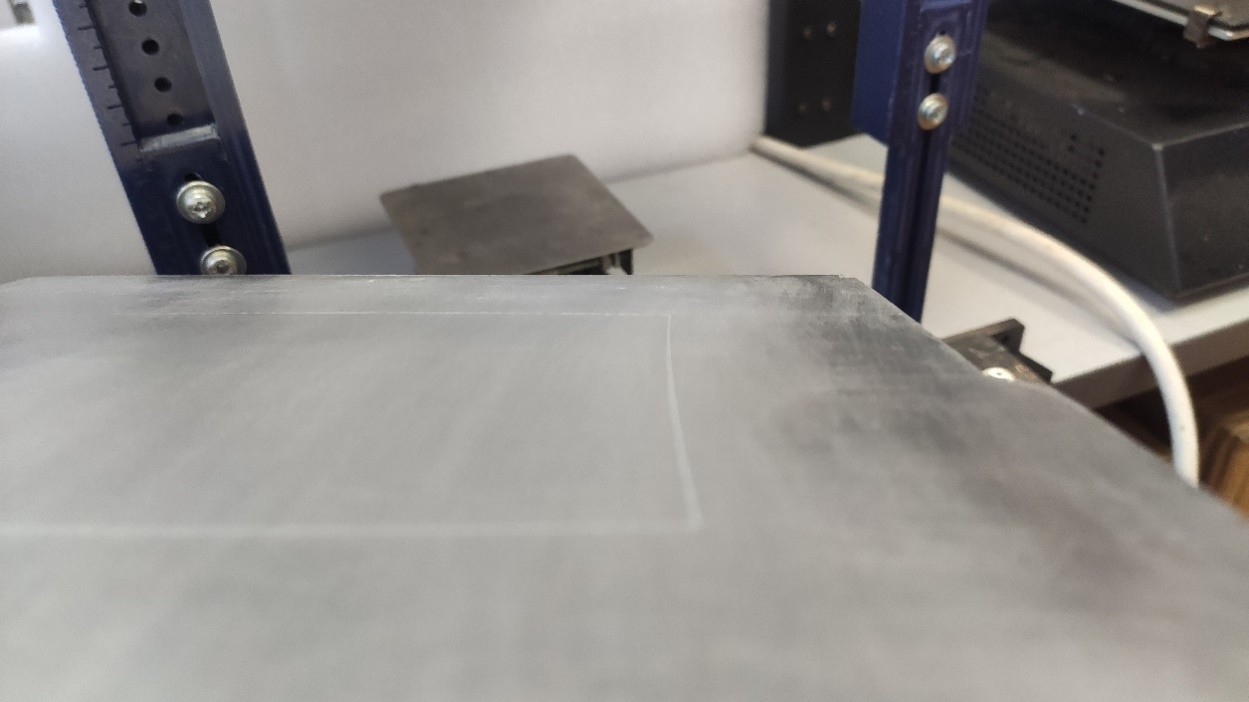
Here is what I got. After calibration I made a test square. To make it more visible on a photo I first made a drawing of the square with a black marker.
Download Ezcad ver. 2.14.10 software