Now we’d like to show you how to make a car phone holder.
Let’s make something really interesting today!
Today a cell phone is a very important device that you need everywhere, in the car as well. Especially, when you use a GPS. For this purpose, you need to keep it in front of your eyes hands-free.
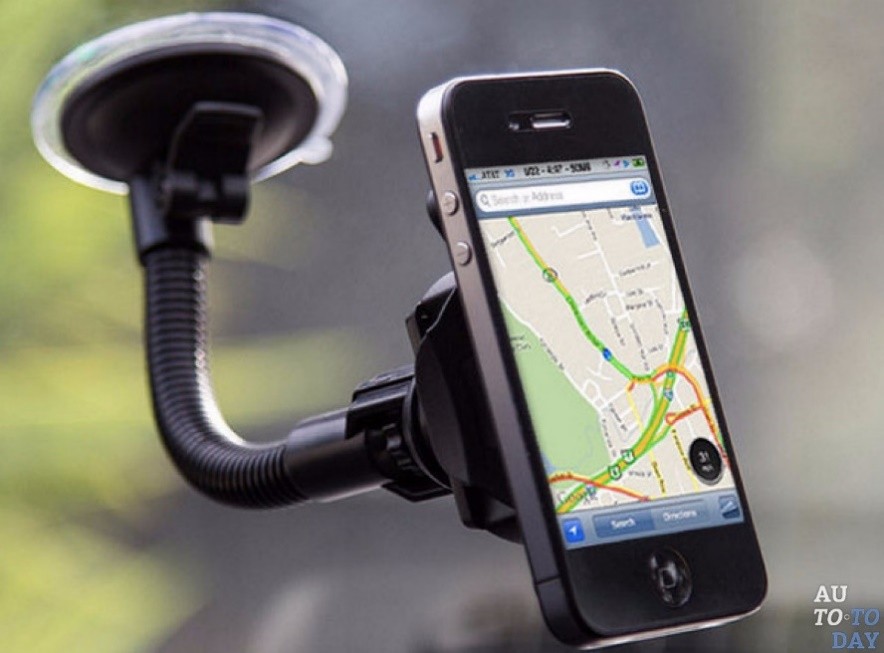
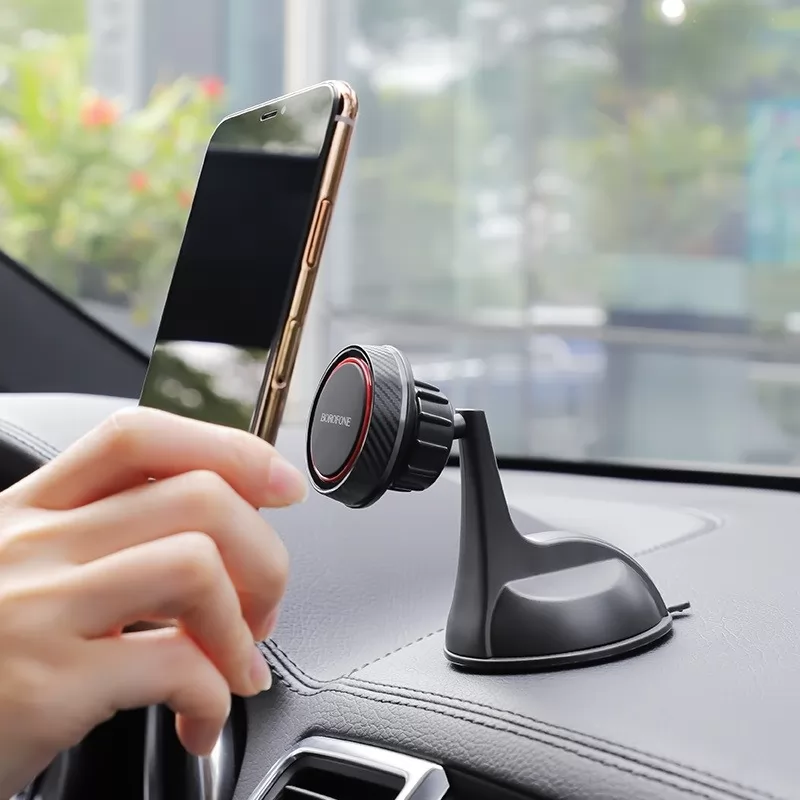
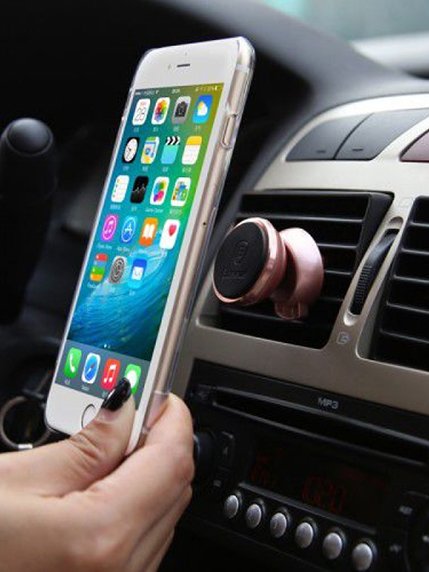
There are a lot of cell phone holders for sale. Most popular among them can be installed by means of a sucking cup, double-sided adhesive tape or magnets
– on a windshield,
– on a dashboard,
– on a blower nozzle.
We are going to show you how to make a car phone holder with your own hands.
We will need to make a DIY phone car holder
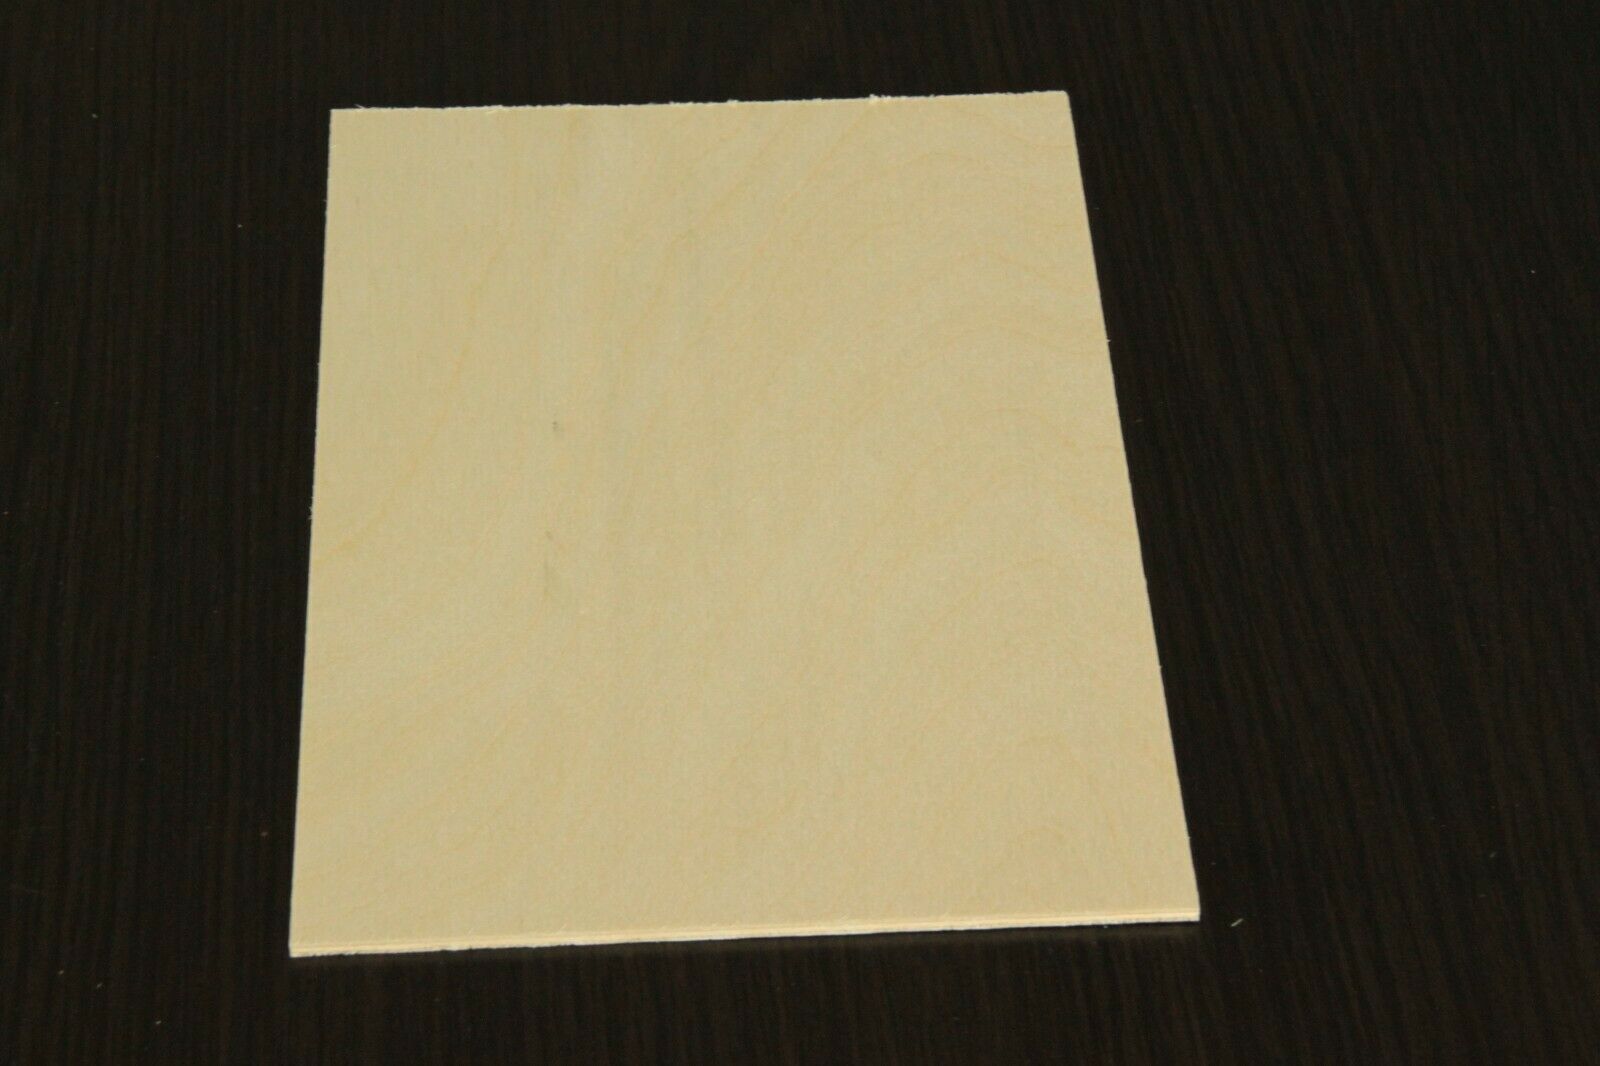
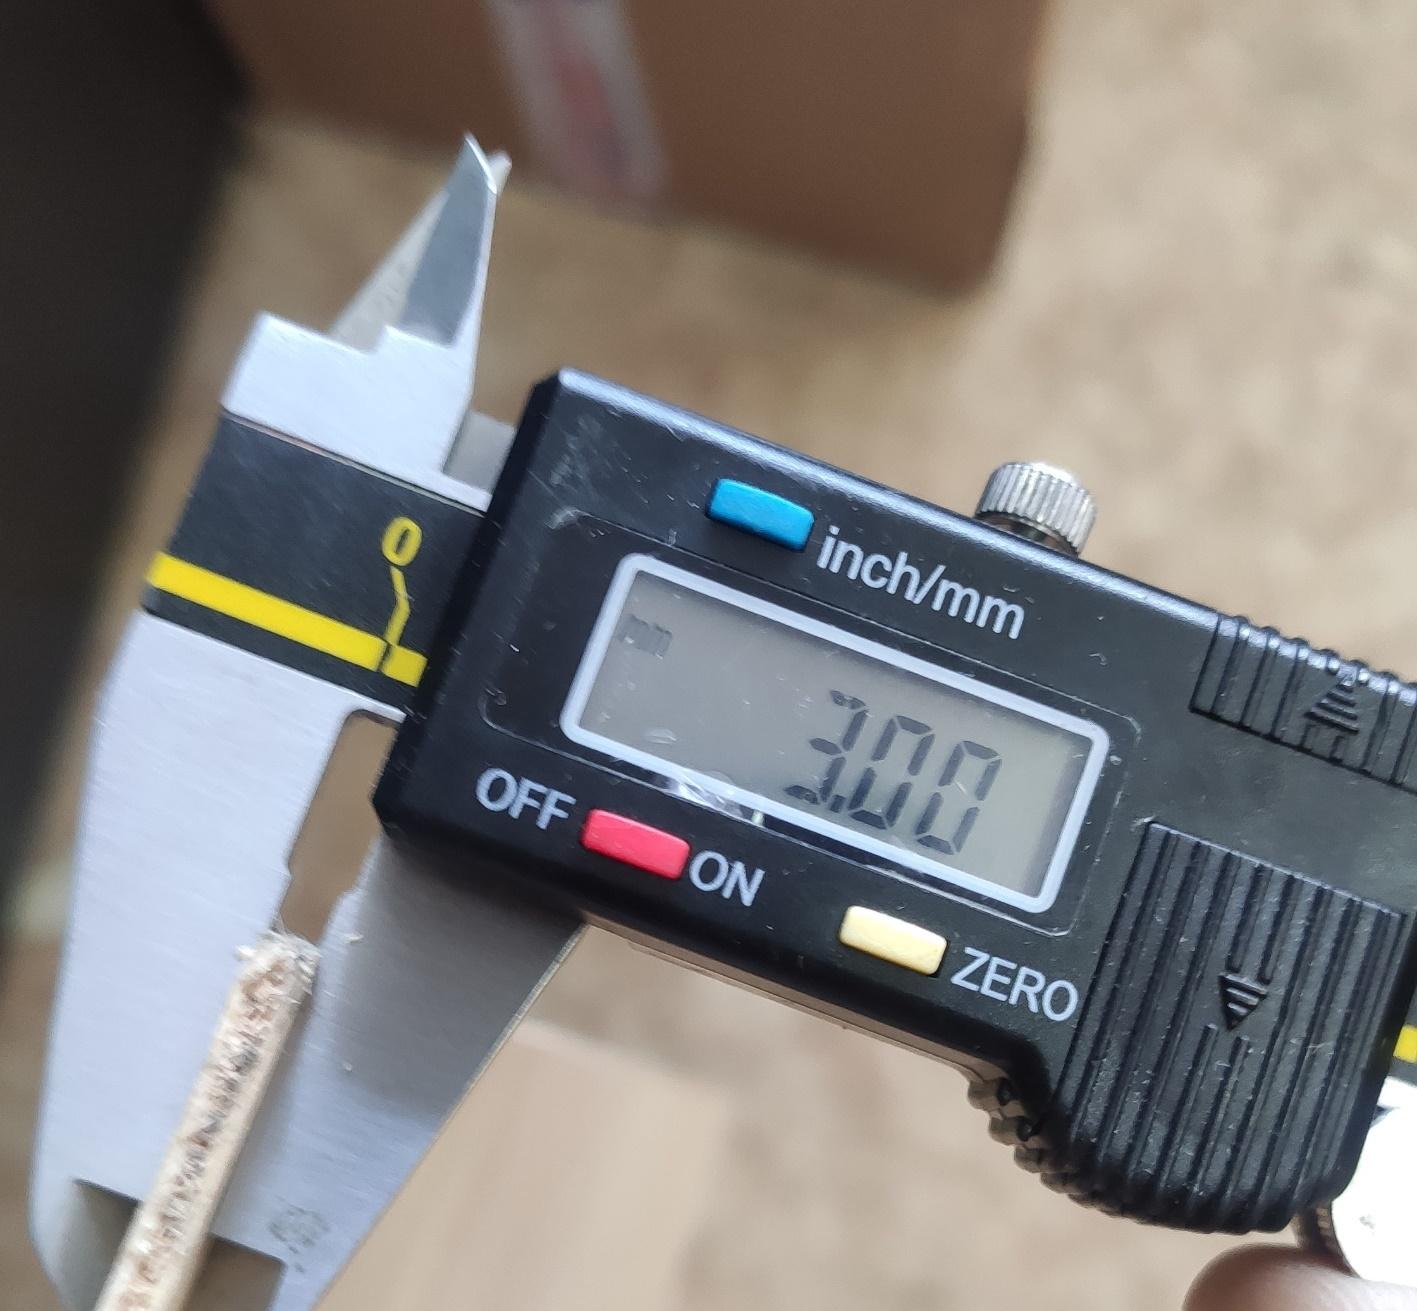
– plywood, 3 mm thick (3/16″)
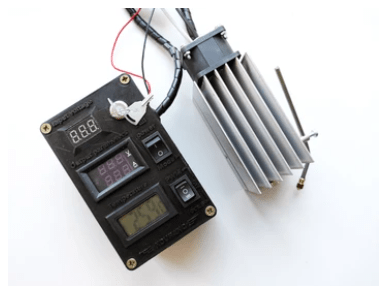
– an ENDURANCE LASER, 10 W SE (https://www.endurance-lasers.com/products/10-watt-plus-se-laser-invincible-plus-continuous-power-445-nm)
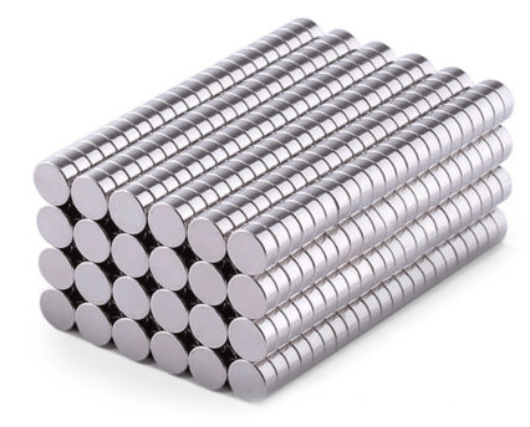
– neodymium magnets 3×8 mm (4 pcs)
It’s not for nothing that we choose plywood for our holder. This material has many advantages:
- It’s affordable. You can buy it in any building material store or order on the Internet.
- It is easy to process with simple hand tools, though we used a laser for the sake of high quality.
- It is ecological. Plastic phone holders do not play a main part in planet pollution. Still, even for these little things, we prefer to choose ecological material.
We will also need
- glue for wood
- a jig-saw
- EzCad program
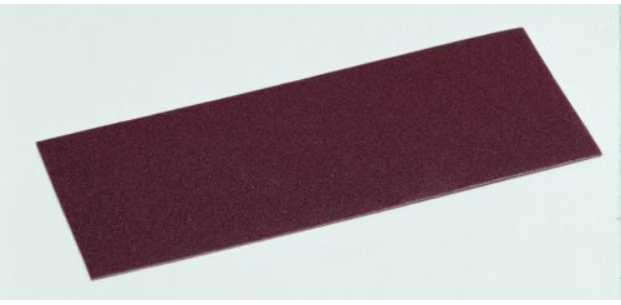
- sandpaper of different grain.

If you want to change anything in our holder design you will also need a program for work with vector graphics.
If you want to change anything in our holder design you will also need a program for work with vector graphics.
For convenient use of the phone in the car (as a GPS for example) it is necessary to have it somewhere in front of your eyes. Some people fix their phones to the windshield with a sucking cup. We think that the best variant is to position the phone in a holder on a blower nozzle or dashboard. In this way, you will have a clear view of it.
To make a car phone holder
1. we position a plywood workpiece on the working table of the laser machine. To avoid soot caking on the other side of the plywood workpiece we put under it small plywood wastes, 3 mm thick.
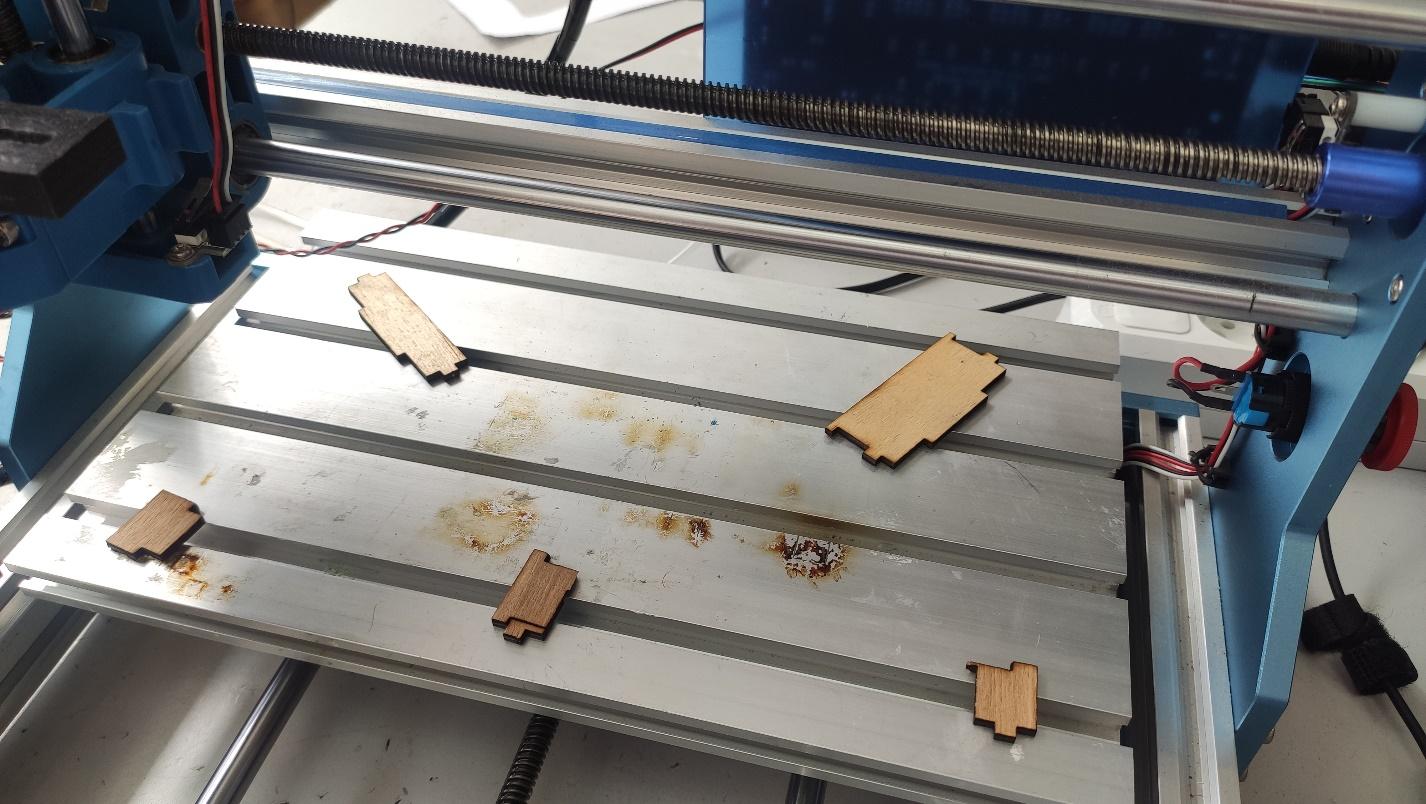
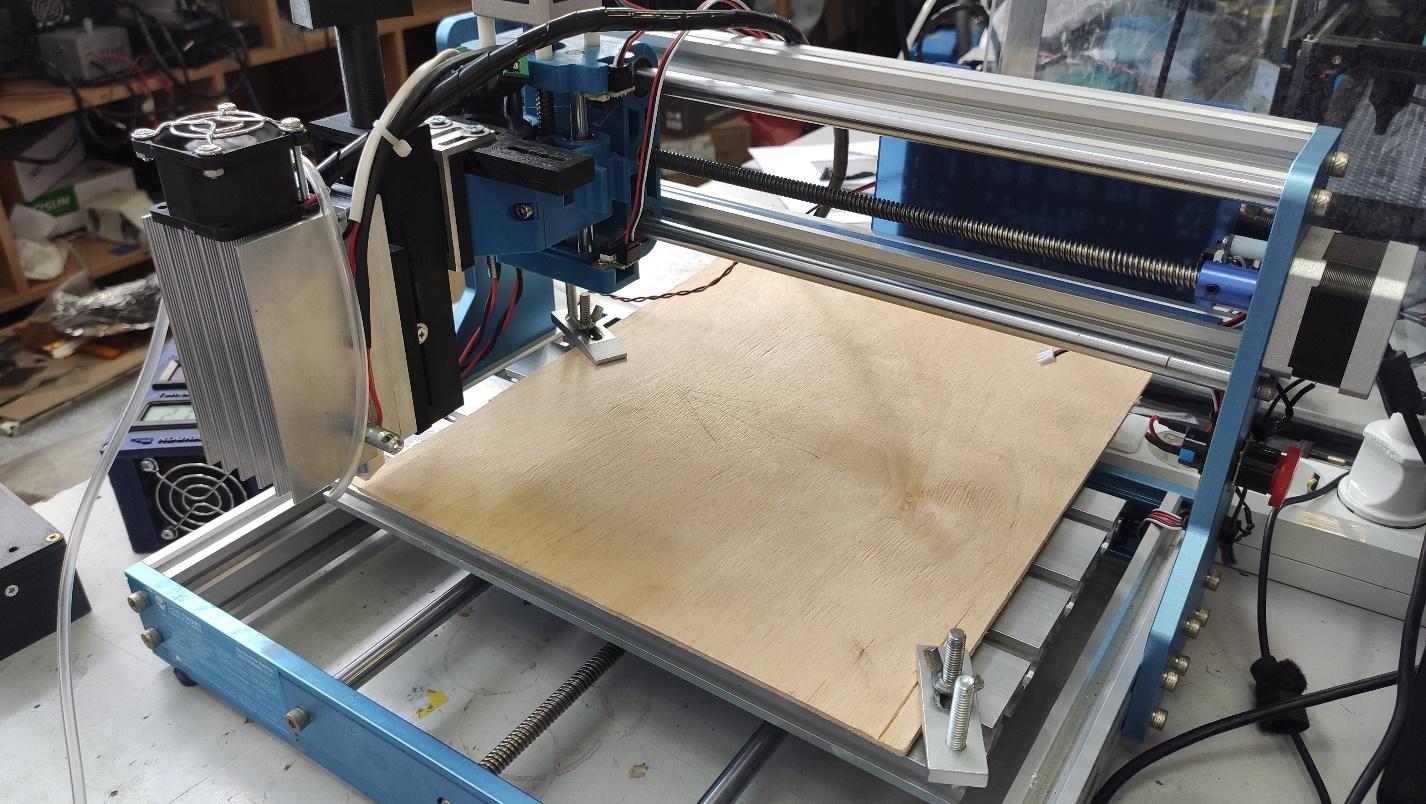
2. Now we can start cutting. 3 mm plywood is easy to laser cut and engrave. Nothing special. If you don’t know what parameters to use see the test table. With its help, you will easily find the parameters you need. For better cutting quality we use an air assist.
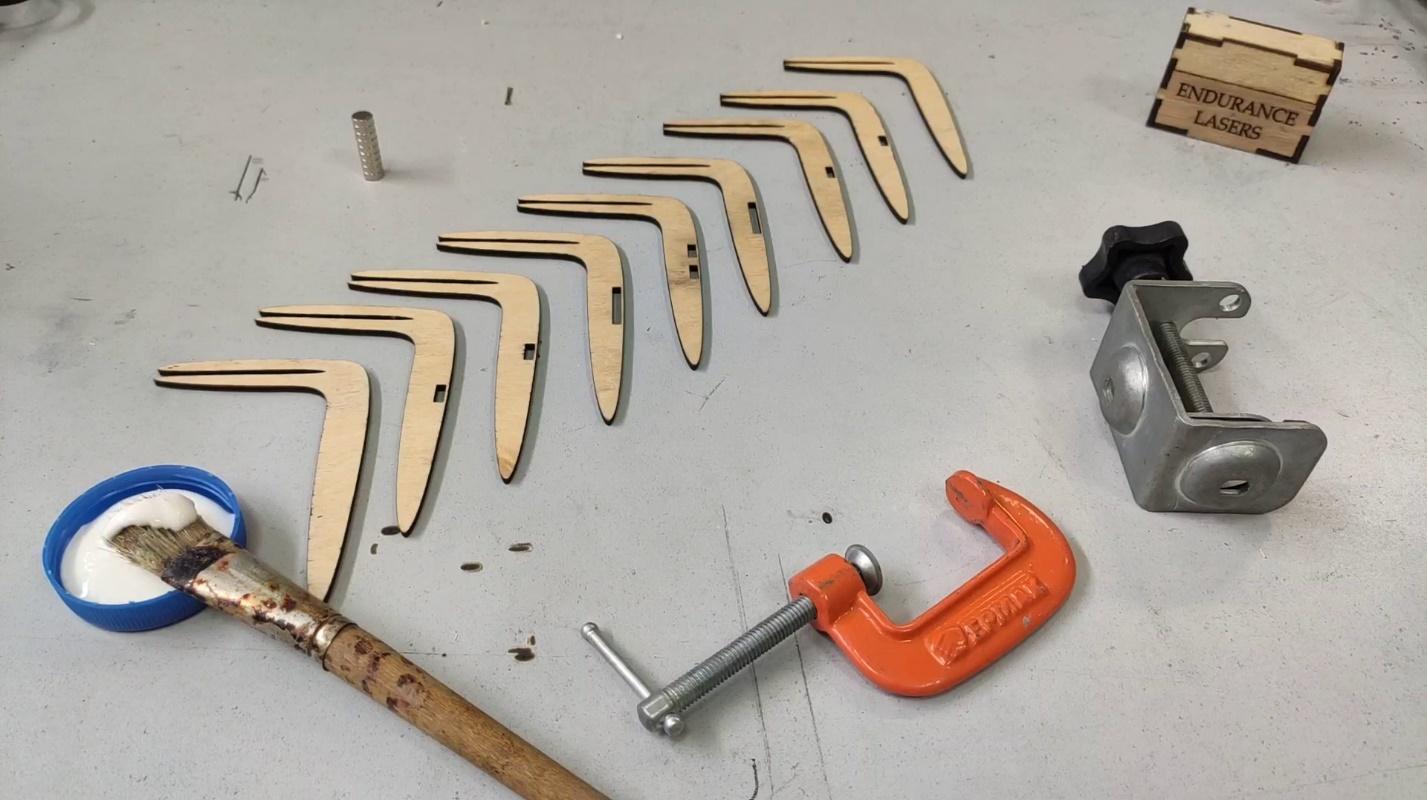
3. When all the elements are cut out we start to assemble them in one unit. To join them together we use PVA glue. It is good both for wood and plywood. It’s very important to join all the parts in the right order. We coat thoroughly one element with glue and press it to another one, then do the same with another element. While doing it we insert magnets into their rightful places when necessary.
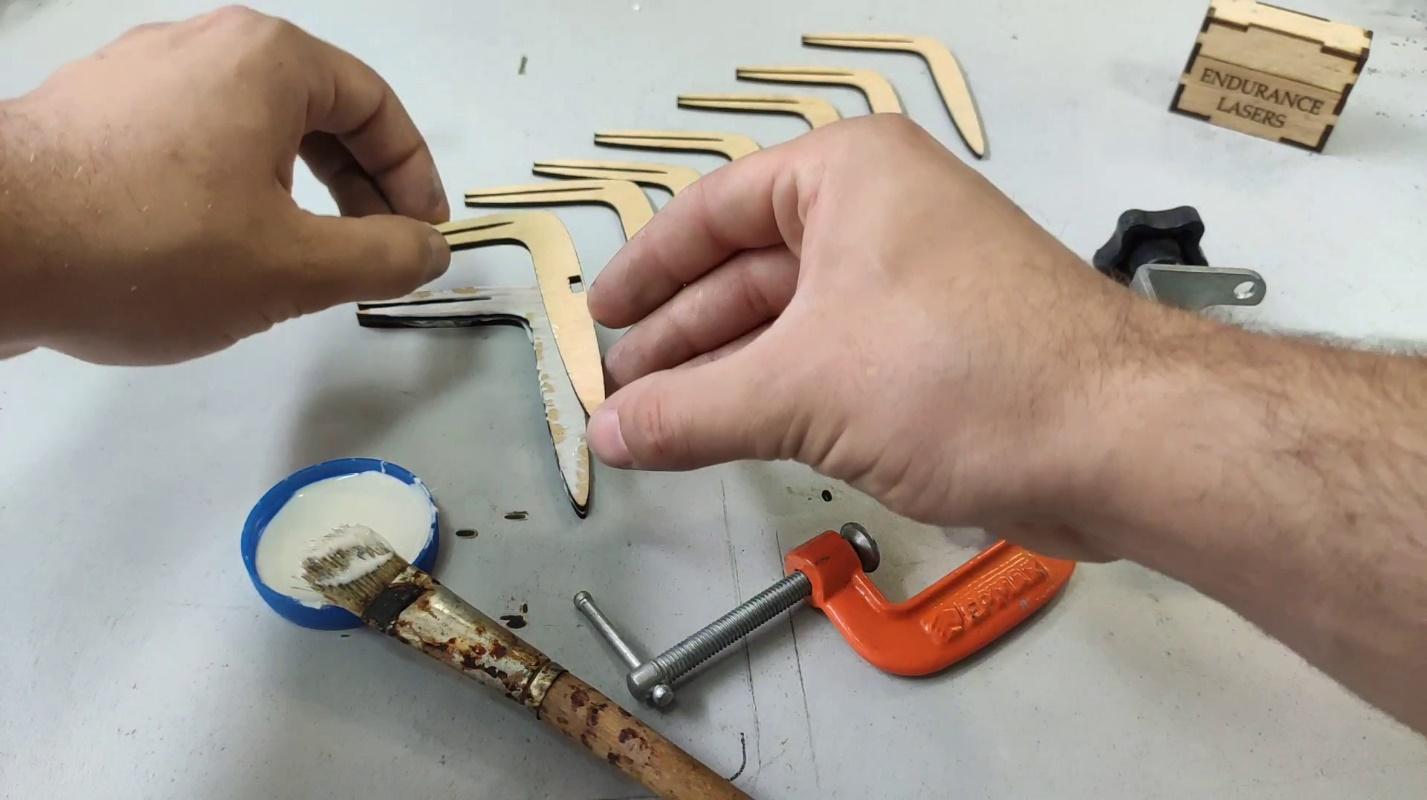
When the magnets are installed we attach a metal plate to the joint block as shown in the picture.
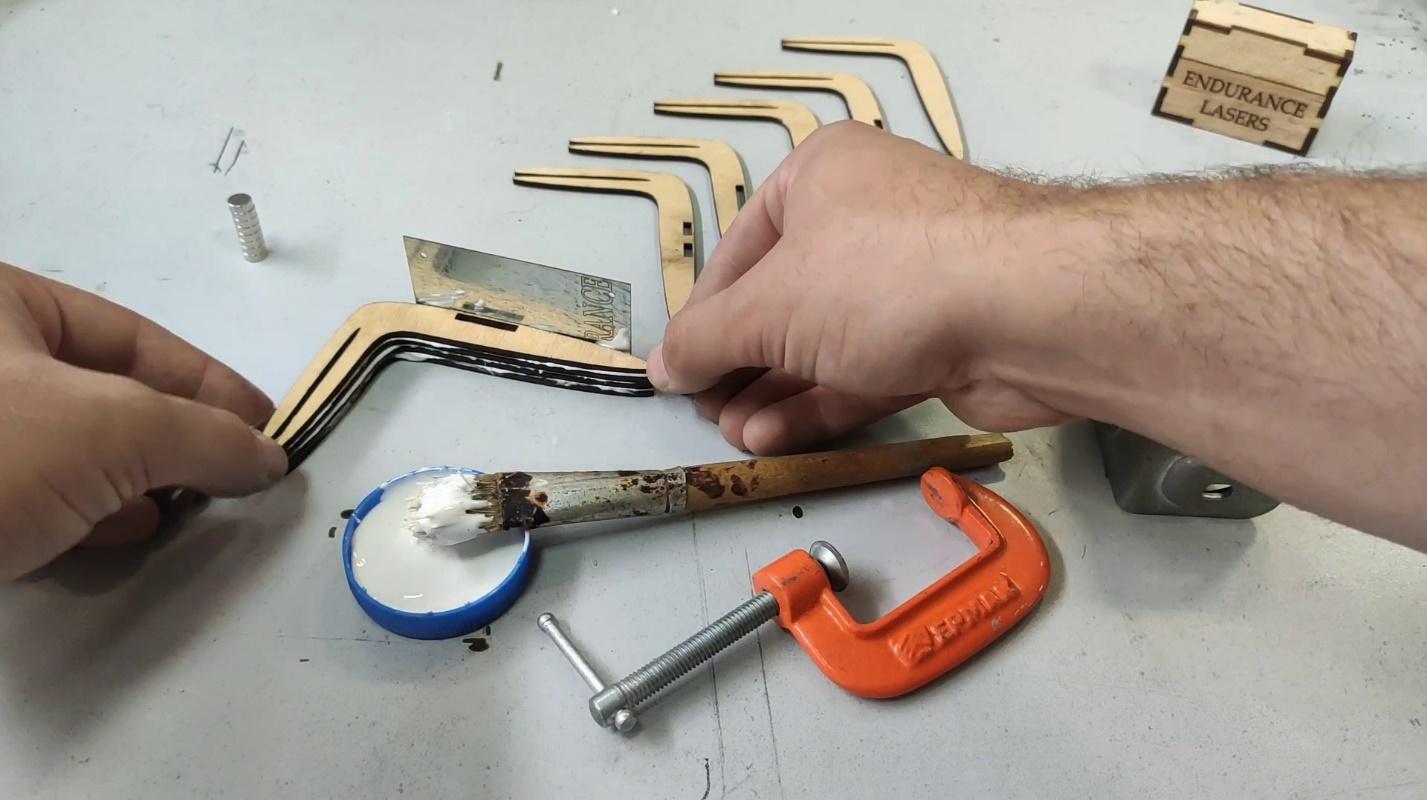
The magnets will stick to it and help arrange all the other elements evenly. In this way we assemble the entire holder. When it is assembled we make the holder even, clamp it with clamps and leave to dry for a night or better for 24 hours.
4. After the item is dry we remove the clamps and proceed to sand all irregularities with sandpaper. It is possible to sand it by hand or with a grinder. But if you use a grinder beware to damage thin edges near the magnets. Unfortunately, we exposed the magnets and they fell out. But we easily put them back using COSMAC FEN CA12 glue. When the glue dried we puttied that defect and sanded it again.
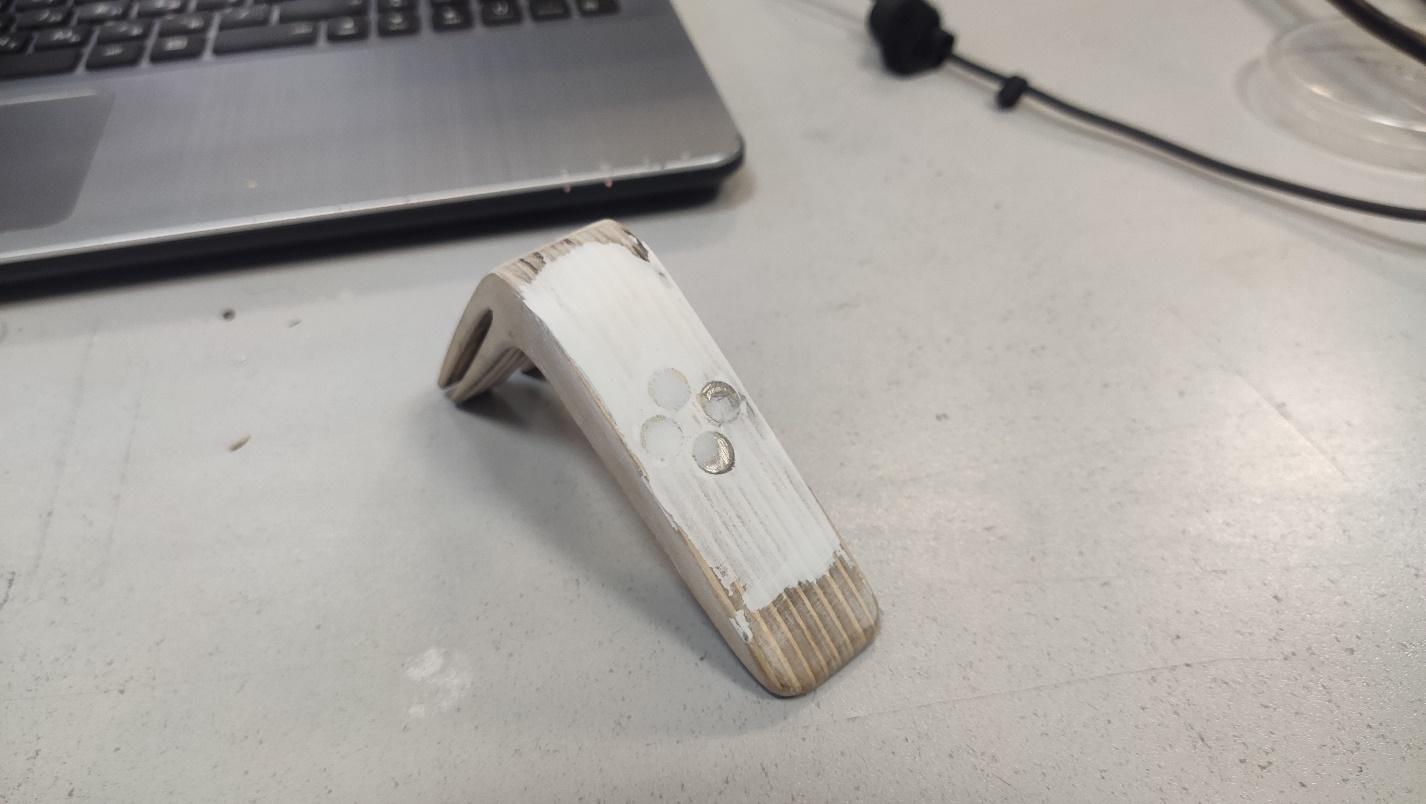
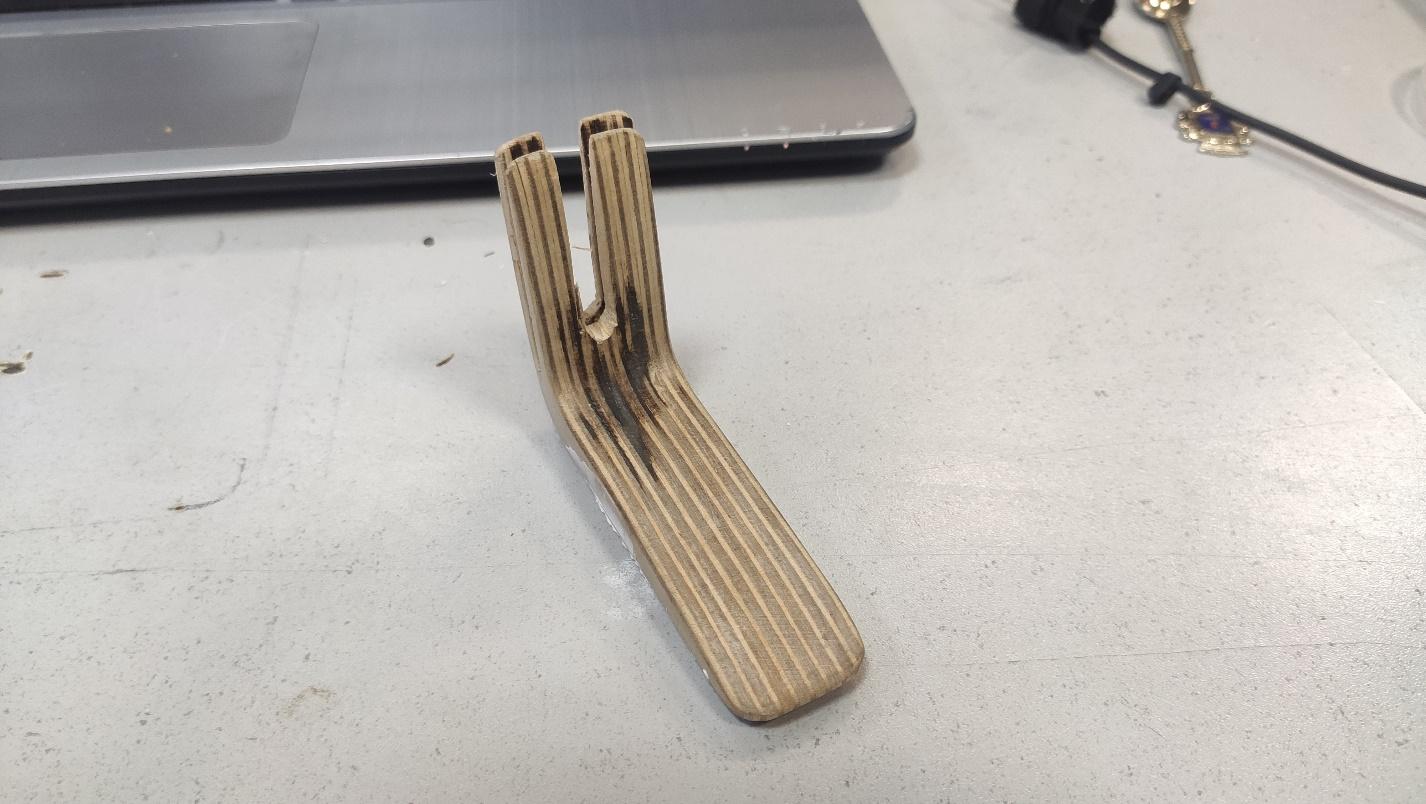
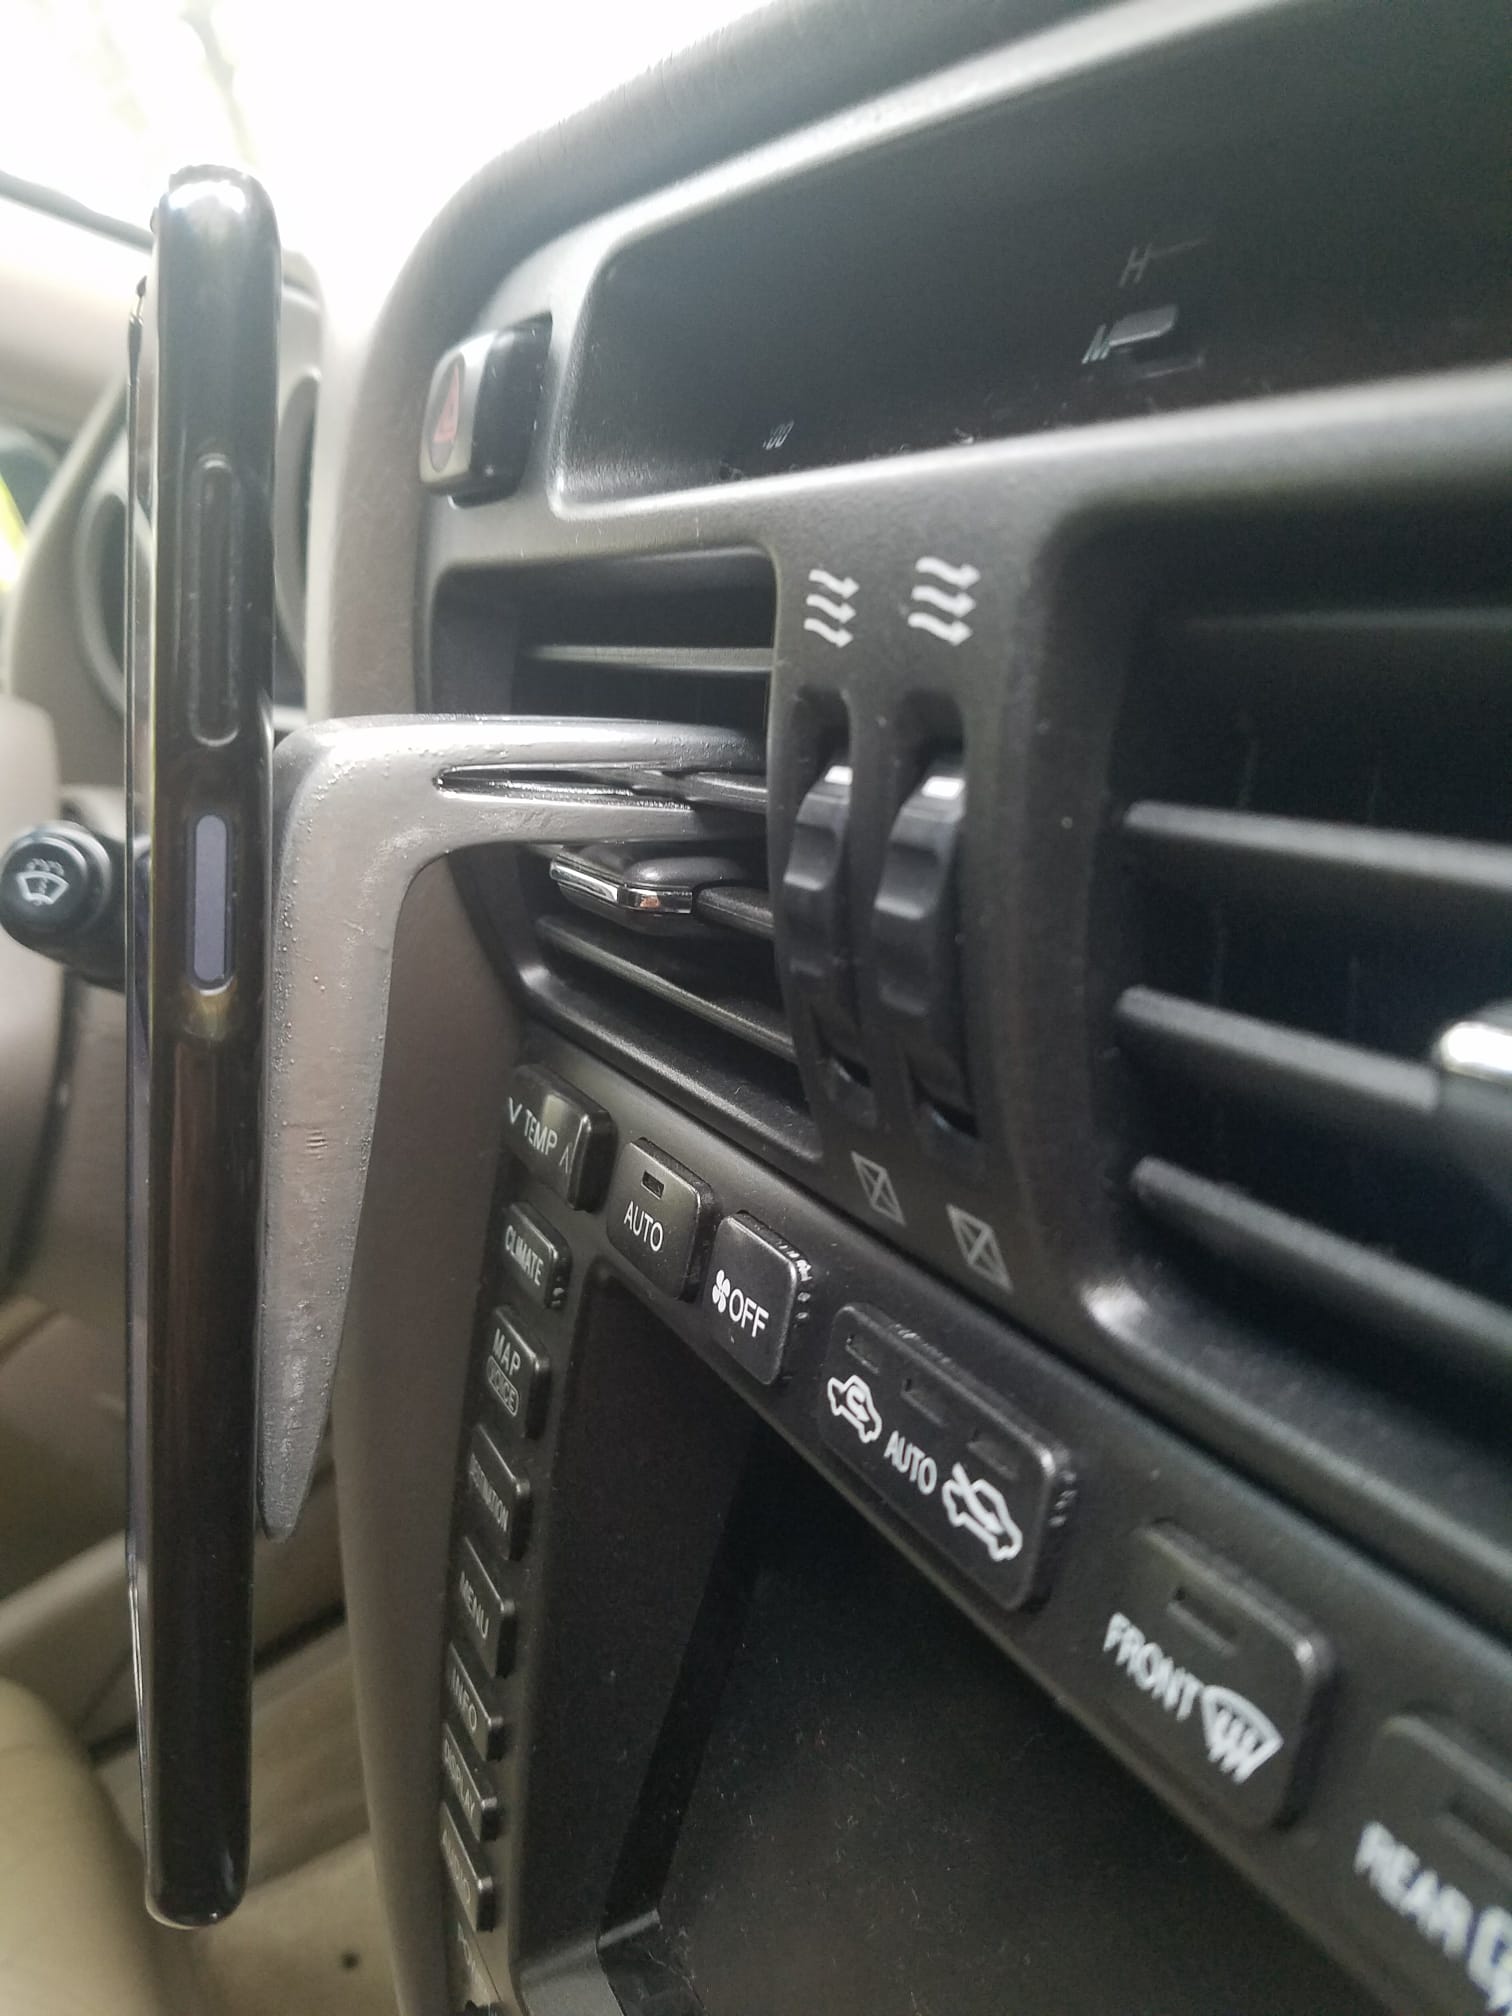
5. Now the holder is almost ready and we can check if it fits into the blower nozzle. As it turned out, it didn’t fit well. So we made a saw cut in the mount perpendicular to the ones it already has and polished it with sandpaper once again.
6. The last step is painting. We’ll paint the holder with acrylic silver paint.
We degrease the surface, coat it with three thin layers of paint letting each layer dry for 1-2 hours and leave the ready item to dry for another 24 hours.
Now it’s ready. We glue a thin metal plate to the backside of the phone, position the phone in the holder and use it in the car hands-free.
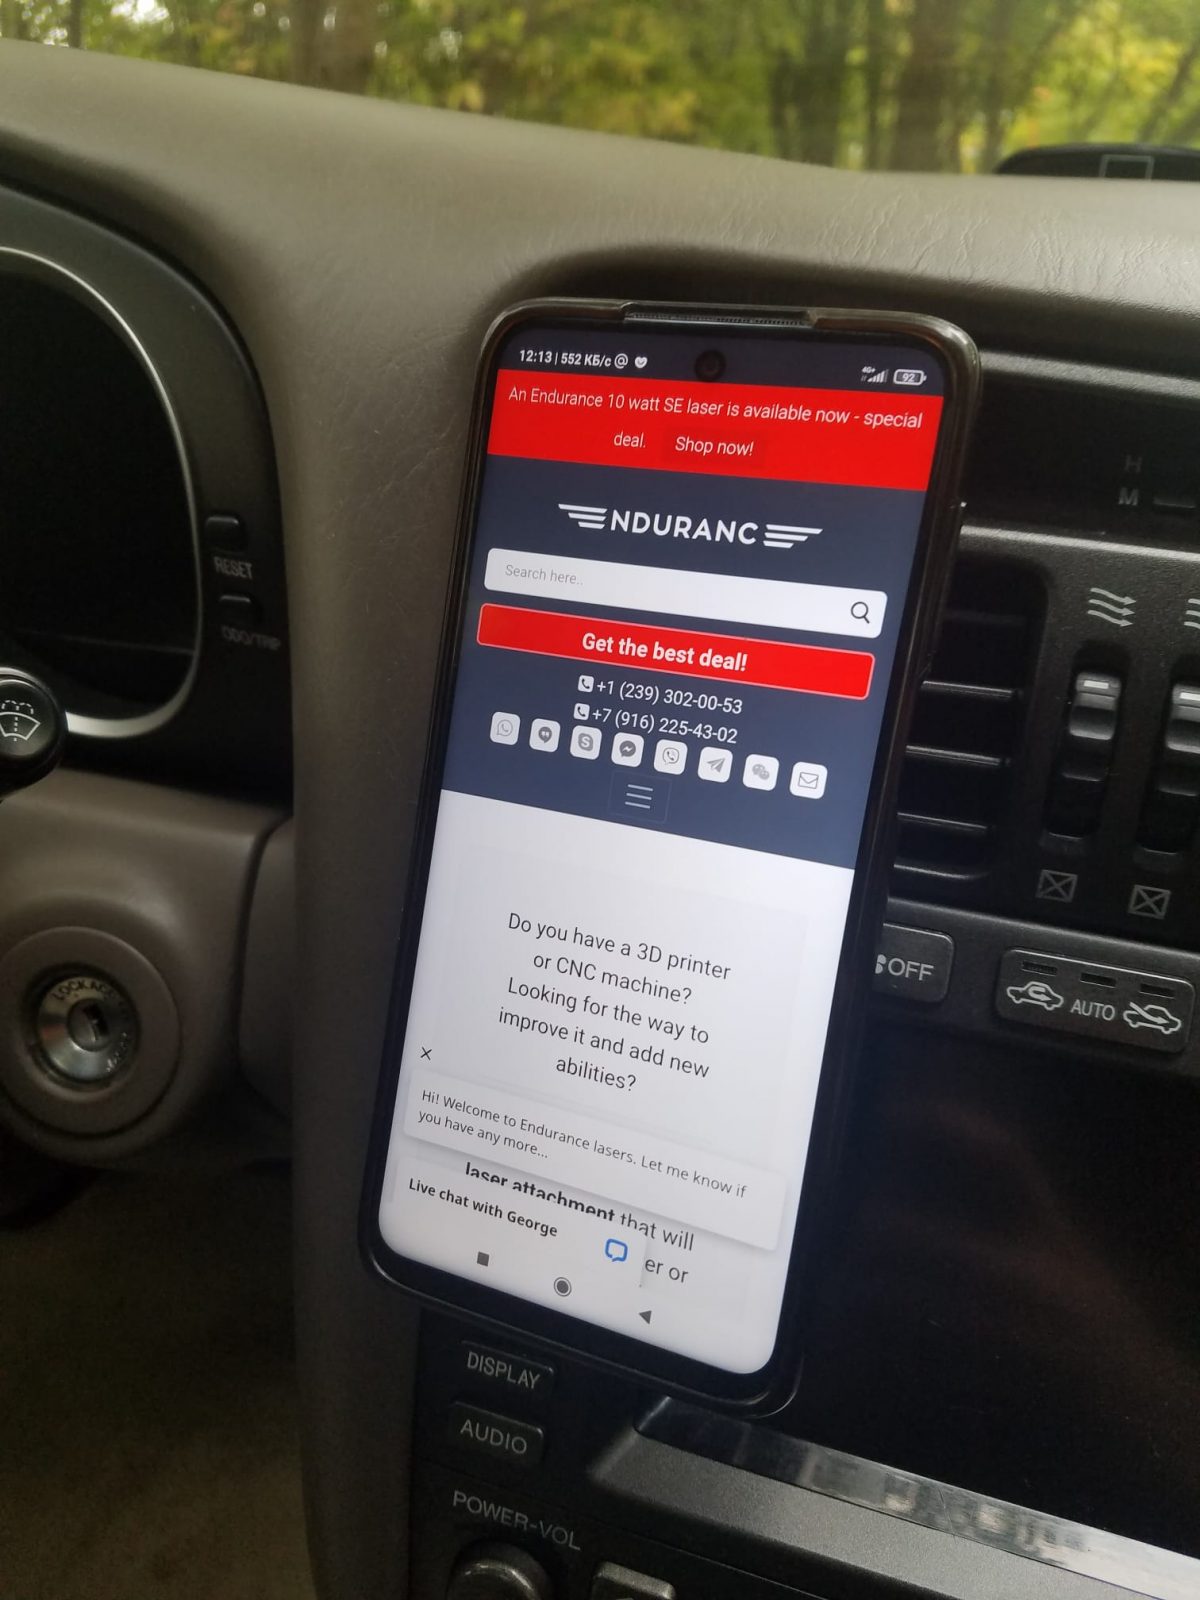
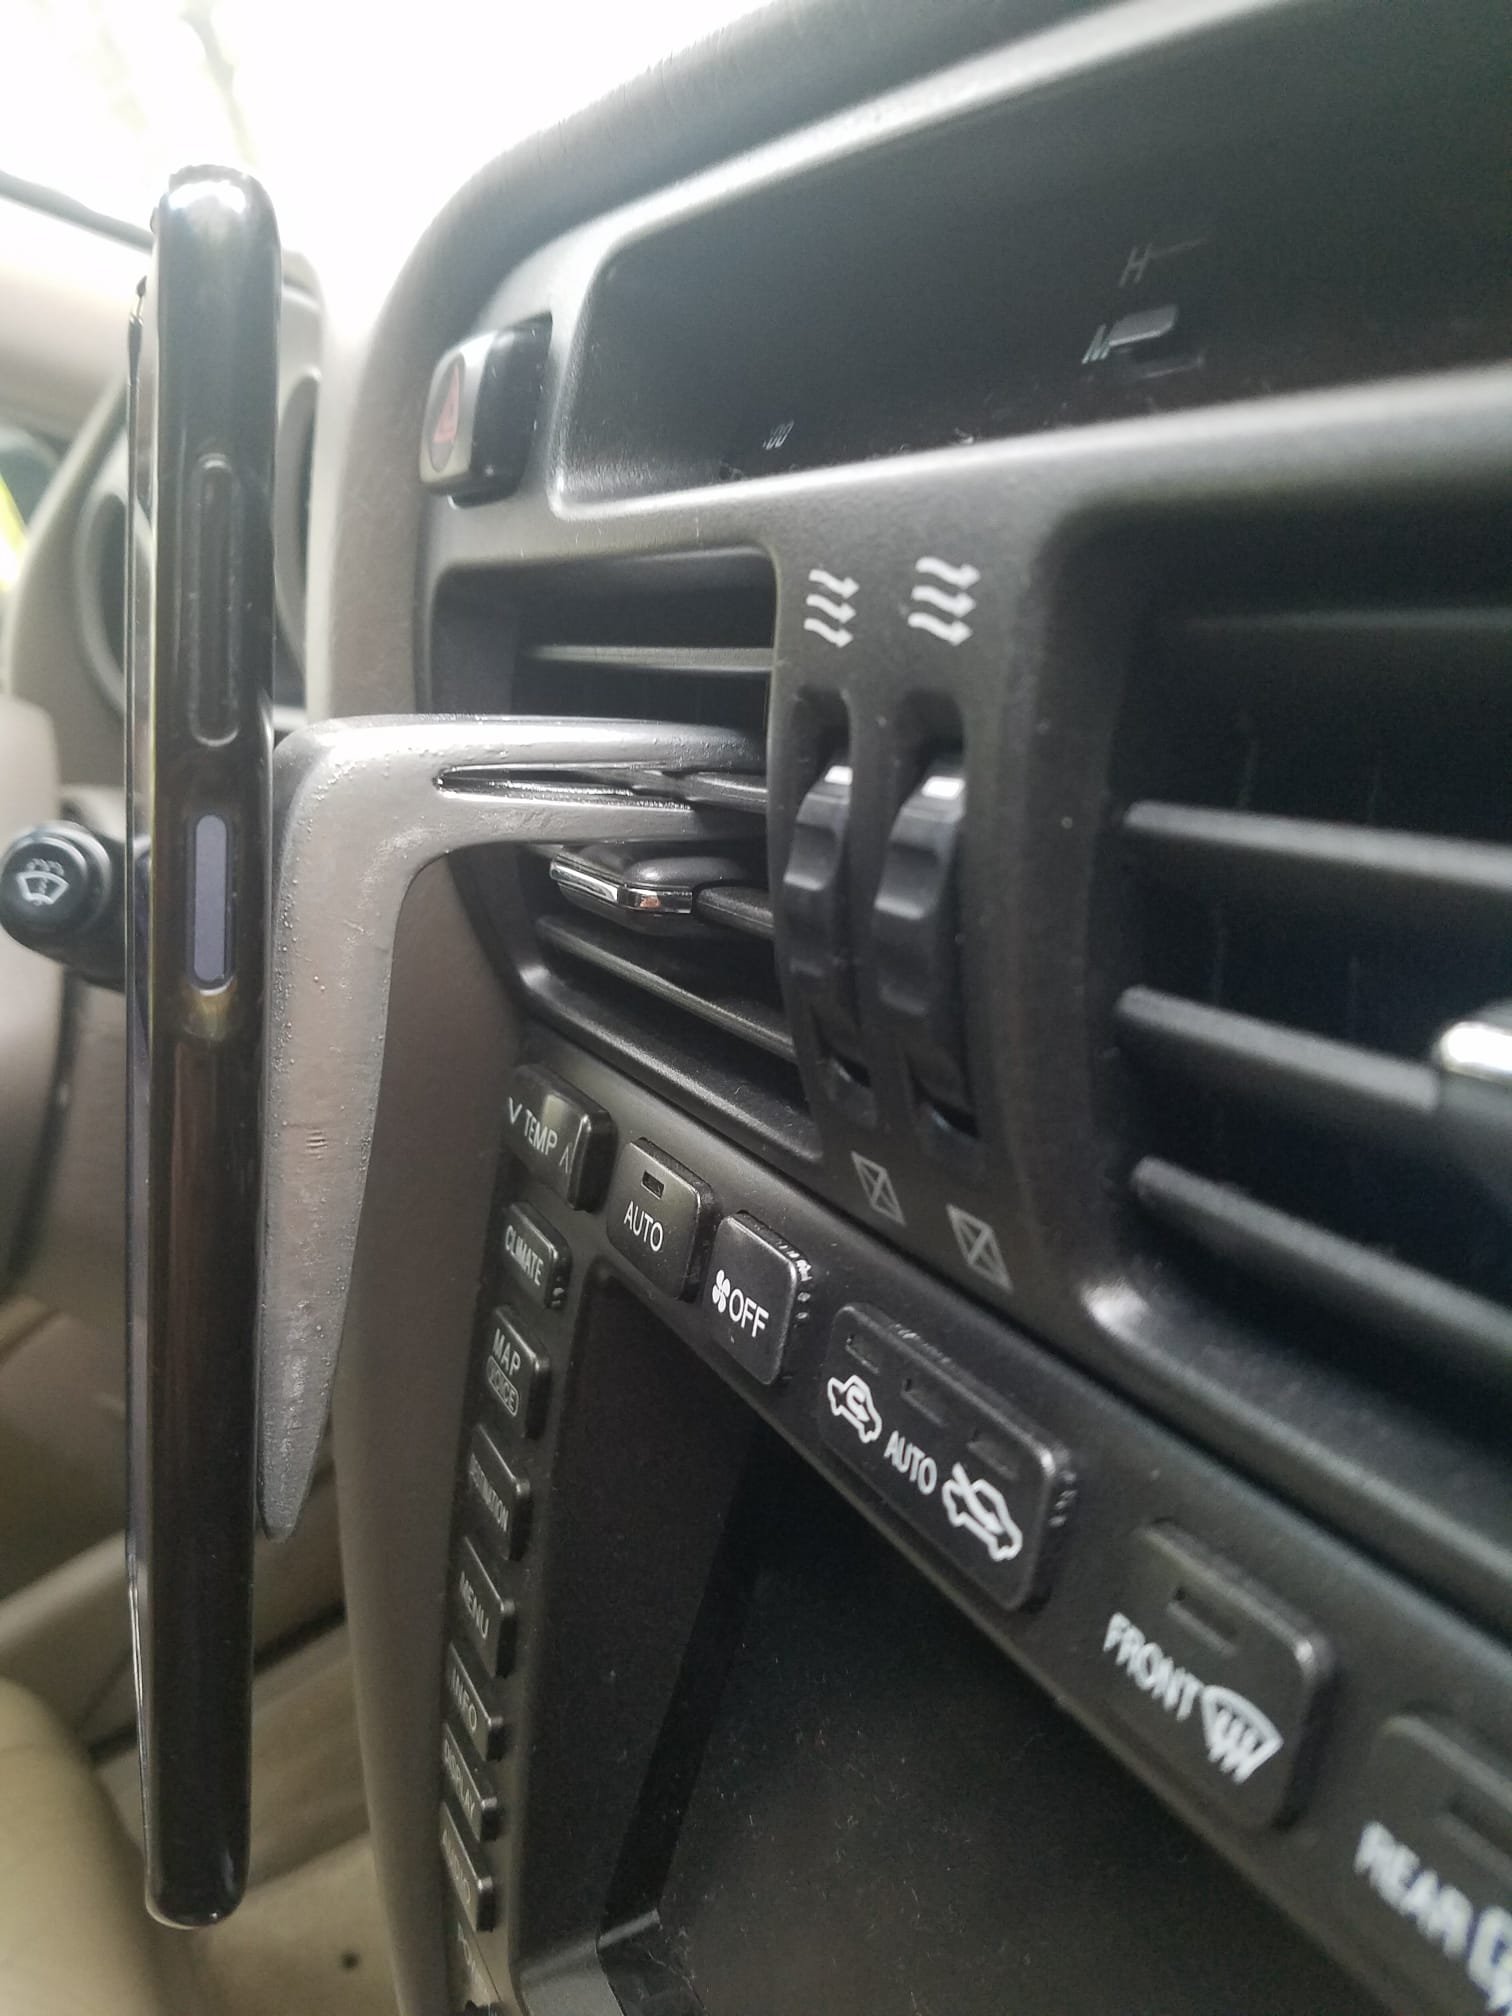
Download free car holder g-code
ENJOY your DIY smartphone car holder!
Learn more about how to restore chrome on your car
Used materials and items
- plywood, 3mm thick (use low-density plywood)
- A blue 445 diode laser (ENDURANCE LASERS, 10 W SE)
- neodymium magnets 3×8 mm (4 pcs)
- glue for wood
- a jig-saw
- EzCad program
- sandpaper of various grains.