 Endurance Laser on Neje Master 2S")
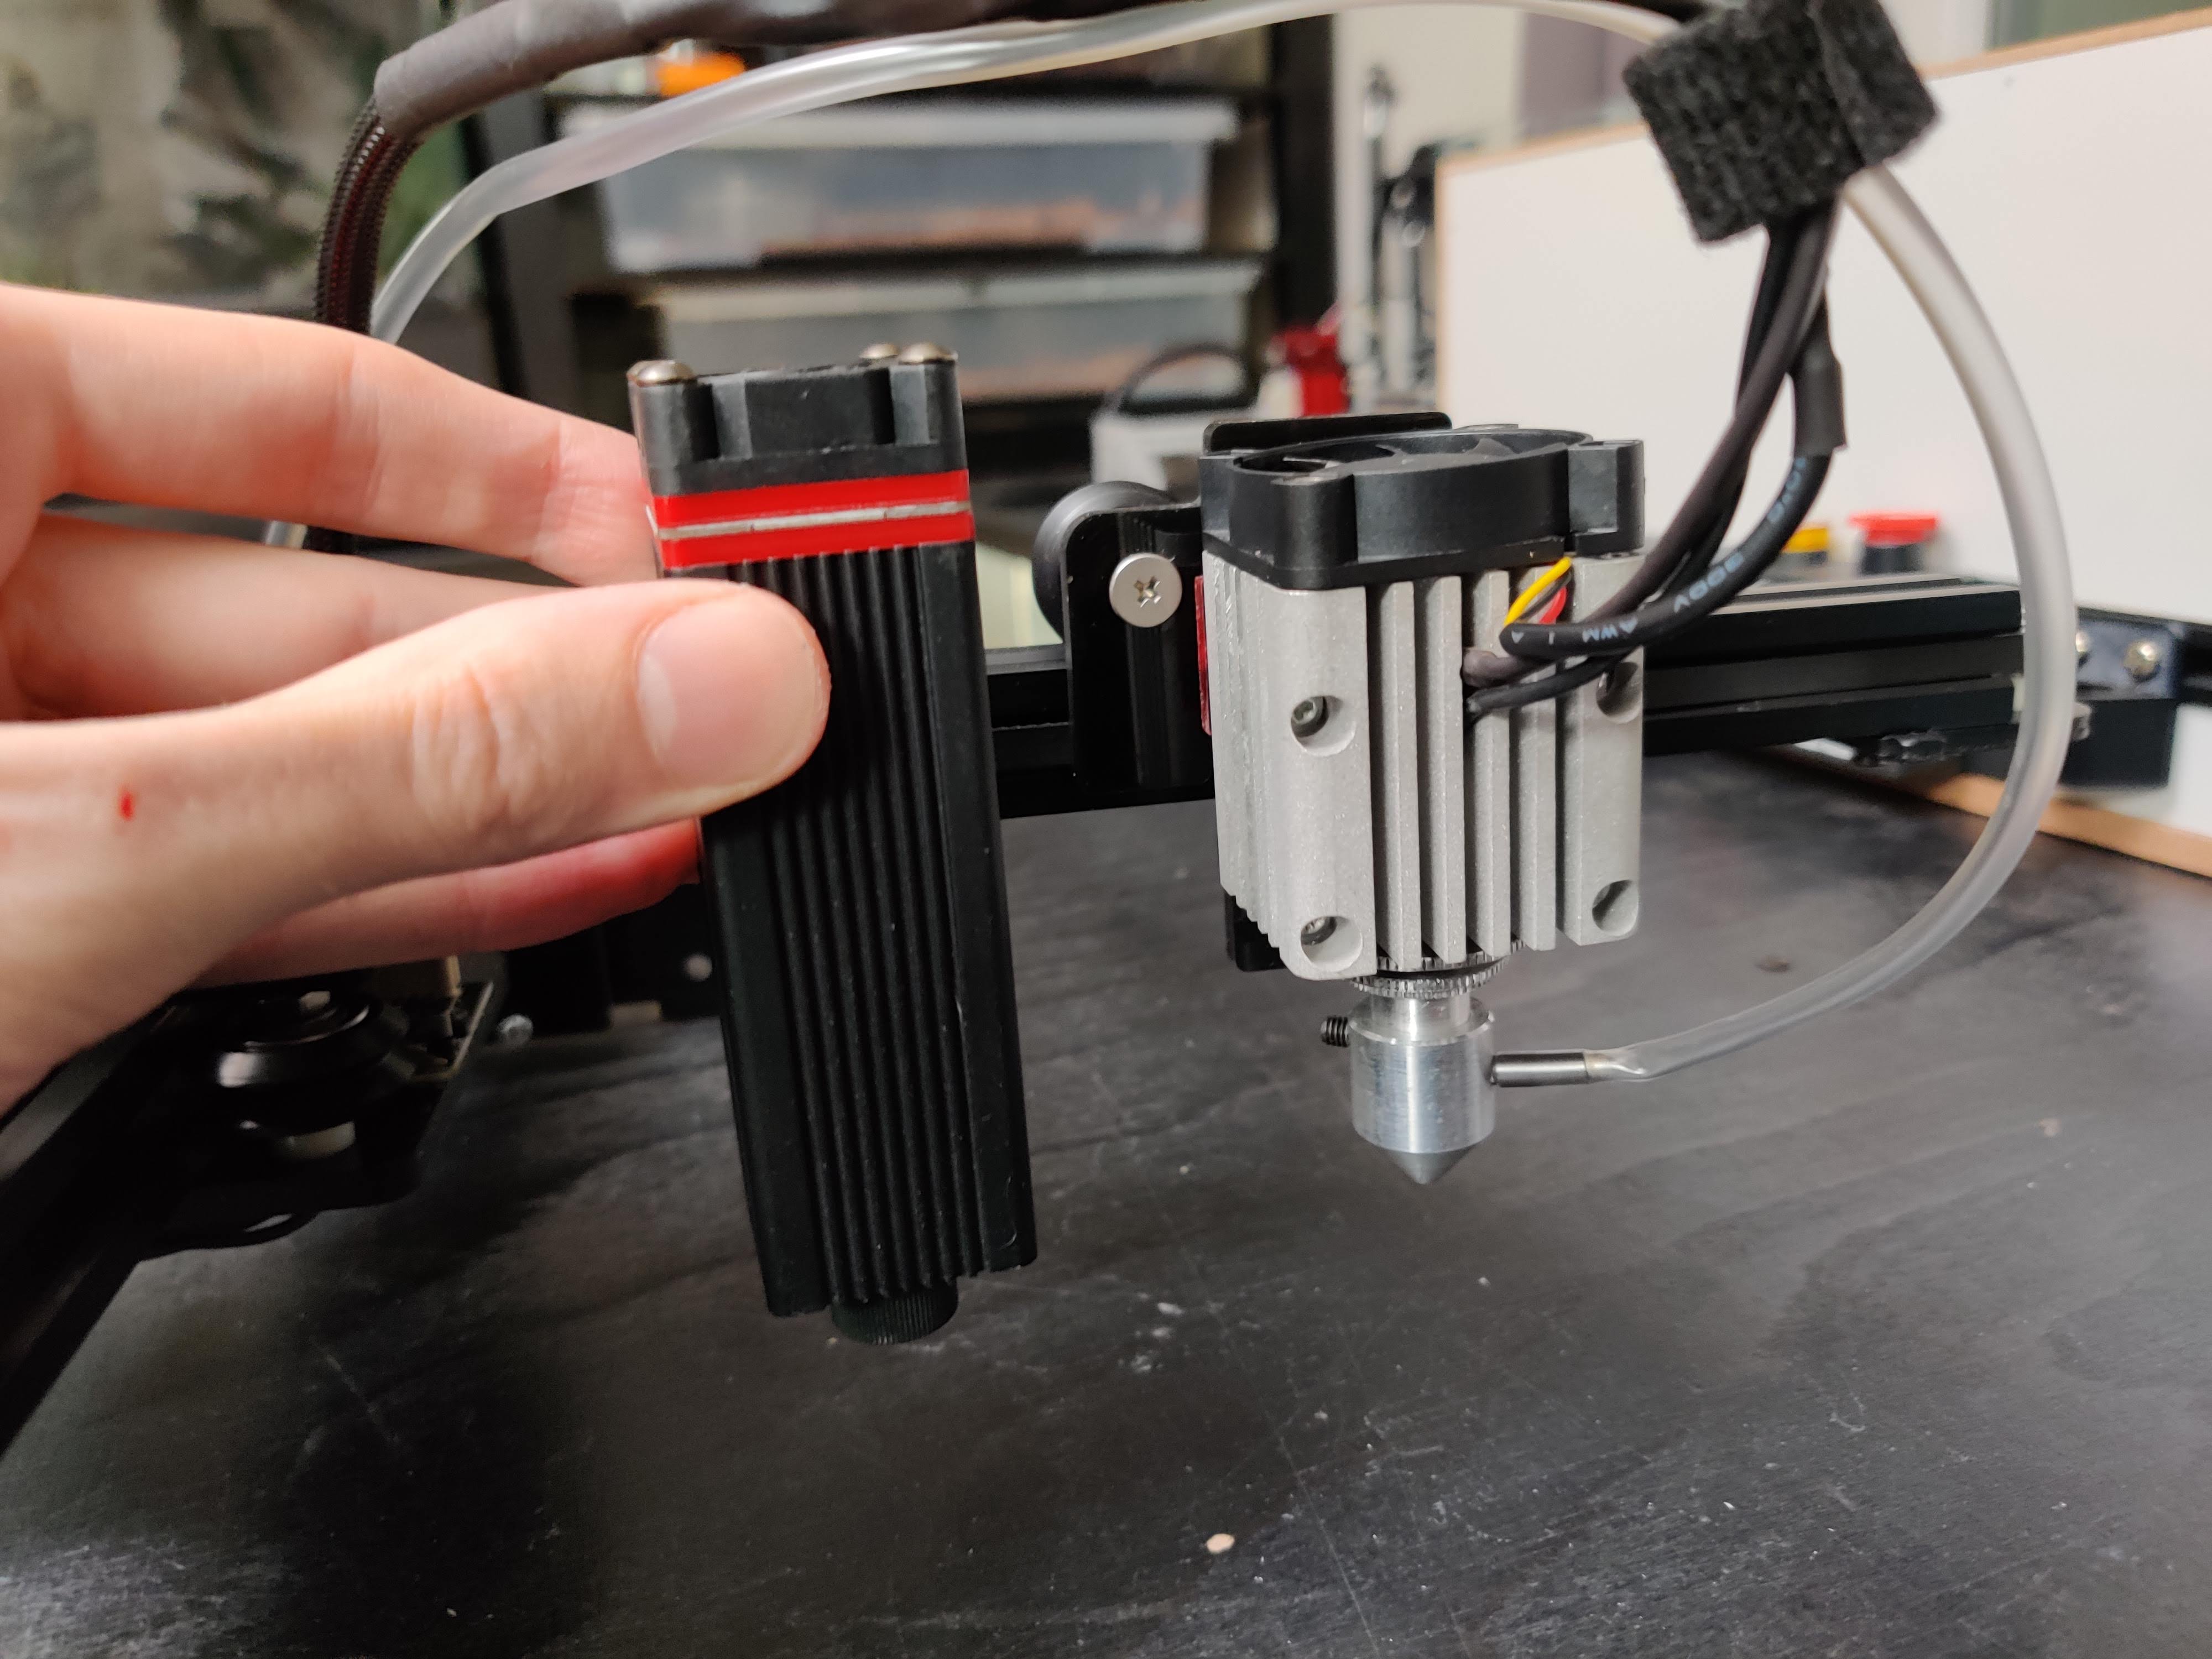
If the stock laser on your Neje Master 2S died, or you are just looking for more power, adding an 8.5W Endurance Laser is a great option. As the Neje Master is already set up for PWM control and has a similar form factor for the laser, the conversion is very straightforward. The 8.5W laser is especially well suited for this machine, as it is very small and light which is important for lasers with a cantilever design.
Adapter Plate
To mount the 8.5W laser to the existing Neje system you will need a mount that adapts the hole spacing. If your laser is still operational, you can easily cut this part from some tinted acrylic, but don’t worry it isn’t too hard to do by hand either. So the adapter sits flush, it is a good idea to use some M3 countersink screws to thread into the Endurance laser. The exact length you need depends on the thickness of your adapter, but generally, around 8-12mm will be fine. By drilling the holes for the bolts holding the adapter to the laser slightly smaller, around 2.5-2.8mm, you can then thread the bolts directly into the acrylic without the need for using thread cutters.
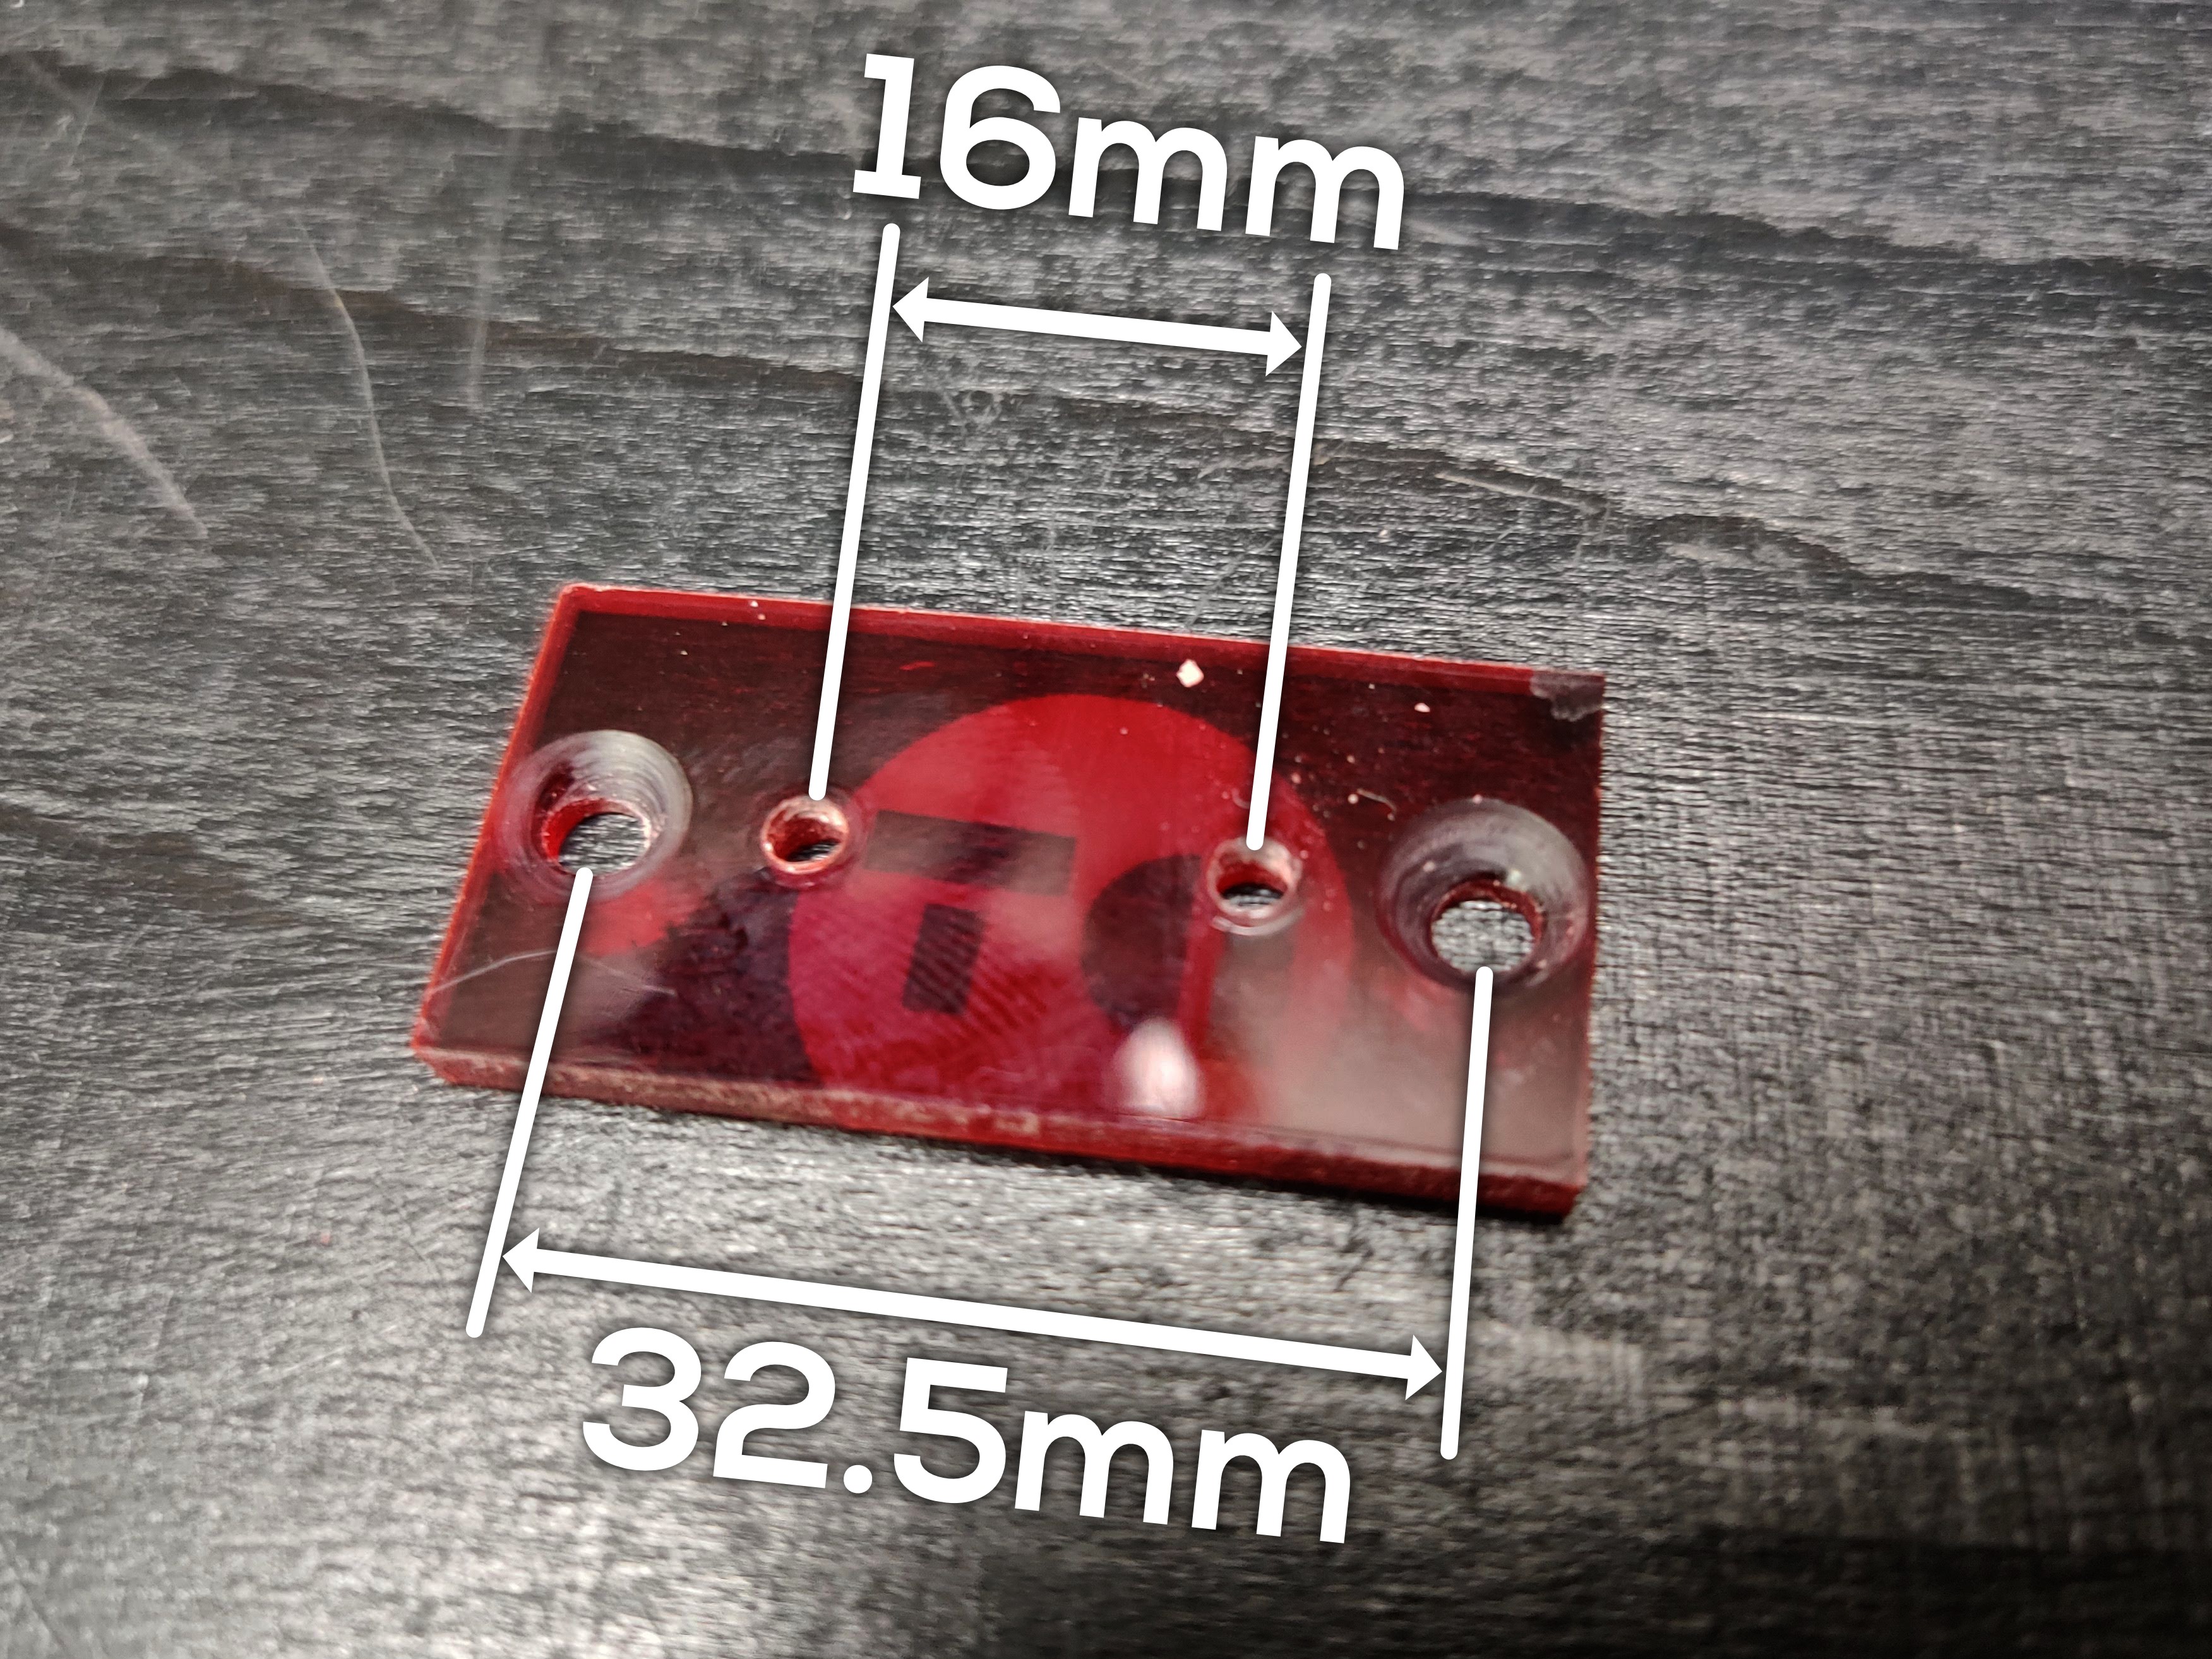
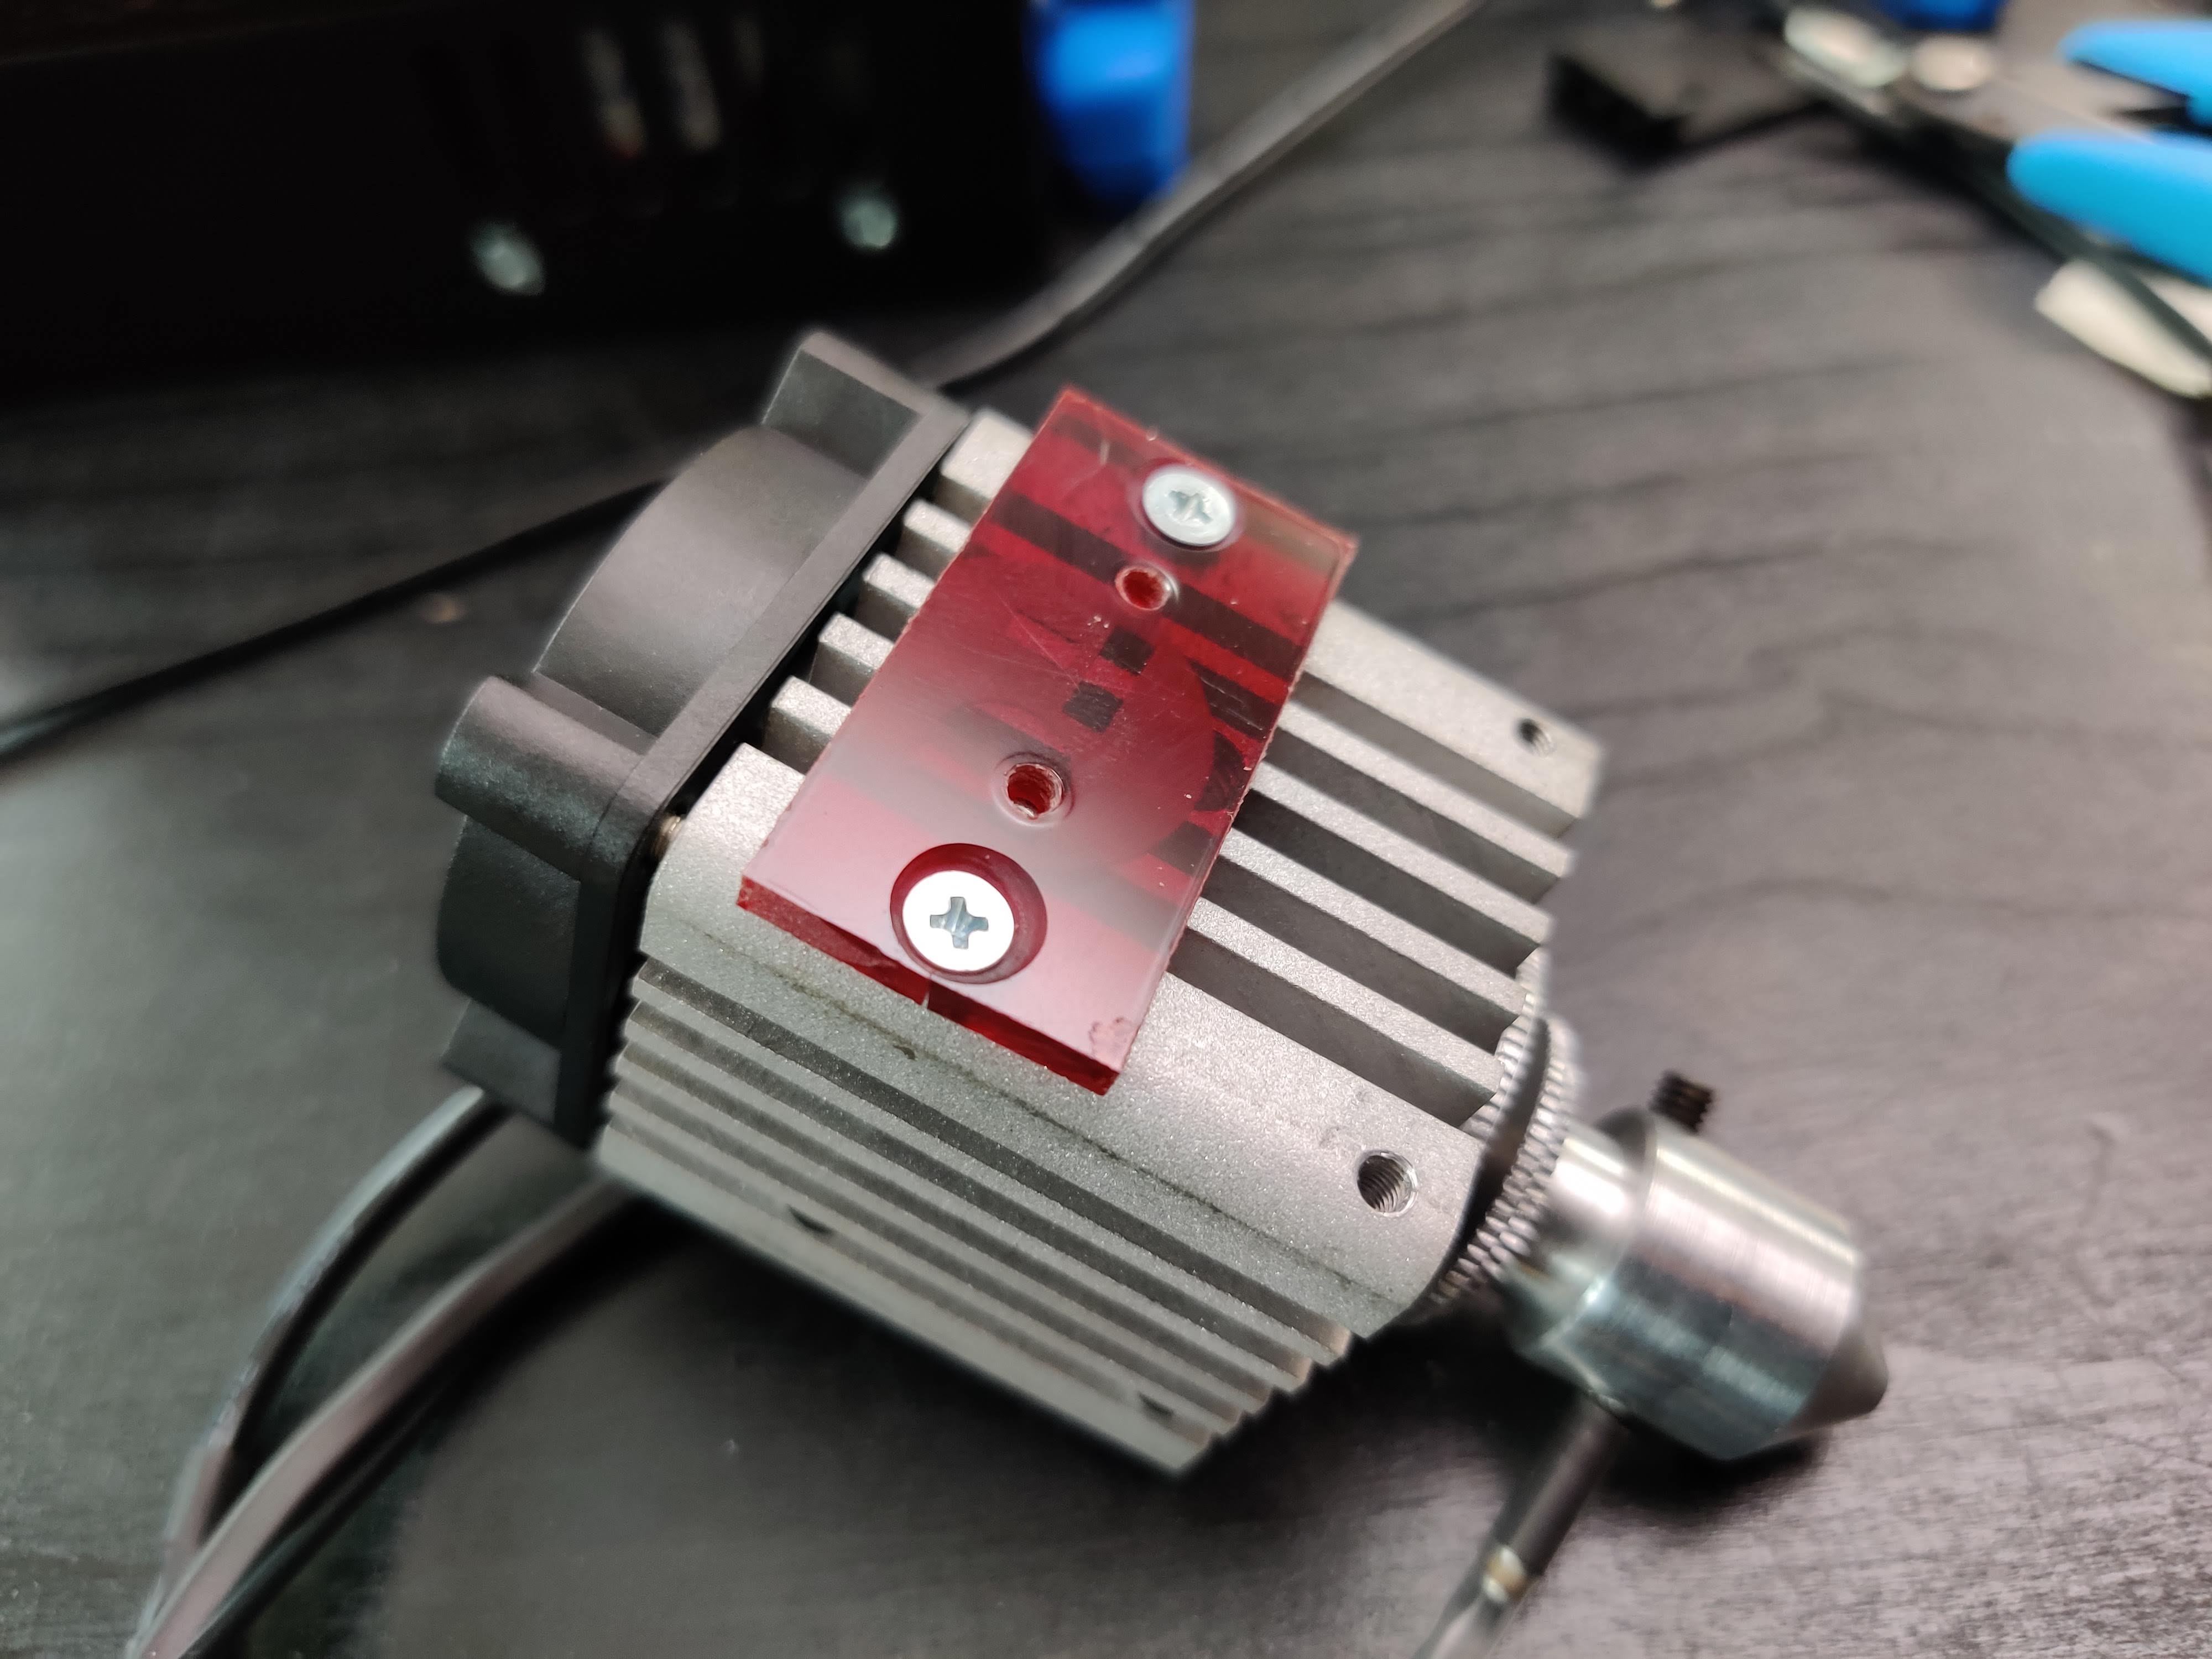
If you don’t have any acrylic on hand, you could also use wood or any other plastic. Also, if you are drilling the holes by hand, feel free to drill them slightly larger (except the ones where you want to thread in the bolts) so that you have a bit more room for error. This part doesn’t have to look super pretty, as long as it holds everything together sturdily.

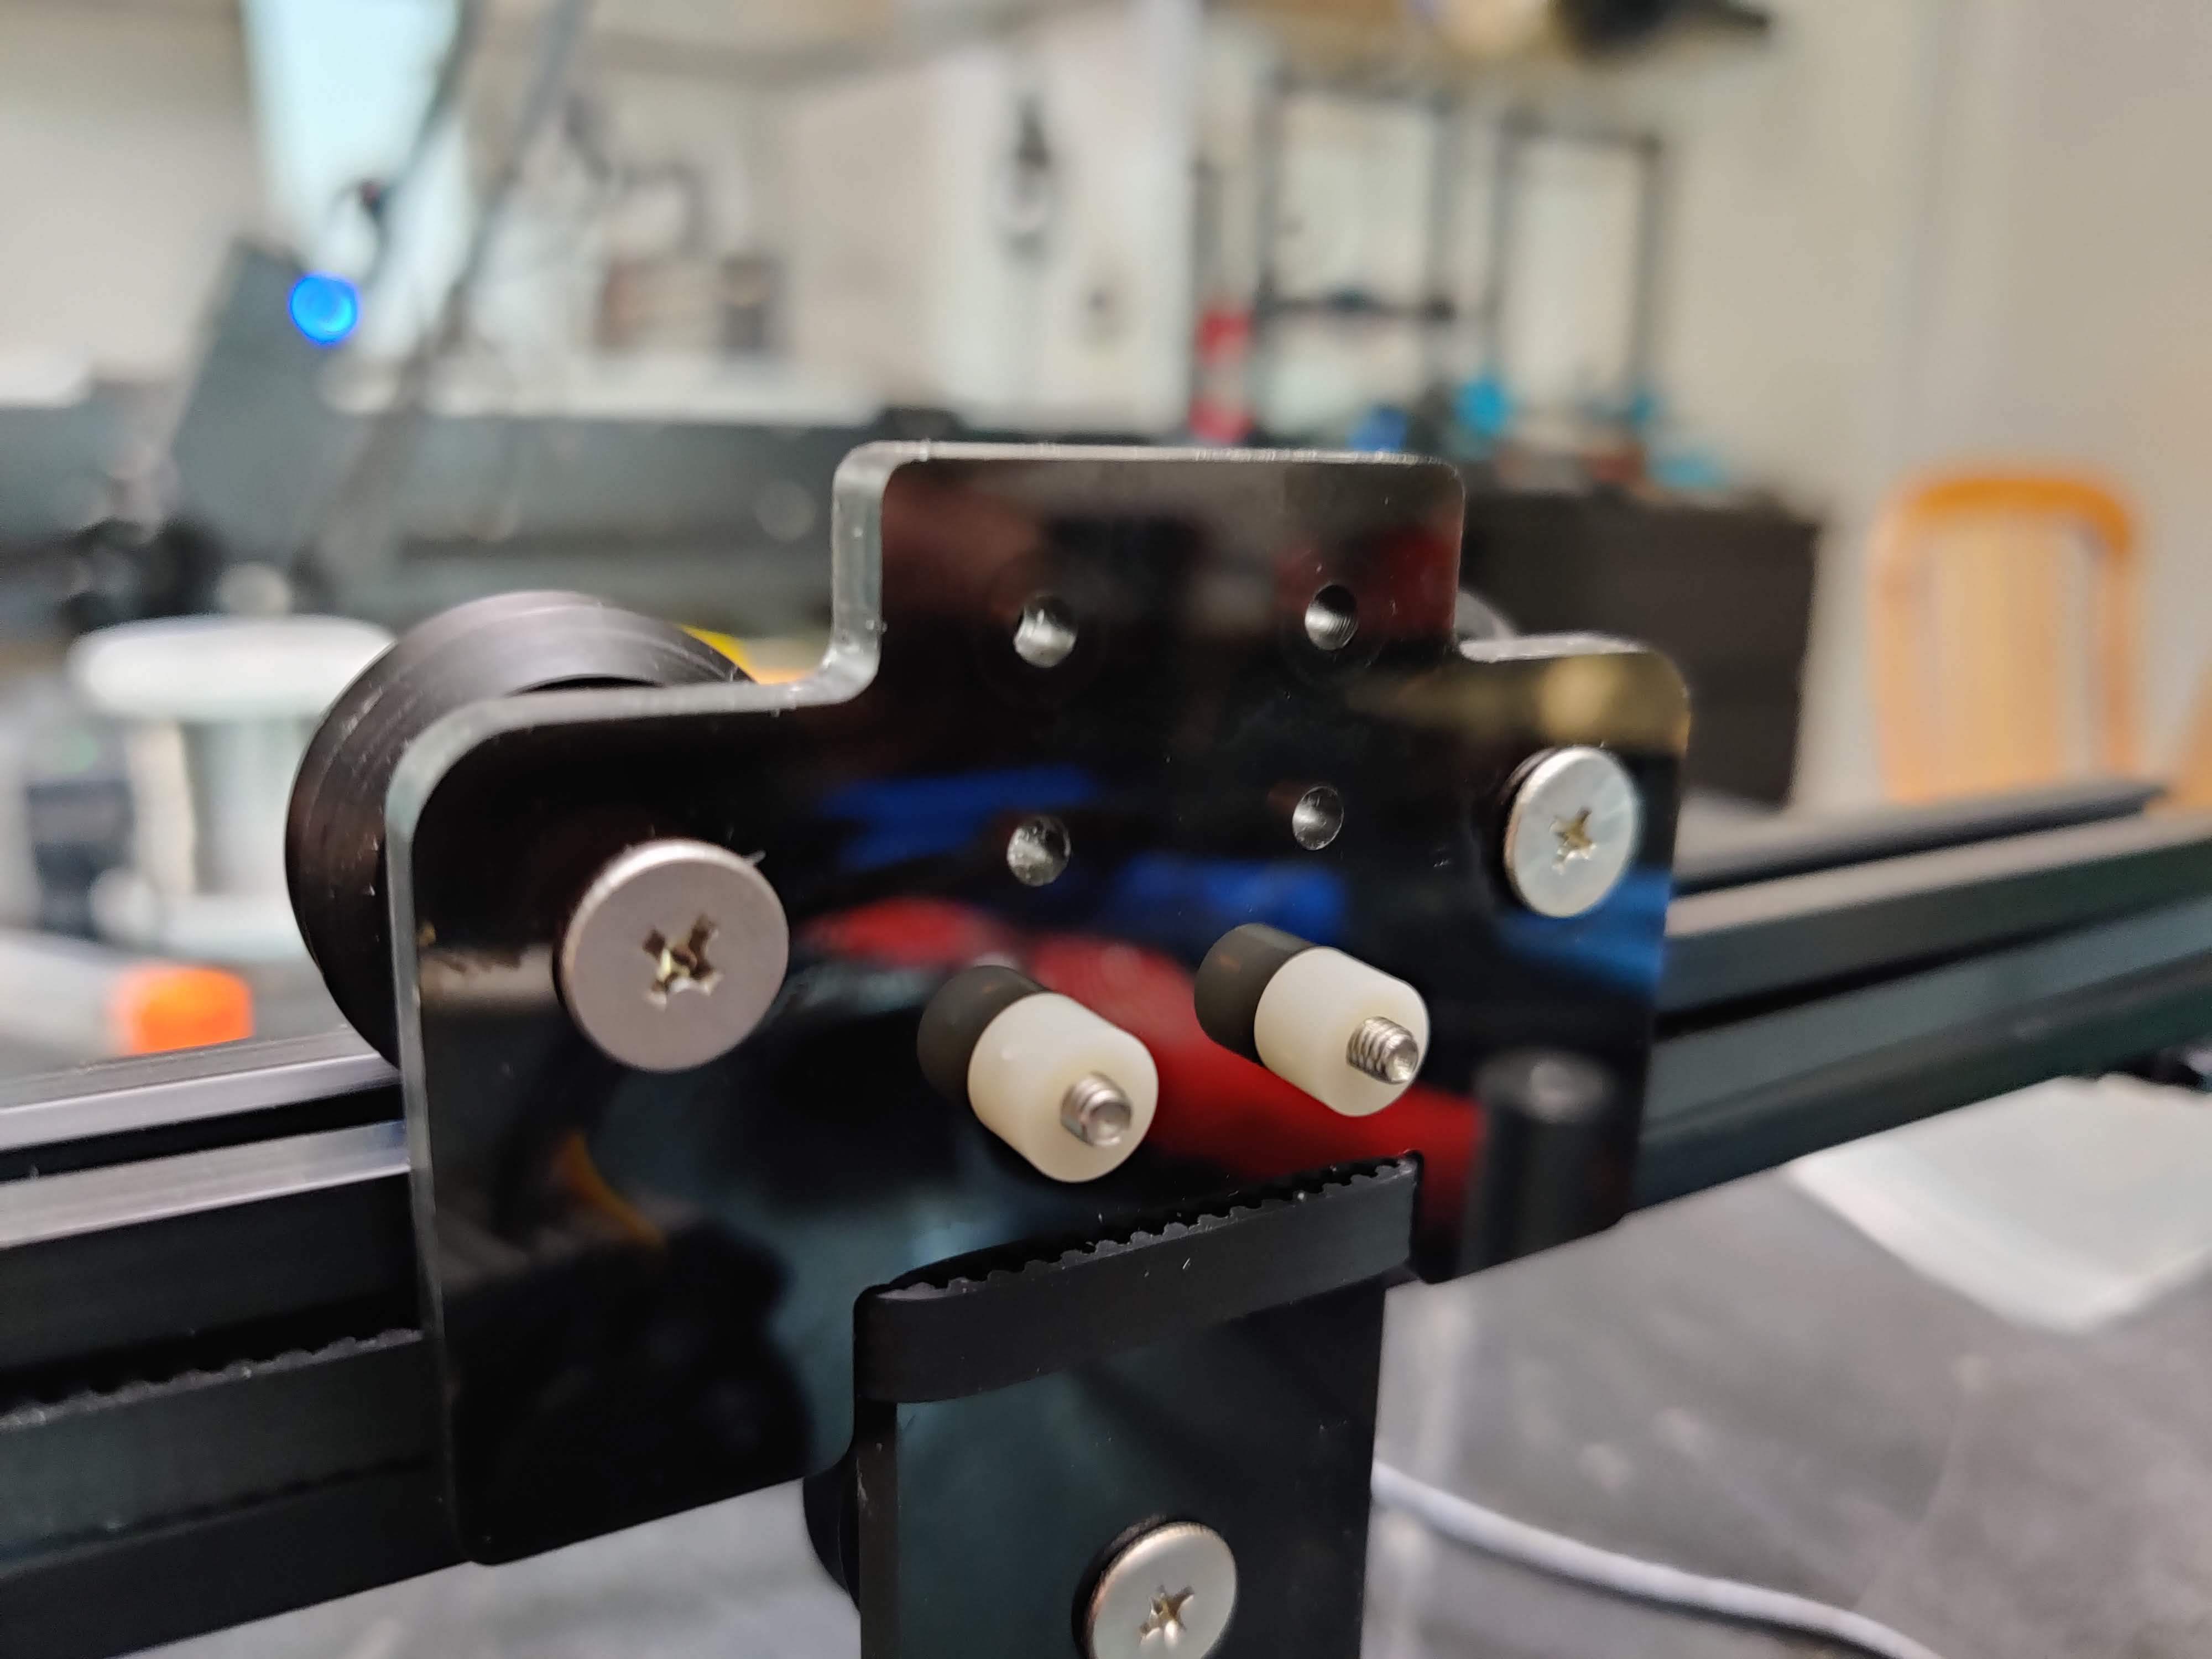
The Neje Master comes with 3 sets of mounting holes. Depending on how thick the things are you want to engrave, you can choose them accordingly to have roughly 50-70mm from the bottom of the heatsink to the workpiece. For thin things, the bottom holes work great.
Electronics
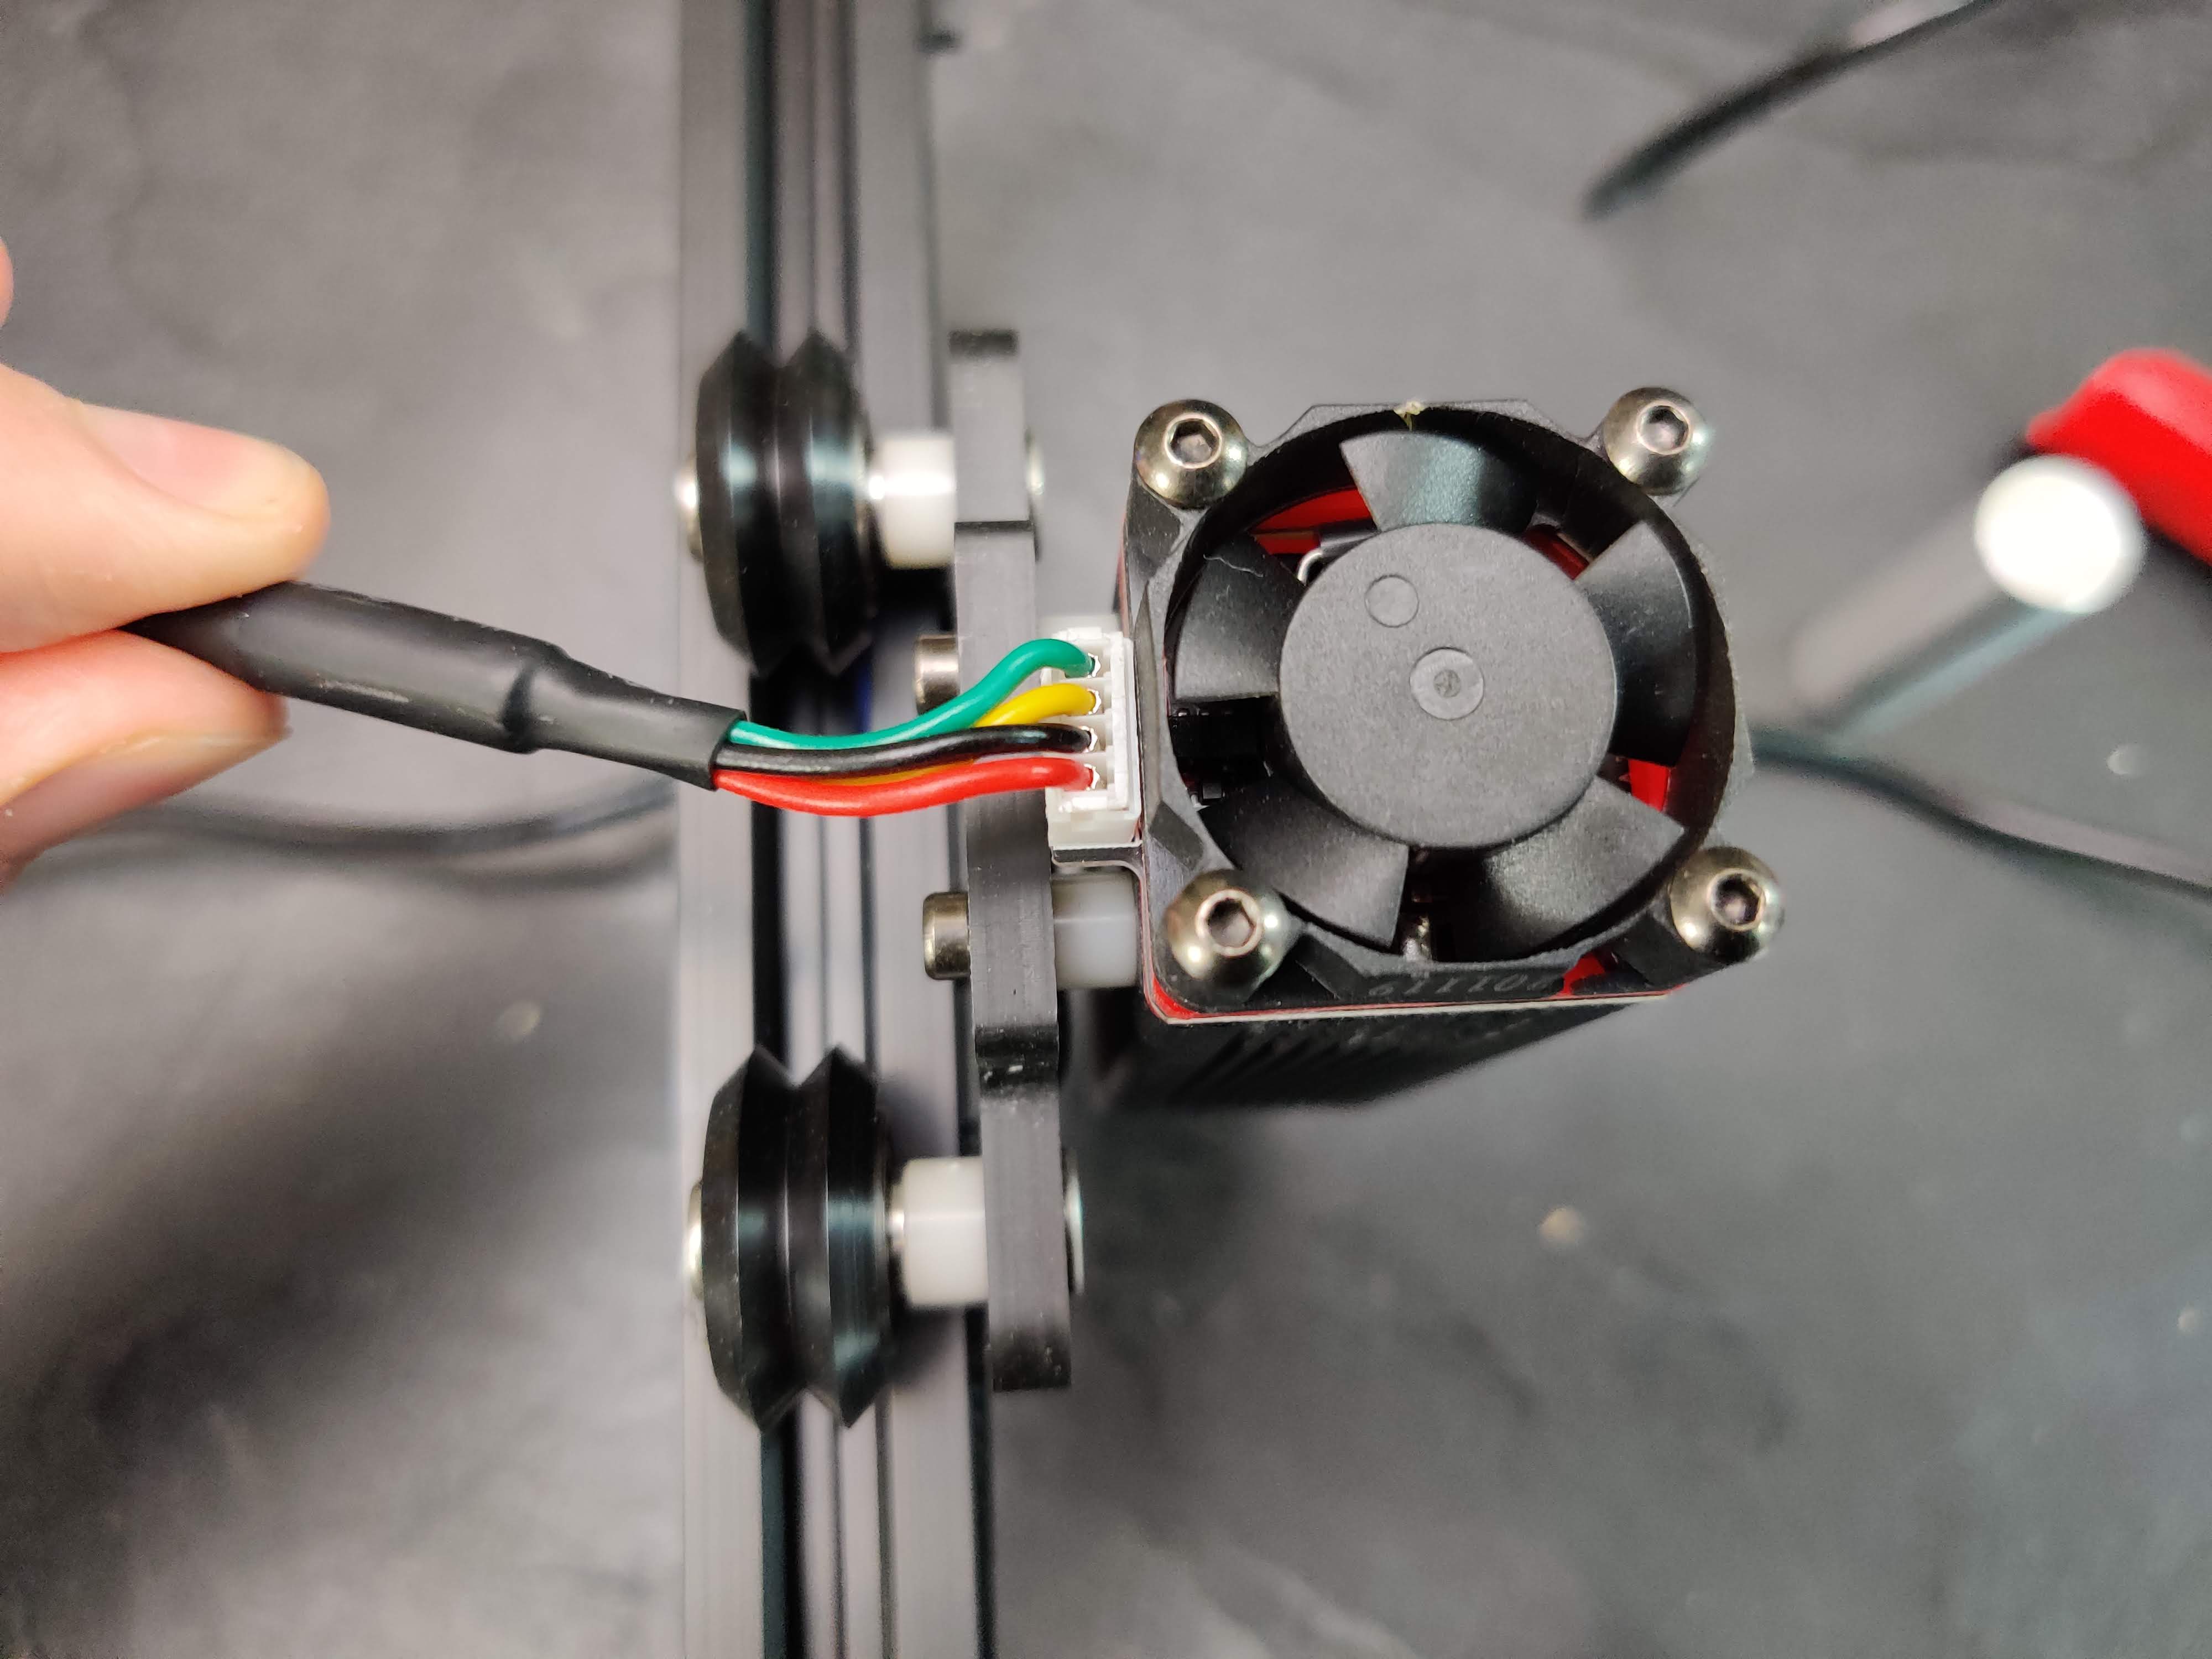
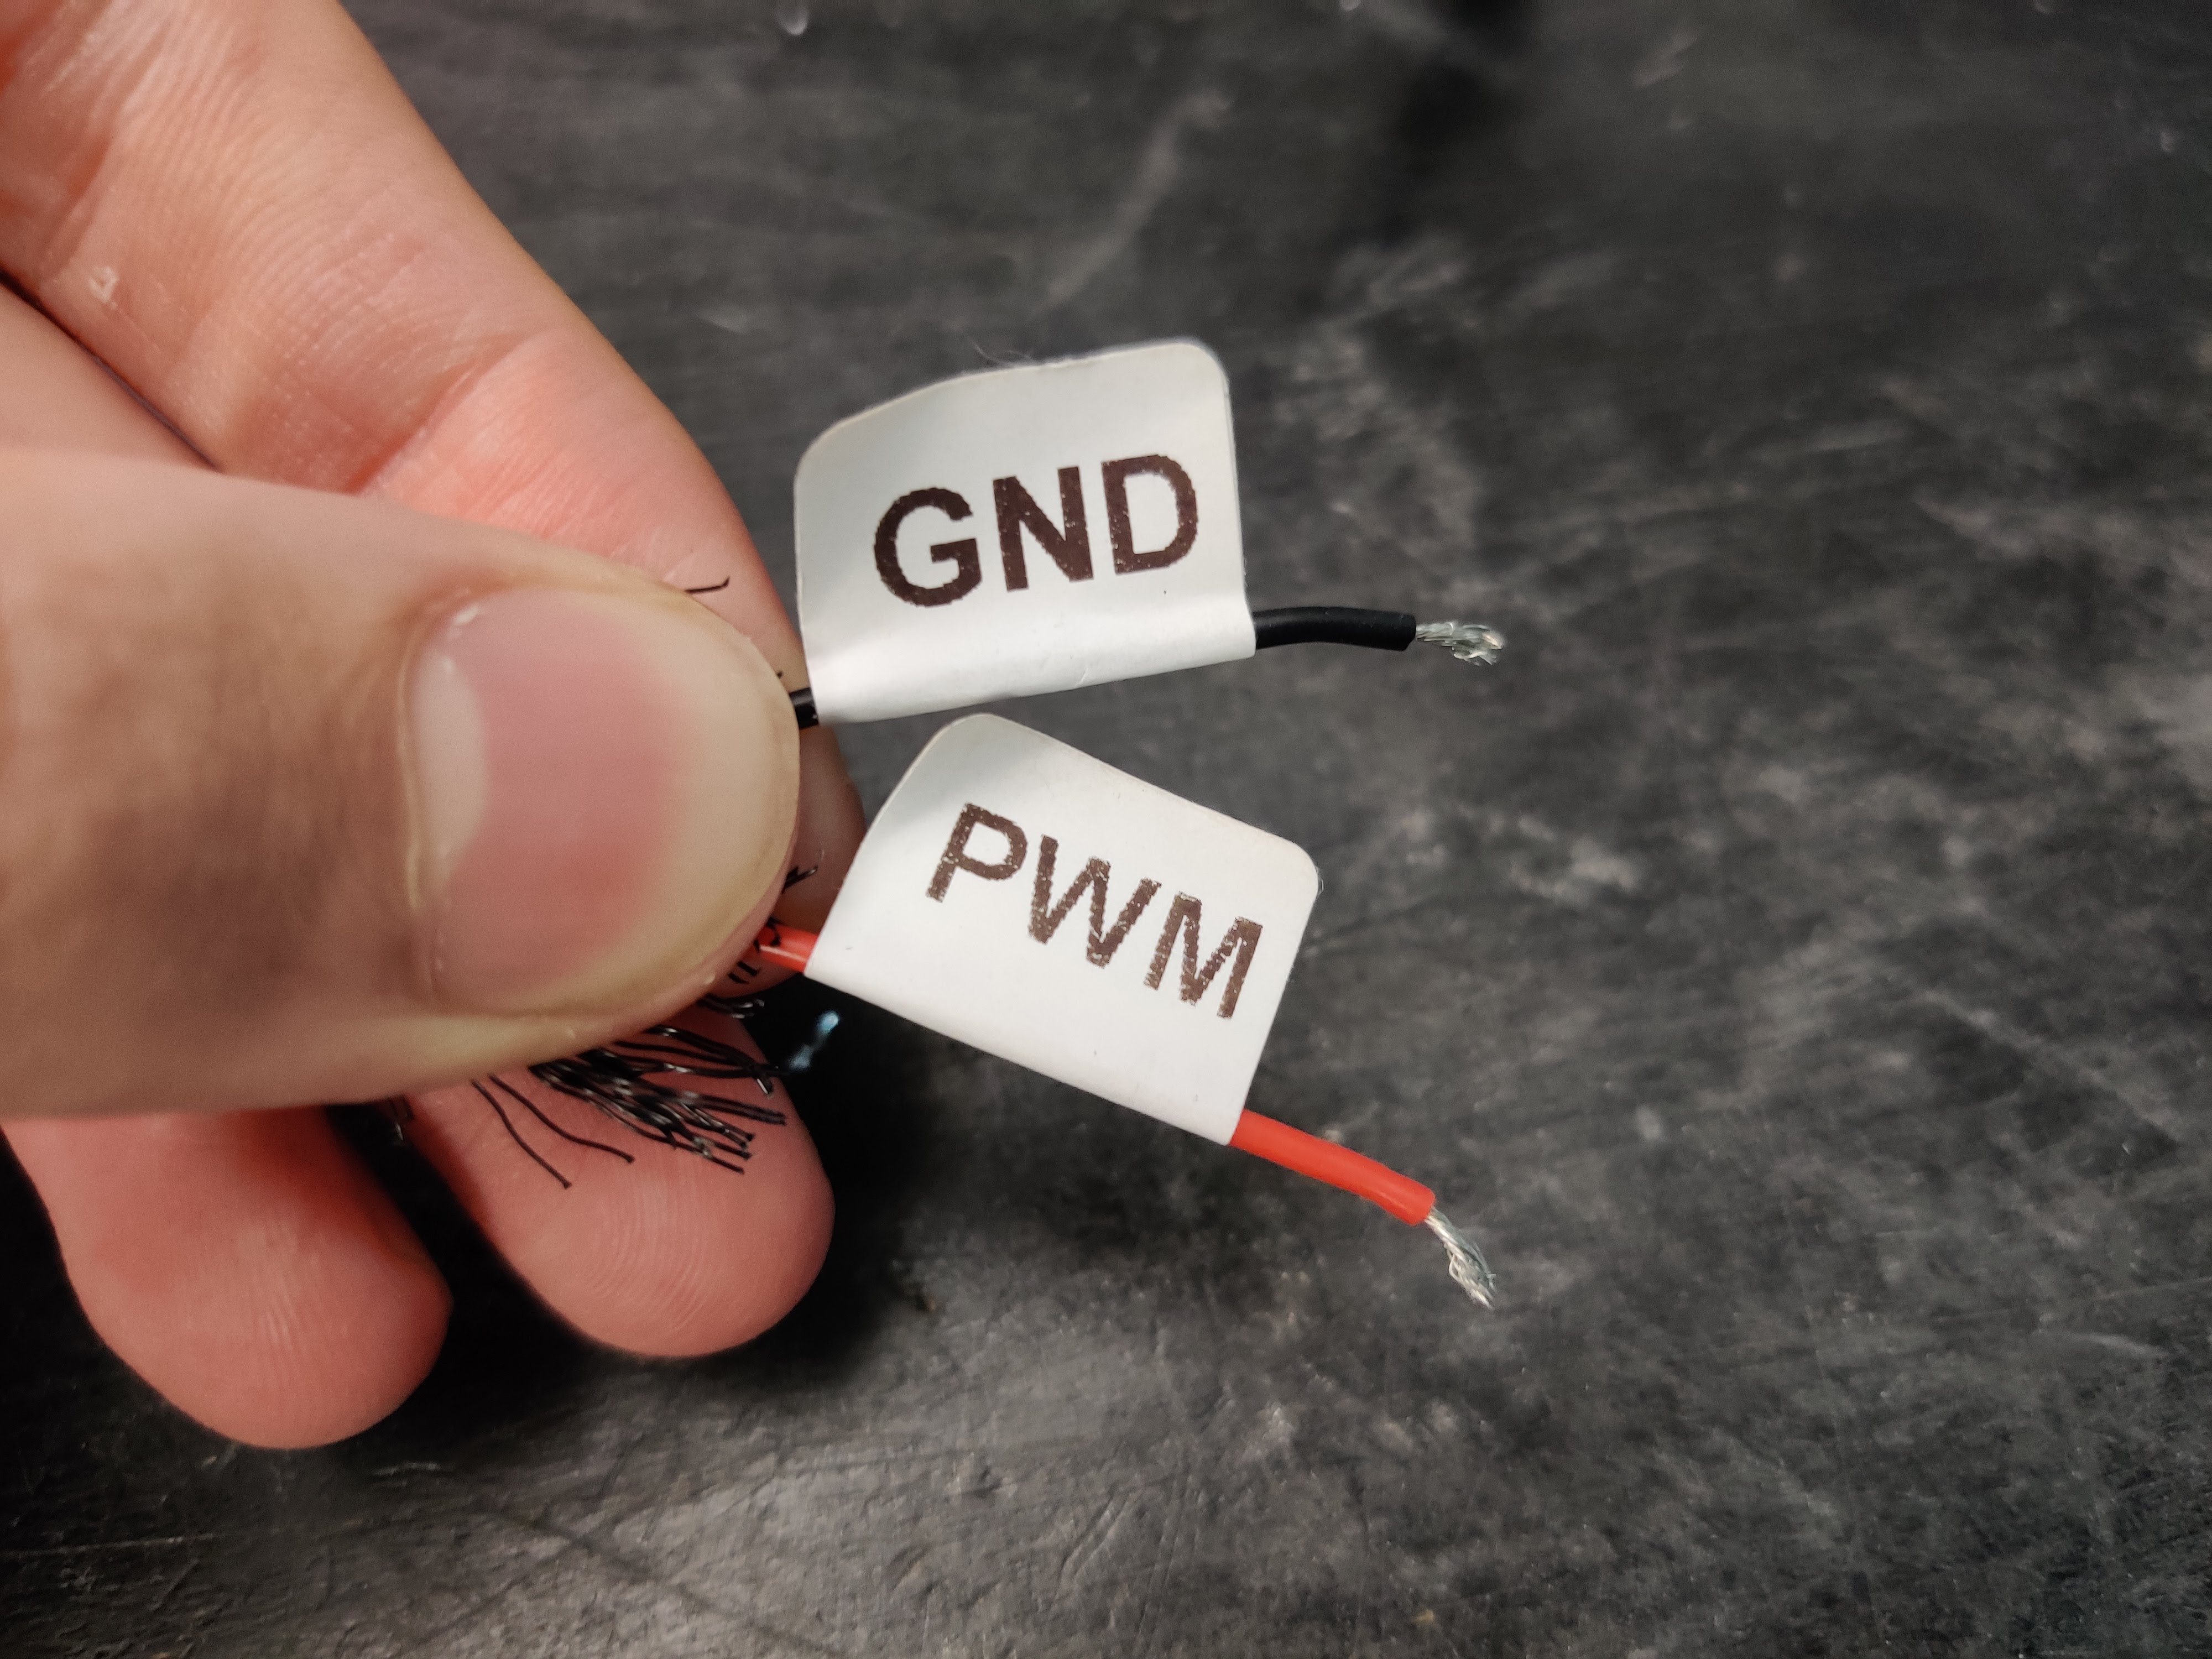
For the electronics, the easiest way is to get the PWM signal directly from the cable that used to go to the old laser head. Doing it this way means that we don’t have to modify the original laser at all, making it super easy to revert back if you would ever want that. The wires we are interested in are the yellow and the black ones. The yellow one will be the PWM signal that tells the laser how bright to turn on to, while the black is ground. We don’t need the red and green ones, as the laser is being powered by the Laserbox instead of the Neje mainboard.
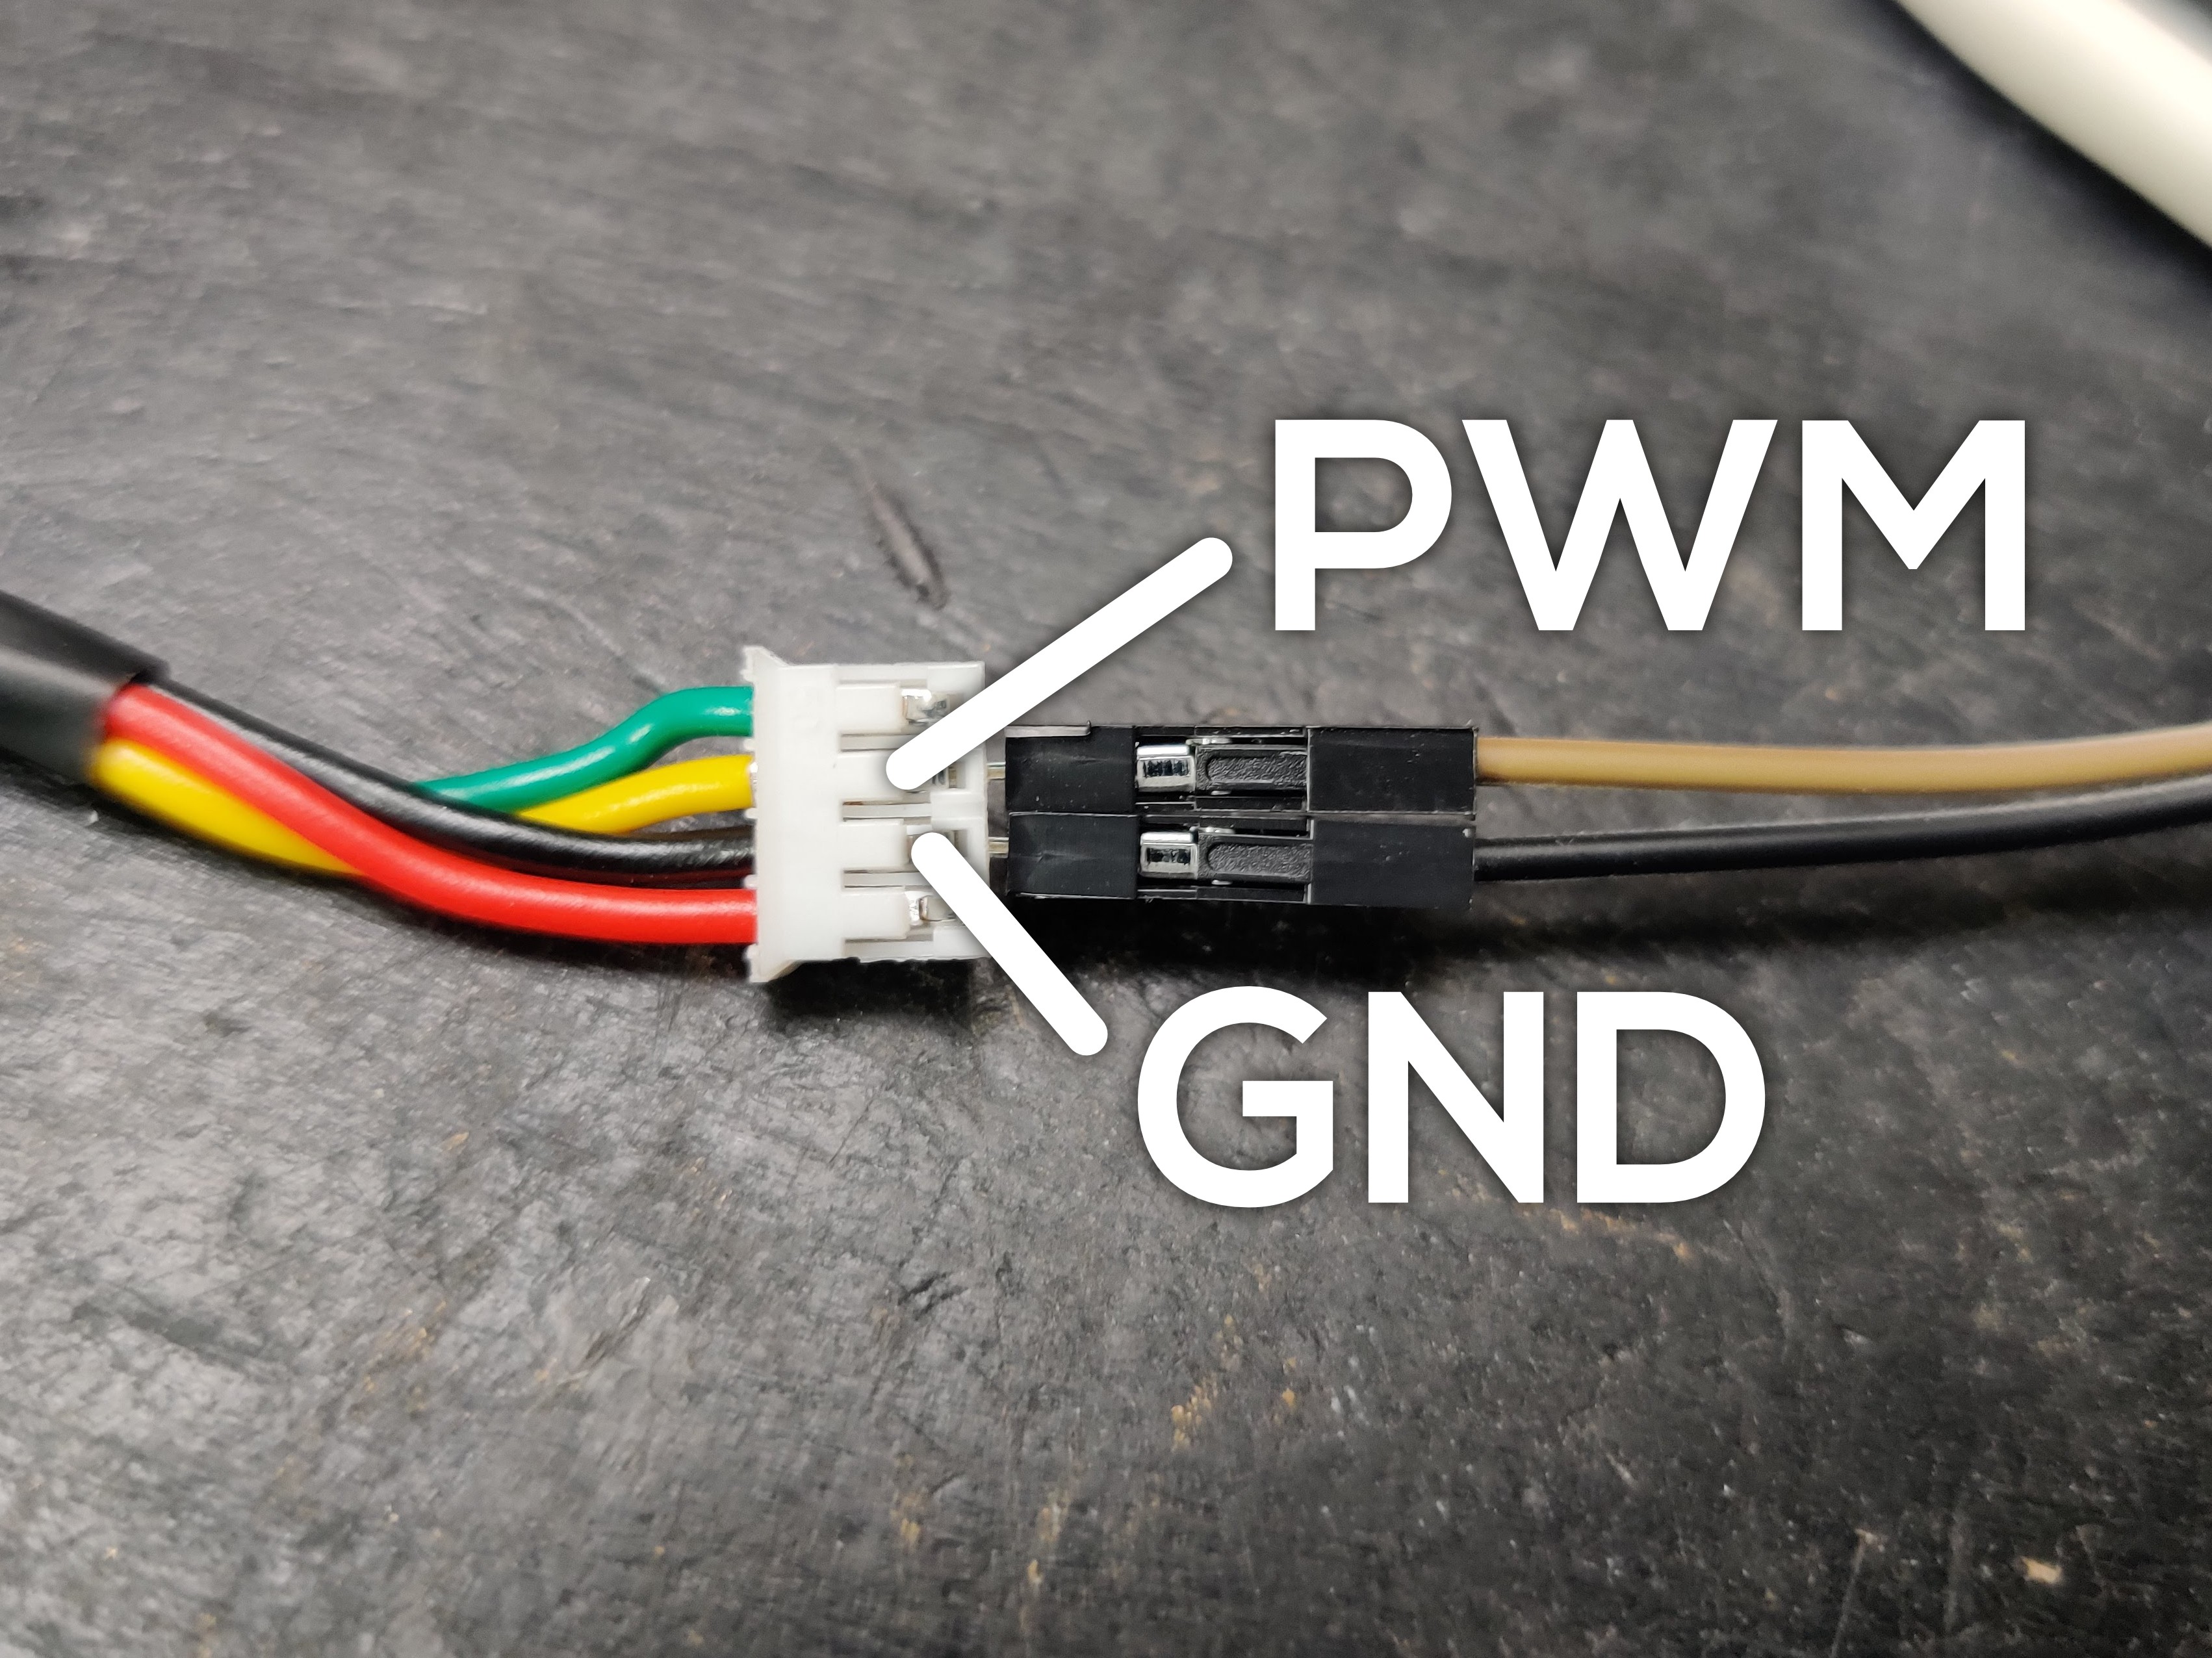
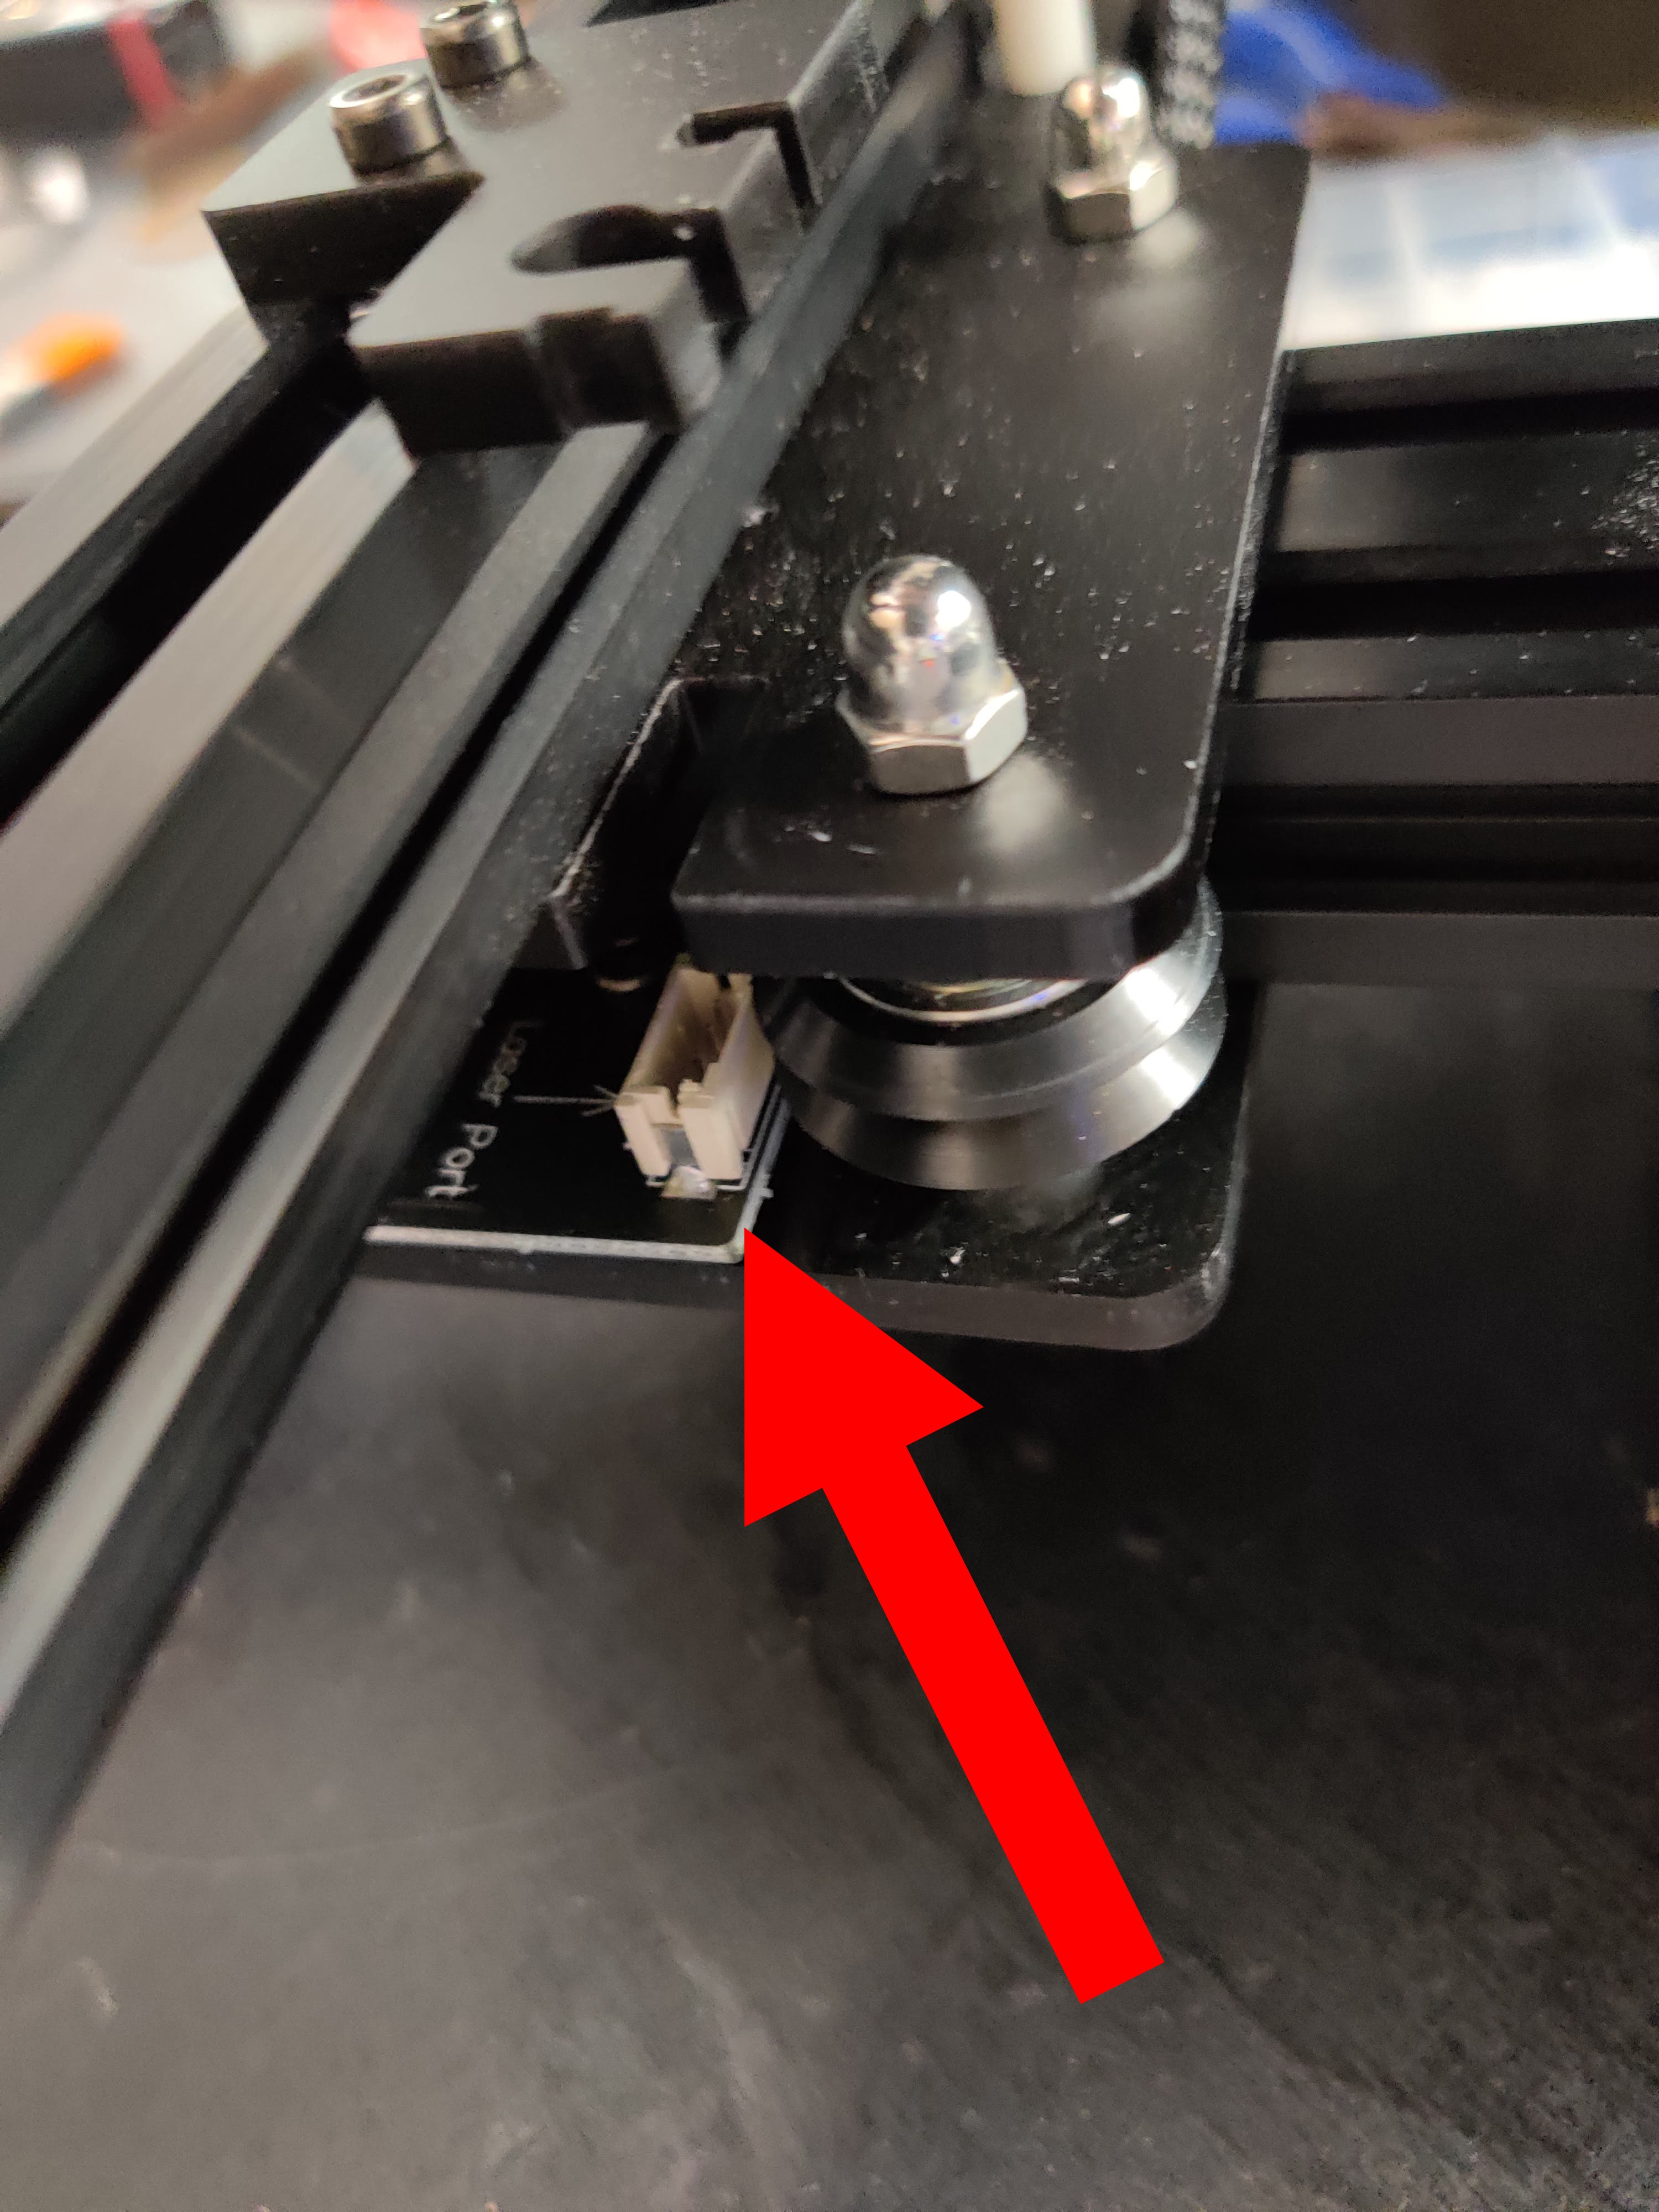
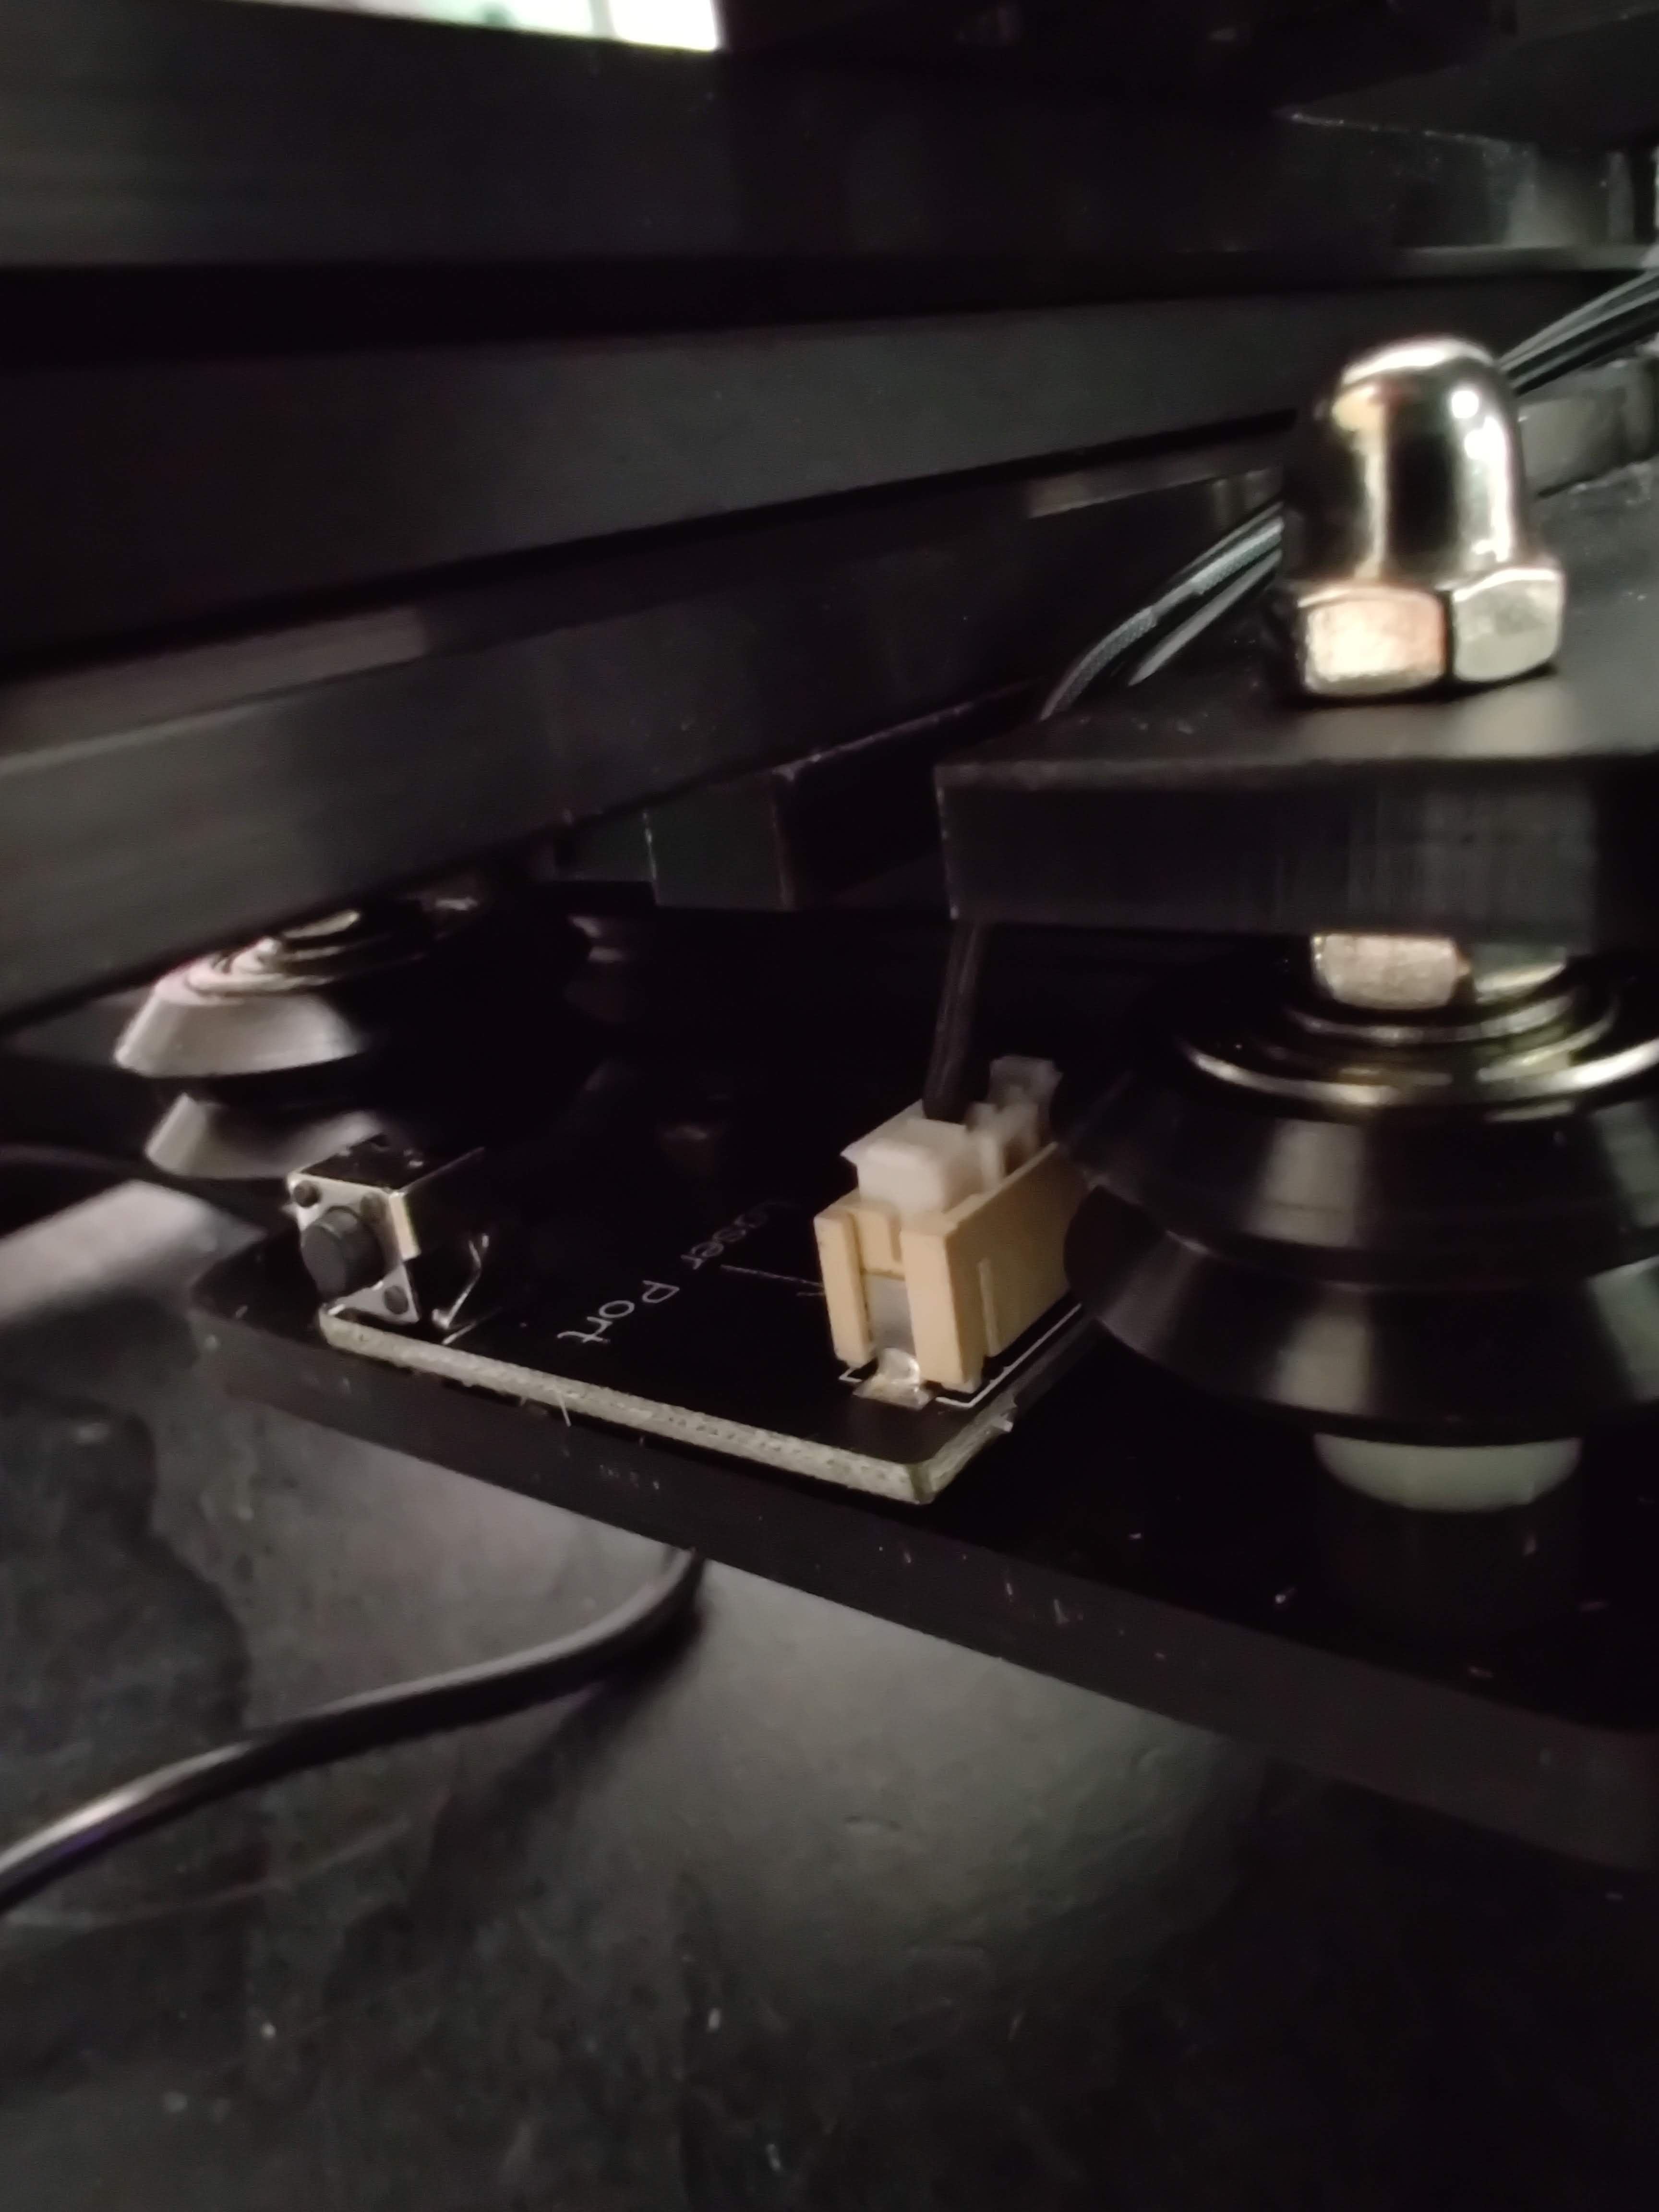
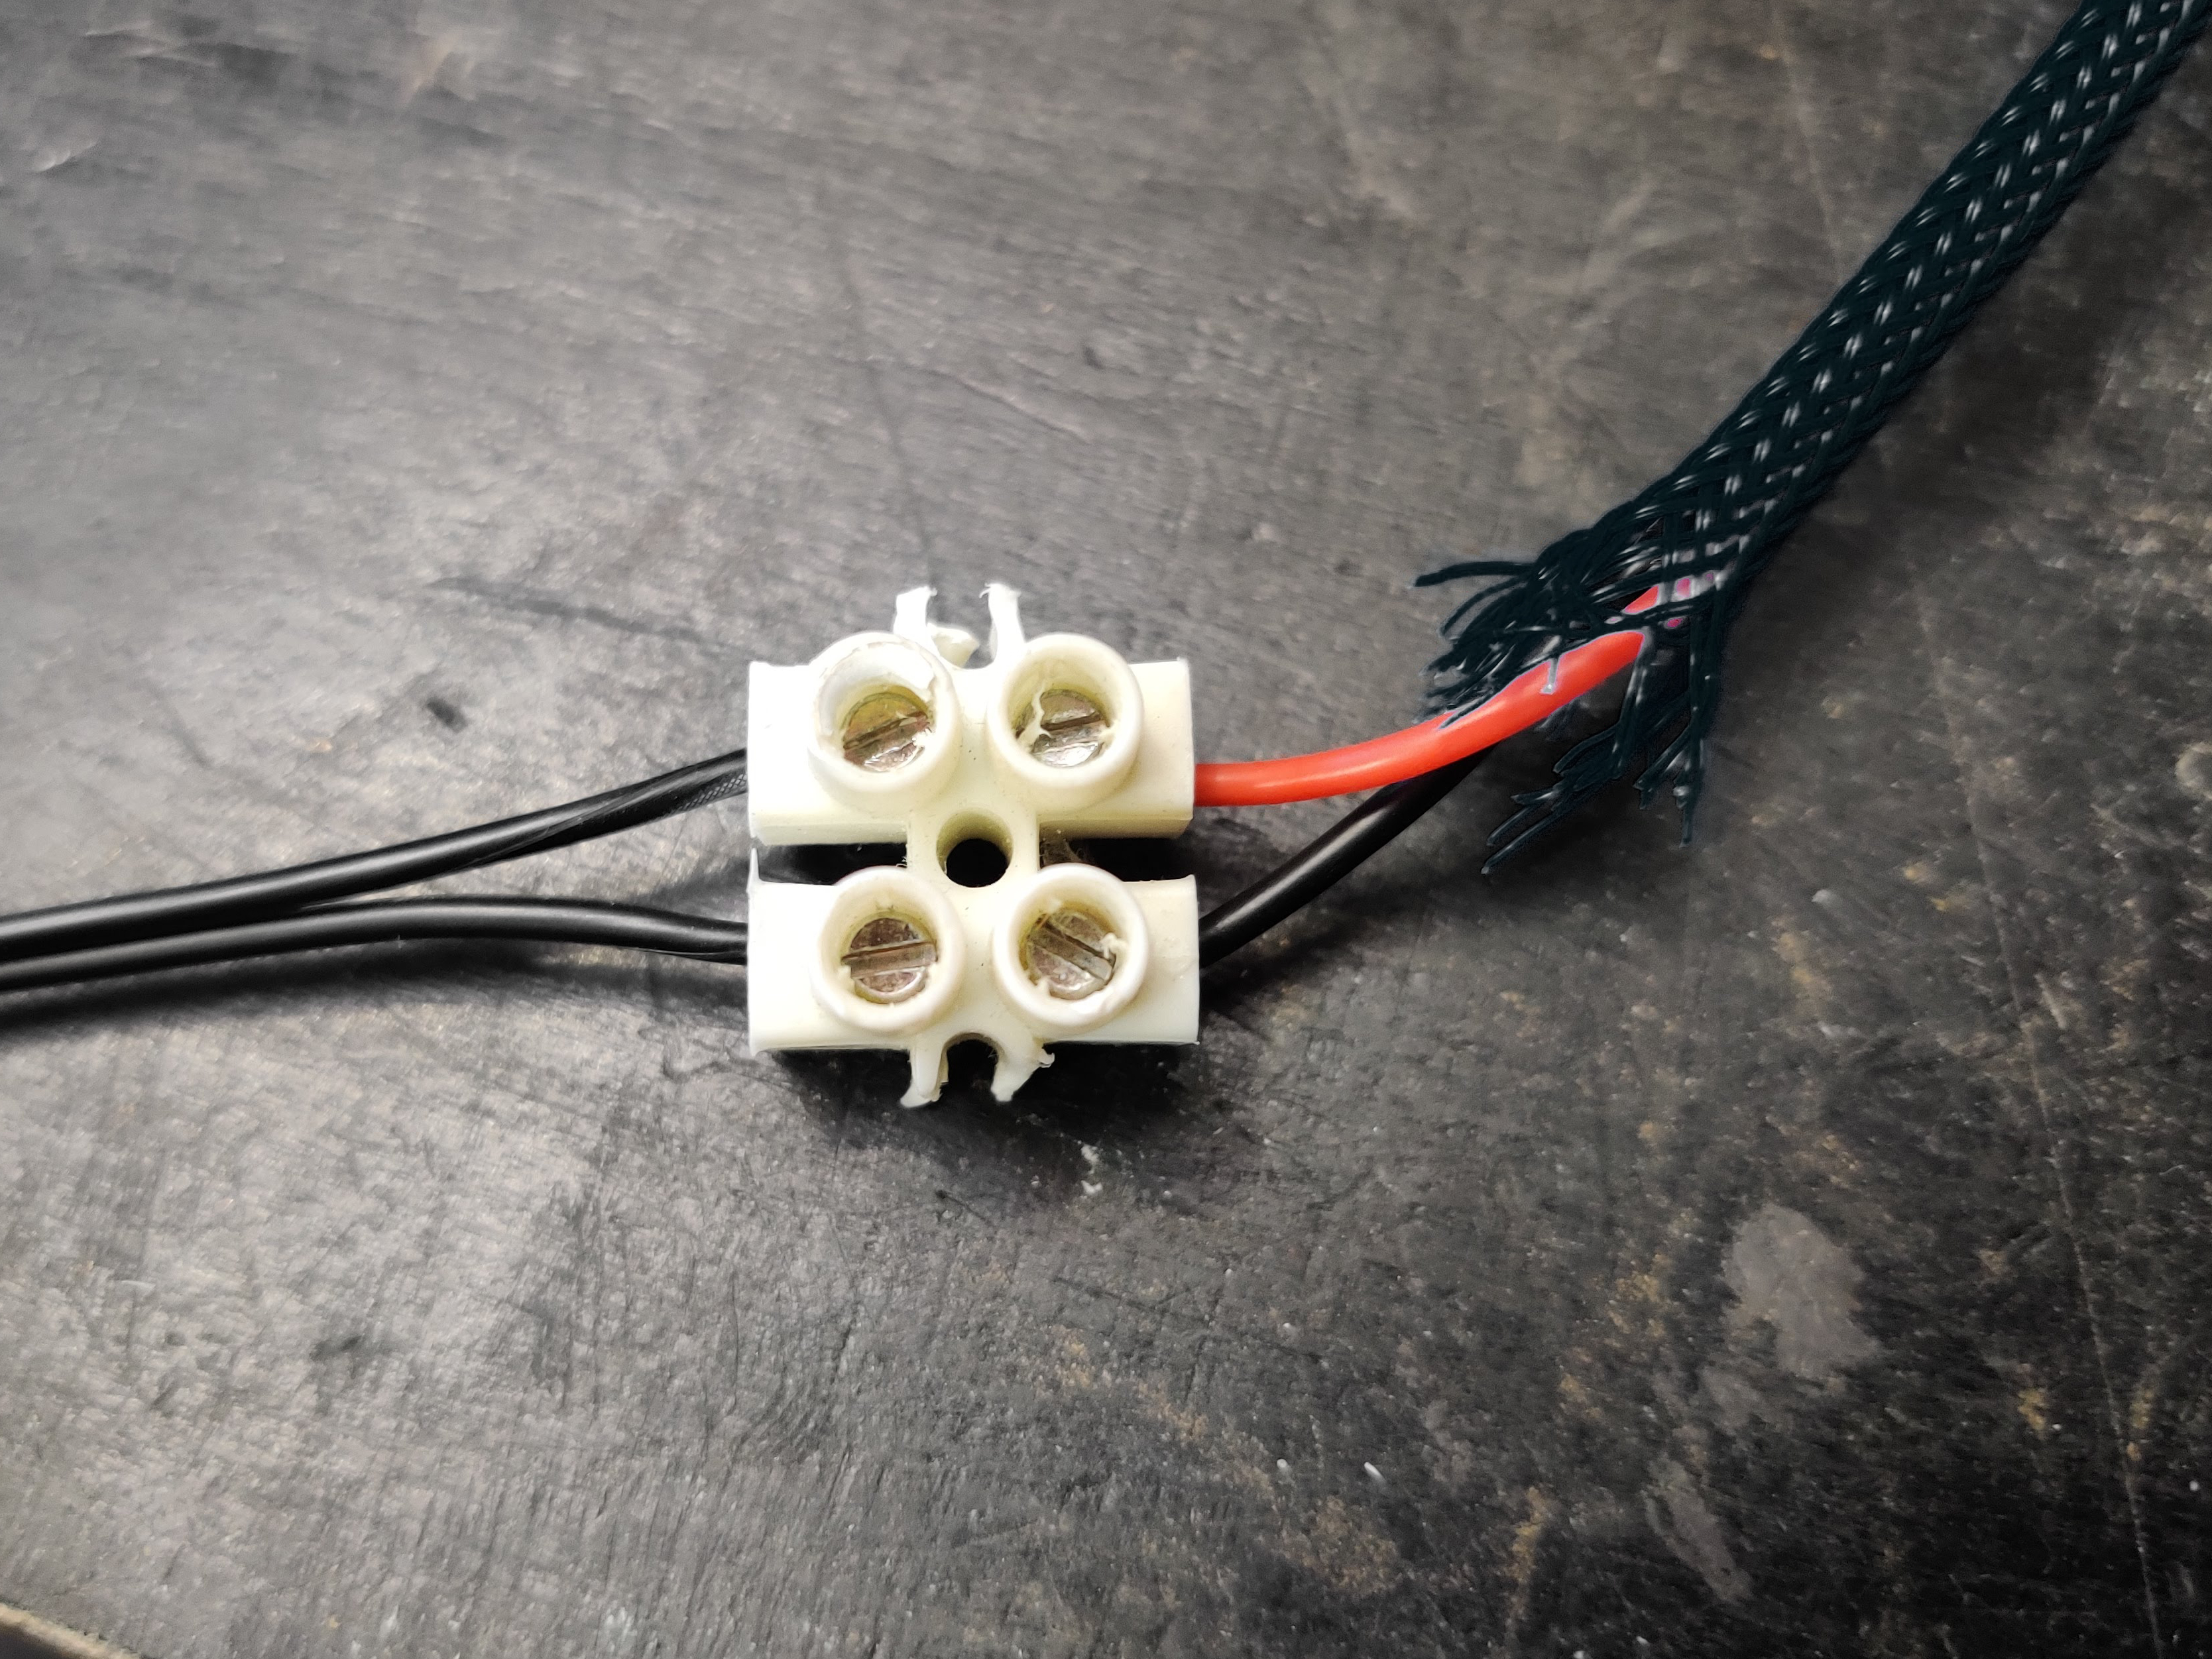
To connect the PWM and ground signals to the Laserbox we need a small adapter cable. The connector on the Neje Master is a 3 pin JST PH2.0, so you can either look for a cable that already has a female JST PH2.0 connector on it or crimp one to a different cable. If you can’t find a cable with the connector already attached and don’t want to make your own, you can also stick some jumper wires into the existing cable and secure them with hot glue so they don’t fall out.

On the Laser box we need the black PWM input cable, where the black wire is ground and the red one the PWM signal. You can either solder the cable directly to them, crimp on a connector, or use some screw terminals. While there is not much power going through these connections, you still want to make sure you have a good connection to ensure reliable operation.
Finishing up
With that, you’re already there. You can turn on the Neje Master again and also plug in the power supply of the Laserbox. At this point, it is very important to wear laser safety goggles to protect your eyes when the laser turns on. To activate PWM mode, simply select the middle position on the selector switch. Lastly, you have to focus the Endurance laser, by turning it on at low power (maybe 5%) and turning the lens element until you get a perfect point focus. A trick to find the focus more easily is to use one of these black-painted metal cards. They are included with many lasers, or you can buy them very cheaply online. They let you see the laser spot more easily, and if you move them around you can hear if the laser is engraving. If you have the power set low enough, you will only hear it hissing when the laser is perfectly focused.
https://www.youtube.com/watch?v=O8DWIcDAJdg

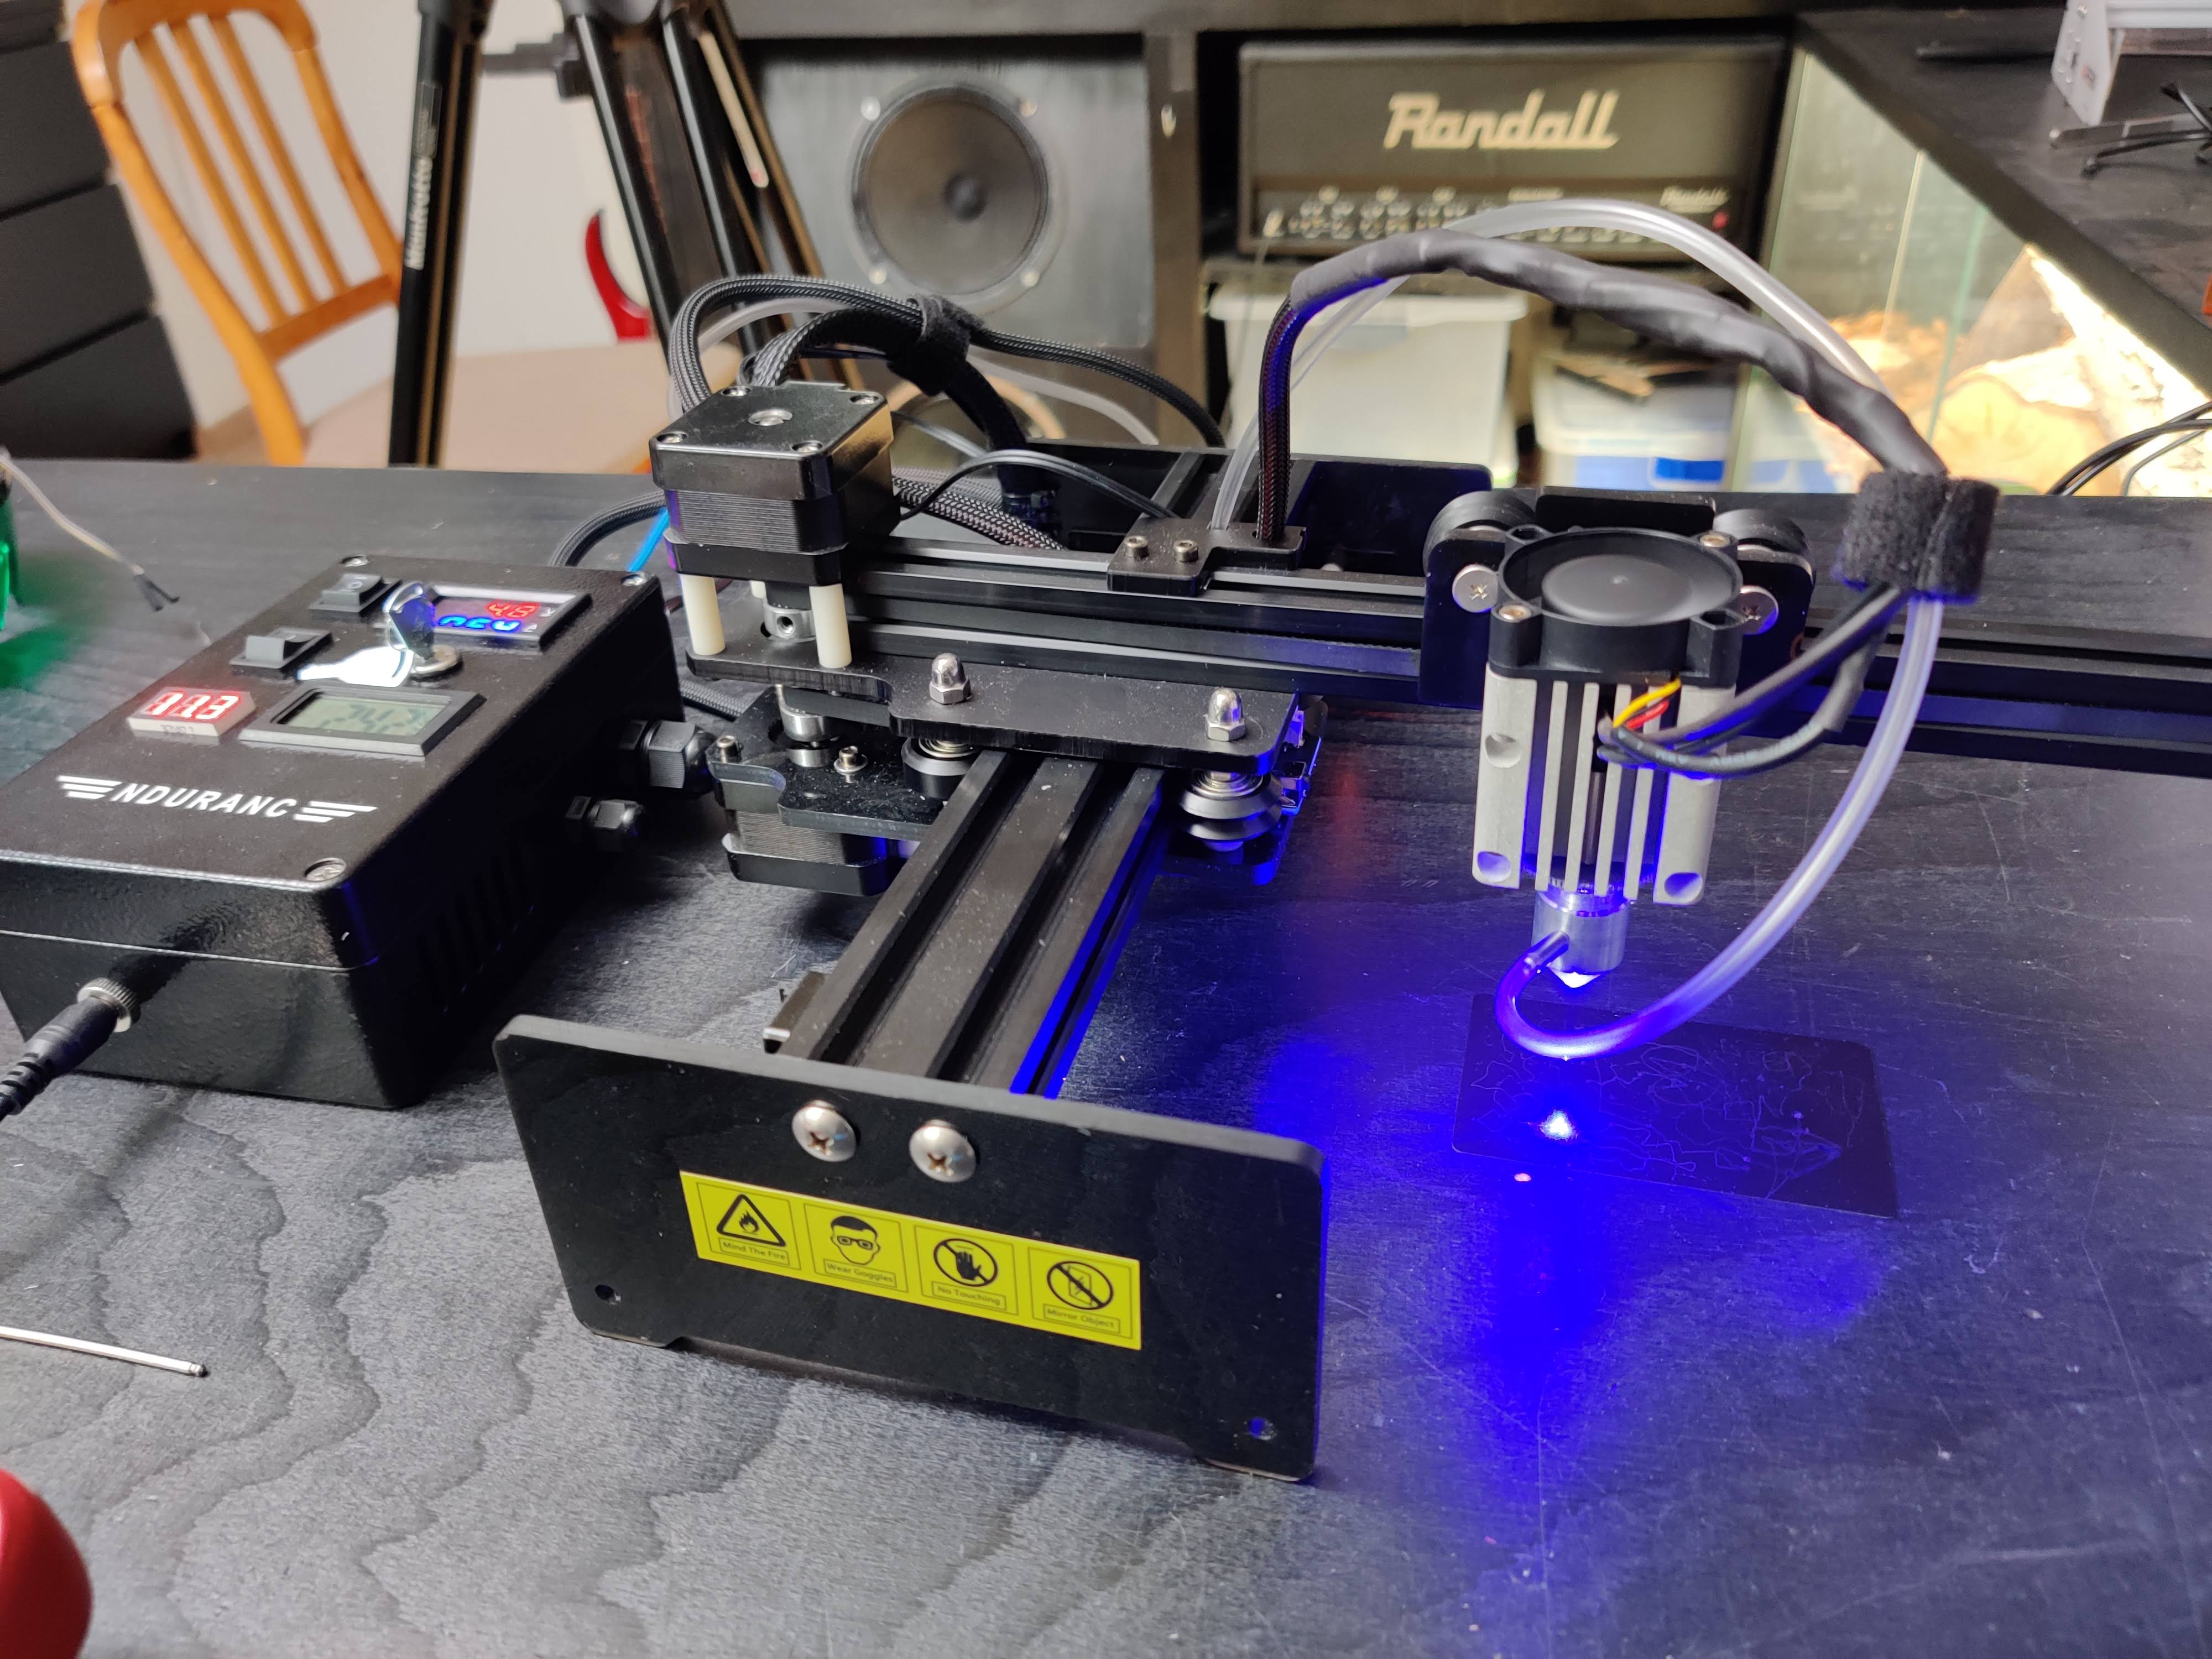
If you want to use the air assist, which is recommended if you intend on cutting wood, you can also hook that up at this point. Some good air sources would be an air pump or a hobby air compressor for airbrushing. Both of these options should be easily obtainable online from a local reseller.

By following these steps you should be able to convert your Neje Master 2S to using an Endurance 8.5W laser in no time. If you get stuck at any point, have another look at the pictures here, or feel free to contact us here at Endurance with the LiveChat.
Laser engraving using NEJE Master 2s – real customer experience
An Endurance 8.5 watt (7000/8000/8500 mw) PLUS PRO laser module 445 nm