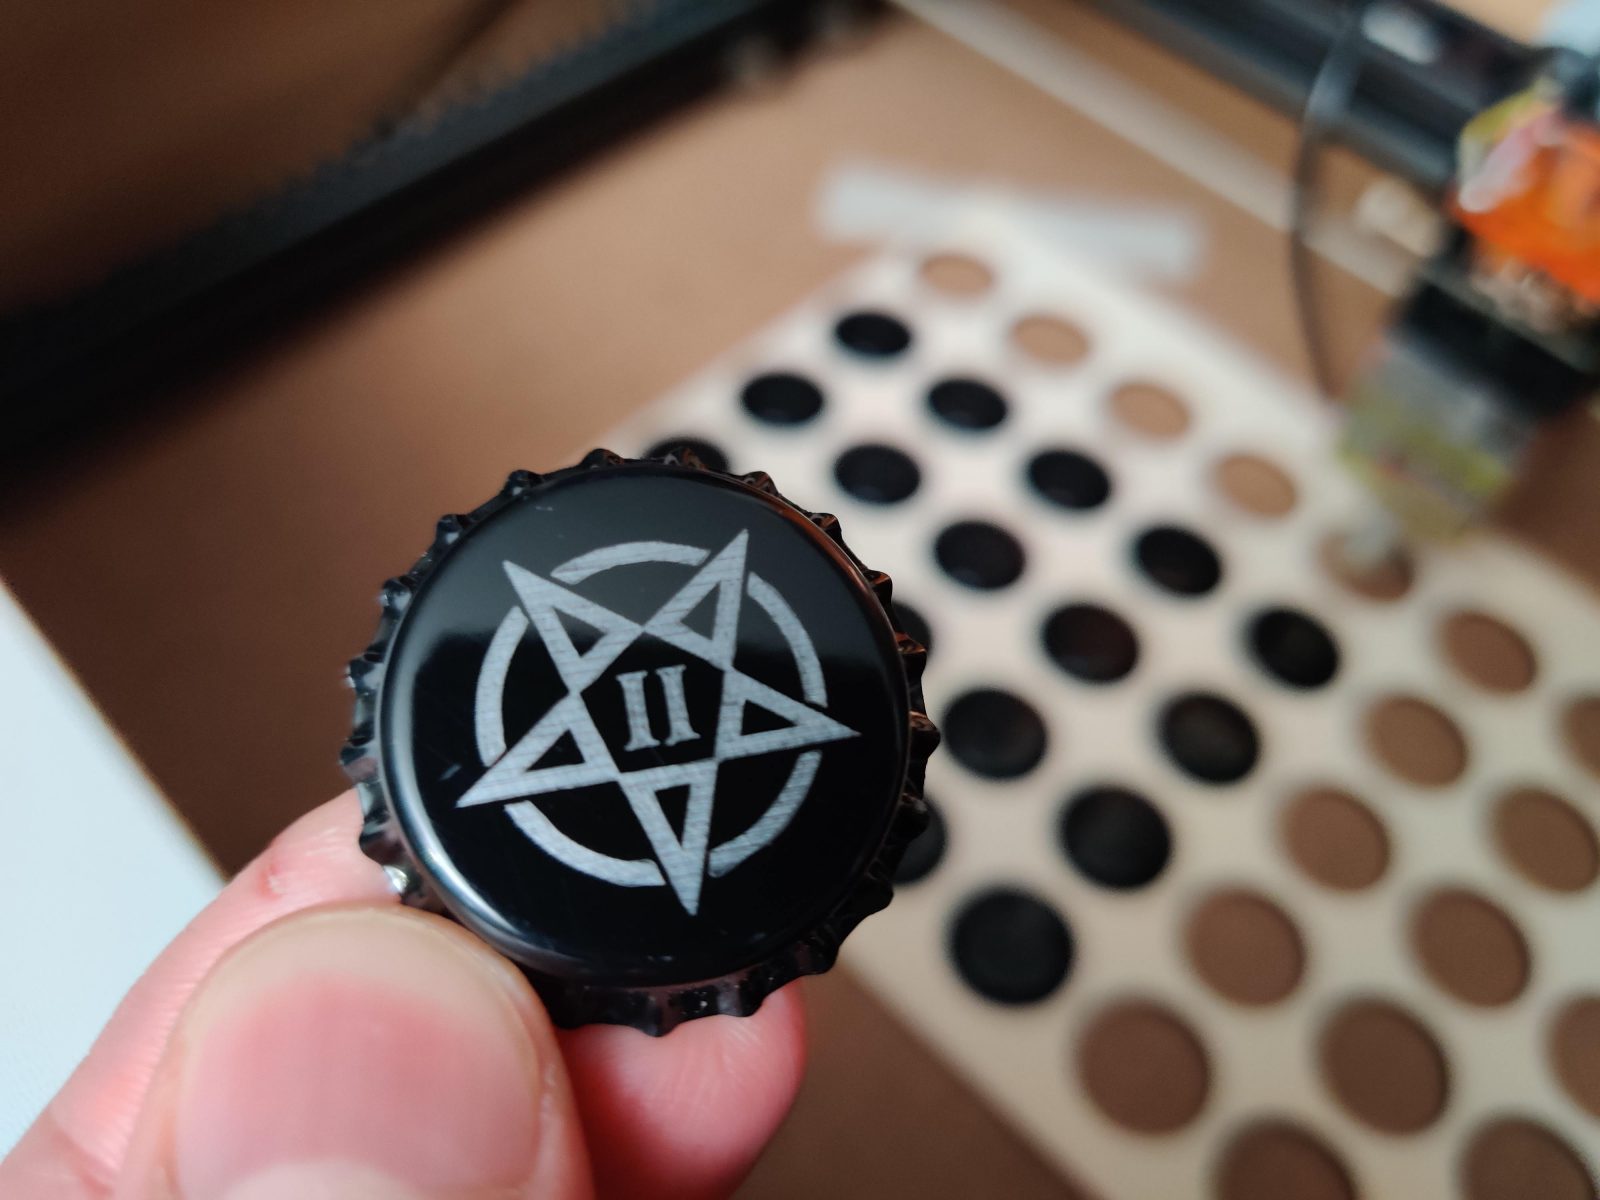
Recently I found myself wanting to customize some bottle caps for homemade beverages. They come in all kinds of colors, but still, look quite boring. Using a laser it is easy to burn away the thin paint and expose the silver metal underneath. This gives great contrast, especially with darker colors. But since I needed quite a few of these caps, carefully aligning them with the laser, waiting 2 minutes for them to engrave, and then swapping for another was not a great option. So instead I cut a jig out of some thin plywood that allows me to quickly place a few dozen caps and engrave them all perfectly centered with the push of one button.
Of course, this can not just be used for bottle caps, but any small object where you want to engrave many of them with the same design. With some tricks, you can even engrave things like serial numbers, dates, or even fully custom text completely automatically. So here is how you go about it:
While it is possible to use only free software to do this, using Lightburn makes many steps a lot easier as it allows for creating basic designs right in the editor and lets you work with many layers, which we will make use of a lot here.
Making the Jig
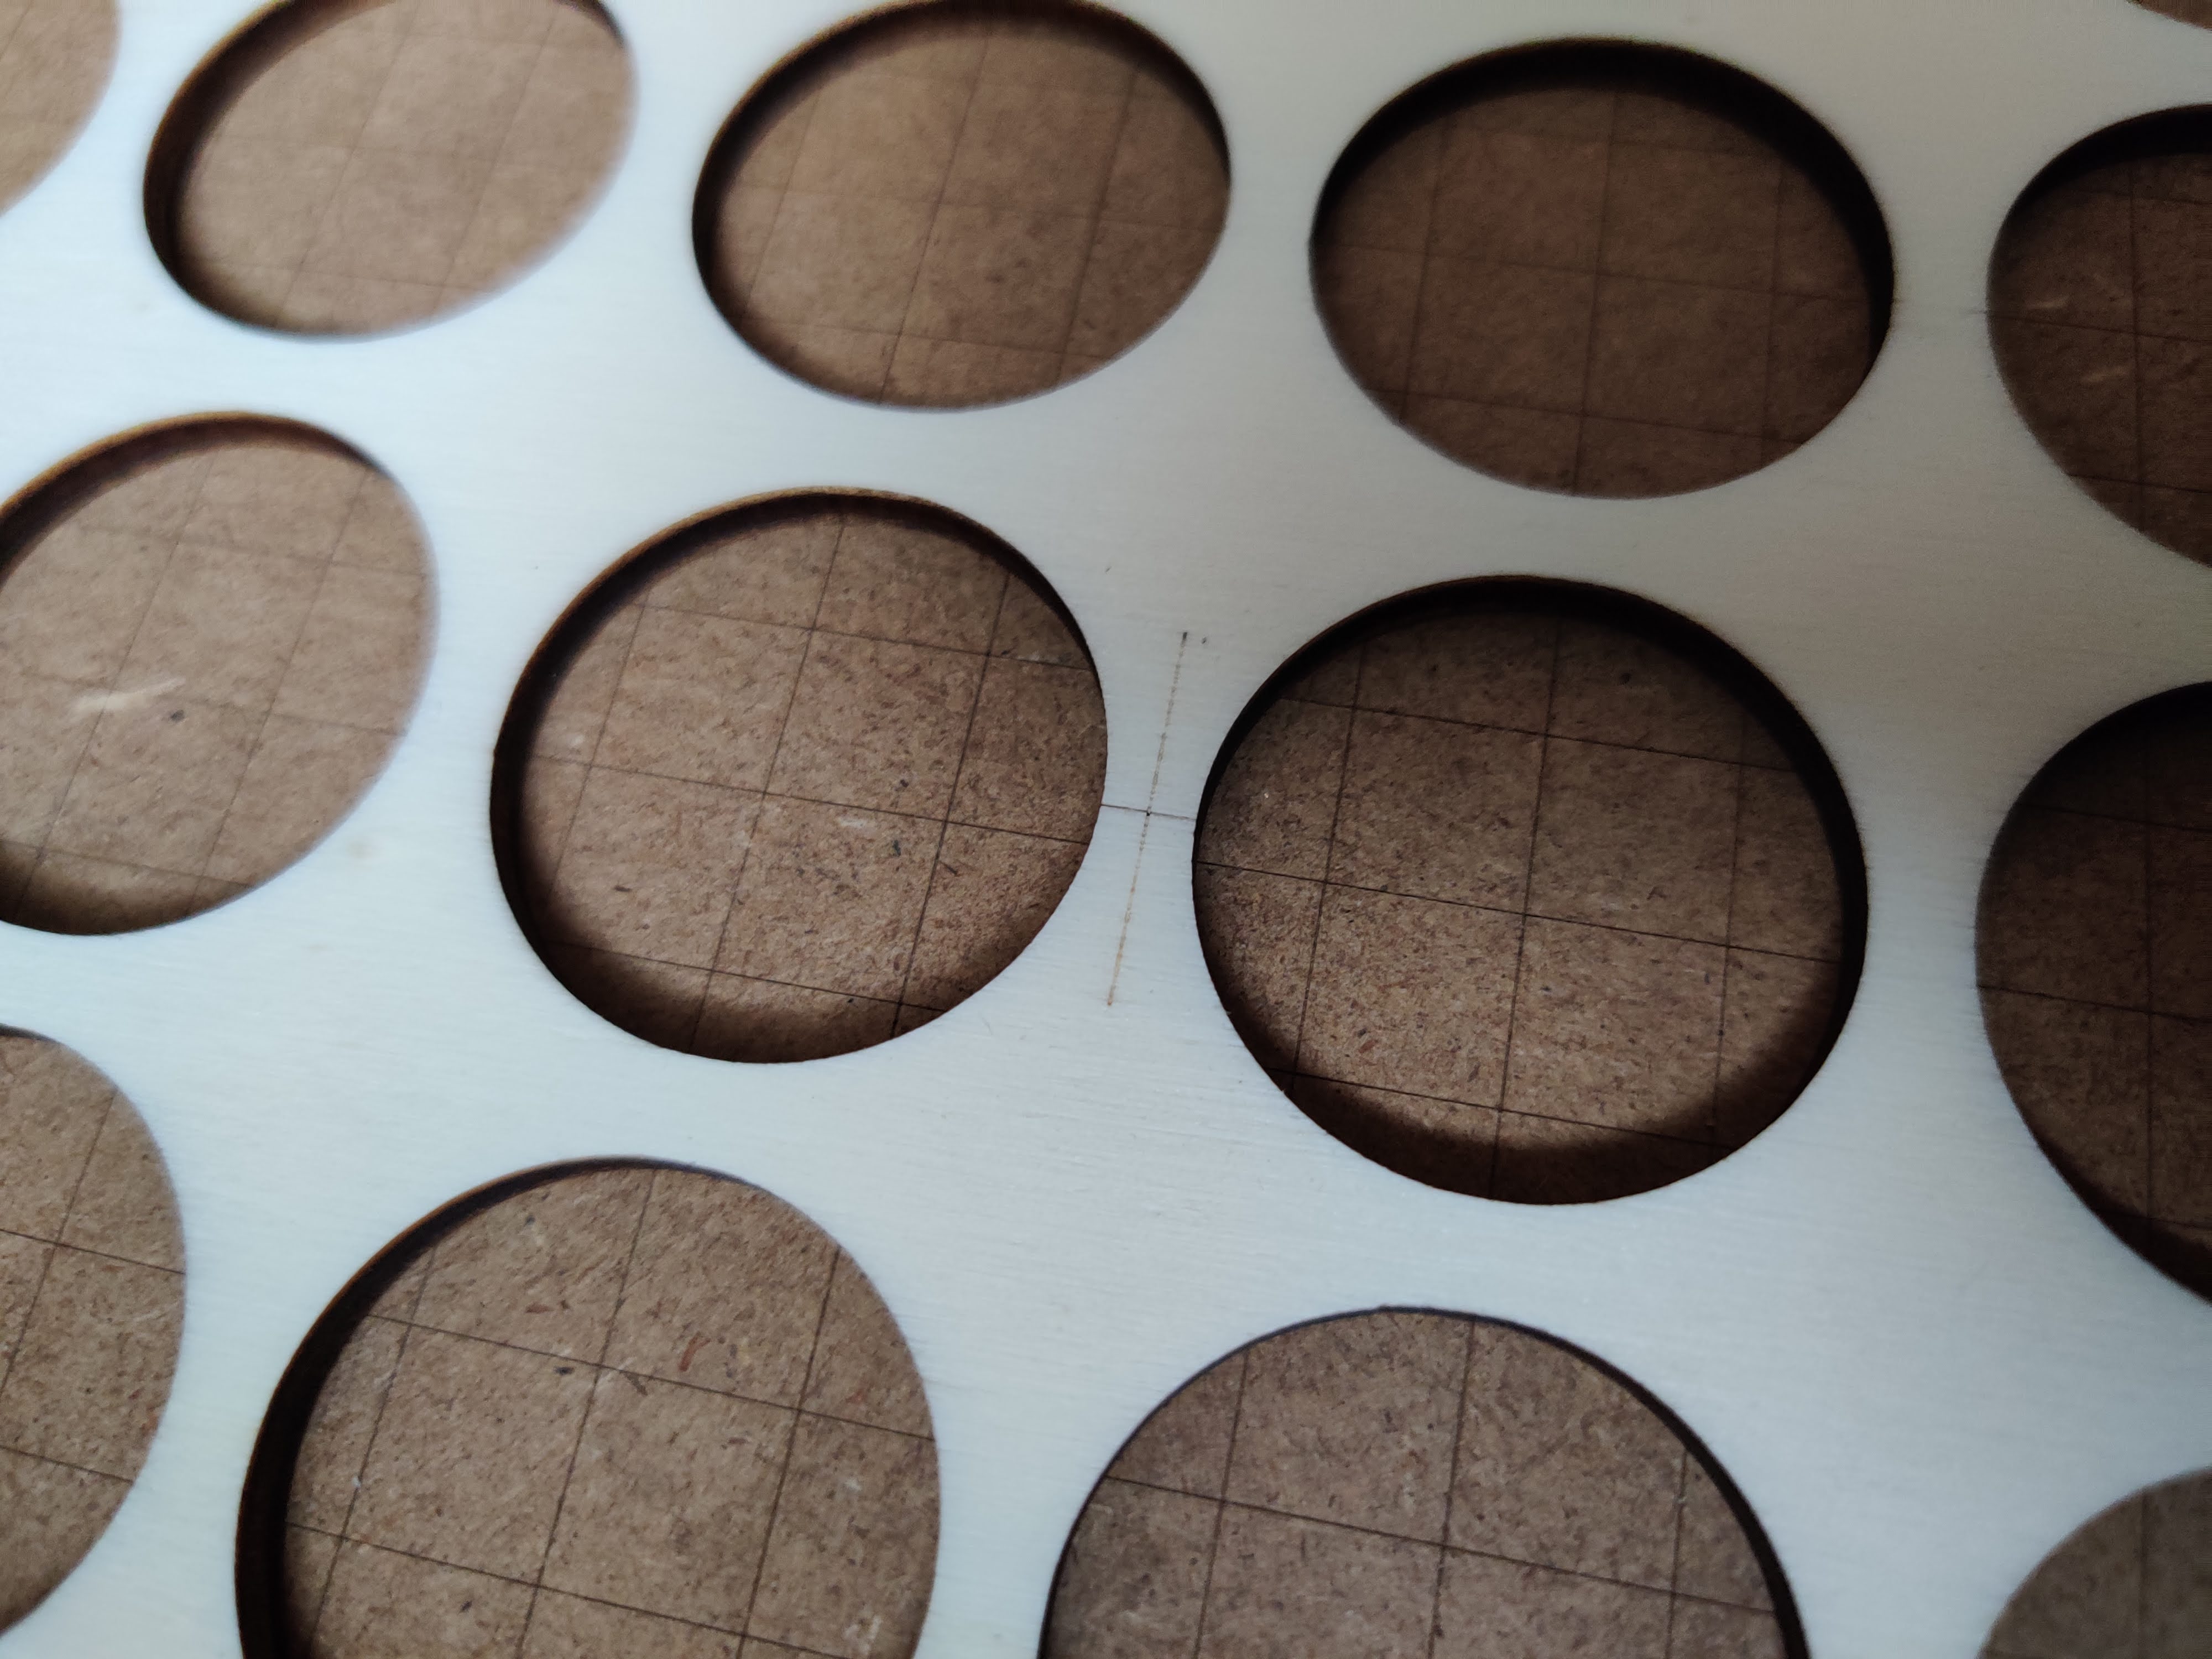
Firstly you will want to decide how many pieces you want to be able to engrave at once. This will be limited by the size of your laser engraver, but also by how much you need. For my purposes, a 30x20cm piece of 4mm plywood served as the perfect base. This means that I can engrave up to 30 bottle caps in one go, which is more than I’ll probably ever need. To create the jig, you will want to design a cavity that fits your object perfectly. For bottle caps, this is easy, as it is just a 32mm circle. After you have drawn or imported the shape of one of your objects, you can use the grid array tool to create as many copies as you need. A padding of 5mm will be good for most designs, but you can feel free to play around a bit with it to get a good utilization of your piece of wood.
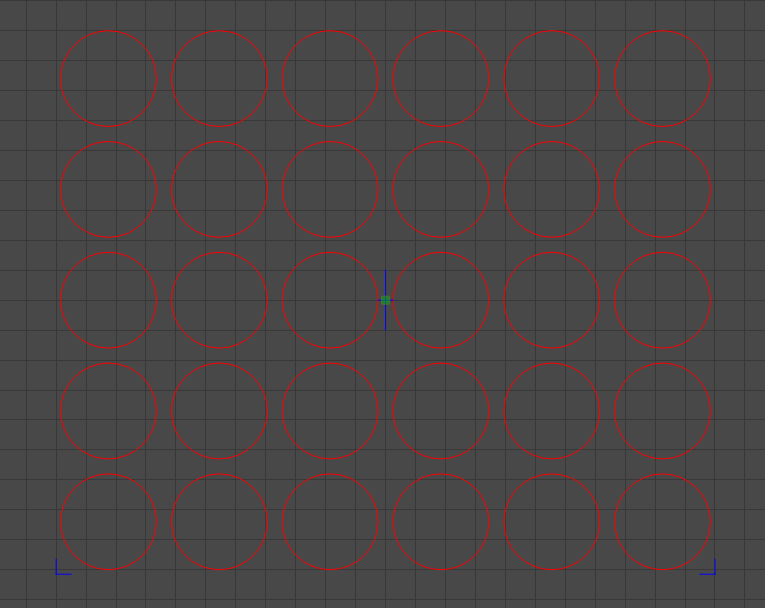
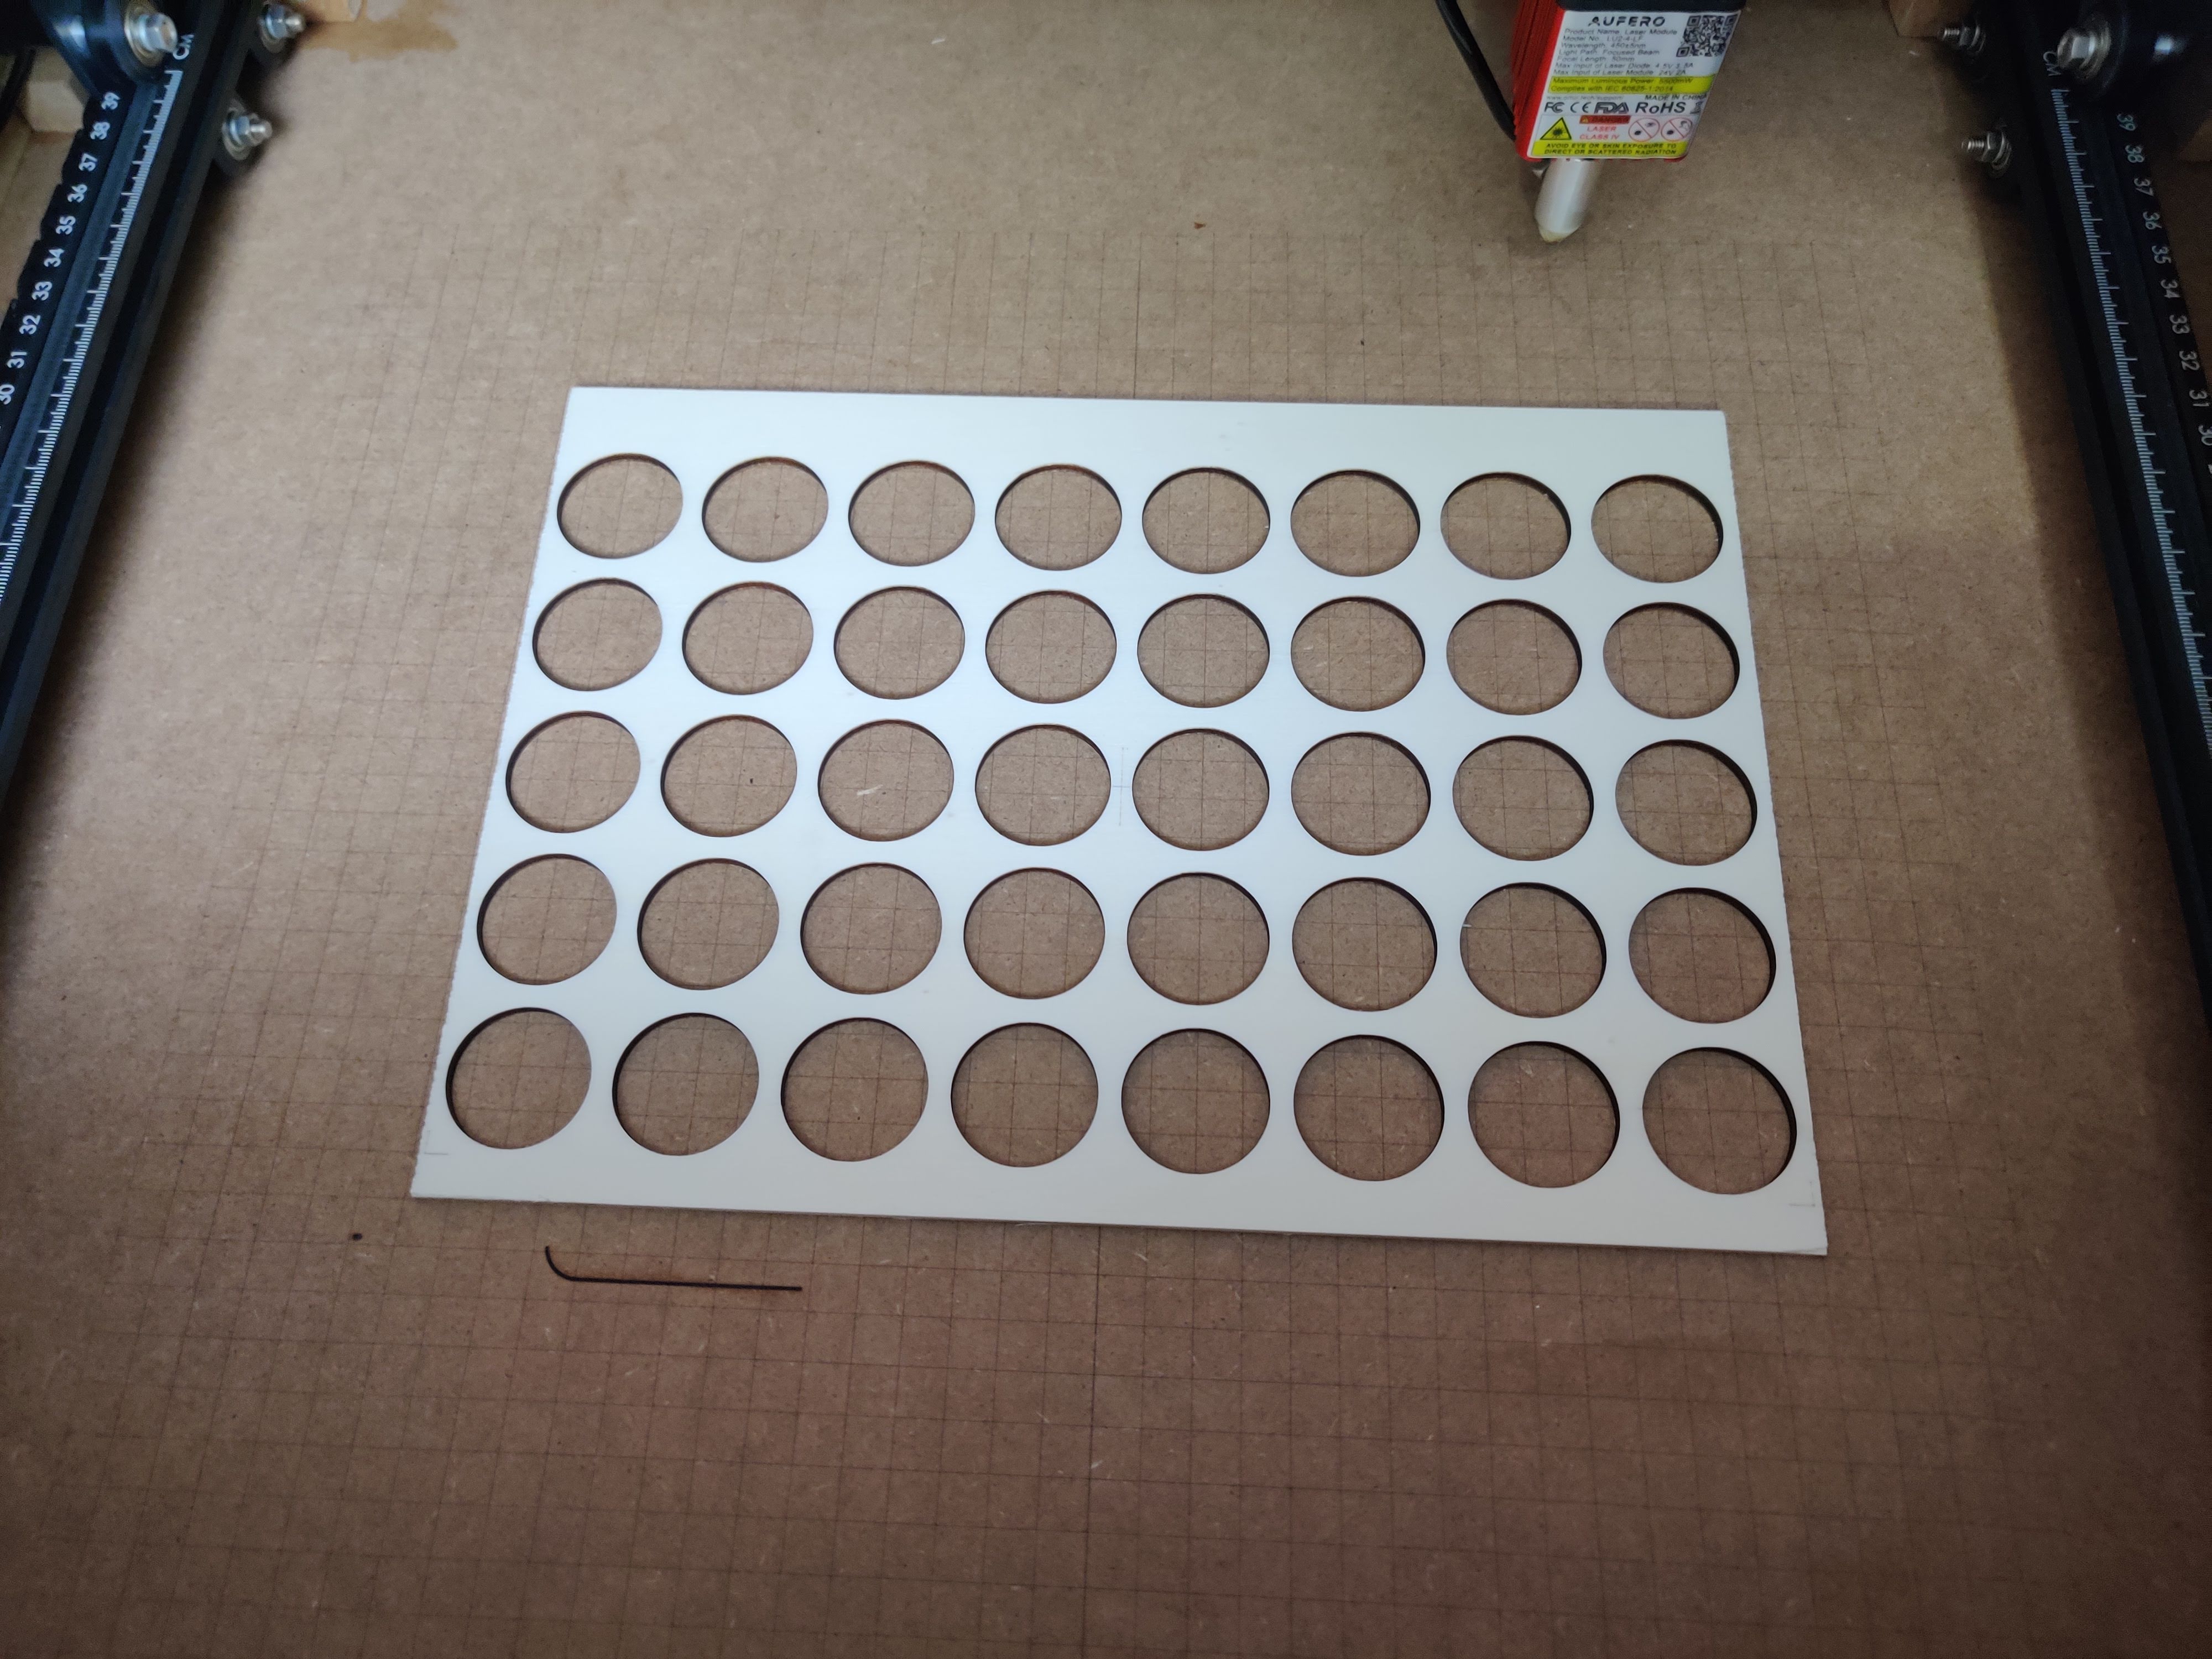
So we can use this jig more than just once it is a good idea to add some locating features. I added a crosshair to the center which I will be using as my origin, and also some markings in the corners that can be used to check alignment. By putting these designs on a different layer you can set the power and speed settings for engraving and do both the cutting of the holes and the engraving of the markings in the same operation. You can then go ahead and cut this, making sure to square up your piece of wood nicely to make alignment easier later. You can also feel free to add text to label your jig to stay organized.
To help with squaring the jig to my laser I also went ahead and engraved a grid into the bottom of my enclosure. To do this I simply patterned some lines 10mm apart all across the engraving area. If you don’t have a bottom to your enclosure or don’t have an enclosure at all, don’t worry, this is not strictly needed, just makes your life a bit easier.
How to use the Jig
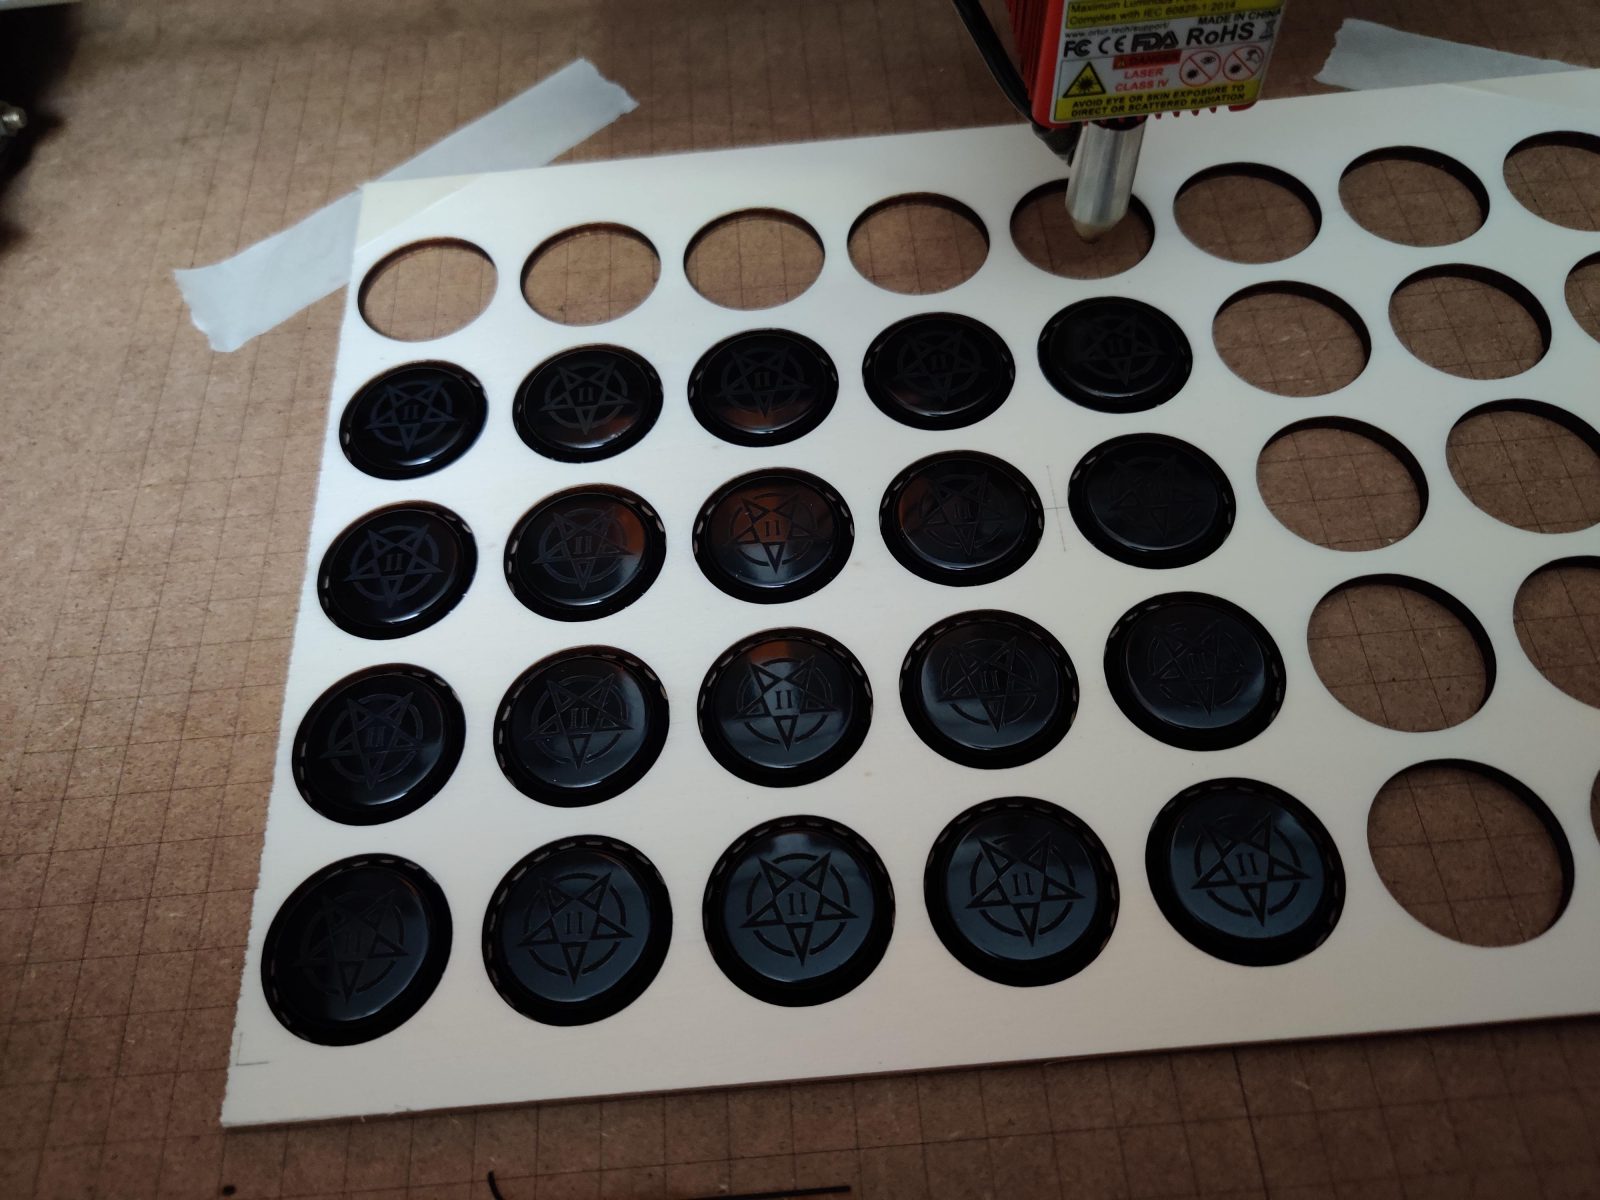
With the jig done, whenever you want to use it, simply place it in your engraving area and square it up as well as you can by eye. You can then move the laser to one of the corner marks and then go to the other corner, only moving along the x-axis. If you have aligned the jig properly you should also hit the mark there. If not, make small adjustments until it is perfectly aligned, as being off even a little bit will make some of your engravings not quite centered. Finally, you can move the laser to the center and use this as your origin. Just make sure that you have selected center origin in Lightburn so everything lines up. The green dot should be exactly over your crosshairs.
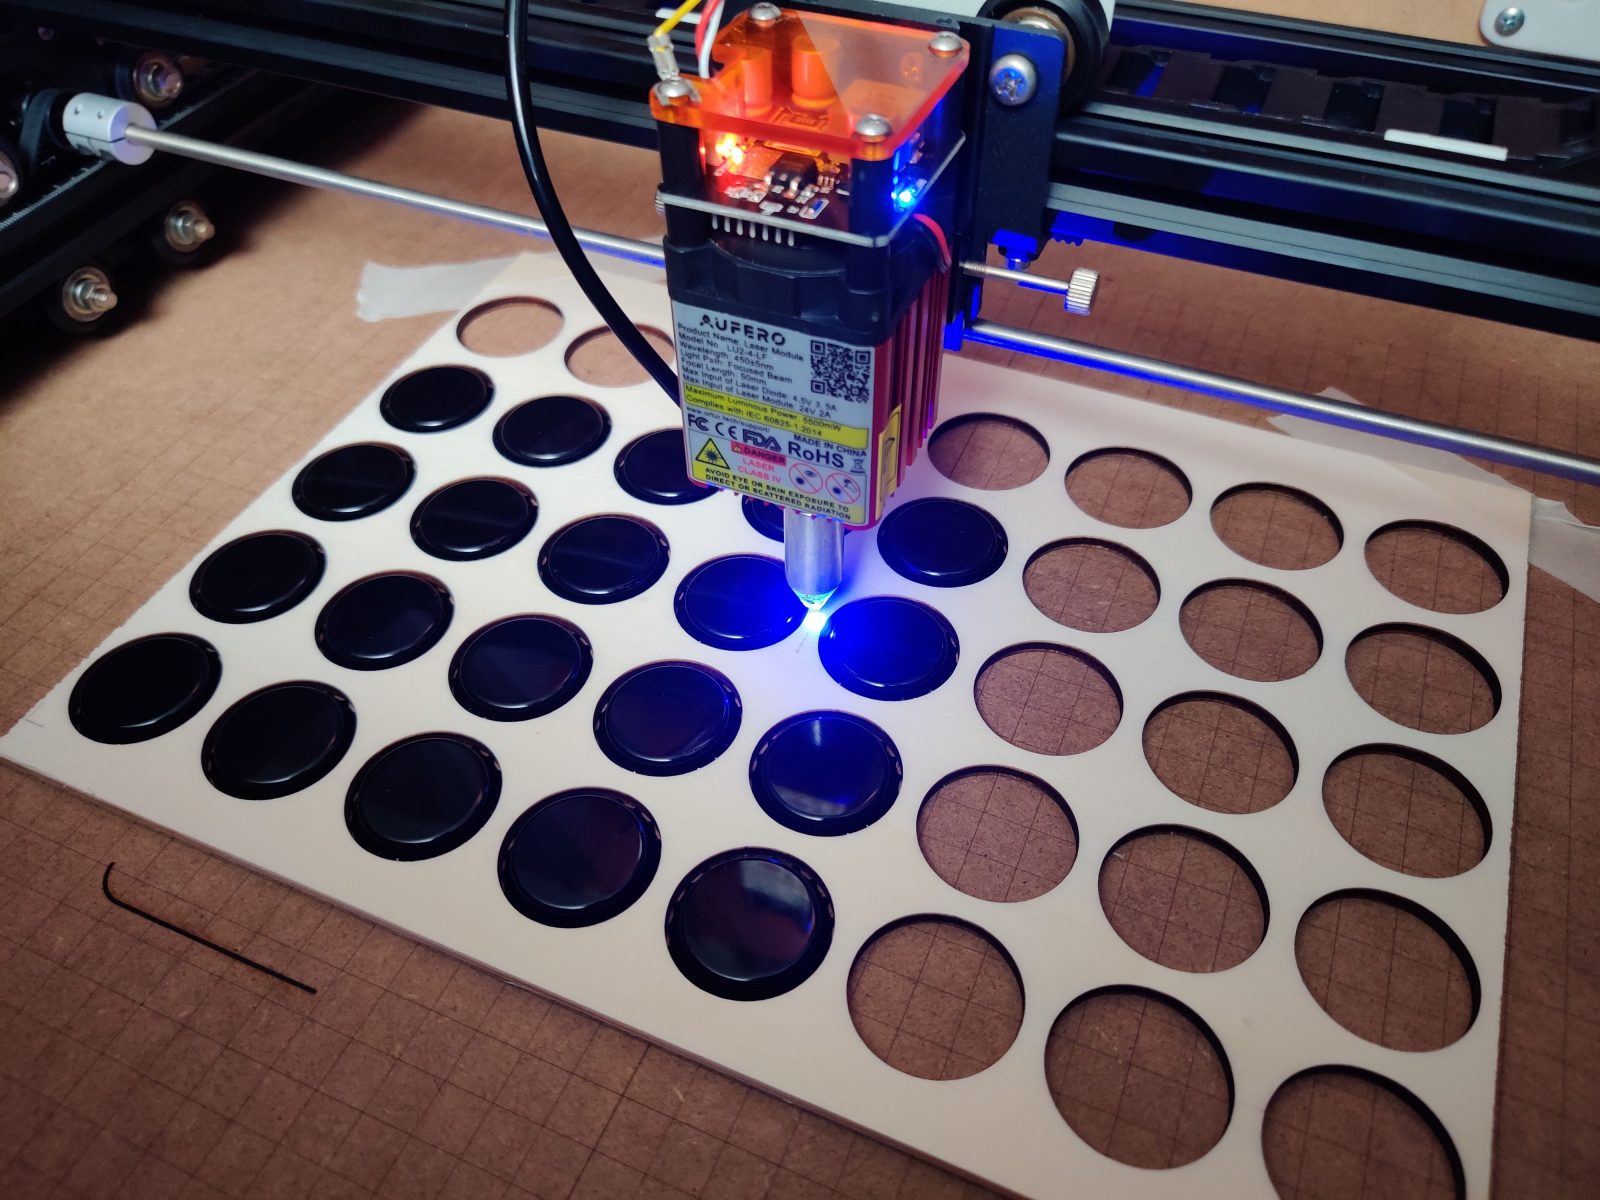
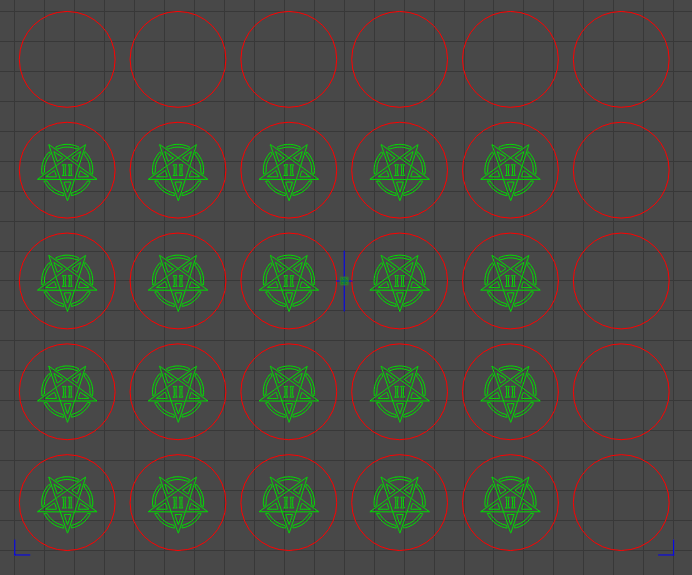
Next, it is time for you to load your design into the same Lightburn project, or for you to draw it directly in Lightburn. You want to make sure to use a different layer than the jig, so you can then simply engrave your design by turning the other layers off. After you have positioned the design perfectly on one of the spots, you can use the same array tool as before to pattern it to all the spots. To get the spacing right, you will want to use “Distance from center to center” instead of “Padding between edges” which you might have used before. If you made your jig a bit bigger than you need, you can also, of course, not populate all the spots at this point to engrave fewer parts at once.
Tips and Tricks
With that, you should be able to set your focus and sit back and relax while the laser is doing all the work. In case you are not as familiar with Lightburn yet, here are some more tips that might come in handy when using this technique.
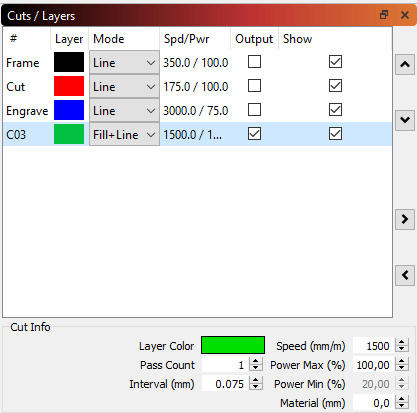
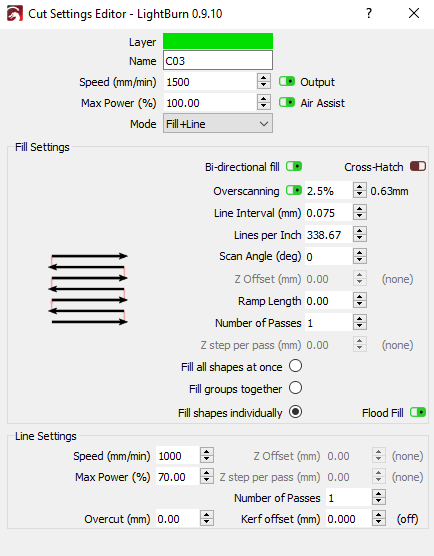
- When you are engraving shapes, you can double click on the layer and select “Fill shapes individually” and “Flood Fill” to dramatically increase your speed if you are using a hobby-style diode laser, as the default settings waste a lot of time with unnecessary travel moves.
- If you haven’t already, it might also be a good idea to enable overscanning, which moves the laser slightly further than needed with the power turned off, so the slow-down needed for the direction change is not during an engrave move. This will ensure that you get a consistent engraving depth and don’t go deeper towards the edges.
- If you are using fill+line you will also want to make sure you have adjusted the line settings in this dialogue, as they are not the same as the ones for the fill.
Automatically generating Text
If you have a product where you would like to not only engrave let’s say your logo, but also a serial number or manufacturing date, this can also be done quite easily in Lightburn. When you create a new text object, you have several properties that you can set for it, like the font, height, alignment, and type. If you choose a type other than “Normal”, Lightburn will lookout for special formatting characters. By using them you can then use the “Variable Text” window to specify how you would like to populate these spots.
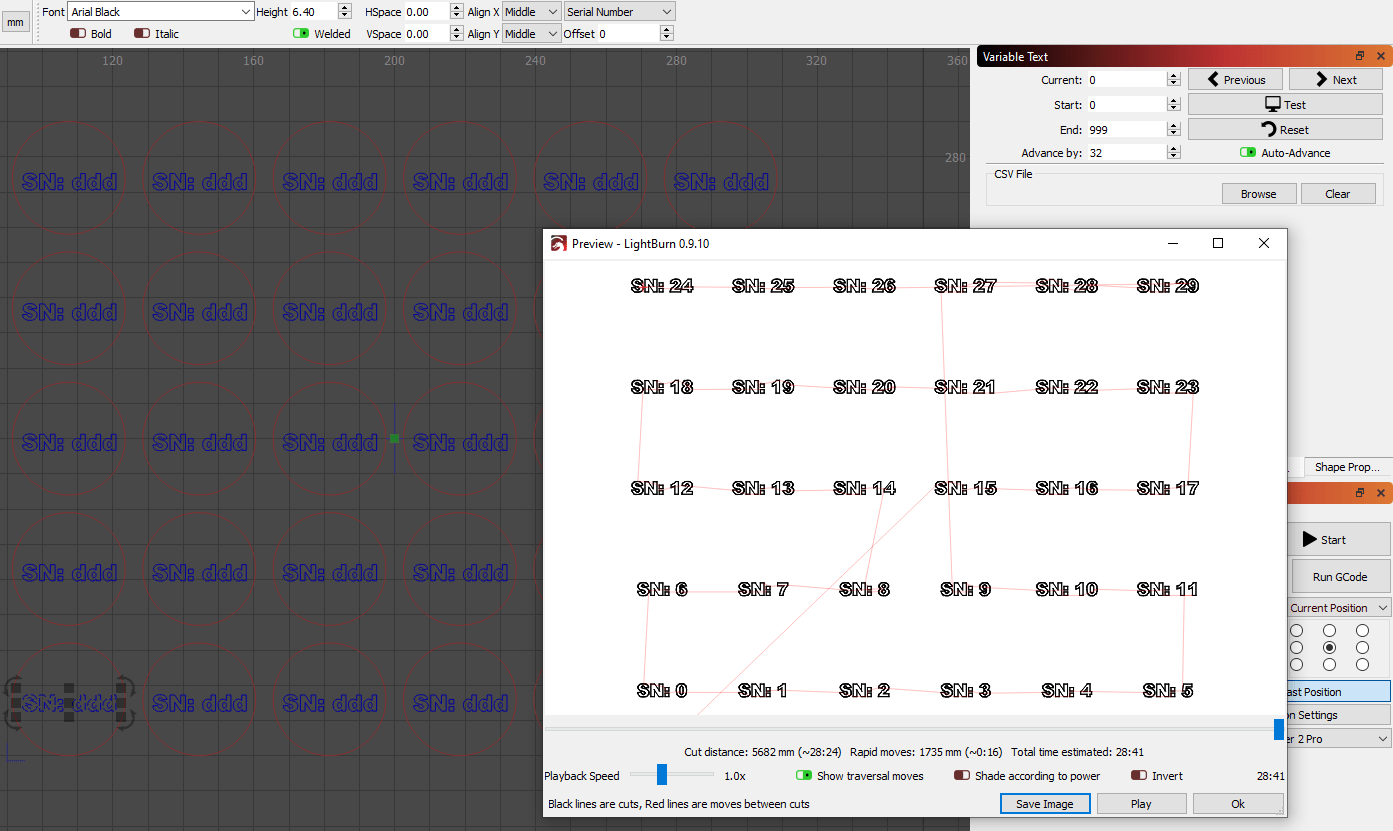
Going over all the options here would be a bit much, but let’s have a look at how you would do a serial number. If you want to see all options, check out the documentation here. To create a serial number or any other increasing number, you want to select “Serial Number” as the type. You can then write “d” where you would like a digit of your number. When engraving this “d” will be replaced with the number that is coming up next. To select with which number Lightburn starts, you can set the start, current, and end numbers in the variable text window. Using the “next” button you can then advance through them. If you have “Auto-Advance” checked, it will also advance by your specified “Advance by” amount every time you hit start to engrave.
Where it gets convenient is that you can also set an offset from the current number for your text object. This is done right underneath where you set the type. When you use the array patterning tool, Lightburn will automatically increment this number (provided the setting is checked). This means that all your objects will automatically receive a unique number. You will then just want to make sure to set the “Advance by” to the number of objects you have, so you don’t accidentally use a number twice.
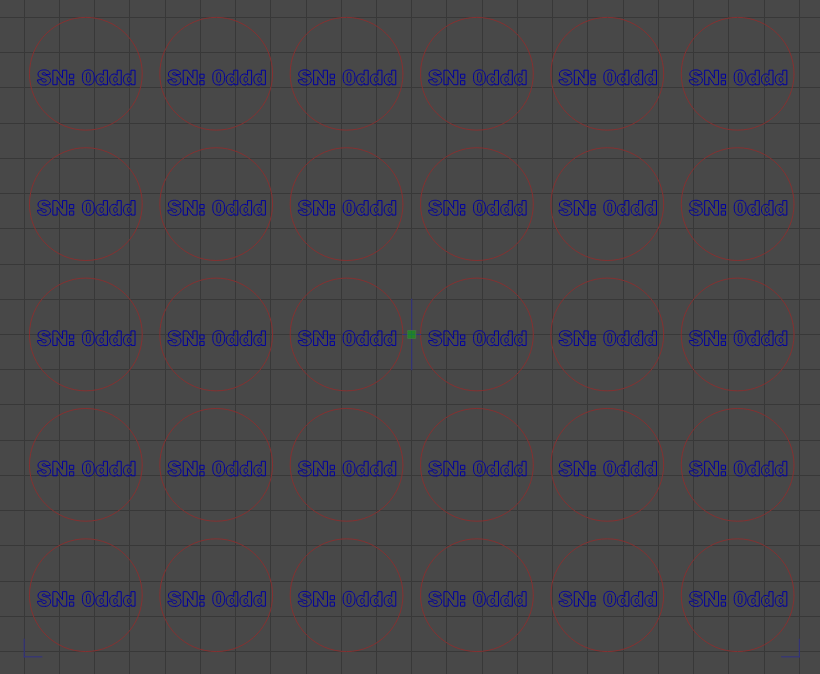
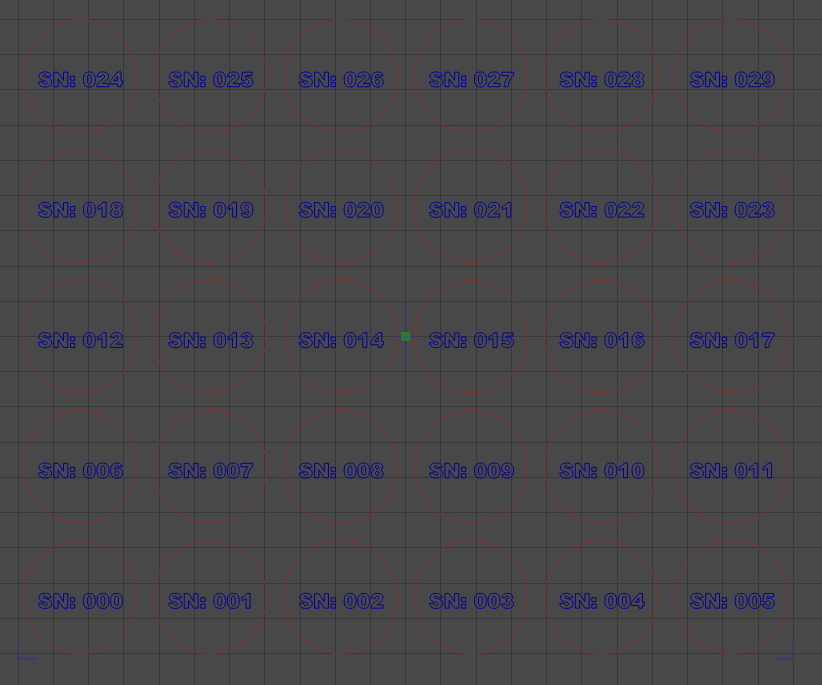
Some additional tips would be that if you want to display the leading zeros of a longer serial number, you can use the “0ddd” formatting with as many “d” as you would like digits displayed. You can also use regular text in the same text object as long as it is not a command. That text will then be the same for all objects. An example would be “SN: 0ddd” which would be translated to “SN: 001” incrementing the number every time. To preview what will be engraved you can either use the engraving preview or hold the “Text” button in the variable text window.
Conclusion
With some very simple and quick tricks, you can dramatically increase the productivity and quality of your laser engraver. Making a jig to engrave parts perfectly is the ideal way for small batch production or even unique one-offs where positioning is key. You can also easily automate your labeling process with just a few clicks and handy features inside of Lightburn.