How I created an Amazing subject to engrave on Glass Tile with White background – a full guide
First, off I went to the local hardware store Lowes and looking into the tiles I was looking for slate tiles but found this Amazing Glass tile with frosted white backing it’s .25” deep. I grab a couple of tiles and put them under my laser for find everything you engrave on the glass surface cast a shadow on the white frosted backing. On this glass, it takes some power for a great engraving to come to life. I had tested with watercolor paint but not enough heat was conducted on the glass. I use a 7 watt optical power laser…
Endurance lasers: all about cutting and engraving abilities of diode, DPSS, fiber, Co2 lasers.
I will get to the setting later because my machine is doing a picture at this time.
I have a long history of working with images as a hobby of mine doing simple animations and combining pictures to make them more interesting. So I had scenery in mine for a background something of nature. I found this image online and use it along with a Bobcat that I used an online background remover. But now I save all in my C drive were as I can access these with my Amiga software. ![]()
I clicked on my Amiga startup Icon and got into some serious art imaging editing programs.
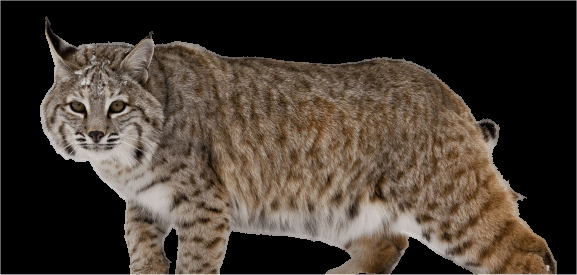
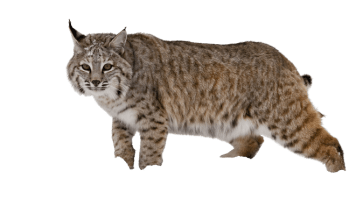
this bobcat I needed to place on this picture and make it look perfect
In the art, the program is shown up with a black background. So I cleaned up on the layer.
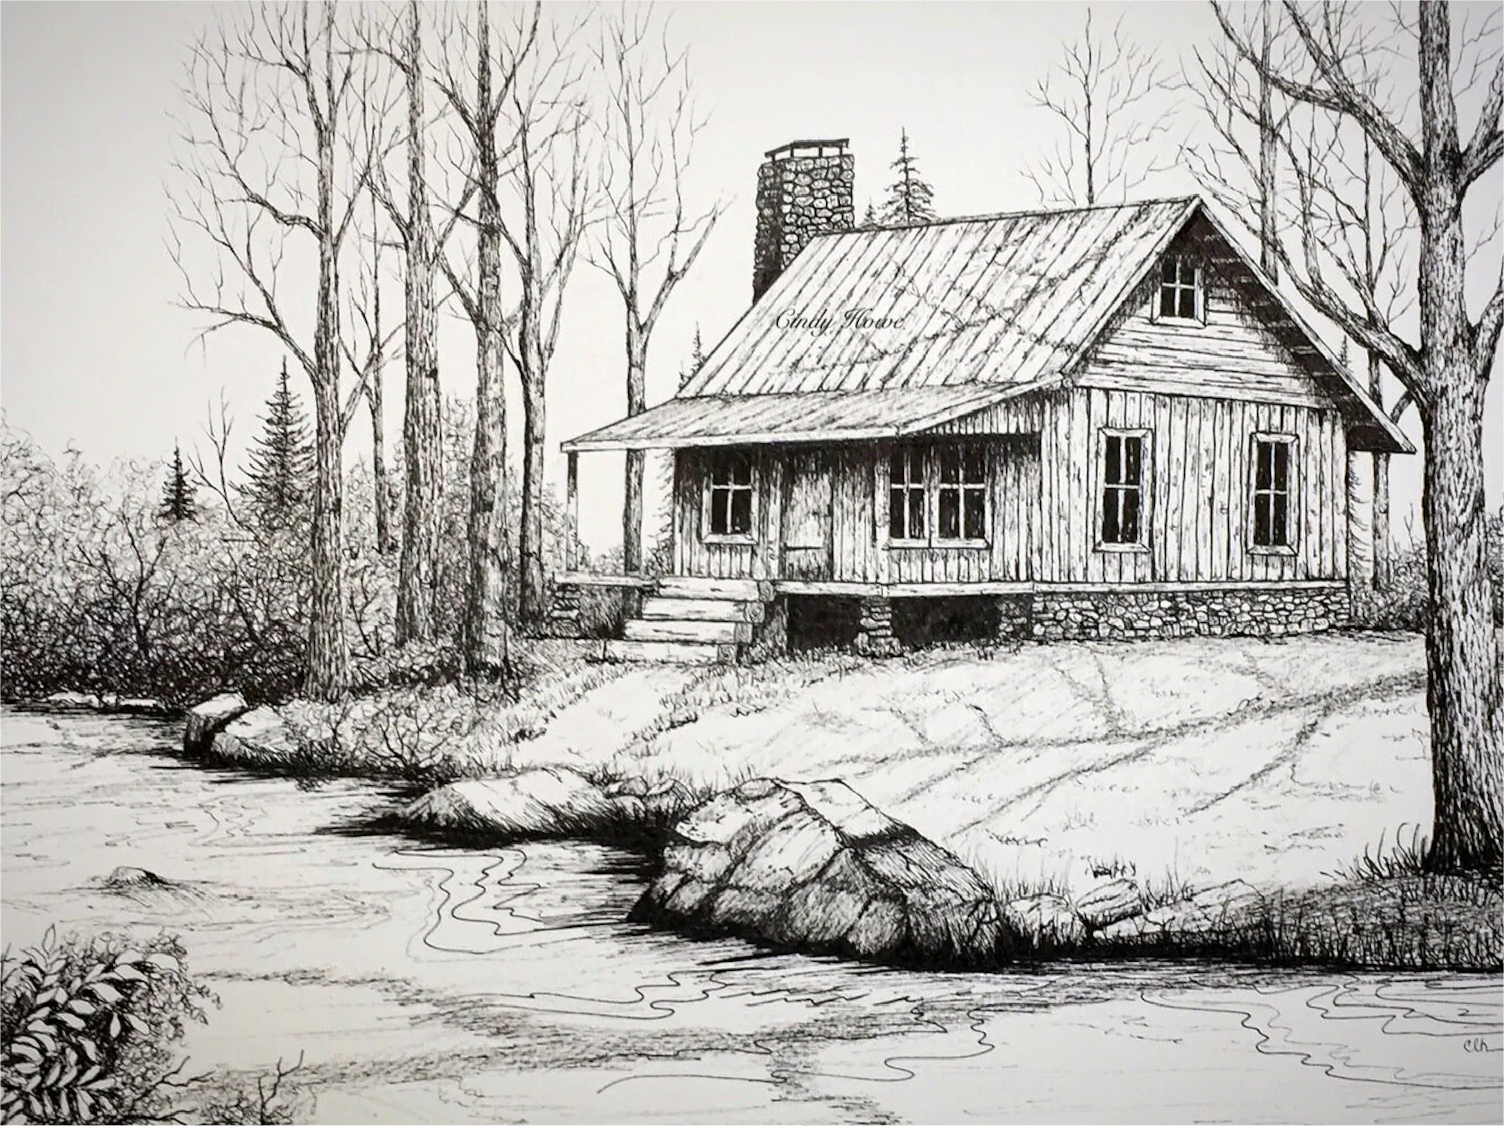
Amiga came out with a TV Paint Program that is fun and fantastic to use.
I added the background image as a project in this program added a front layer then added the Bobcat on the front layer. I sized the cat and had to buy hand clean all the blackout of the picture leaving what you see below.
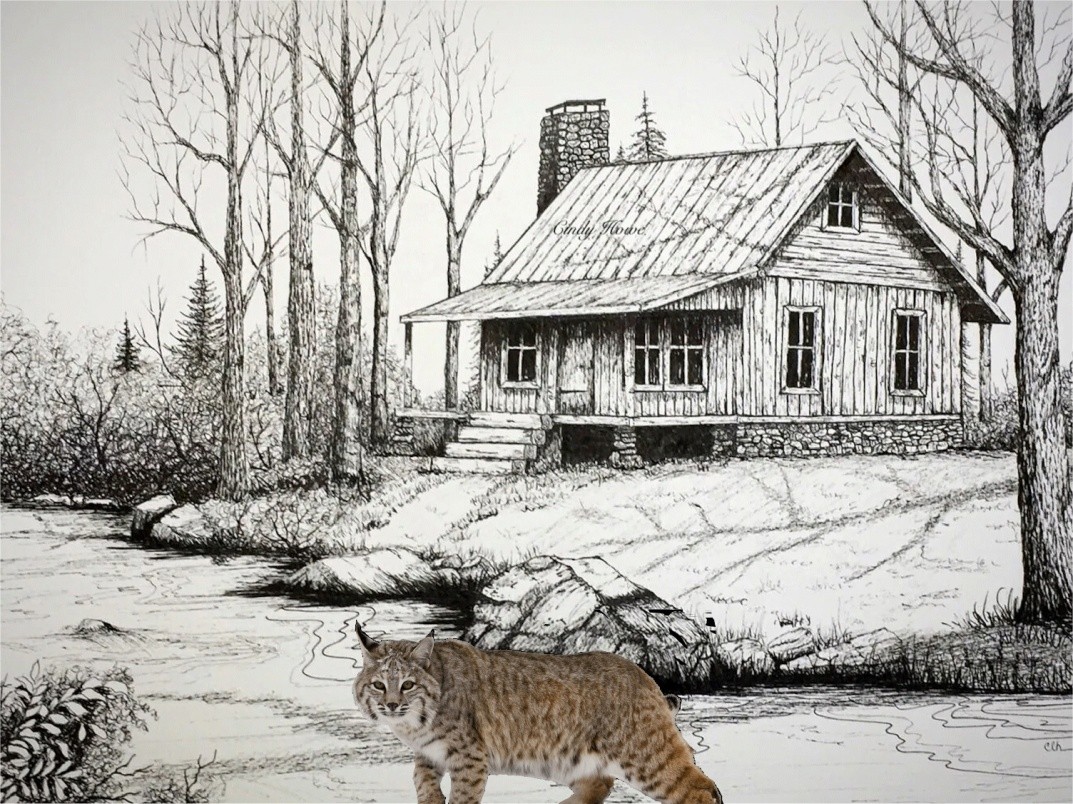
Then I saved the display image as .jpg and put it on my network drive to intro it into lightburn for engraving. I took my practice engraved glass and sprayed the leftover area with Cold Gavinized spray paint. You do not want to breathe the fumes so ventilation is highly recommended for it while engraving with your lasers. This paint is great for engraving on glass. I let the paint dry well before engraving sometimes I use a Bosh heat gun much like a handheld hair drier. I position the object in light burn set up the power and speed and were ready to engrave on almost any surface. Settings in light burn 600 mm/min 347.dpi 100% power max 0 min scan angle 180. Please note taking pictures because of the shadowing caused by the engraving is kind of tricky. I show up by eye or video much better than a digital photo.
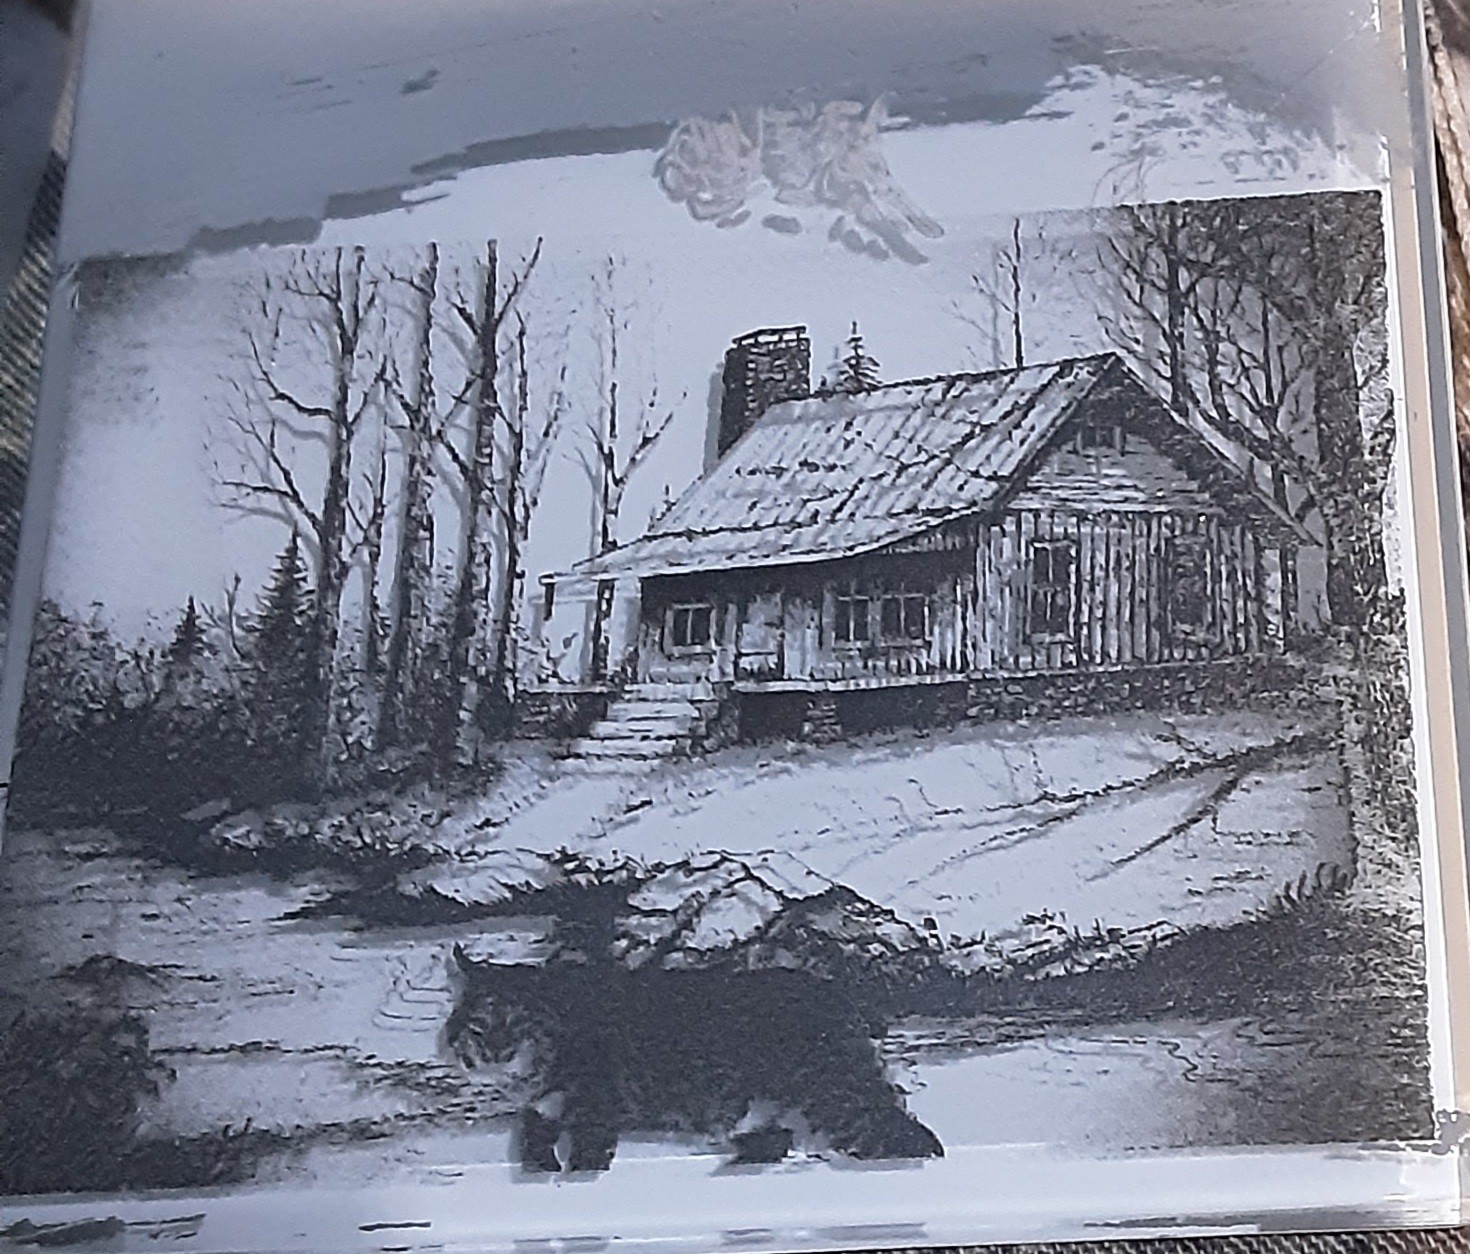
You can see the shadows of bobcats’ legs on the bottom edge of the glass and shadows cast by the trees in the background.
Later went back into my TV paint and added smoke and eagles to the scenery and leaned a rifle on a tree and labeled the roof.
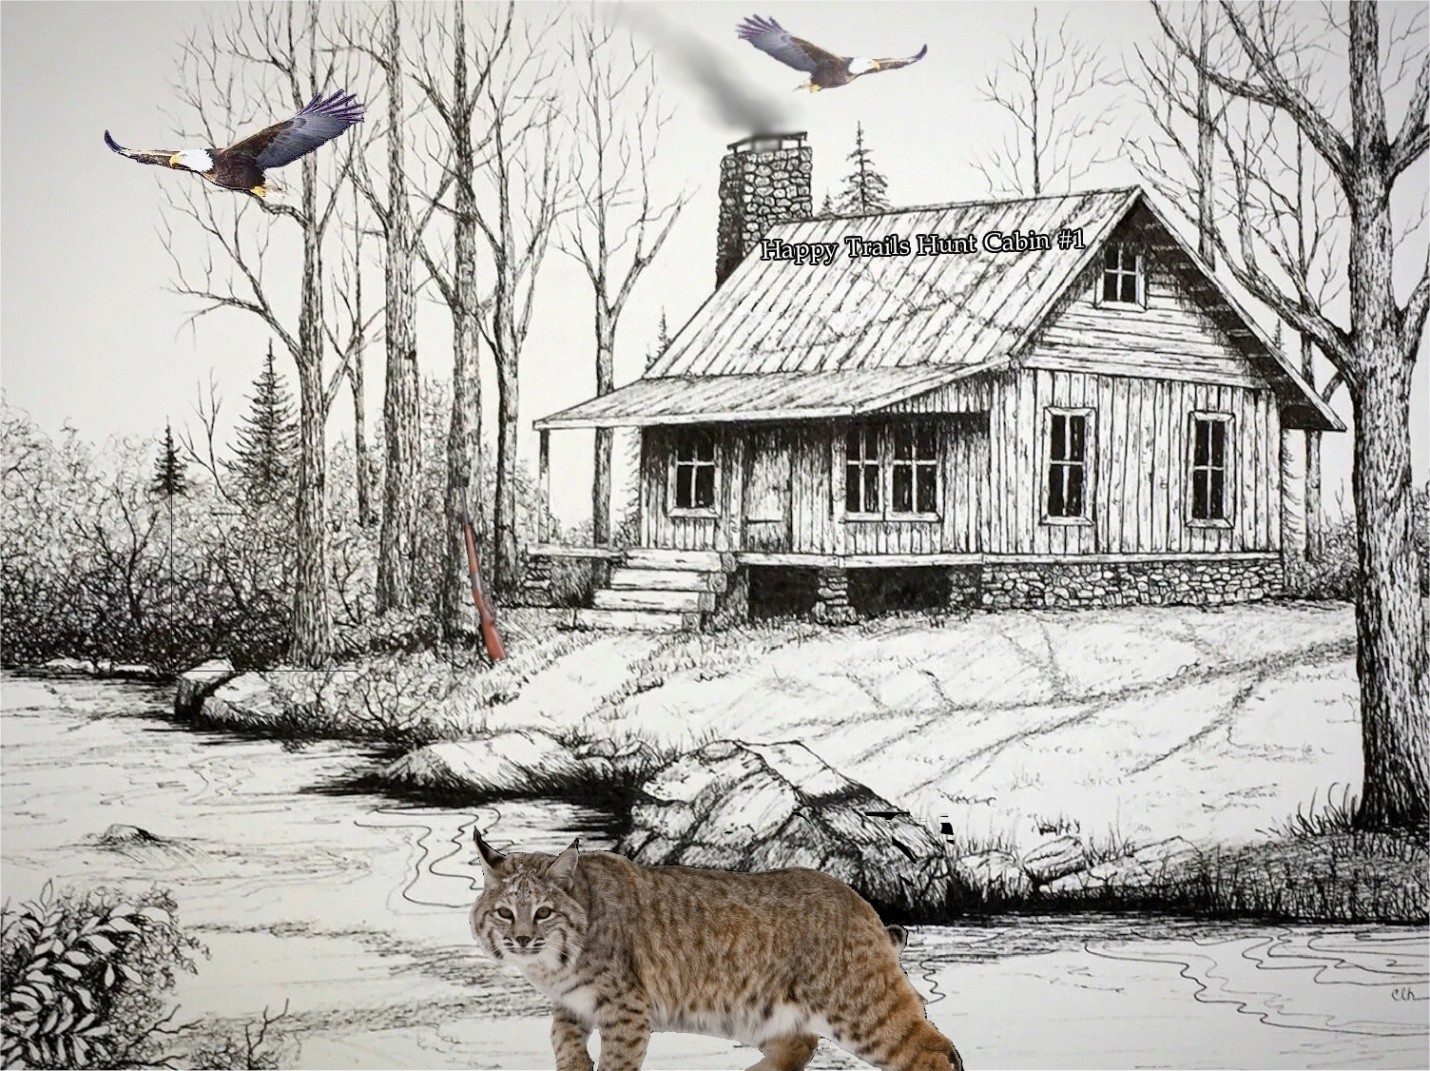
I hope you all enjoyed this short story on how I did what I did.
Written by Bruce Benson
G-code examples and images for laser engraving and laser cutting
Contest Gallery – Best Endurance Photo Maker (winners were picked)