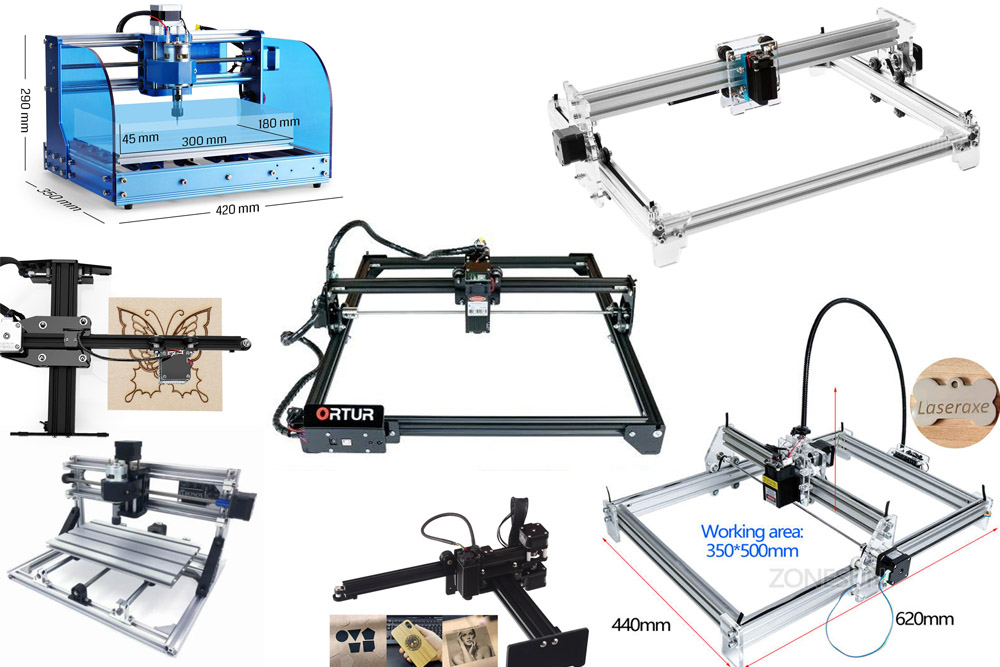
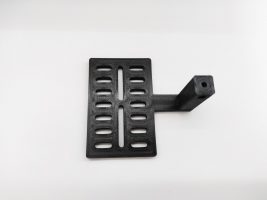
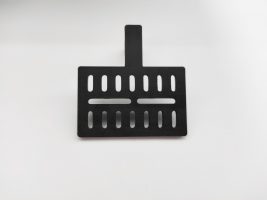
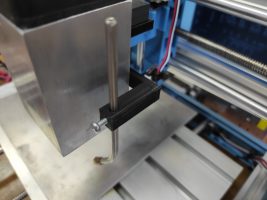
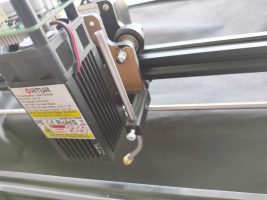
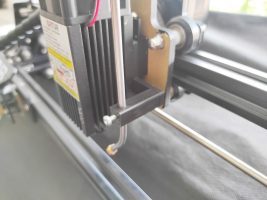
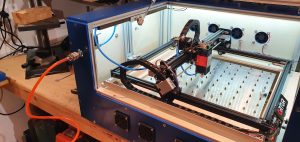
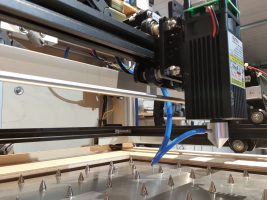
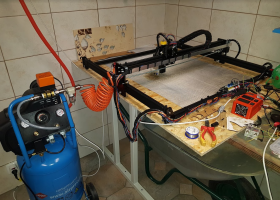
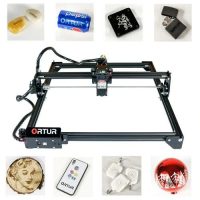
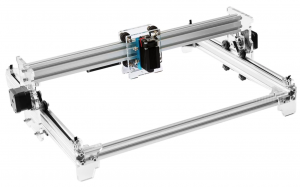
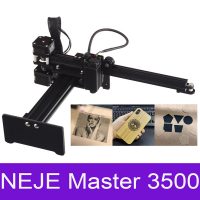
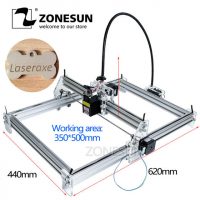
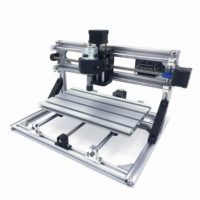
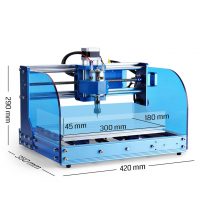
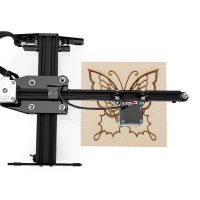
Replace your existing laser on a universal laser engraving machine, Ortur, Eleksmaker, CNCC Laseraxe, Neje, Insma desktop, Wainlux K6, Wainlux Jl3, Laser engraving, Sain Smart LE5040, Foxalien machine with an Endurance more powerful, more reliable laser. Ultimate tech support.
How to install 15 watt DIY DUOS Endurance blue 445nm laser on Ortur LM2 & CNC 3018 SainSmart and other frames
10 watt SE laser installation on Ortur / CNC 3018 SainSmart and Universal laser engraver – a detailed video guide
Upgrade your existing frame with Endurance lasers beam combiner (double your laser power output)
If you own a universal laser engraver, Ortur, Eleksmaker, CNCC Laseraxe, Neje, Insma desktop, Wainlux K6 Laser engraving machine, Foxalien machine, or a SainSmart Genmitsu CNC frame (including LE5040) you can easily upgrade it with Endurance accessories.
Assembling an ortur 2 engraving machine and installing an Endurance 10 watt Delux laser
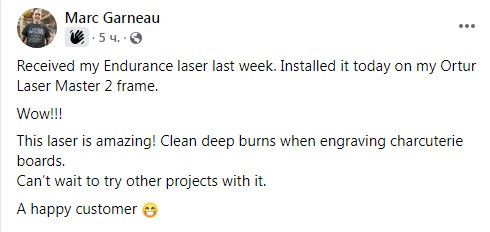
Endurance customers install and share
An Endurance DPSSL head installed on an Ortur Frame
Etch, engrave, mark all types of metals without engraving paste!
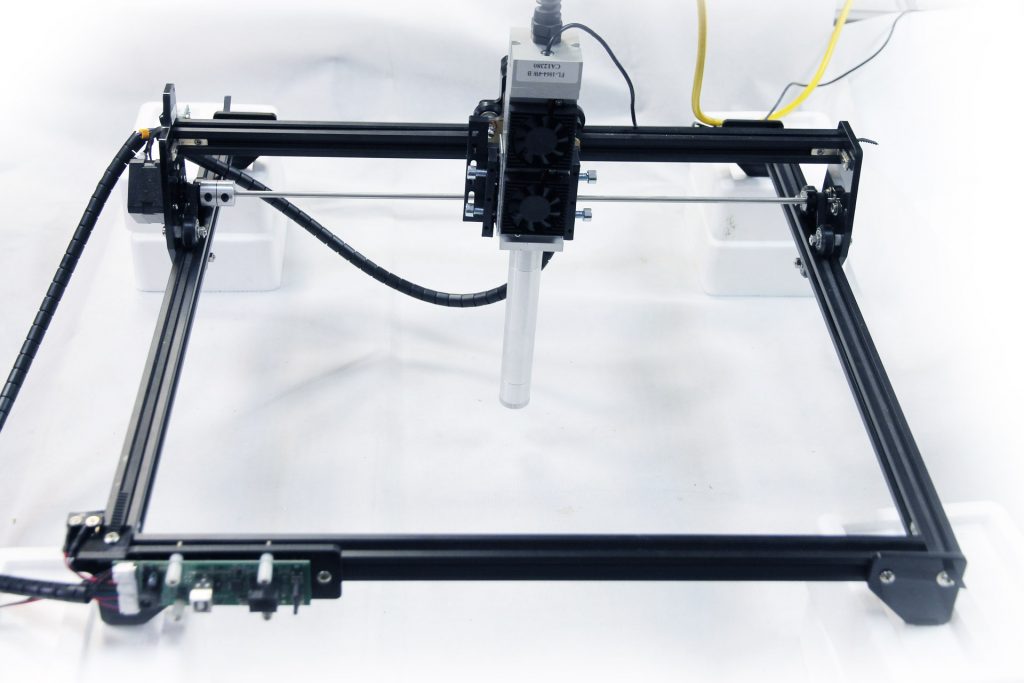
Air nozzle ver 2.0 on Ortur laser
Upgrading Chinese lasers with an Endurance air nozzle ver 2.0. A full guide.

Yes, you can upgrade your bad Ortur laser with Endurance lasers >>>
An unknown problem with PWM on the Sain Smart diode laser with (Genmitsu) 5500 mw power output – a PWM input (duty ratio) does not change laser power correctly
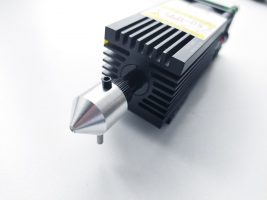
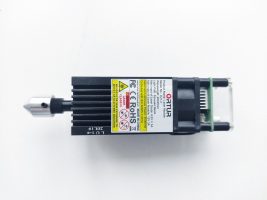
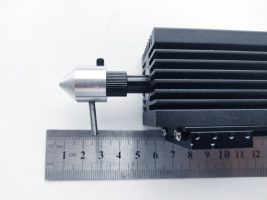
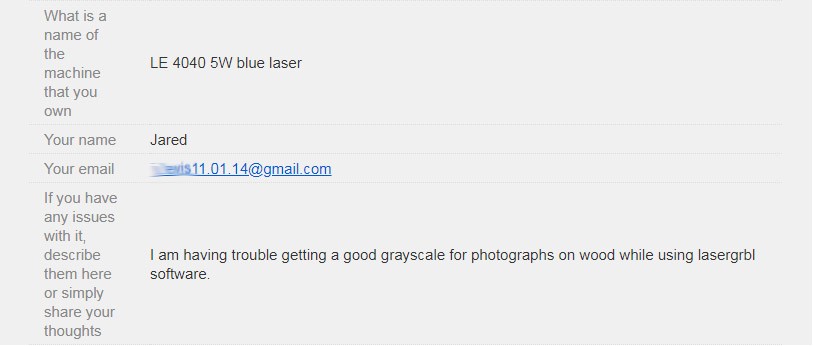
A real customer review about greyscale laser engraving with LE 5040 laser module

Our website visitors complaint about Ortur lasers and that is why they come to explore Endurance lasers


Comparing 2 diode lasers
1. Laser lens pack
There are 4 types of effective lenses that can help you do accurate engraving and efficient laser cutting.
The 3 element lens is a universal lens with a long focal range.
G2 is a short focal laser lens effective for cutting and engraving. It allows you to get the smallest laser beam spot.
G7 is a lens for cutting and engraving and it has a bigger focal depth comparing with the G2 lens
G8 is a lens that can be used for cutting and engraving on a medium-range from the surface.
Learn more about laser lens pack
All you need to know about a laser beam focusing
Laser beam focusing. All you need to know how to make the best laser beam focus!
Order on our online store >>>
Laser lens pack for diode lasers
2. Air nozzle
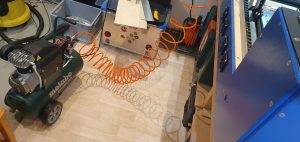
An Air nozzle and an air assist is a necessary accessory for effective laser cutting for soft materials like wood, plywood, cardboard, paper, acrylic, leather, etc.
We recommend using an air compressor with at least 35-40 watt power and at least with 60-70L / min capacity.
With an air assist, you can get a very clean cutting edge and the cutting process will be faster
A universal fully 3D printed mount for air nozzle ver 1.0 (compatible with Ortur, Endurance, Eleksmaker, Neje, Atomstack, Foxalien machine and other lasers)
Endurance lasers can be easily fit an ATOMSTACK Laser Engraver, A5 20W Laser Engraving Cutting Machine.
Download our free STL files >>>
It is very easy to upgrade your current laser with our air nozzle
Ortur laser review (LM2)
Learn more about wood / plywood laser cutting.
Order on our online store >>>
An Endurance air nozzle. Ver 2.0 – improve your laser cutting abilities
3. Airtight chamber (clean cube)
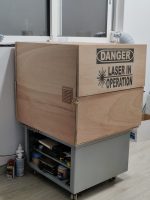
A very useful thing for indoor cutting and engraving. Keep in mind that if you need to cut or engrave on plastics like vinyl, ABS, PVC, and others – you need an airtight camera to make sure that the hazardous gas will not harm you.
Check about laser cutting guidance
Learn more about our airtight box (sealer chamber)
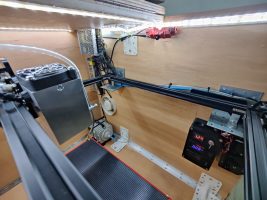
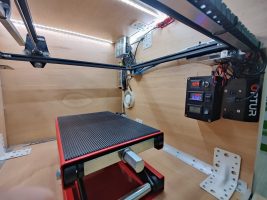
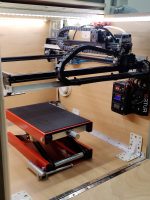
An Endurance airtight box (sealed chamber) for laser cutting-engraving and other experiments.
Tested and compatible
If you need a real laser power output – you are welcome to explore our laser attachments
Made by Jos van Hoff
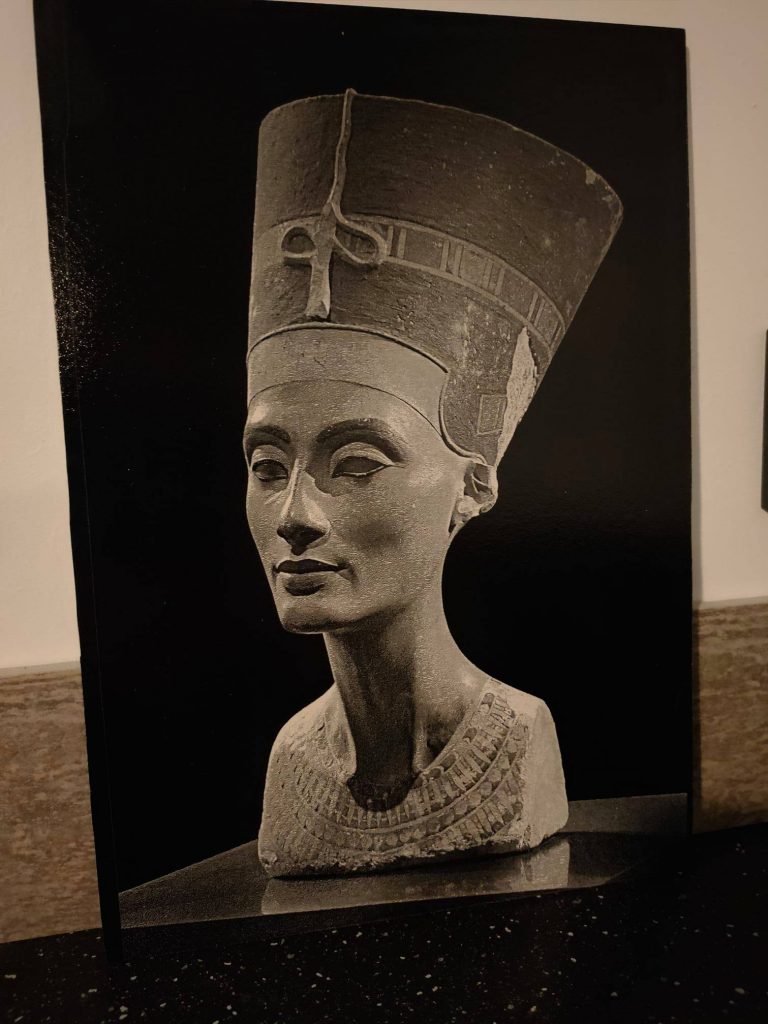
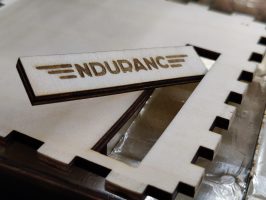
“My project from today, Engraved on a piece of white trespa. 243x347mm .1 layer of white acrylic lacquer and 1 layer of black acrylic lacquer Engaveed with the Endurance 10w Delux on my OLM2.Settings:Speed: 4000 mm/minPower: 75%Air assistEngraving time ~3 hrs.”
use 2 pin connectors like this for laser wiring
Option 1 | Option 2 | Option 3 | Option 4
Review and an inspection of 5500 mW (5.5 watt) Ortur laser blue laser module
Listen to an audio podcast about diode lasers with Alan Joyce
The truths about buying cheap Chinese lasers.
Finally had a chance to build my engraving workstation.The 10 Watt laser SE “DeLux” is working great. Waiting on a G2 lens to do some metal engraving. I did rewire the laser setup. Just did not work for me being permanently wired. Appreciate all the info shared that makes DIY possible. It is very rewarding in the end.
URGENT – about Ortur defective mainboard
The defective board has some voltage on the PWM pin even when the laser board is not powered and only connected via USB from a computer. That turns on the Endurance laser on full power.
How to connect your Endurance laser to the Ortur Laser Master and Laser Master 2
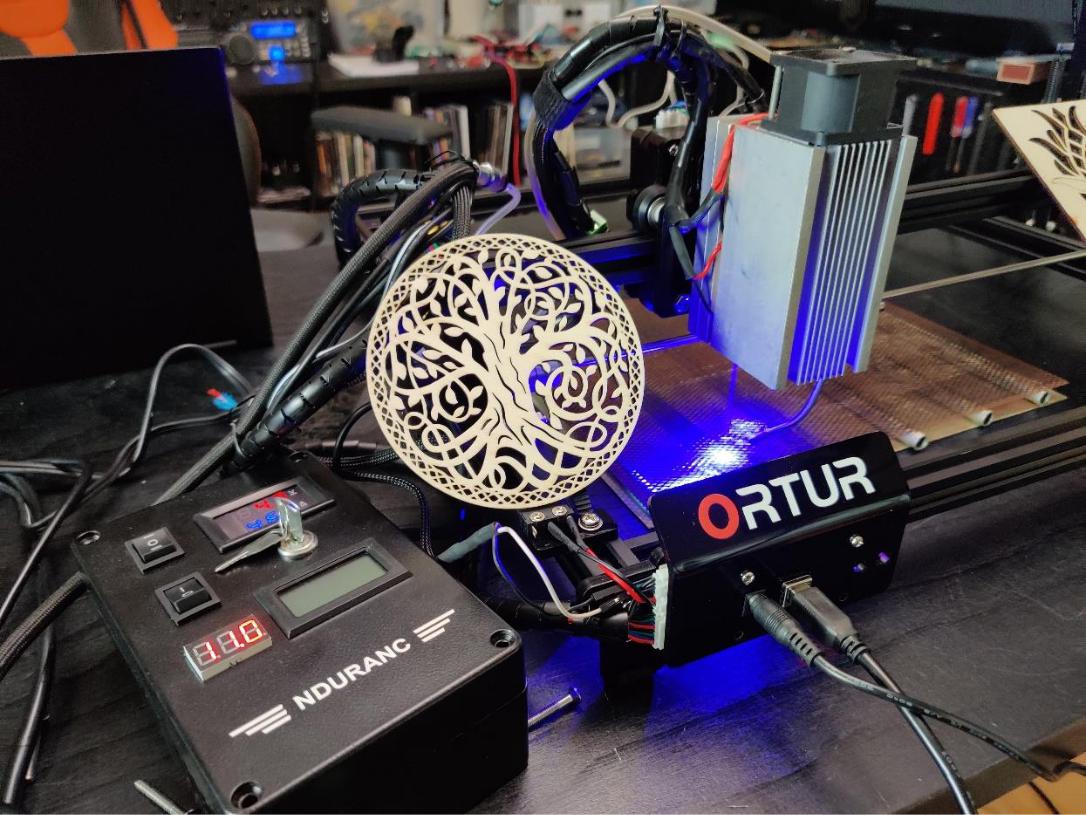
If you just bought your first Laser from Endurance, welcome! This guide will show you how to connect your Endurance Laser to the Laser Master machines from Ortur.
Before we begin
What you need
- Ortur Laser Master
- Endurance Laser
- Bolts, Nuts, Washers, Spacers
- Some wire
- Heatshrink or electrical tape
- Opt. 3pin Connector
- Zip-Ties or Velcro straps
Tools required
- Screwdriver
- Drill and drillbits
- Optionally a soldering iron
Safety
Make sure to always wear appropriate safety equipment. Especially whenever the laser is turned on, it is paramount to wear protective glasses.

Compatibility
Generally, the Laser Master is compatible with all Endurance Lasers. However, if you have the original Laser Master, which is only supported on one side, some of the higher powered models will need extra bracing, as the higher weight would cause the machine to tip over.

Mounting the Laser
Step 1:
Unplug the cable harness of the default laser unit and remove it by unscrewing the 3 or 4 domed nuts and taking out the screws securing the laser from the back.

Step 2:
Mark the new mounting holes by measuring or using the stencil below (Make sure to print at 100% and check the dimensions after printing). You want your laser to sit roughly at the same height as the stock laser, however, the exact location doesn’t matter too much. Just make sure that it is centered.
You can then use a 3mm or 1/8in drill bit to drill the new holes.
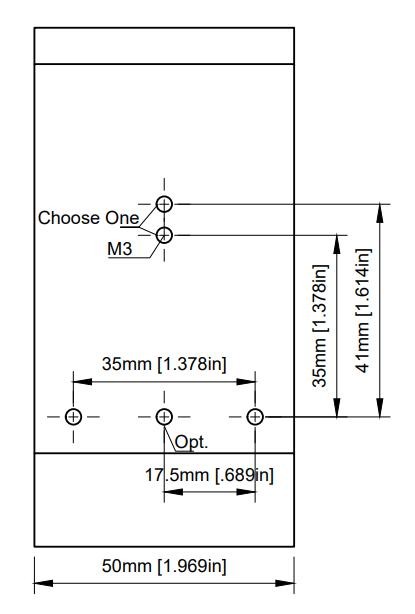
Step 3:
Mount the Endurance Laser to the acrylic. Most likely you will have to use some spacers so that you can still put the domed nuts back on, as the Endurance laser is a bit wider compared to the default unit. To reduce the height of the spacers needed, you can also use regular nuts instead of the original domed ones. As spacers can either use plastic/metal spacers, or some oversized nuts and washers will also work in a pinch.

Step 4:
You can now mount the acrylic plate back on the Laser Master using the domed nuts. You can then test if the laser can move everywhere without interference. Depending on which Endurance Laser model you are using, the decorative cover with the Ortur logo may prevent the laser from going to its home position. If this is the case, you can either remove this panel entirely or cut off the upper part, as it is purely cosmetic.

If you are using the Laser Master model that is only supported on one side, you can also test at this point if you need to add some extra bracing to the feet to prevent it from tipping. The easiest option would be to just screw some small wooden planks to the feet, enlarging them and preventing it from tipping.

Wiring up the Laser
Depending on your skill level of working with electronics, you can either extend the existing wiring or solder directly to the controller board.
Step 5:
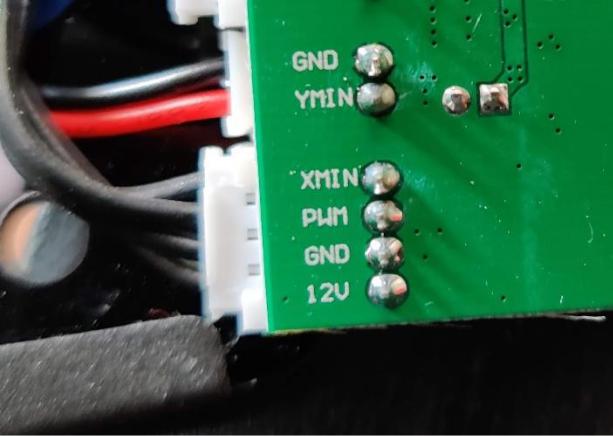
As the Laser Master uses the same connector for the X limit switch and the PWM signal for the Laser, we can’t plug the Endurance Laserbox directly into the Laser Master control board.
Option without soldering
What we can do, however, is to use some wires to extend the connector that was plugged into the default laser. This creates some extra wiring mess but is the least intrusive way to get the PWM signal to the Endurance Laser controller.
PWMGND +12V

Option with soldering
Do this option at your own risk. The cleanest way to wire up the Laserbox is to solder some wires to the PWM and GND pins on the back of the Ortur controller board. The pins there should be labeled, so it is quite straightforward. You can then just leave the connector plugged in and the X-axis limit switch will continue to work as normal.
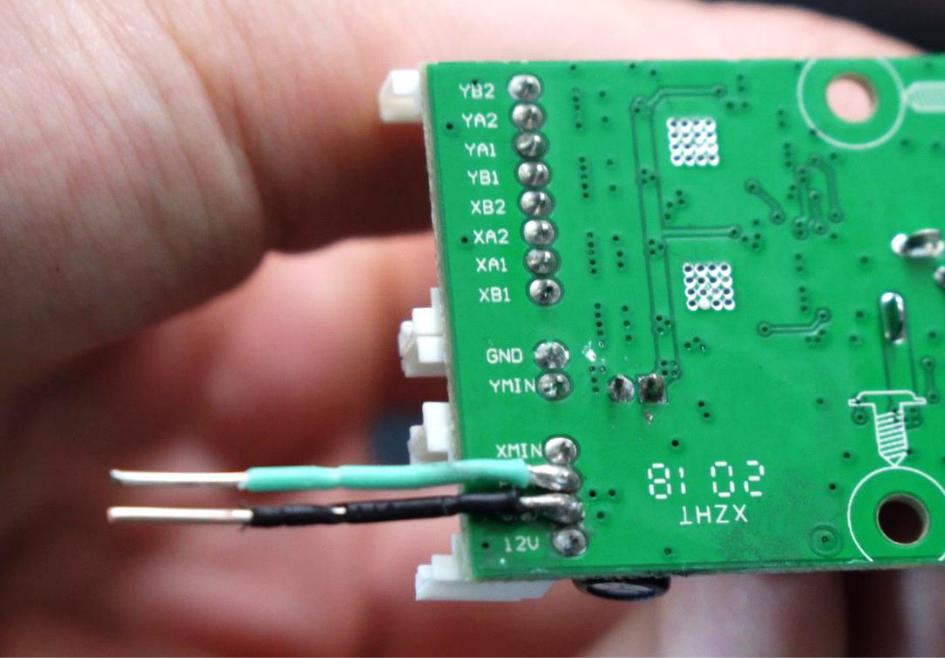
Connecting to the LaserBox
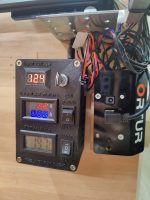
Depending on which Endurance Laser version you have, there are a few different controller box types. However, requiring a PWM signal to control the laser power. You want to connect ground (GND) and PWM of the Laser Master to the Endurance controller box.
You can either solder these connections or use screw/clamp connectors. Just make sure to use heat shrink or electrical tape on any exposed wires to prevent them from shorting.
If you have the Laser Box with two different PWM inputs, use the black one and twist the two wires of the blue one together.
this one

PWM GND

PWM GND

Final words
You should now be able to control your Endurance Laser the same way you were able to control the default laser. If you have the problem where the laser is blinking when you try to turn it to maximum power, try setting the maximum S-value to 850 or 900 instead of 1000.
Questions
If you have any questions, feel free to contact us either with the live chat on our website or by joining our Facebook group.
Facebook: htps://www.facebook.com/groups/endurancelasers/
How to upgrade your CNC or engraving machine for the work with a Co2 laser tube.
How to install the 8.5W Endurance Laser on Ortur Laser Master 2 Pro
Endurance customers say about Endurance lasers & our tech support
Laser engraving using NEJE Master 2s — real customer experience
Testing 2 laser frames. Ortur vs. SCULPFUN S9. Exploring mechanical quality (machines review)
