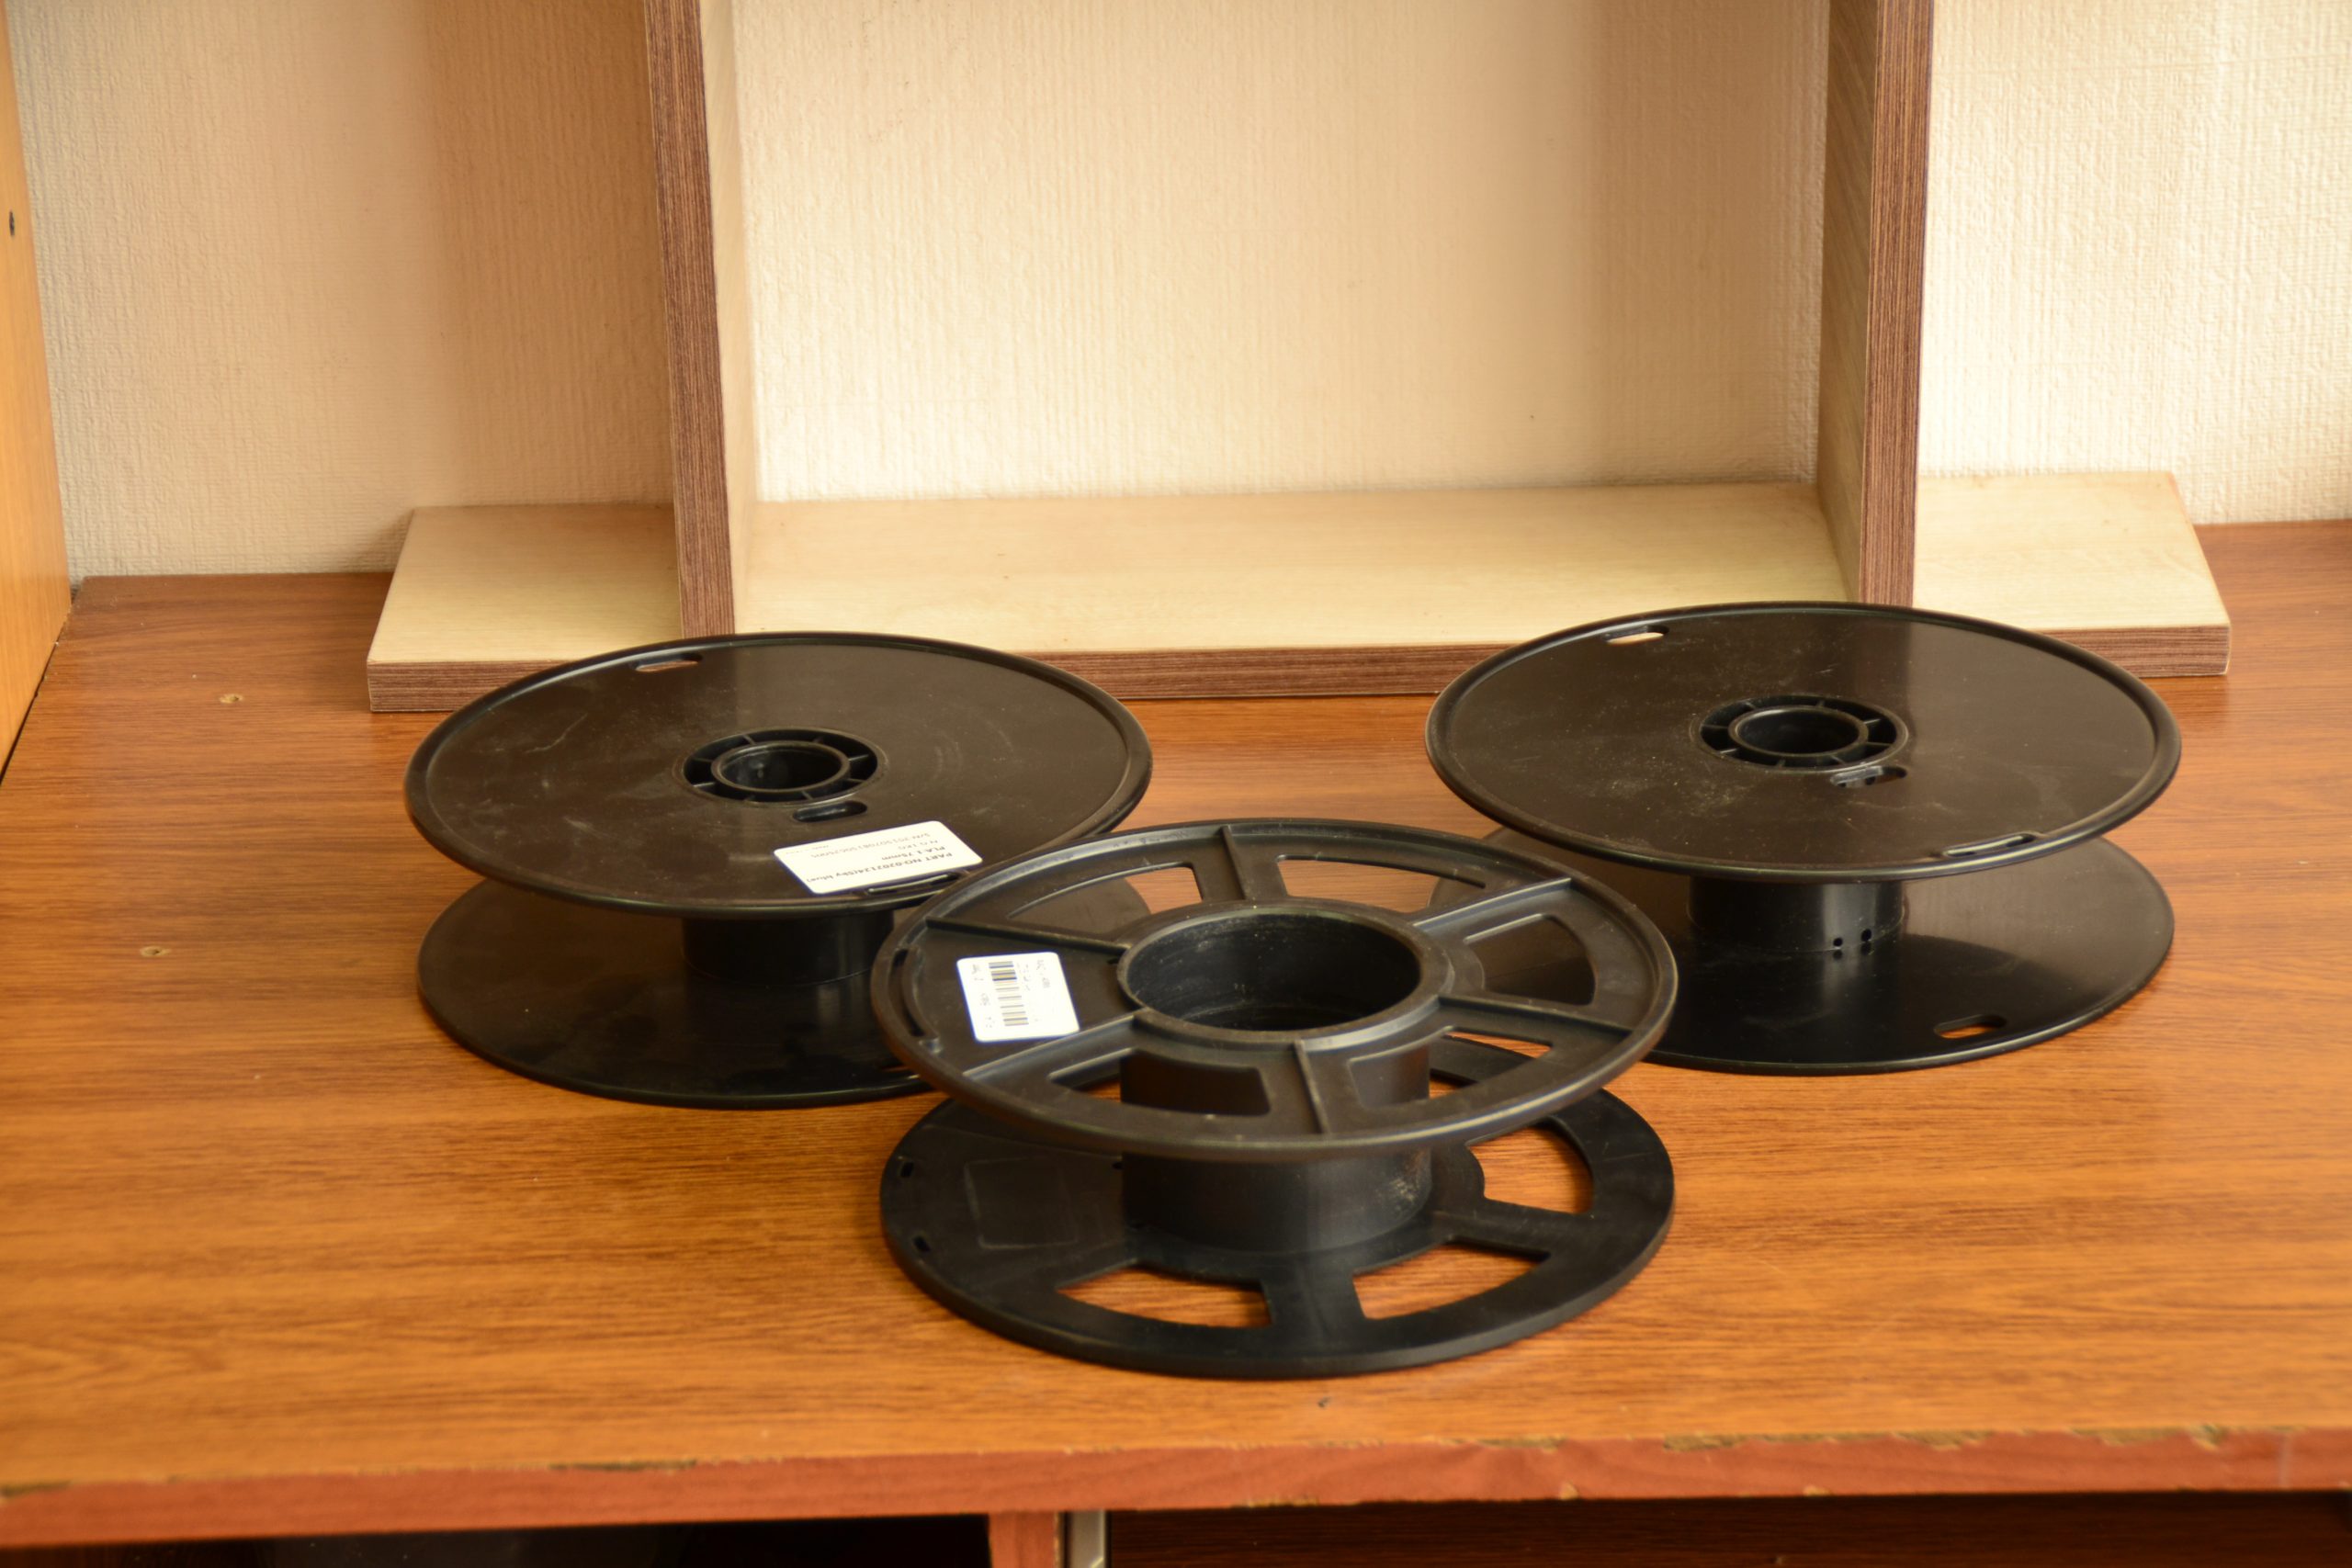
When using 3D printers, you always have empty PLA filament spools left. In this article, we’ll tell you how to give them a new lease on life. We’ll show how to transform them into household goods: a towel rack and a flower stand. To make them look beautiful we’ll decorate their sides with textile cut-outs.
Sketching
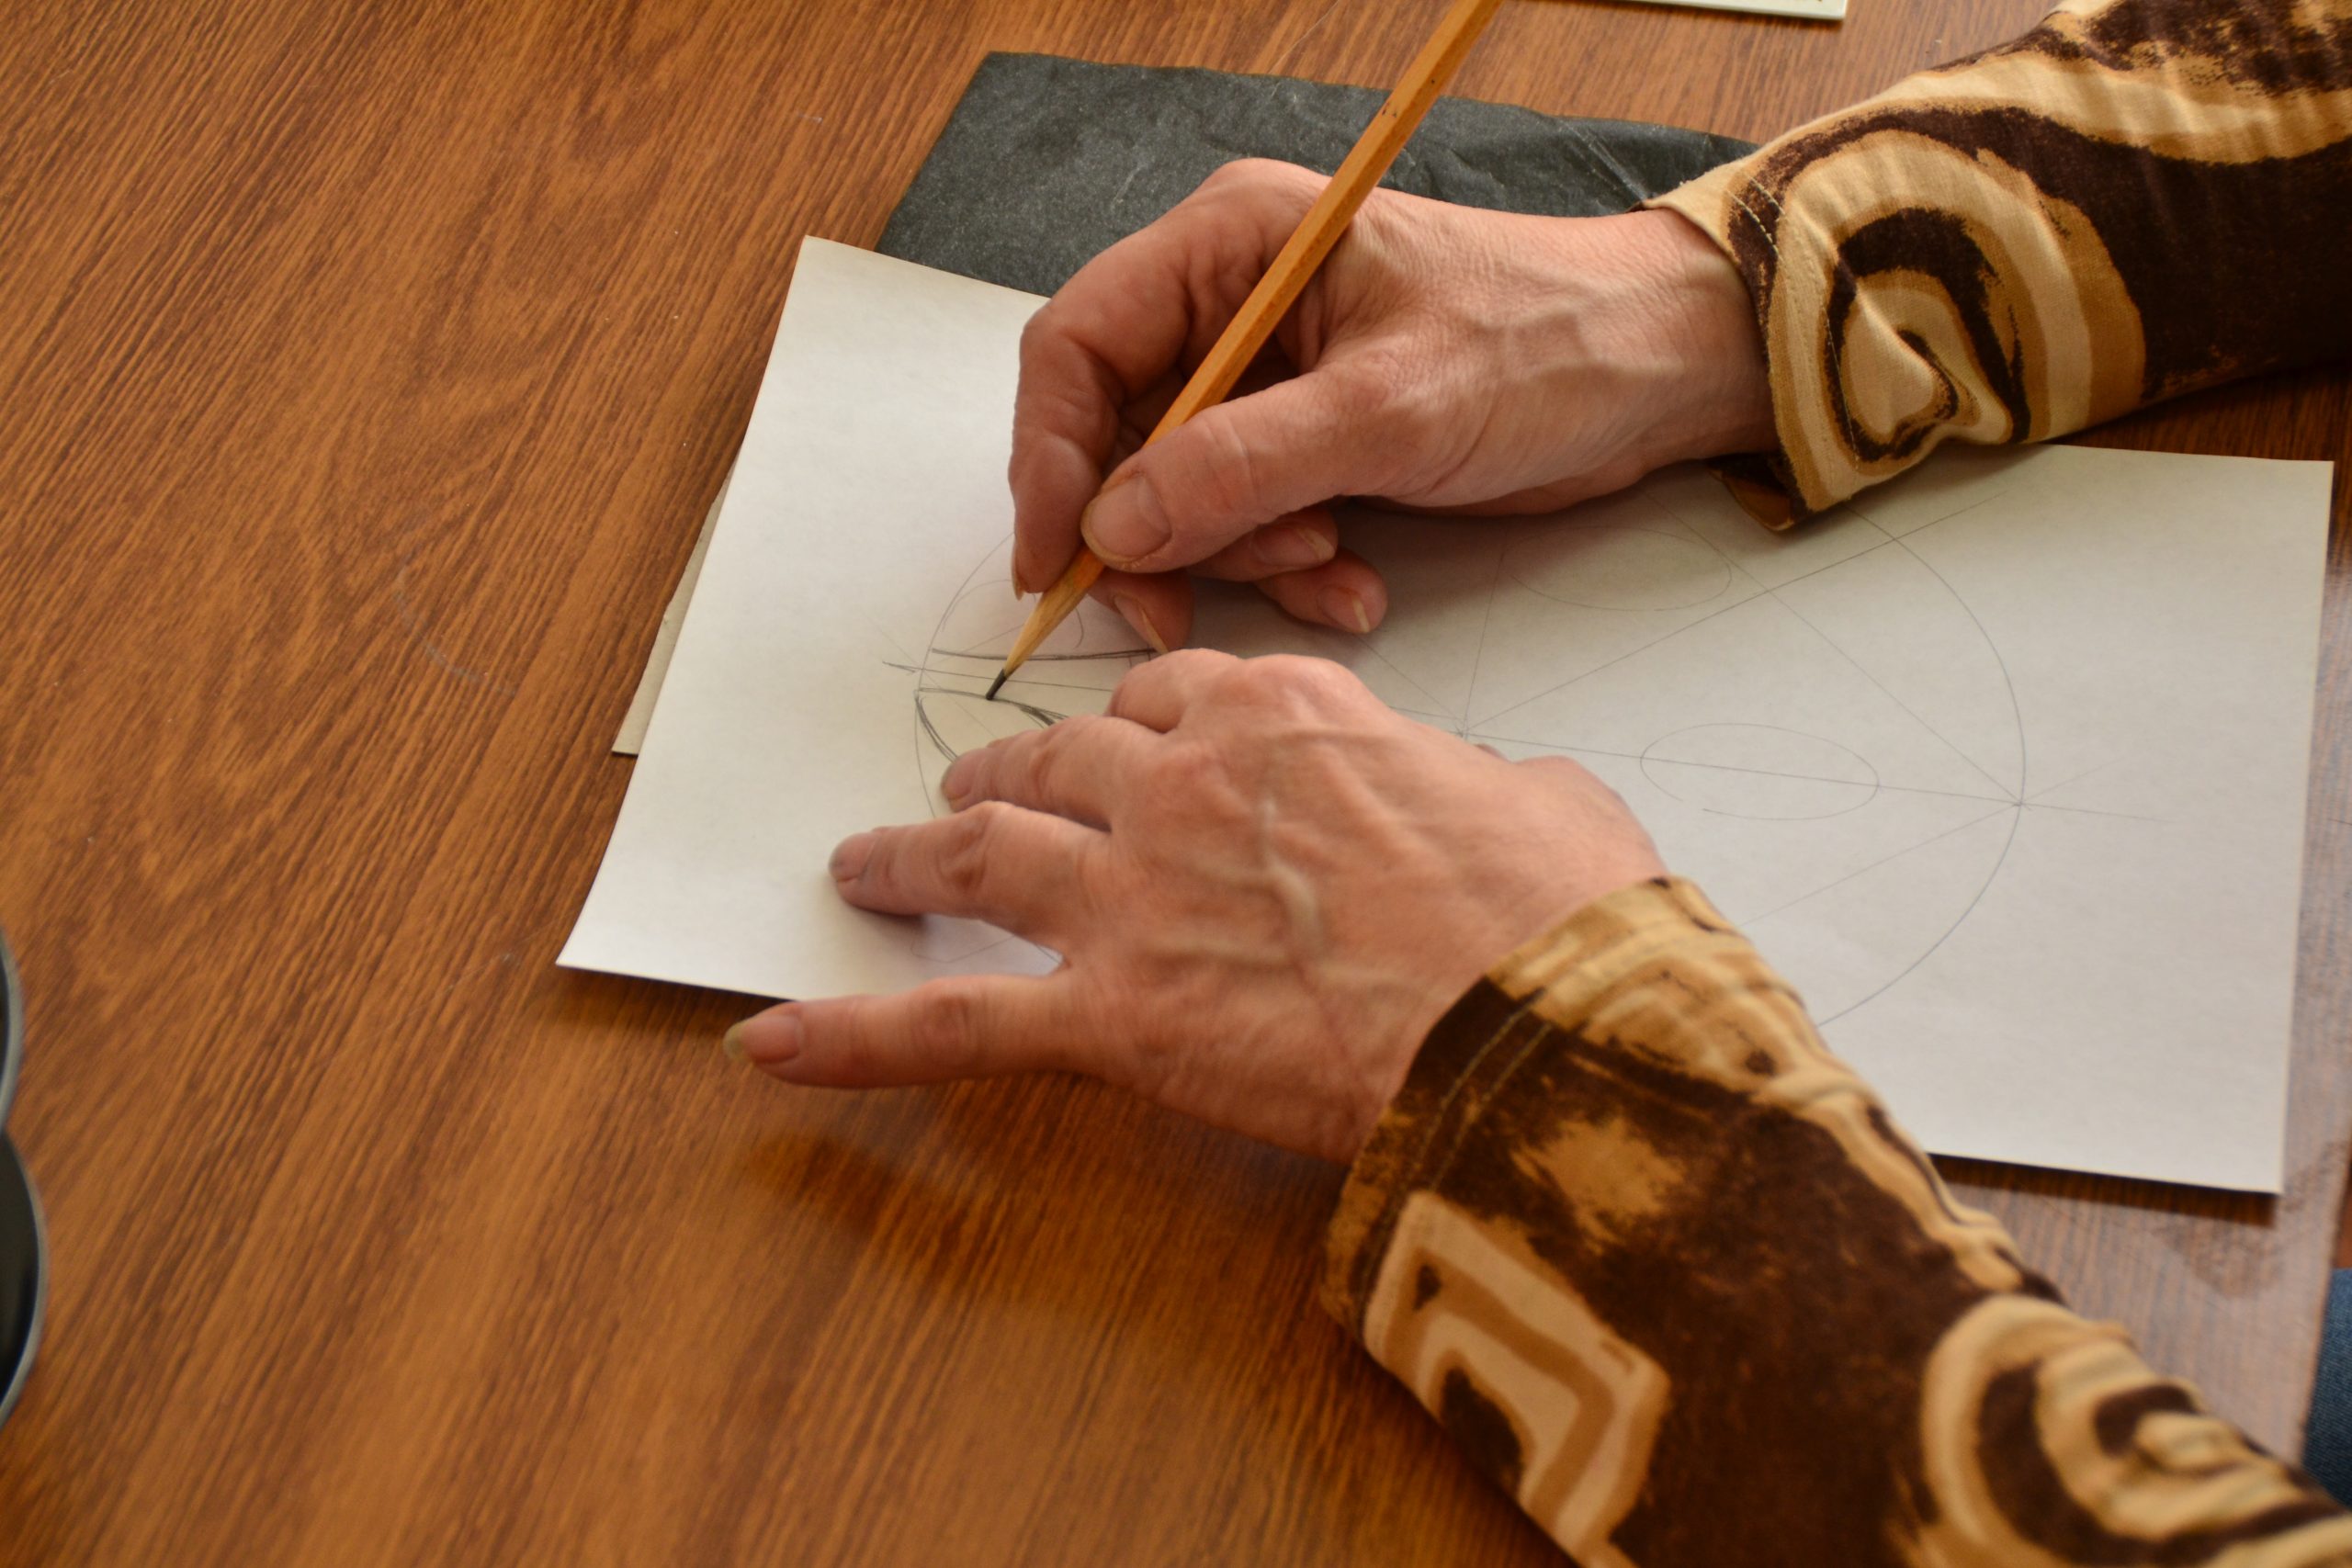
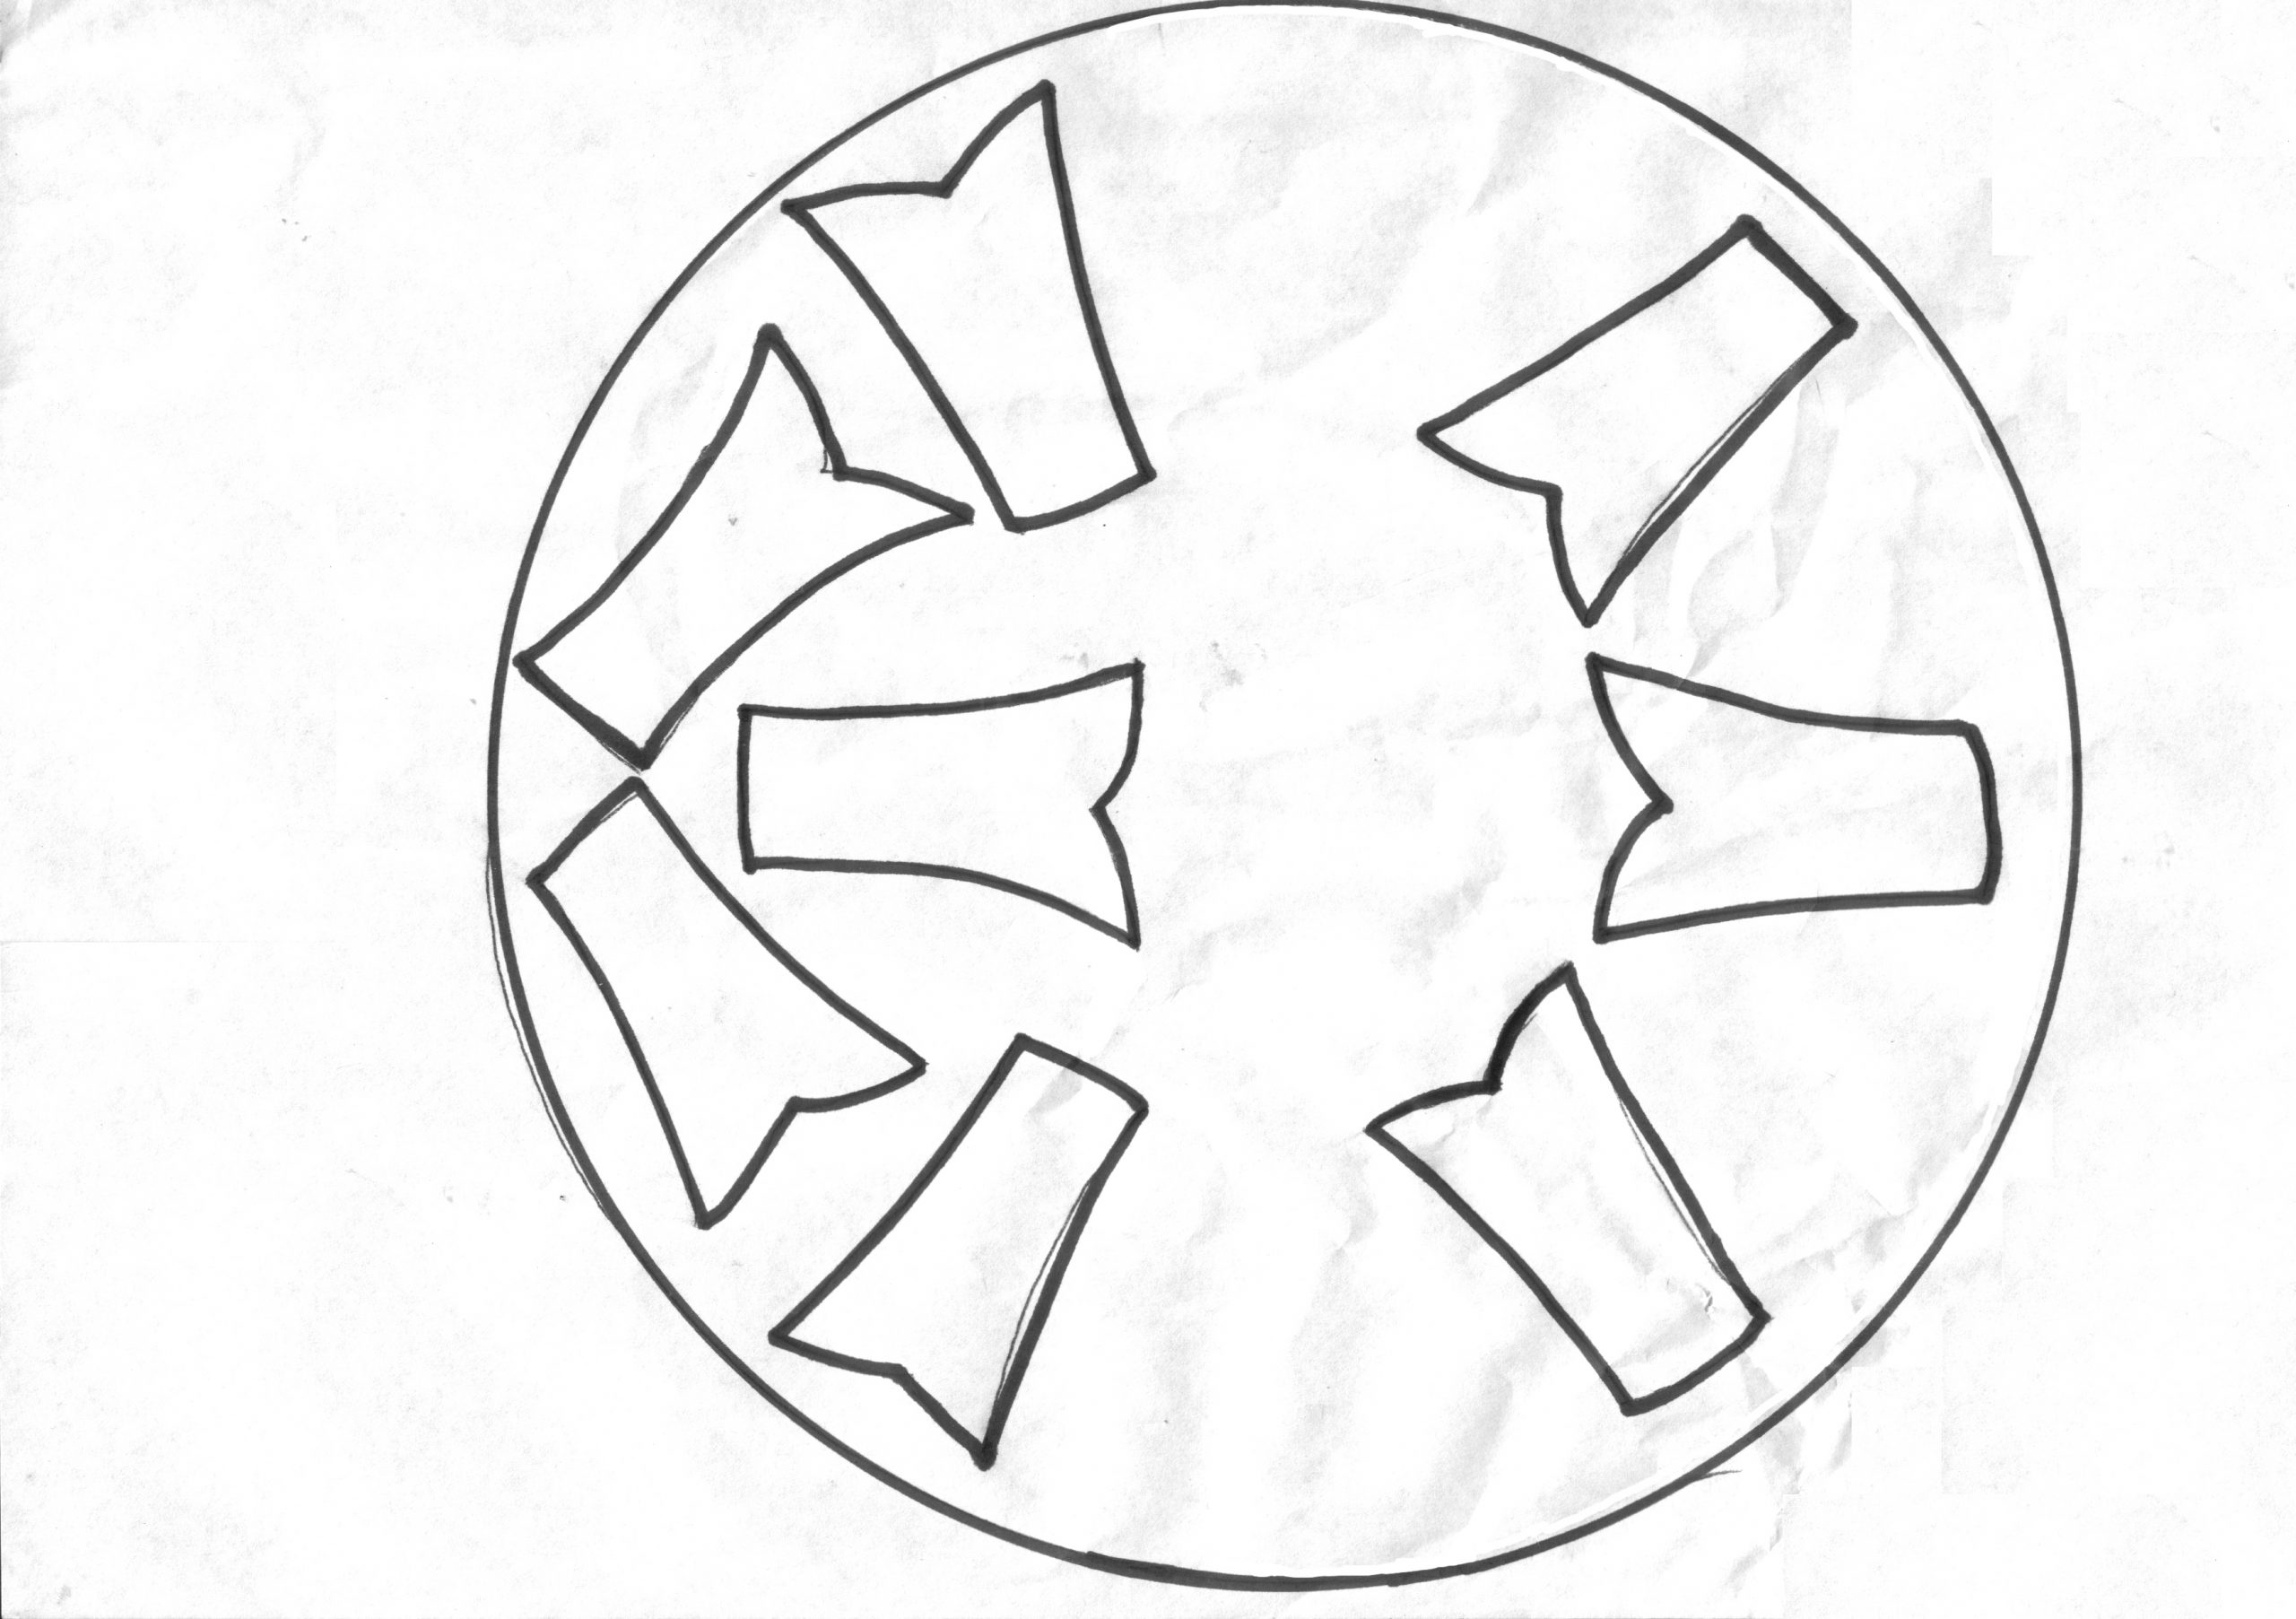
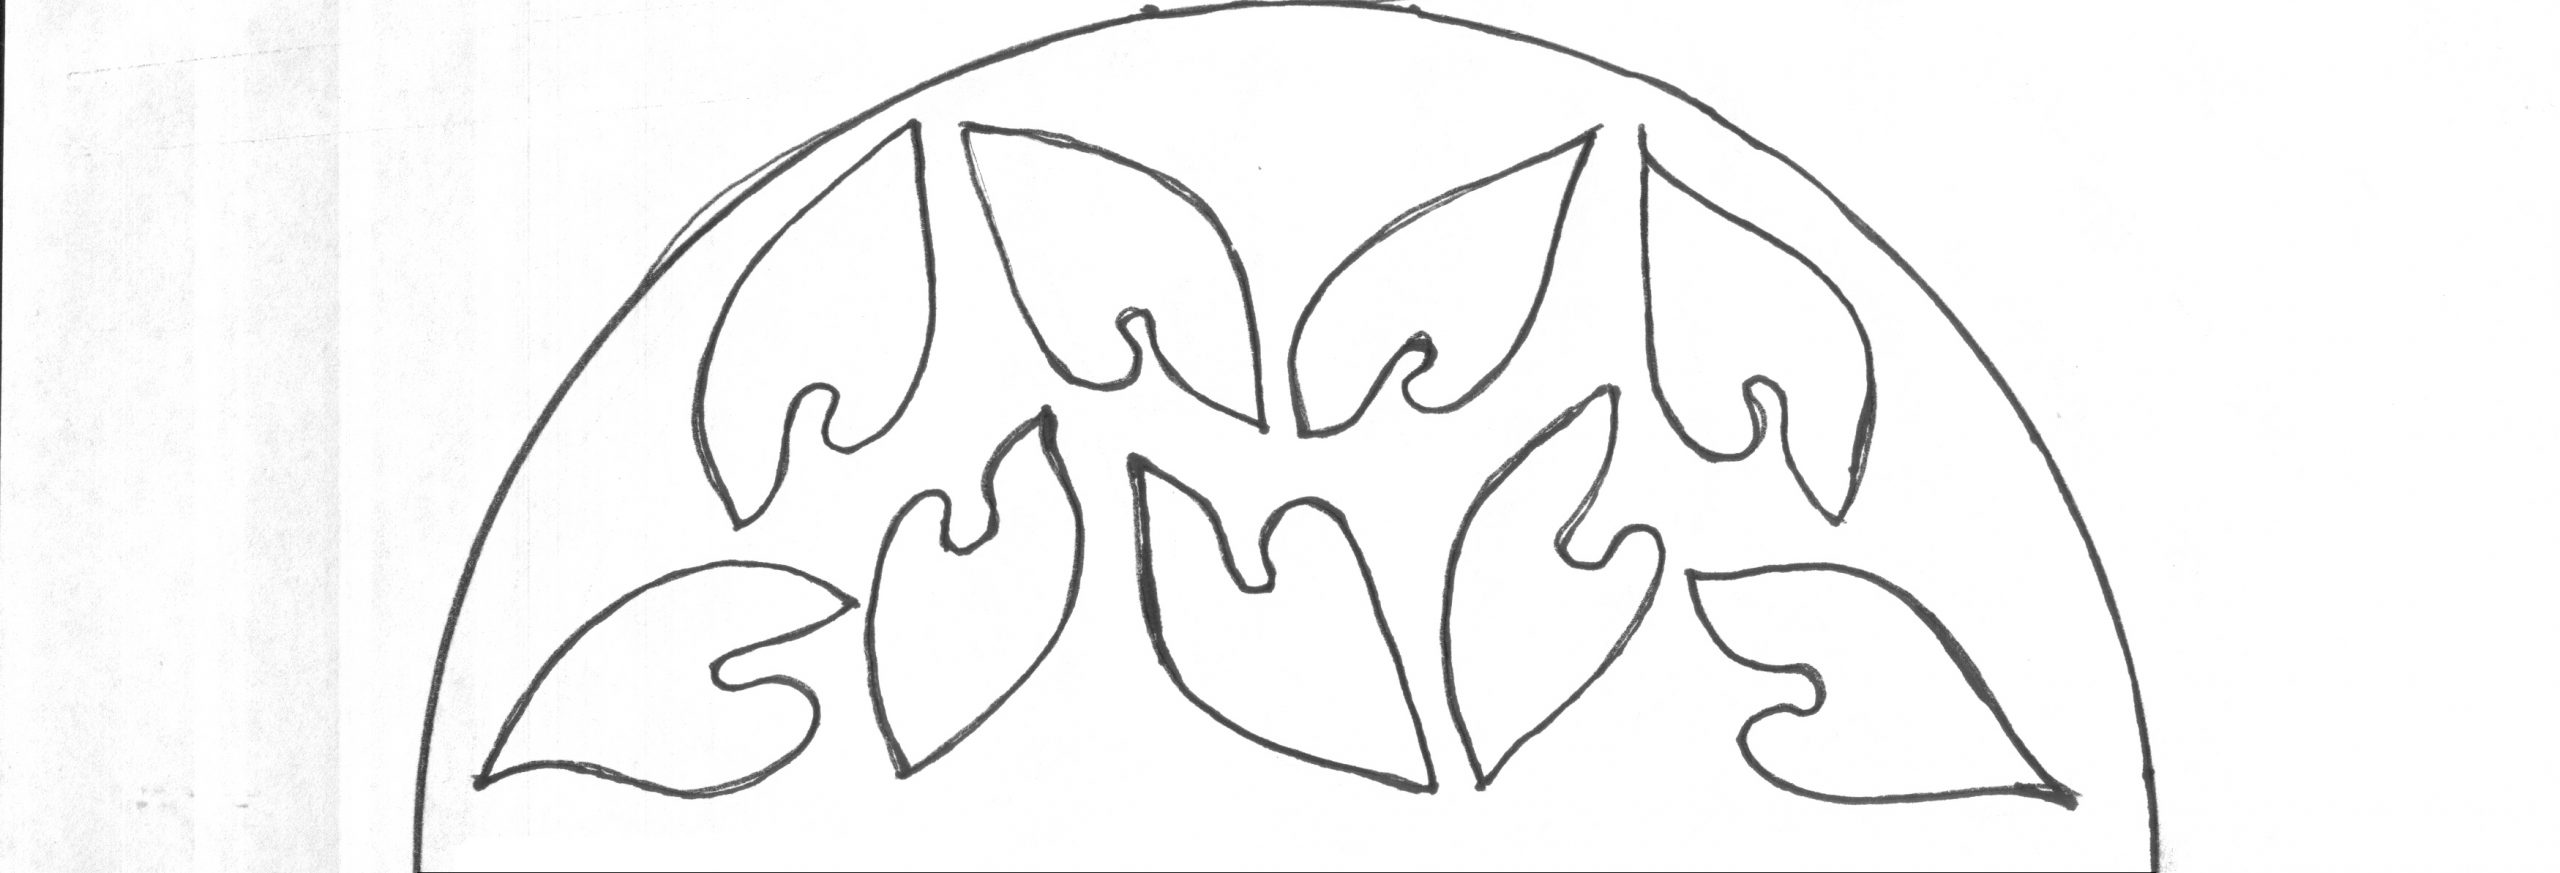
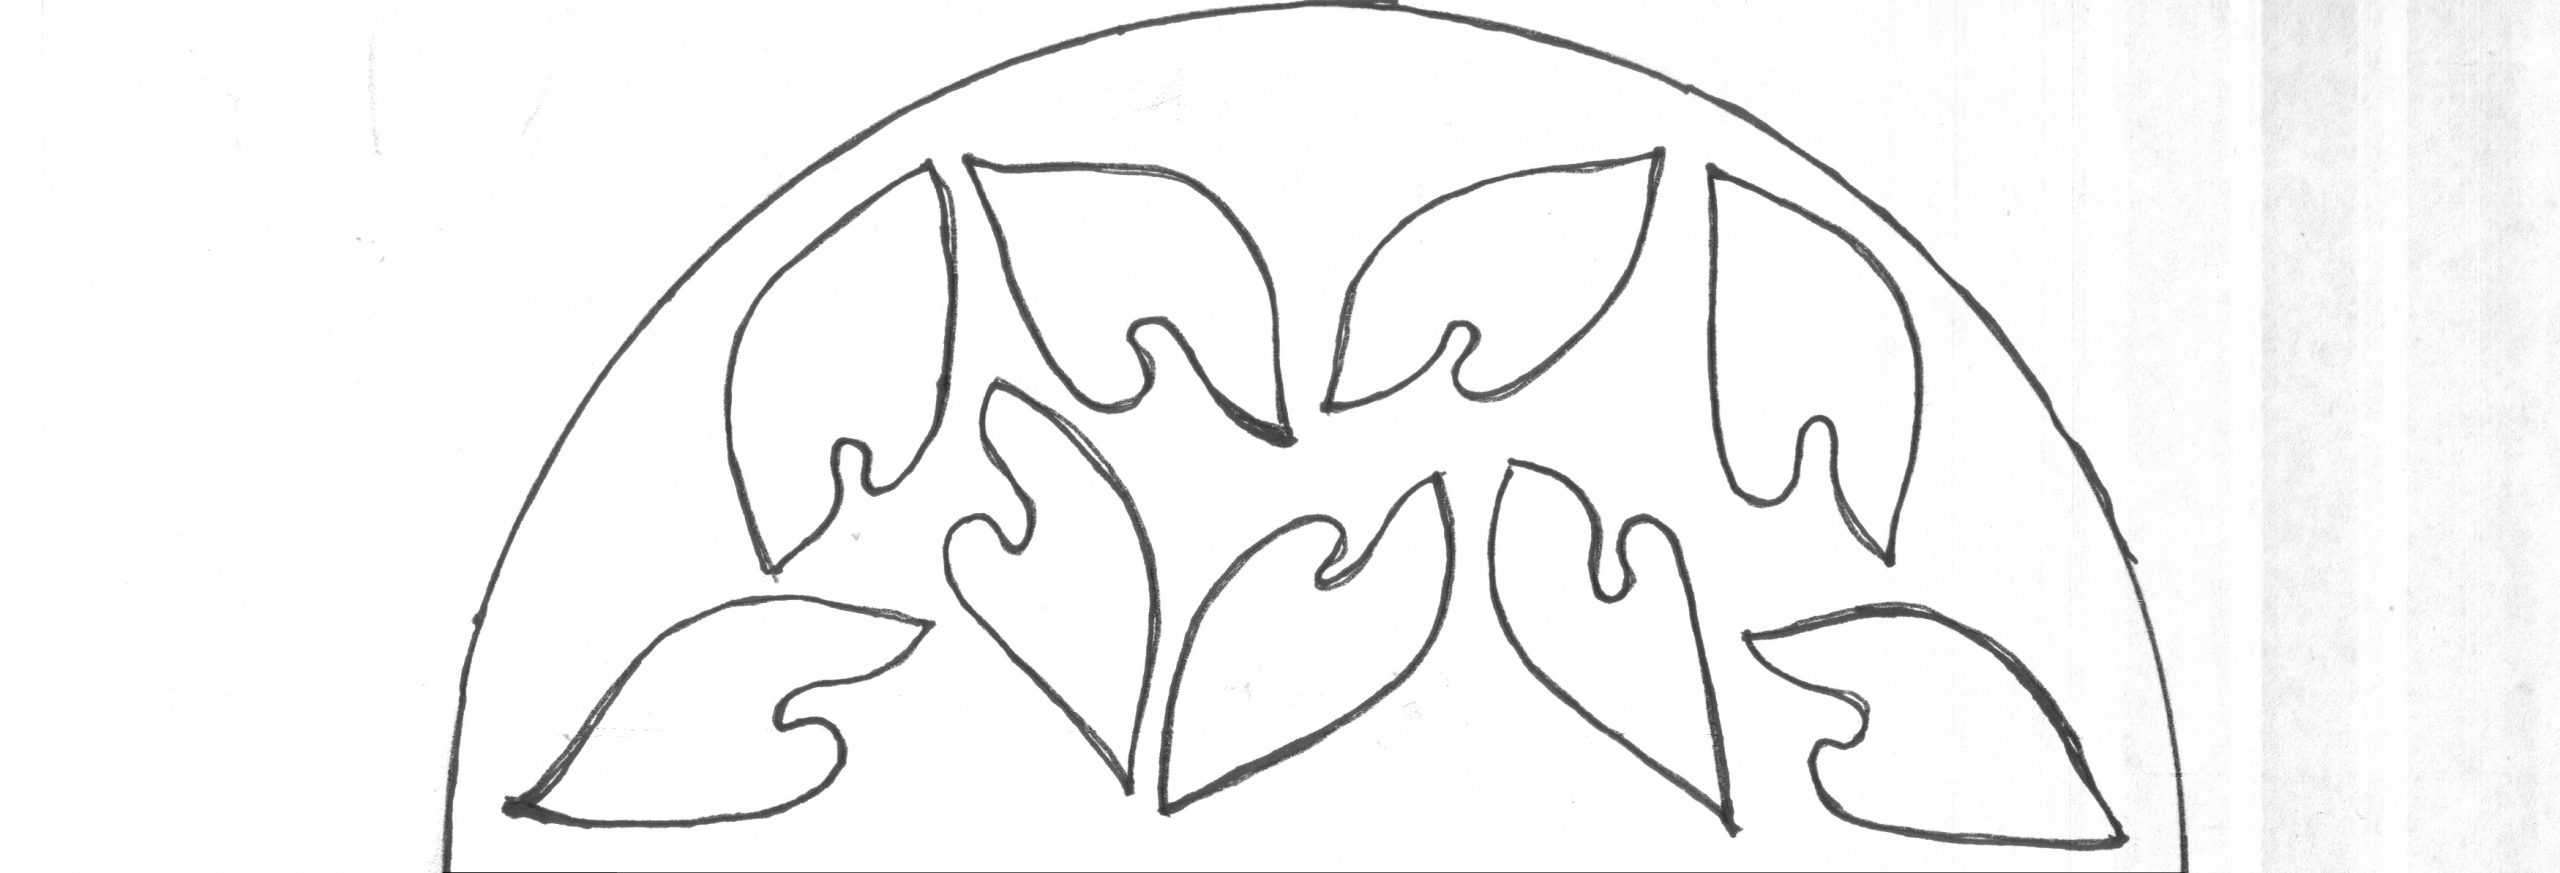
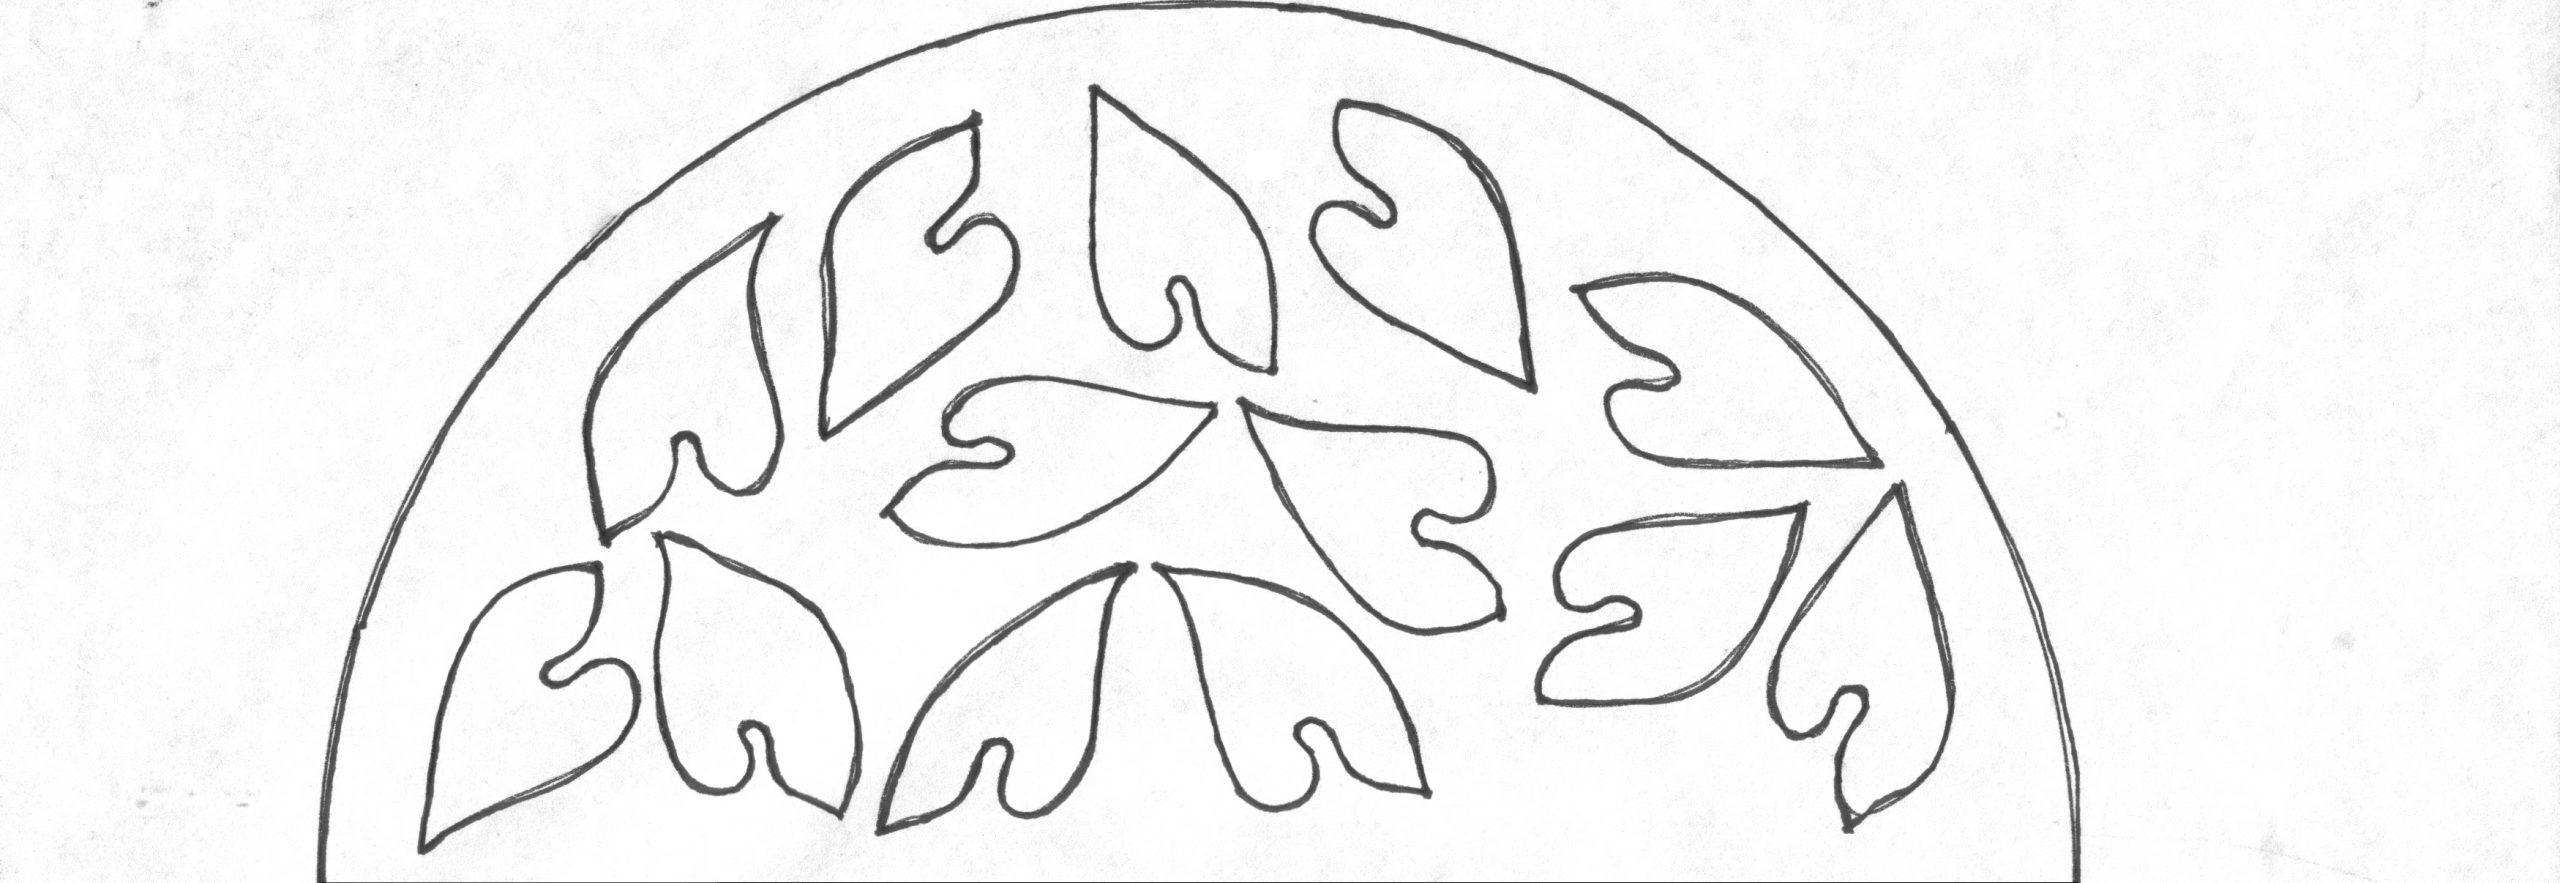
To begin with, we draw up an outline of the decoration pattern.
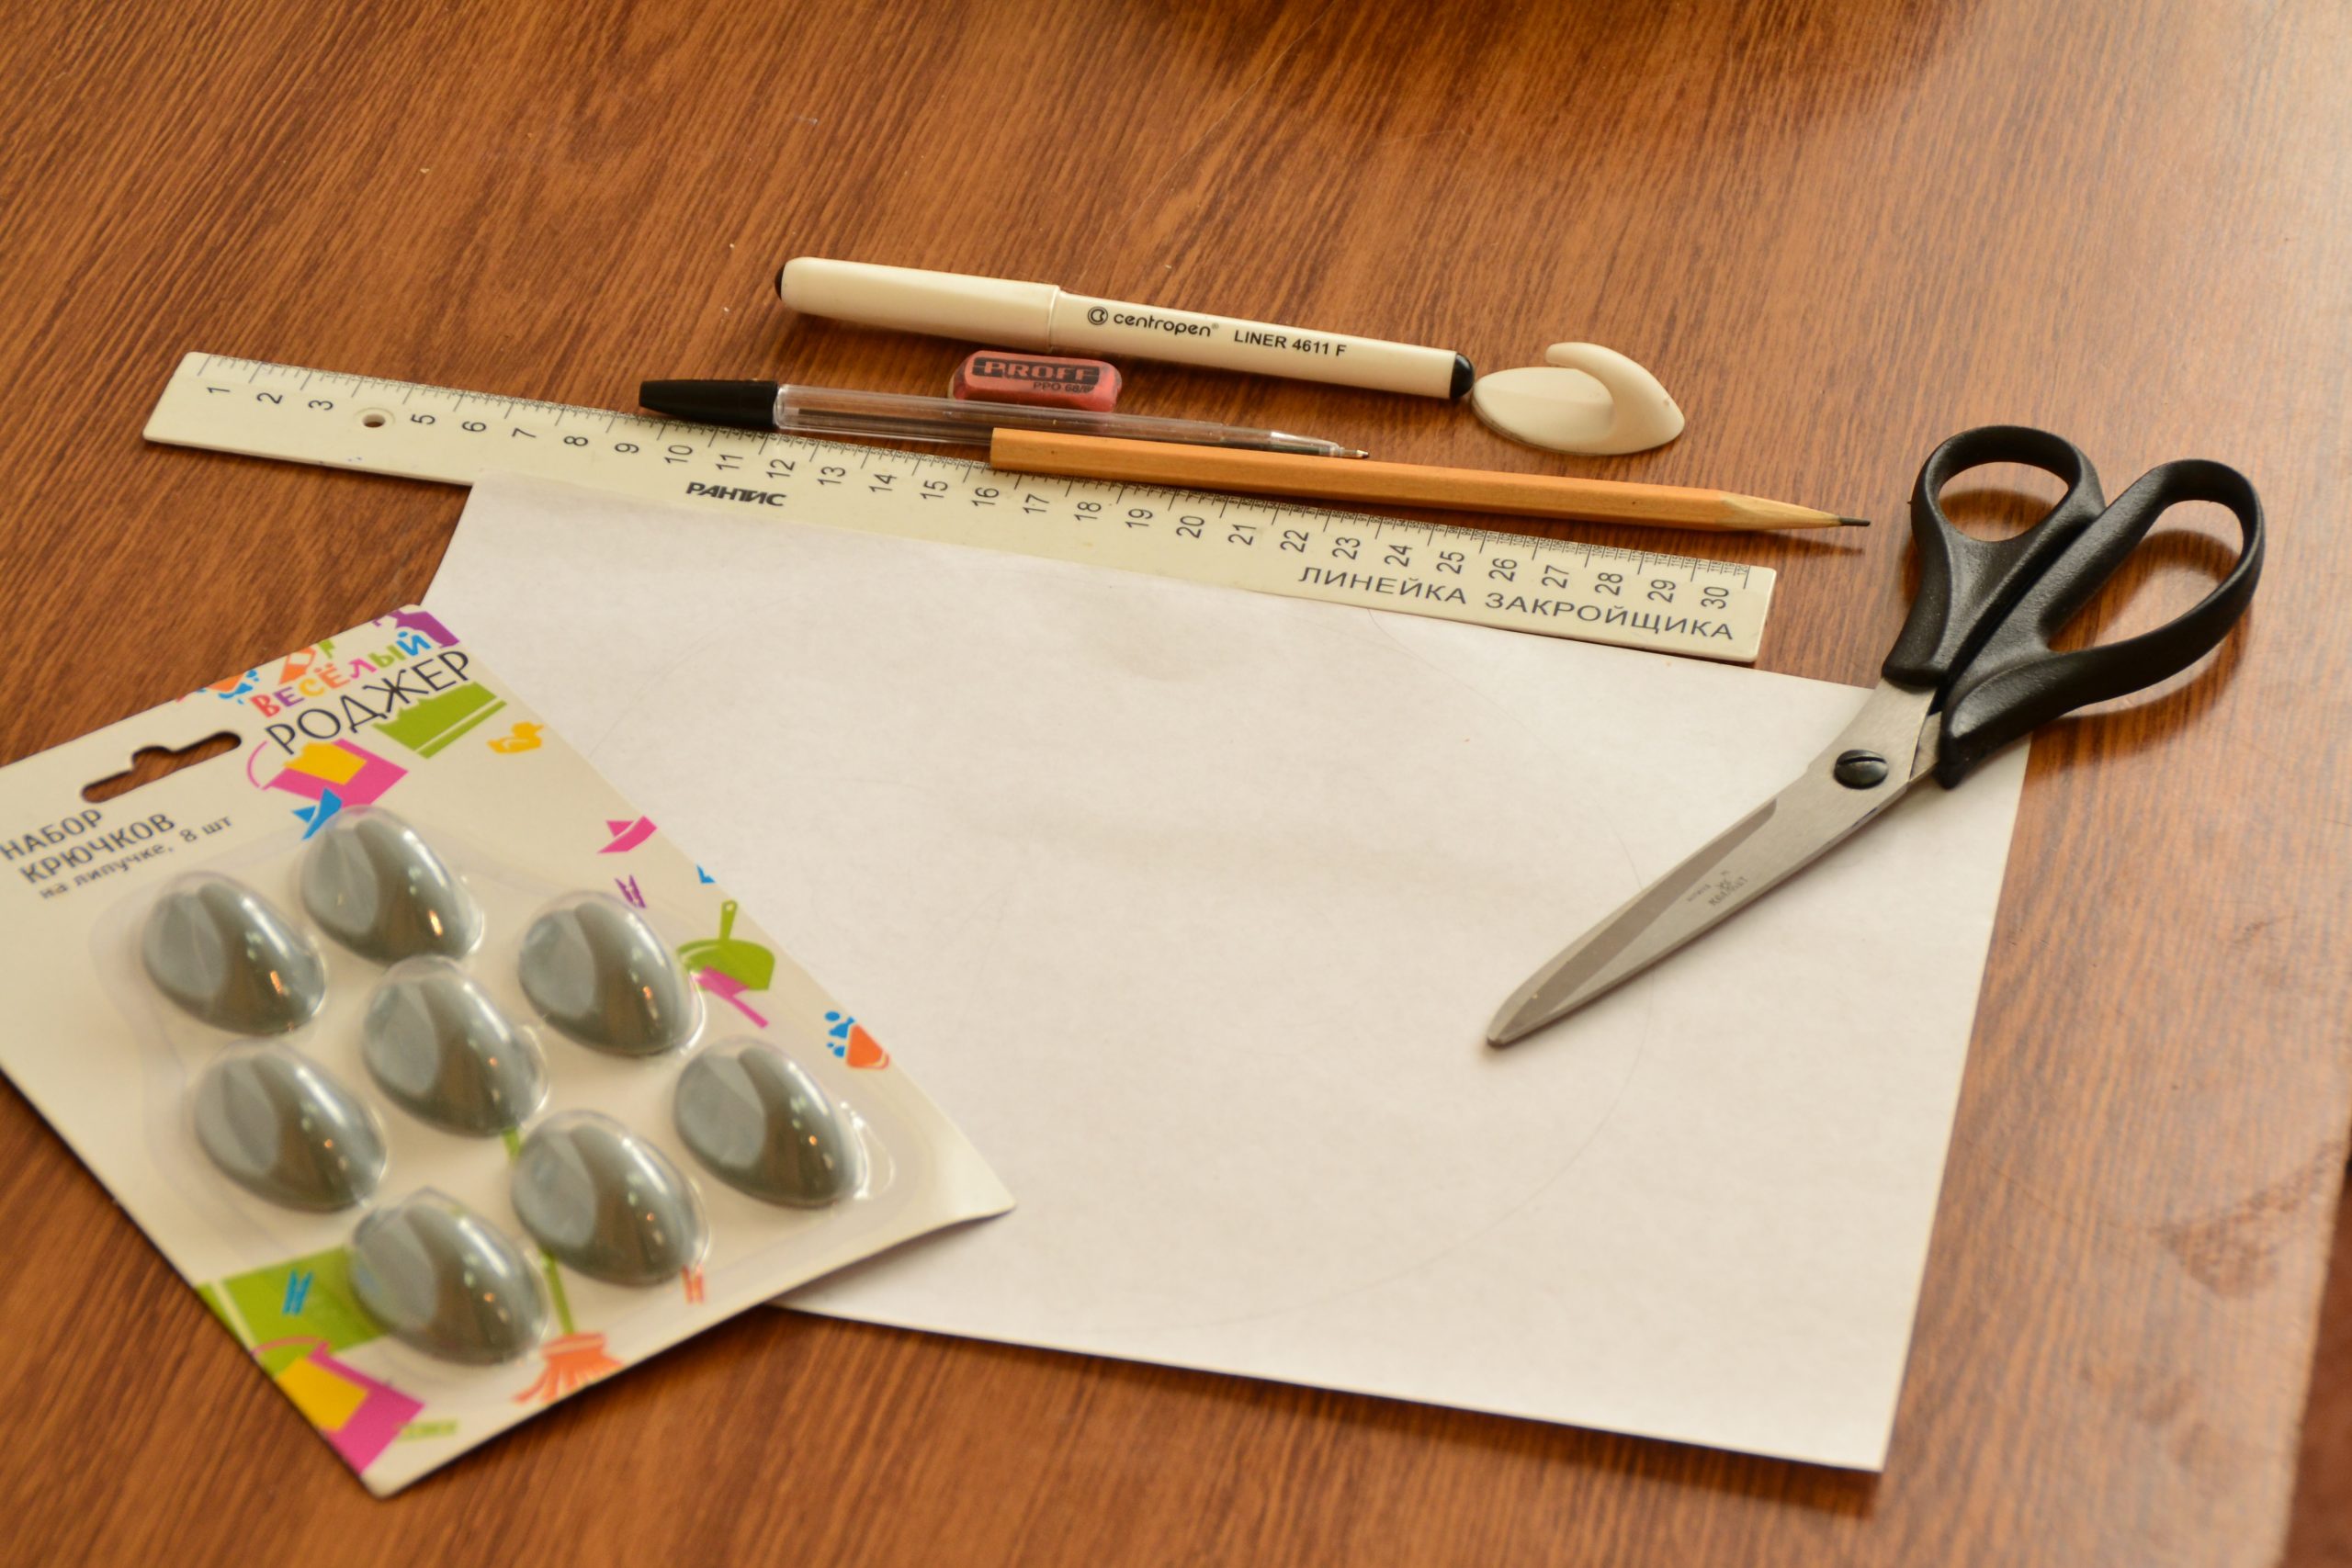
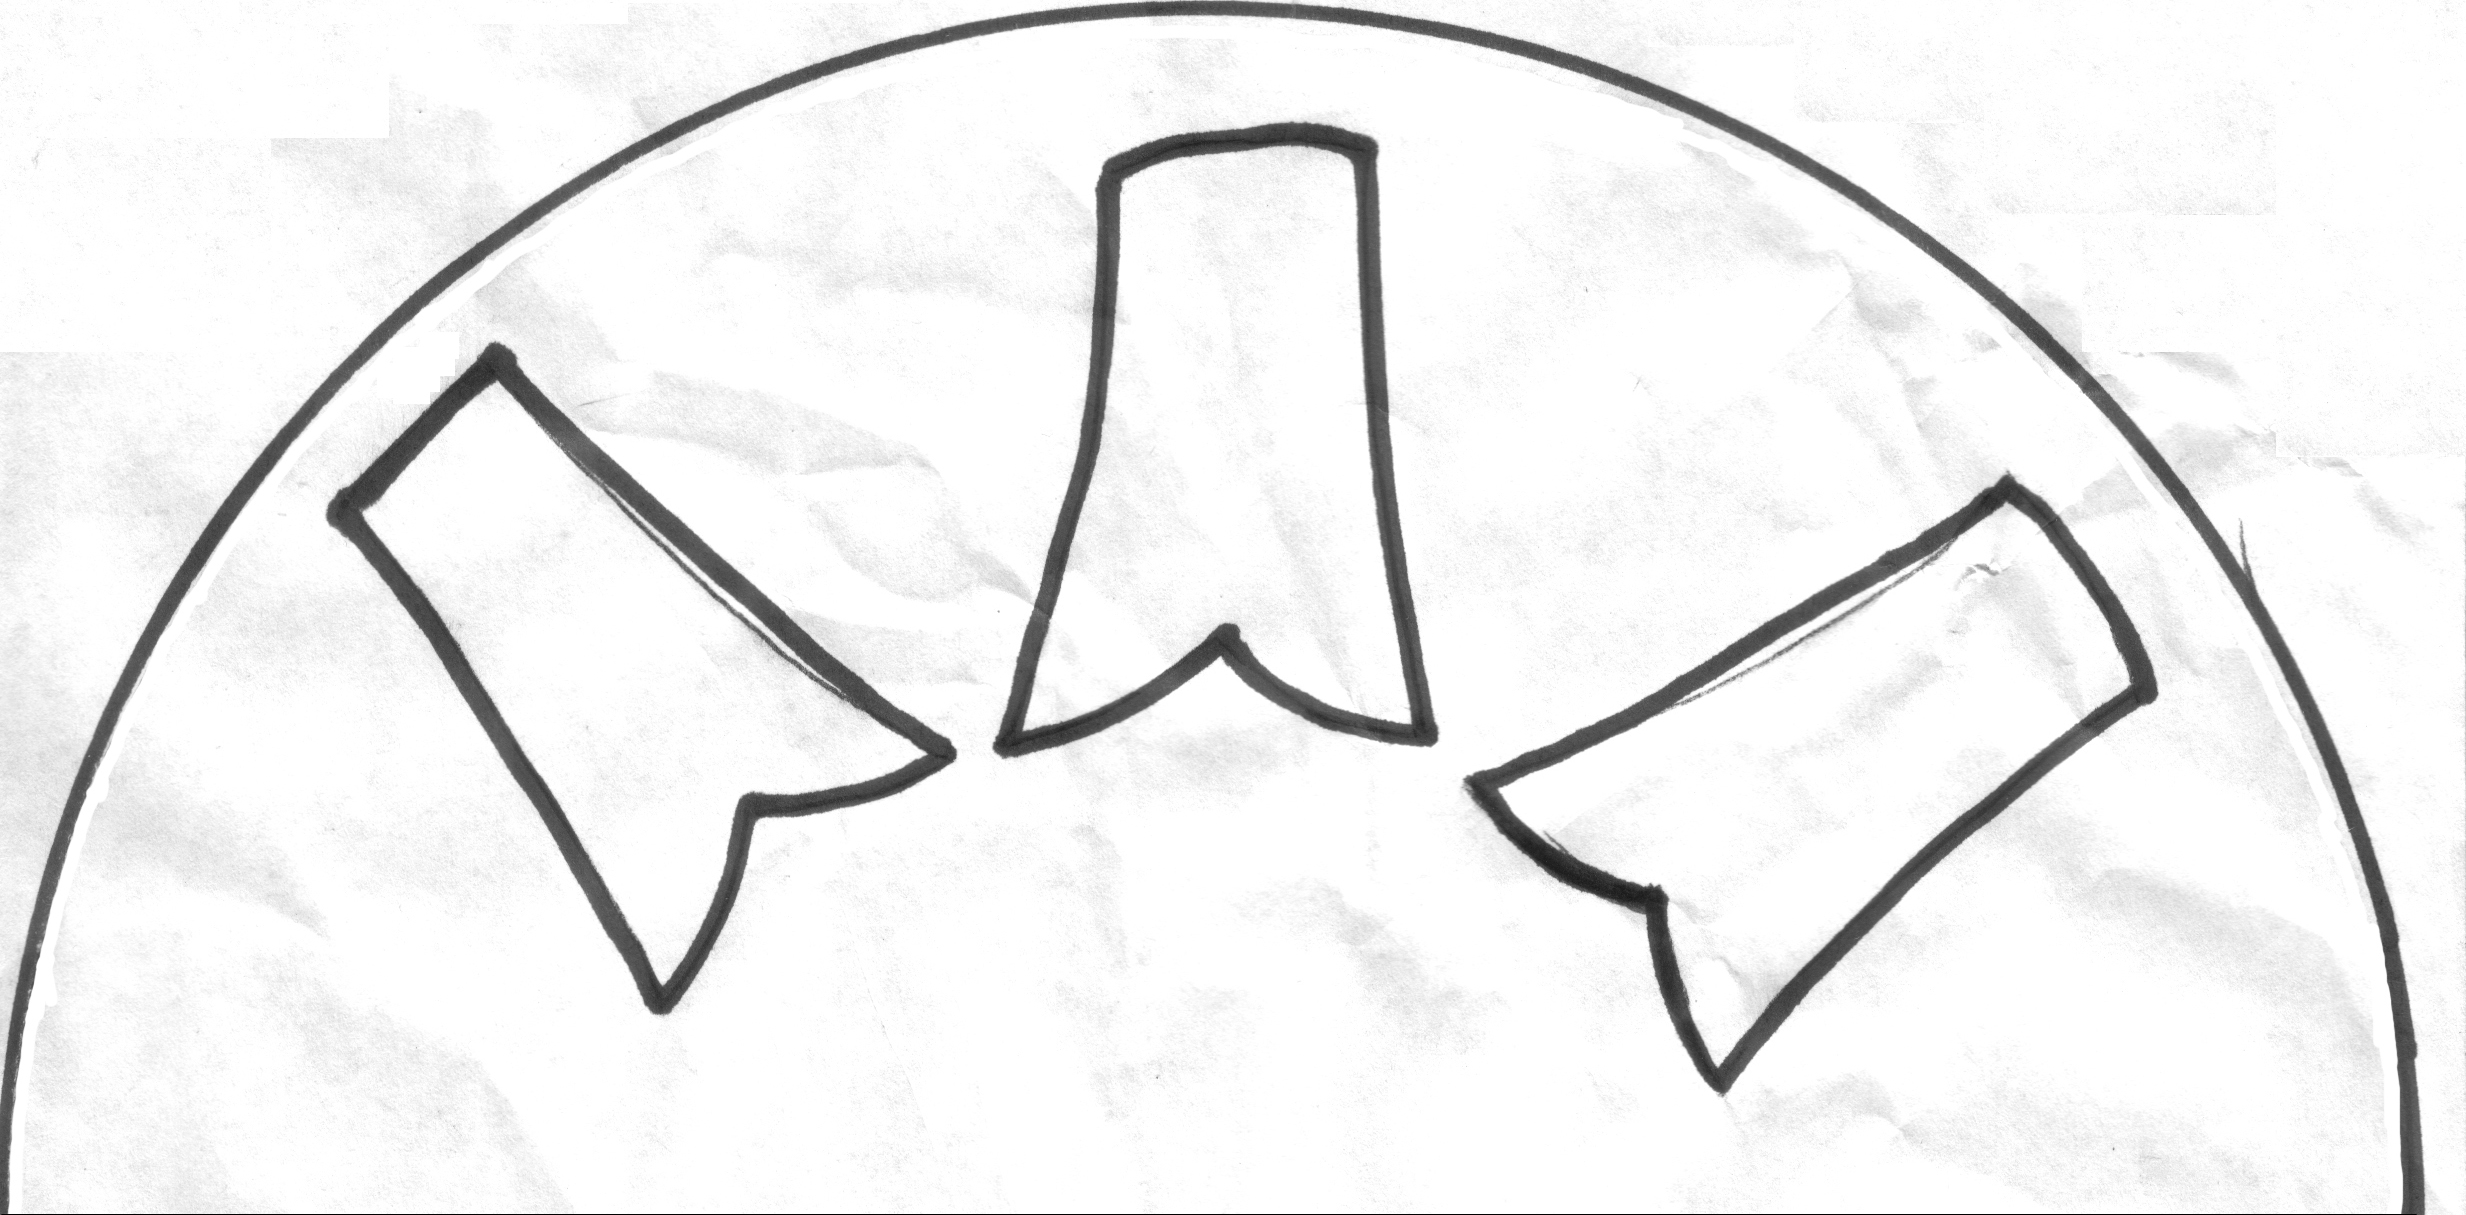
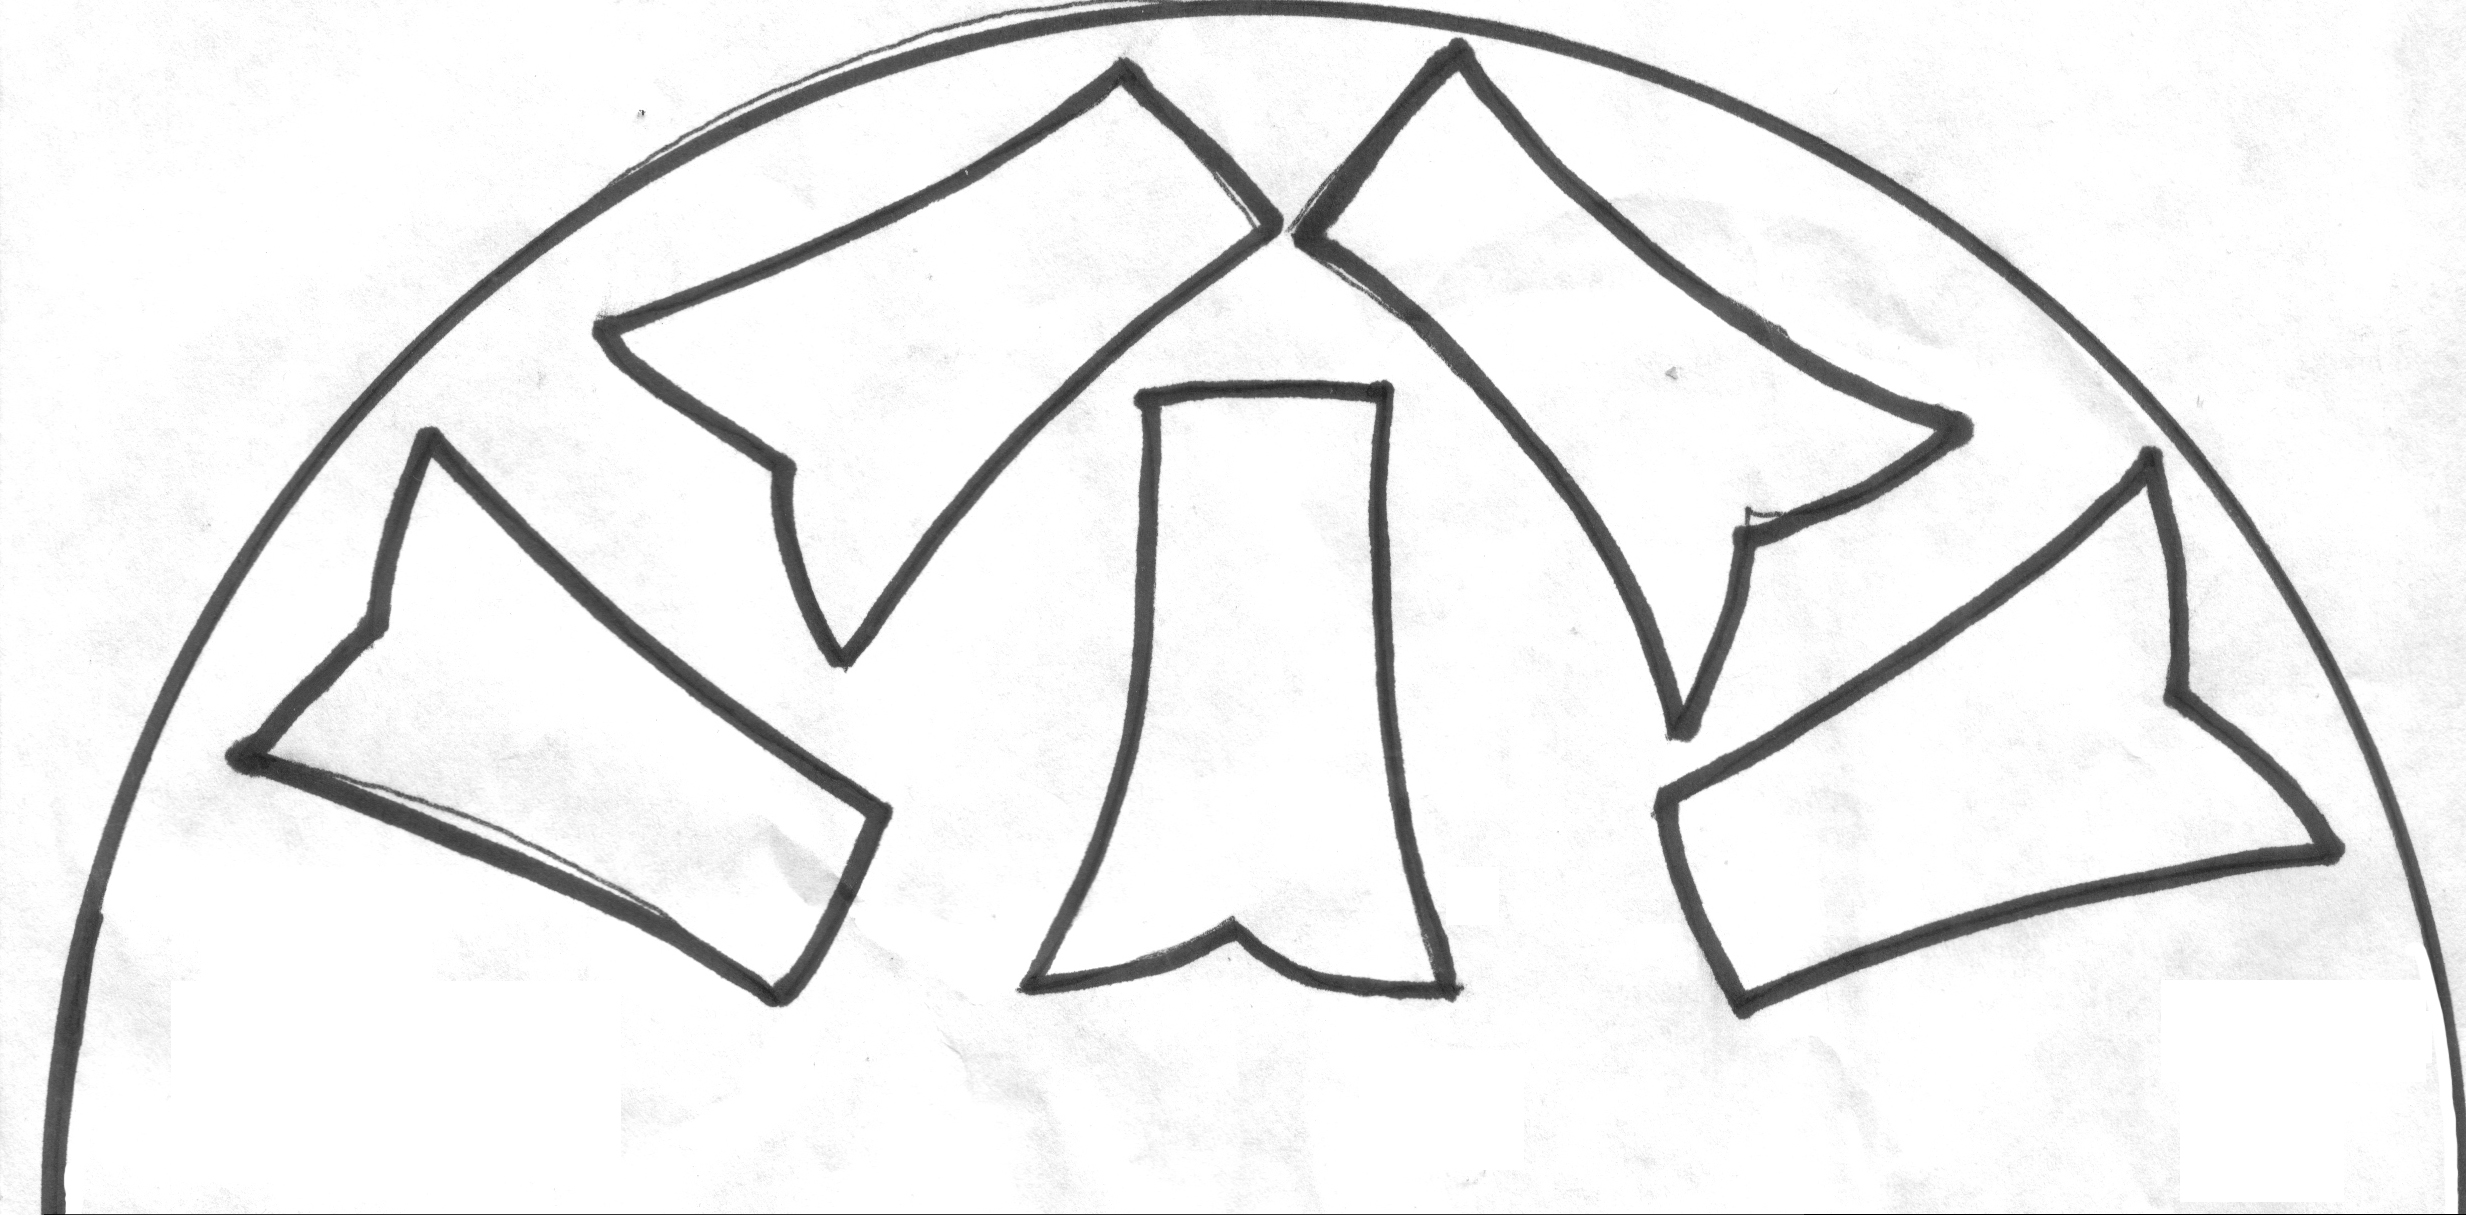
Our pattern consists of three repeating elements. We’ll also need three plastic hooks.
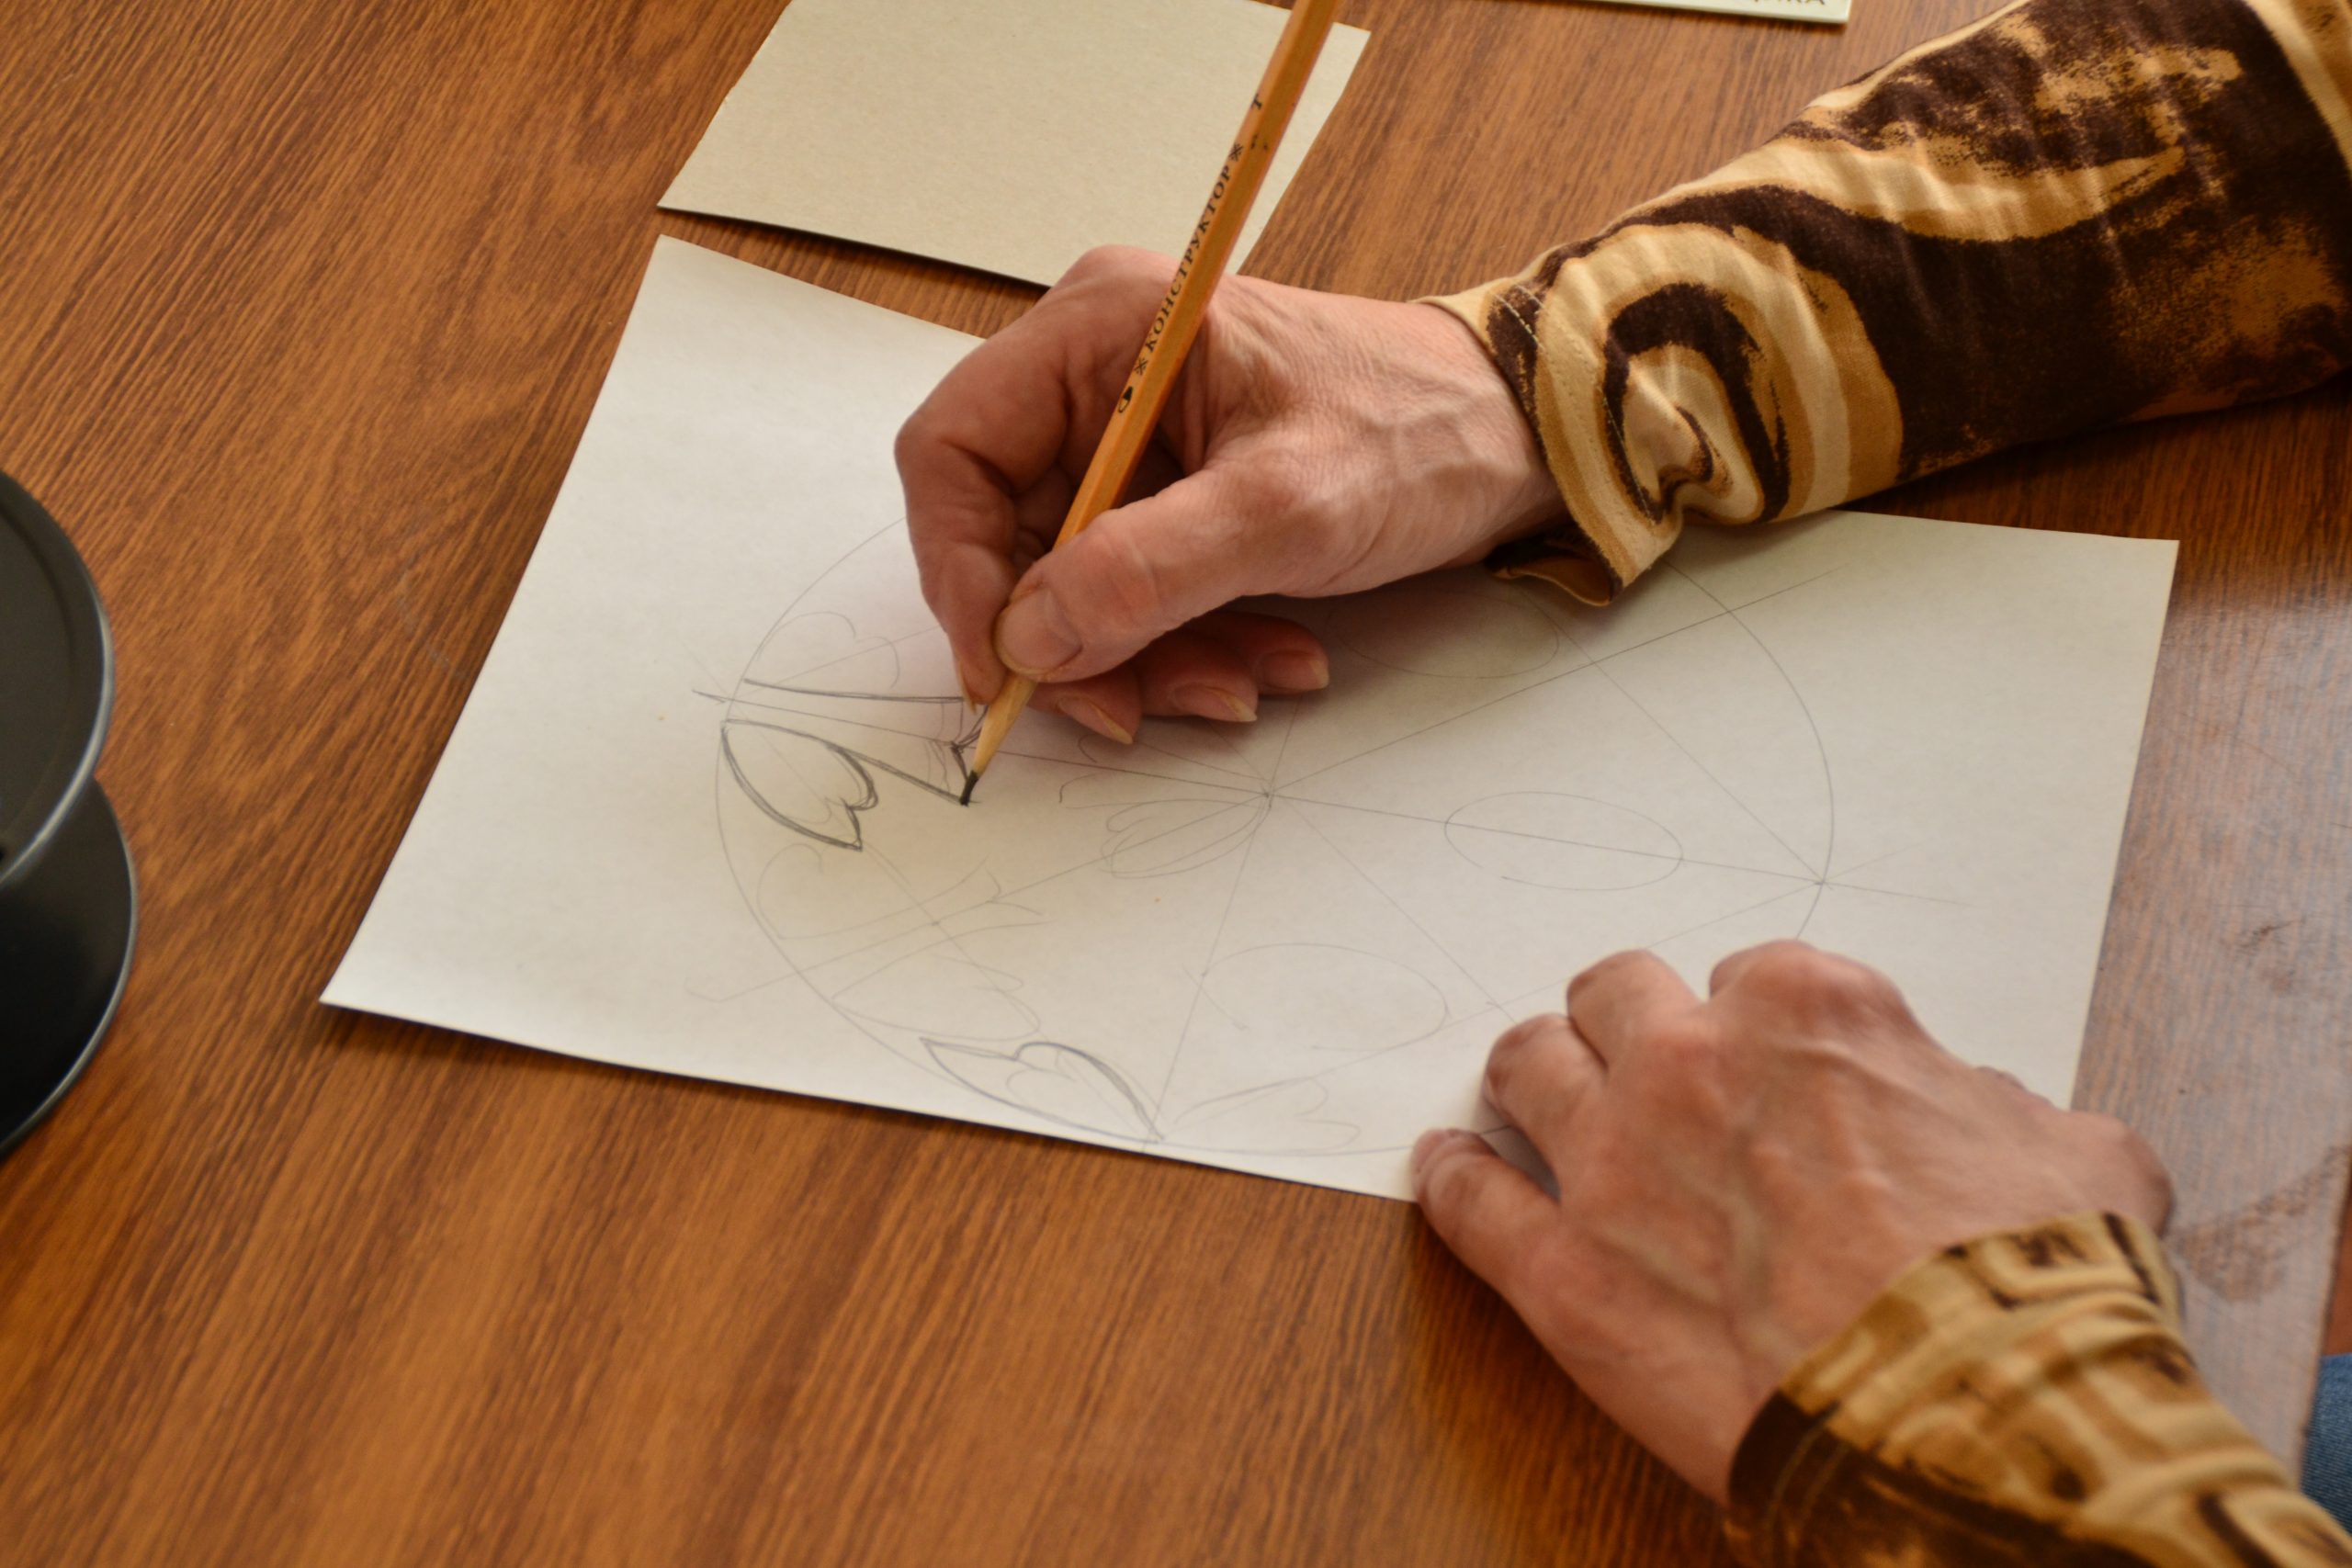
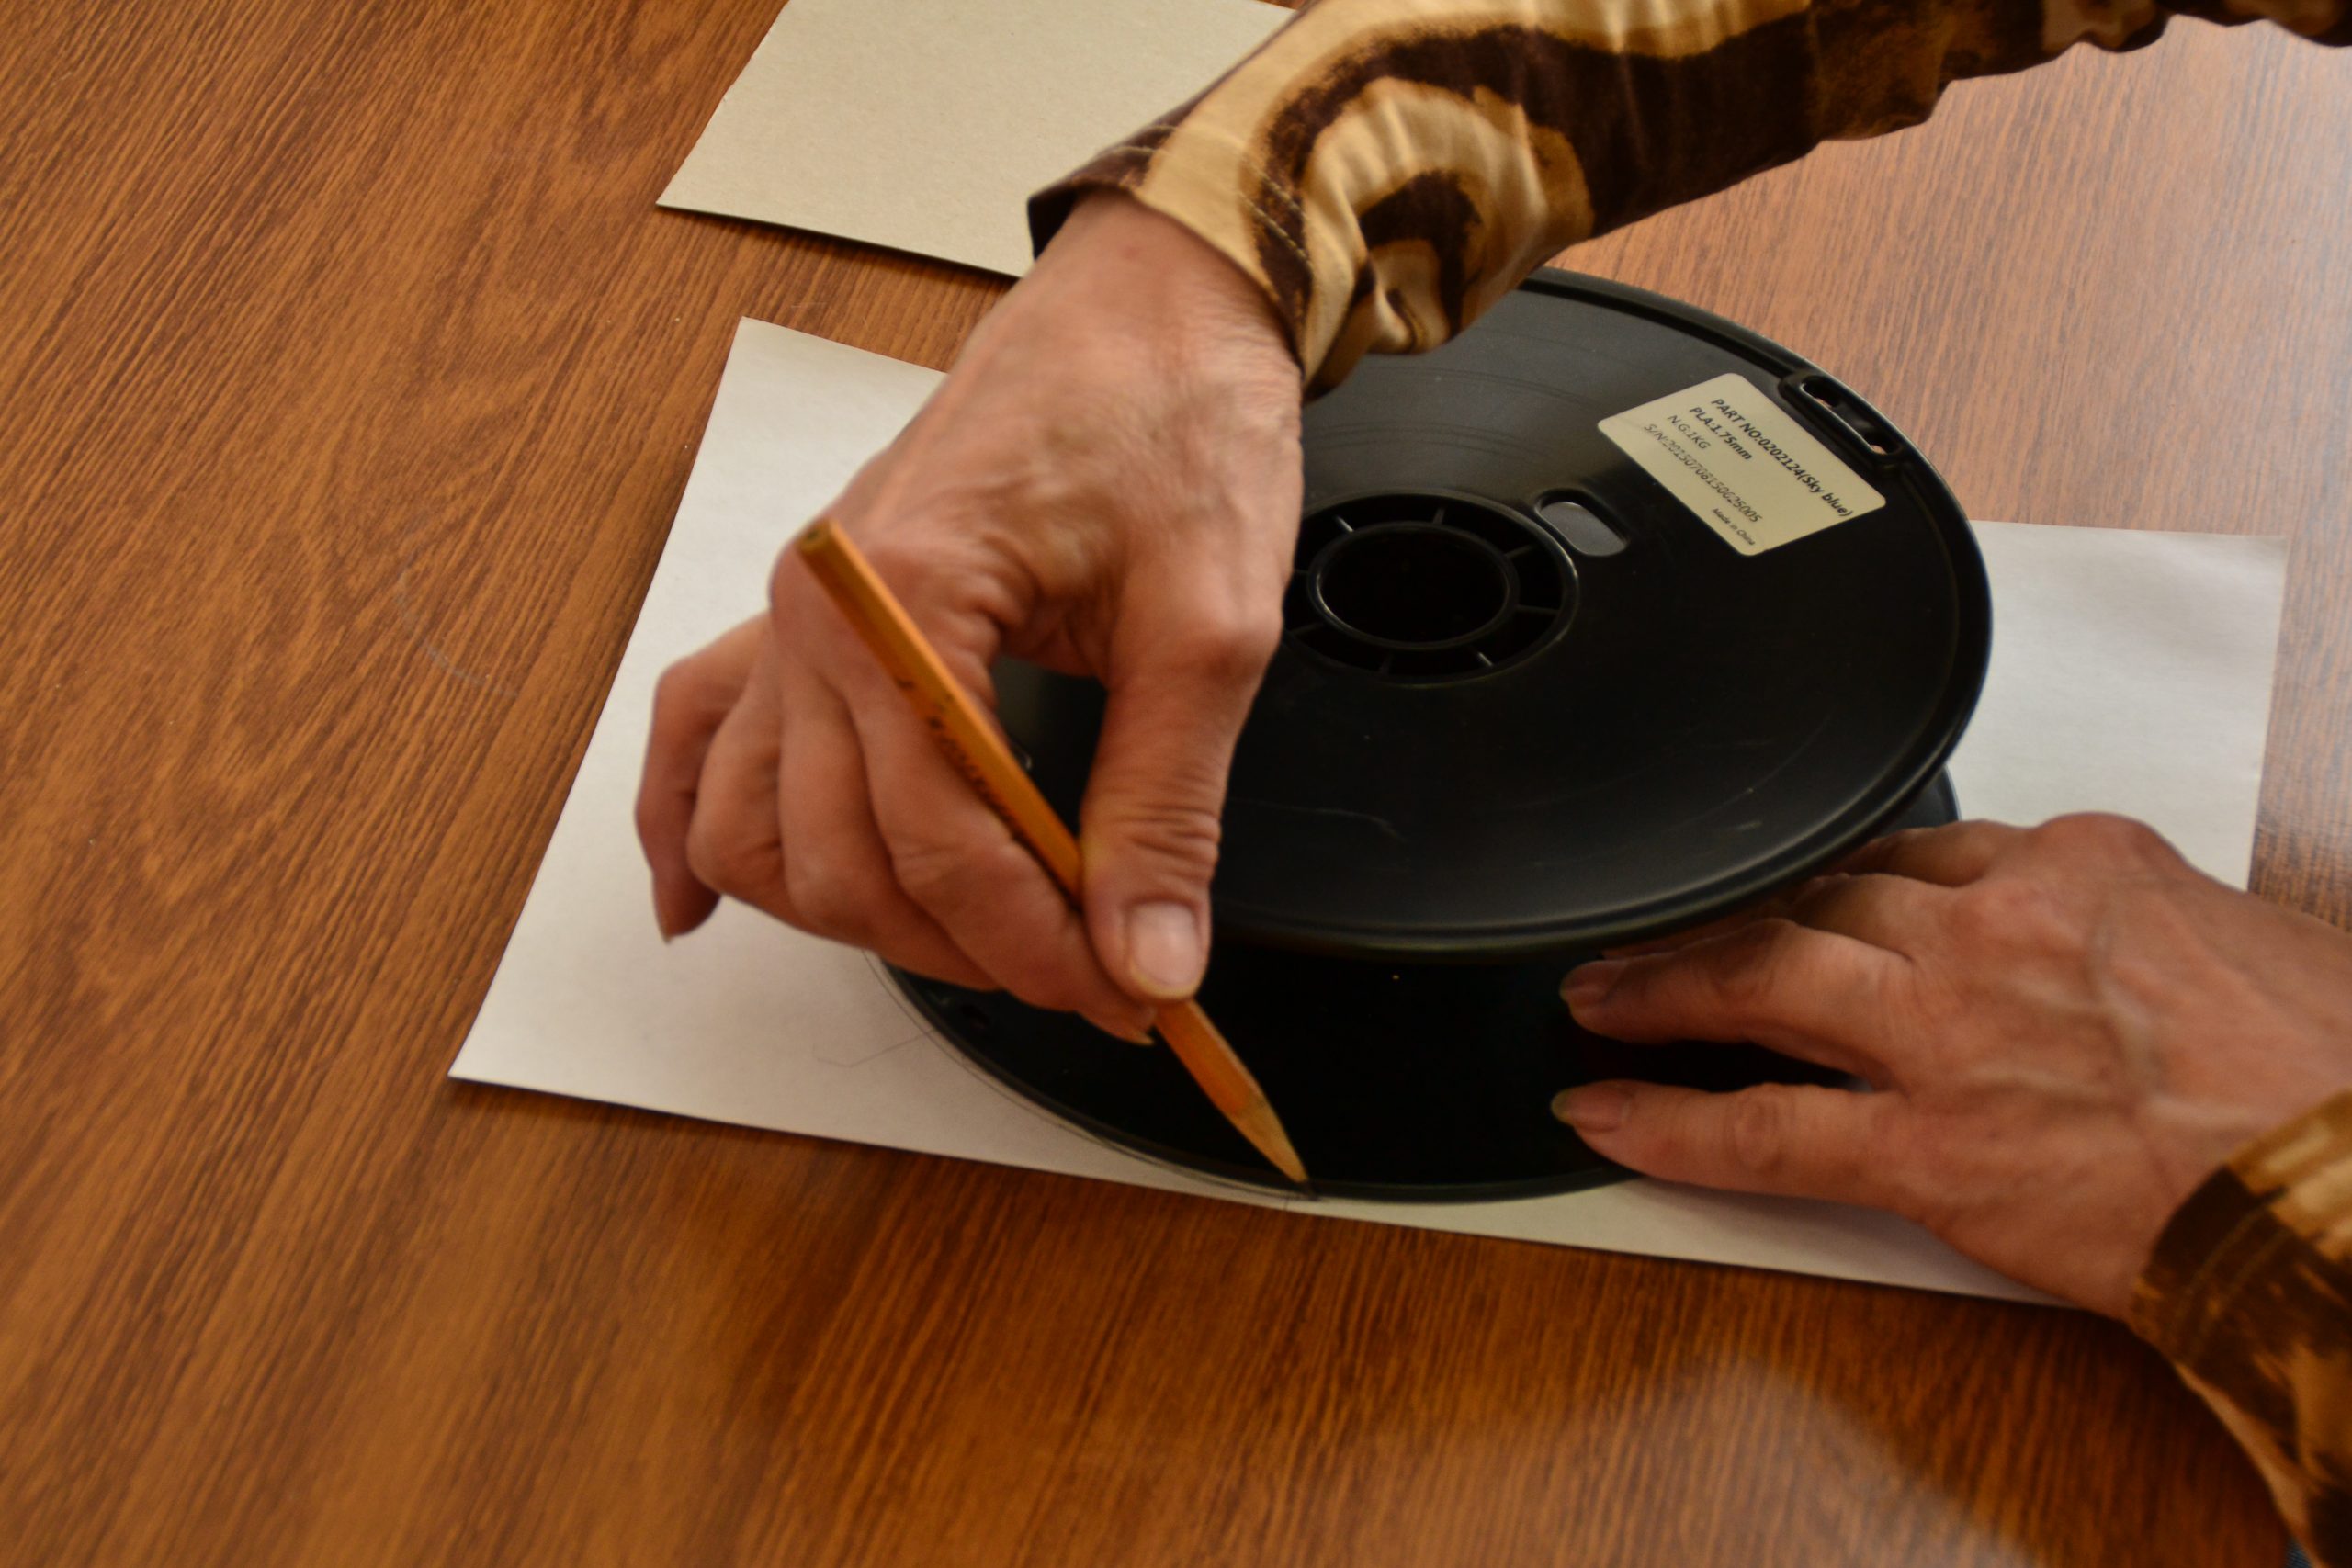
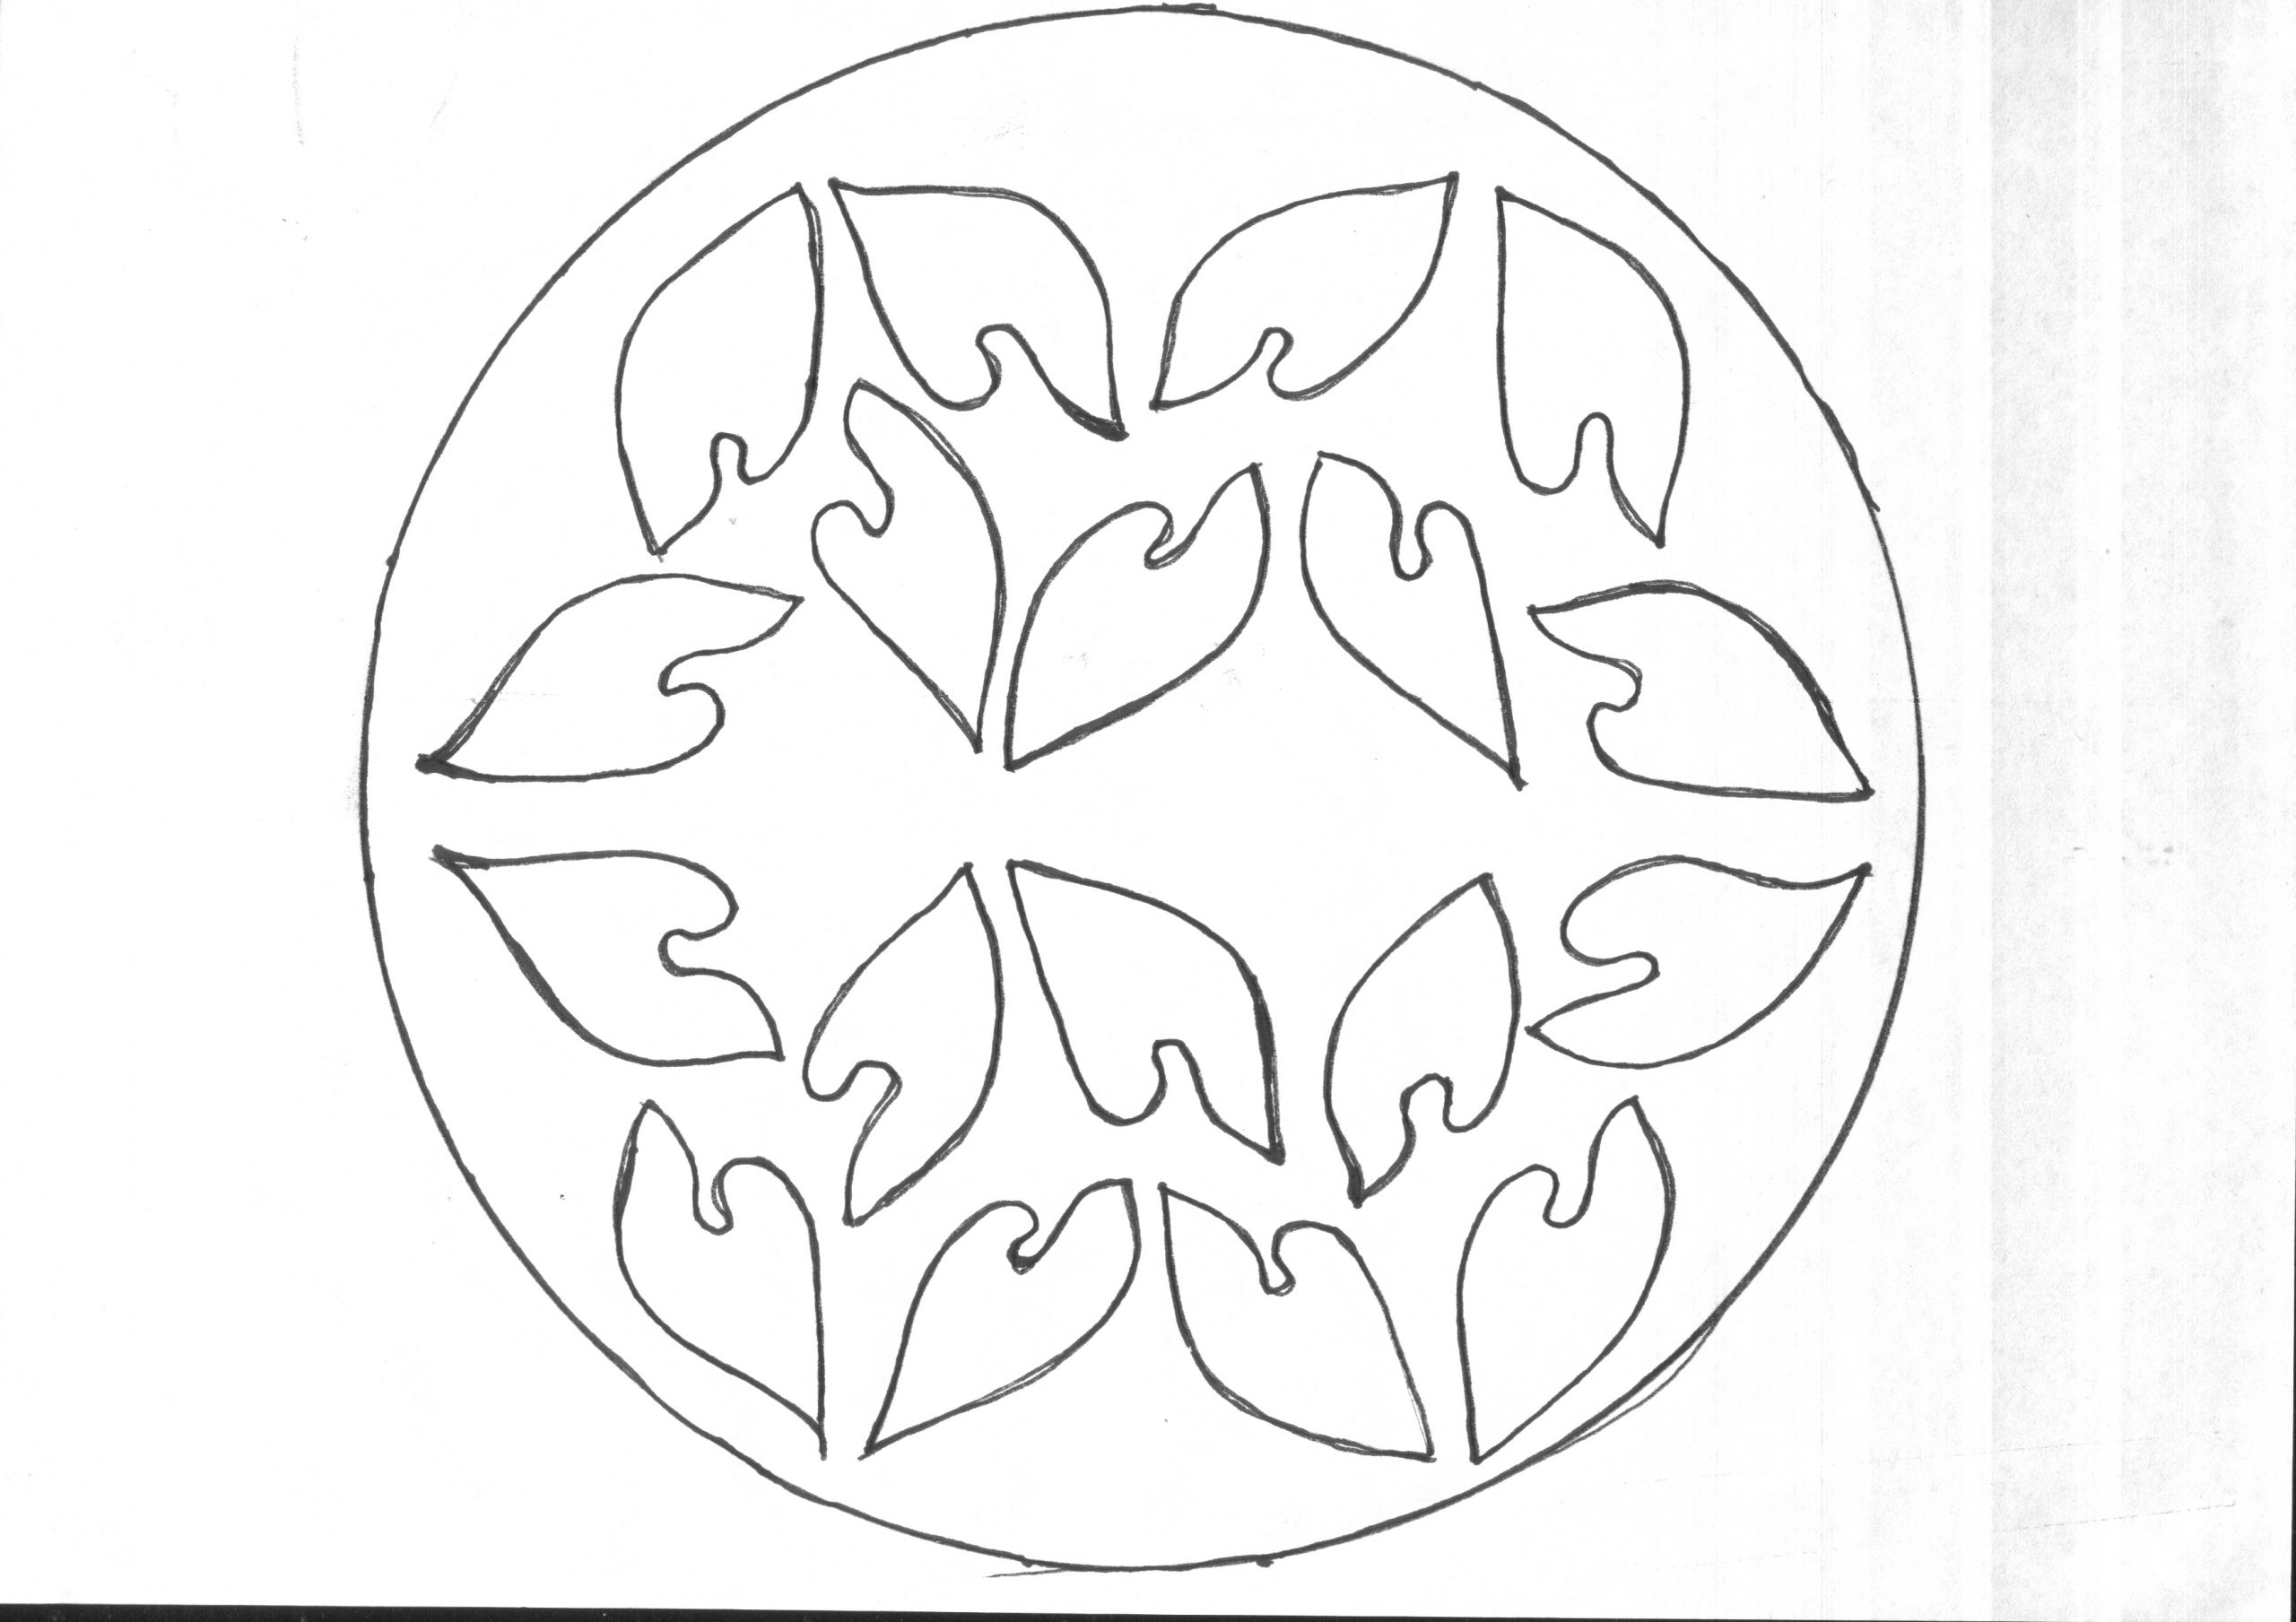
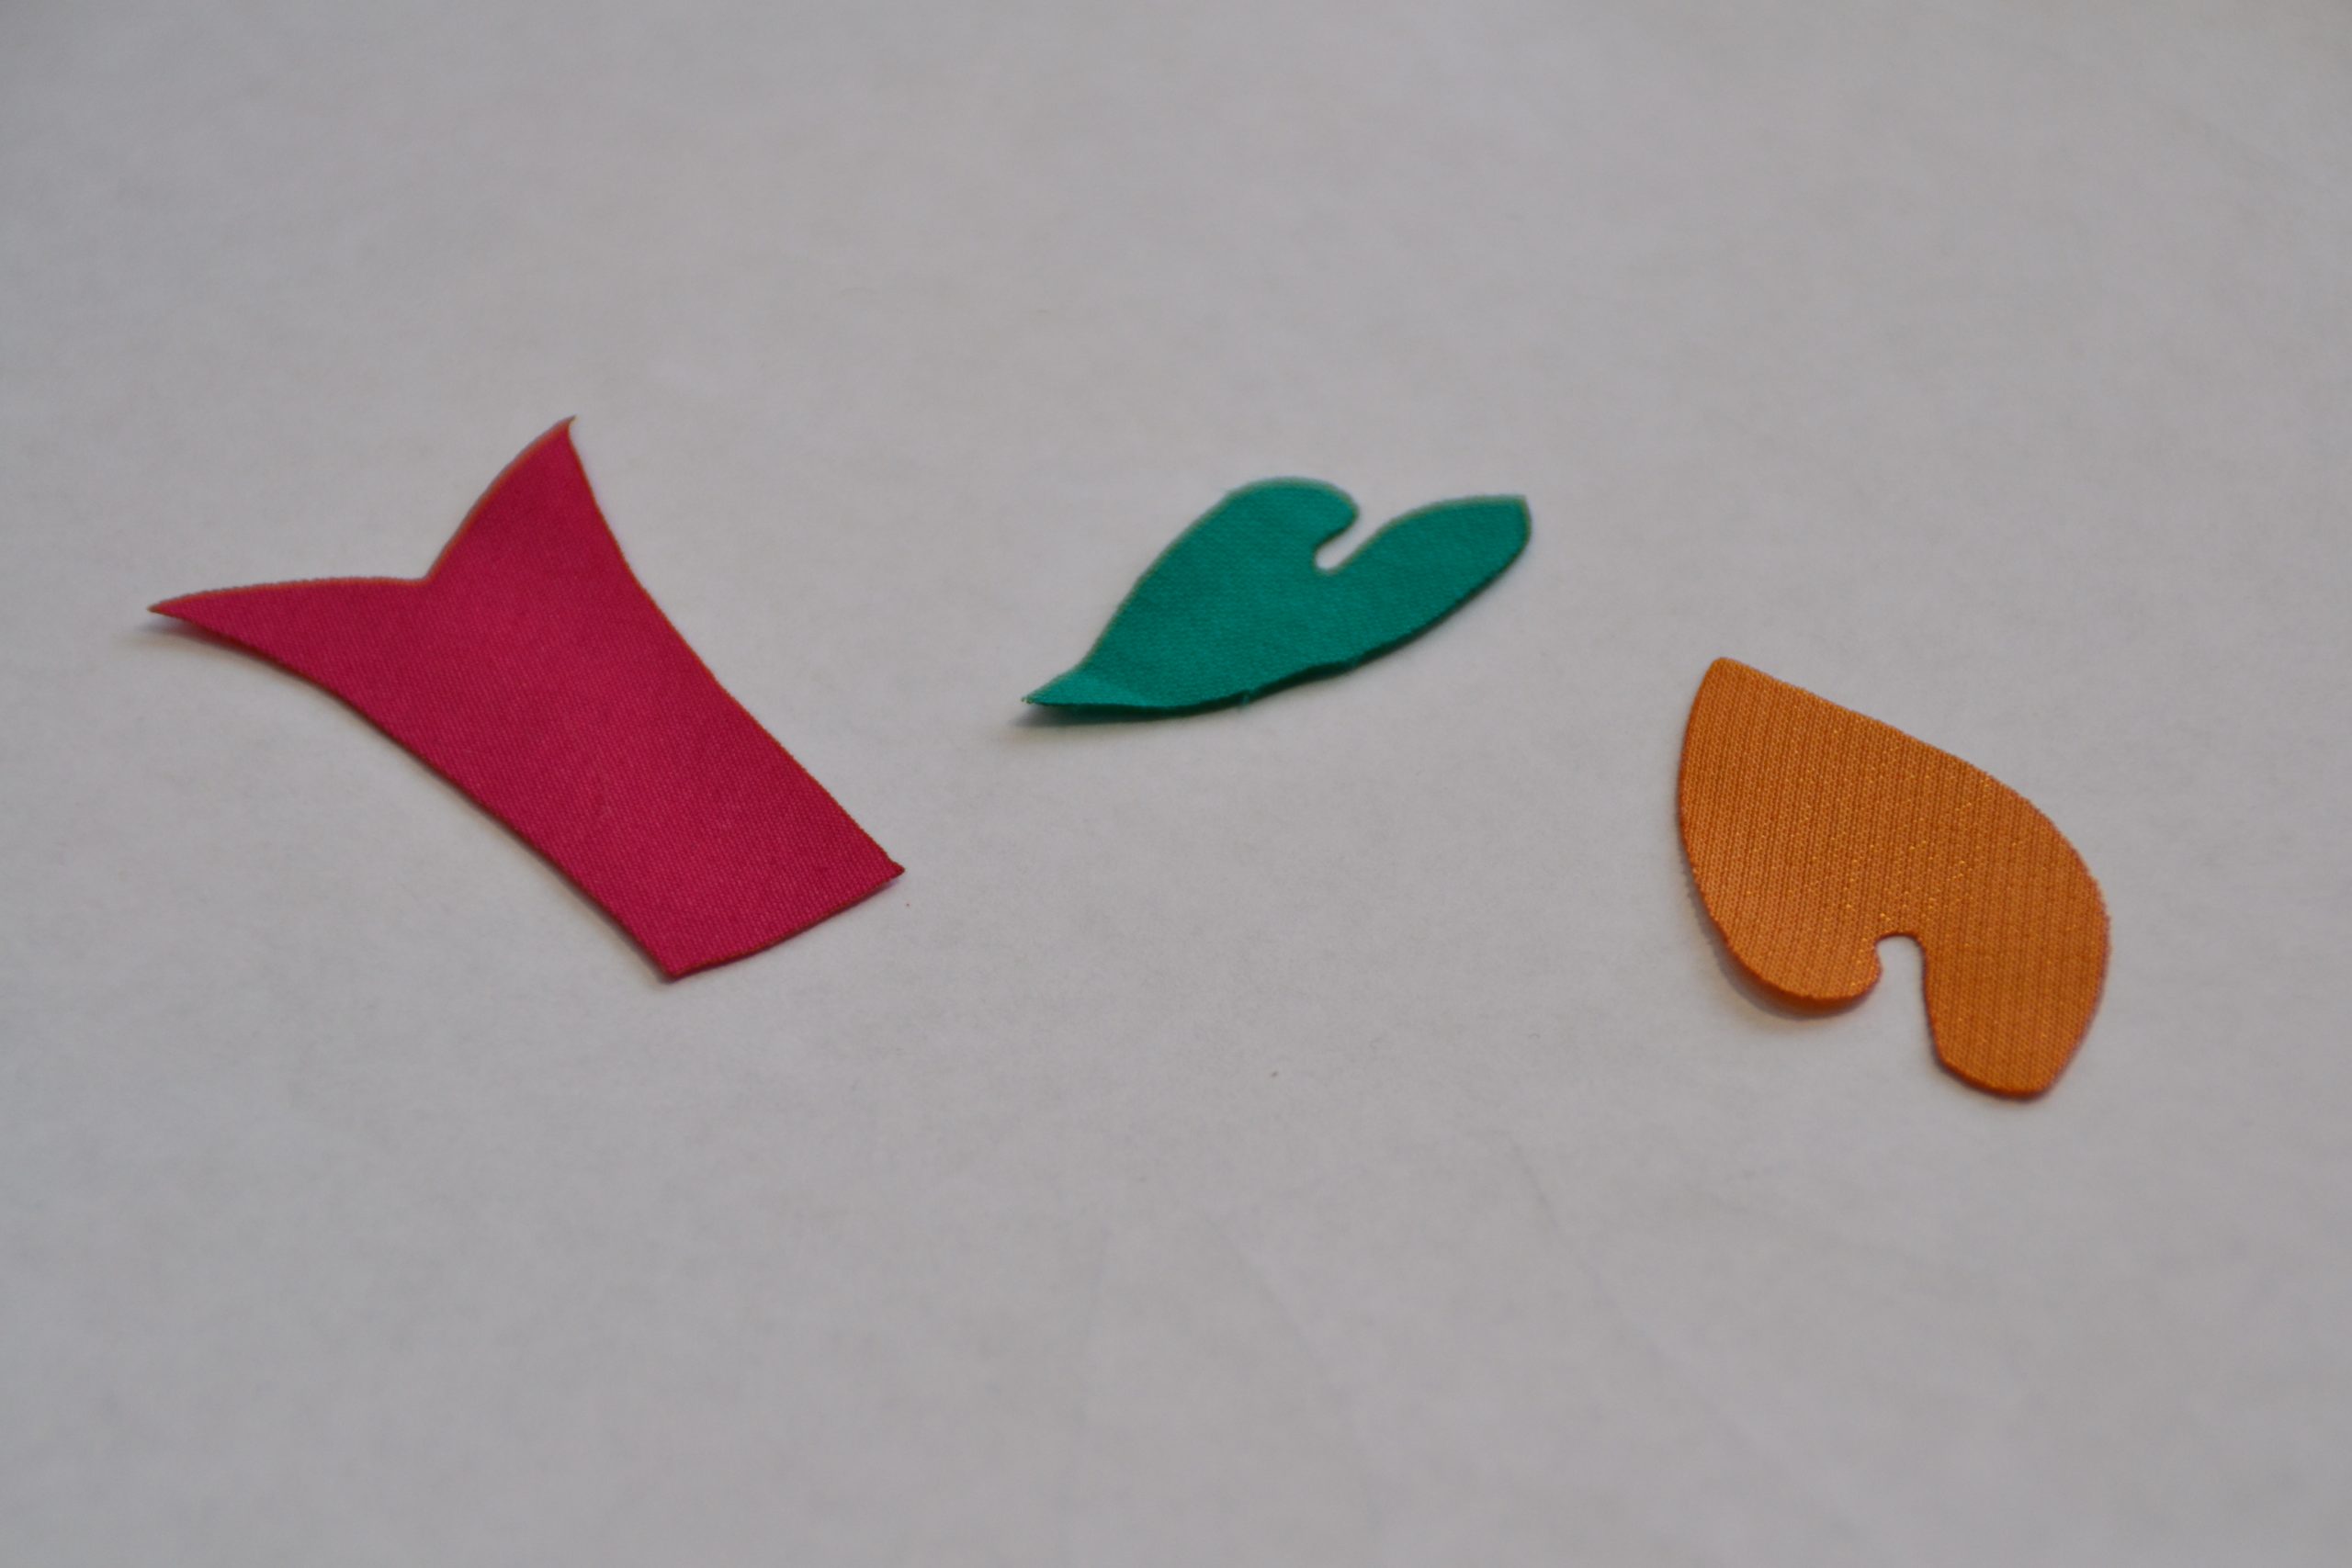
Now let’s outline a spool and divide the outline into 8 similar sectors to build a symmetrical pattern. Then we outline the hooks at the spots of their supposed location. We draw each of the three elements and make a template of every detail to ease the work.
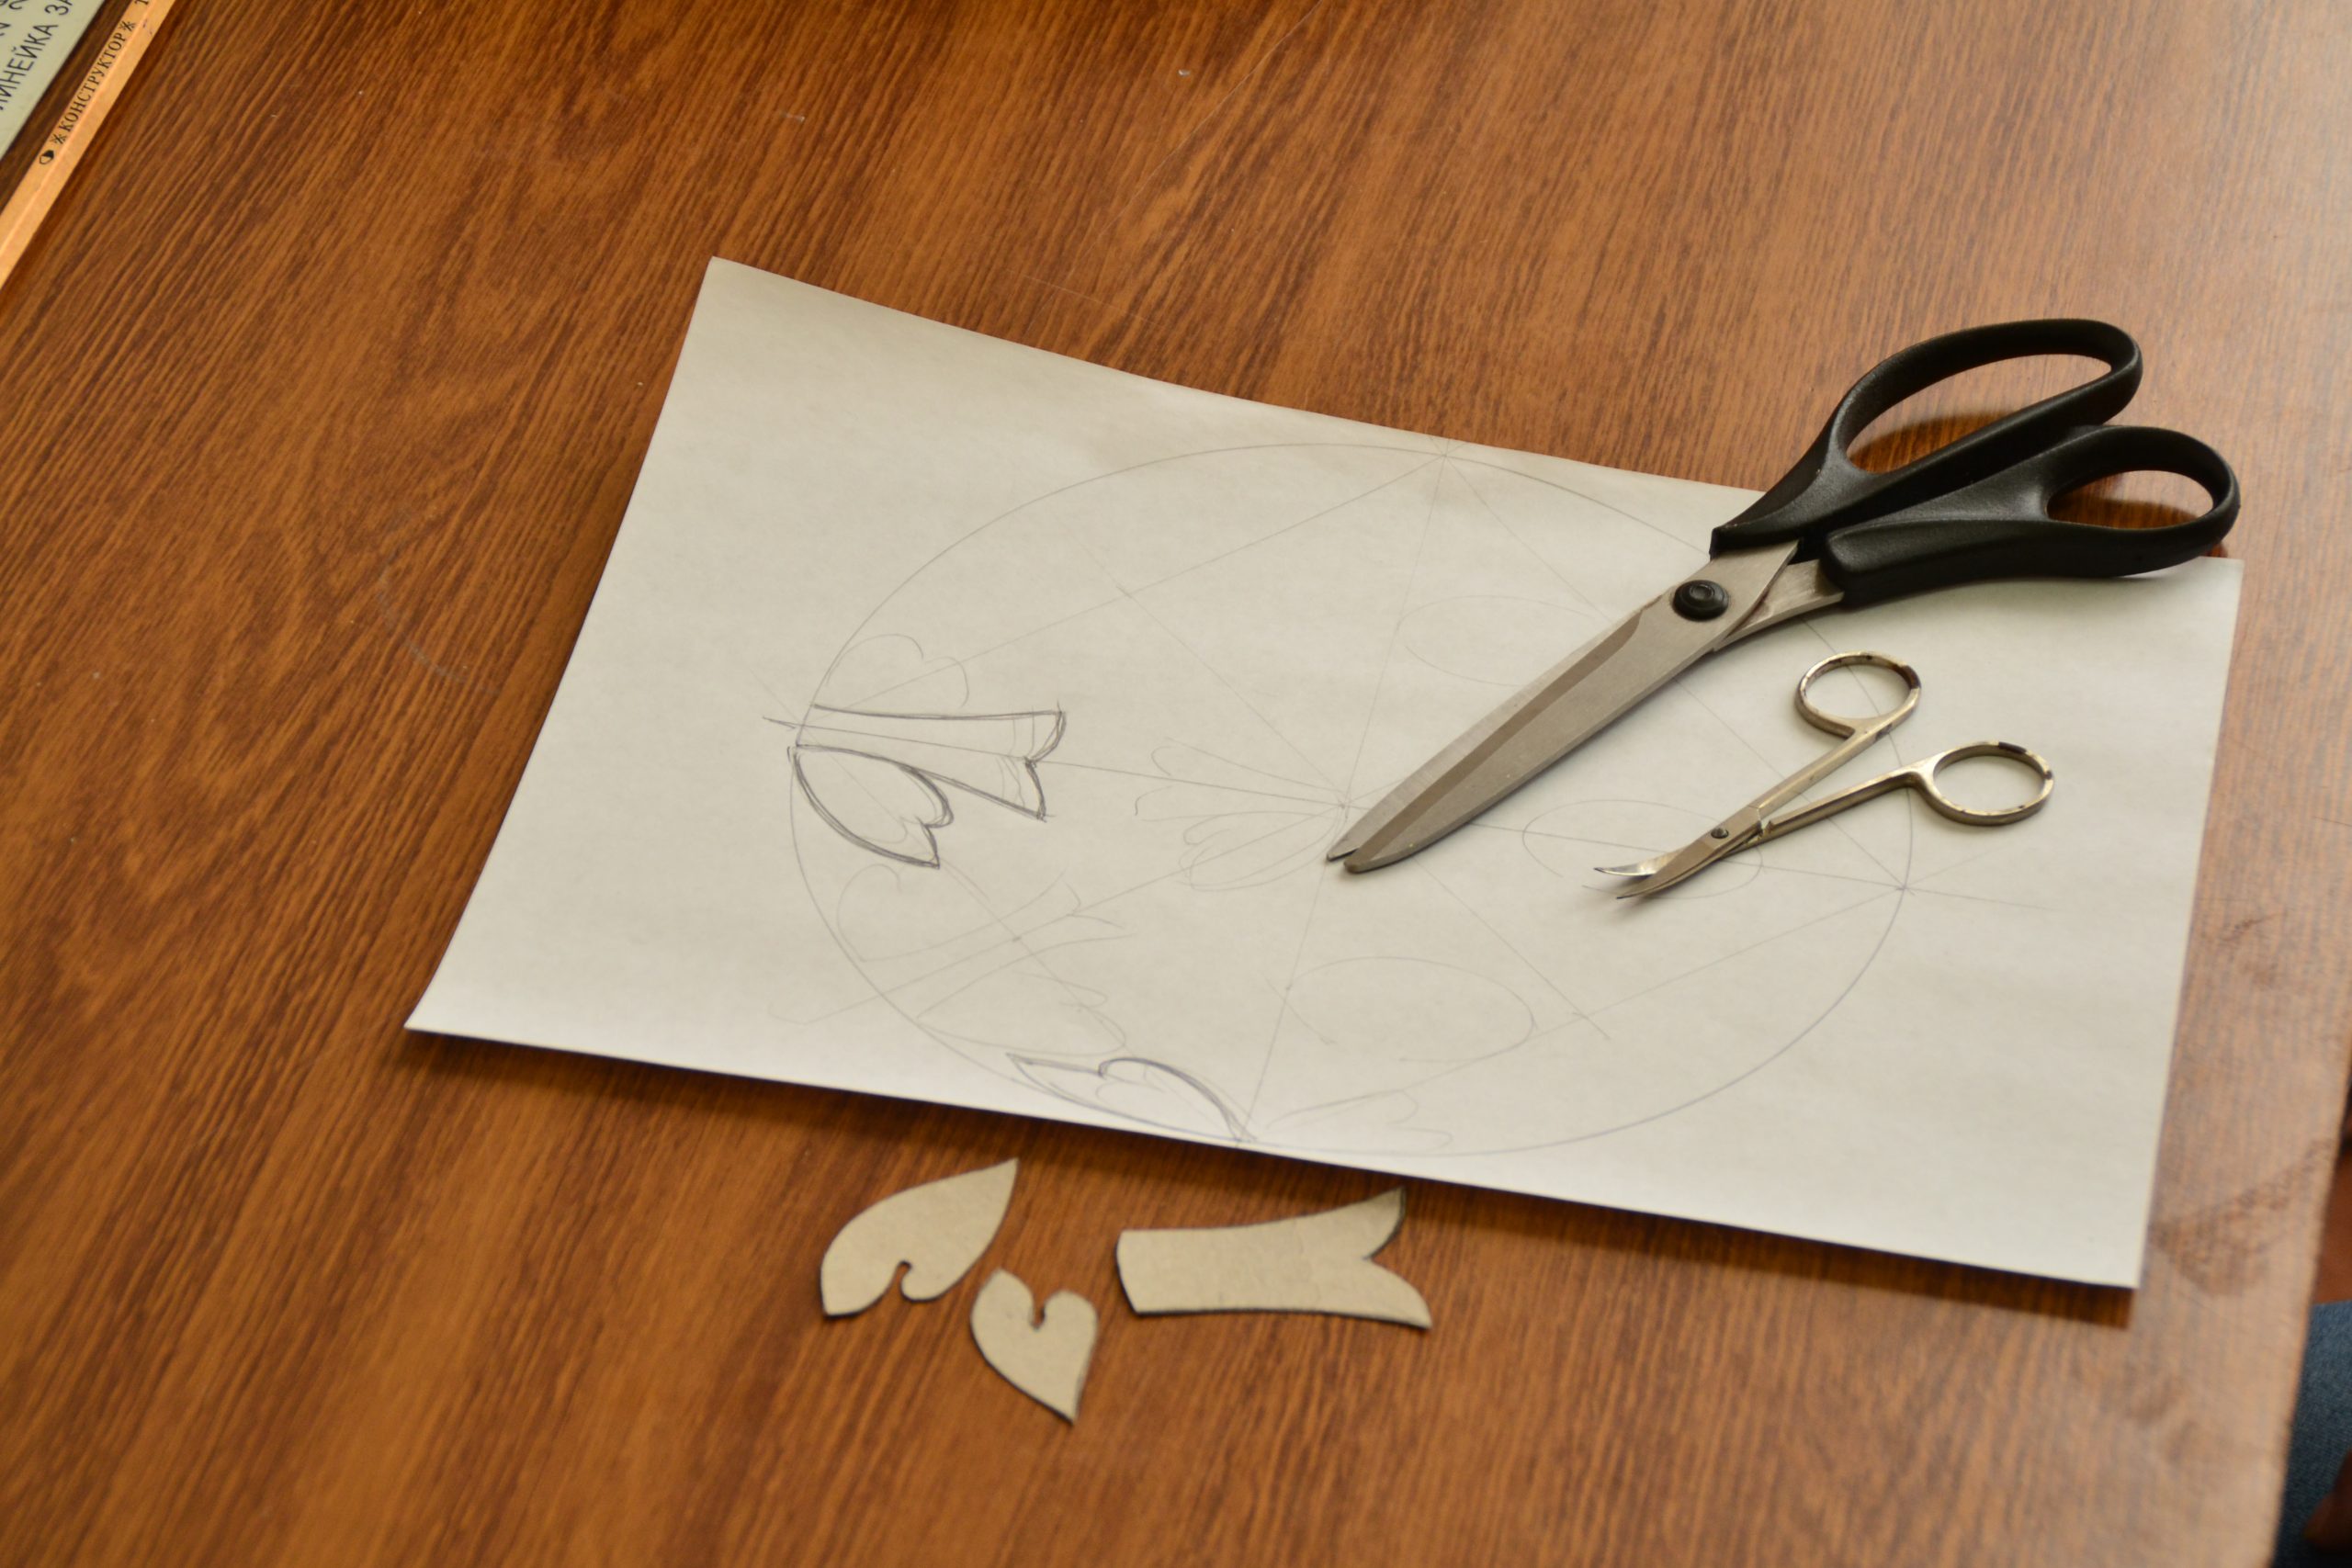
Using carbon paper, we copy each element to a piece of thick cardboard and cut them out with scissors.
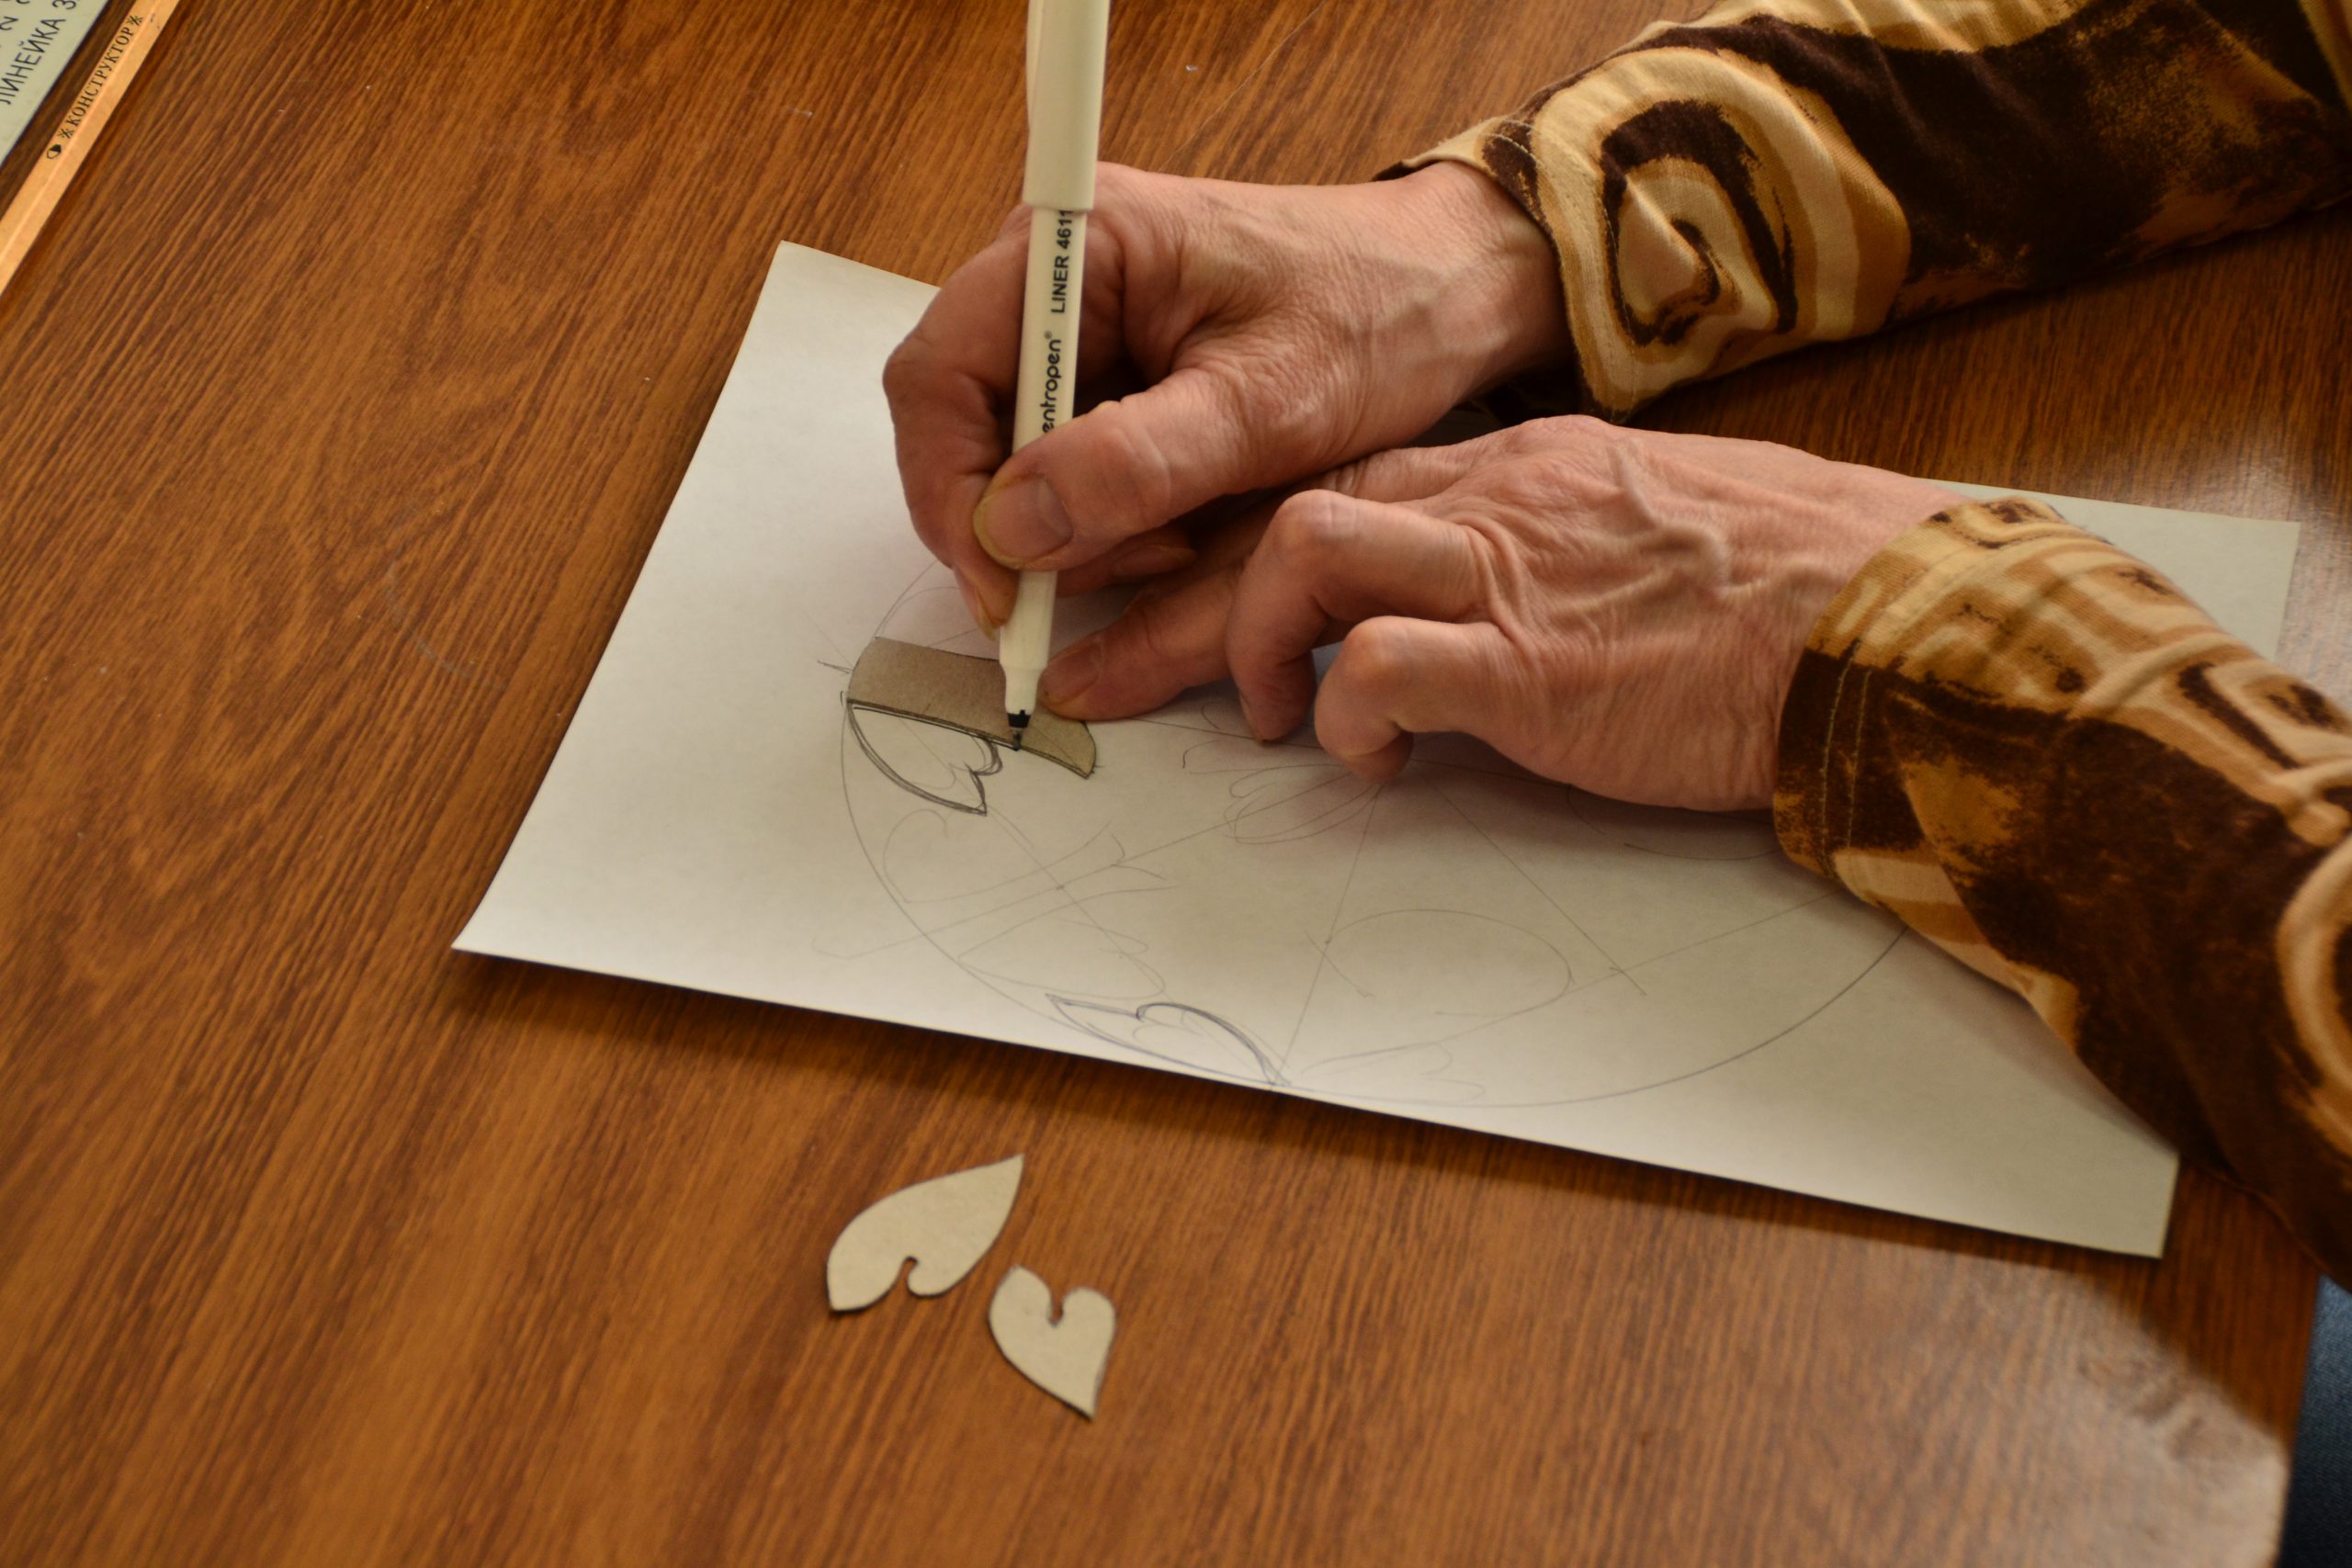
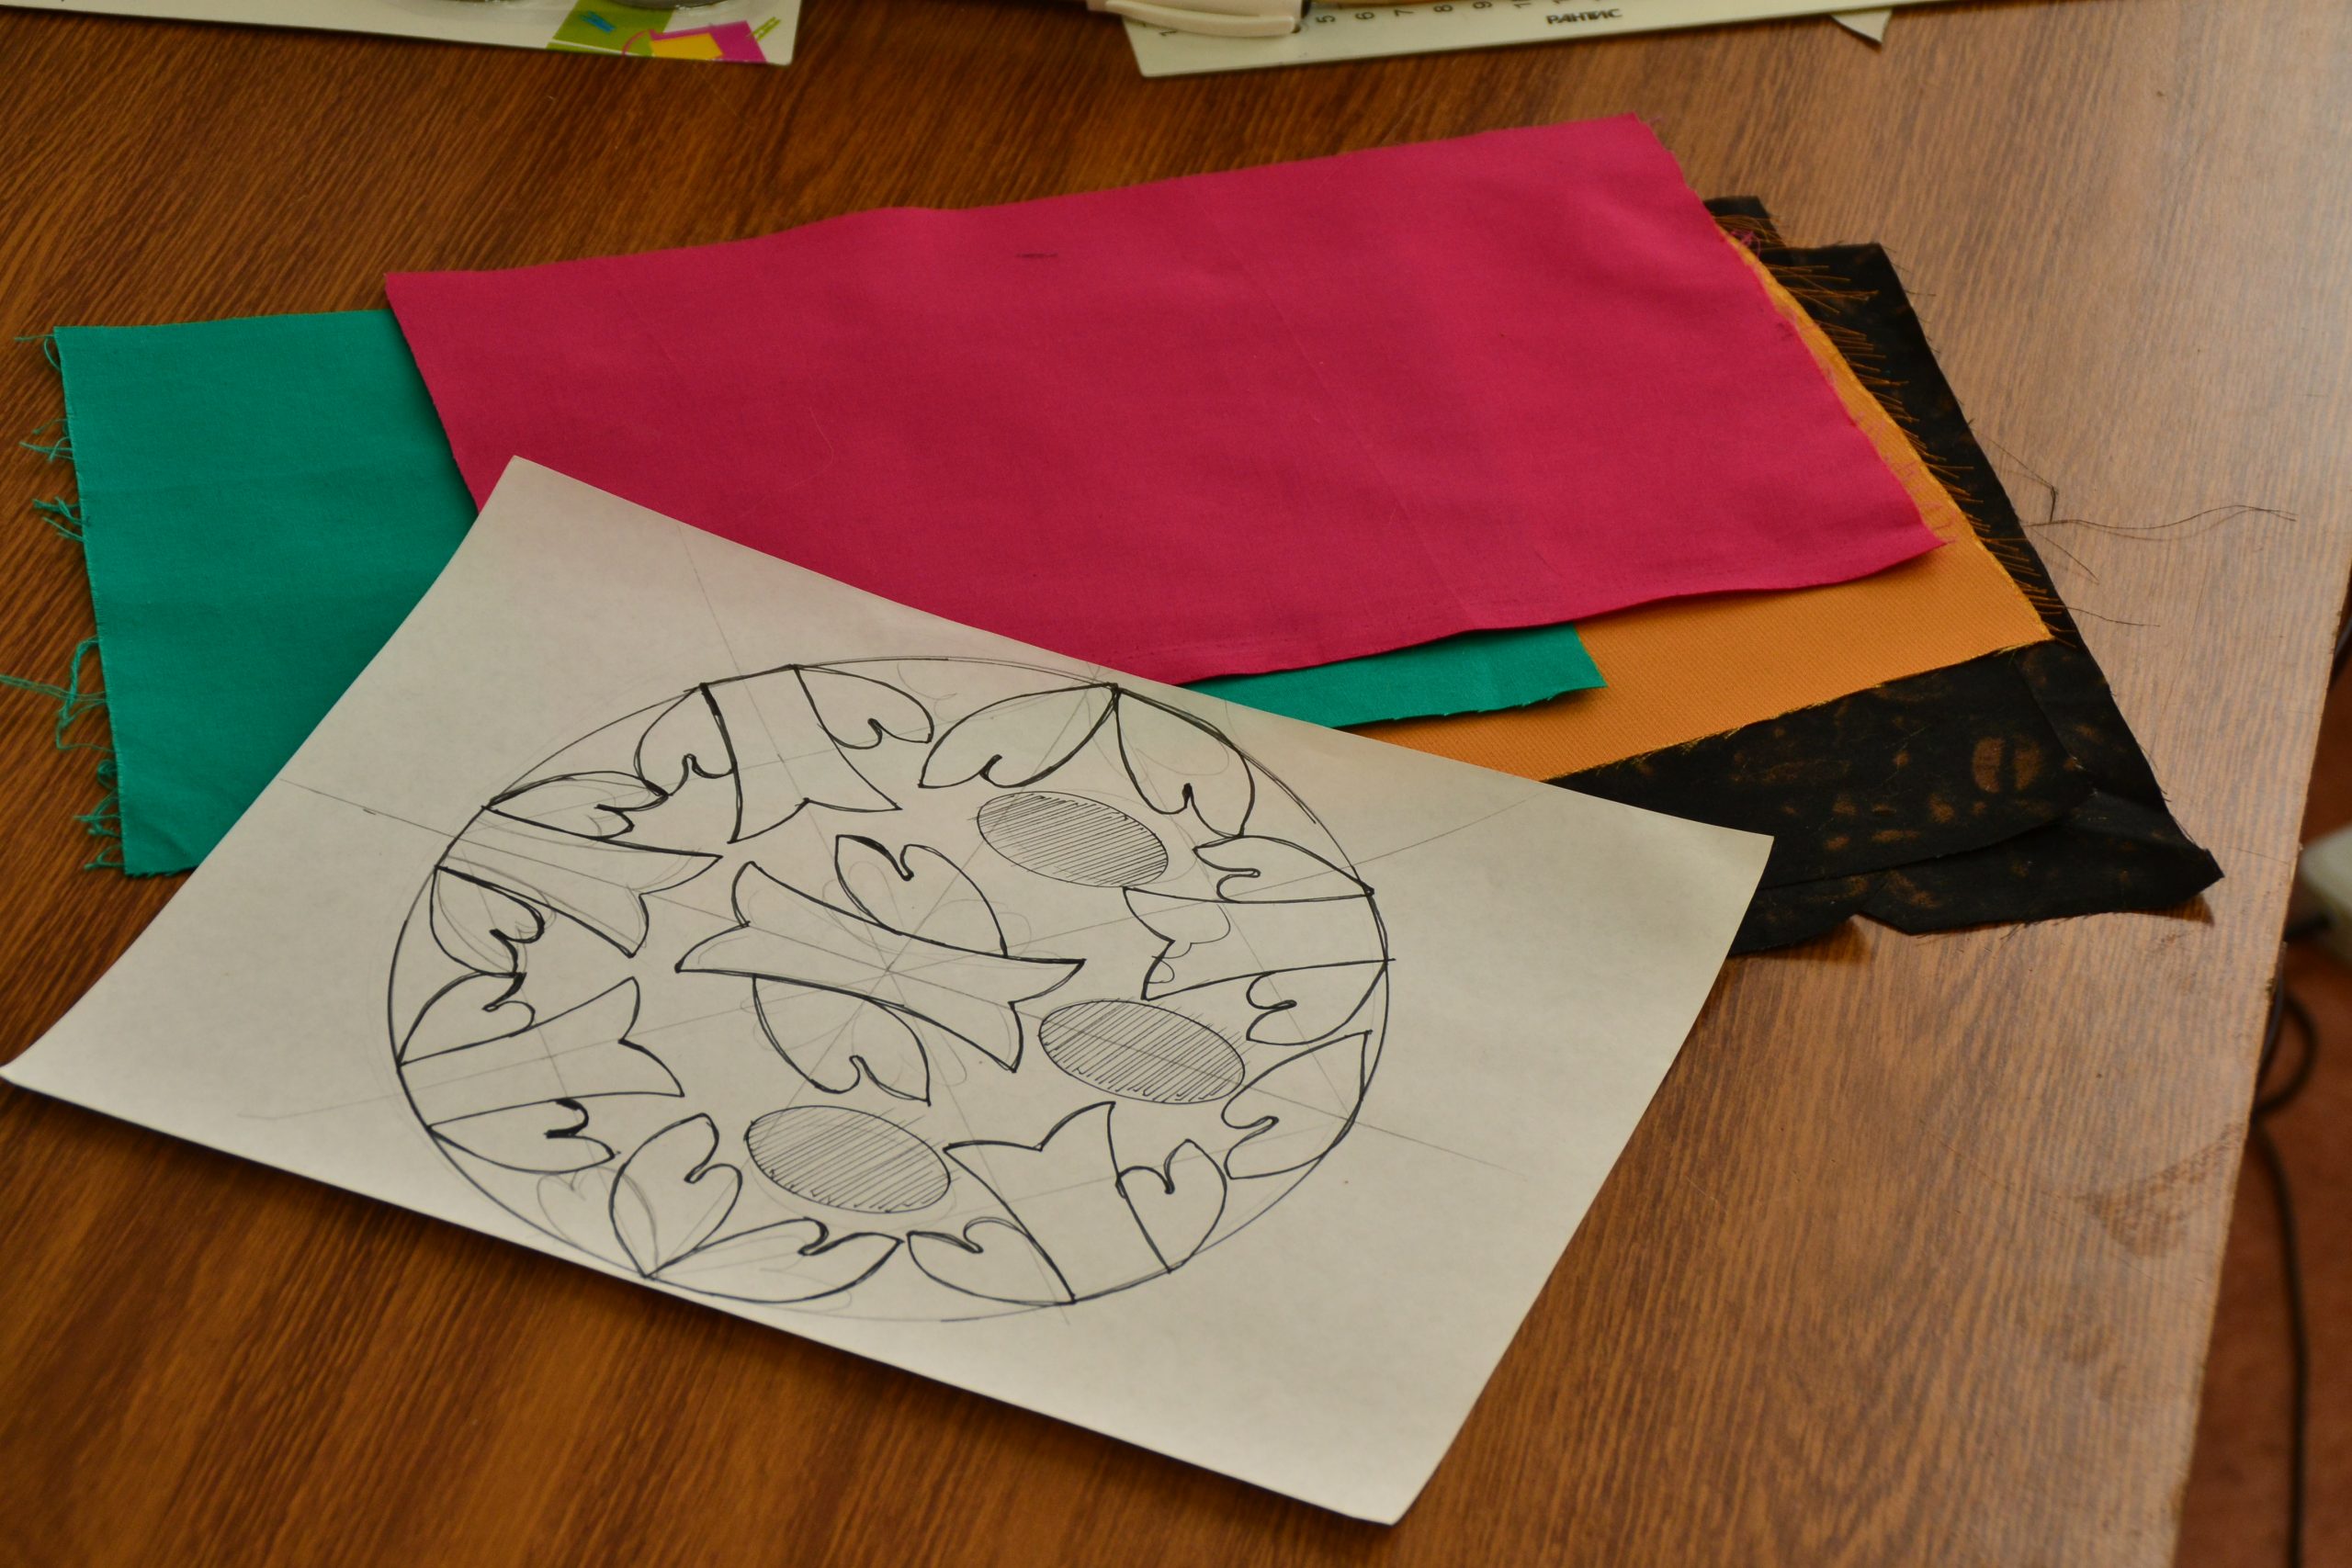
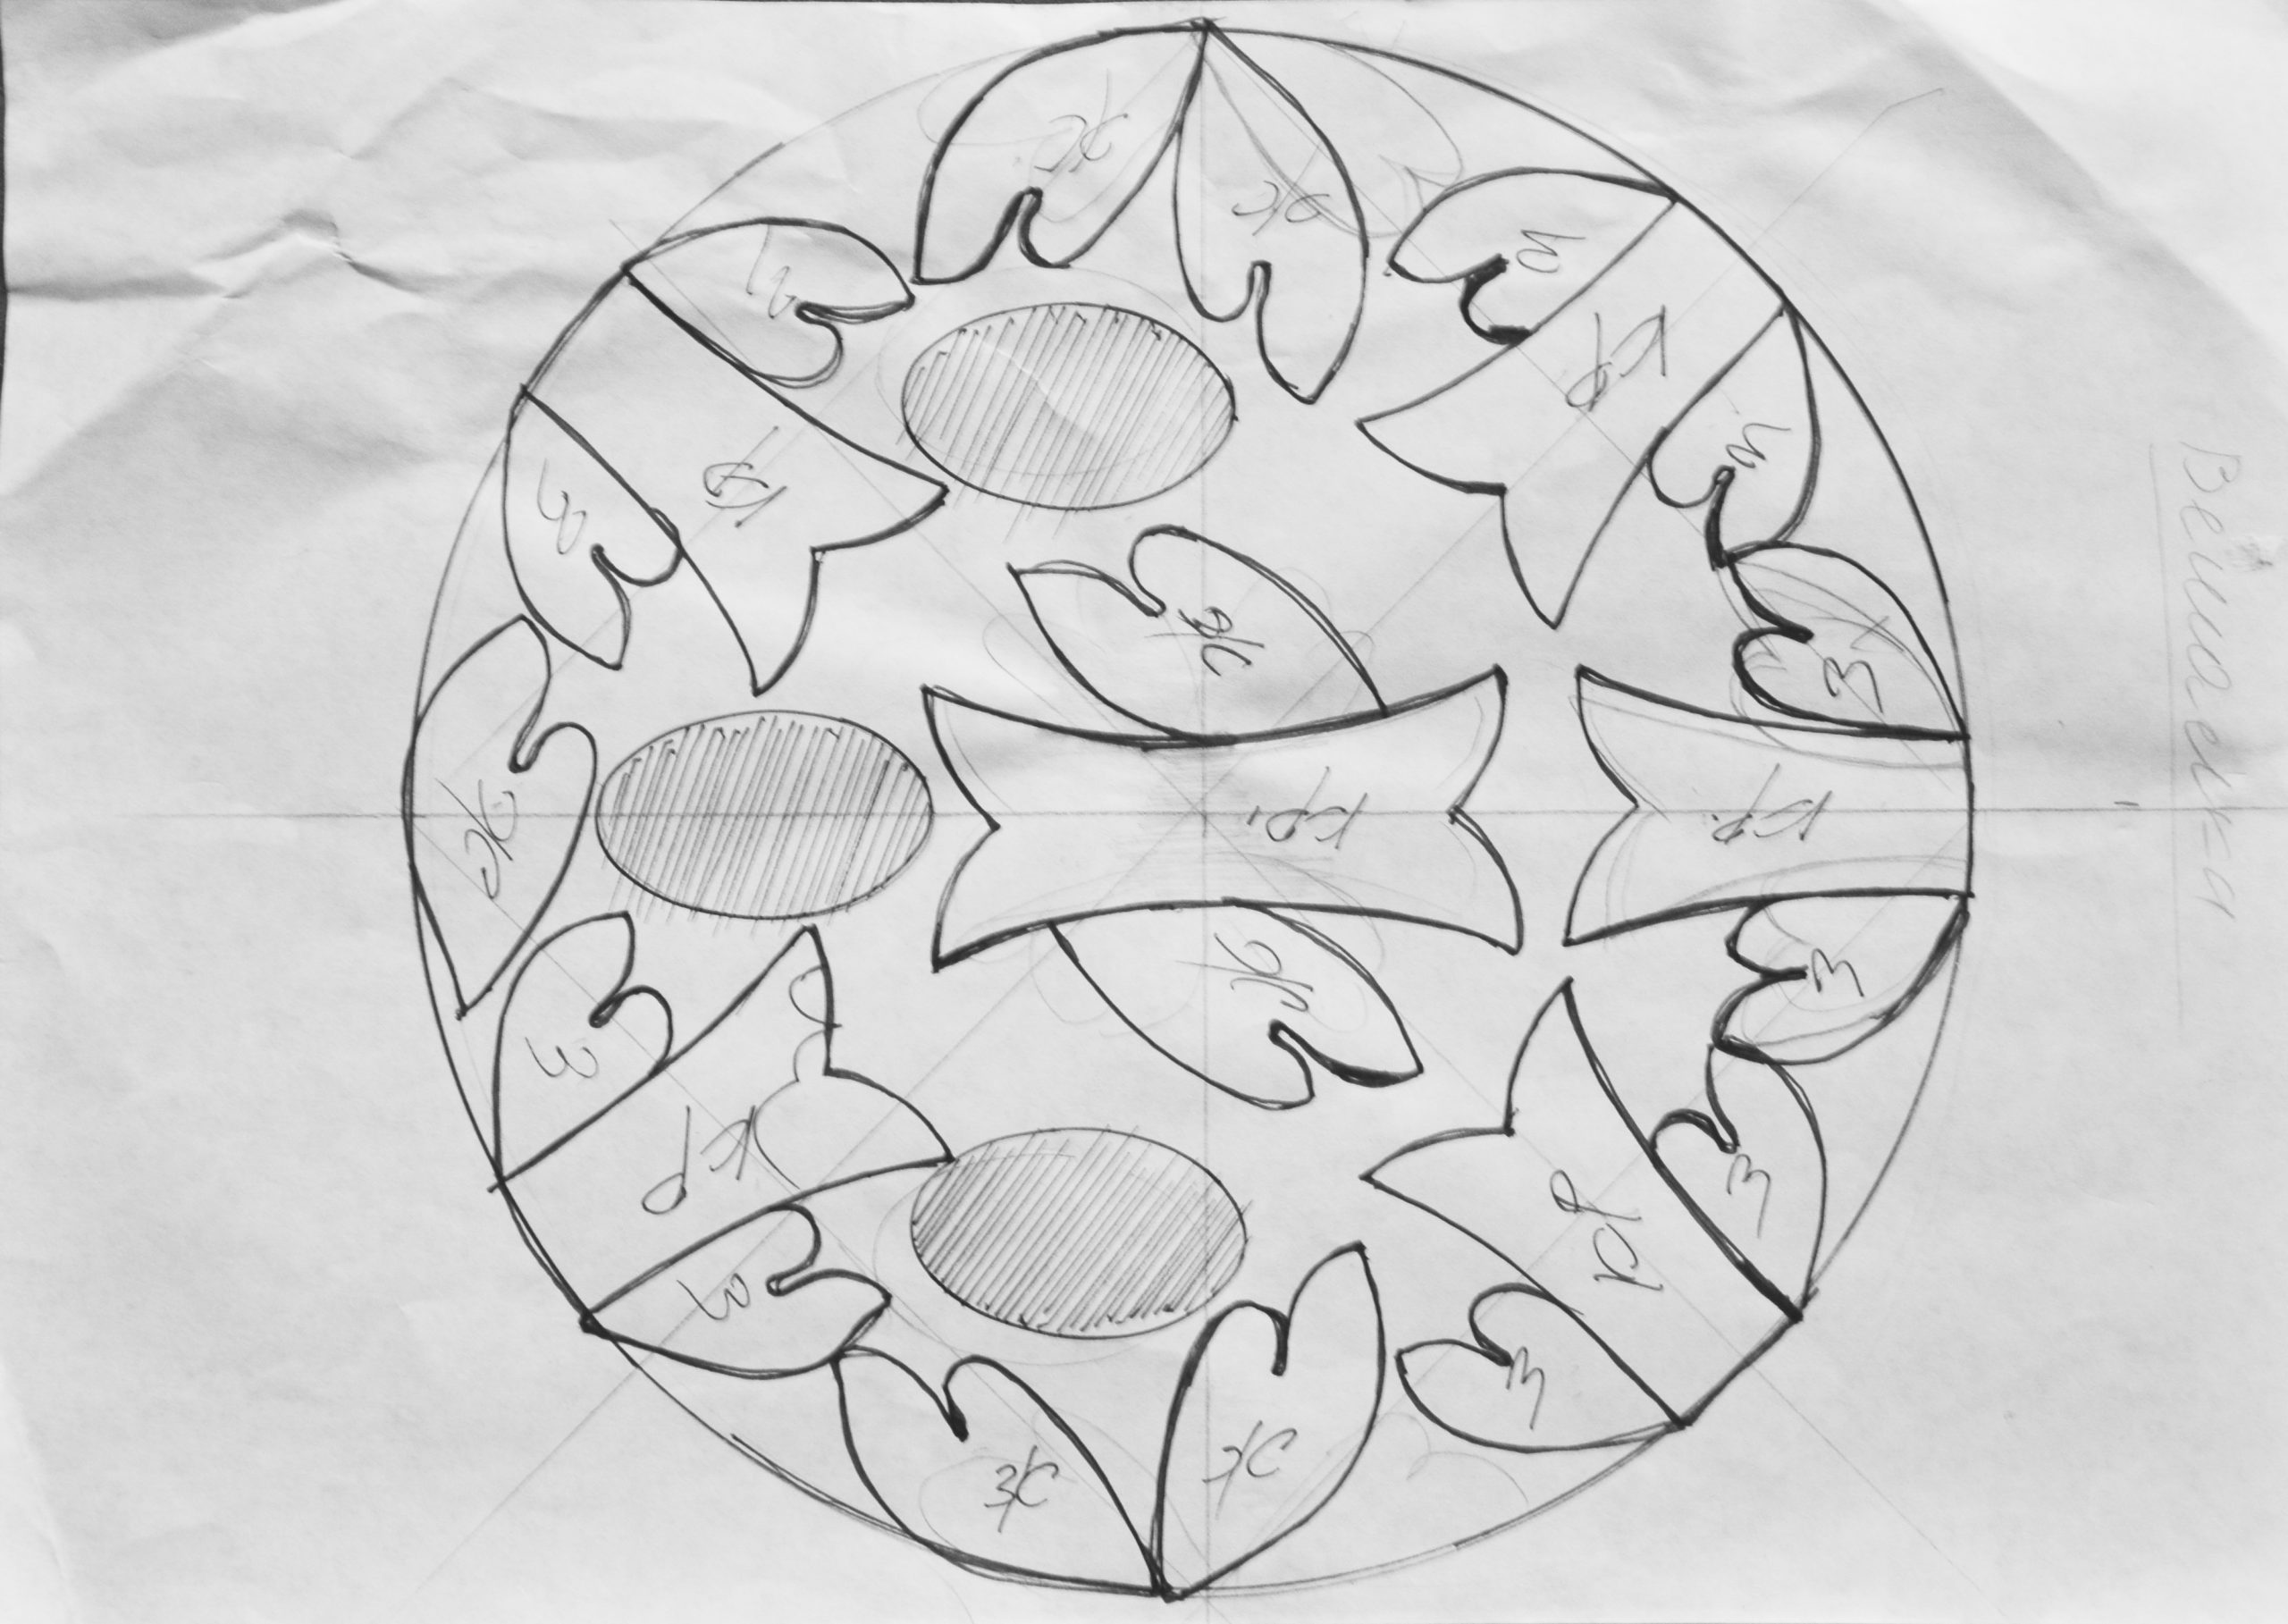
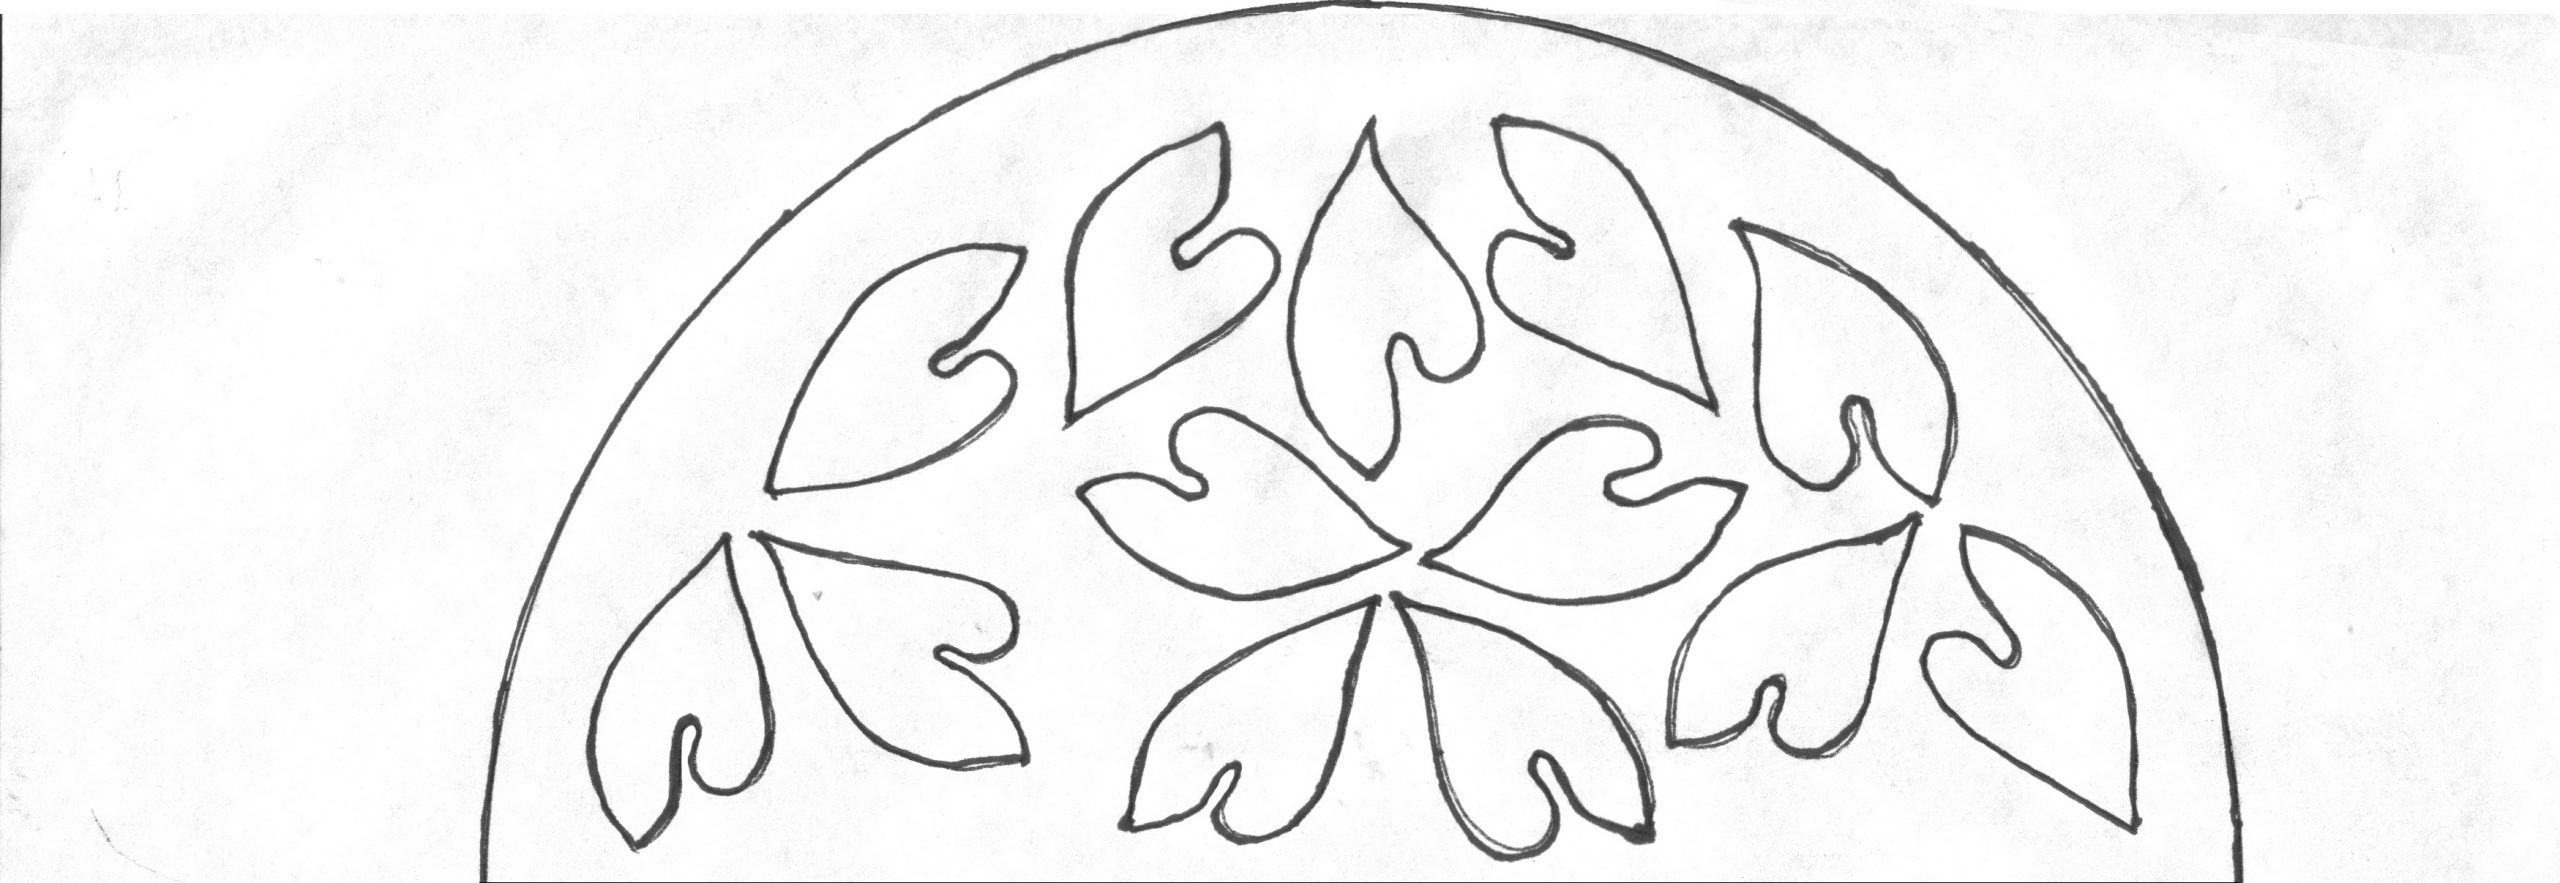
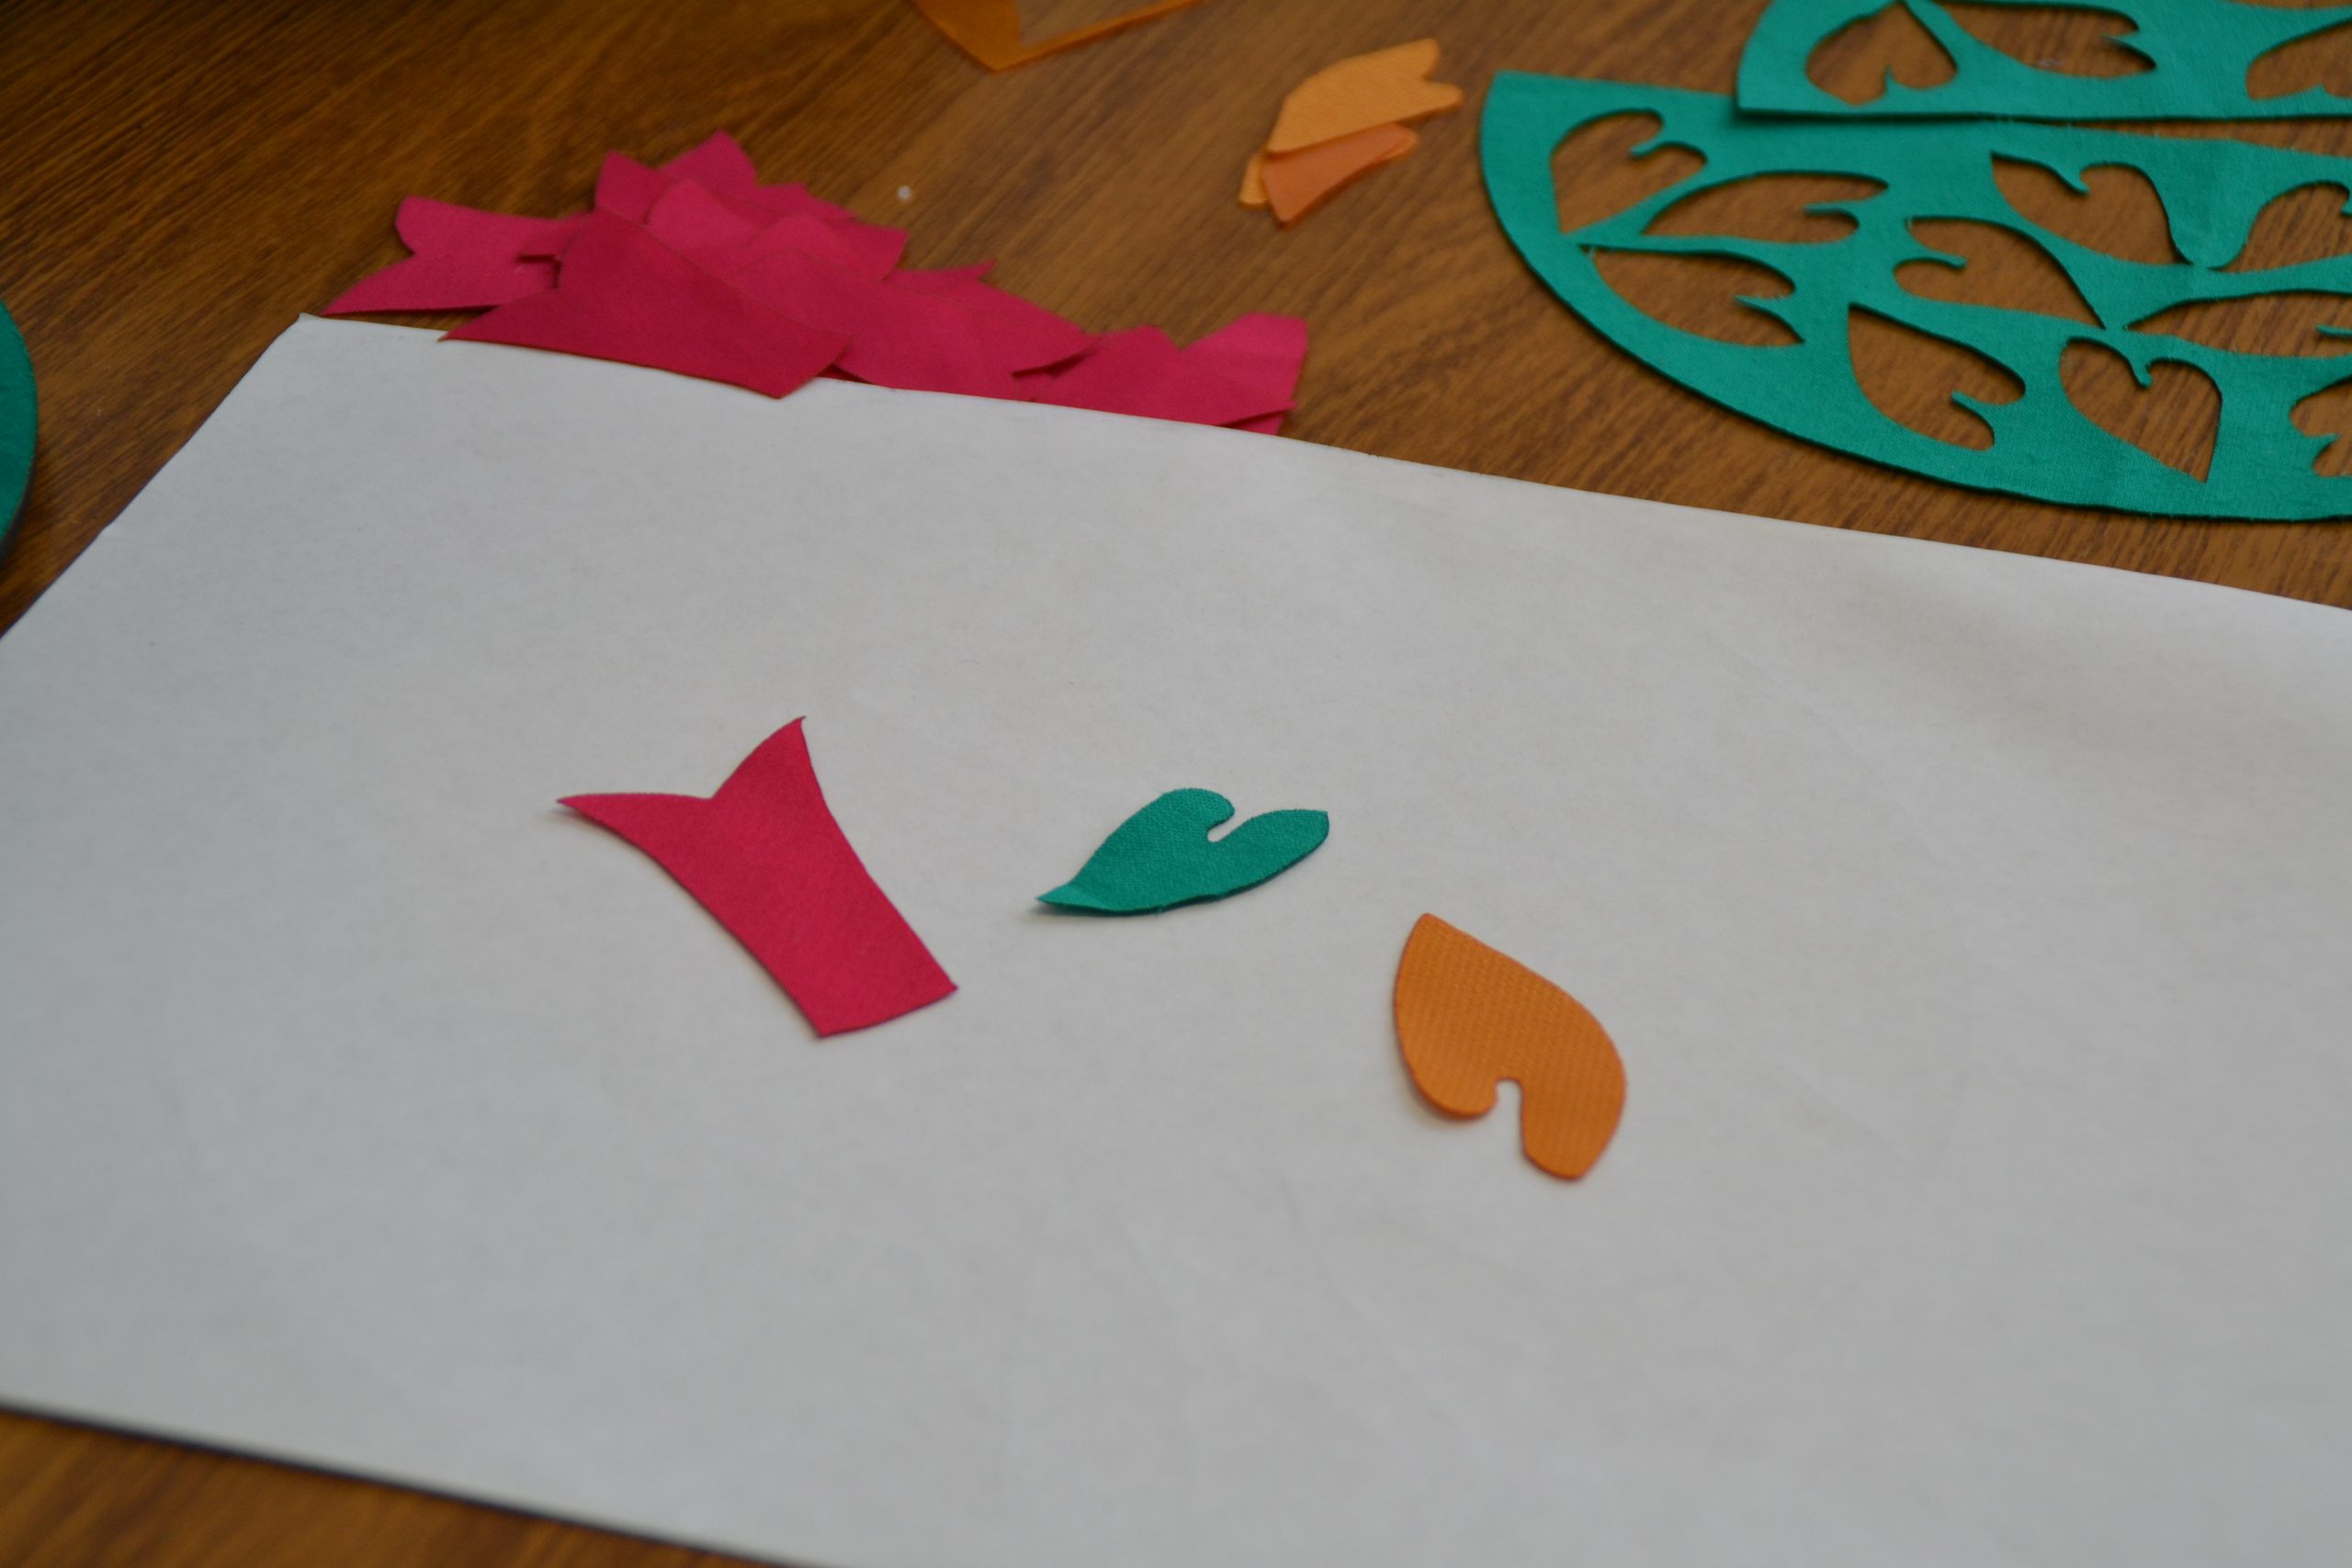
Then outlining the templates we create a pattern to our liking. For every element we use a fabric of a different color. That is why we mark the color of each element on the sketch.
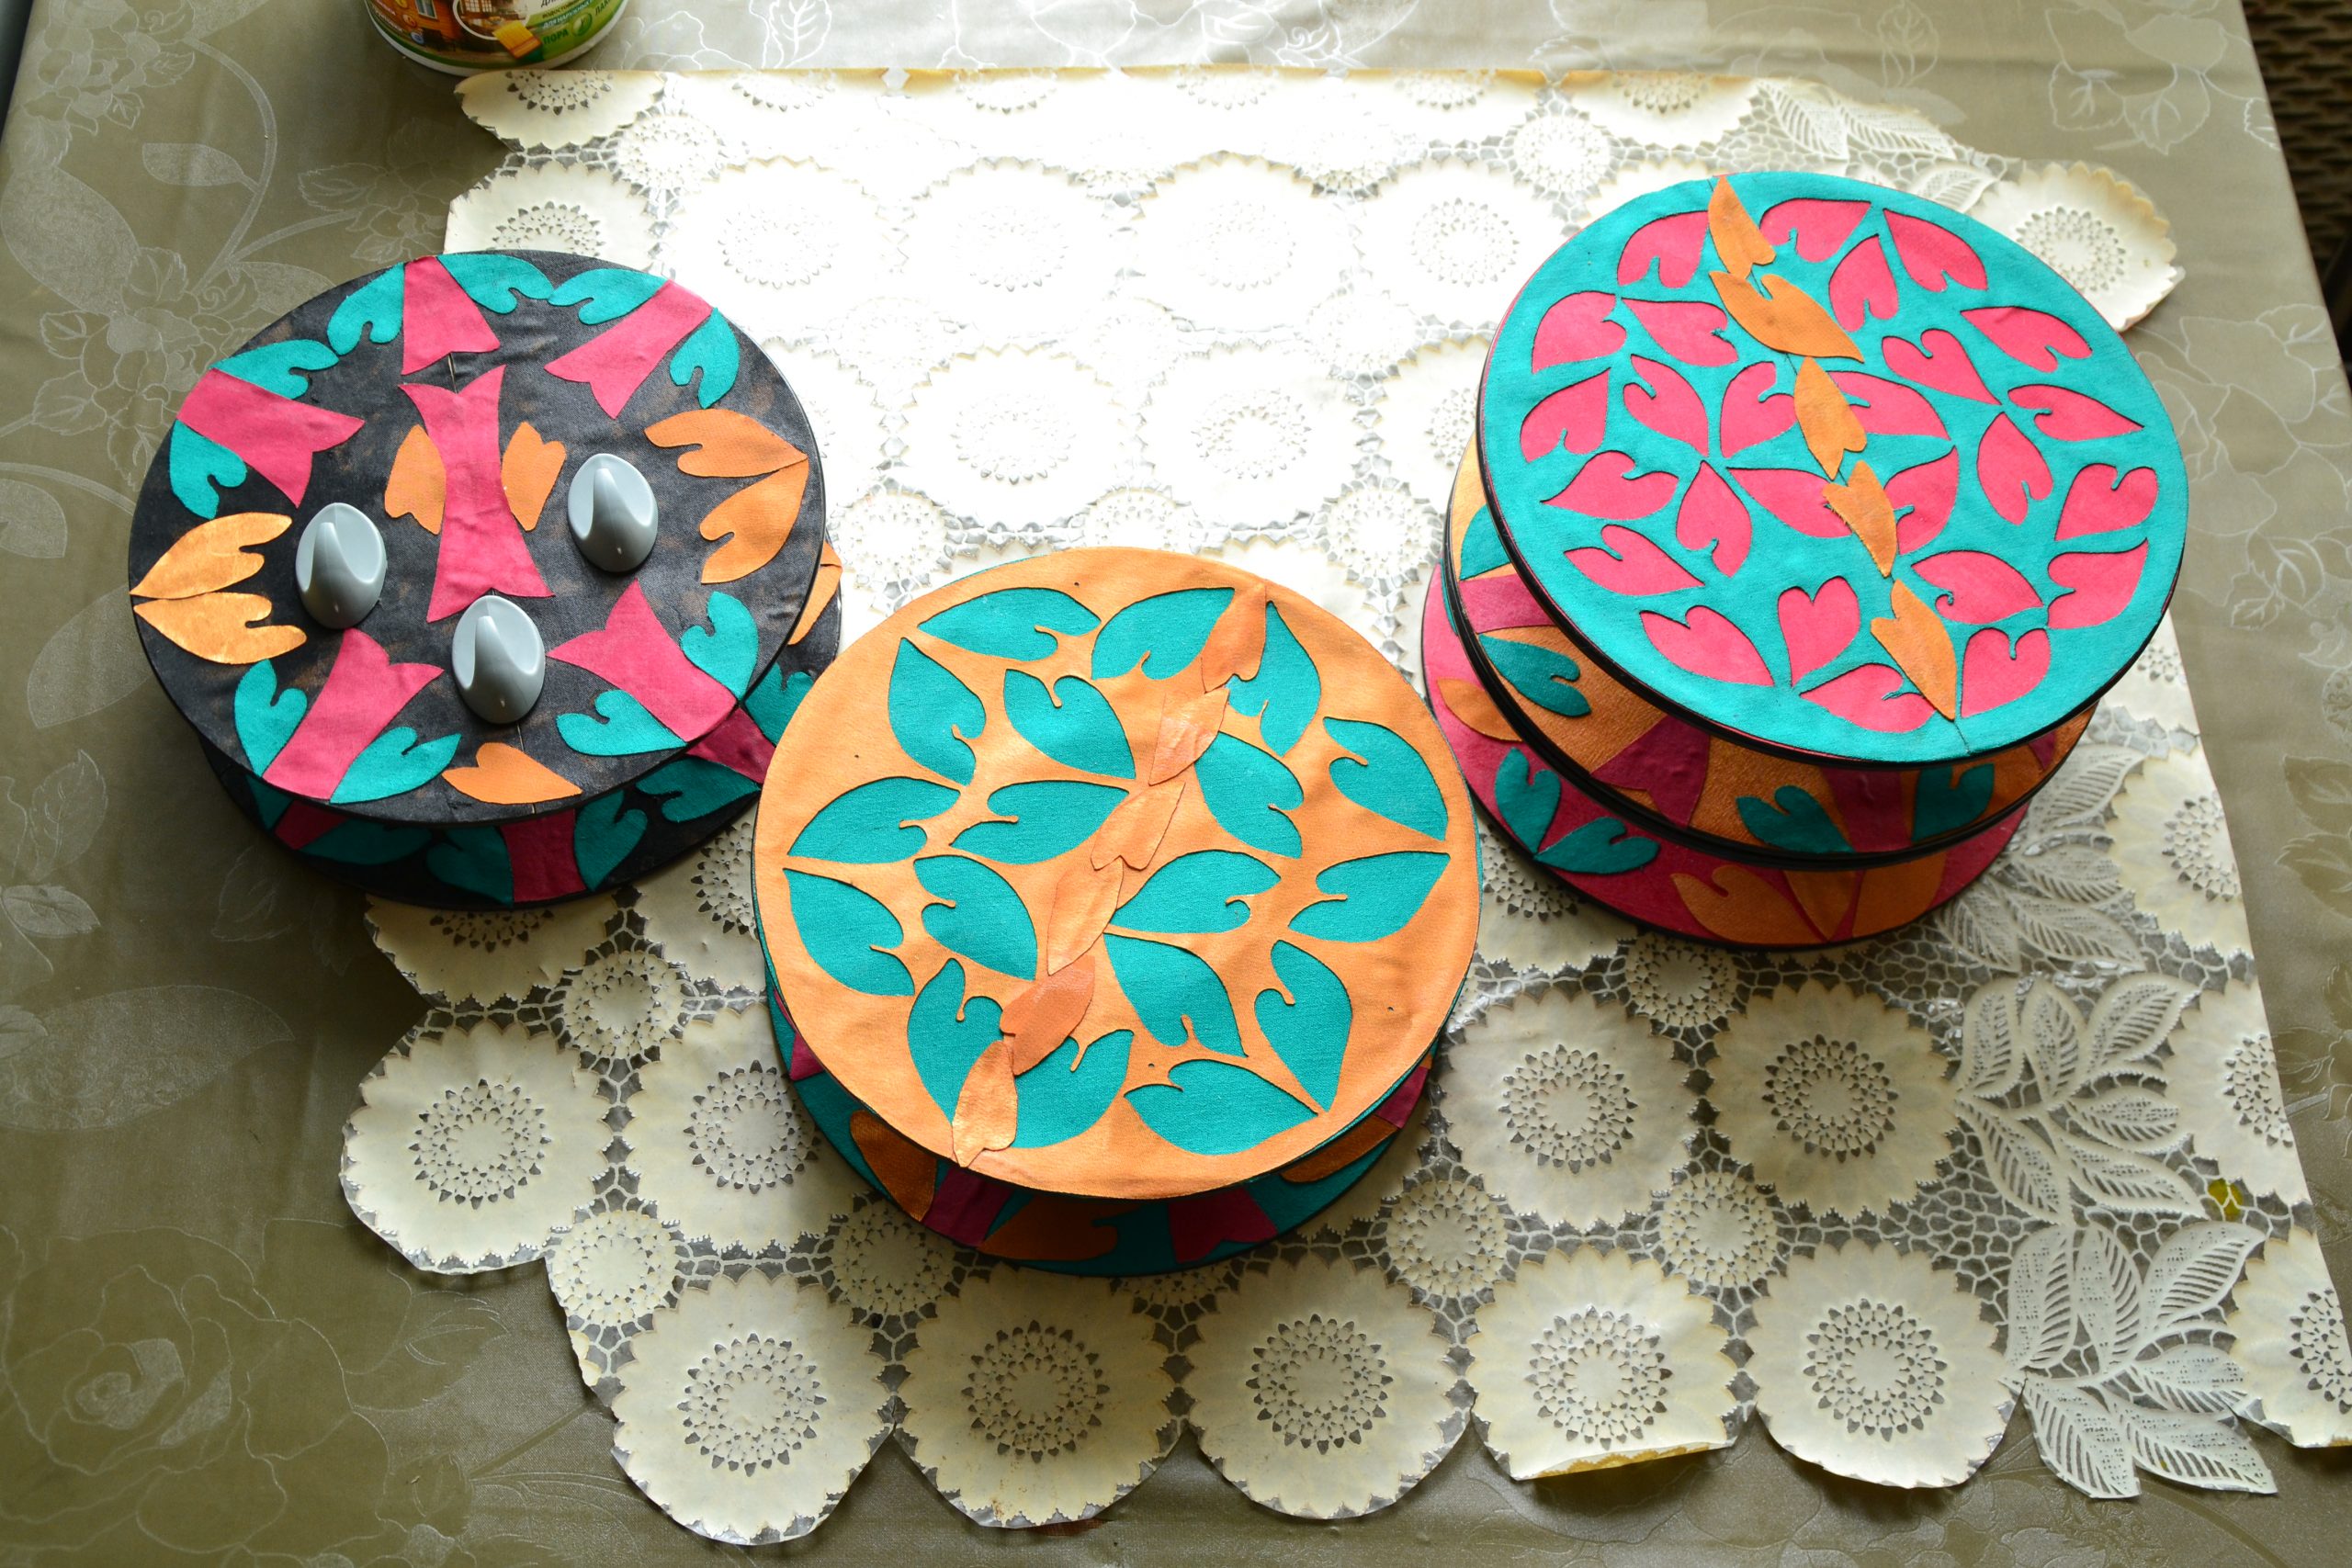
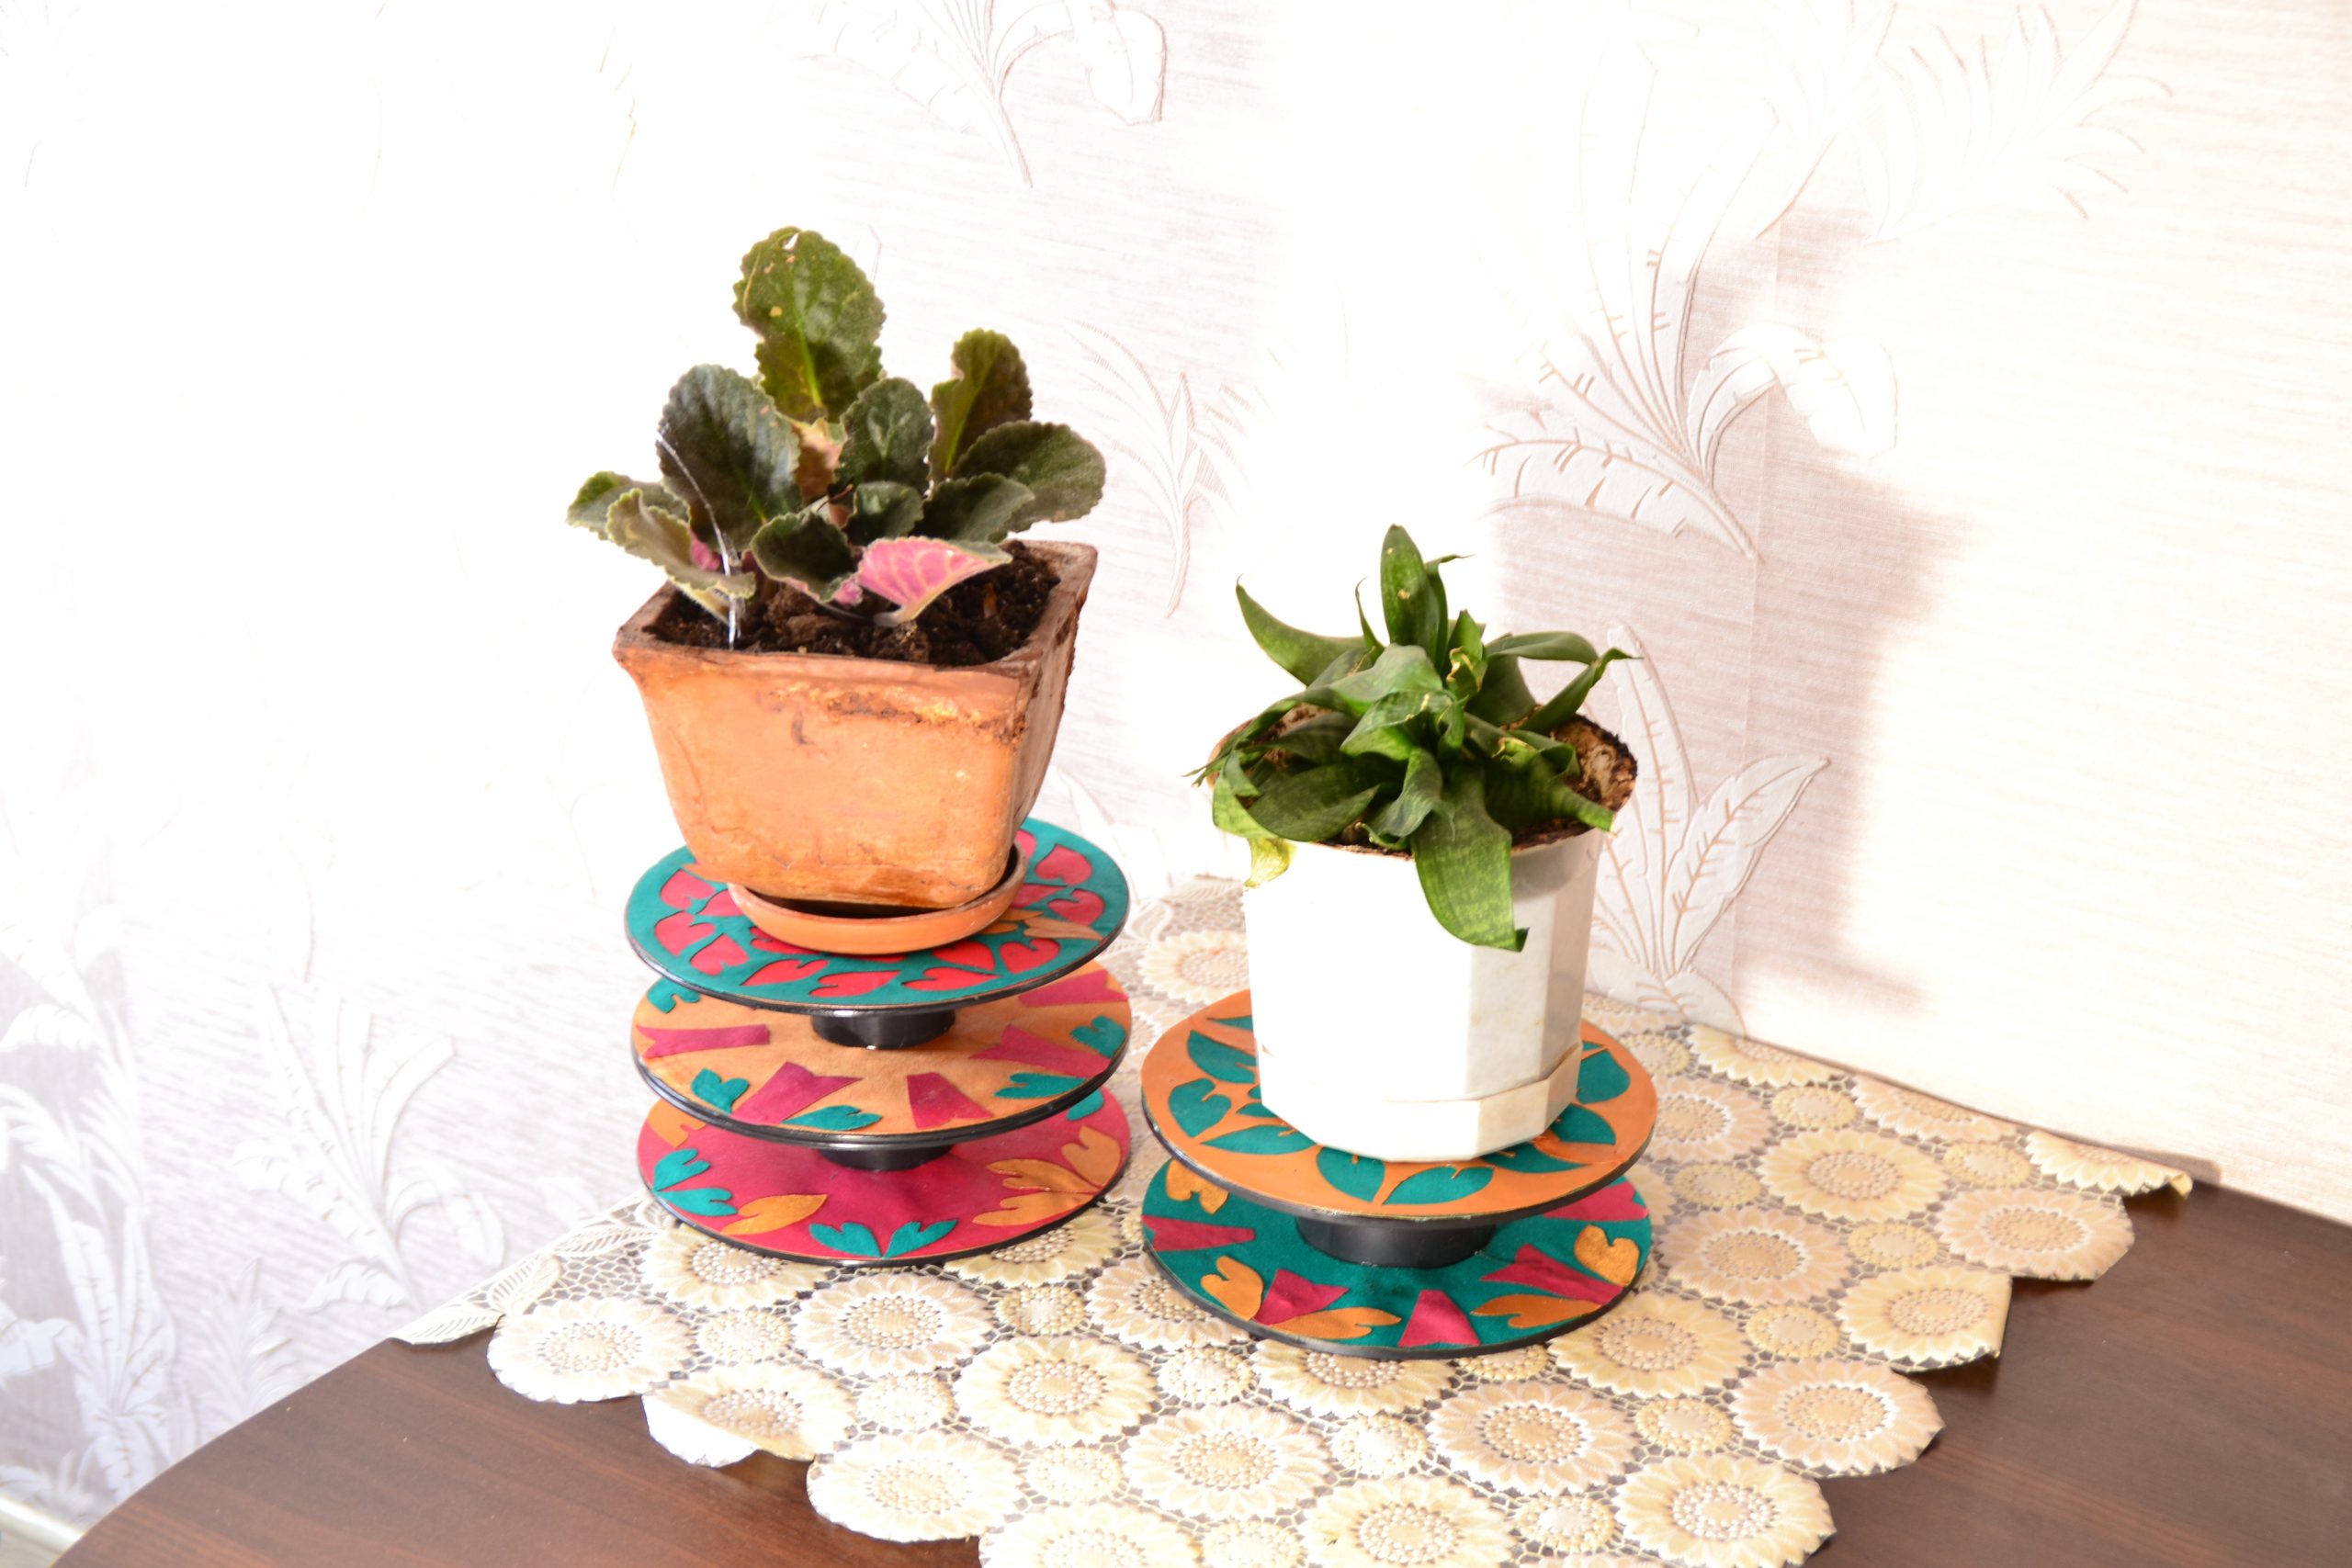
This is our main sketch for the front part of the towel rack. As it is known, any spool has two sides. We are going to decorate the front surface of the back one (as the reverse surface will not be seen) according to our sketch as well. In the same way, we decorate the flower stands. For one flower stand we need one spool, for another one – two glued together. We decorate the upper part of the flower stand with a workpiece left over after removal of all the cutout elements of the decoration.
Now, using templates we create sketches for our decoration.

After that, using carbon paper we copy the sketches to blank sheets of paper.
Creation of the base workpiece
Now we need to make an underlay (or a base) for our workpieces. For this we paste fabric to a piece of cardboard.
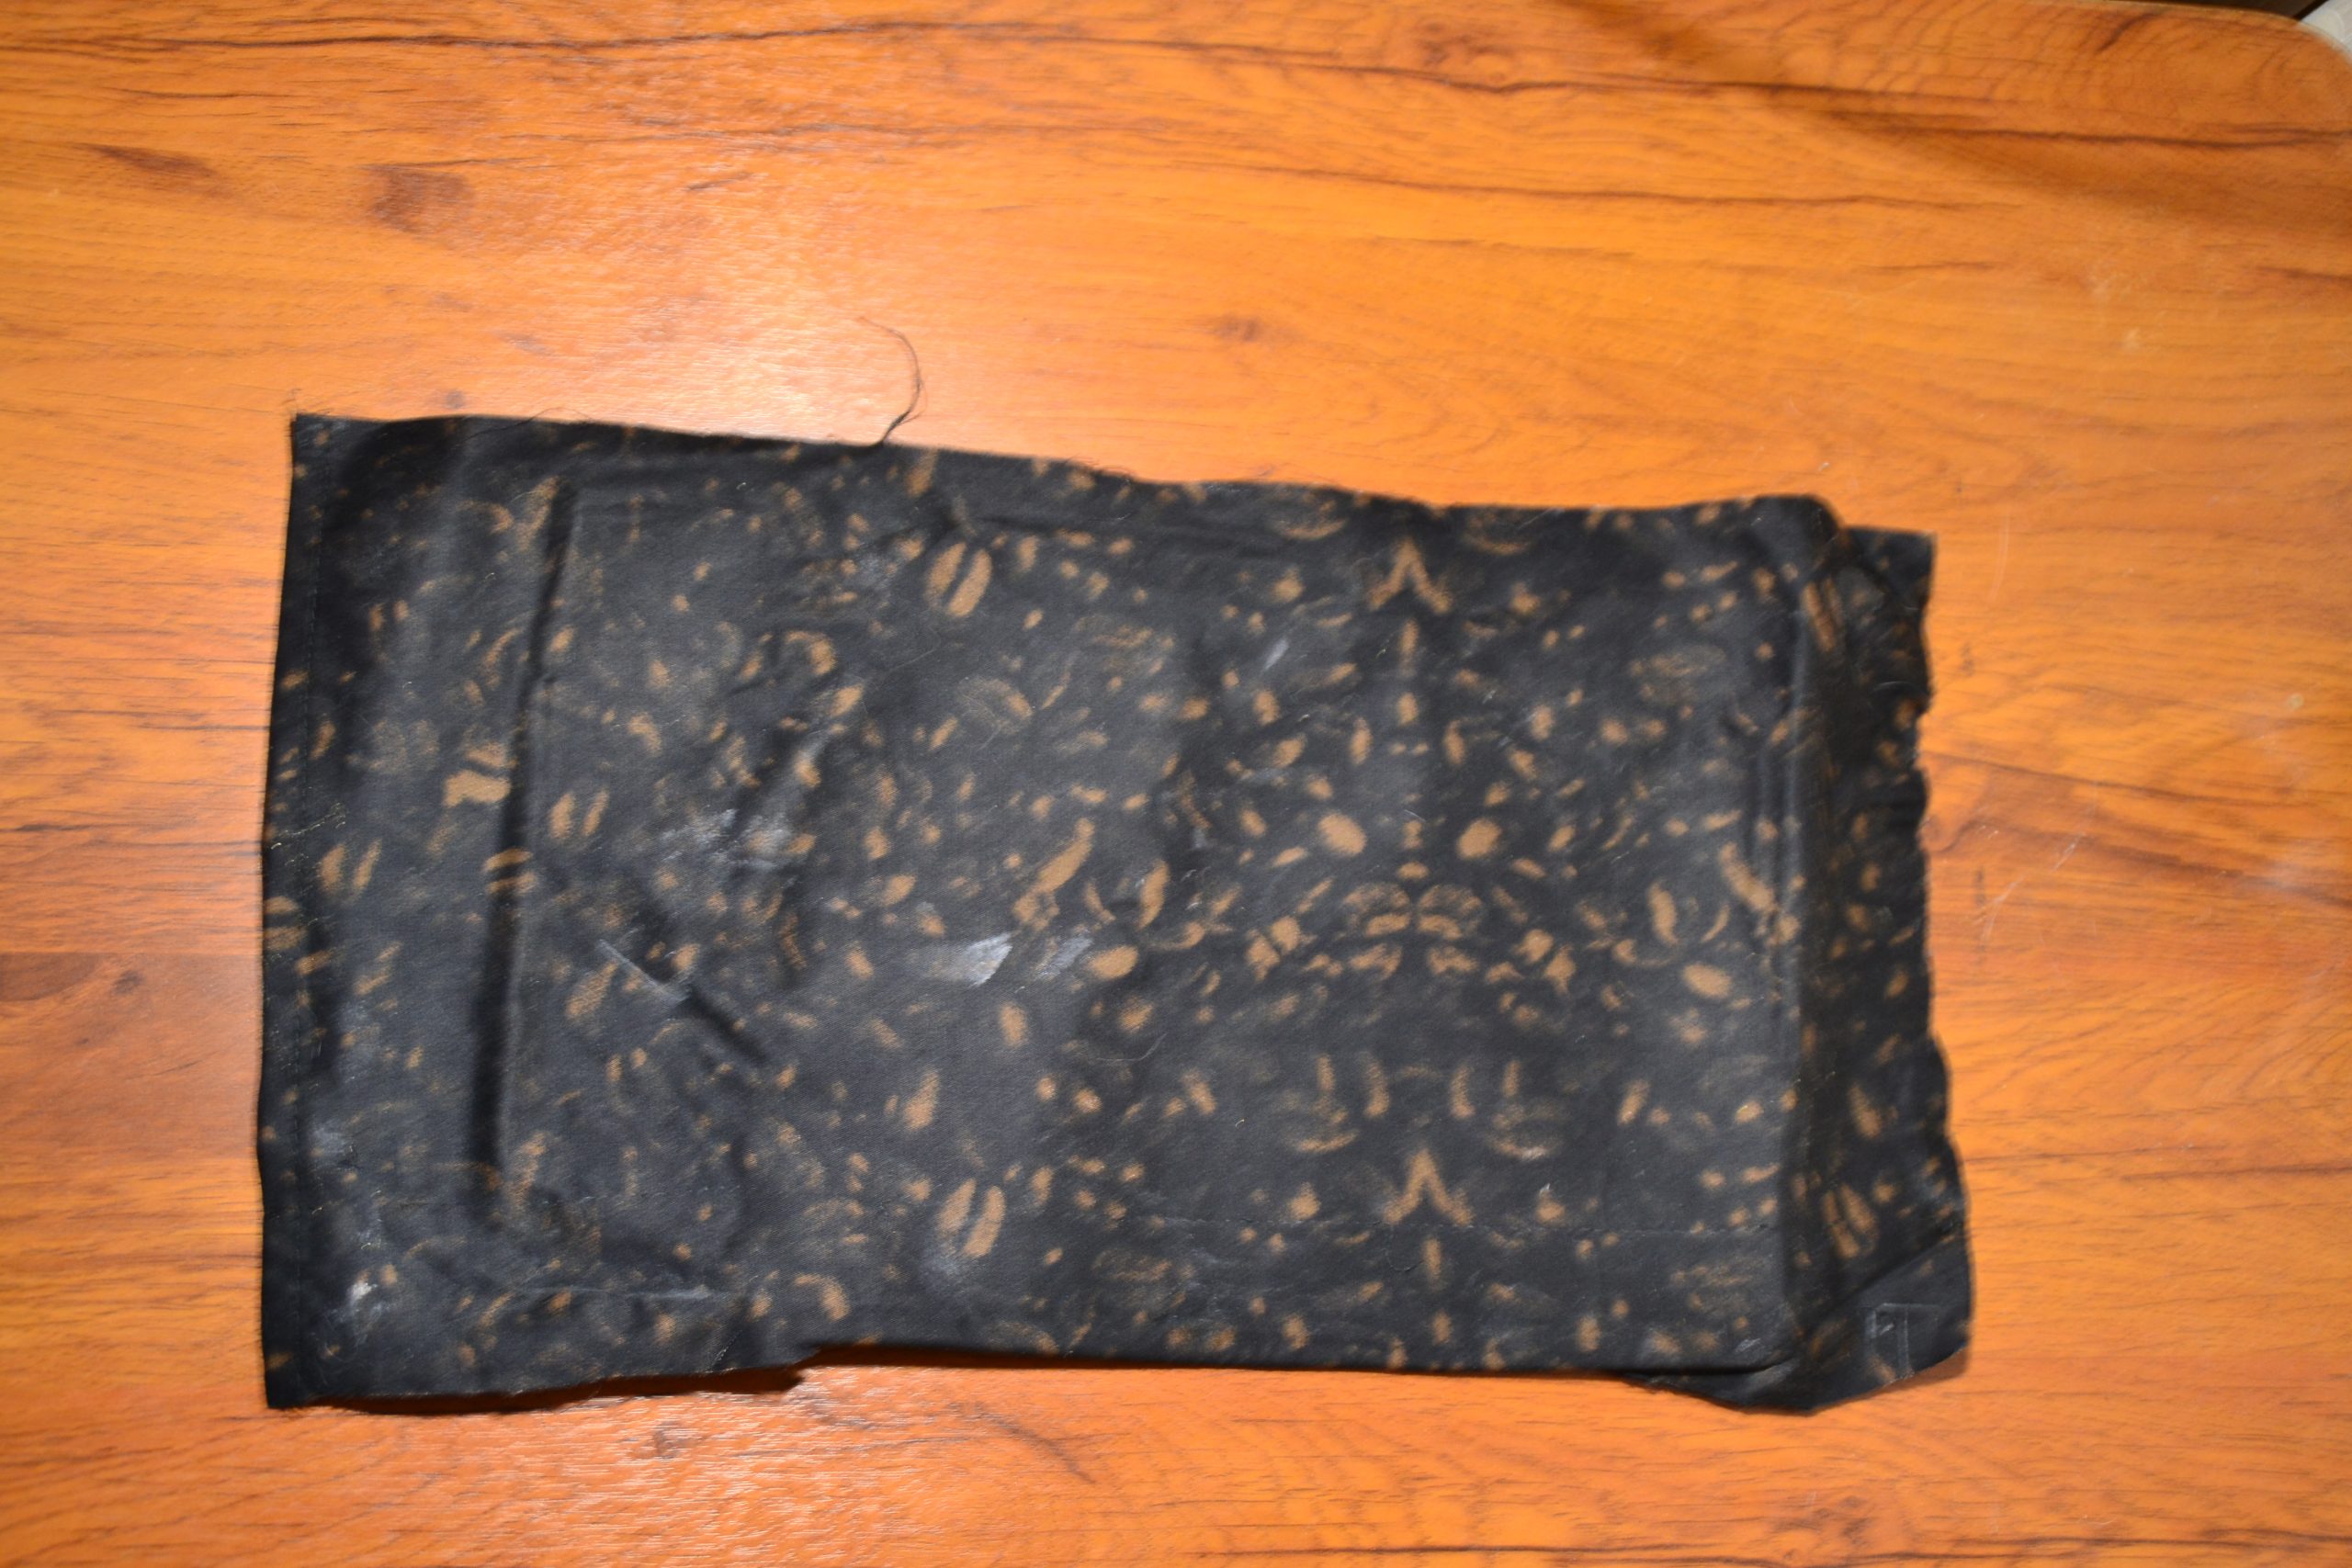
Cotton sheeting fabric Cotton sheeting fabric
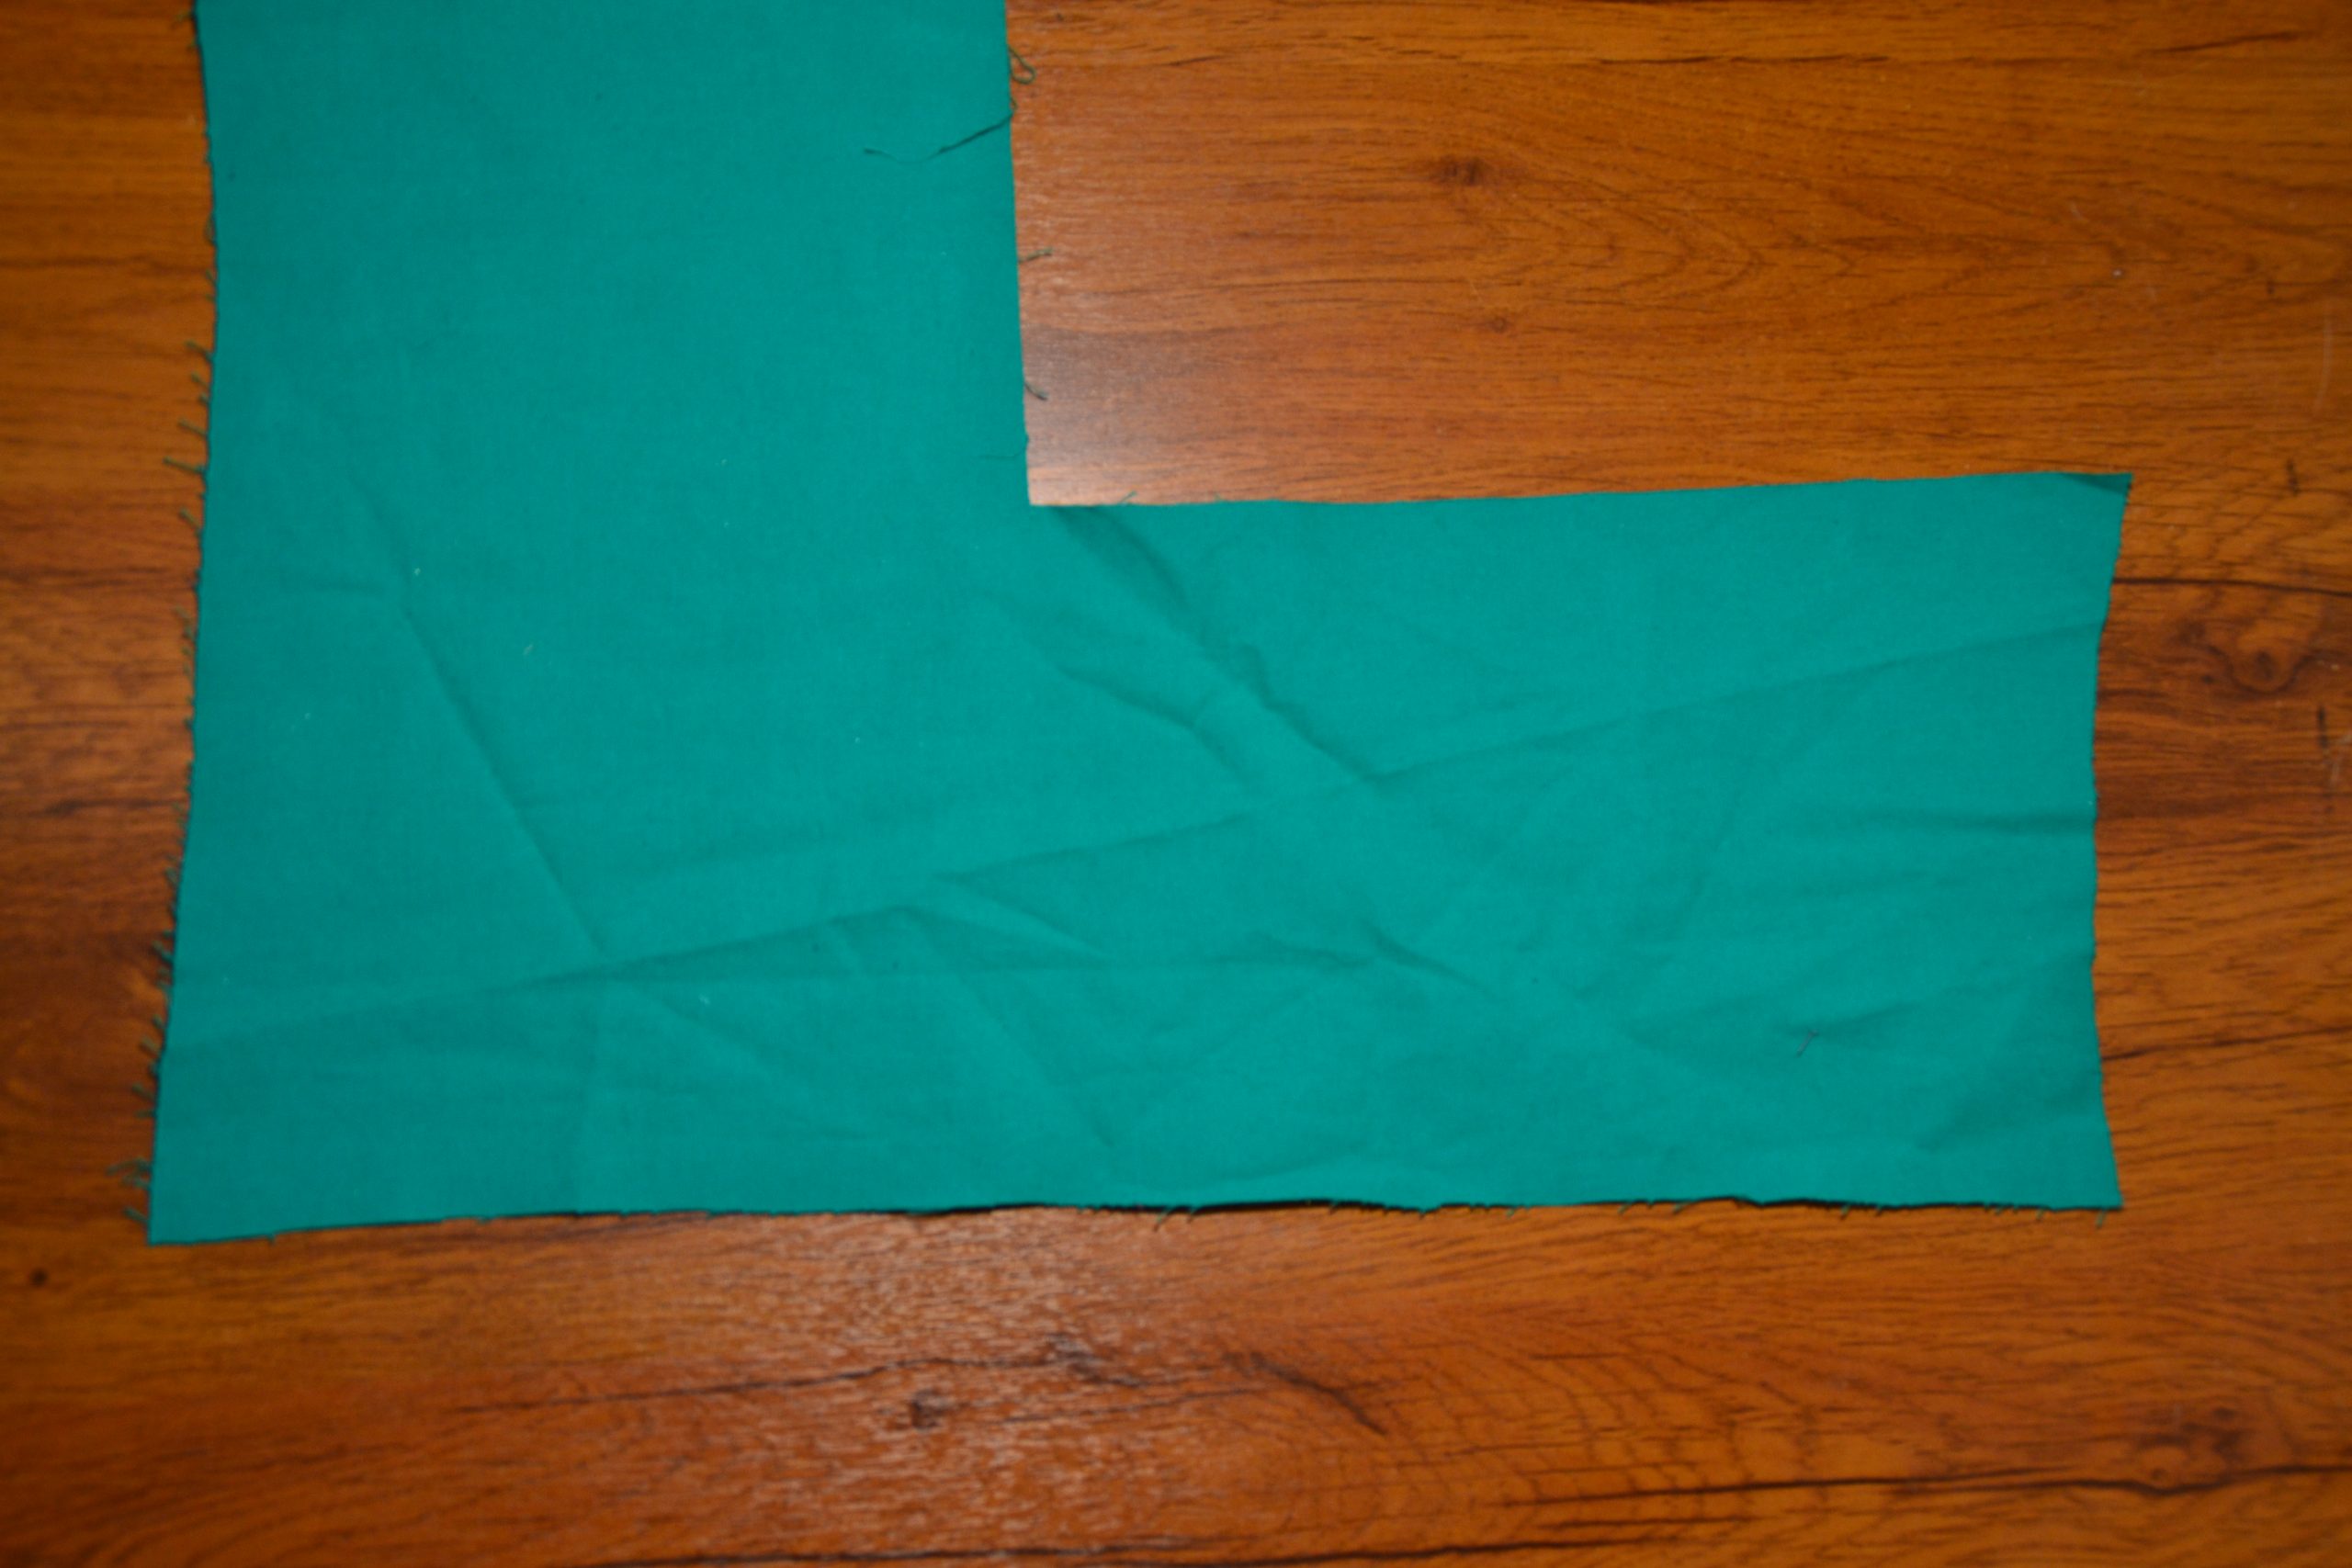
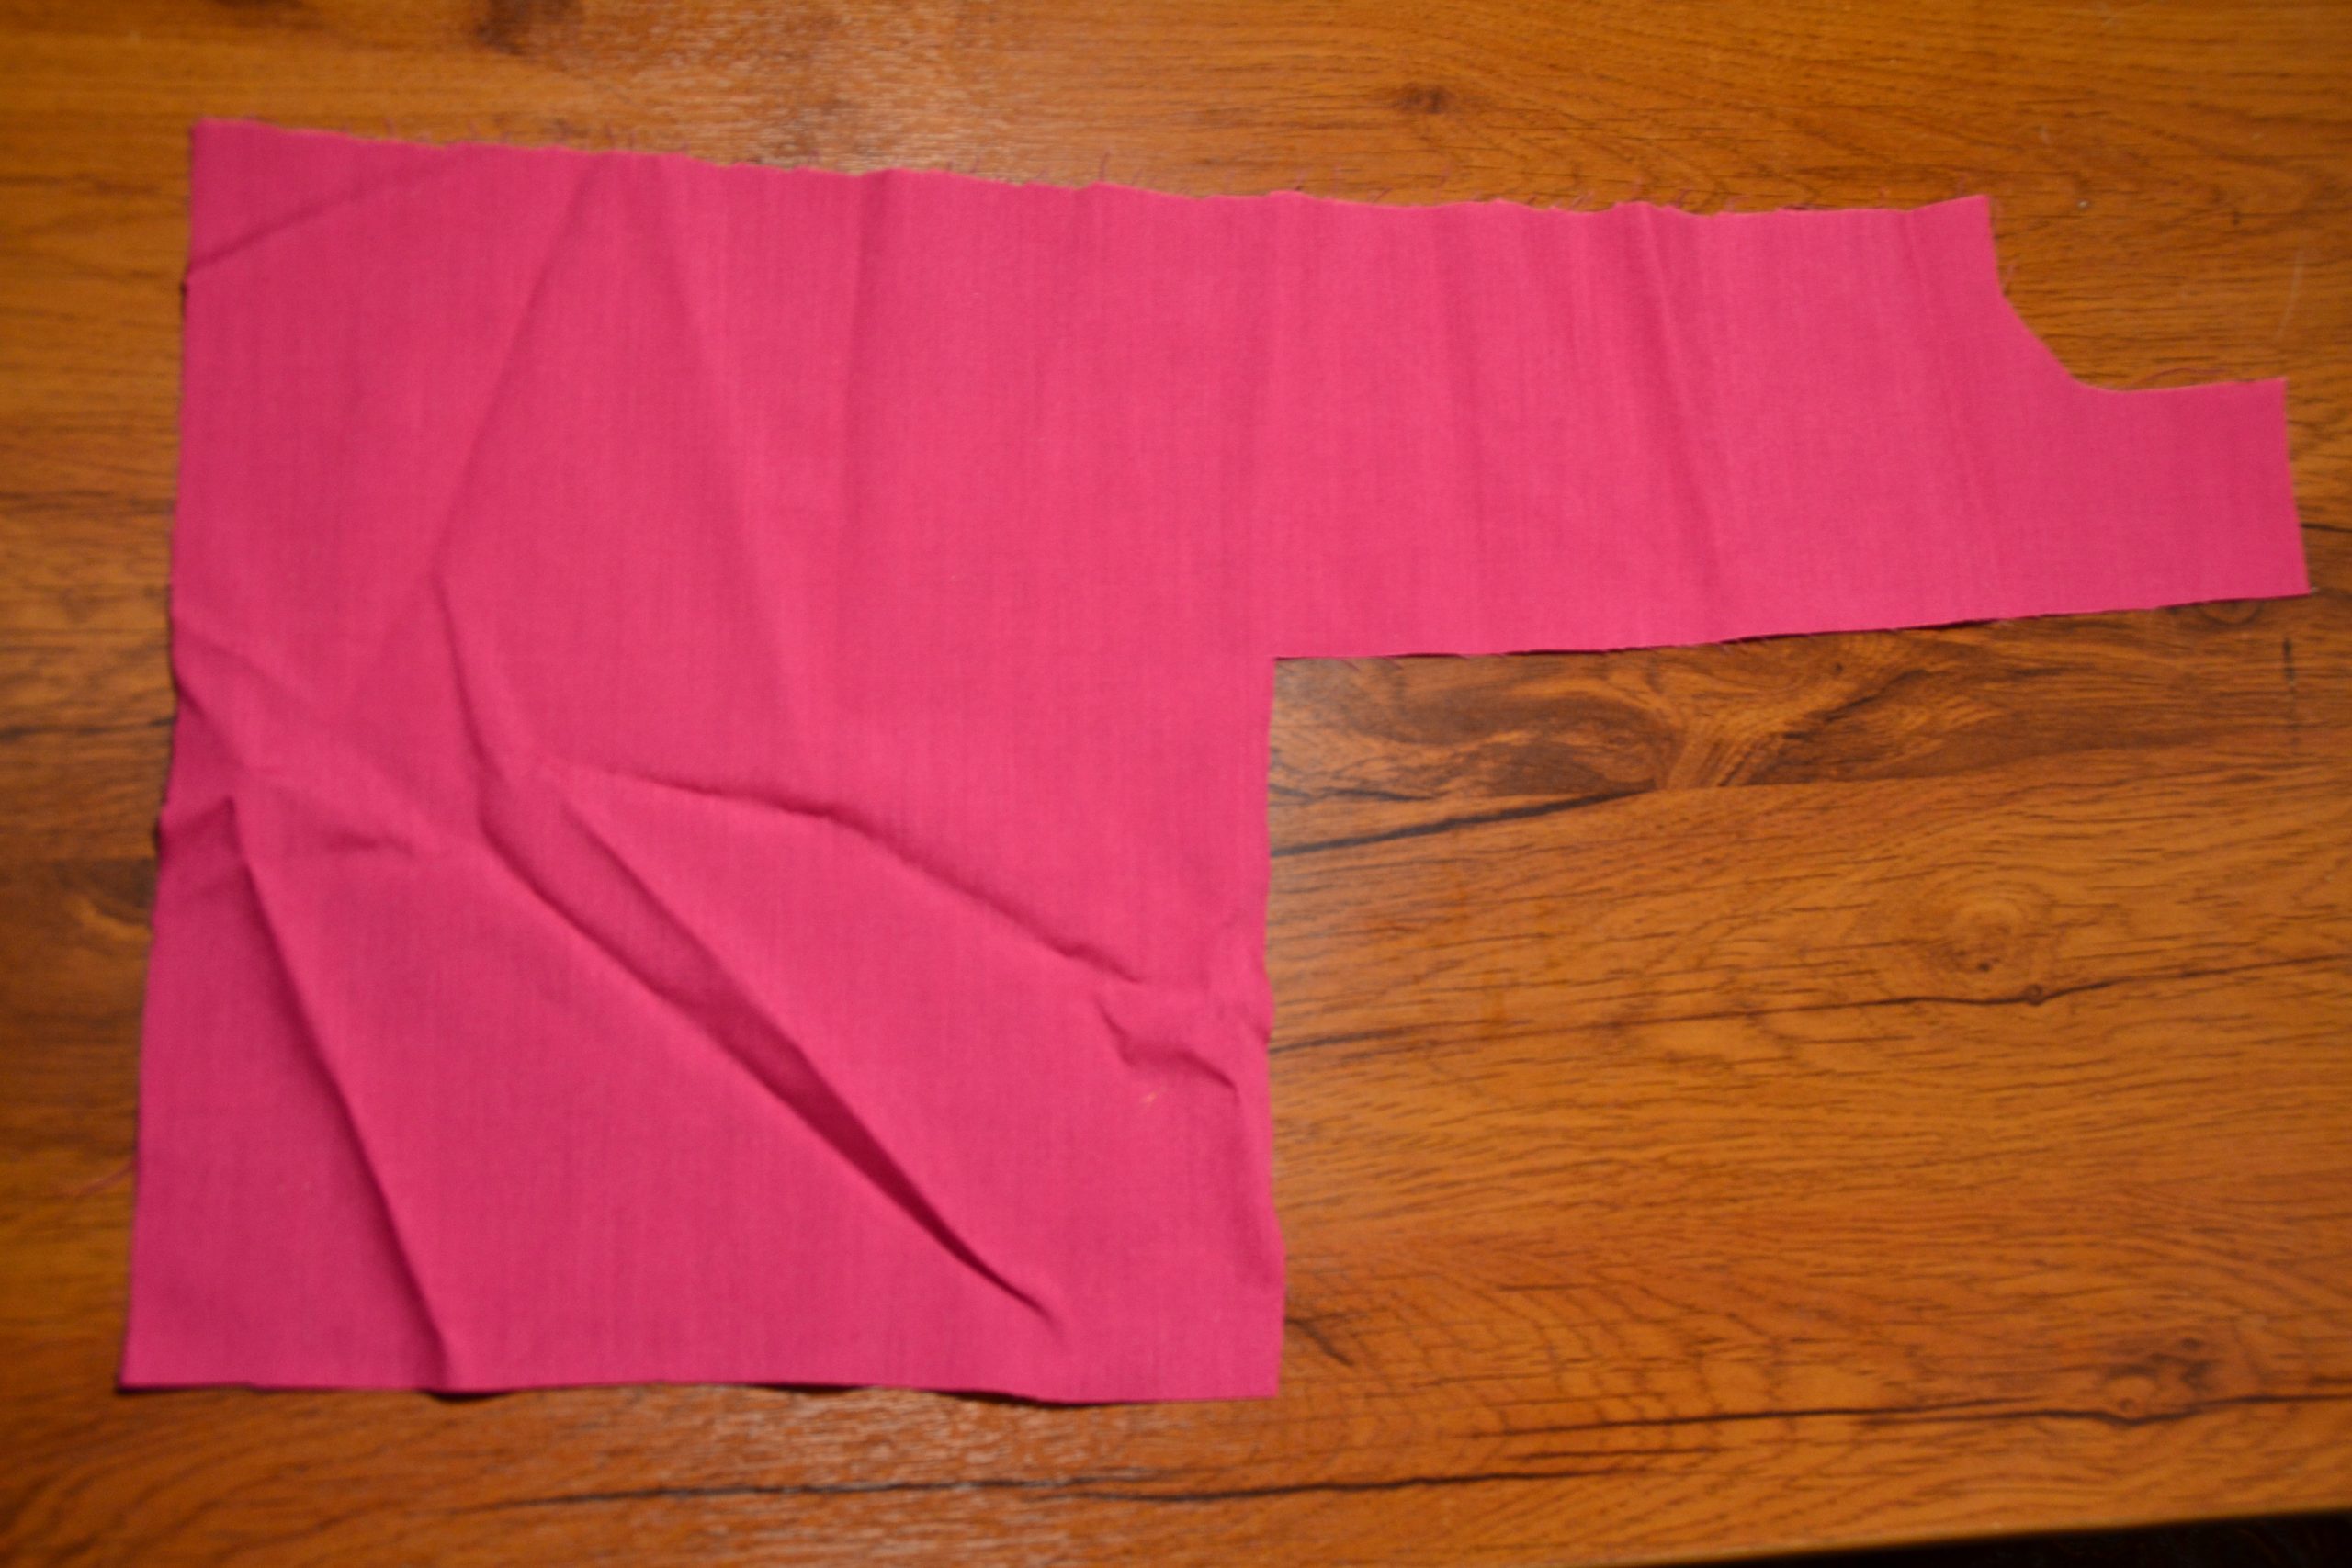
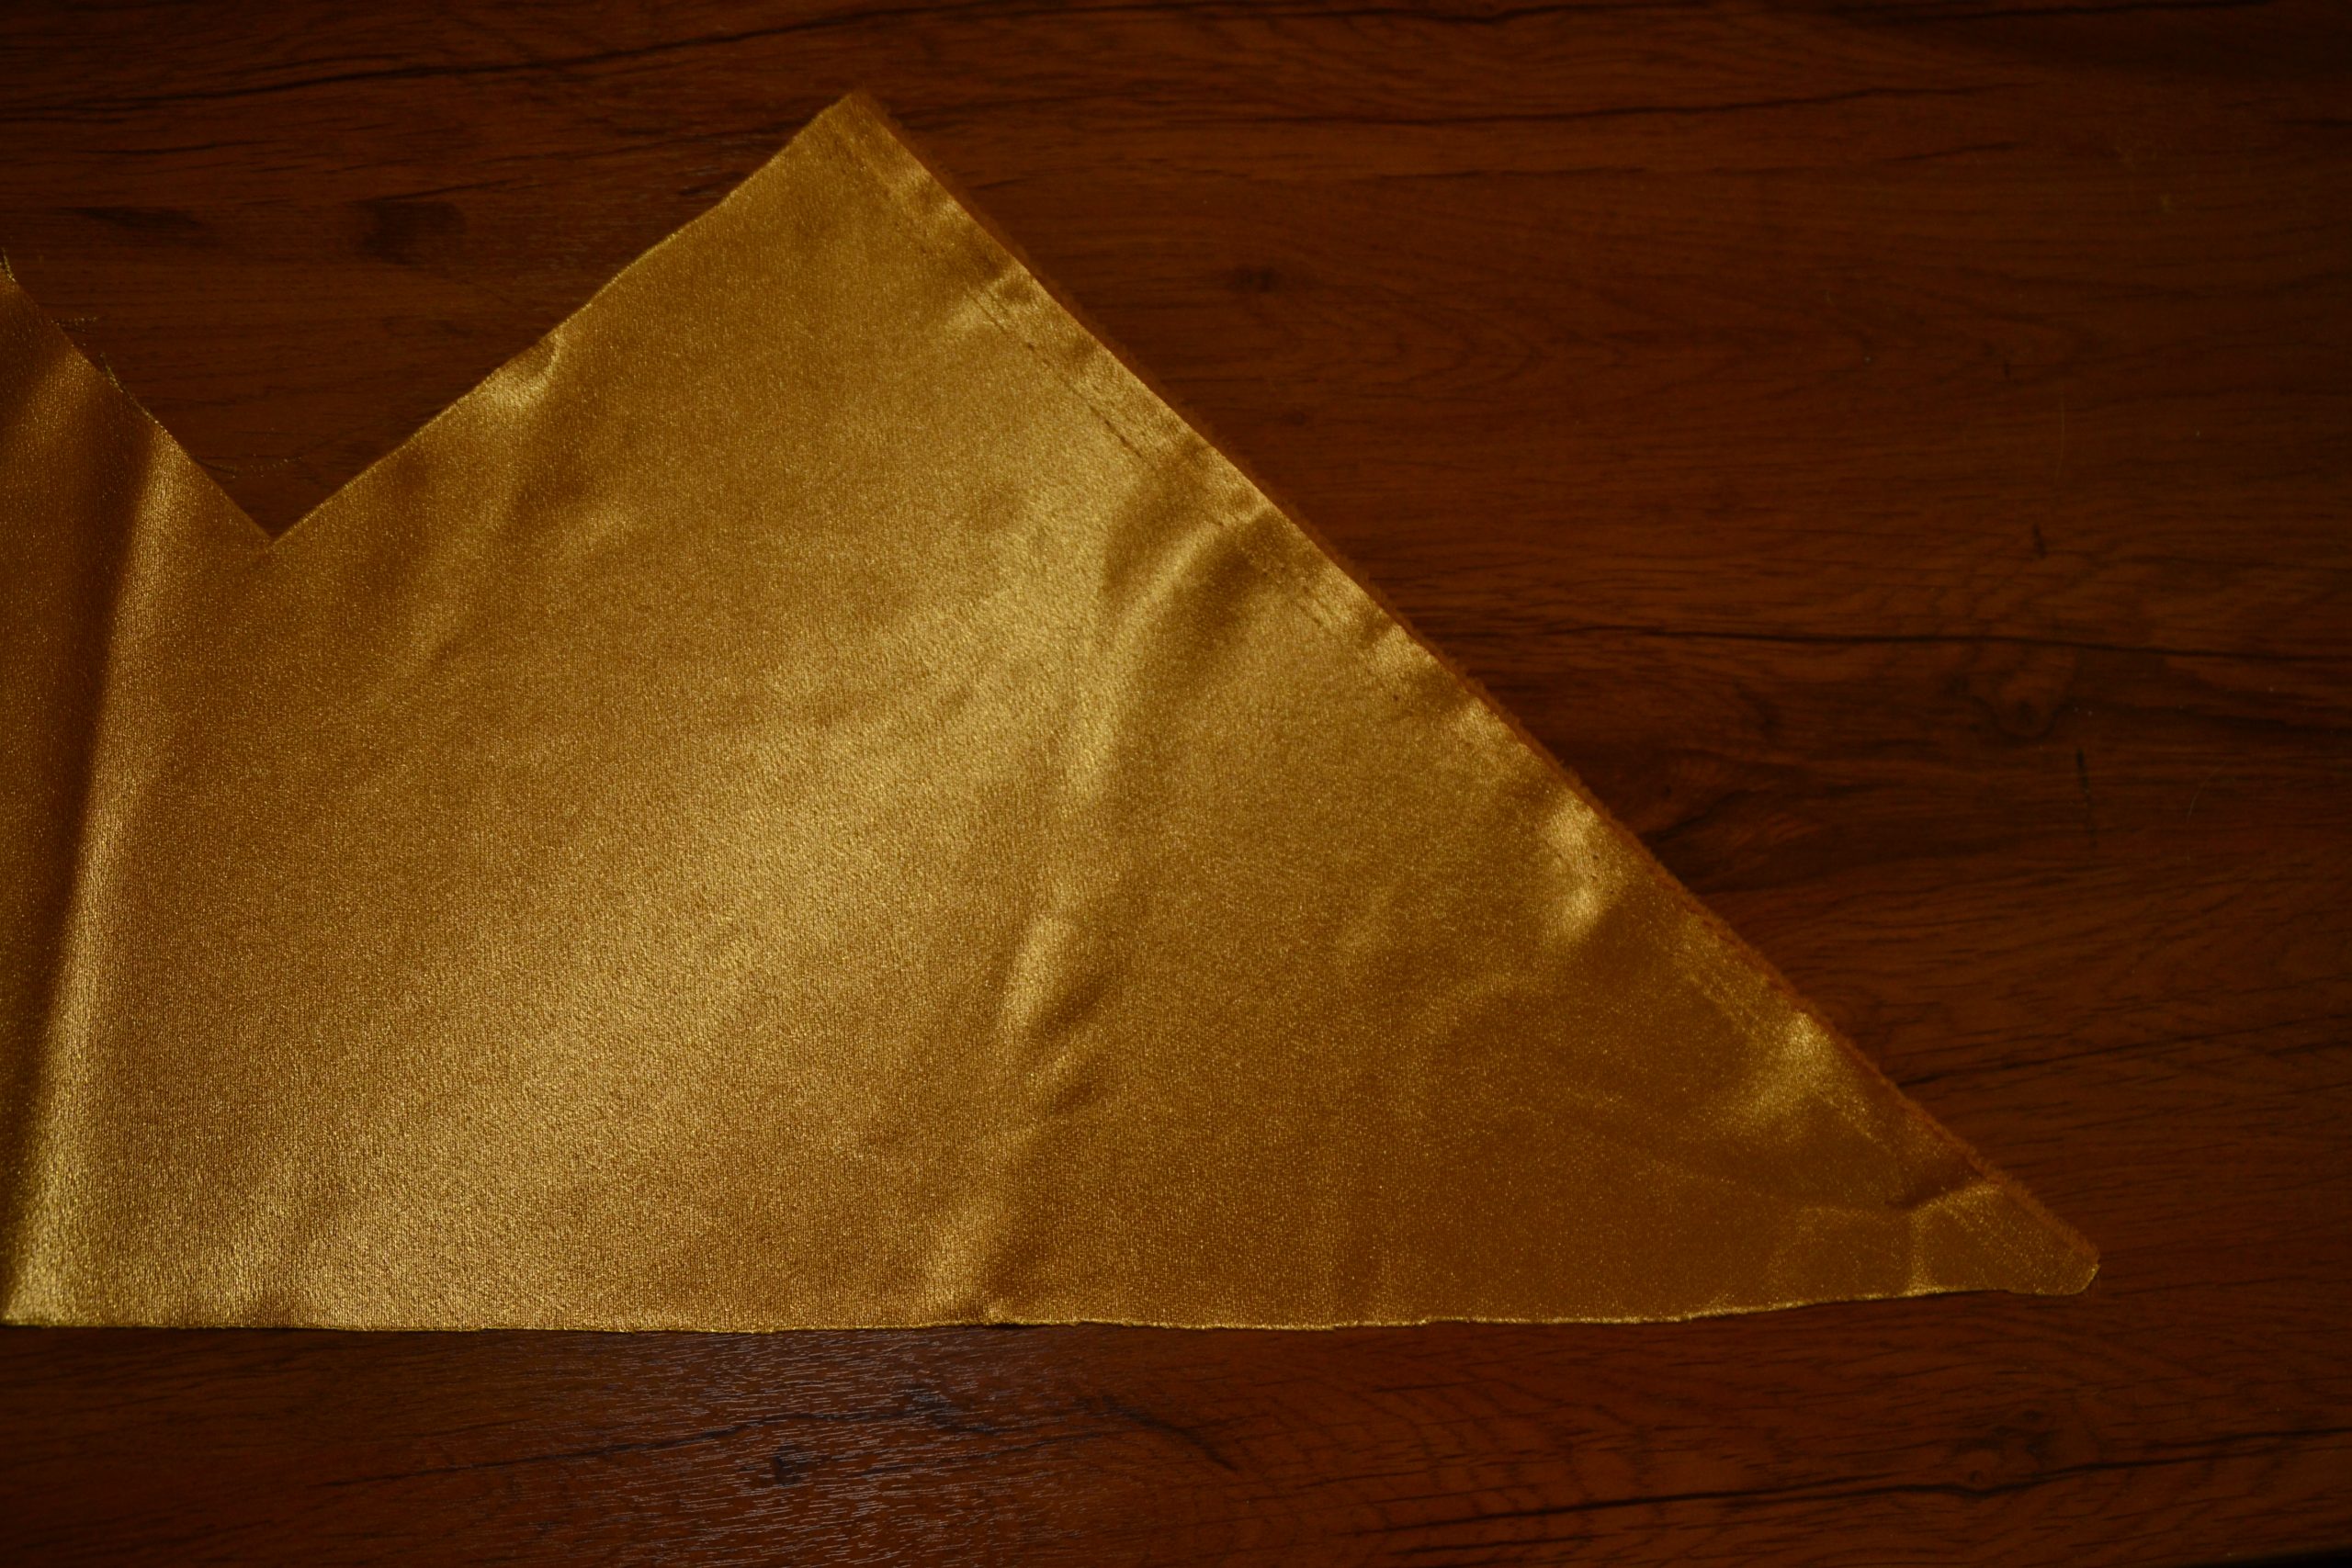
Satin Poplin
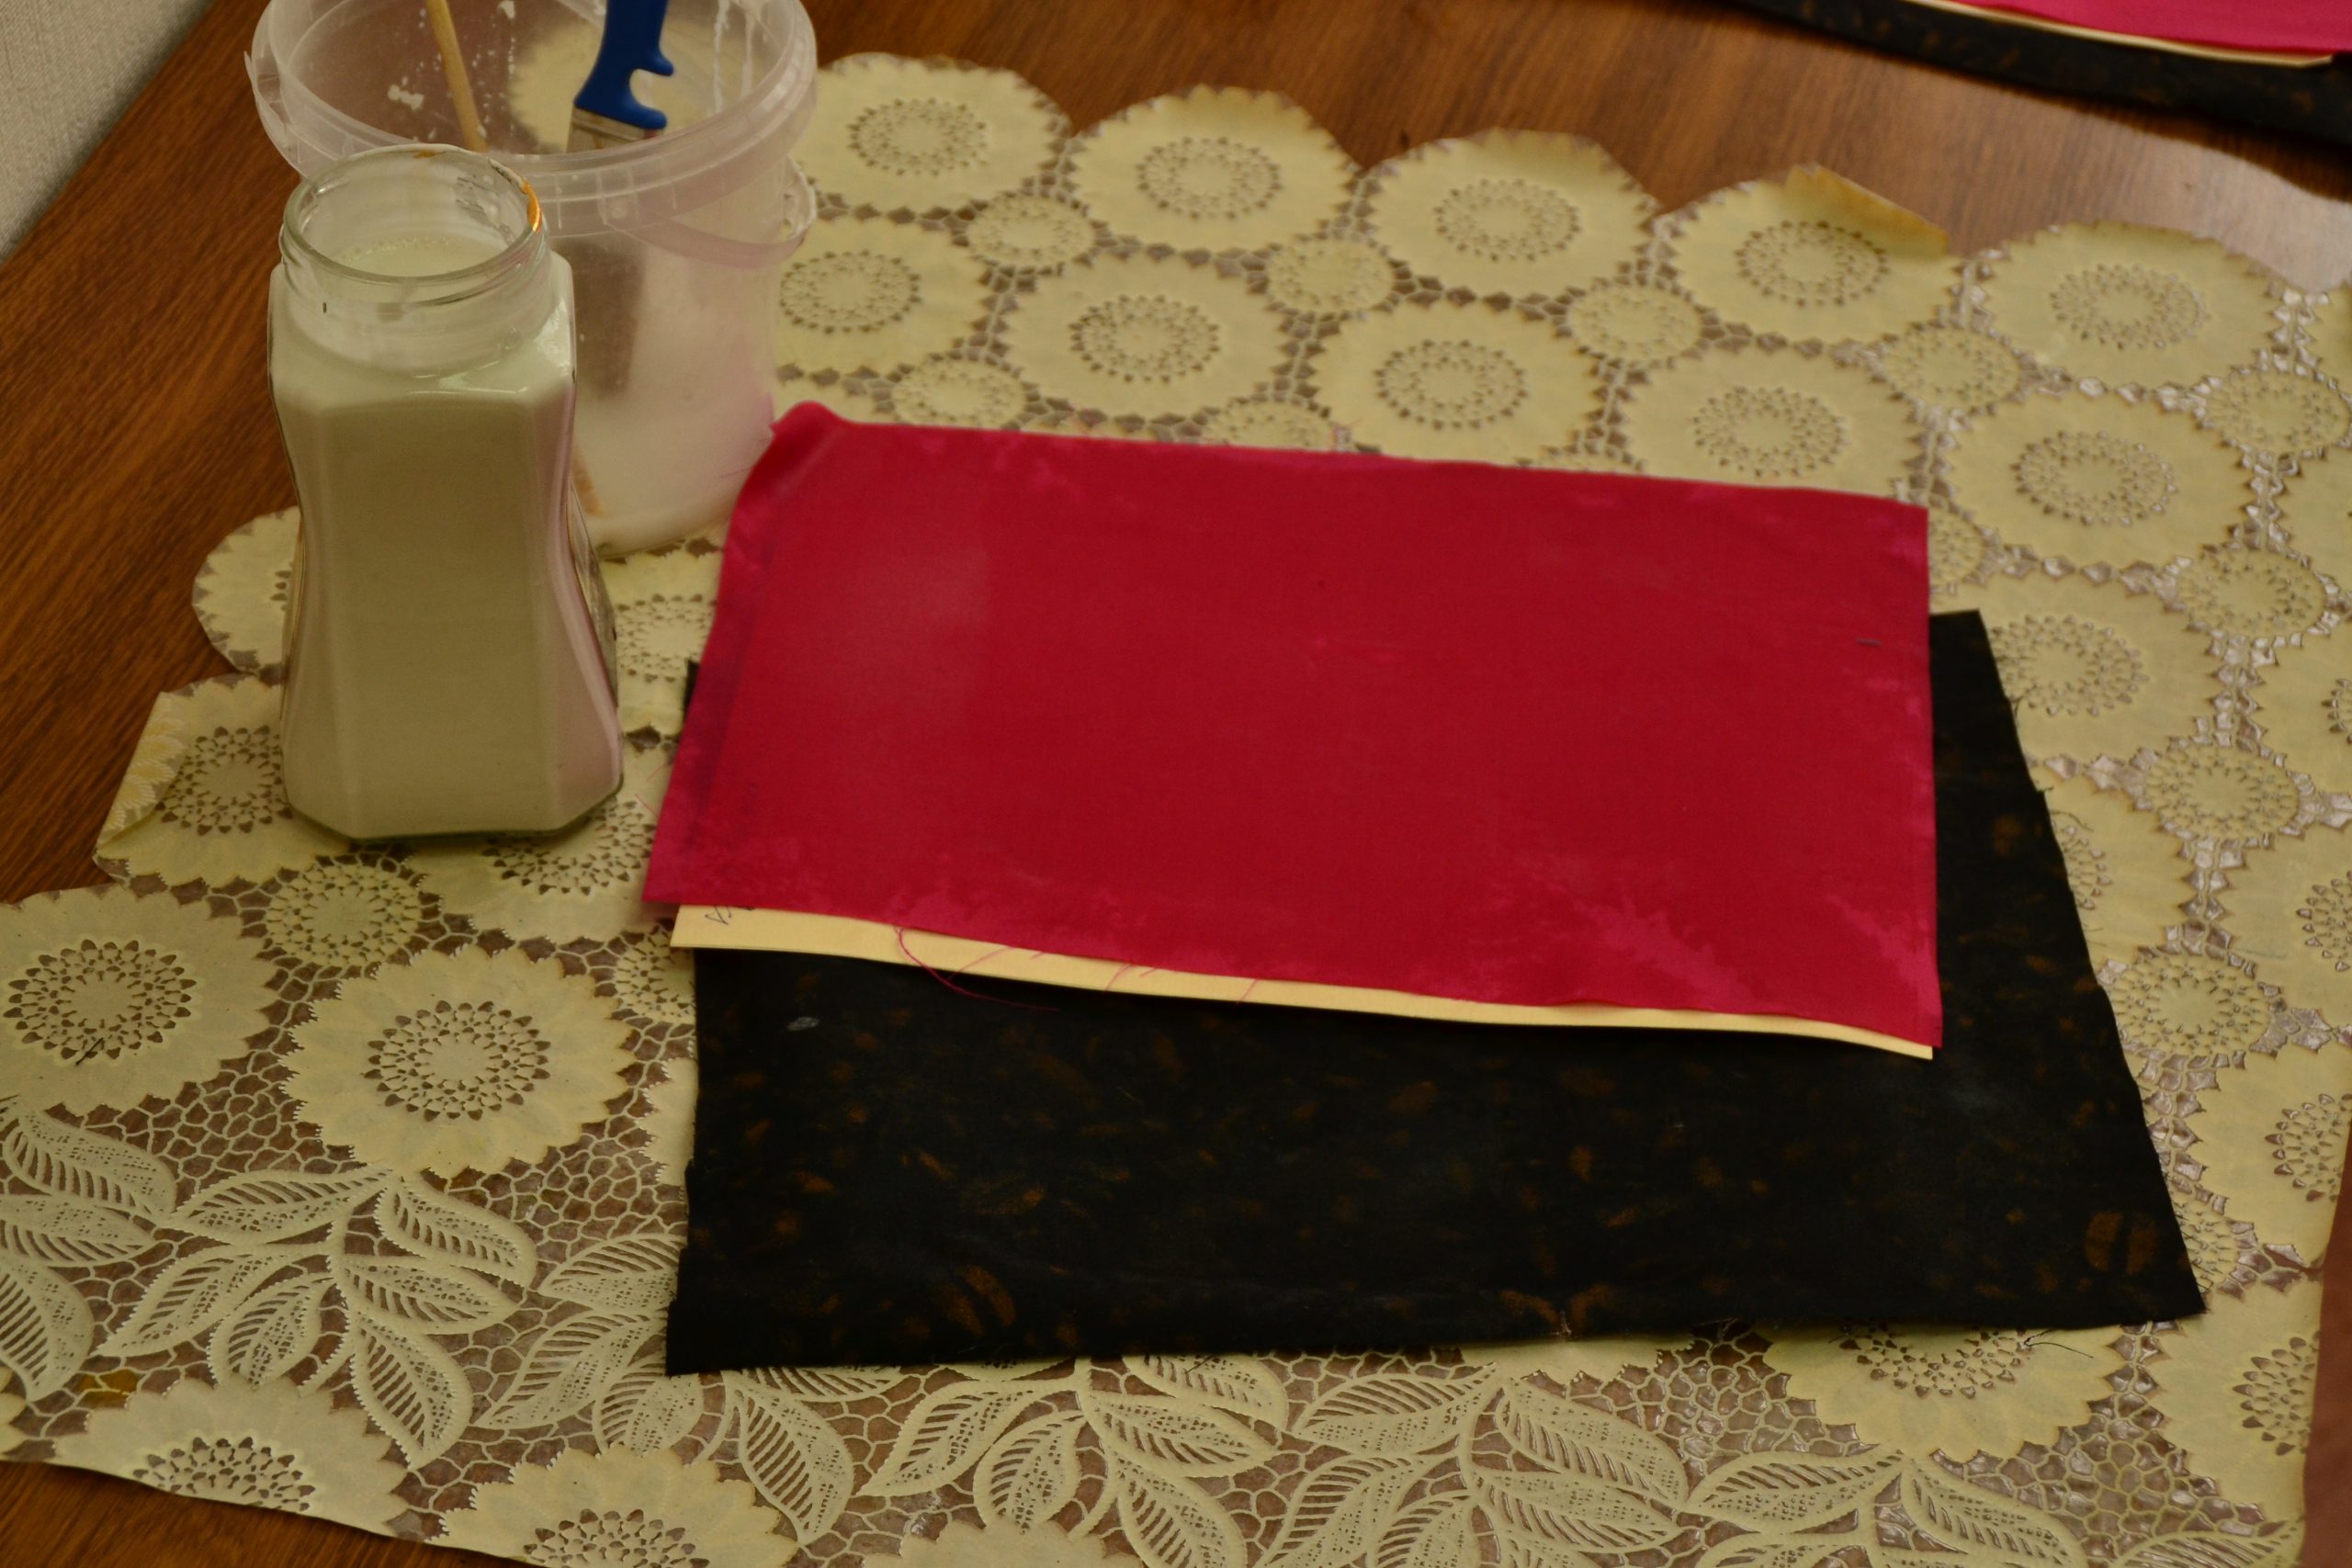
We use a piece of cardboard 210×290 mm, 0.2 mm thick. We coat thoroughly the cardboard and fabric with white glue, then join the cardboard and fabric together and smooth the fabric out to avoid wrinkles and folds (dabbing dry the excess glue with a piece of cloth). Afterwards, we leave the glued details to get dry for 10-12 hours. To minimize deformation in the drying process it is advisable to put something heavy on top.
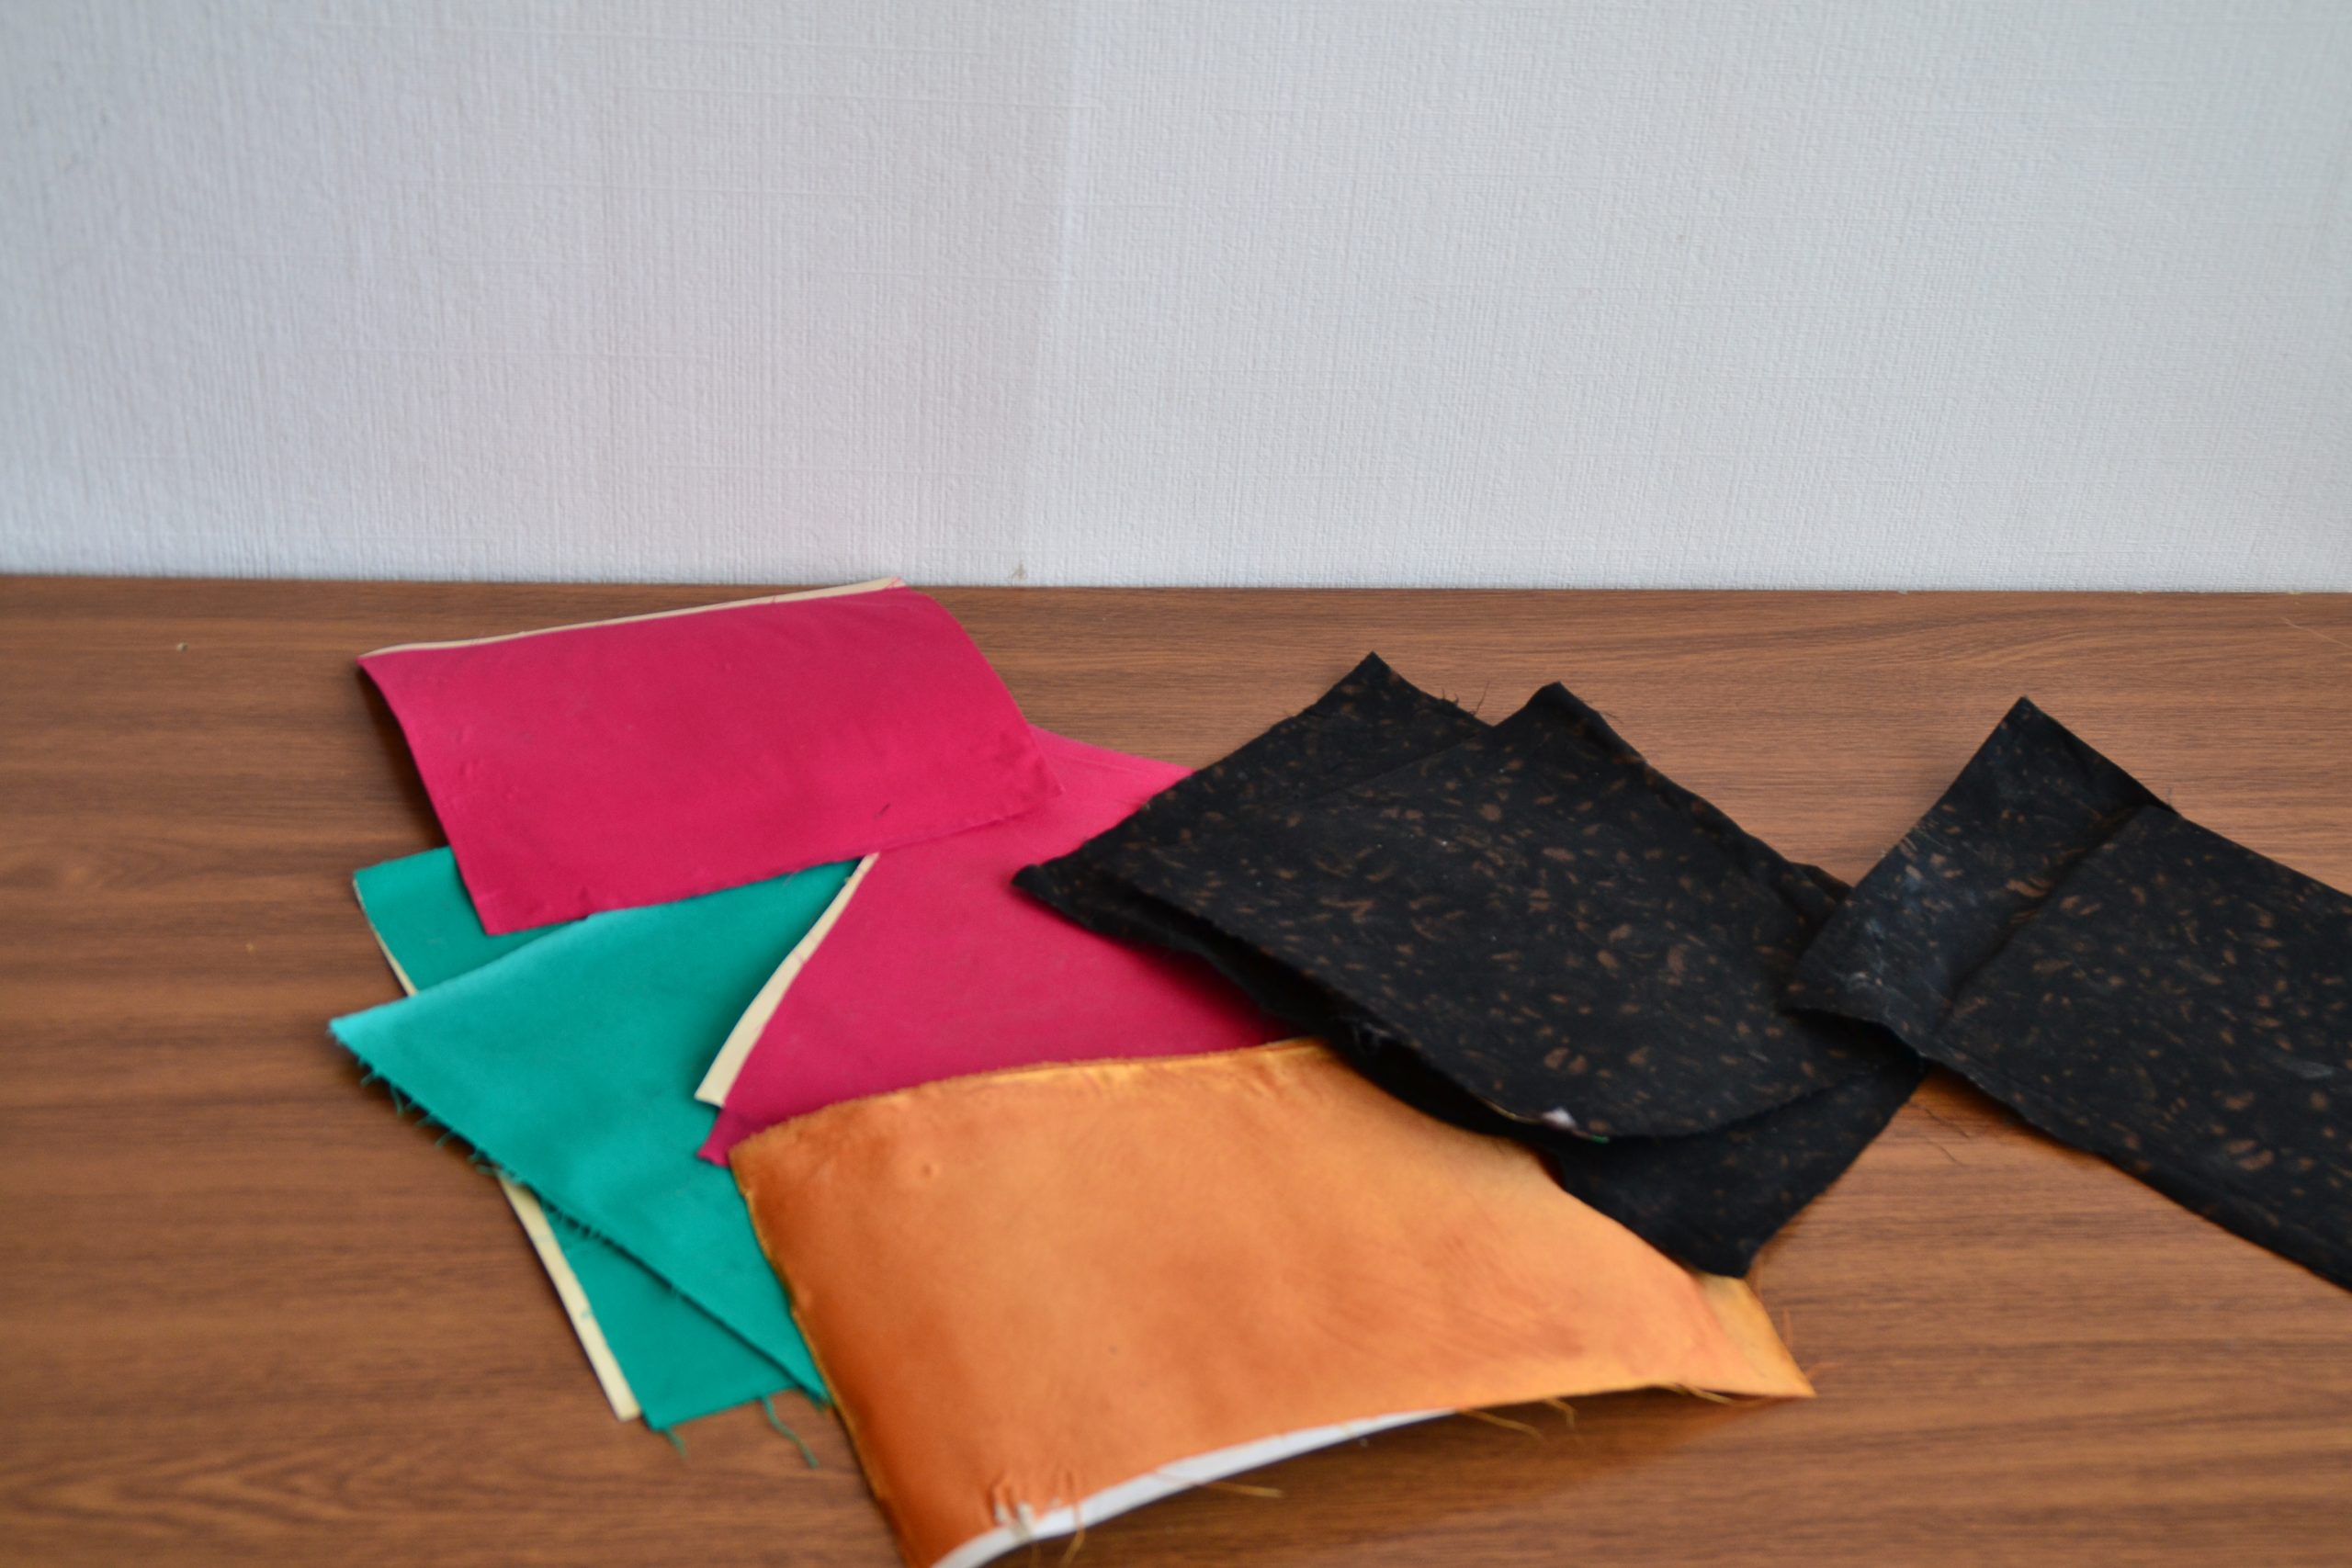
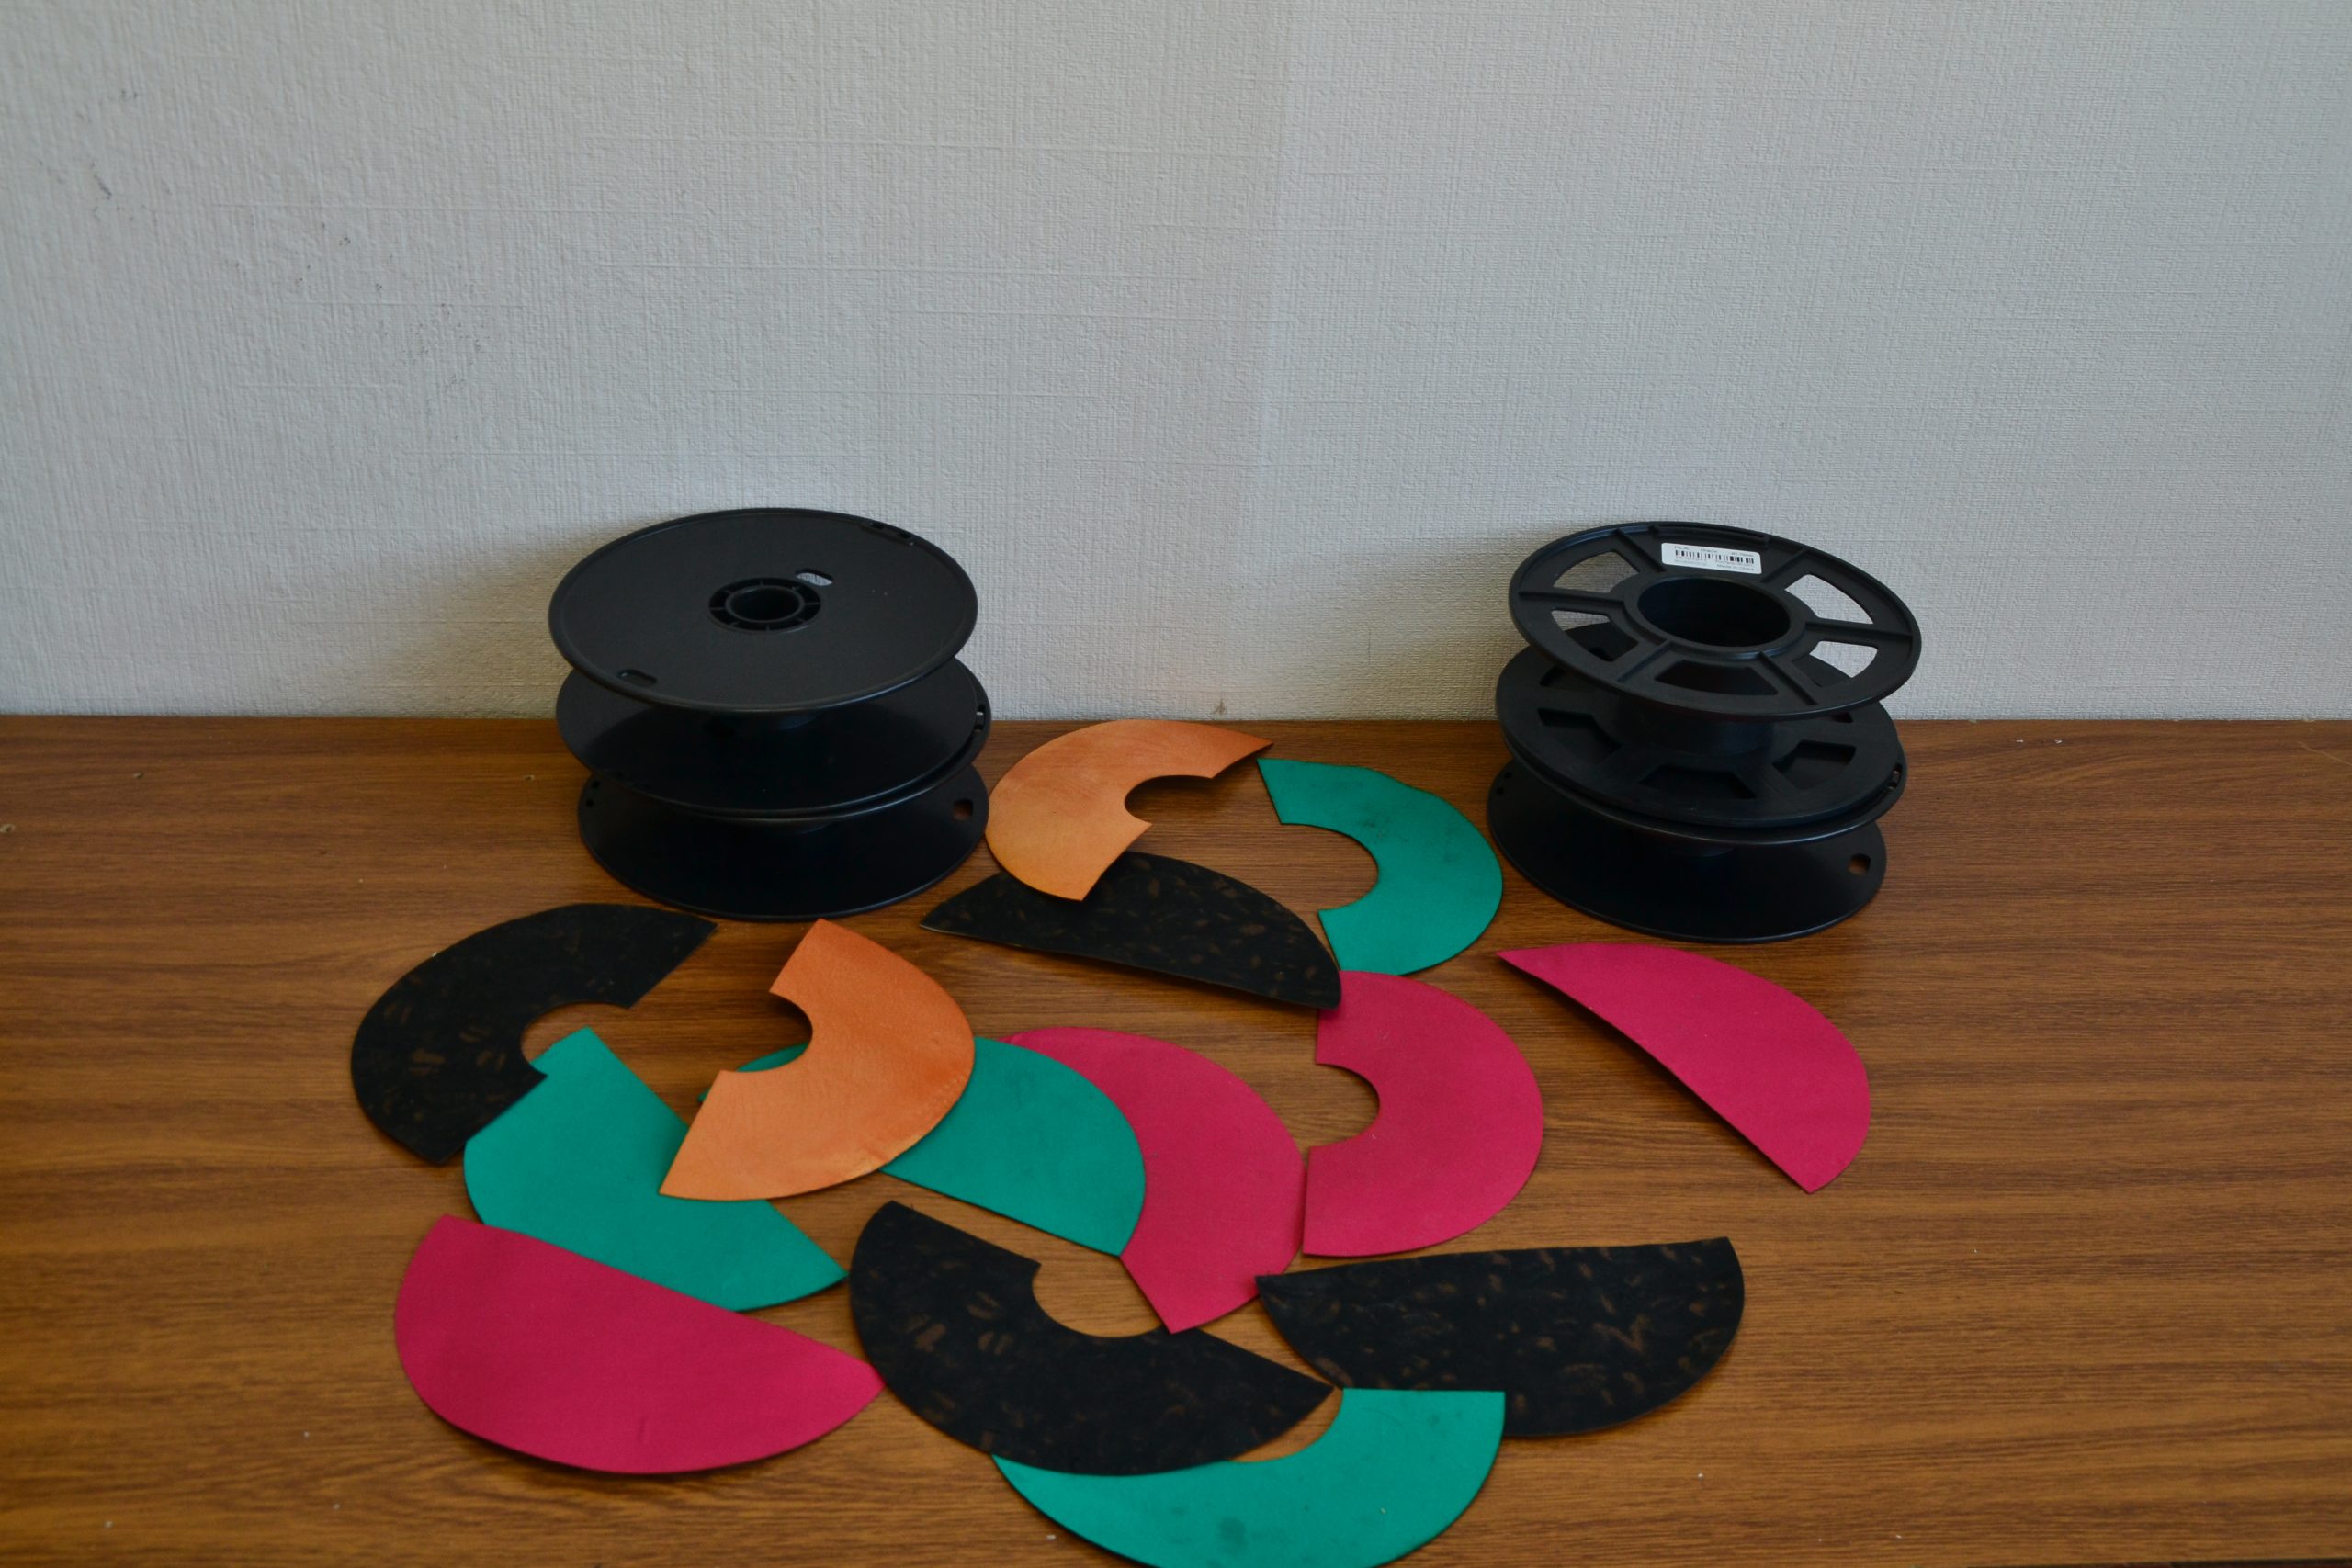
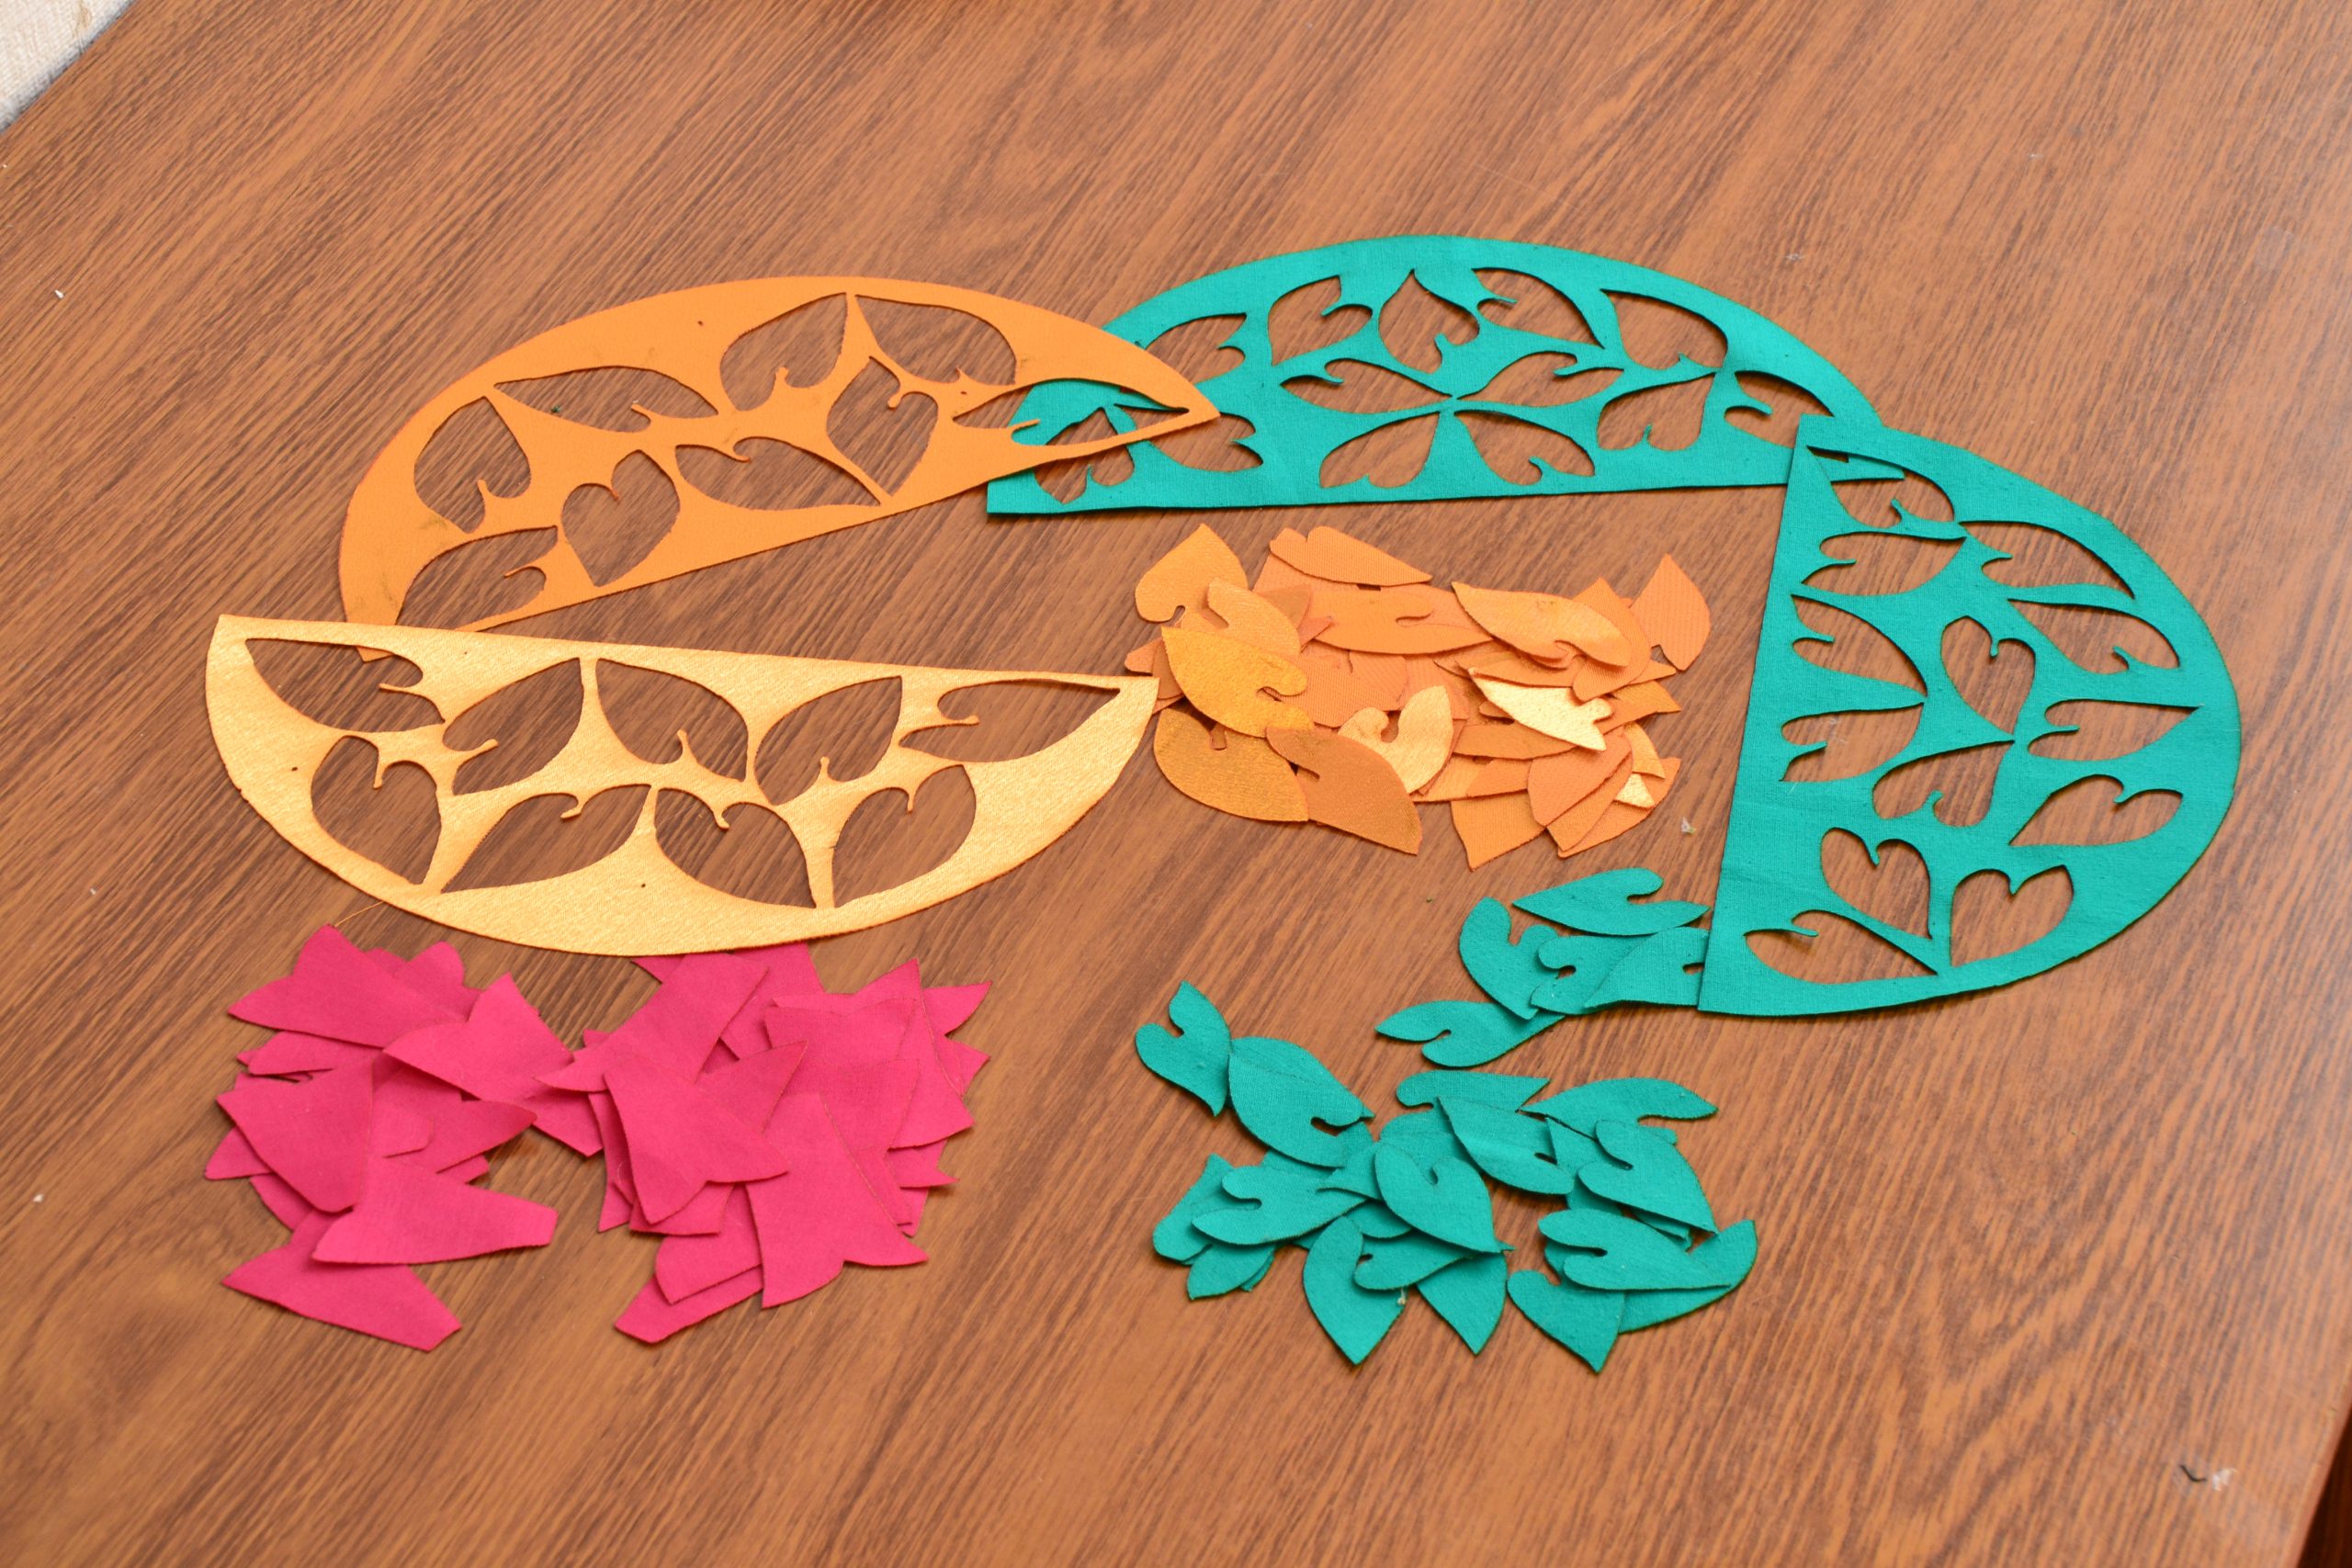
We have two patterns out of dark cotton sheeting, two out of green cotton sheeting, one out of satin and two out of poplin.
Creation of G-codes for cutting
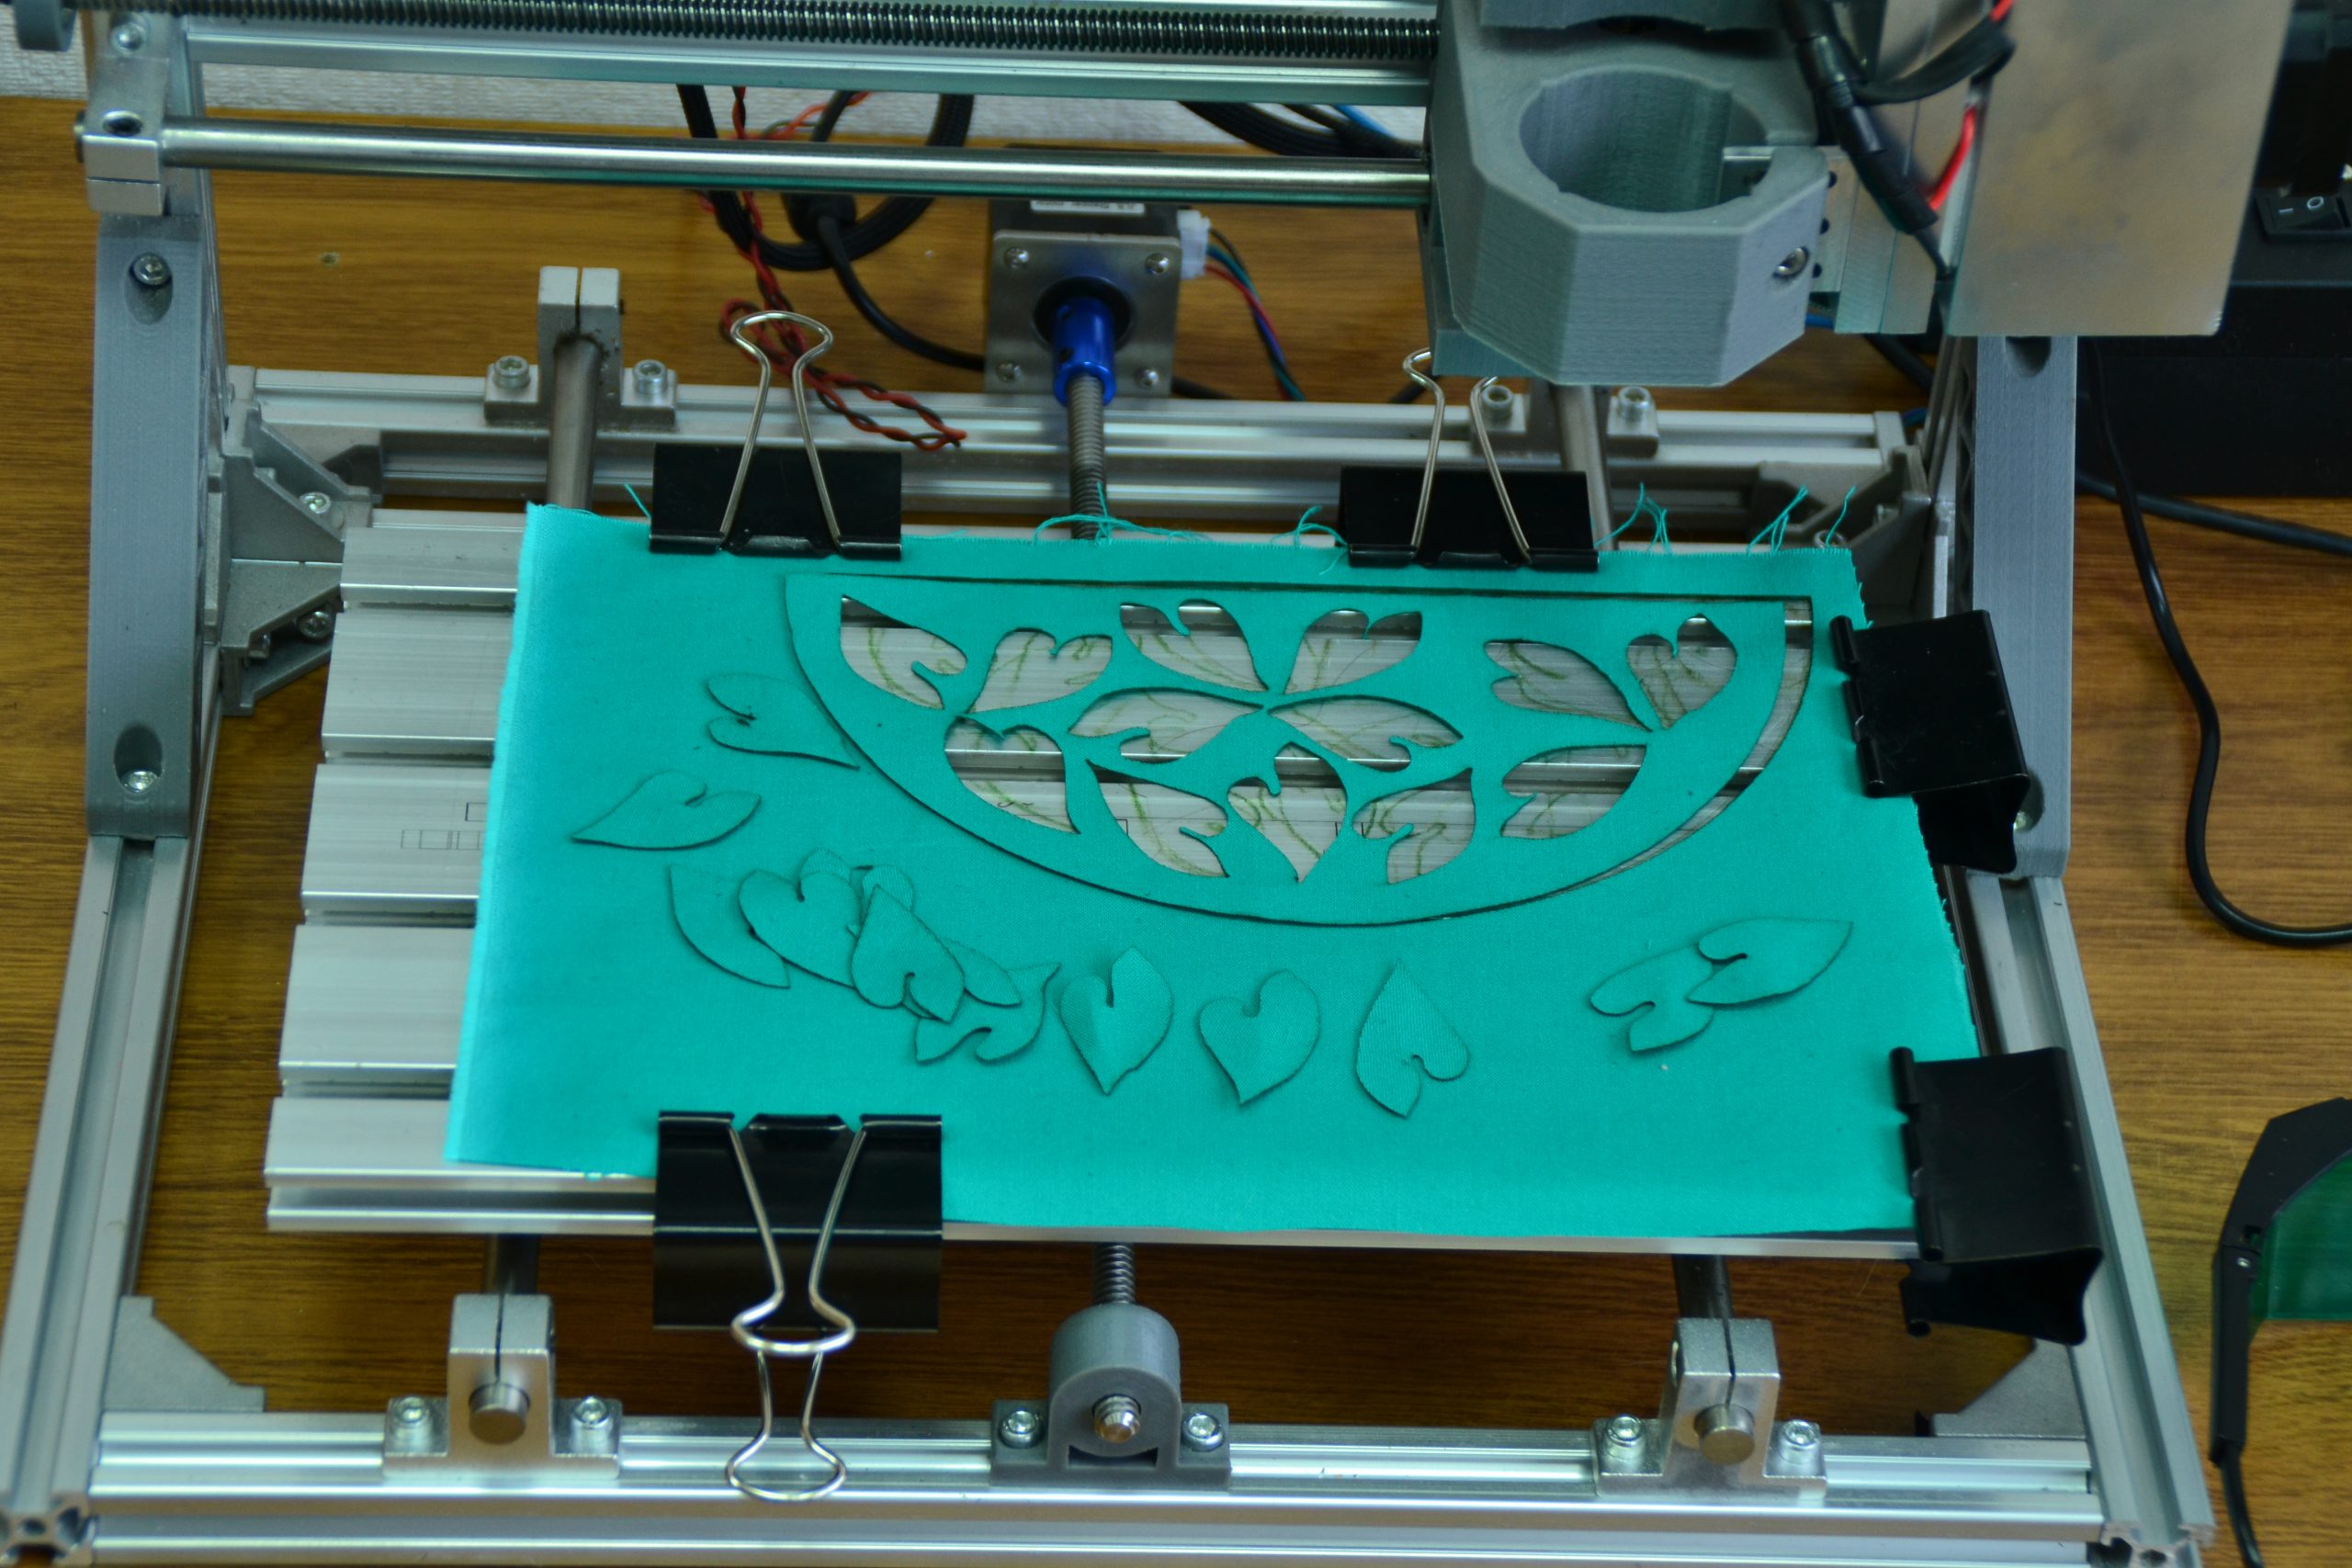
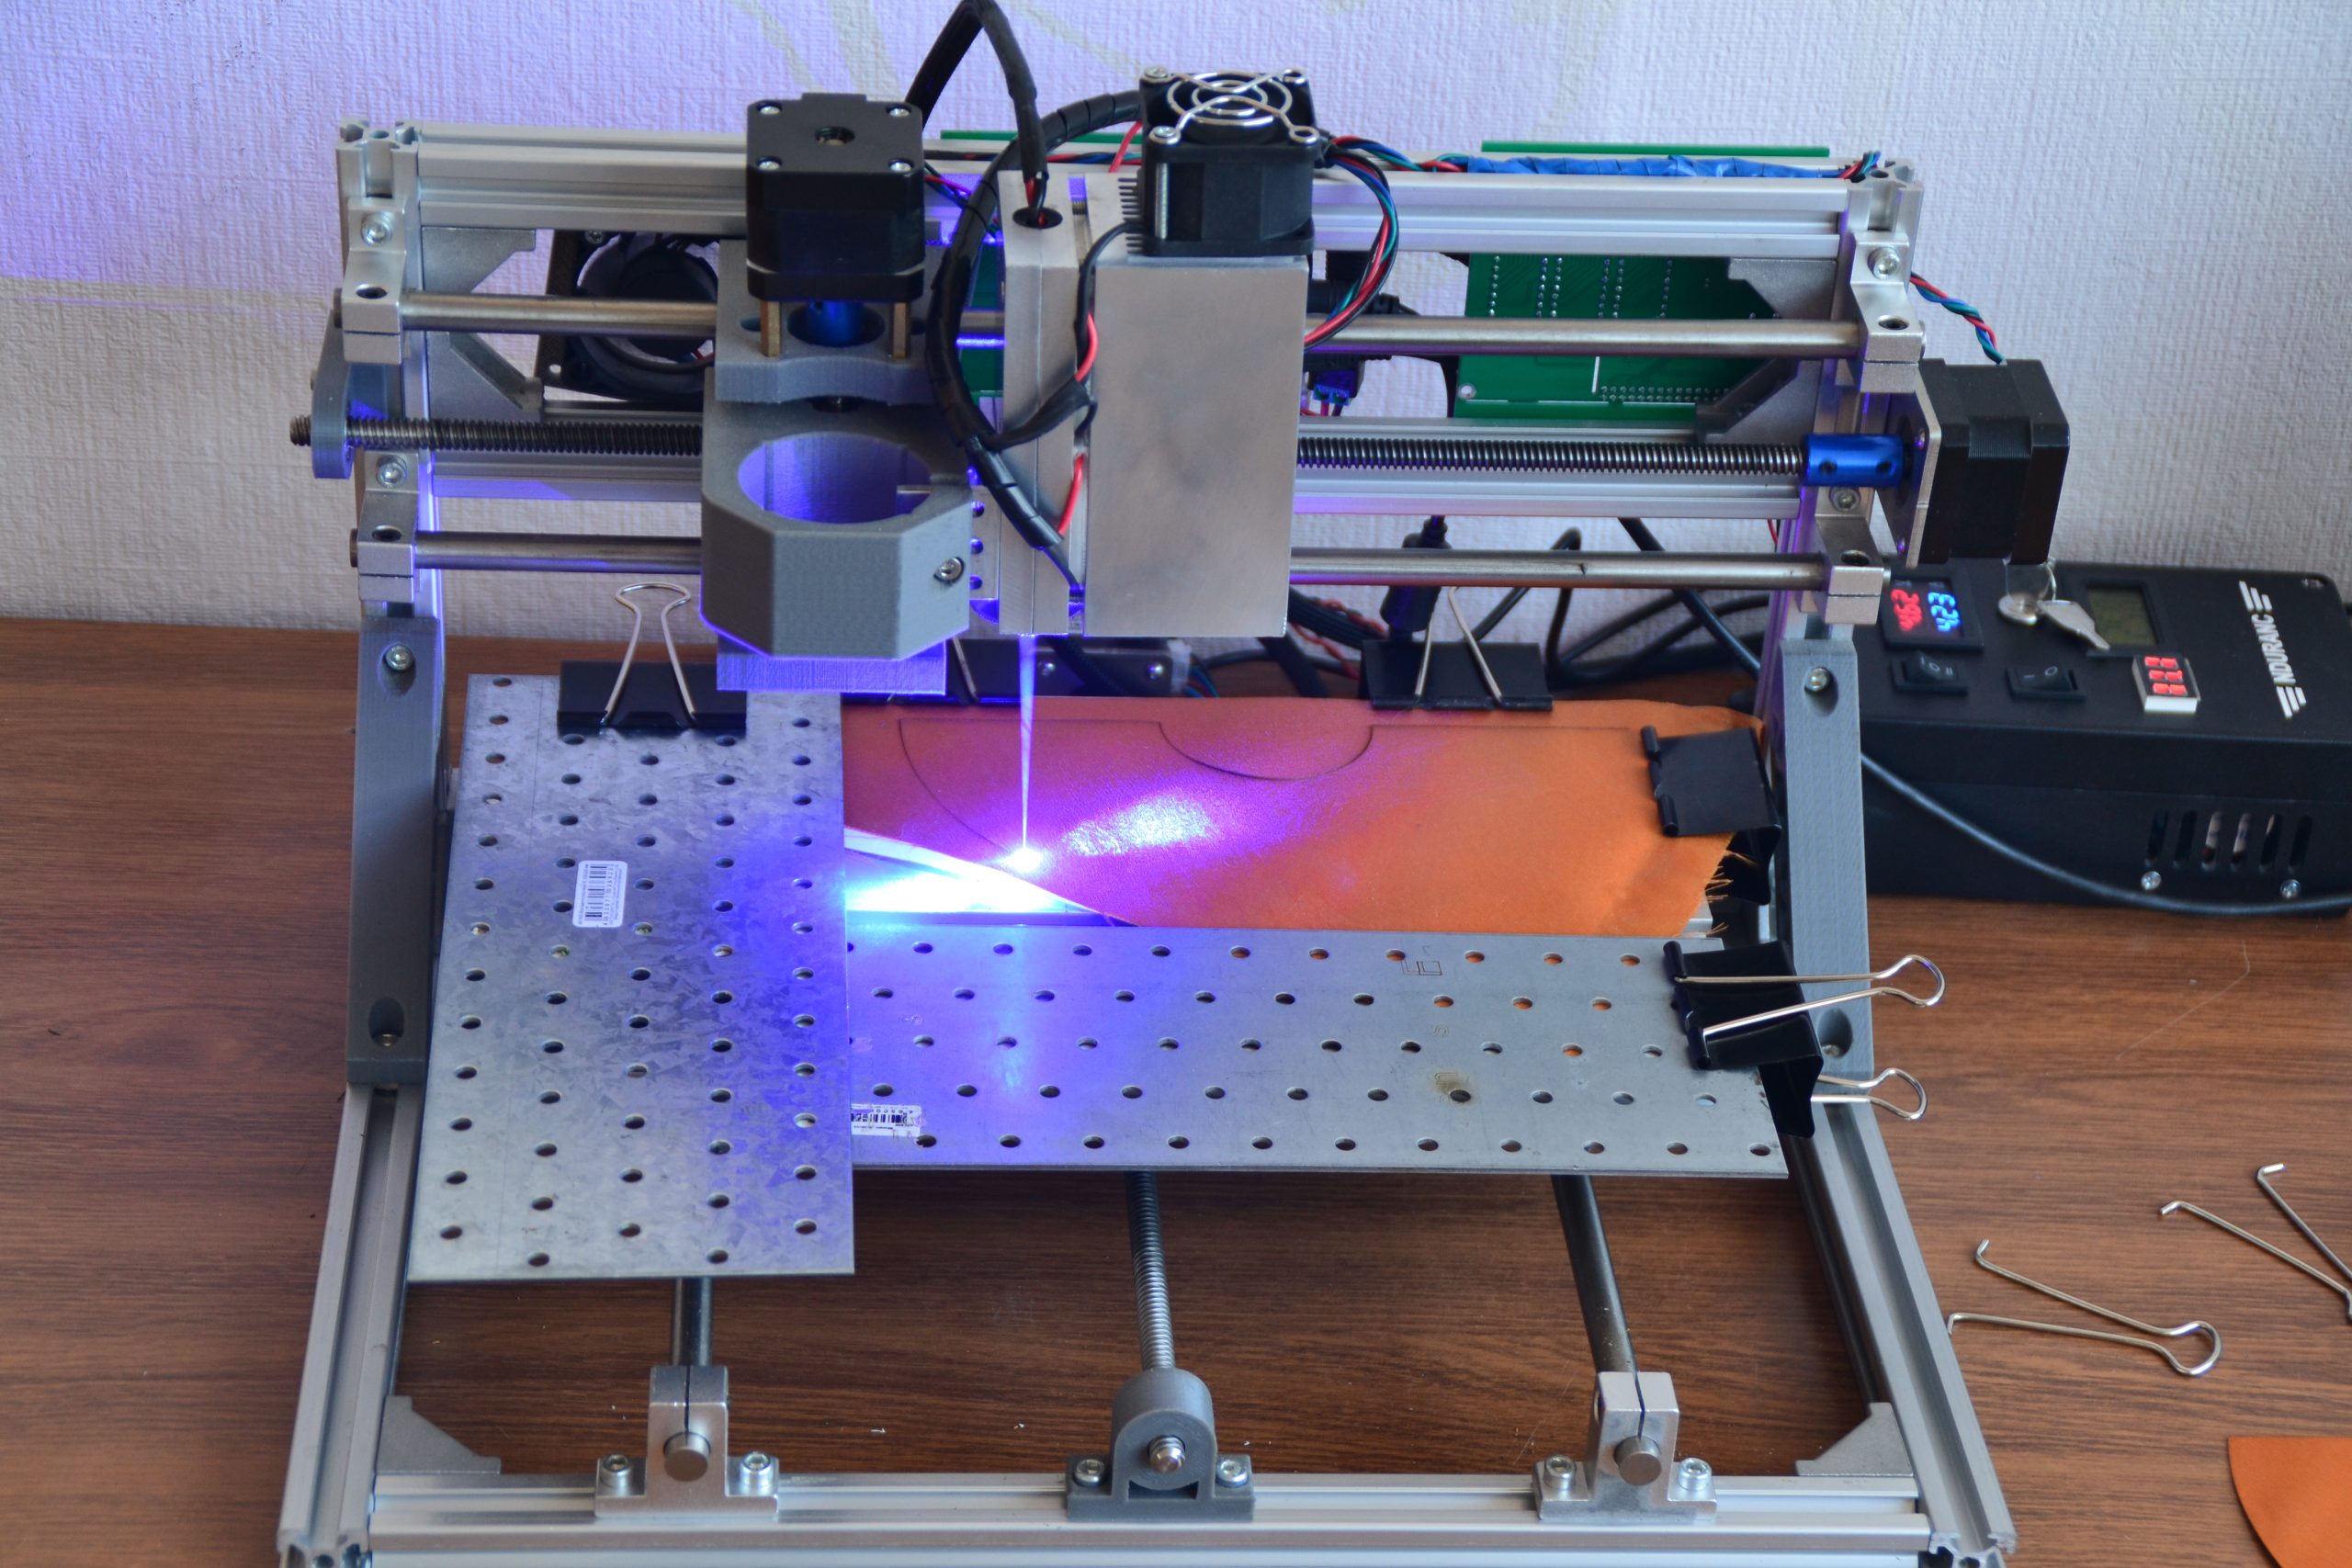
To cut all the necessary details and decoration elements we use a 10 W laser installed on a CNC3018.
Cutting parameters:
Laser power – 100%
Speed 500mm/min
Passes – 1
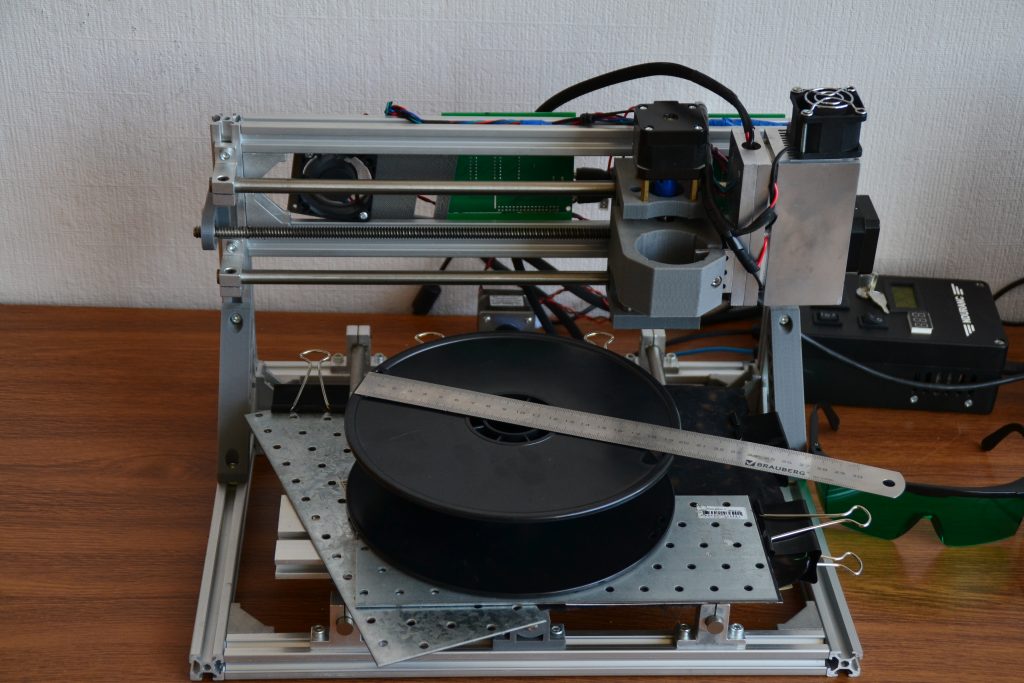
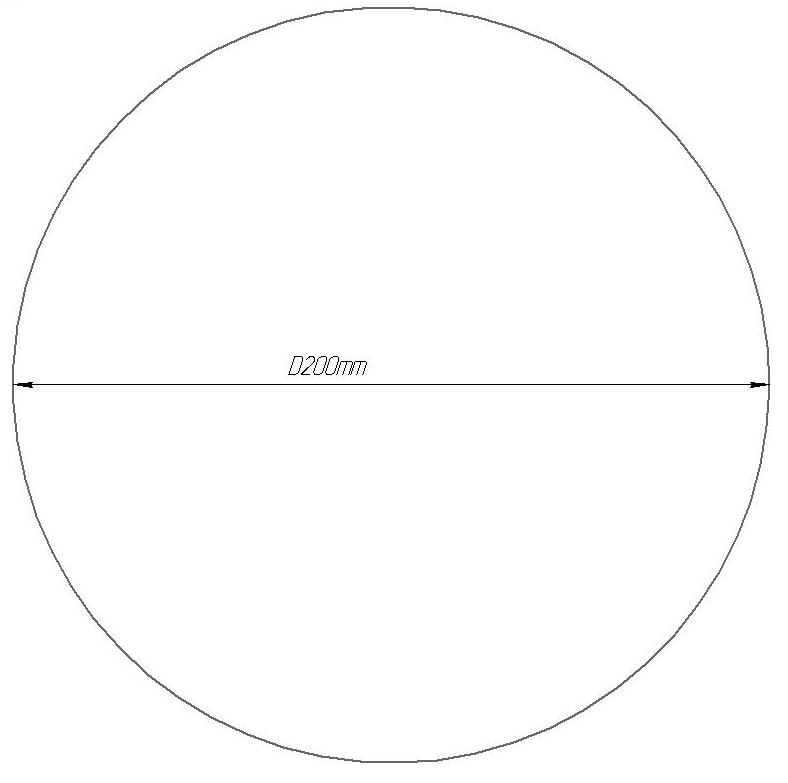
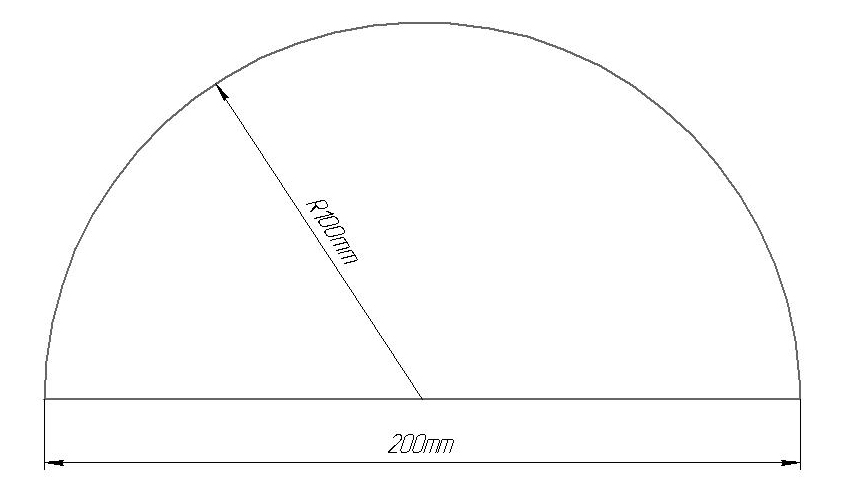
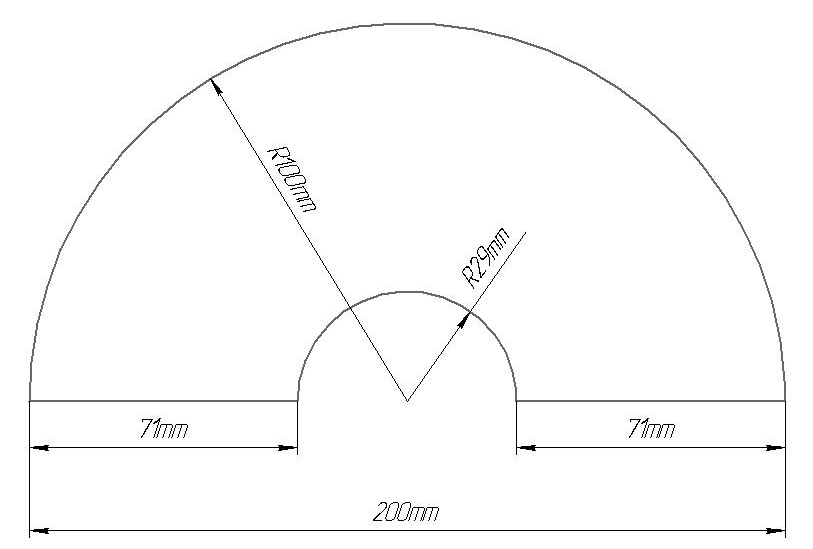
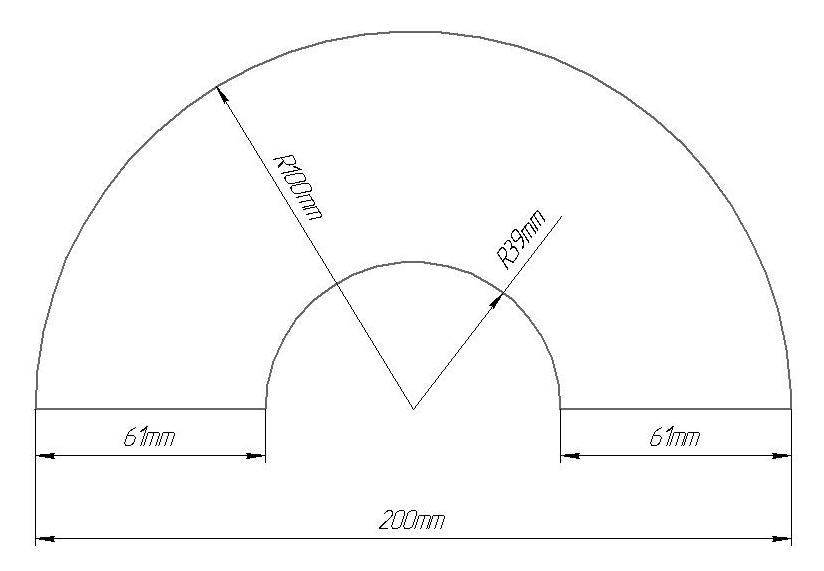
The outer diameter of the spools is 200 mm. The worktable of the machine is smaller, that is why we divide our base into two parts. We have four spools. The inner diameter of the three spools is 58mm, and the diameter of one is 78mm.
Totally, we need 3 front (top) and 4 back (bottom) underlays (bases).
We make drawings for our G-codes and divide each of them into two parts.
Then we divide each of the decoration pattern into two parts to create G-codes.
Parameters:
Laser power – 100%
Passes – 1
Sketch 1
Cotton sheeting (green)
Thickness – 0.3mm
Speed – 700mm/min
Sketch 2
Satin
Thickness – 0.2mm
Speed – 900mm/min
Sketch 3
Poplin
Thickness – 0.2mm
Speed 1350mm/min
About g-code generation
Preparing a g-code with an Inkscape + J Tech Photonics plugin
How to use an Endurance plugin for an Inkscape. G-code generator extenstion.
References to G-codes for a machine with a bigger worktable
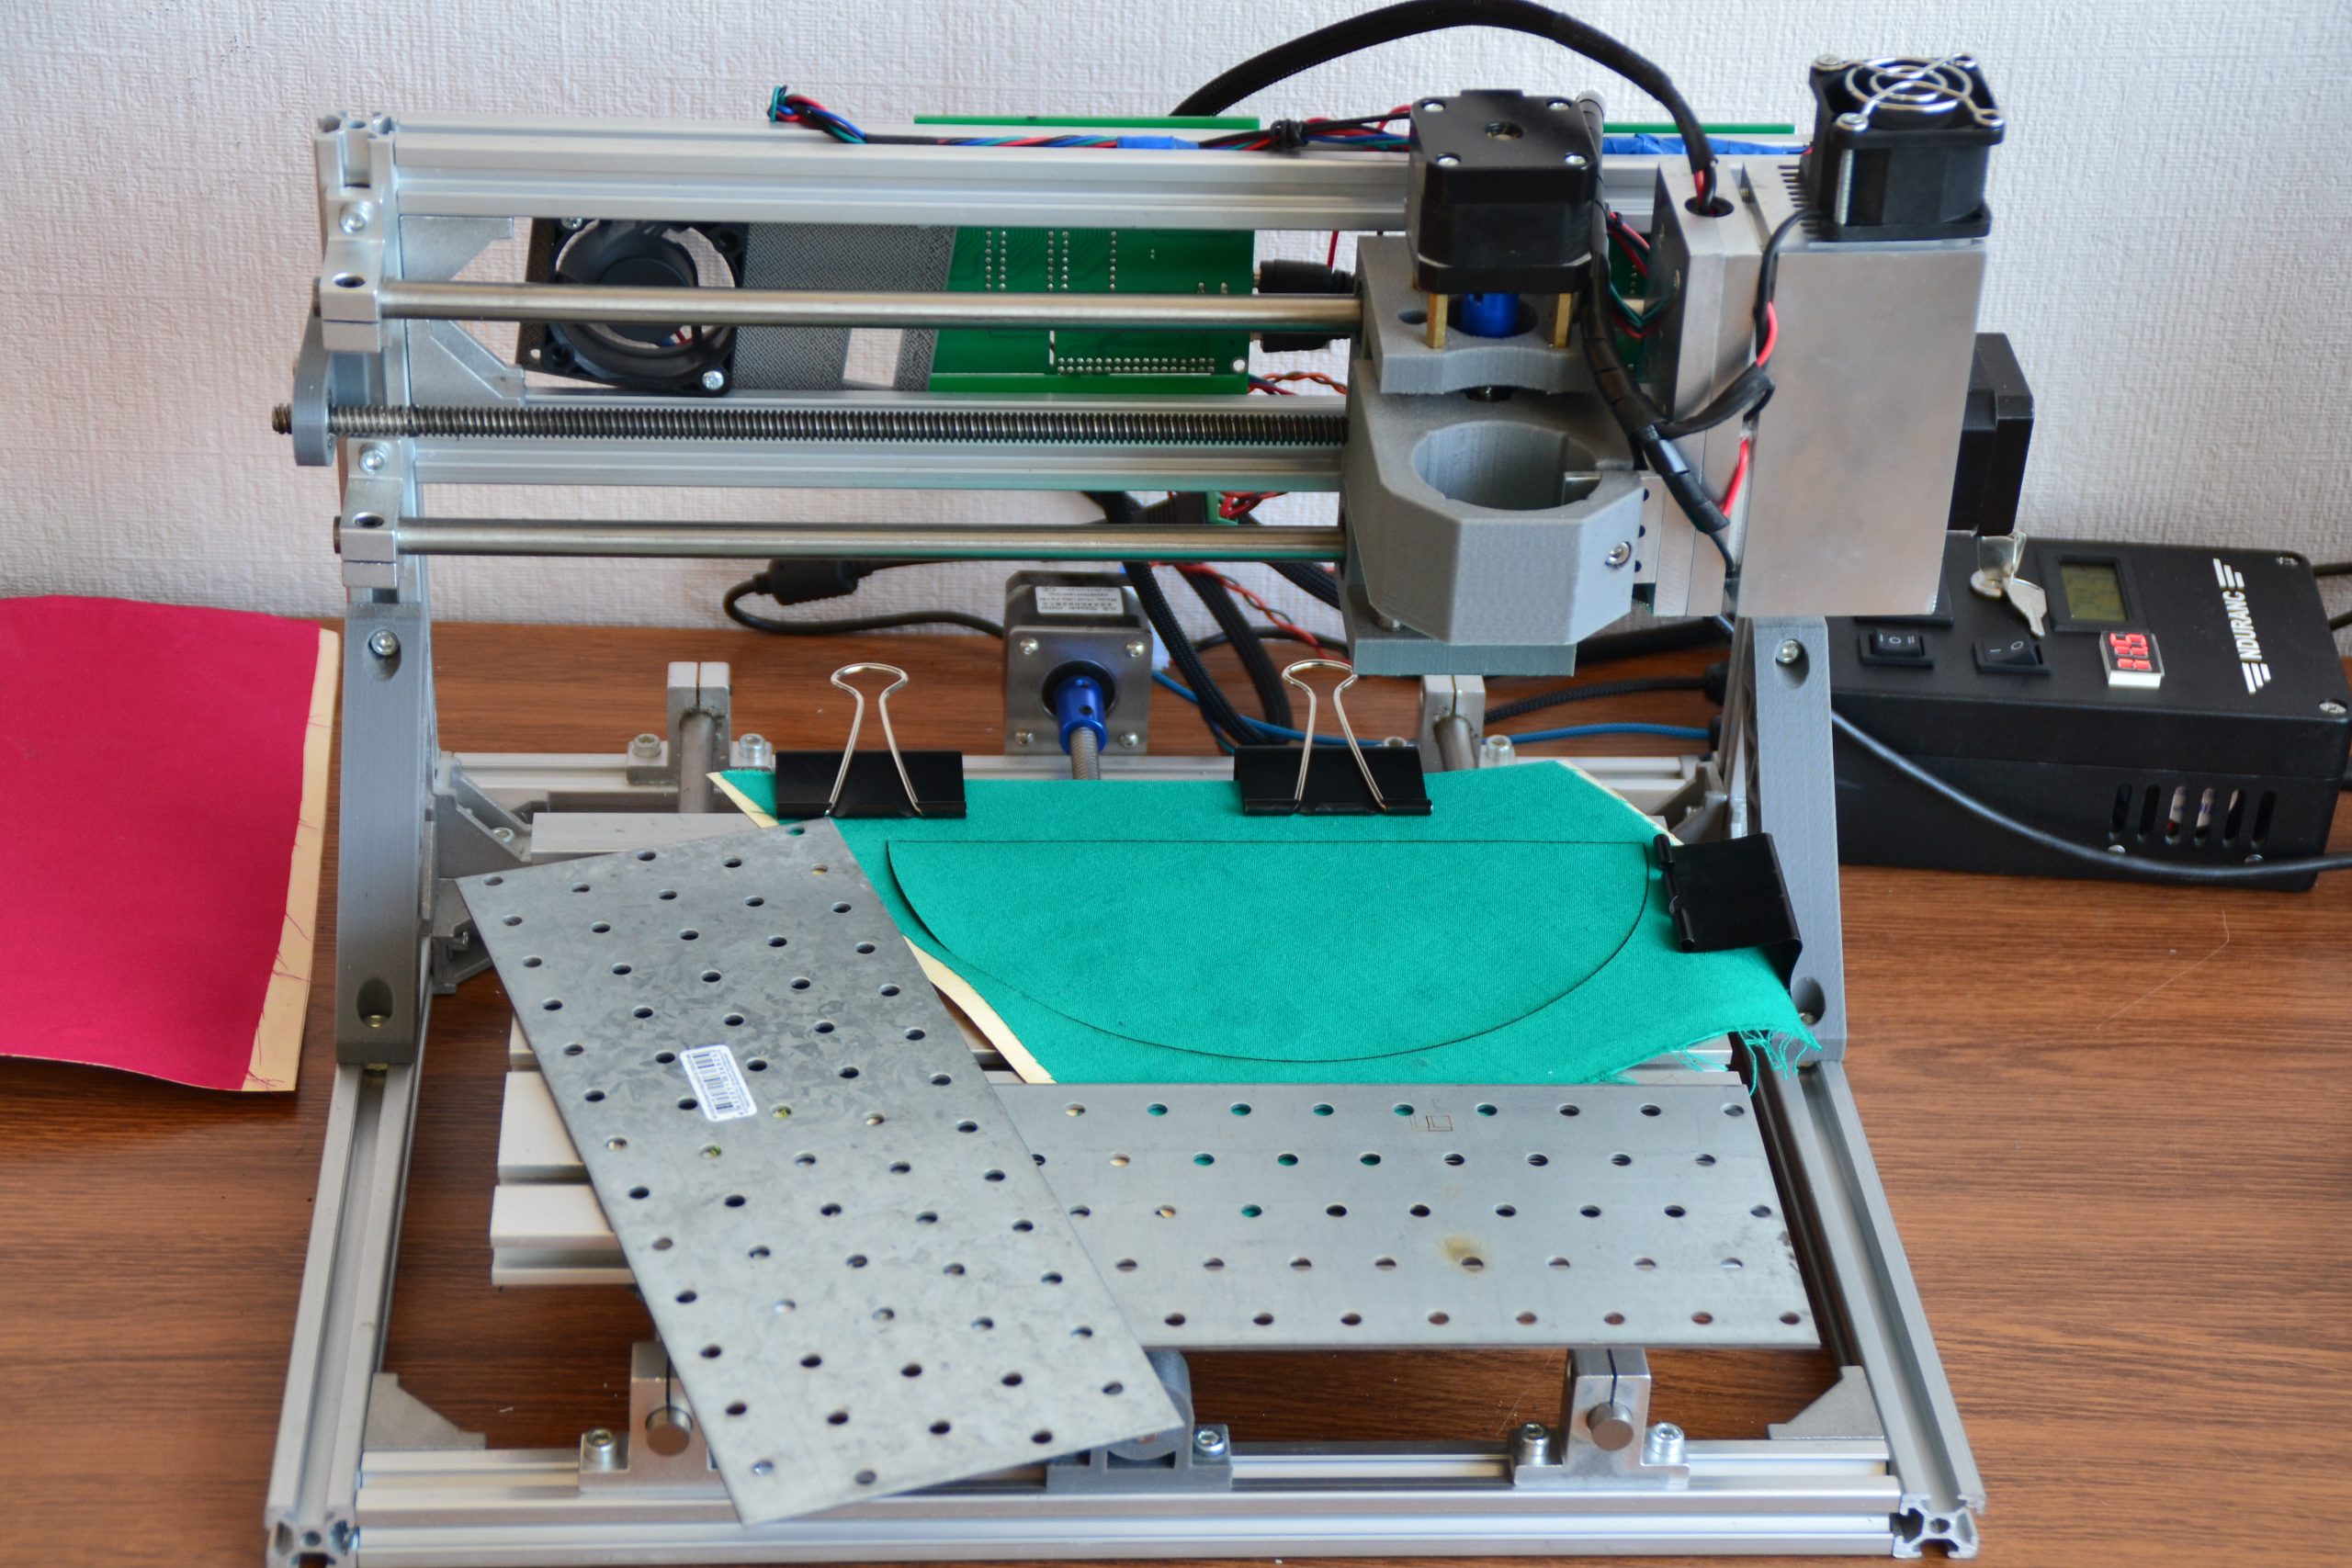
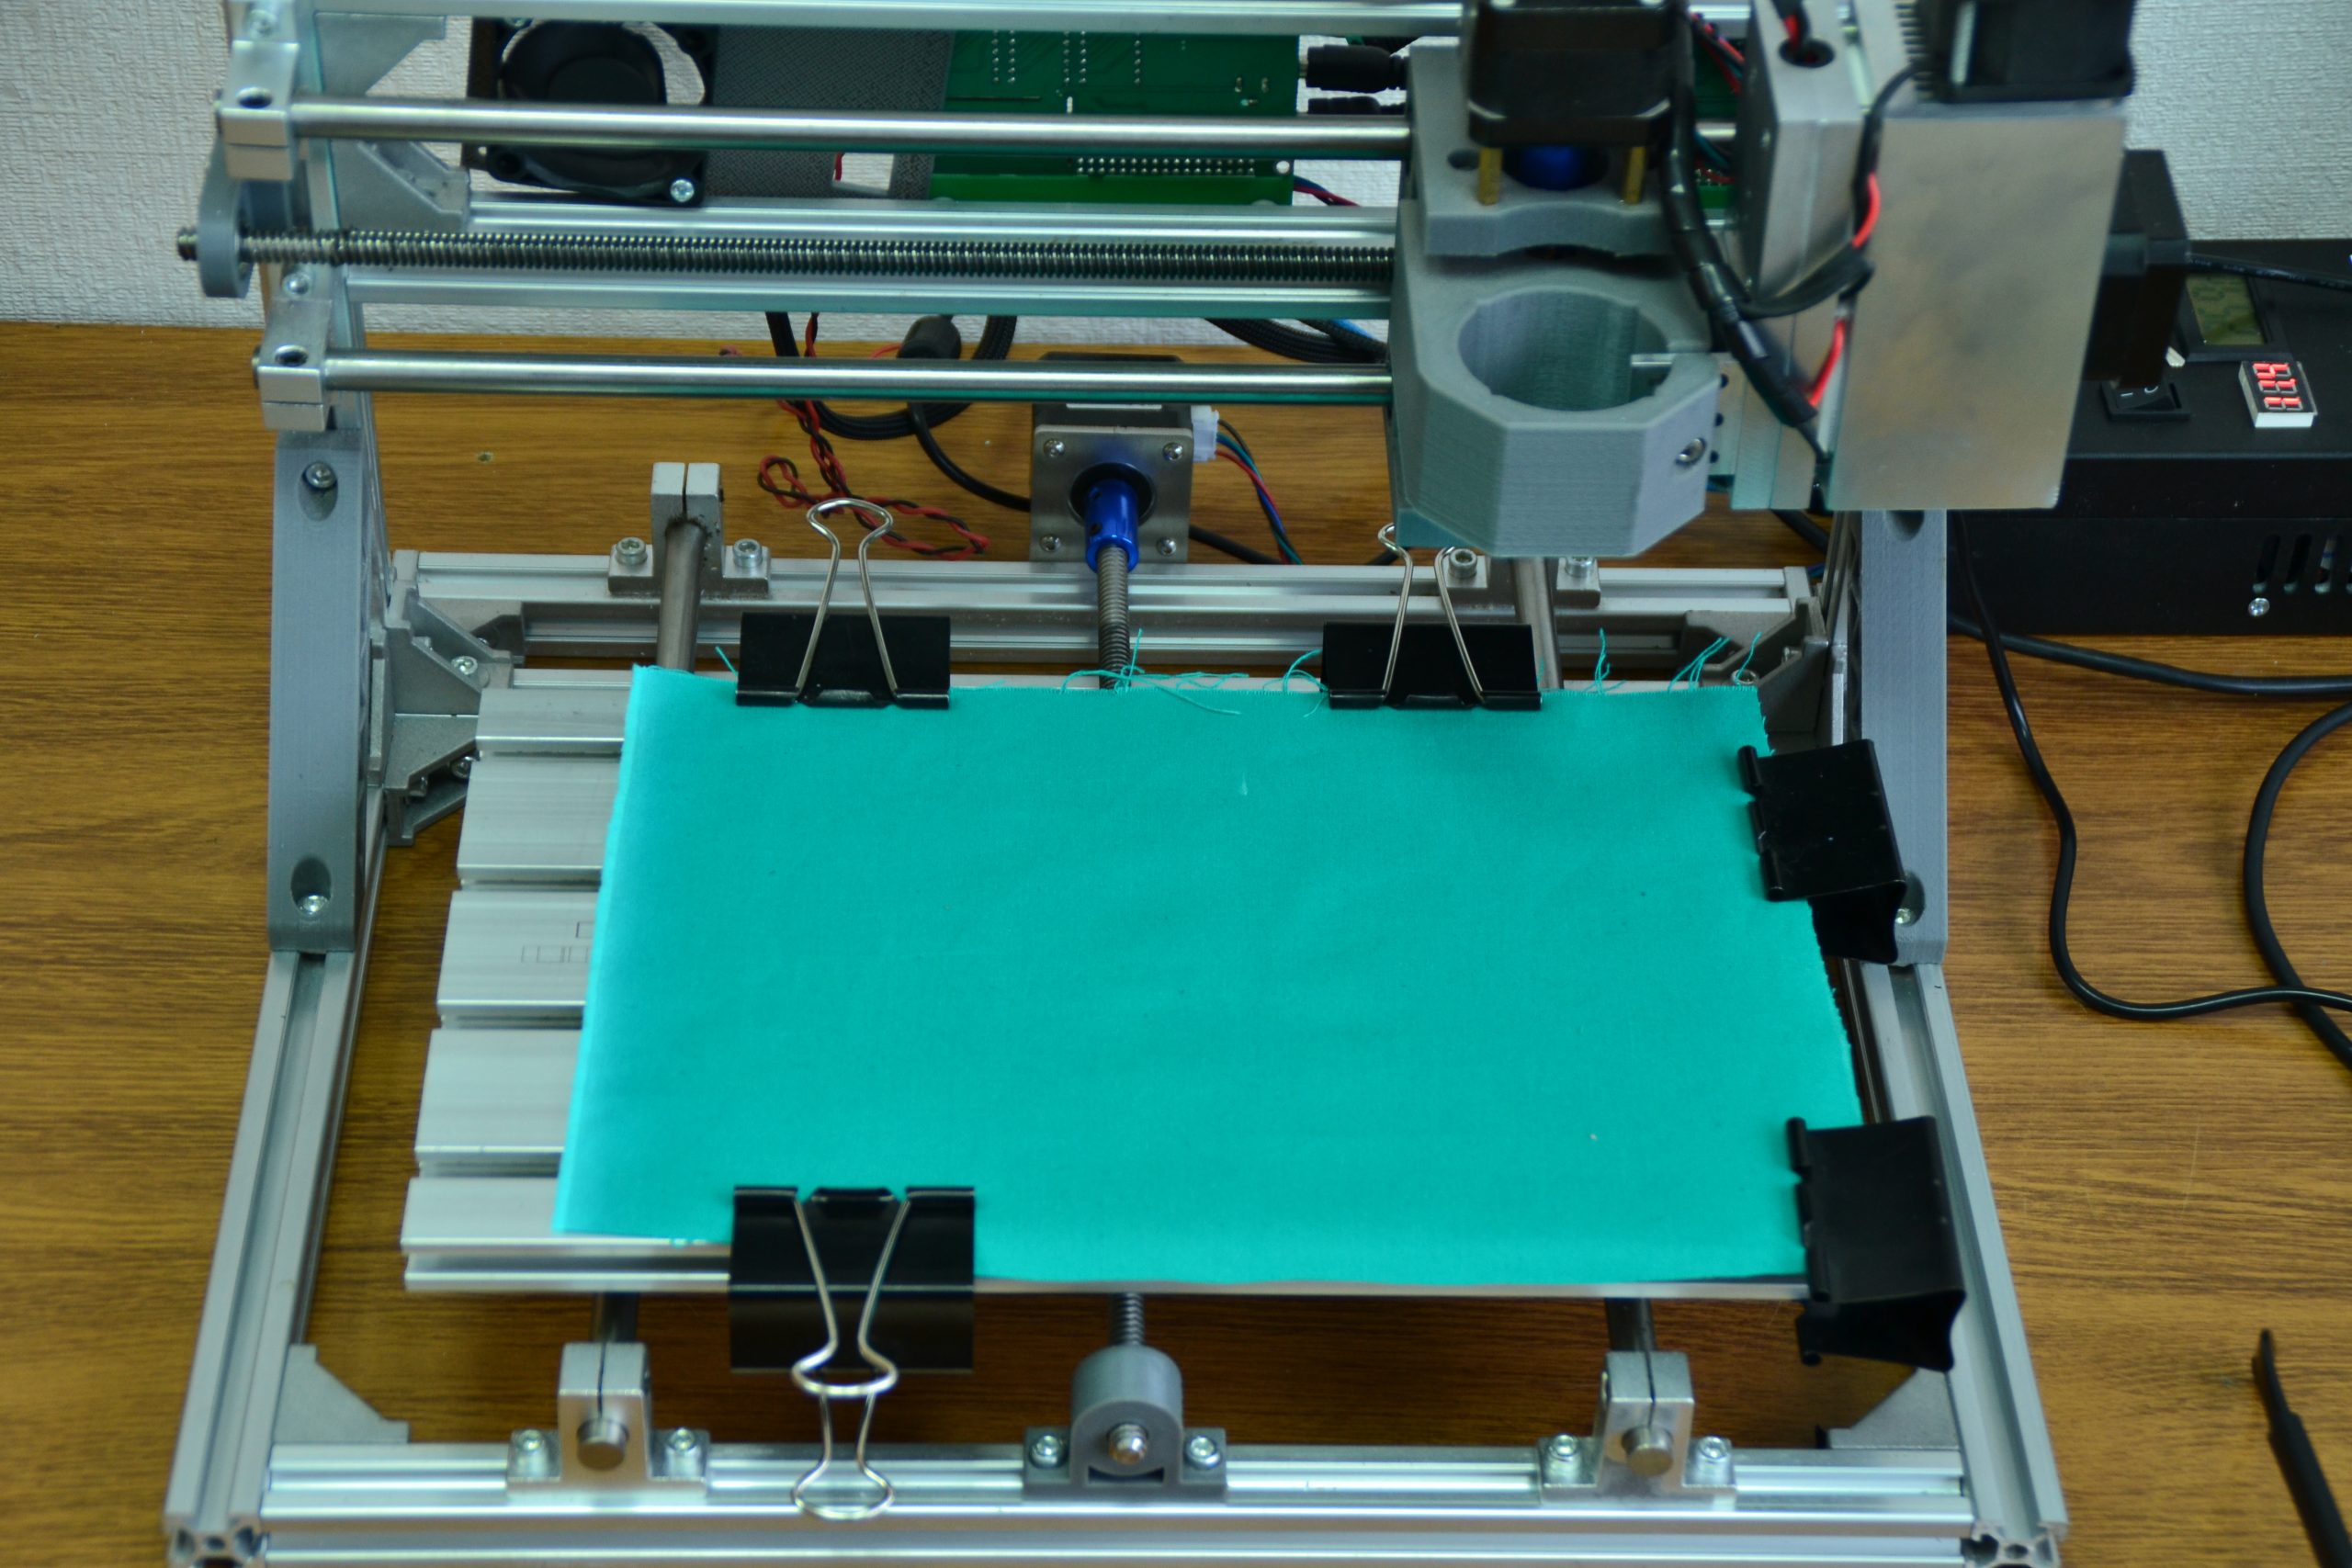
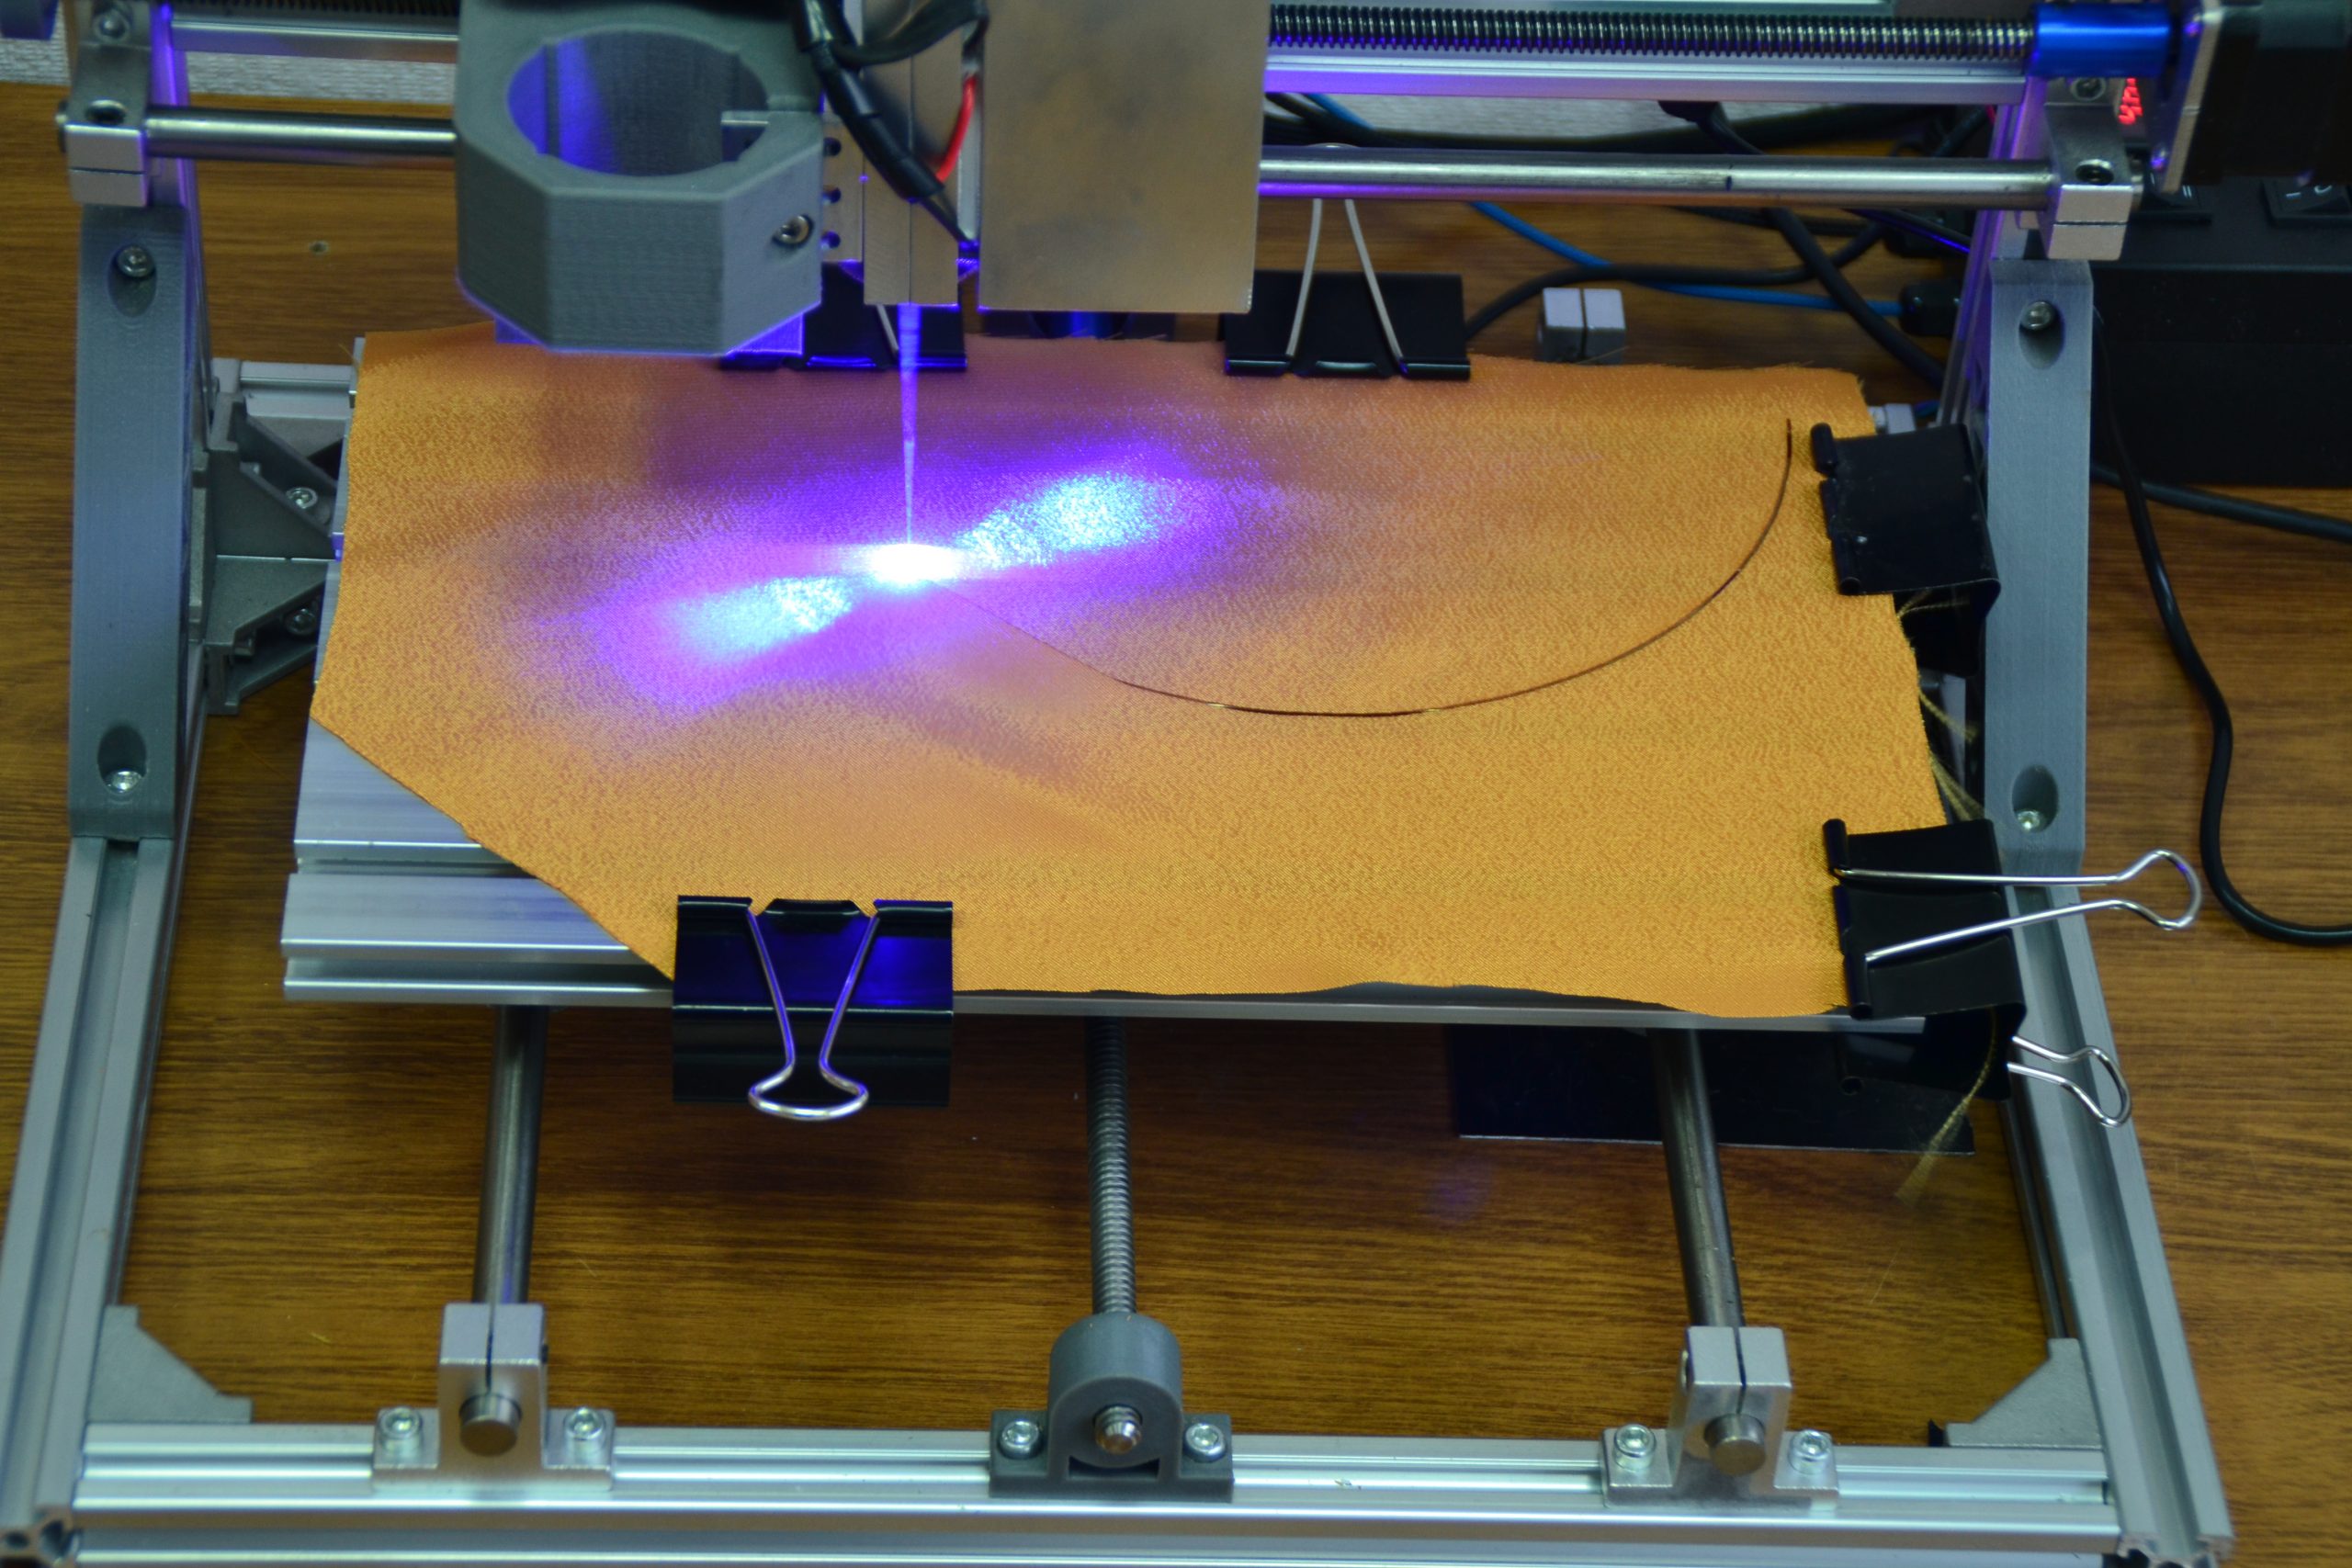
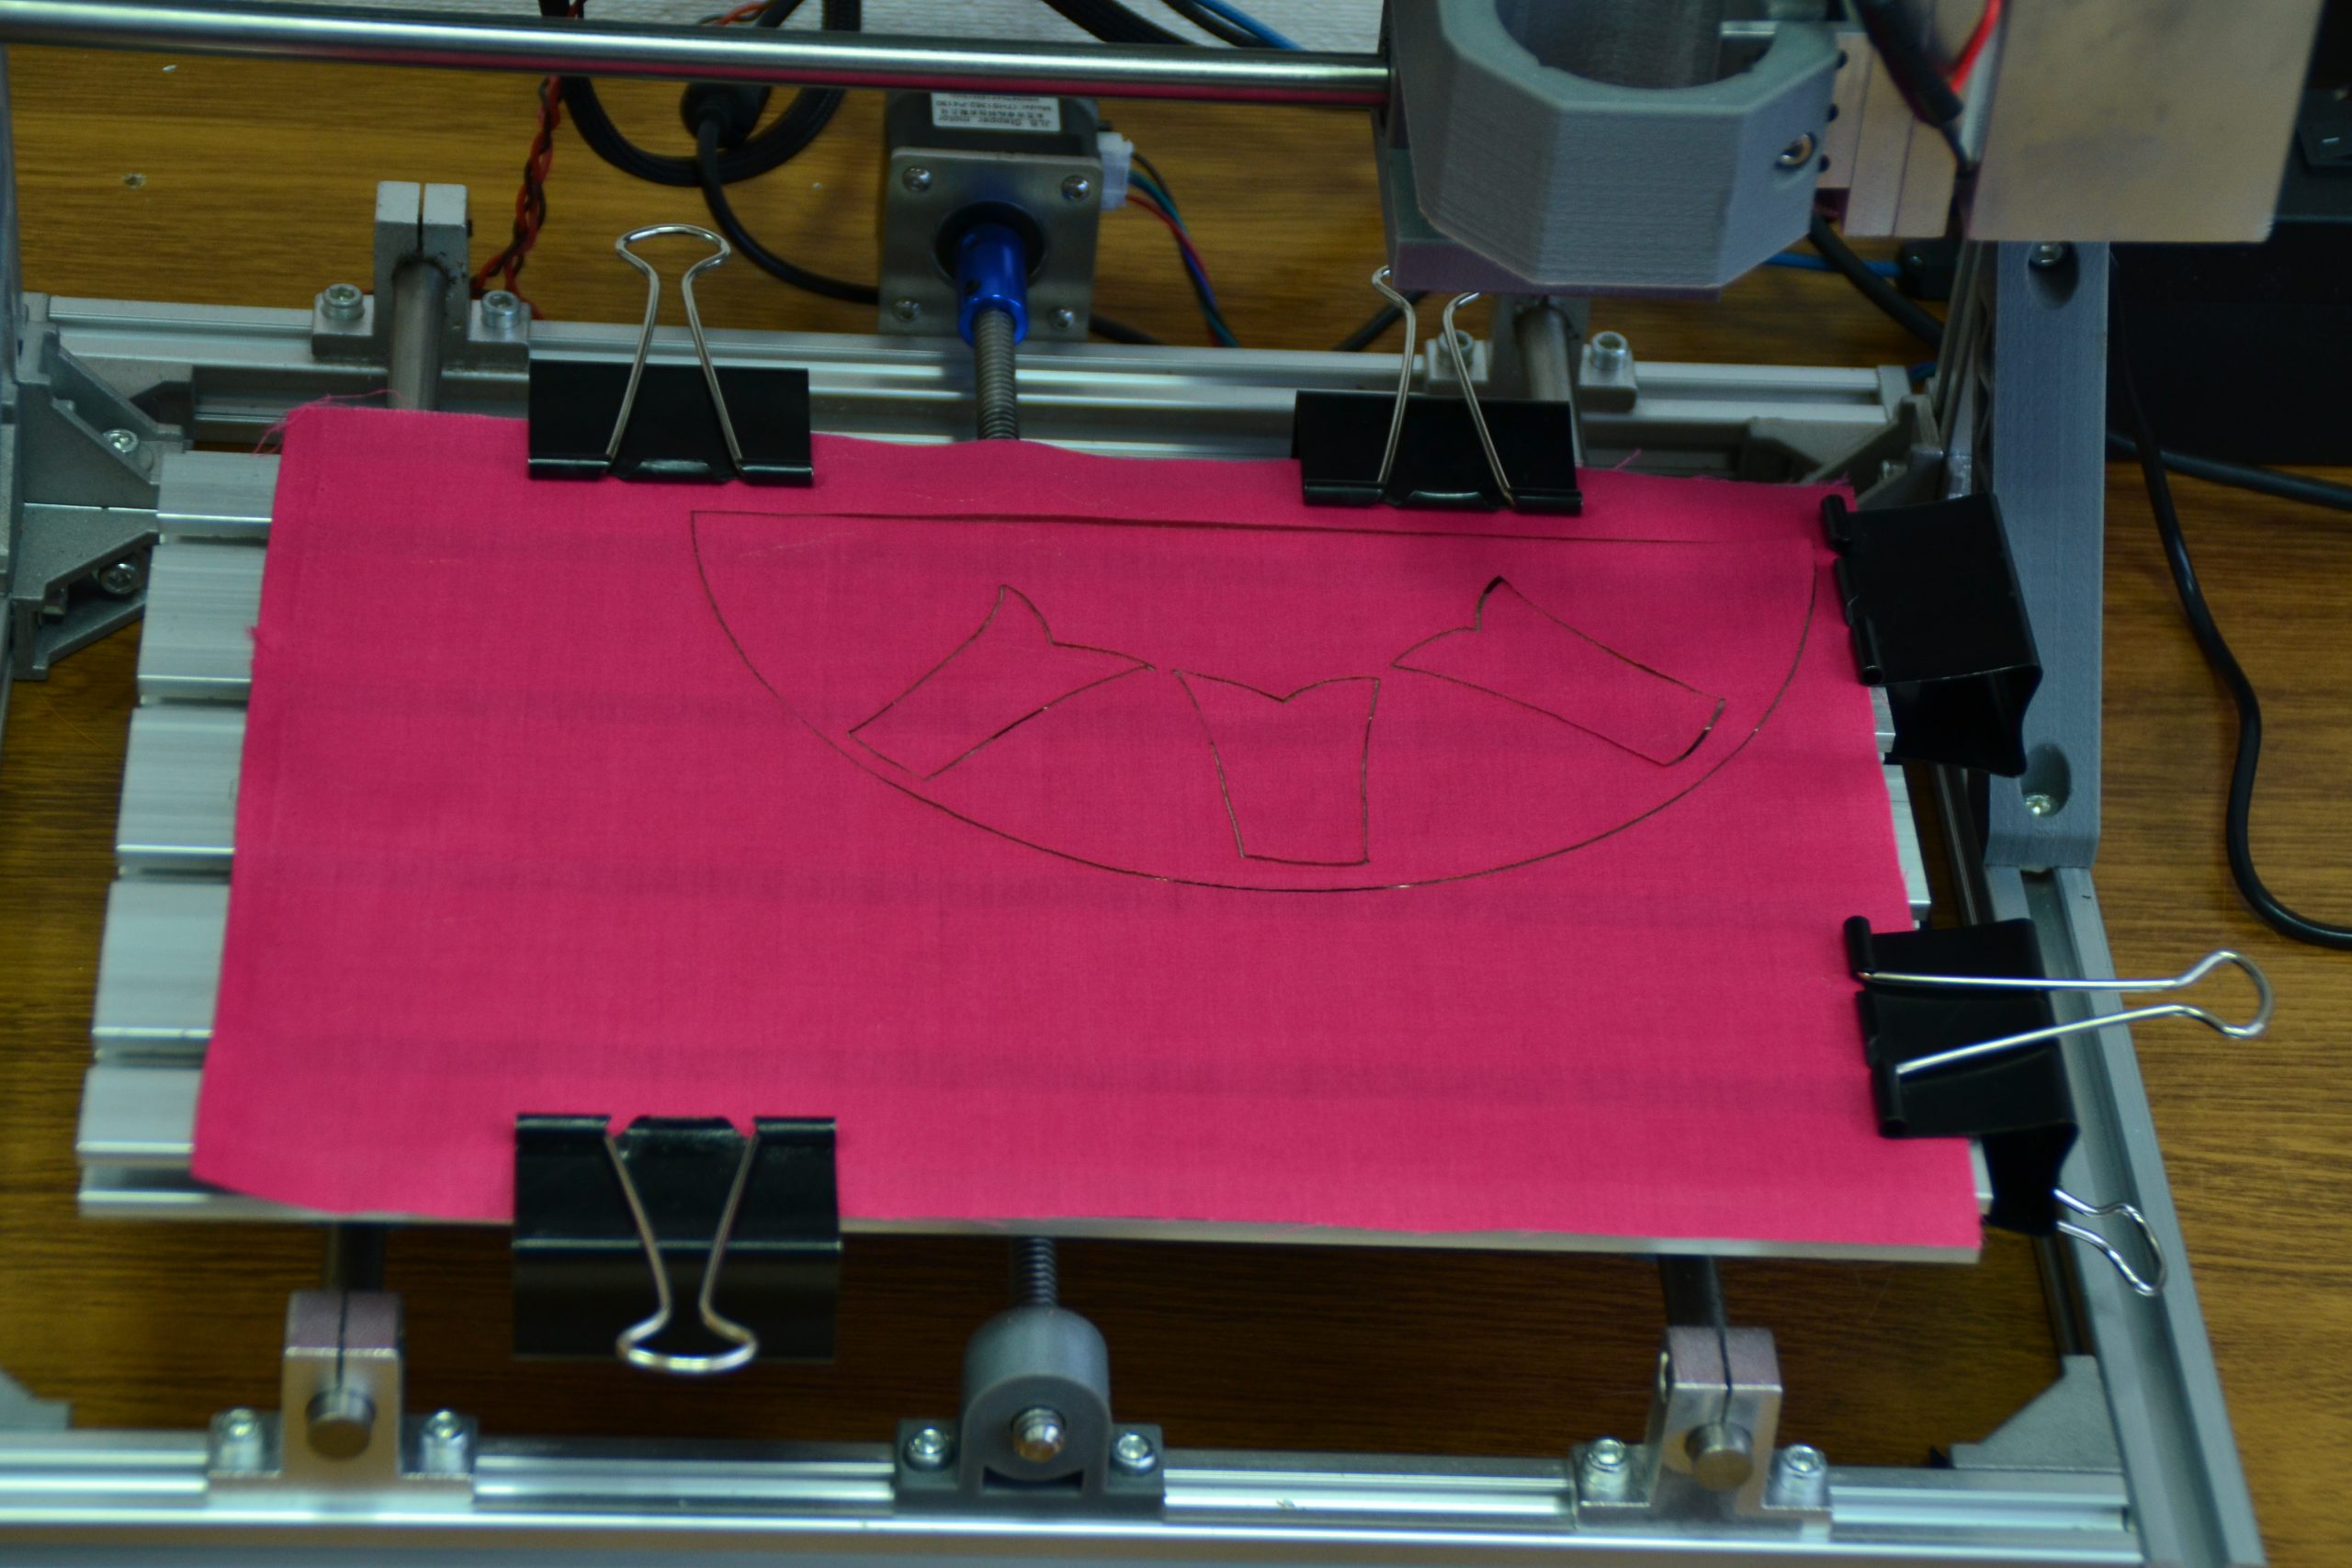
Cutting
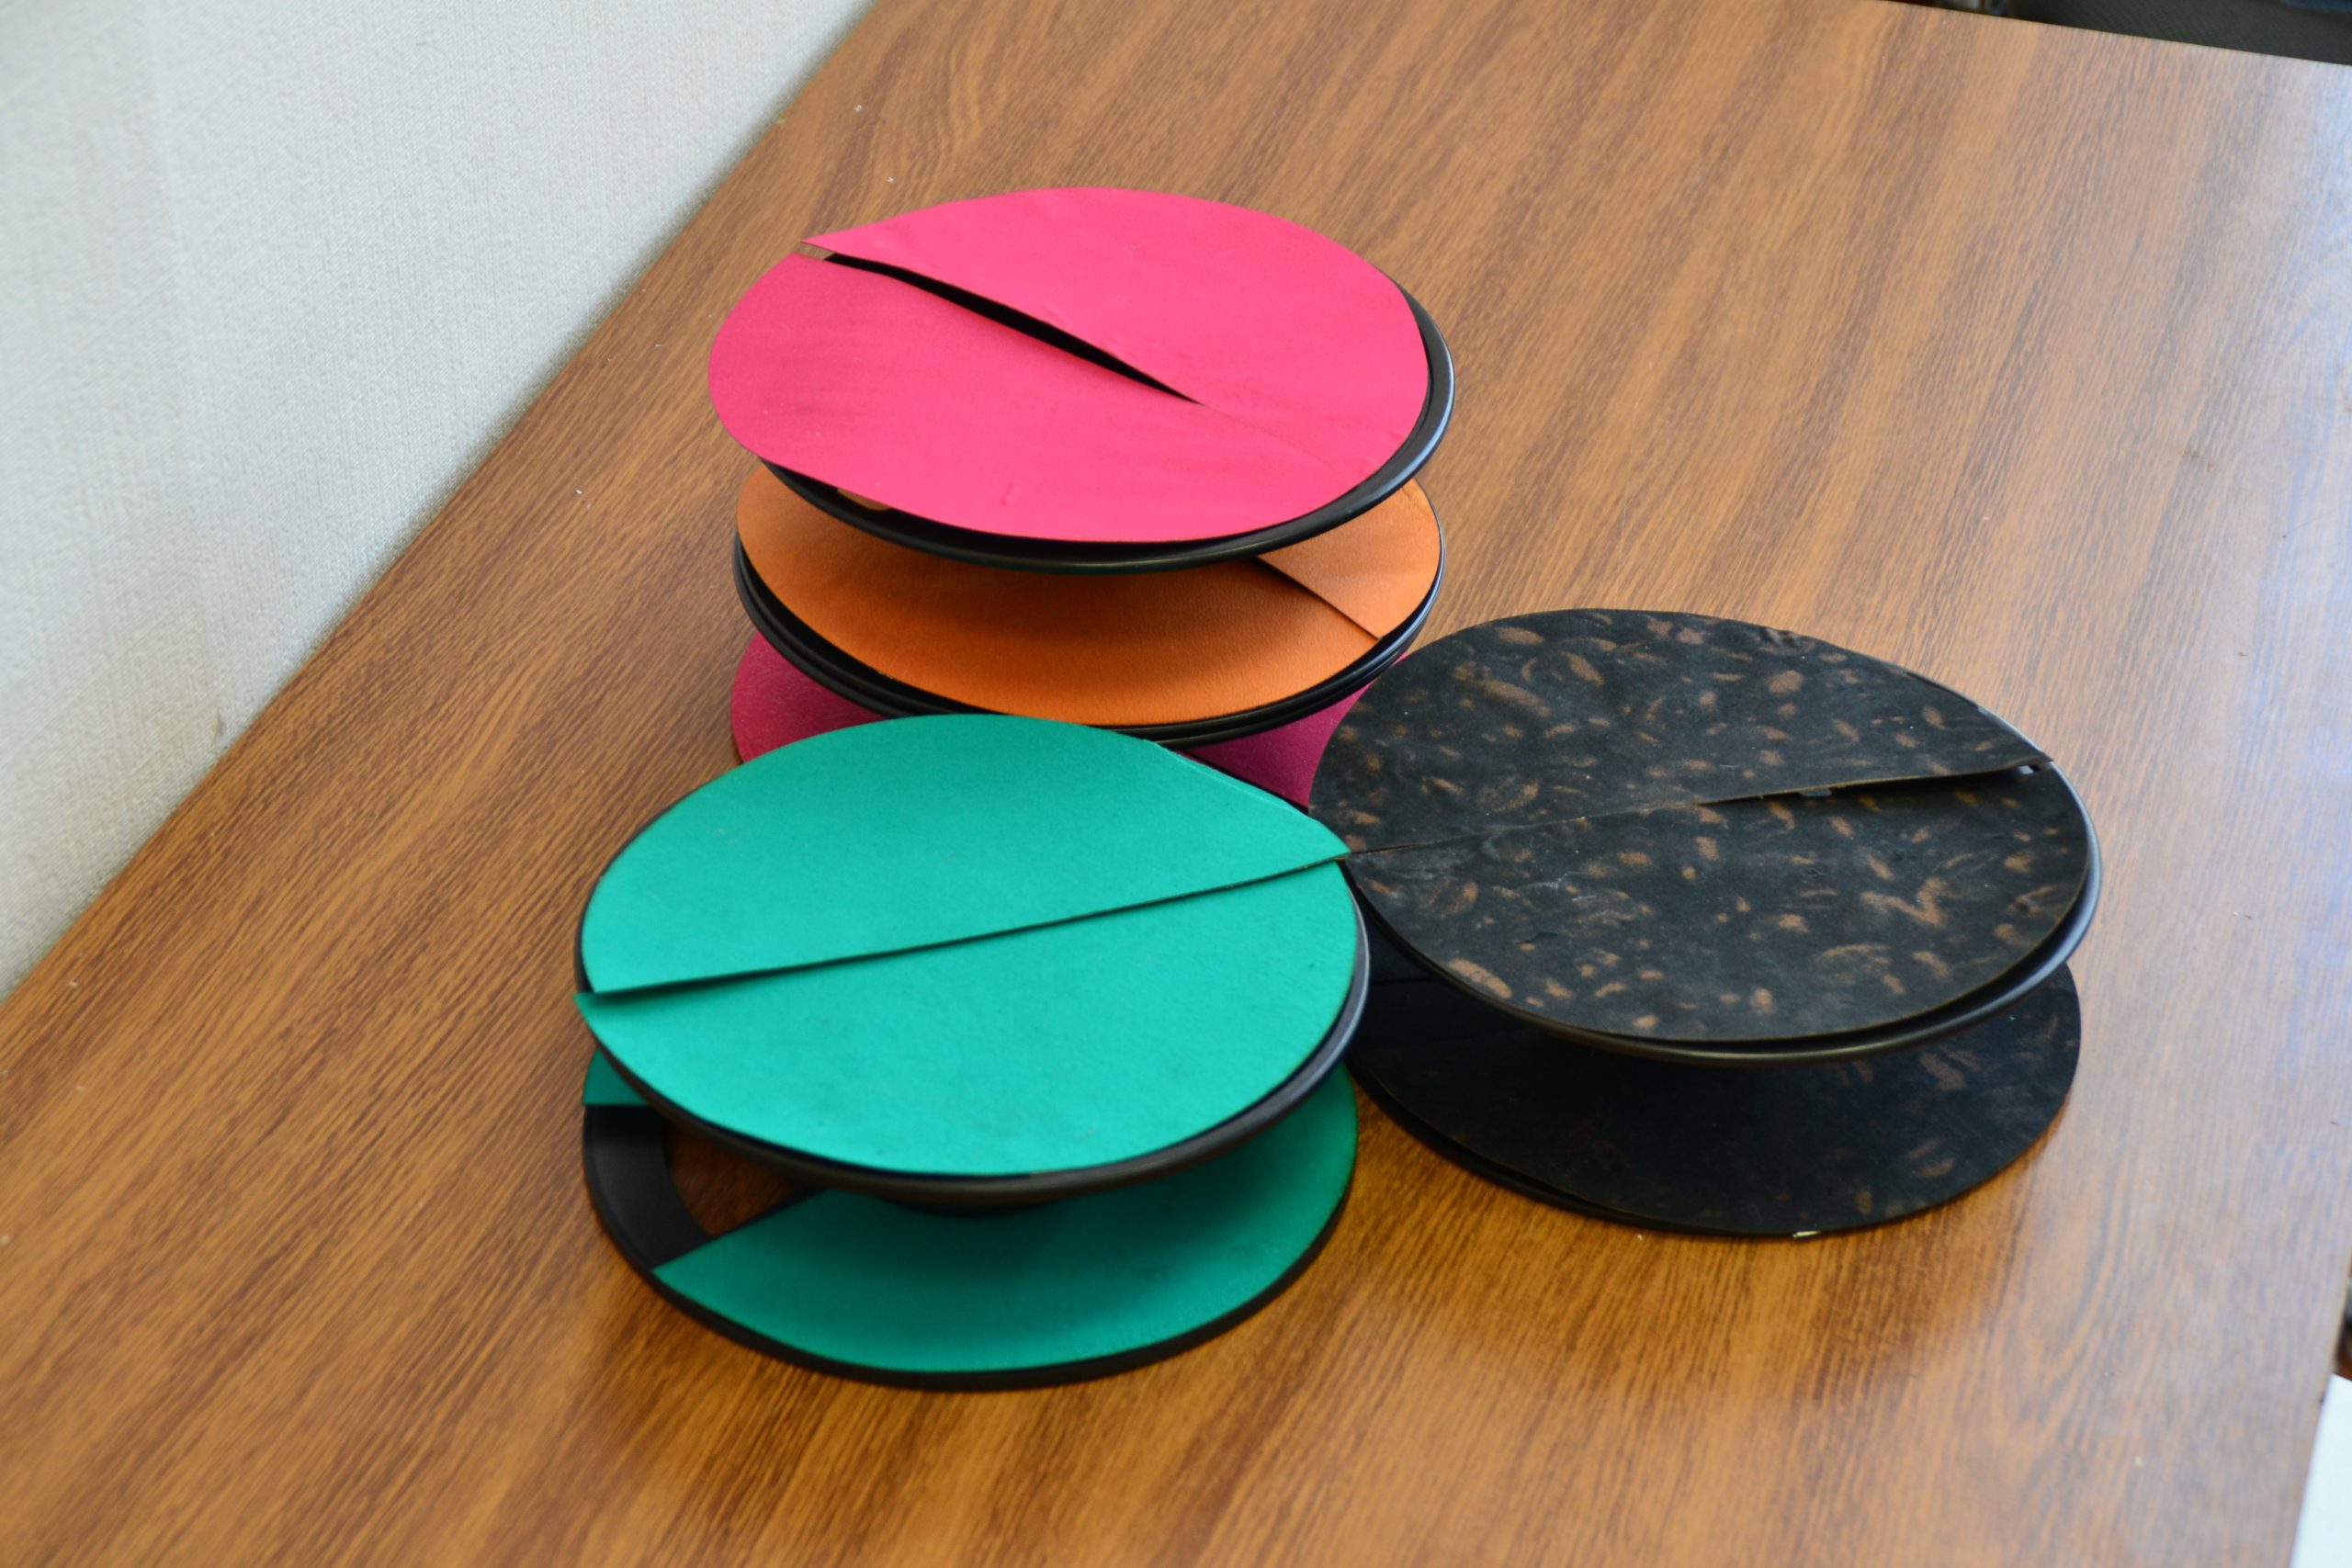
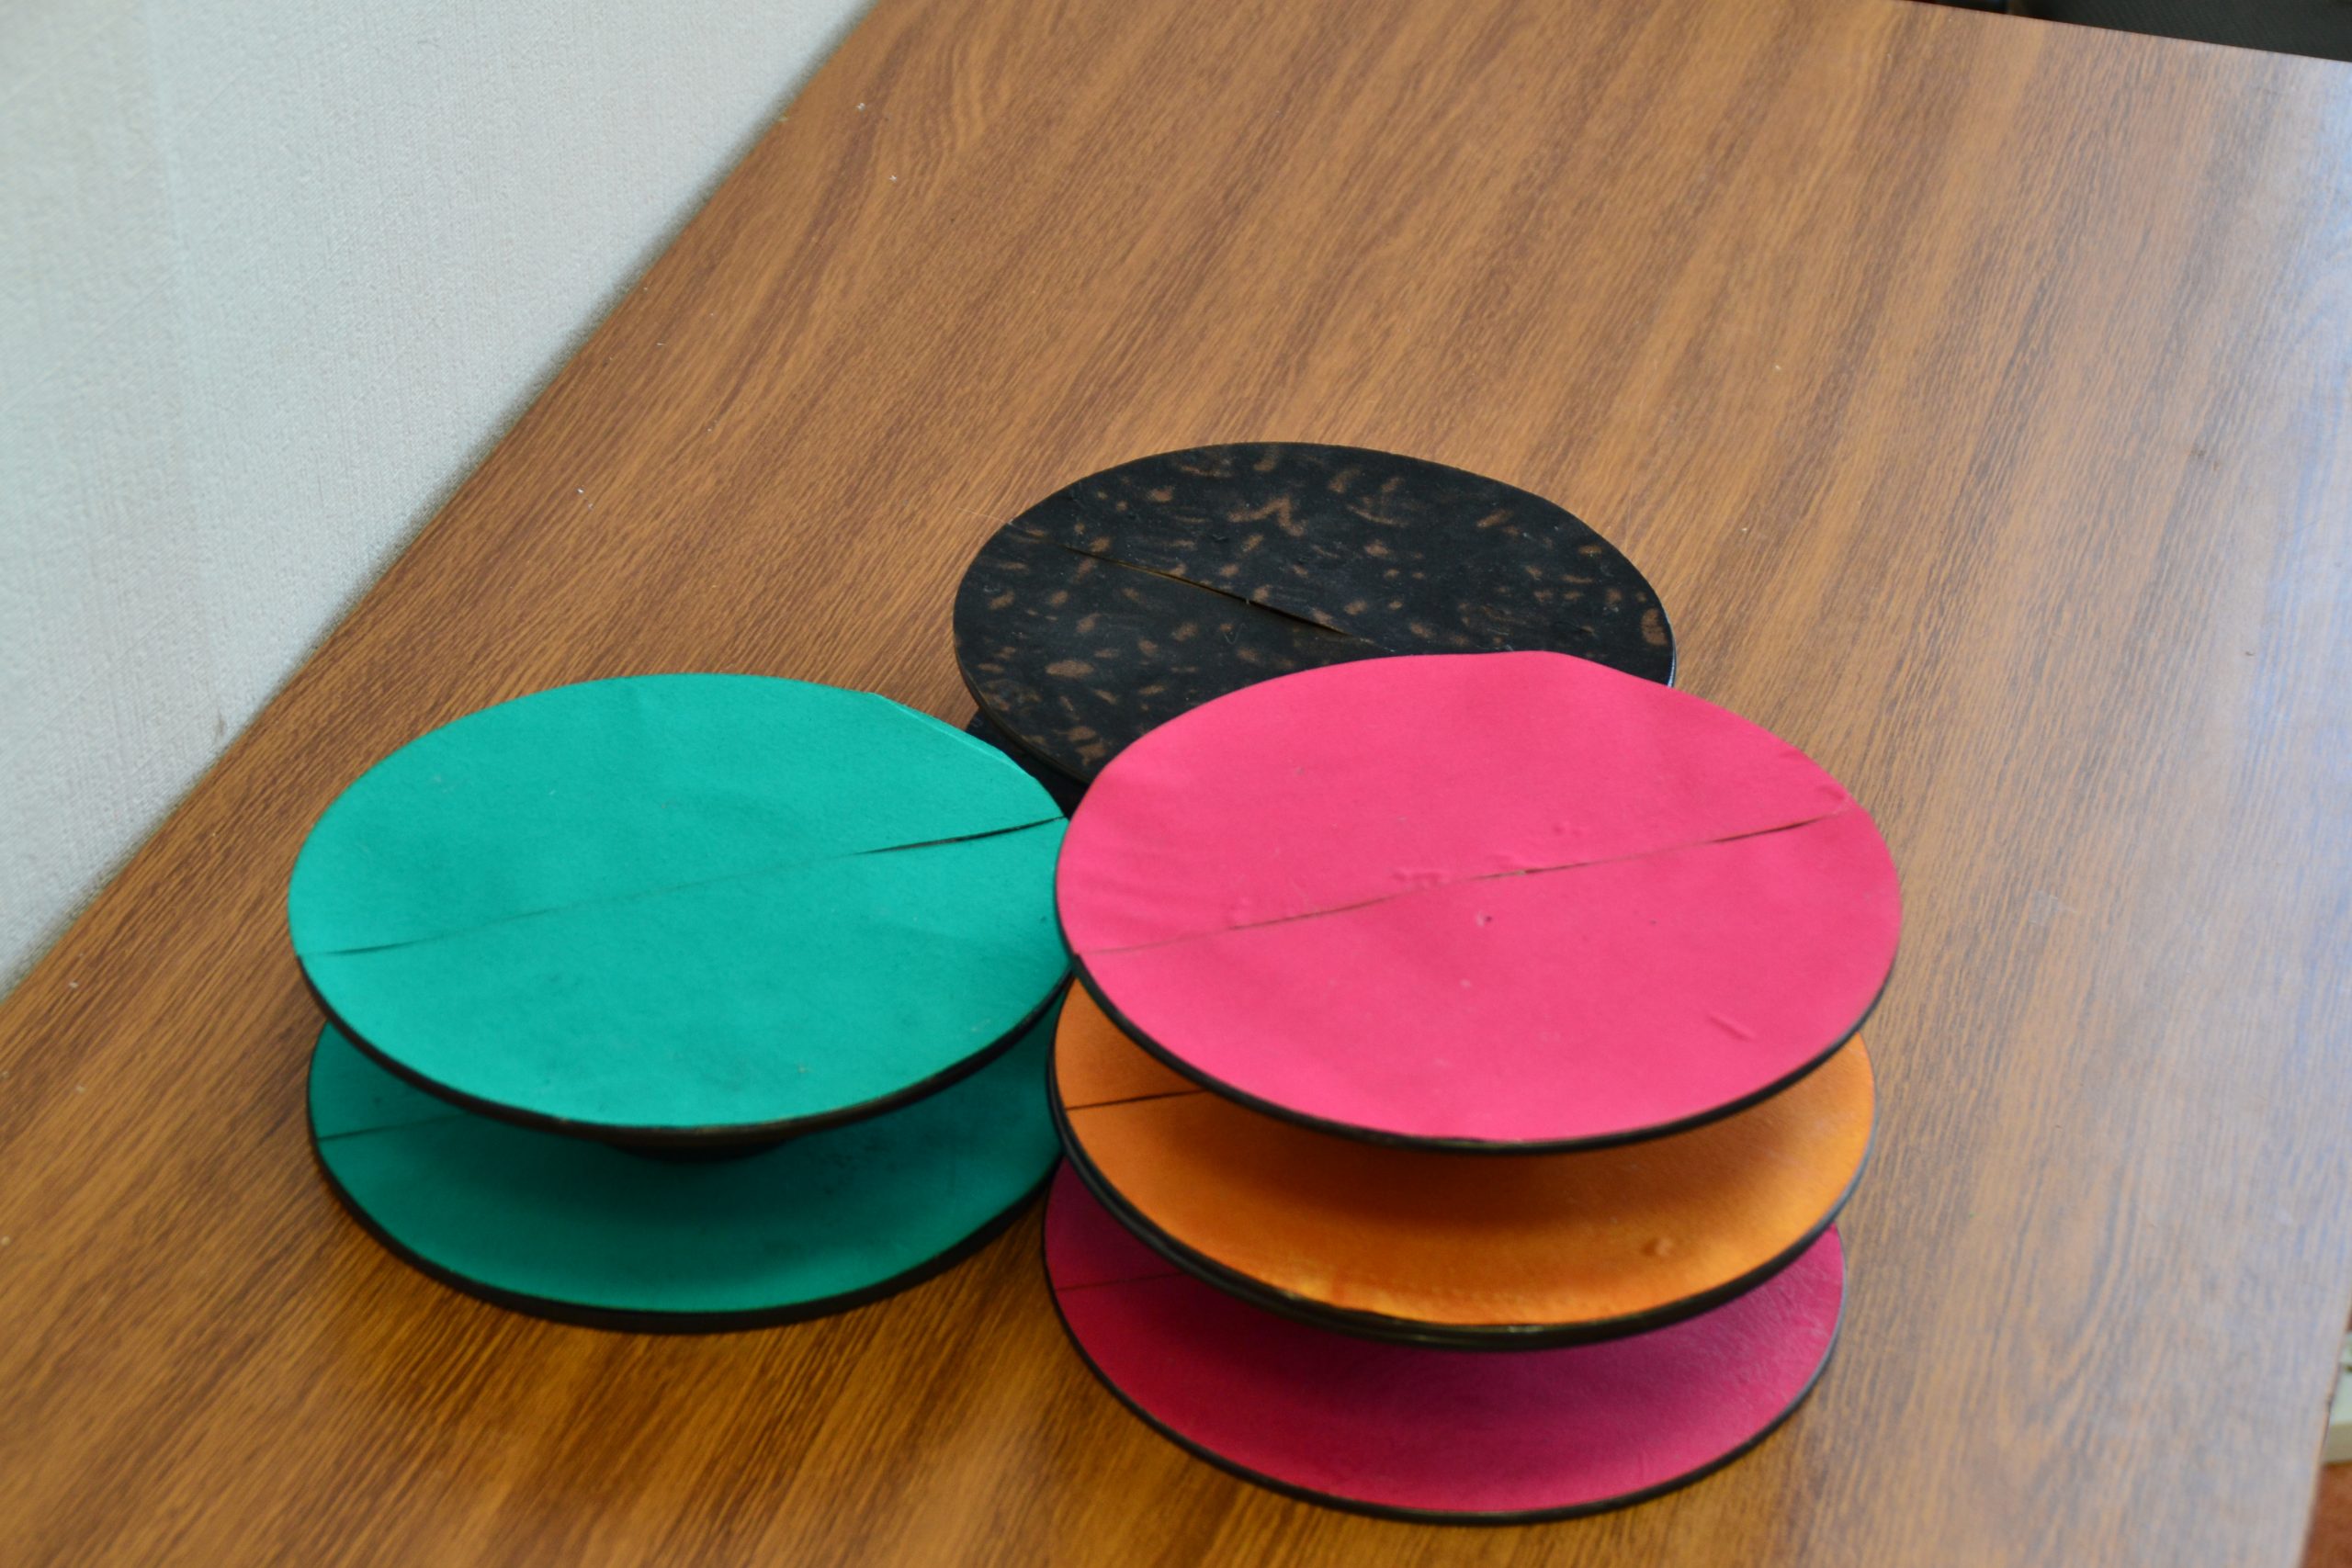
We fix our workpieces on the worktable evenly and cut out the underlays and decoration.


Gluing of the underlay
To paste the underlays to the spools any glue for cardboard and plastic is good. We coat the underlays with the glue and paste them to the spools. Then leave the workpieces to dry putting something heavy on their tops. (The time of drying is indicated in the glue instruction).
Pasting of decoration elements
Fabric cutting with a laser has at least two advantages over scissoring: high precision of cutting and edge tattering prevention due to laser melting of the fabric edges.
We make our towel rack out of a spool with a dark underlay. First of all we need to mark the places where the decoration elements and hooks will be fixed according to the sketches. We outline the mentioned items with a piece of tailor’s chalk (a piece of dry hone soap will also do). When everything is glued we remove the chalk lines with damp cloth.
Then we paste the decoration elements to the spool sides according to our sketches coating the upper surfaces of the front and bottom sides of the spool with white glue. We dab away excess glue with a piece of damp cloth.
After pasting the decoration elements we fix the hooks with the same glue.
Now we decorate the flower stands to paste the lace workpieces left after cutting out the decoration elements to the top spool sides and pasting the decoration elements to the bottom spool sides.
Varnishing
Then we leave the ready items to dry. After that, we varnish them with acrylic varnish for wood. It is considered to be eco-friendly and safe to use at home. It shines, it is odor-free, transparent, waterproof. Using a brush we coat the fabric surfaces of our handiworks with varnish. At first, the varnish looks white, but when dried up it becomes transparent. We apply three layers of varnish at 30 minutes intervals.
Once dry our handiworks are ready.