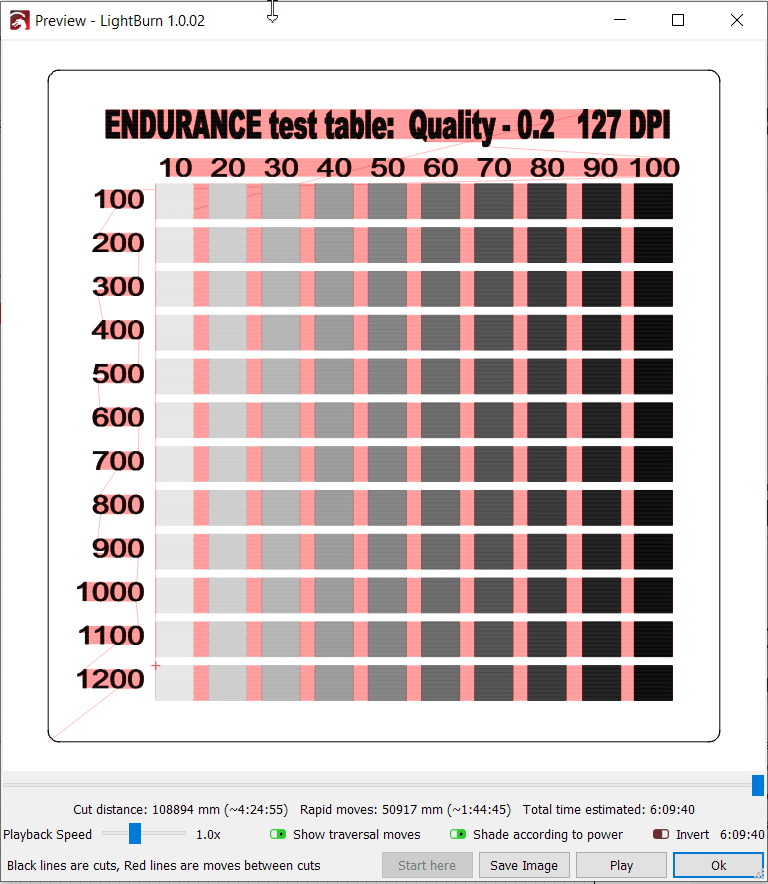
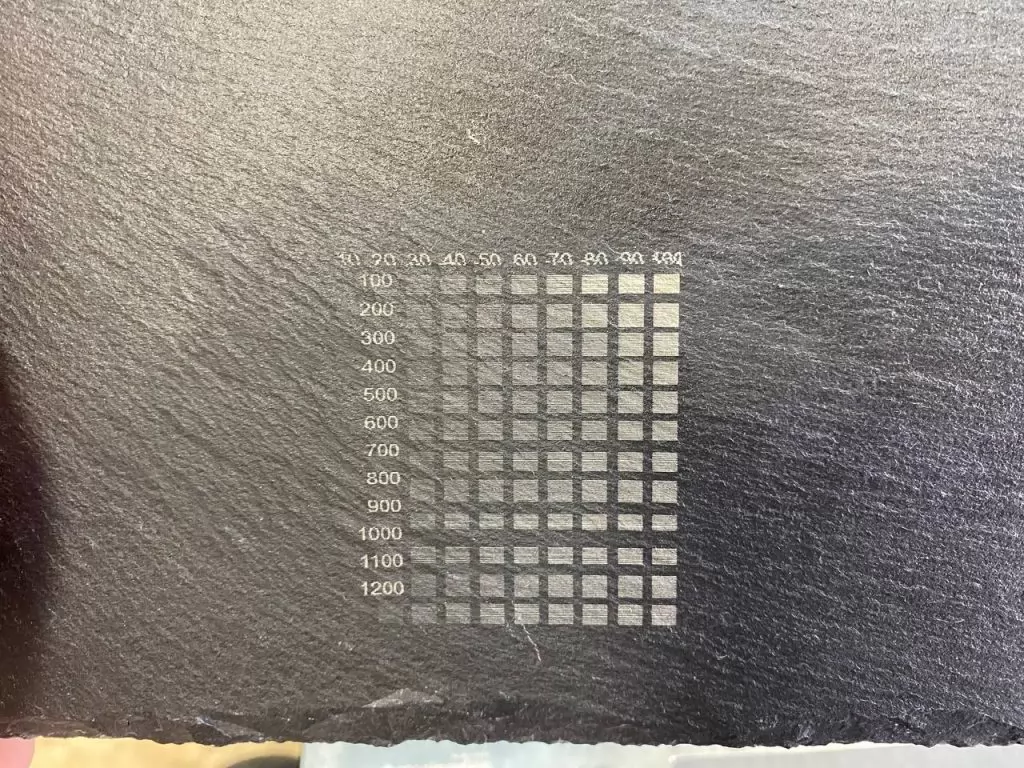
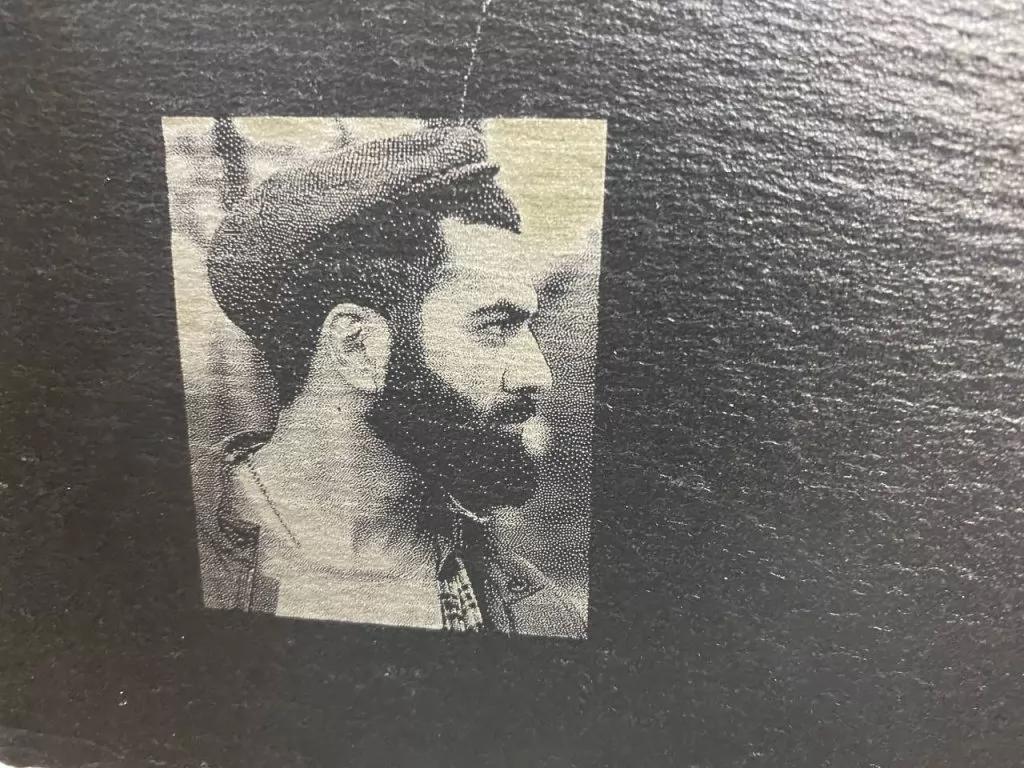
To make an accurate and effective laser engraving you need to define proper parameters for your material and your laser
When engraving, there are 3 main parameters that affect the quality:
– Power
– Speed
– Fill density
Could be also another setting like the amount of repeats (passes)
These parameters are specific to each laser and material. In cases where you mainly work with one machine and with one material, there is nothing difficult in the selection of parameters. You need to determine the optimal parameters once and then use them always.
If you often have to deal with new materials, then determining the parameters will take you a lot of time. Similar tables can be used to automate this process.
Using our table, you can test 120 engraving parameters at once, with a fill density of 254 DPI (0.1 mm).
The X-axis changes the power from 10% to 100% (10% step)
The Y-axis changes the speed from 100 mm / min to 1200 mm / min (step 100 mm / min)
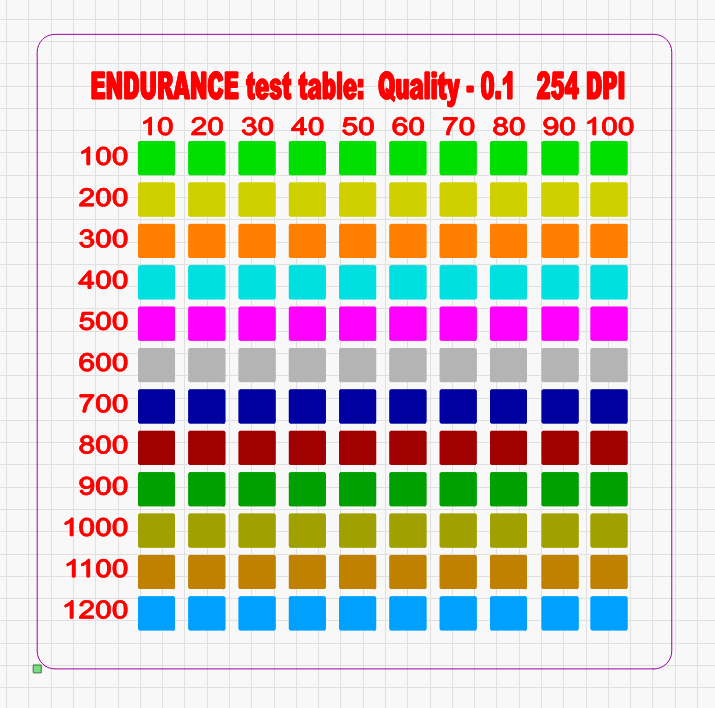
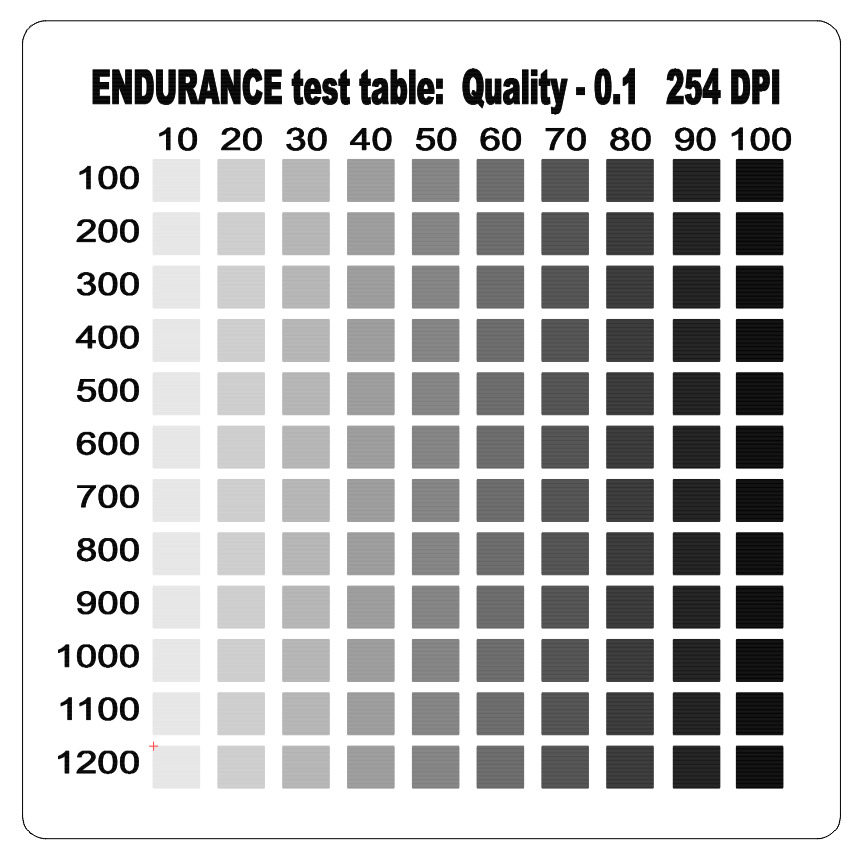
This table takes about 30 minutes to engrave. During this time, while the machine is working, you can do other work, for example, prepare an image for engraving. After the end of the machine, you will receive ready-made examples for 120 modes, from which you can easily choose the one that suits your particular case.
Download a laser engraving file test lightburn >>>
You can run this table on a variety of materials. And collect a list of parameters for each material.
Download g-code + Lightburn fine for laser Endurance engraving test
How to work with a table.
When you open the table file in LightBurn, you can edit it for yourself.
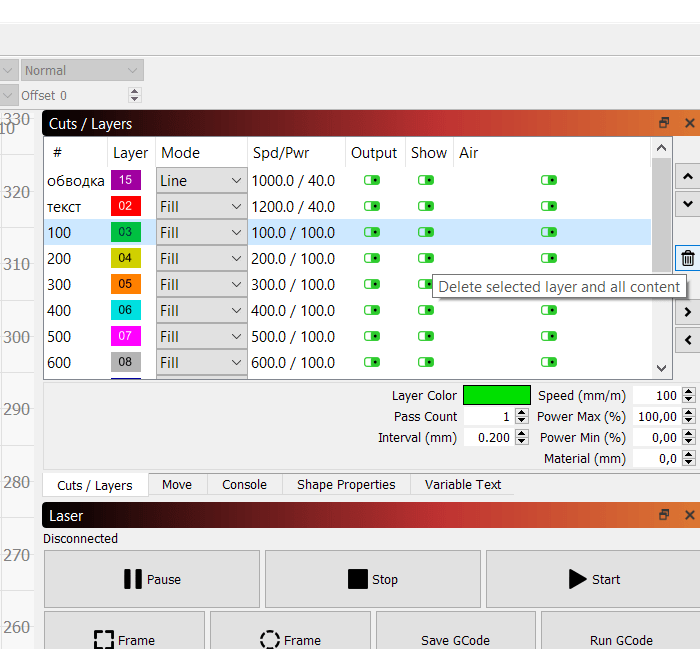
For example, delete its lines, in cases where you know for sure that at this speed you will not get the desired result.
To do this, you just need to delete the layer you do not need and move other elements to their place.
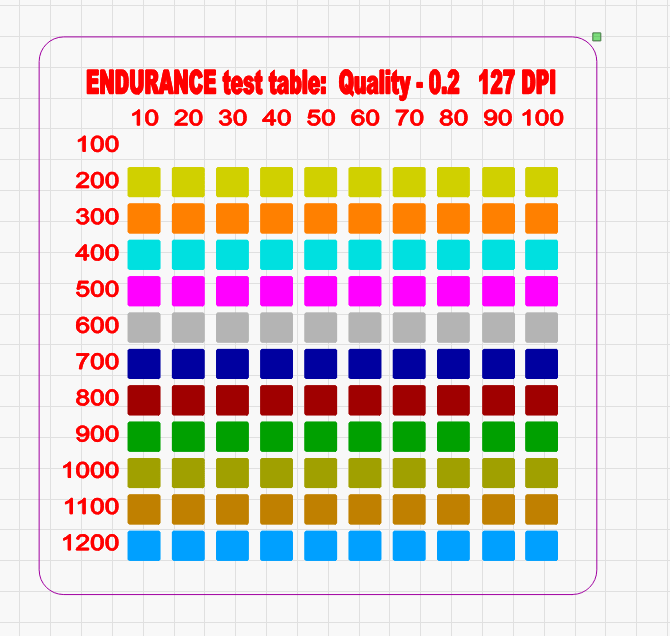
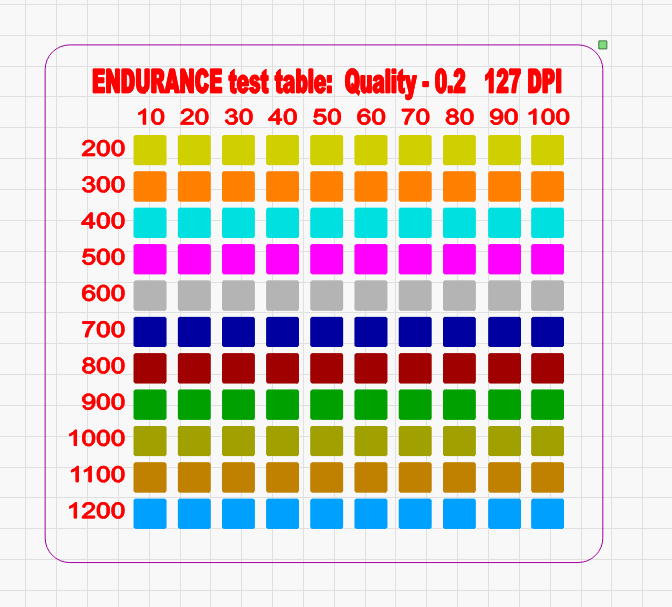
If you want to reduce the table and remove a column with any cardinality, just select it and delete it.
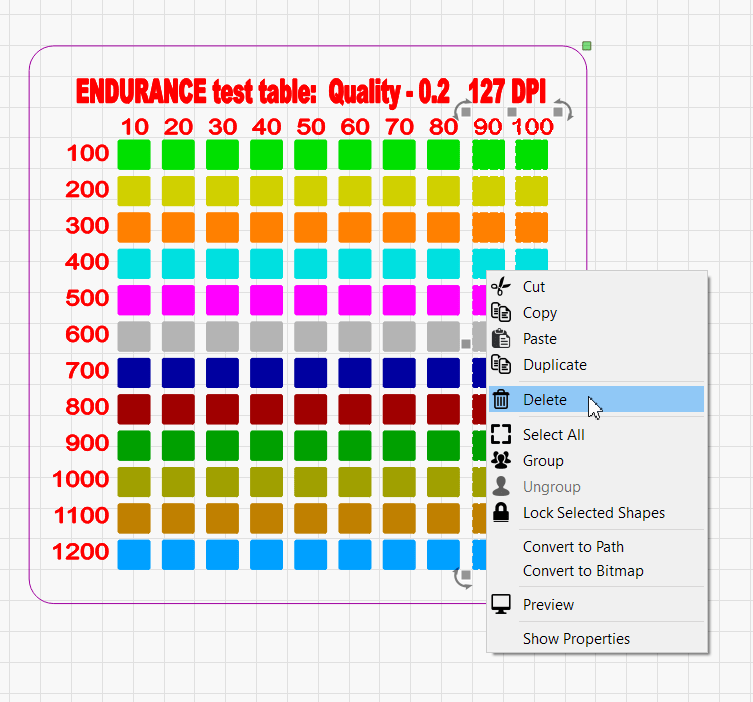
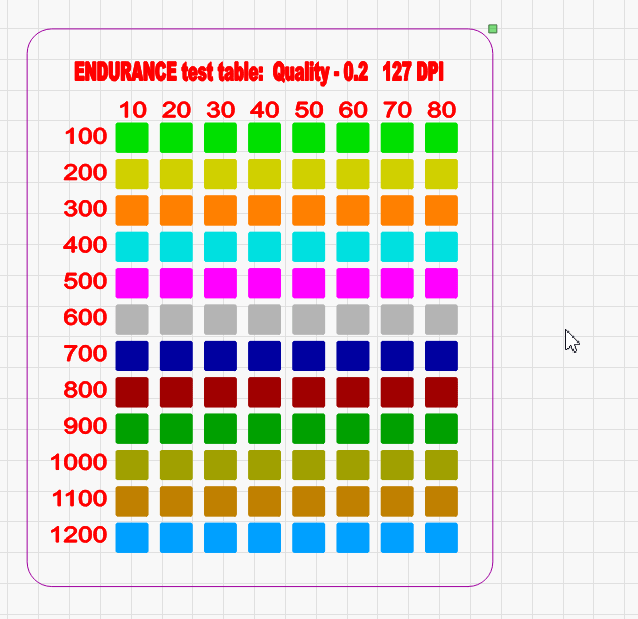
After that, you can also shift the rest of the table elements to the place of the deleted column
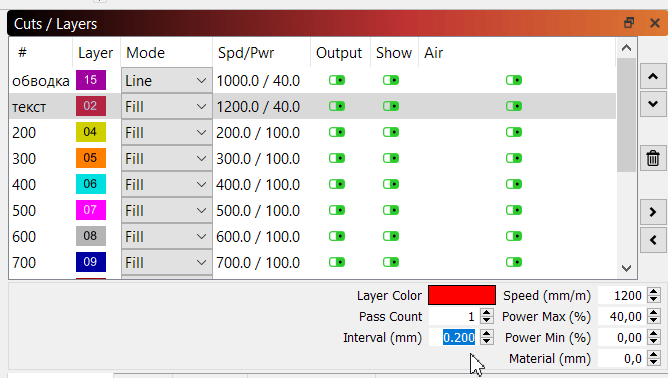
In addition, you can change the density of the fill. It is necessary to change the “Interval (mm)” settings for all fill layers.
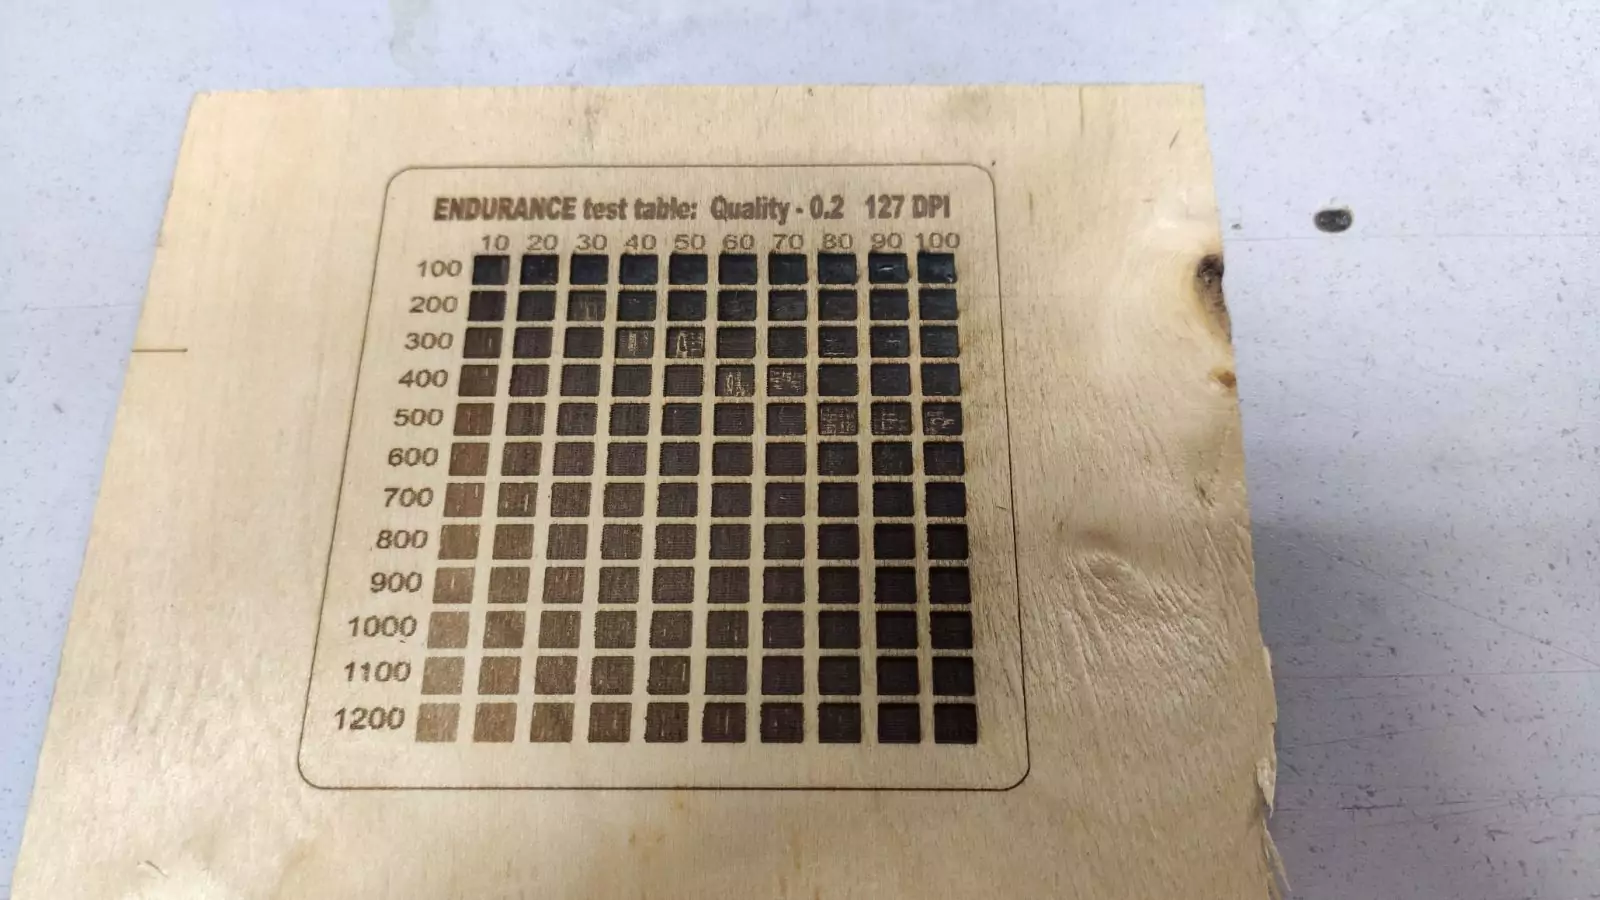
As a test, we engraved this table on plywood. We used an Endurance DIY Co2 upgrade kit based on LE5040 SainSmart (Genmitsu) machine with a diode laser installed on it.
This is a DPSS laser test on black skin. Since we previously worked with it, therefore, we deleted part of the table (the speed was left 400 – 1200 mm / min)
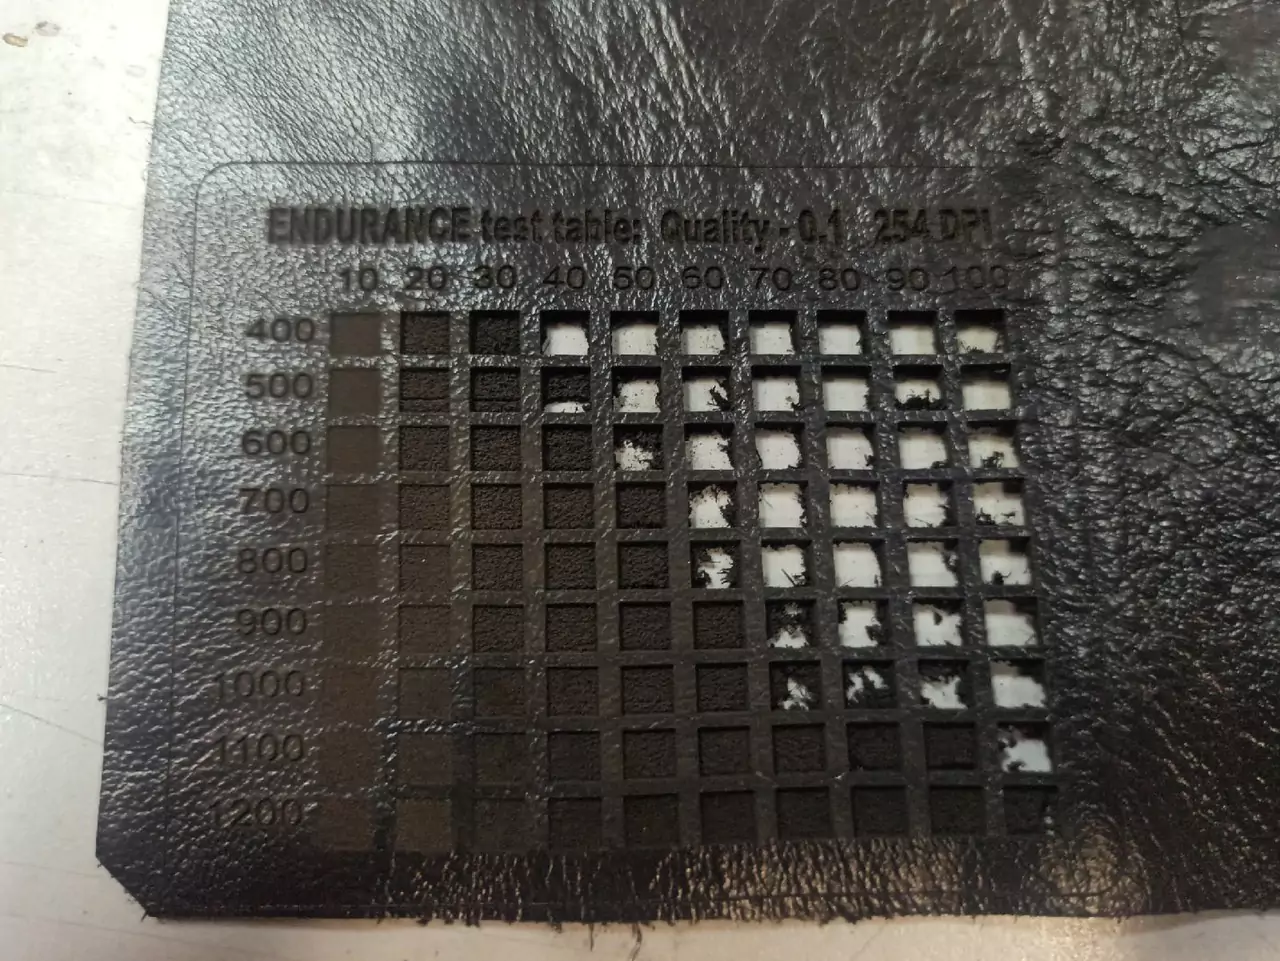
You can run this table on a variety of materials. And collect a list of parameters for each material and laser.
Checking laser engraving parameters for 1.7 watt 405 nm violet diode laser
Download g-code + Lightburn file
