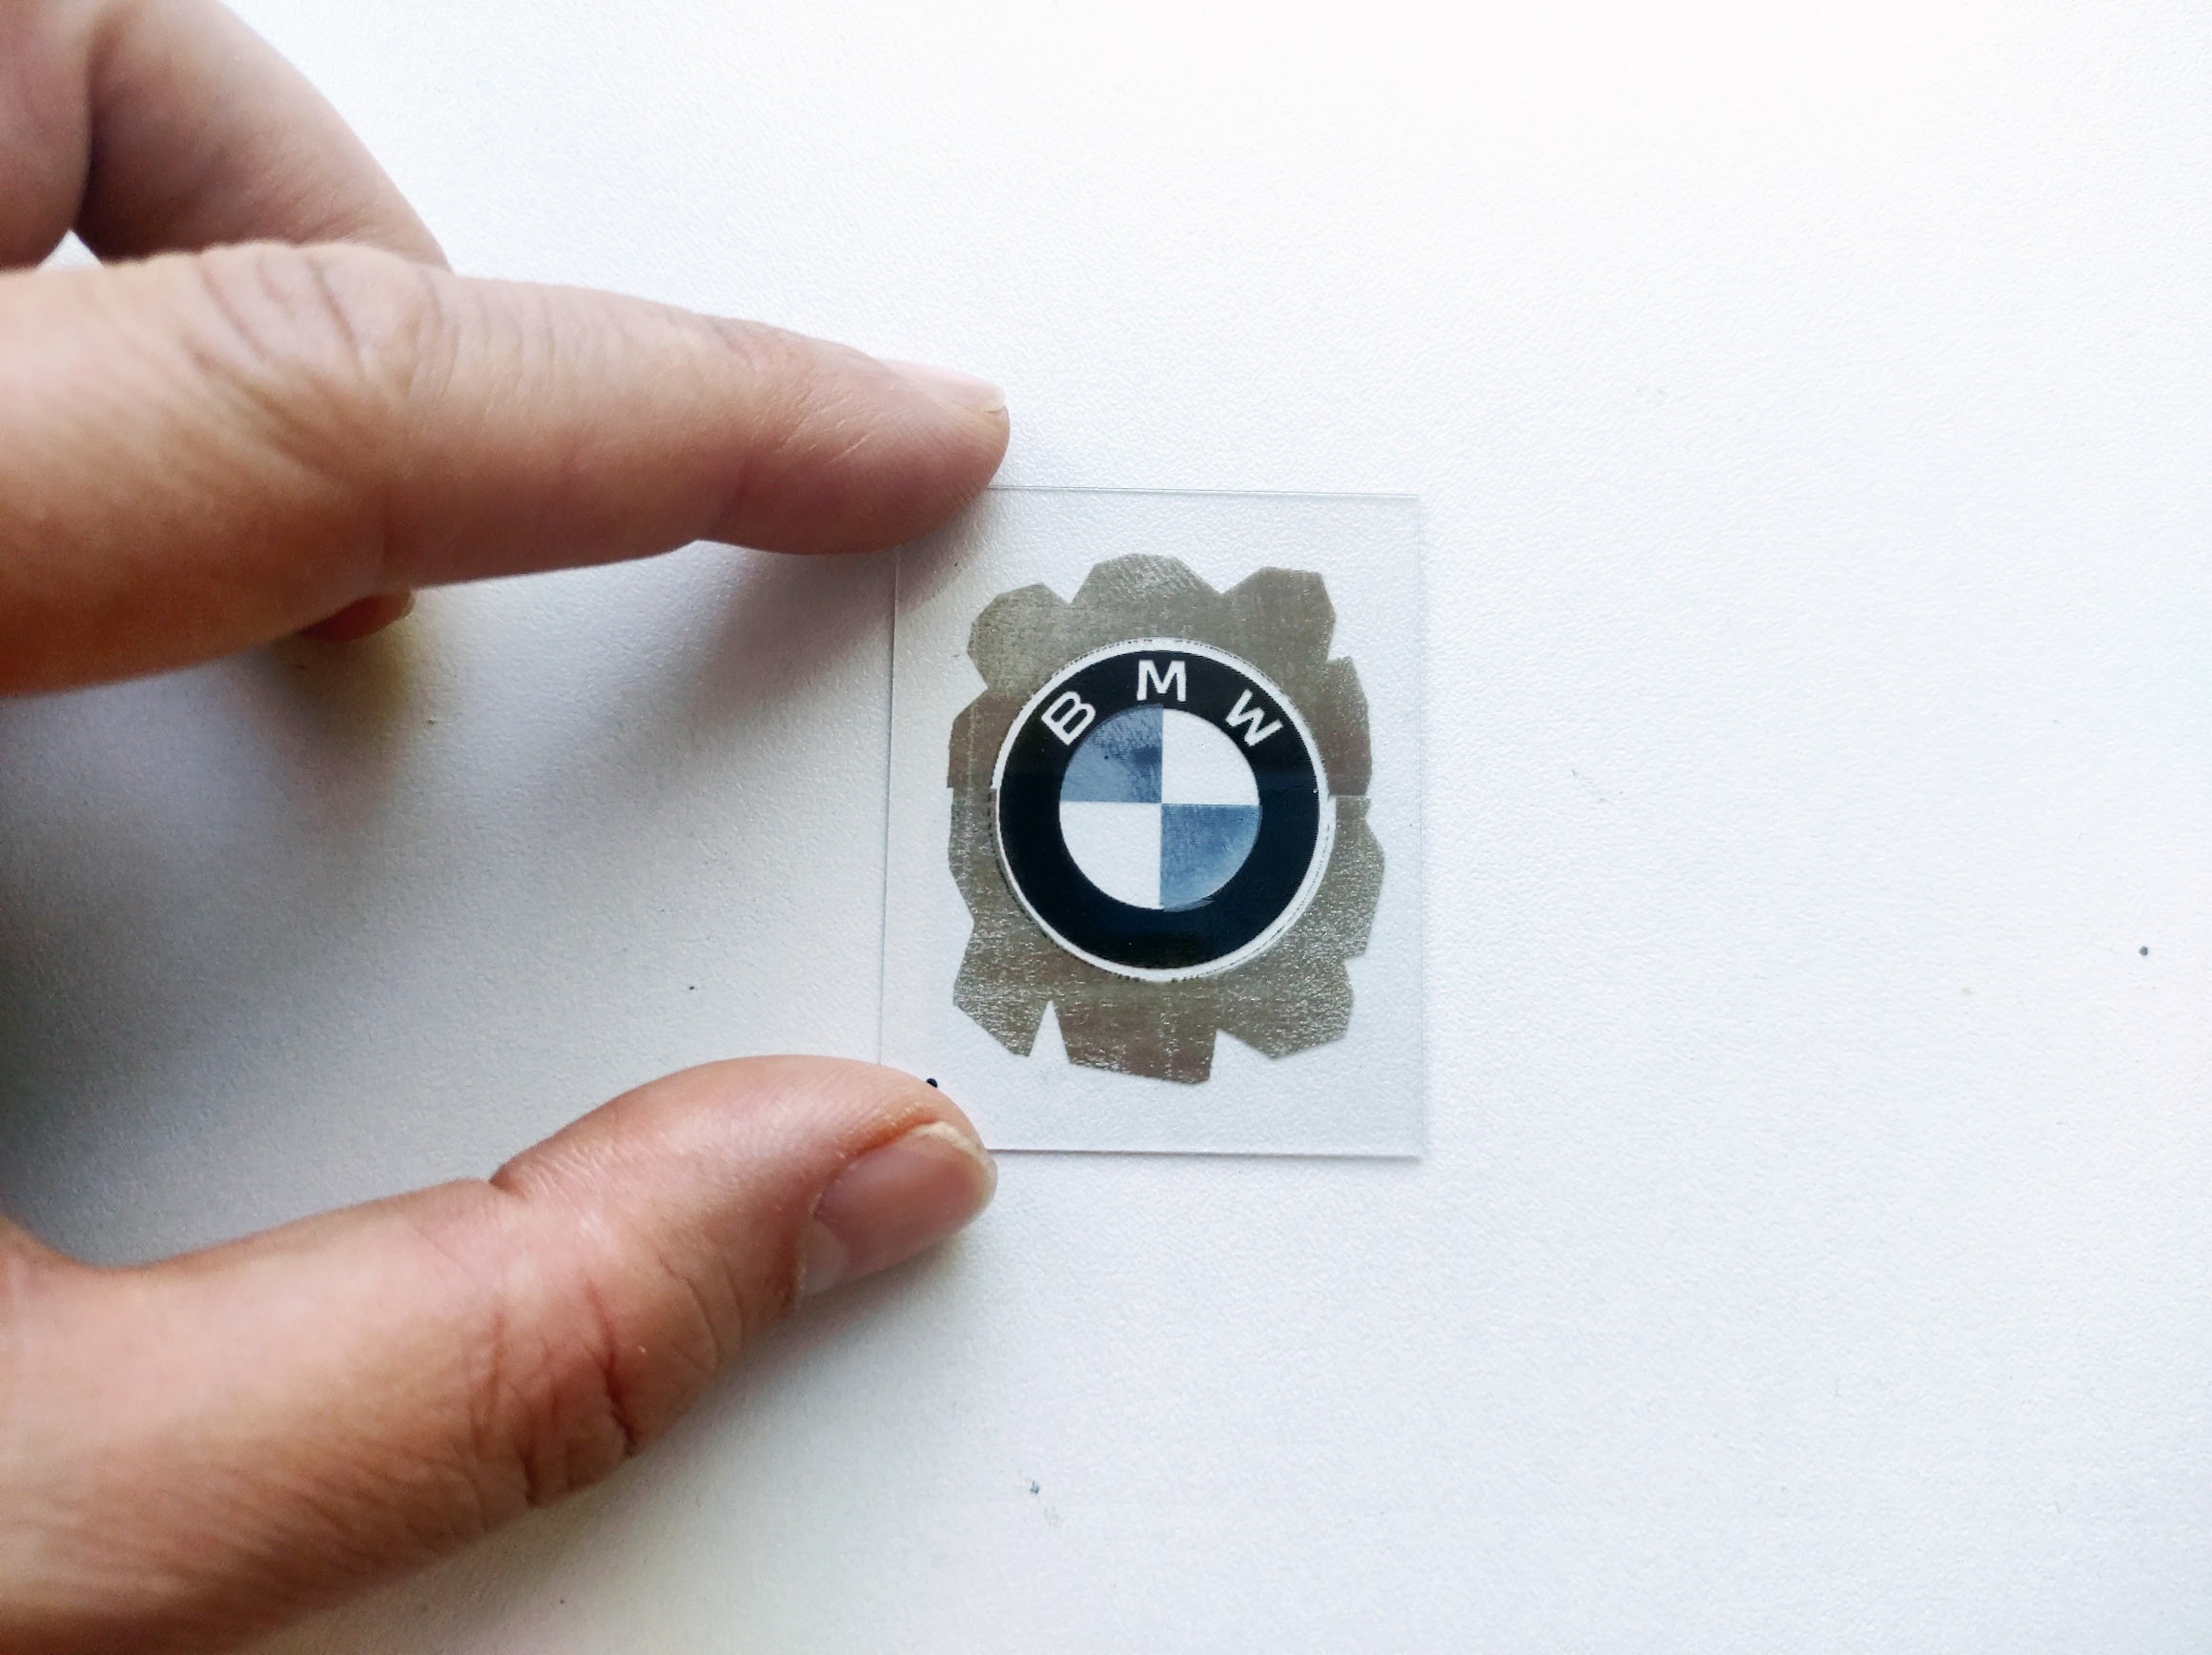
Our installation:
Experimental Sapphire Glass Color Engraving with a Diode Laser (Endurance 4 Watt DPSS Laser Nd:YAG, 1064 nm, F=20mm) installed on CNC 3018
A Task:
Create a color image on the surface of a sapphire glass without the use of dyes.
A course of work:
Image preparation:
The BMW logo was taken as a basic pattern. The pattern was divided into separate layers. Each layer will have its own color during processing.


Logo Brown Black Blue
Run the laser
A test run was carried out on an anodized plate to check the mutual arrangement of the layers.
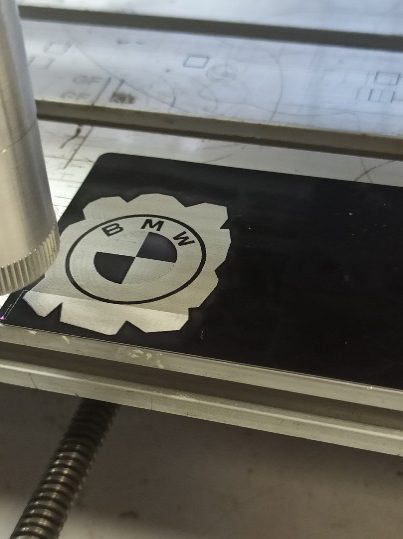
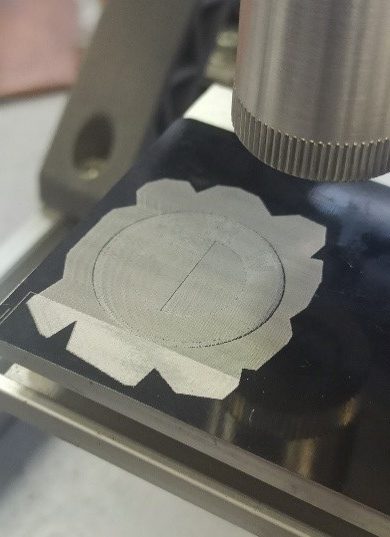
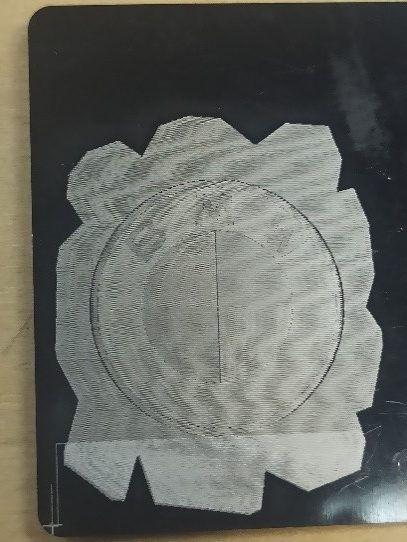
Every layer was engraved separately. All of them matched each other.
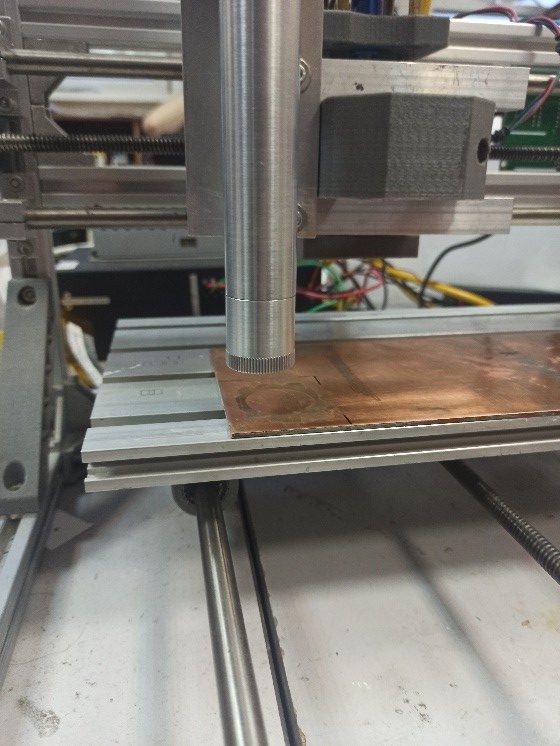
- A plate of certain metal (the color will depend on the type of metal) is placed on the worktable. A sapphire glass plate is fixed on it. It is important to set the focus range at 11 mm (the distance between the glass surface and the lens).
The first experimental material was copper (background). We used the following parameters:
Speed 90mm/min., power 25%, interval 0,1 mm, number of passes 1.
The resulting color of the layer is brown.
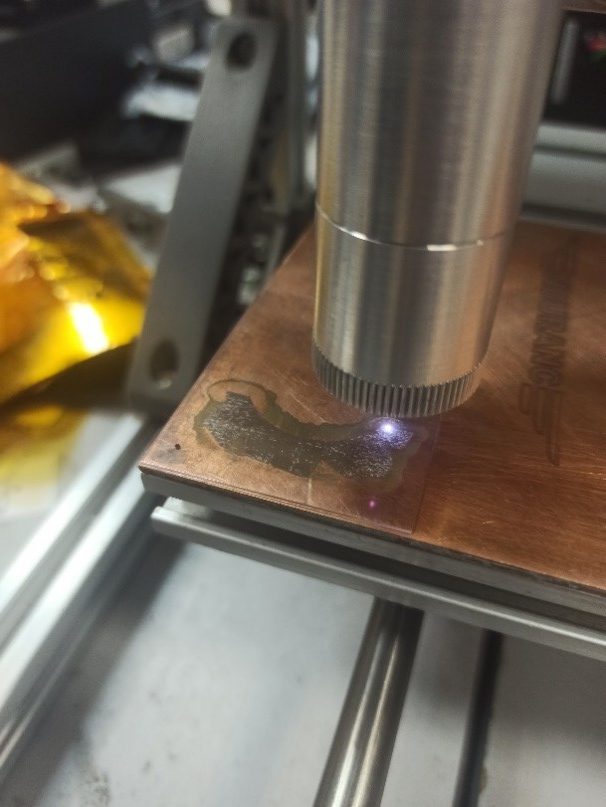
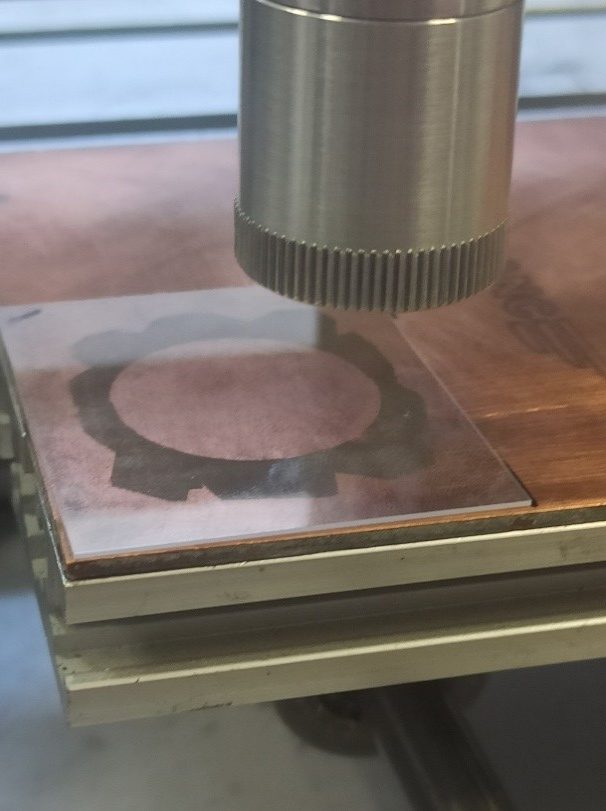
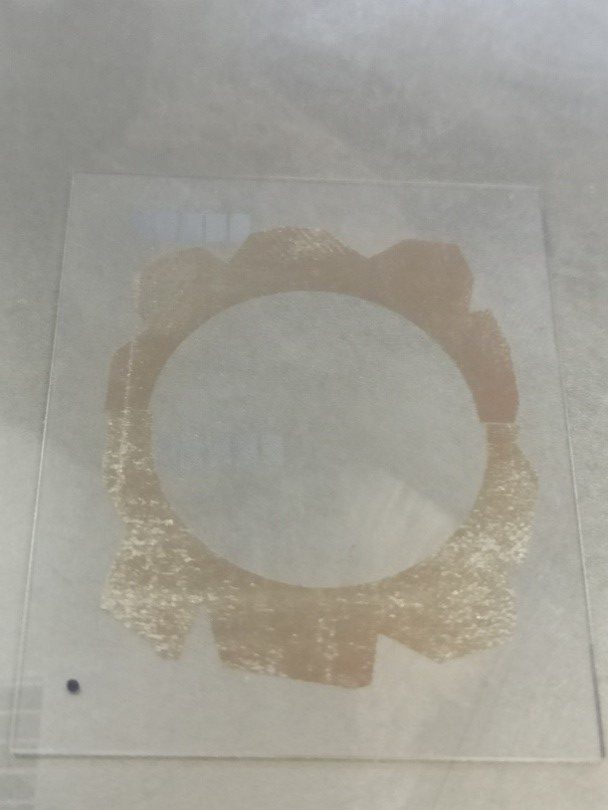
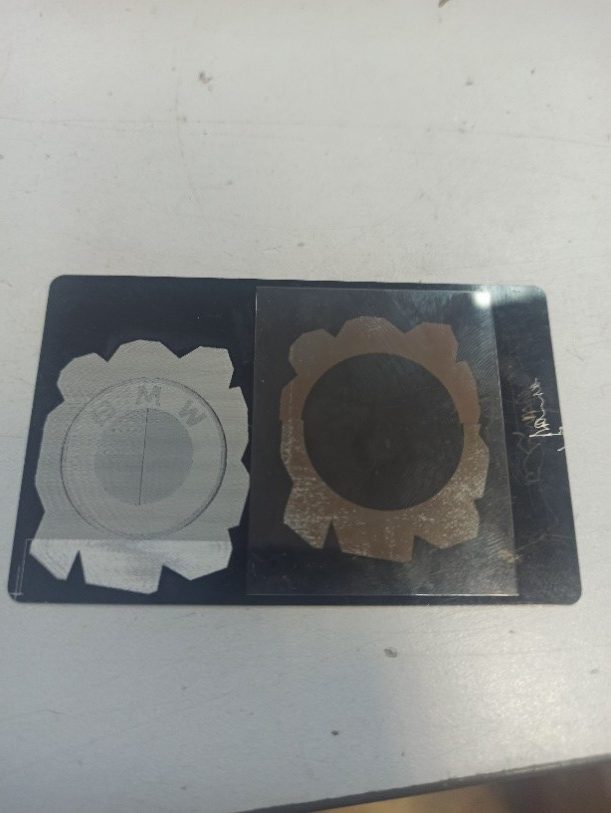
The starting point for laser engraving was marked with a marker pen so that the plate was positioned exactly at the same place when engraving the rest of the layers.
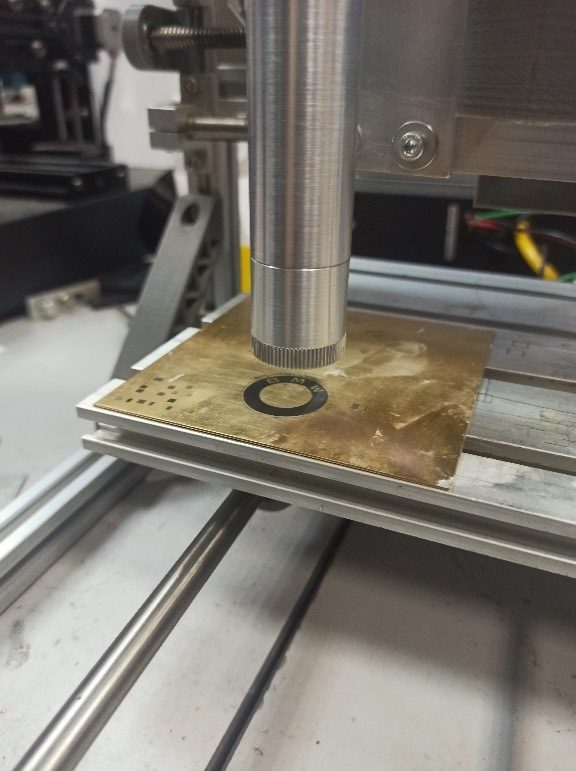
The next material was brass (a ring with letters). We used the following parameters:
Speed 20mm/min, power 99%, interval 0,1 mm, number of passes 1.
The resulting color of the layer is black.
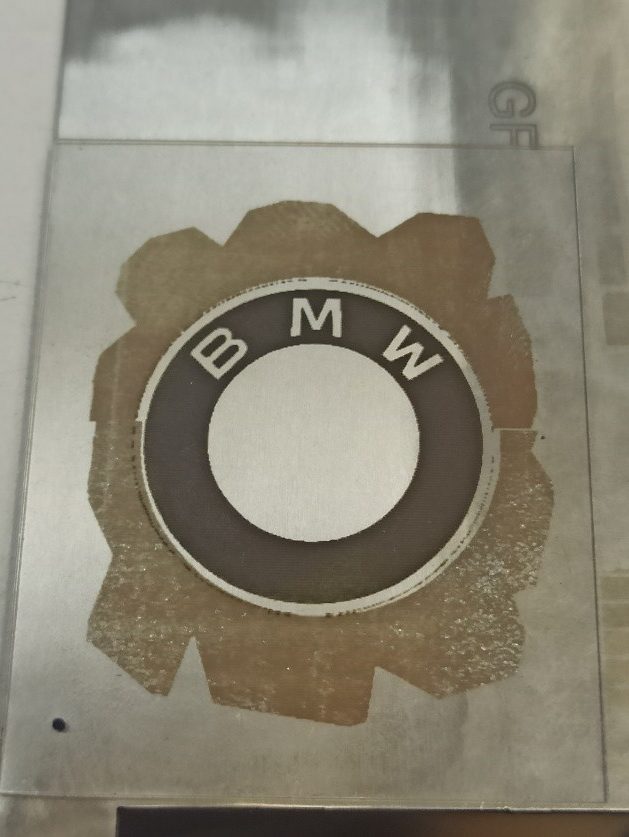
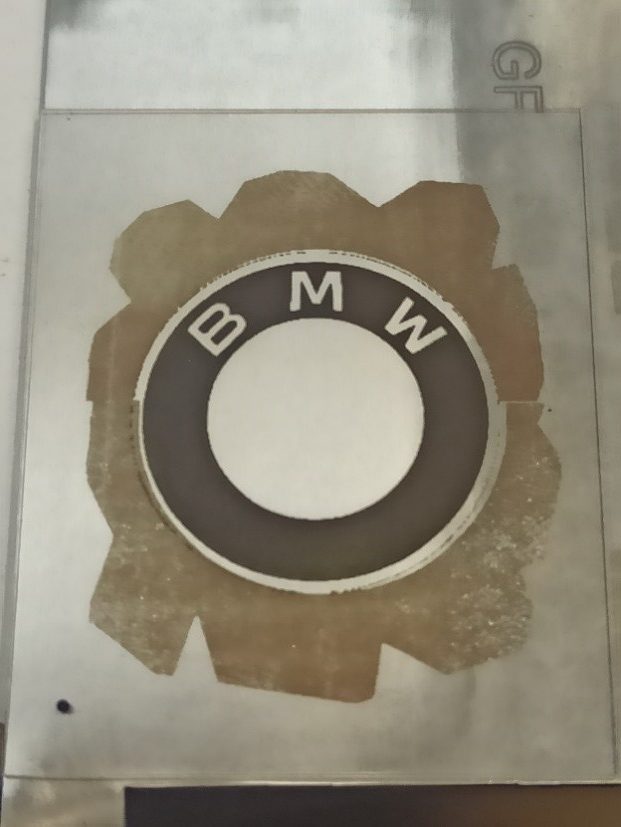
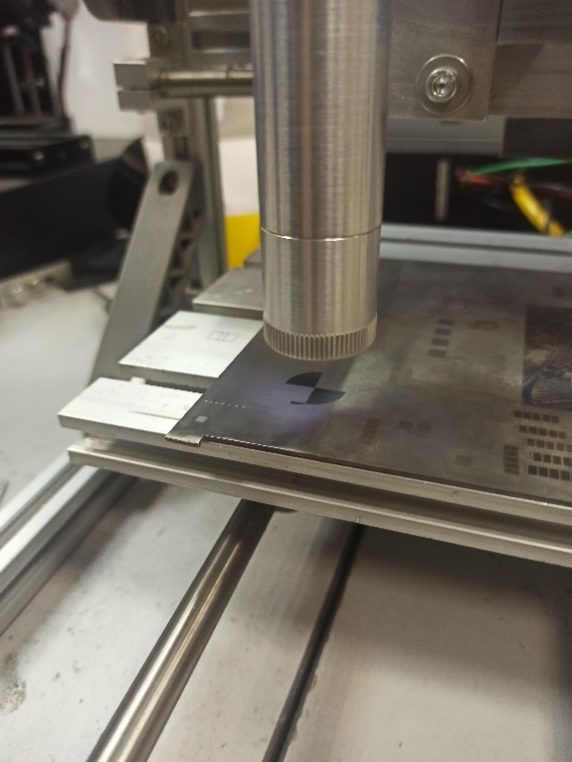
The next material was titanium (the inner part). We used the following parameters:
Speed 25mm/min., power 99%, interval 0,1 mm, number of passes 1.
The resulting color of the layer is blue.
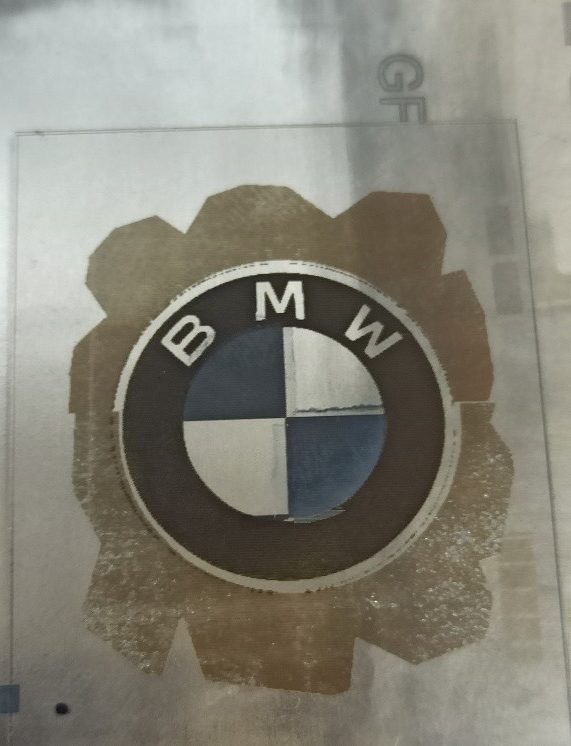
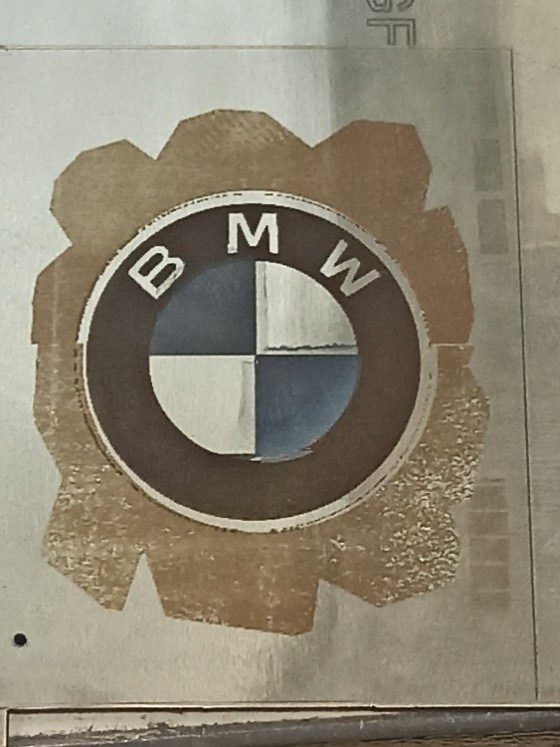
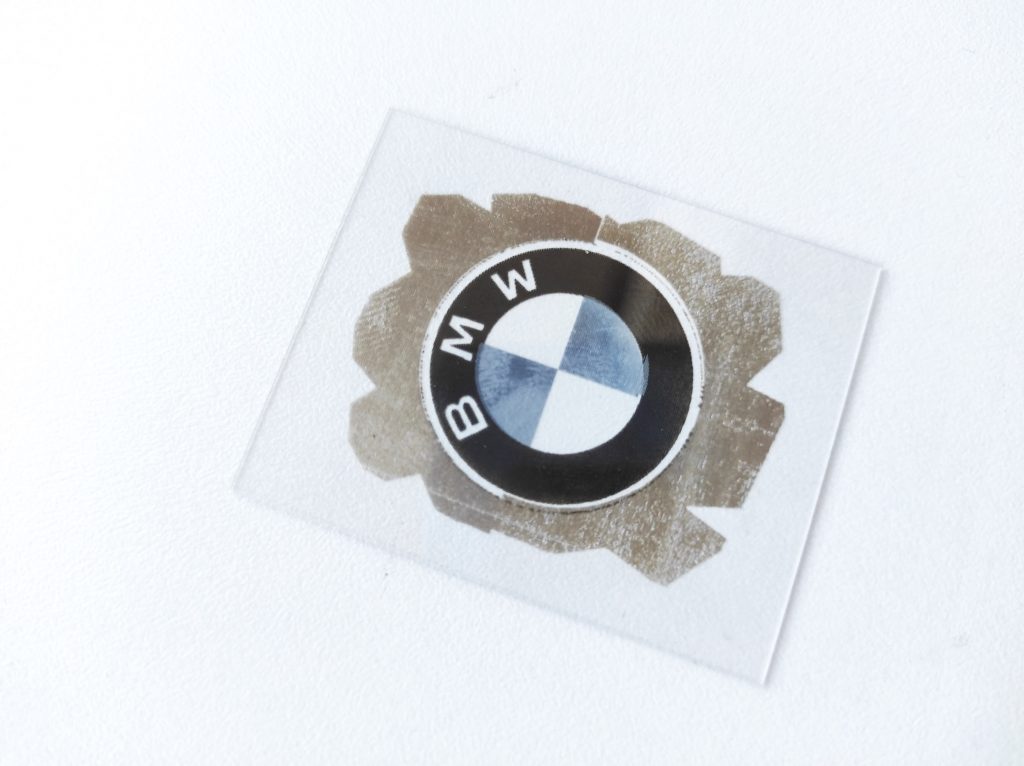
As a result in the process, we did succeed to obtain a clear three-color image on a sapphire glass using a 4 watt DPSSL.
A BMW color logo engraved on the sapphire glass!
Watch a live video about sapphire laser cutting
If you have any questions – you are welcome to ask us in a LiveChat!
