
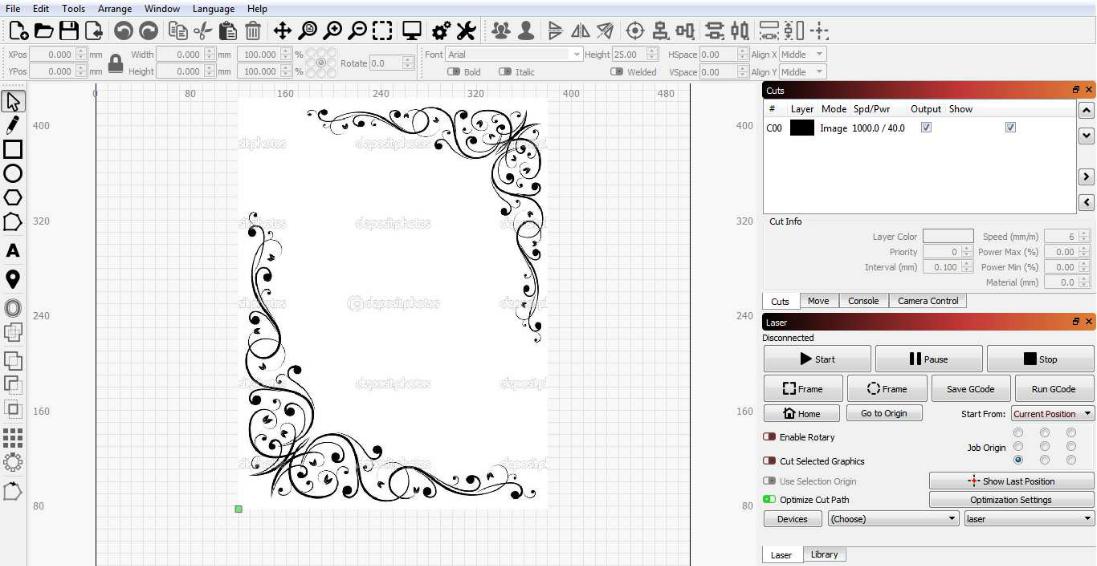
First of all if you go to your favourite image search and find a picture you like I’ve use a sampled watermarked file to show you it’s only a simple 2 colour file but once you get the basics you can do quite abit with the trace feature
- Acquire a picture you like and save to your computer


- Open your picture in Light burn.

- Go to tools on the top bar and select trace image.
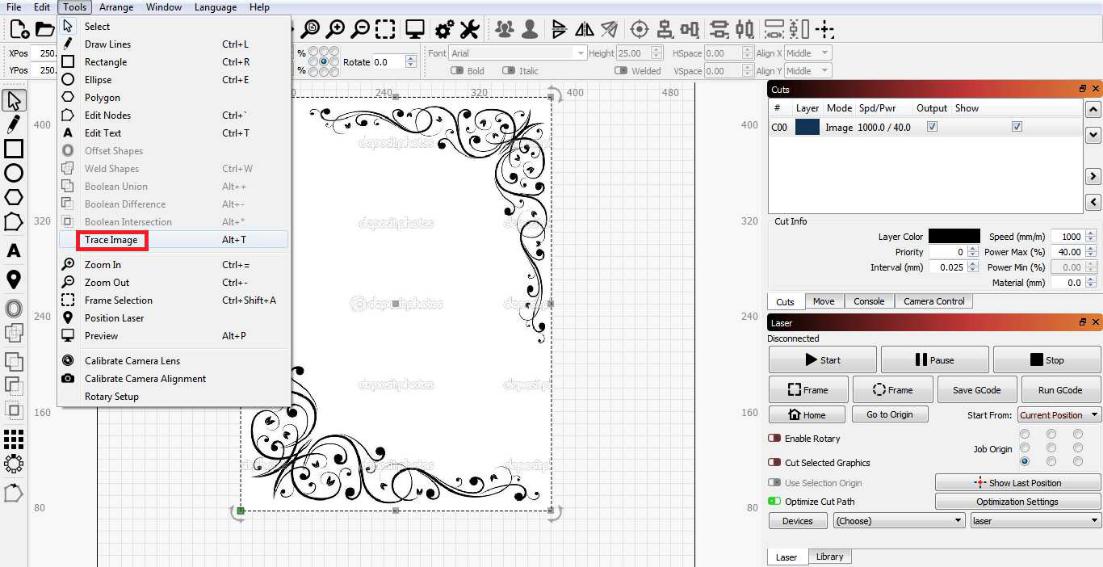

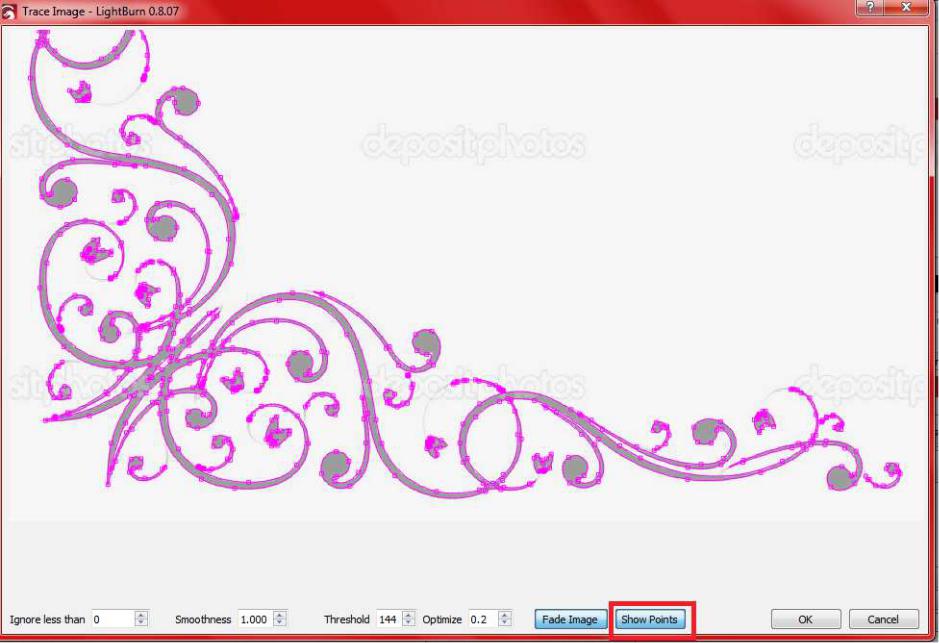
- The trace window will open up, you will notice because I’ve used a simple black and white image the default trace of them item is actually a passable trace but I’m going to show you what each feature does and how it can help fine tune your trace.
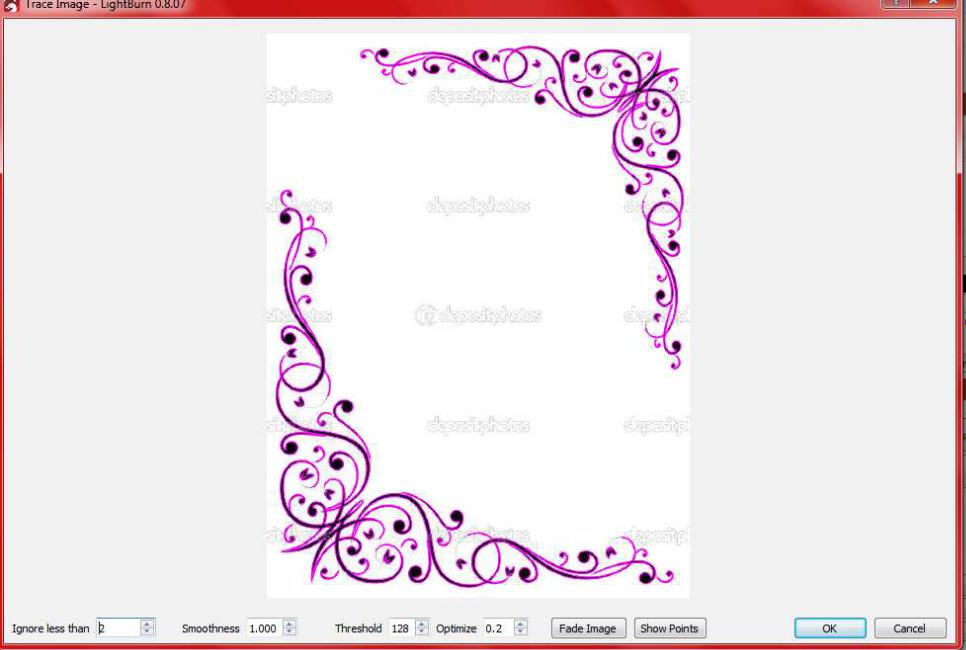

- First of all I like to fade the image I’m tracing so it makes it easier to see what the final outcome of the line work will be.
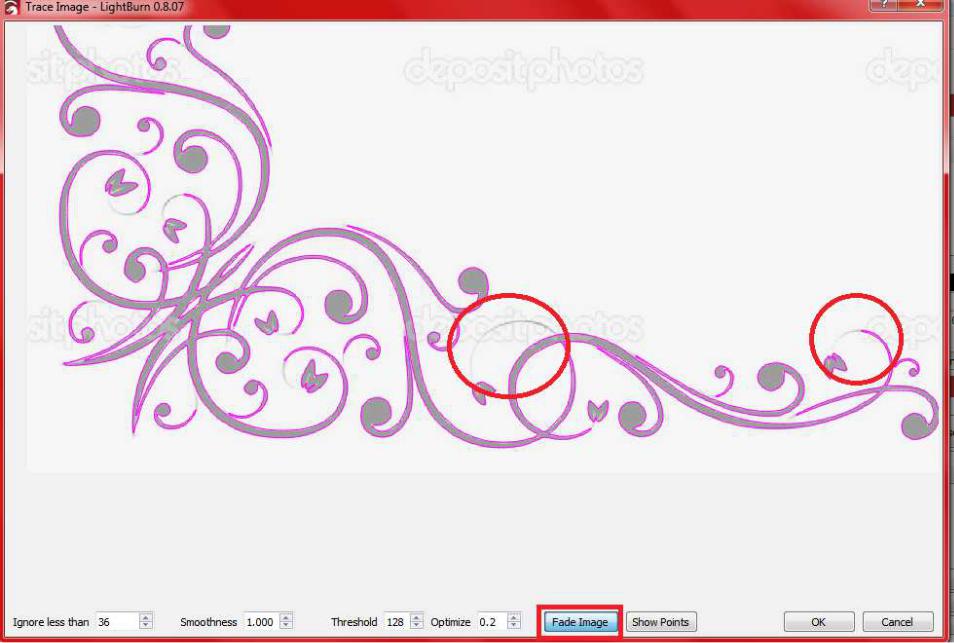

- The first on the bottom selection is Ignore less than if you have this on LOW it will show all available pixels in the range running along the line its selecting and if you have I high it will fine tune the pixels and pull the lines closer.
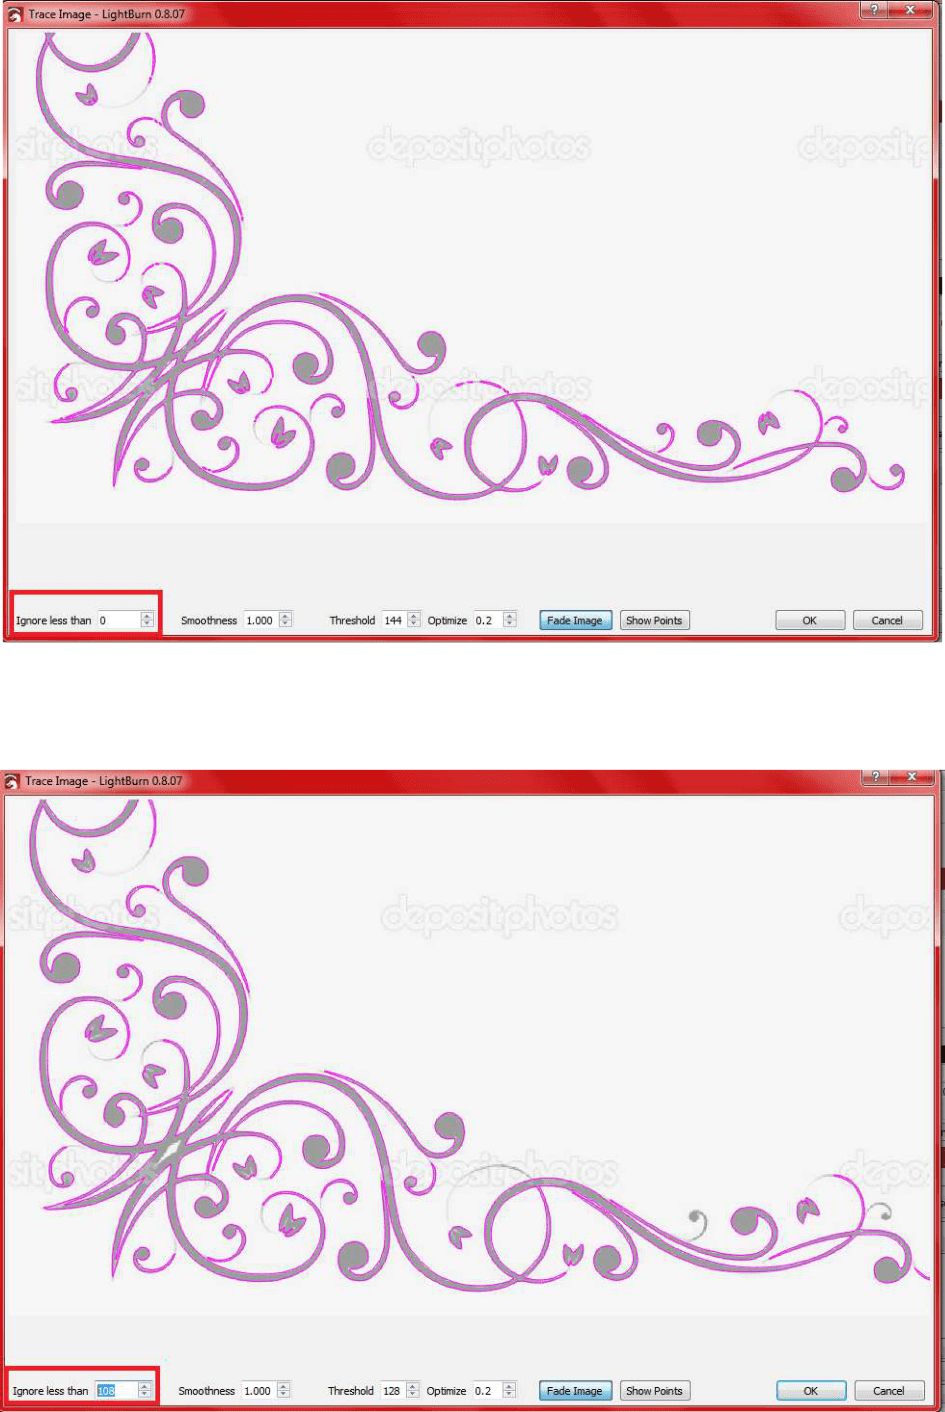

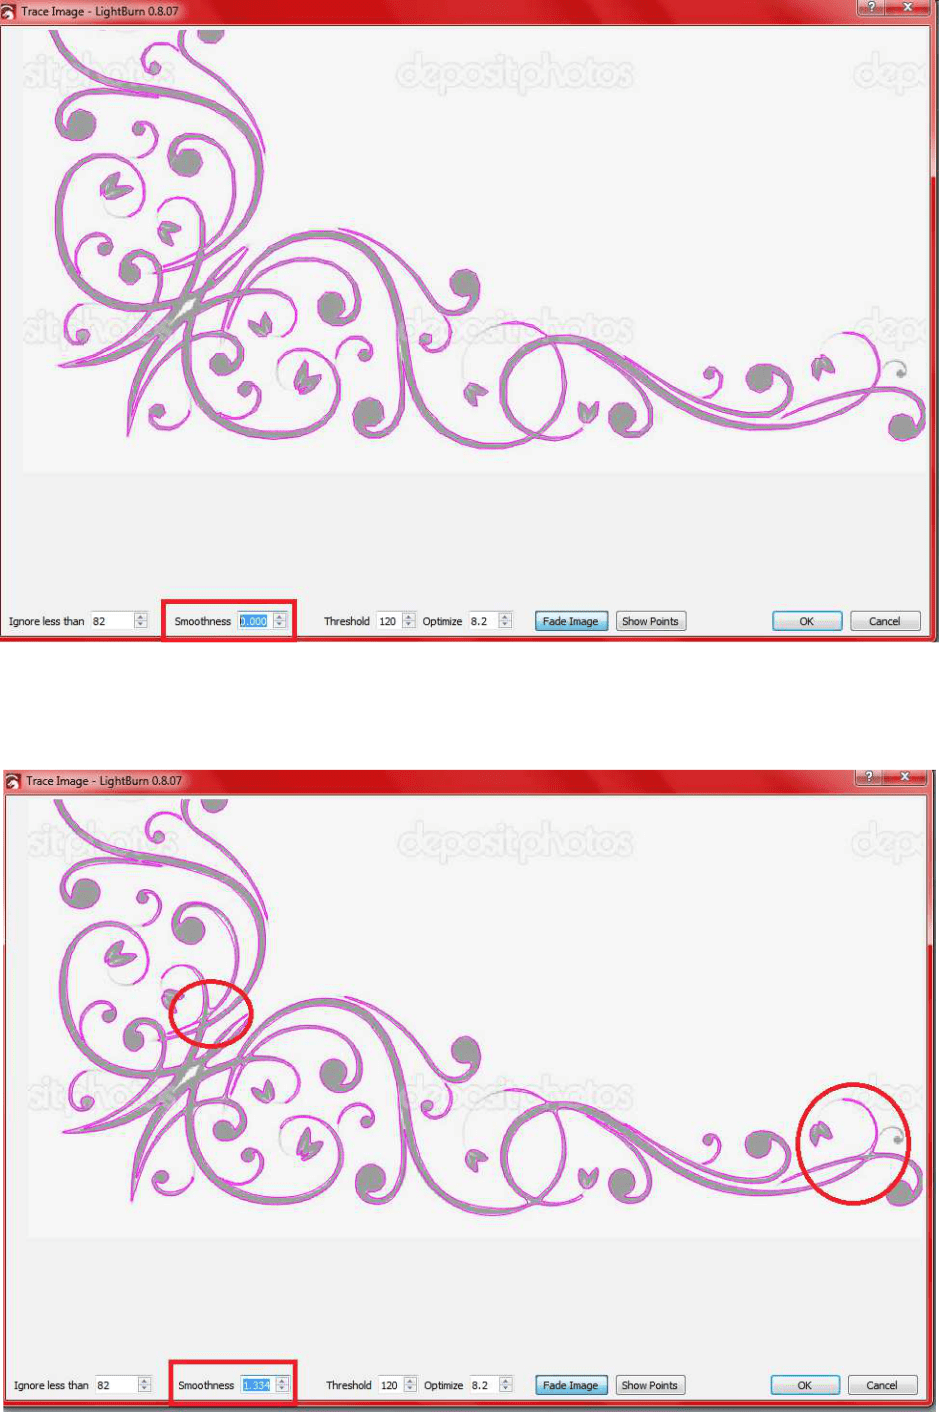
- Even though some lines do look better streamlined you can lose details as it reduces the amount it reads as you notice the tail tips disappear. Next is smoothness if you have smoothness too high it will show on corners as rounding or almost webbing that bridge across and if you have smoothness too low you will end up with a blocky image a good value I find is in the 0.7 range and it gives me nice corners.

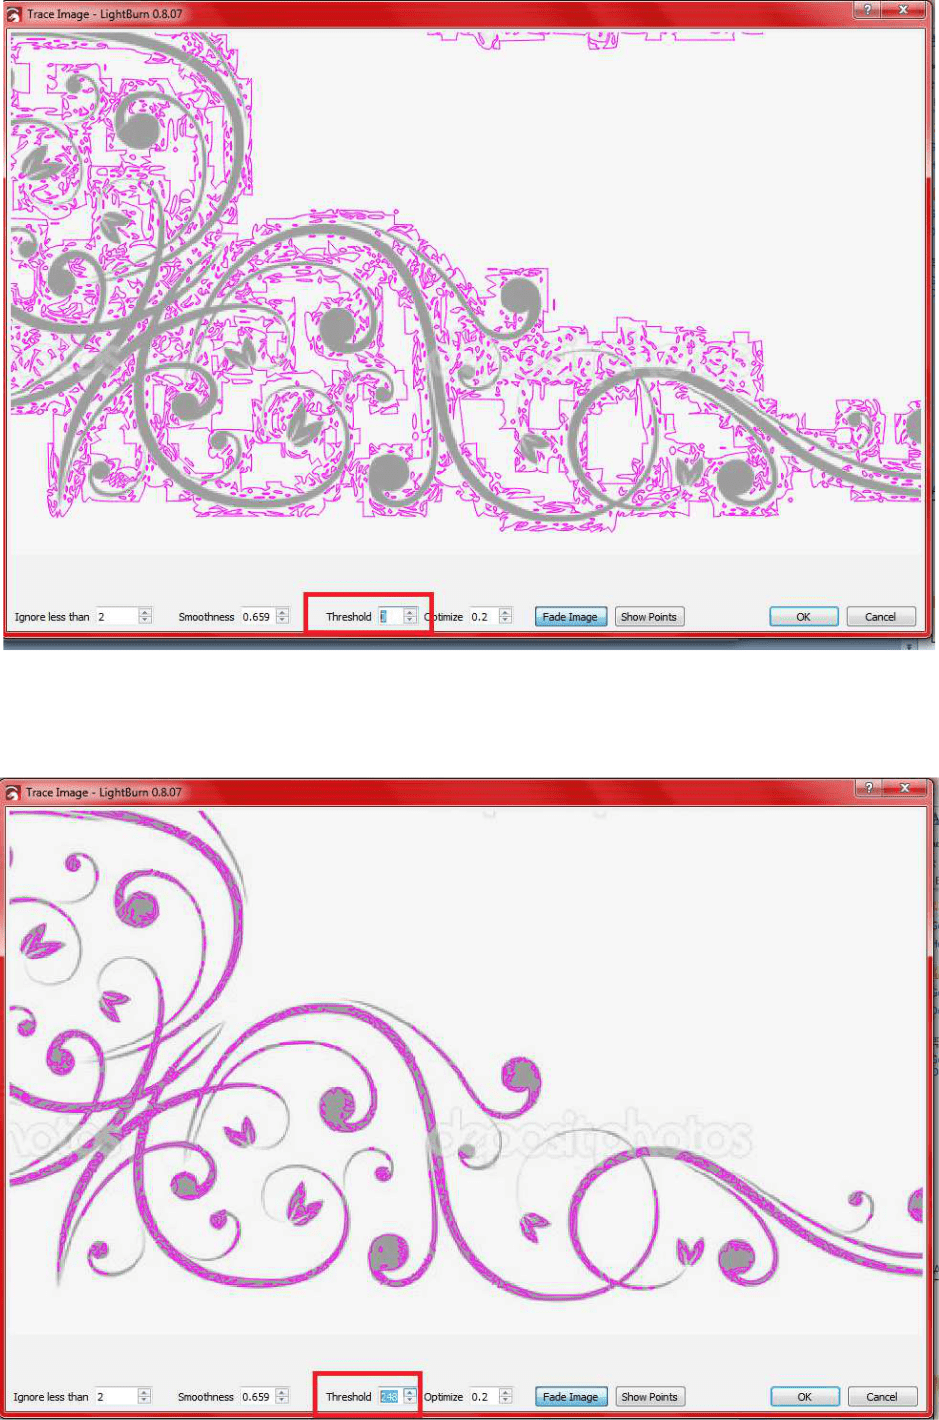
- Threshold is a useful one it allows the intensity or threshold of the image you want to trace so if it’s too low you will get a scattering of the pixels it traces as it wants to get as much info in as it can but that causes a mess in the trace but also having it to high has its own problems as it will reduce the number of pixels it wants to trace and can leave you with patchy blocky sections I like to keep it around the middle gets reasonable details without too much distortion.

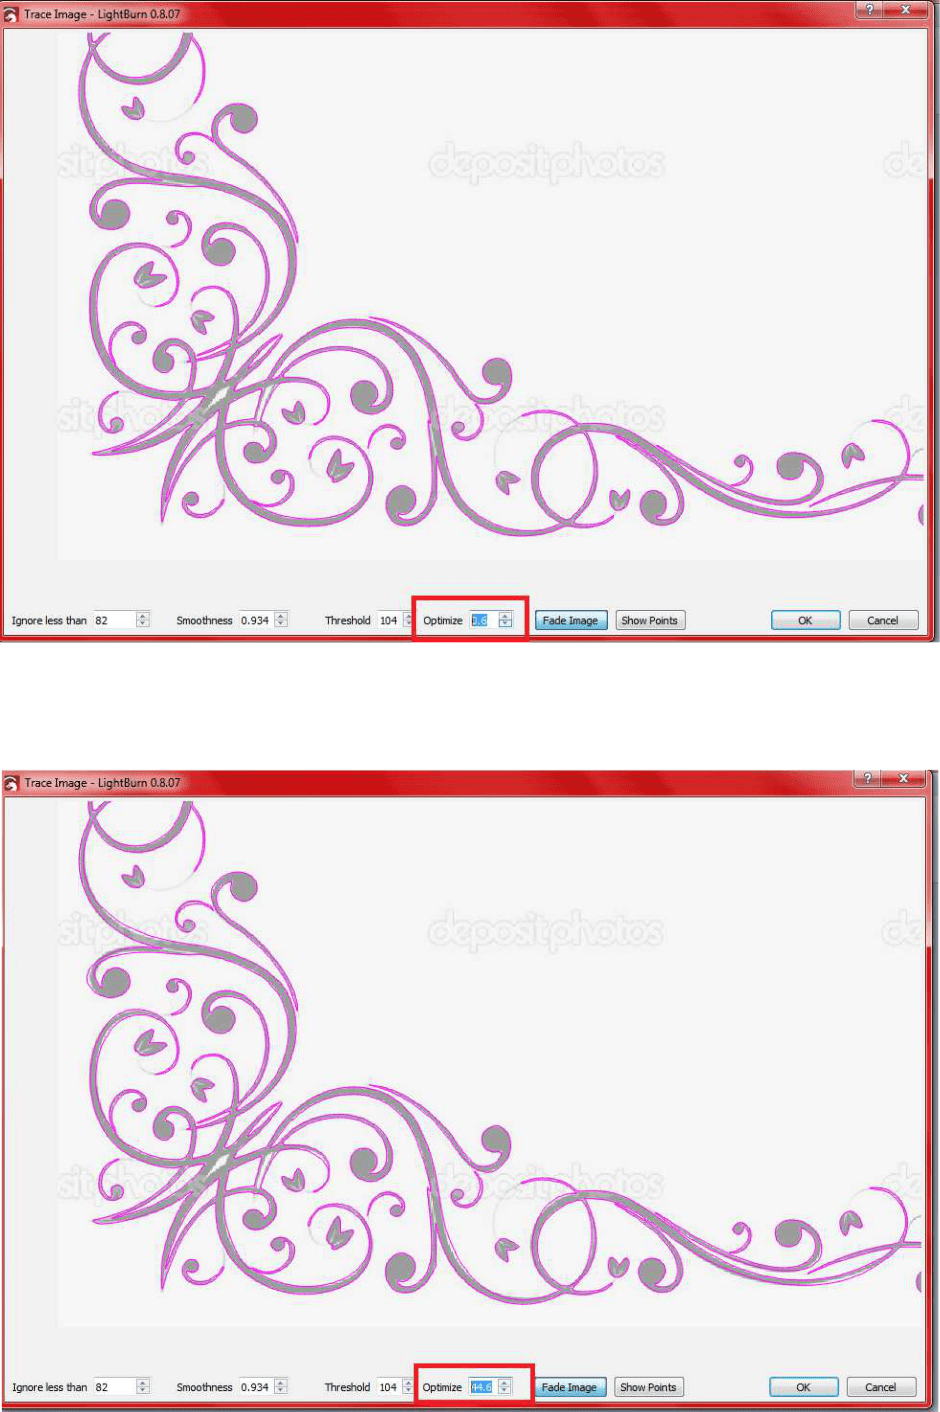
- Optimize is a simple one it tidy’s up line work so if it will make a curve follow a better path not very good if you want a direct copy of the image your tracing but can be useful for say a hand drawn picture you’ve taken a photo of and want to trace that picture into a useable image

- And the last on the menu is show points this will show you where nodes are placed for editing points on the image once it’s been traced

- With a mix of all them settings together is getting a balance of what you find is an acceptable trace personally I want as much detail tracing as possible and it to represent the original as close as I can which with a mix of each setting can be done it’s just fine tuning them until your happy with the outcome you’re going to get. Once happy with the image you have traced proceed to press ok at the bottom to close the window and apply the trace the trace will appear behind you original image but just move the selected box and you will see your traced image.
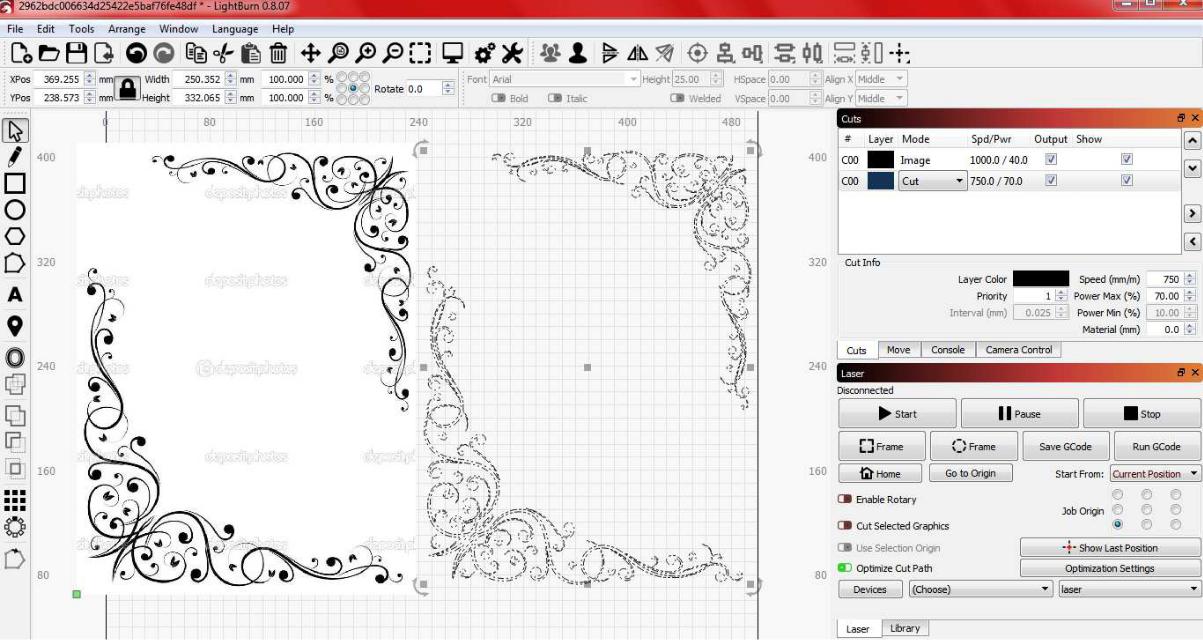

- As you can see on the traced image I have it set to cut on the right side menu if I want this just to be line work on my final piece I will keep it on just the cut function giving me this type of engraving which is usually quick to do

- But we want it as close to the original as we can get so we put that drop down box from cut to scan and that will engrave the infill surface on your final piece
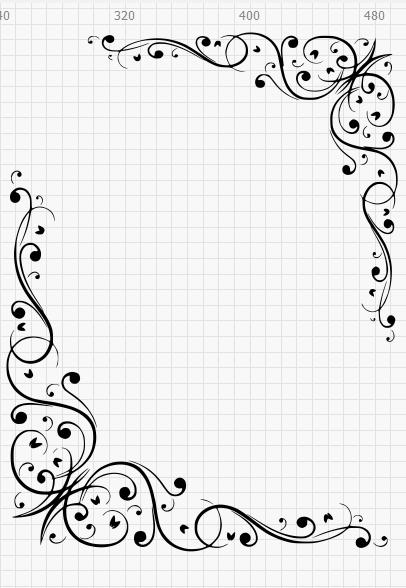

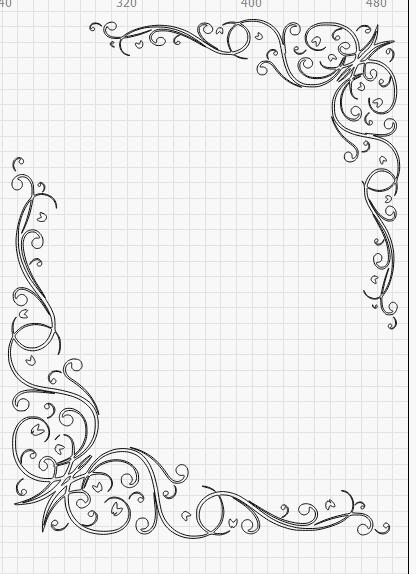
- You can fine tune some images really nice but other images are just blocky for the details to fully get traced most of the time though you can tweak the settings enough to get a lot of the original details.


- As you can see from these 2 examples if you have a lot of detail in your picture it can be achieved with abit of patience.Hope you’ve found this useful.