Configuration, installation and operation of the machine was tested on Windows 10×64 Pro N built in 004.
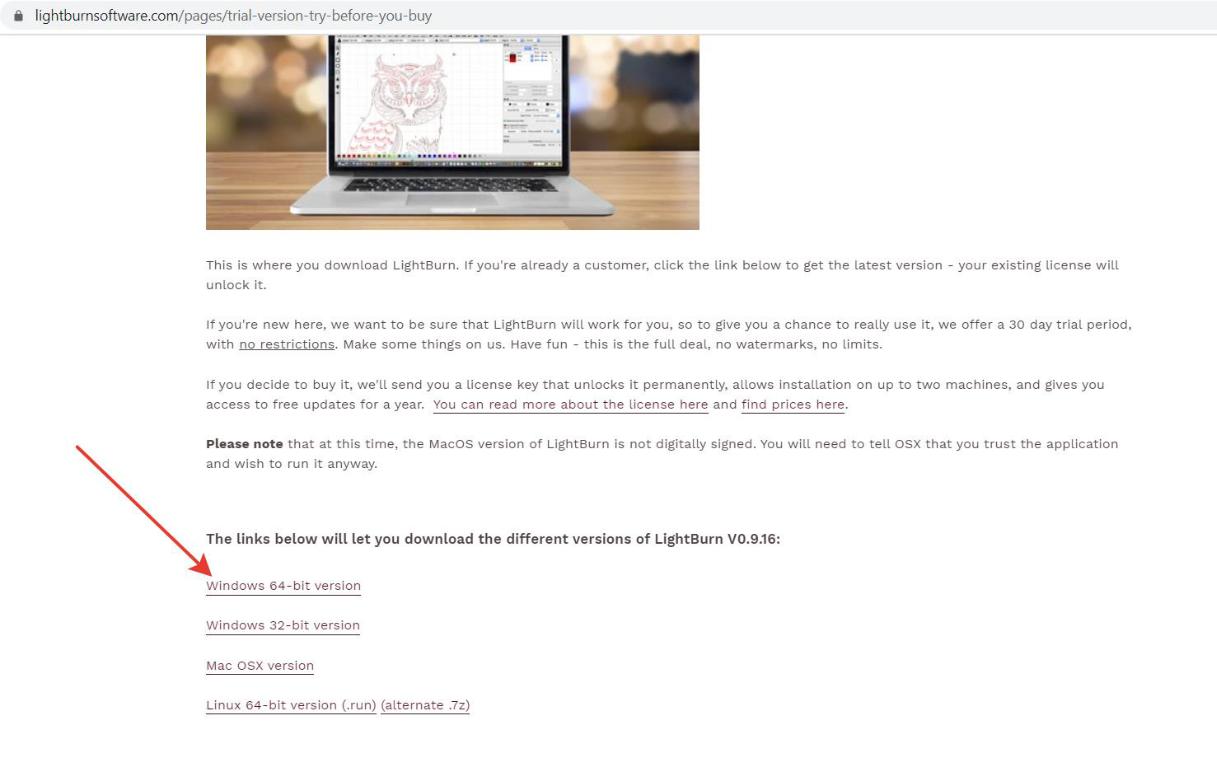
- We launch a browser (for example Chrome), open any search engine (for example google.com), enter “lightburn download” in the query line and click on the link from the official website of the developer (shown by the arrow in the figure).
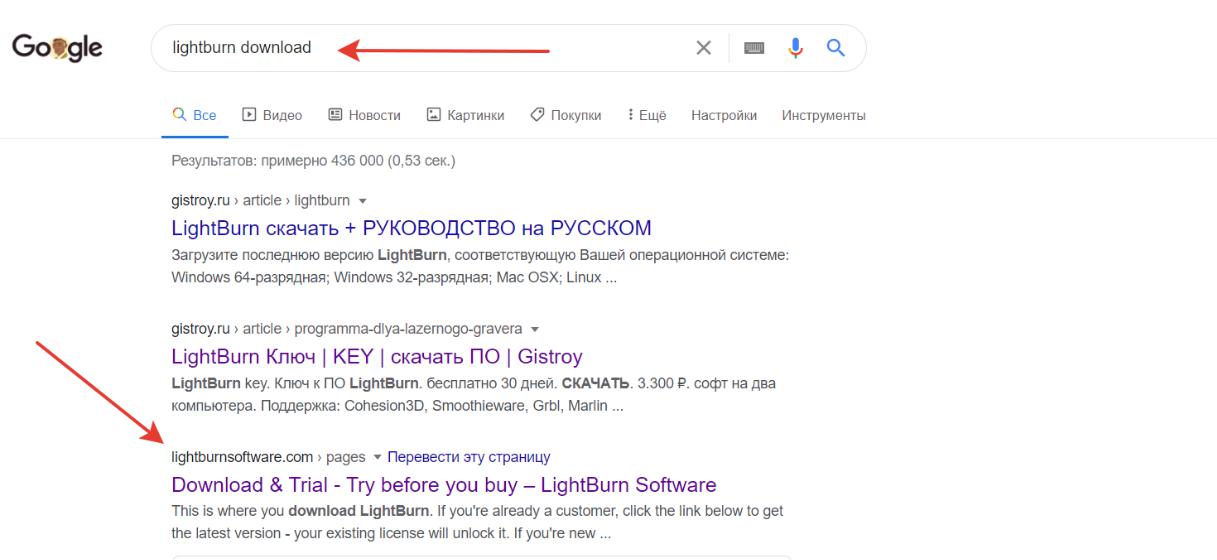

- On the website of the developer we choose the version we need, in our case for OS Windows x64, and download it.
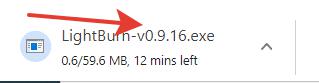
2. When the download is finished we launch the installation of the Lightburn program.
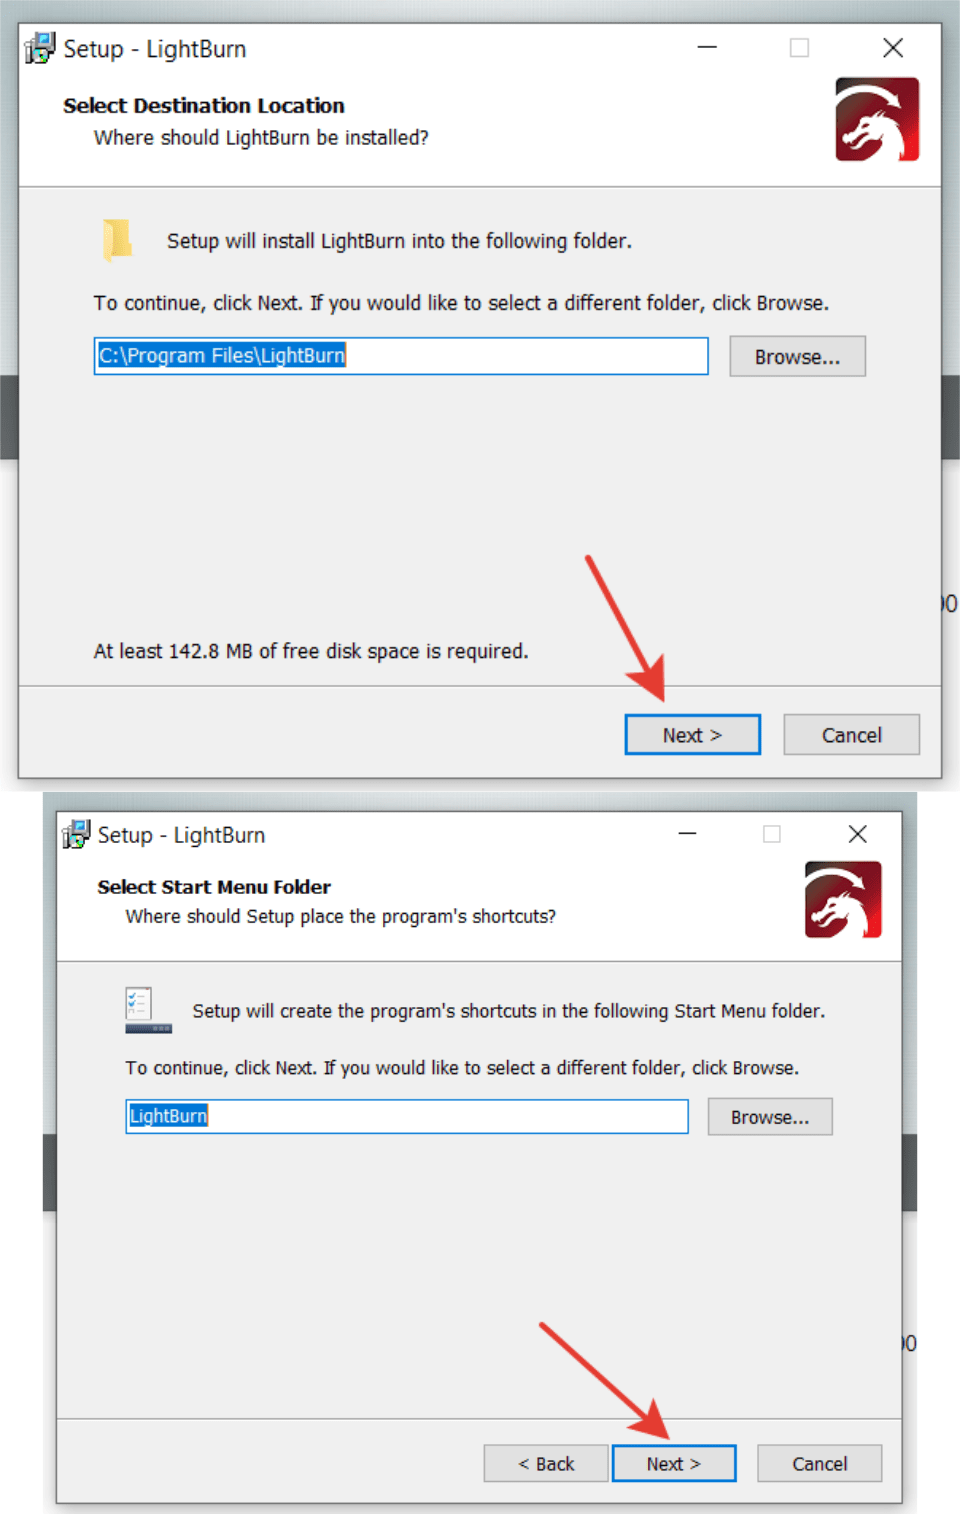
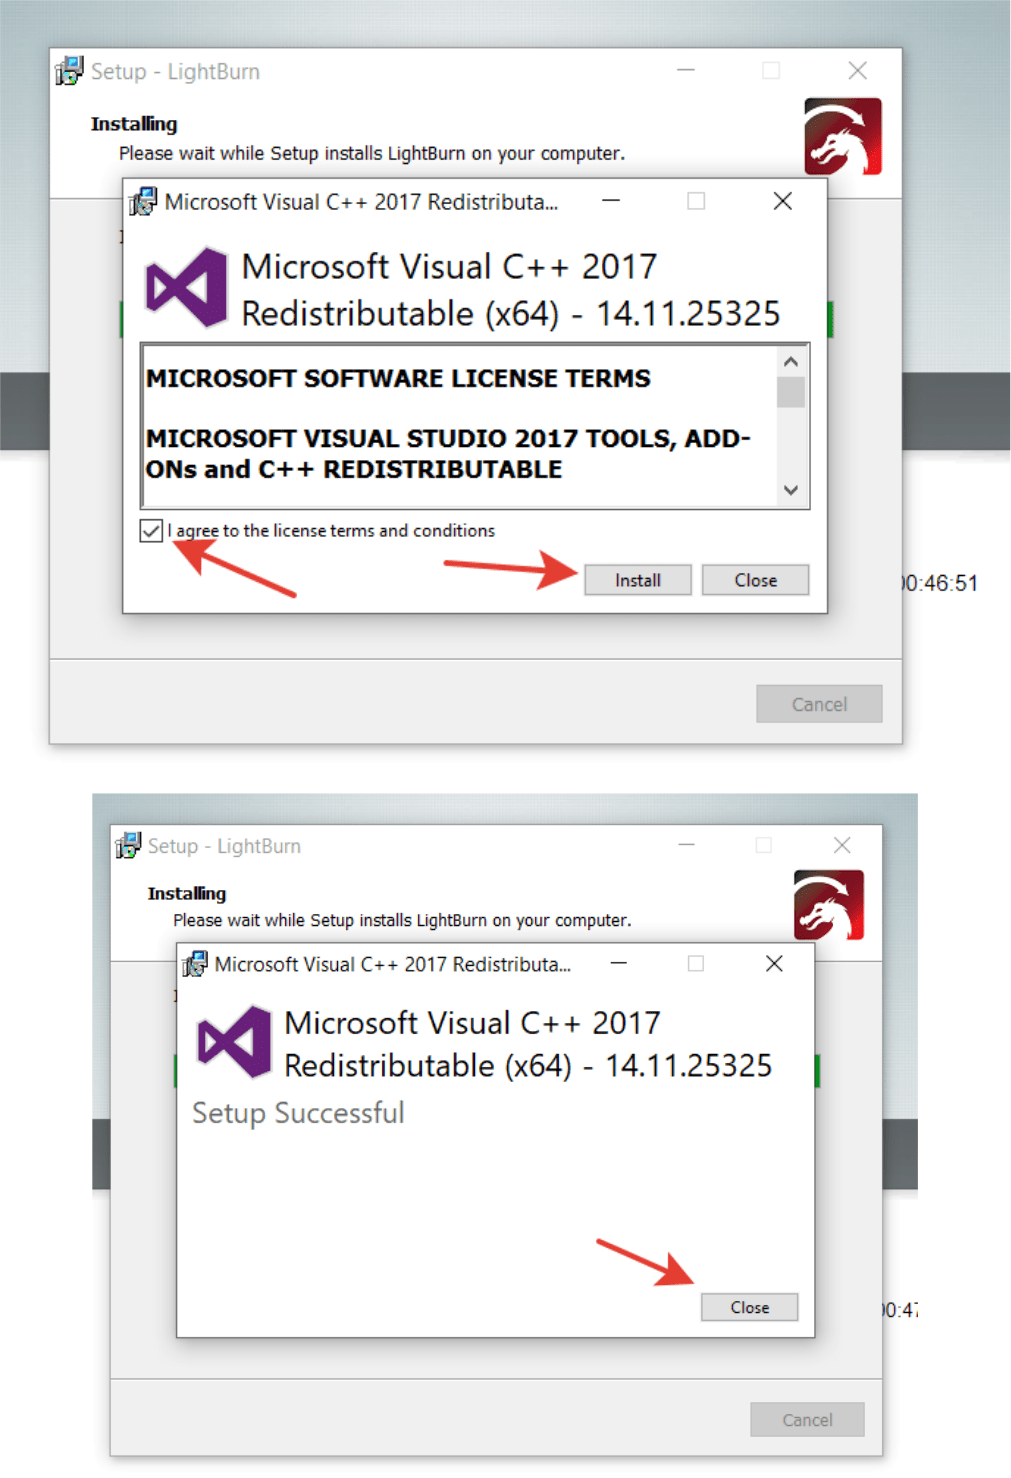
3. The program installation dialog box will open. We do and select what is marked with arrow

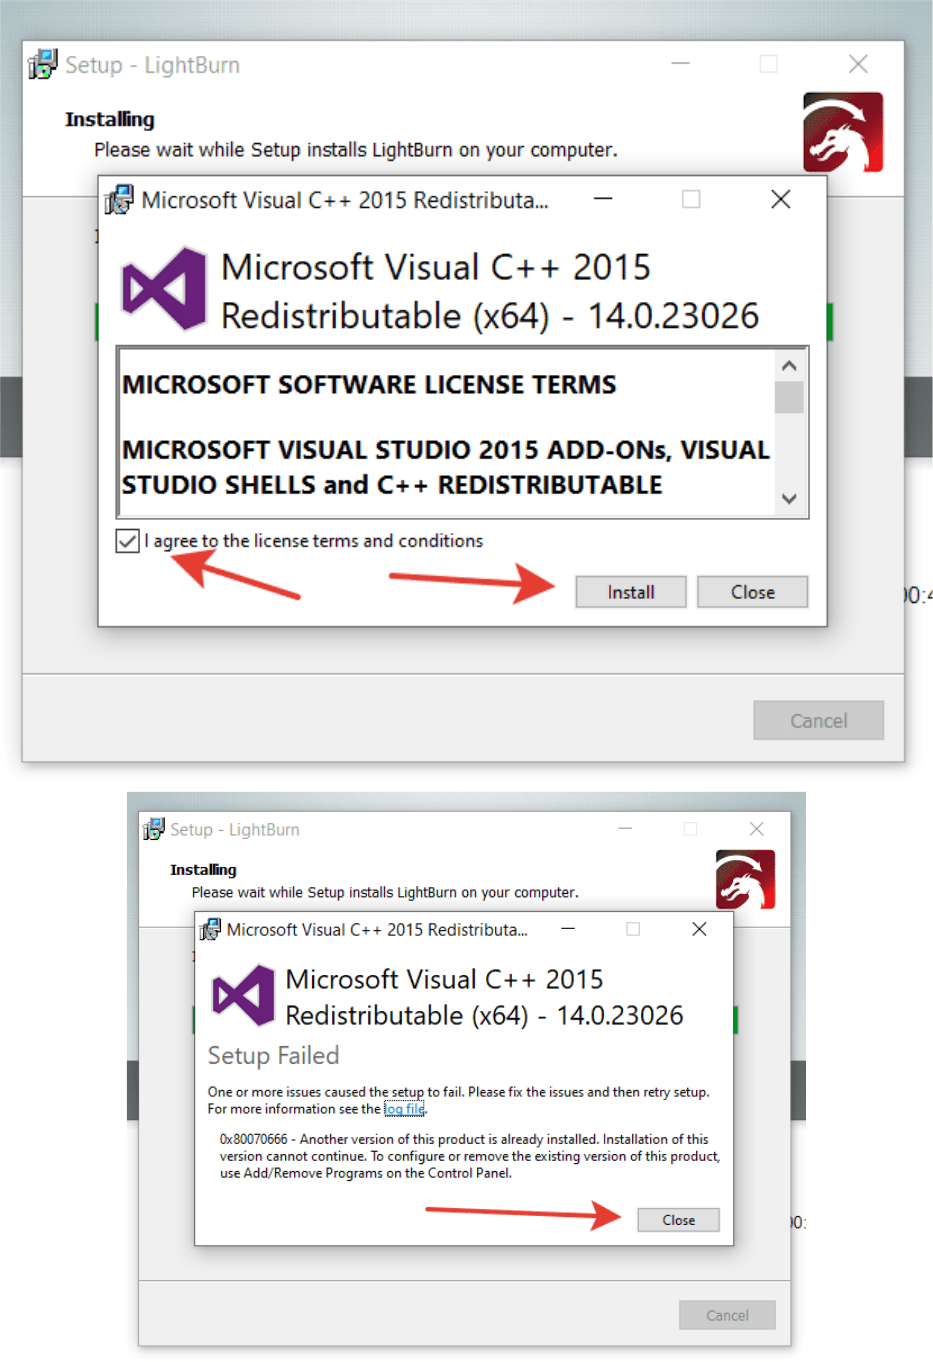
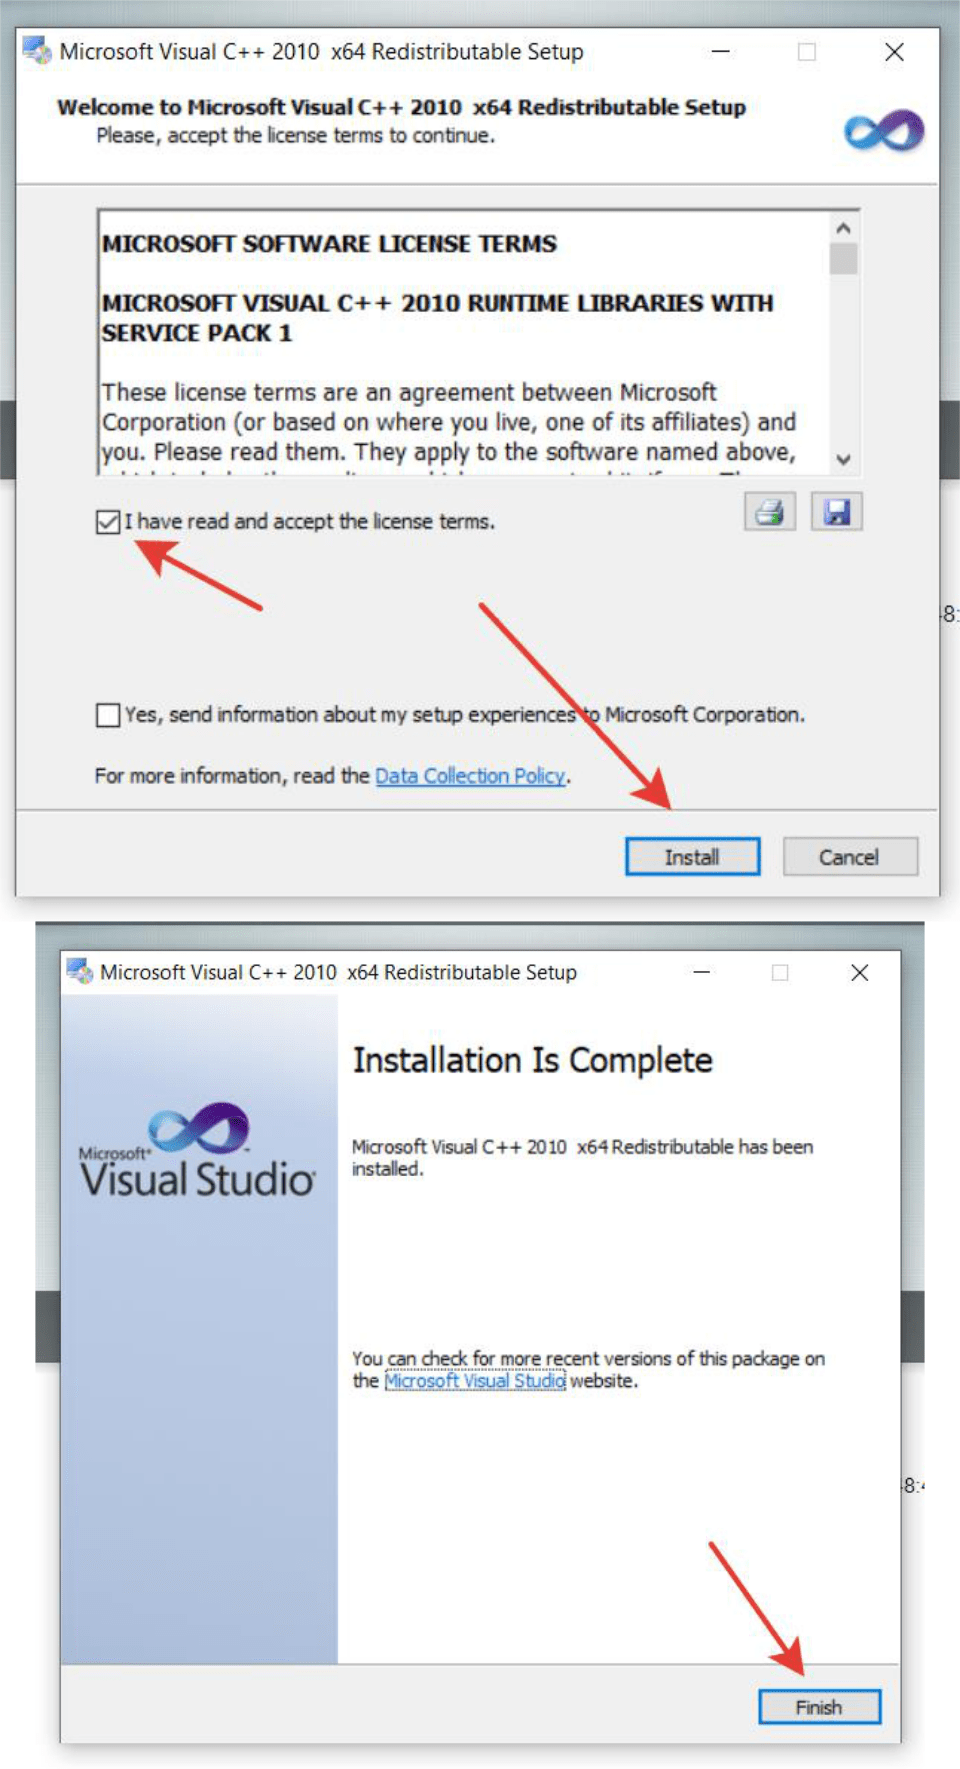
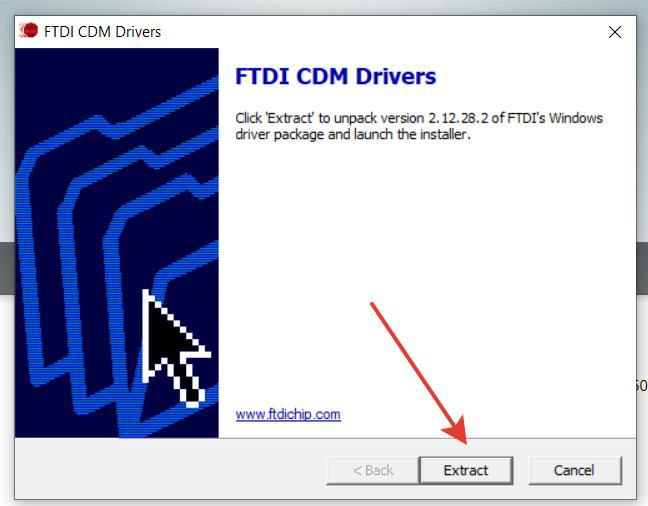
4. It is very important to select the driver installation for our machine. Do not forget to check if
the desired line is marked, if it is not, we mark it.
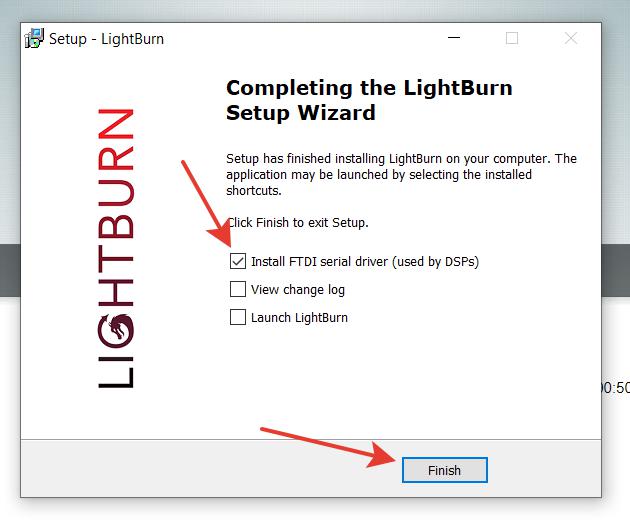

6. After finishing all the tasks we click Finish.
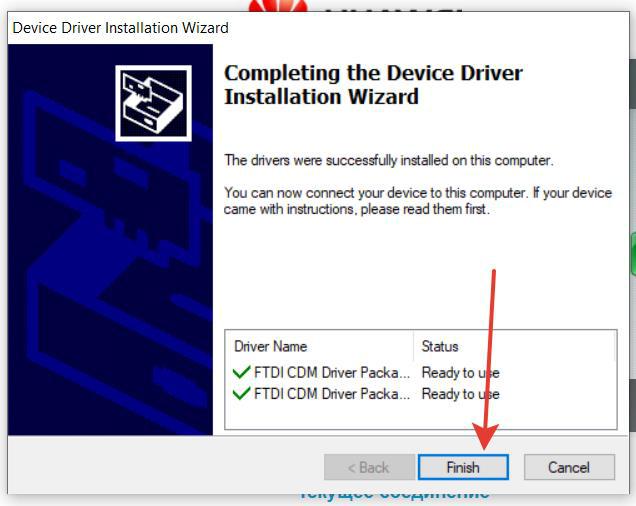
7. The installation of the Lightburn program is complete.
2. Lightburn driver-setup
- After the installation of the Lightburn program and drivers for a CNC machine we connect the computer with the installed program to the CNC machine by means of a USB cable.


- We open the Windows device manager to check our machine in the Ports (COM & LPT) tab. The device should appear without an exclamation mark, as shown. The port number may be different. In our case it is COM3.


- If there are several COM ports we check the properties of each of them. Parameters of our machine are shown below on the screenshots.
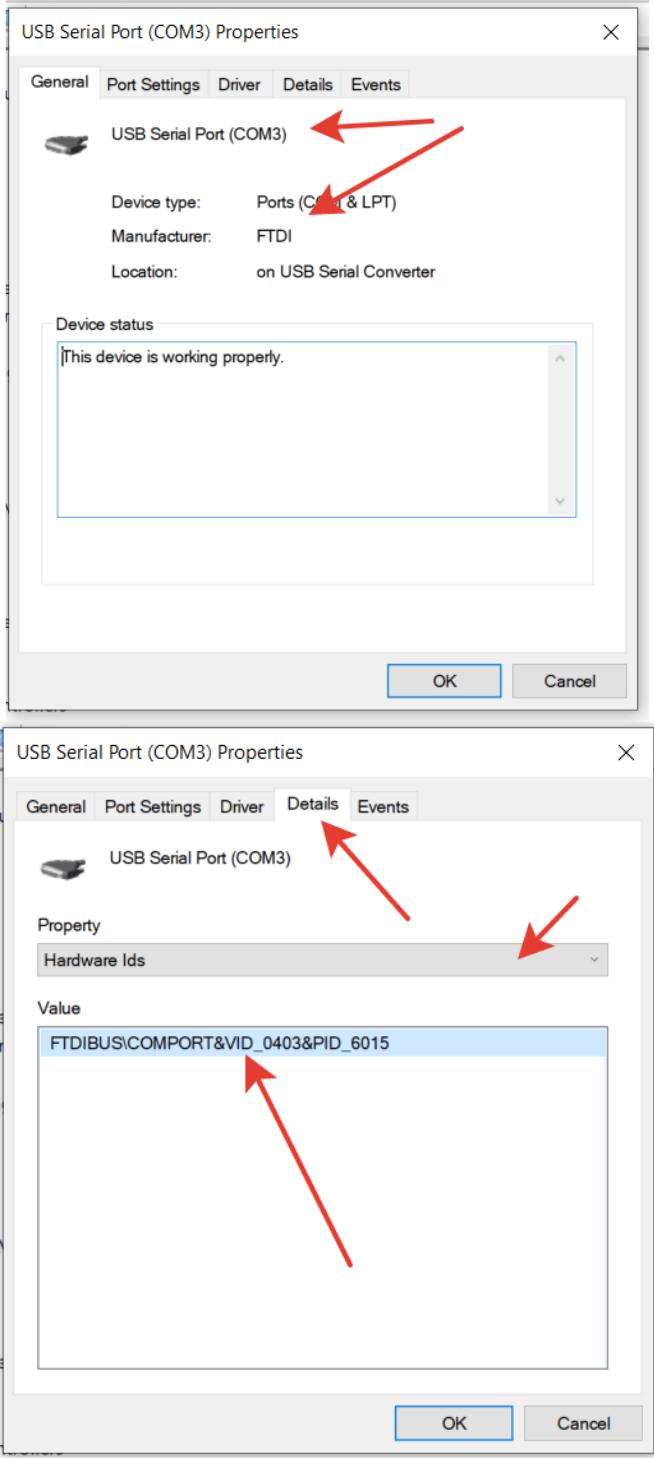

- If everything is correct and the device is found, the configuration of the drive is finished. We disconnect the machine from the computer.
3. First start LightBurn
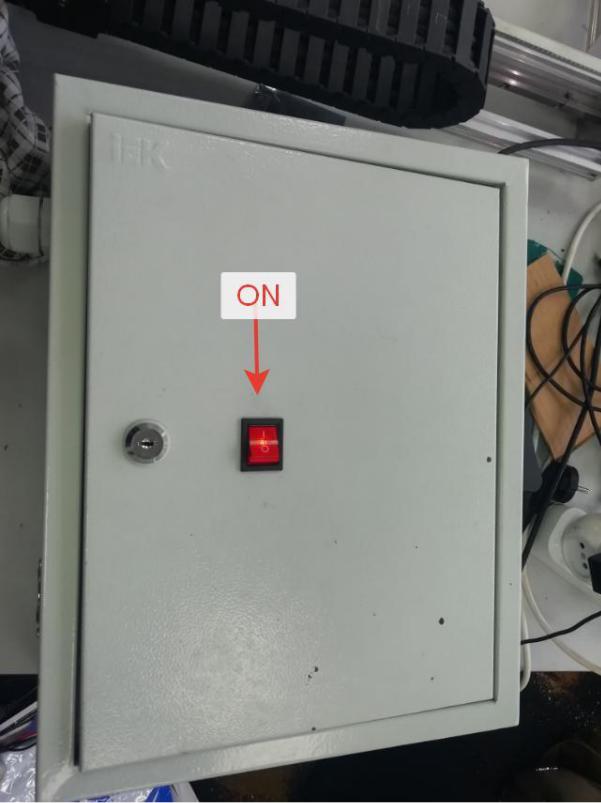
- After the installation of the CNC machine driver, we turn on the controller box of the machine.

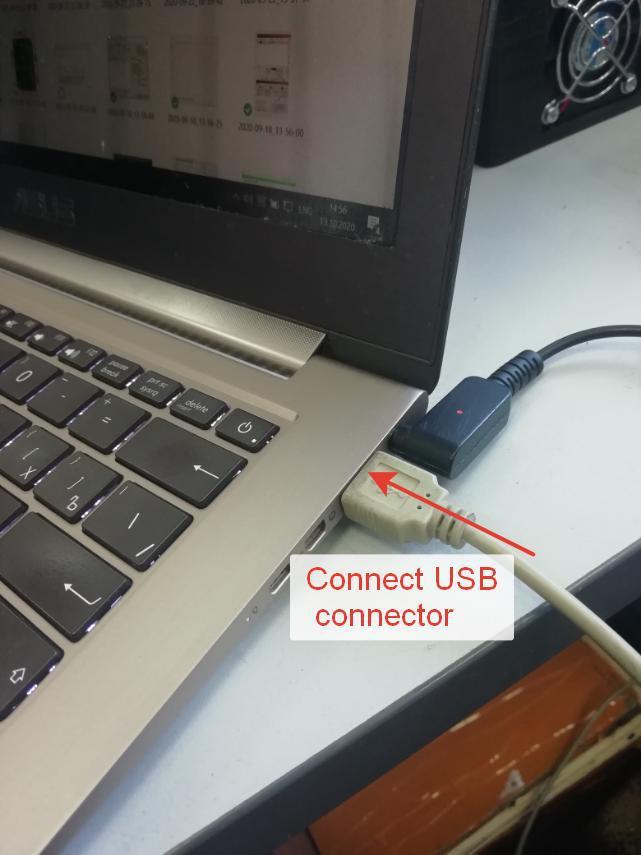
- We connect a USB port of the machine to a USB port of the computer with the Lightburn program and CNC machine drivers.

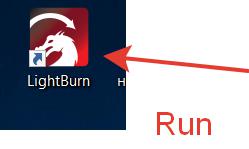
- Run the Lightburn program by clicking the icon on the desktop.

- Then we start our free trial or activate the license with the key if we have one.


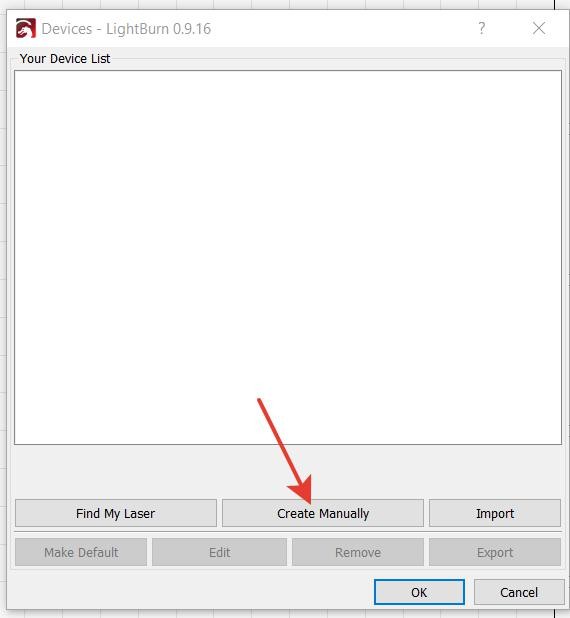
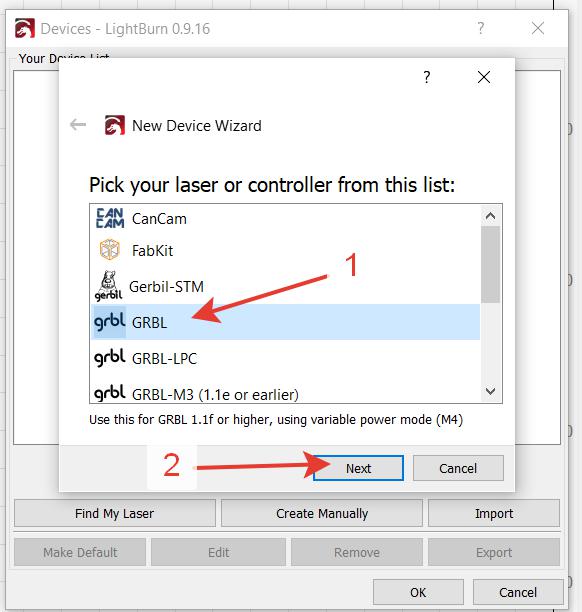
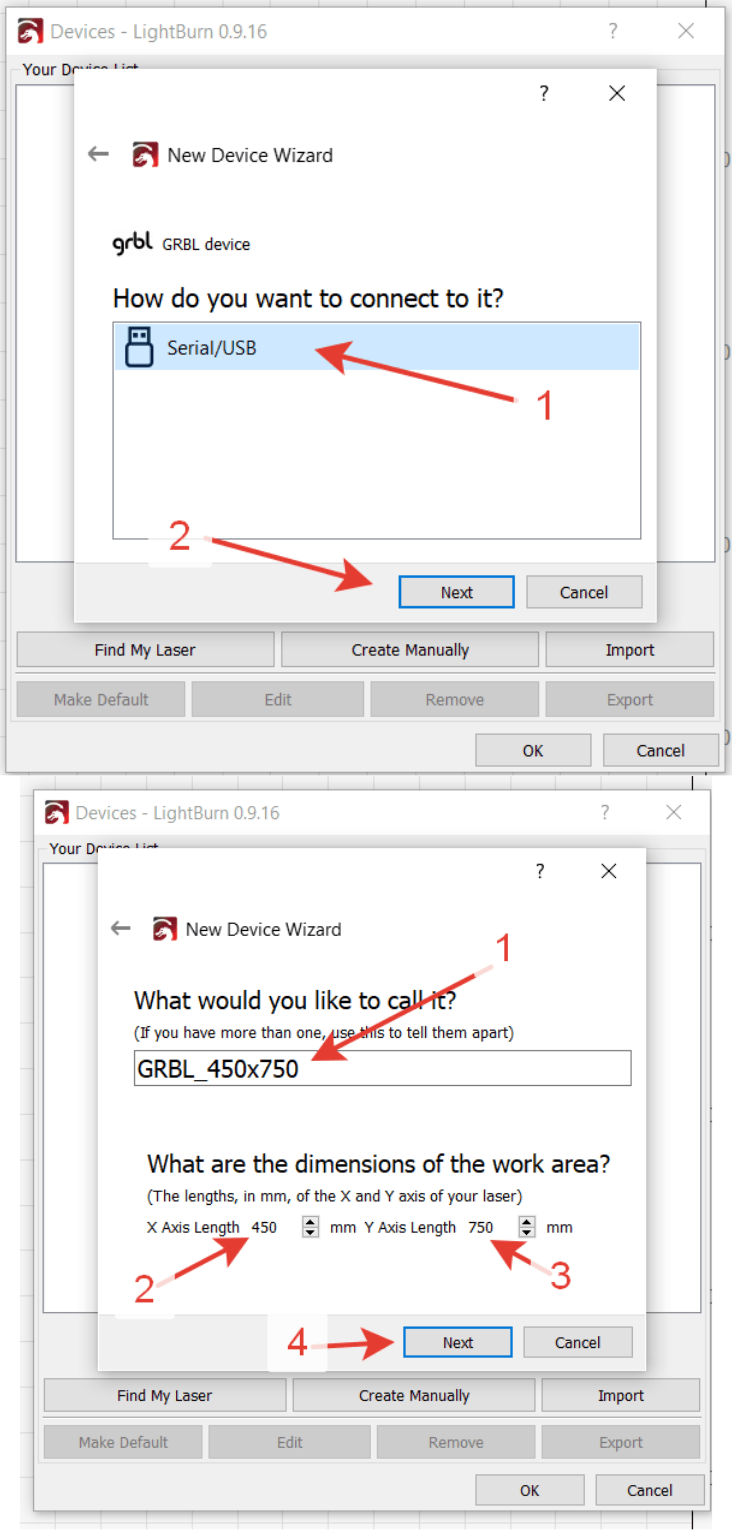
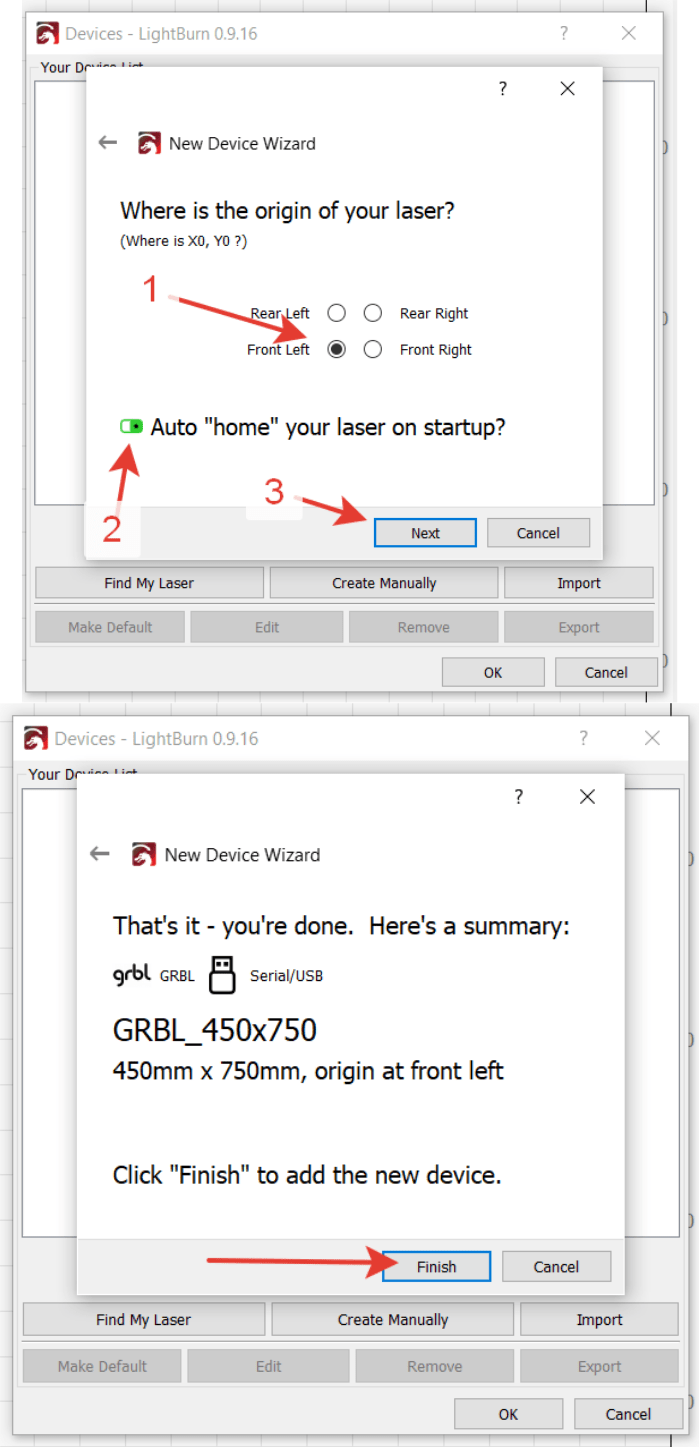
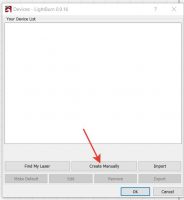
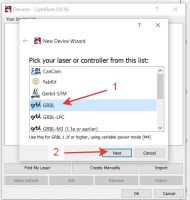
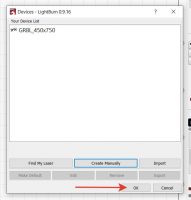
- A window will open to pick up a new laser device. We do everything what is shown on the screenshots.


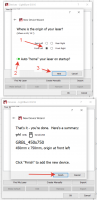


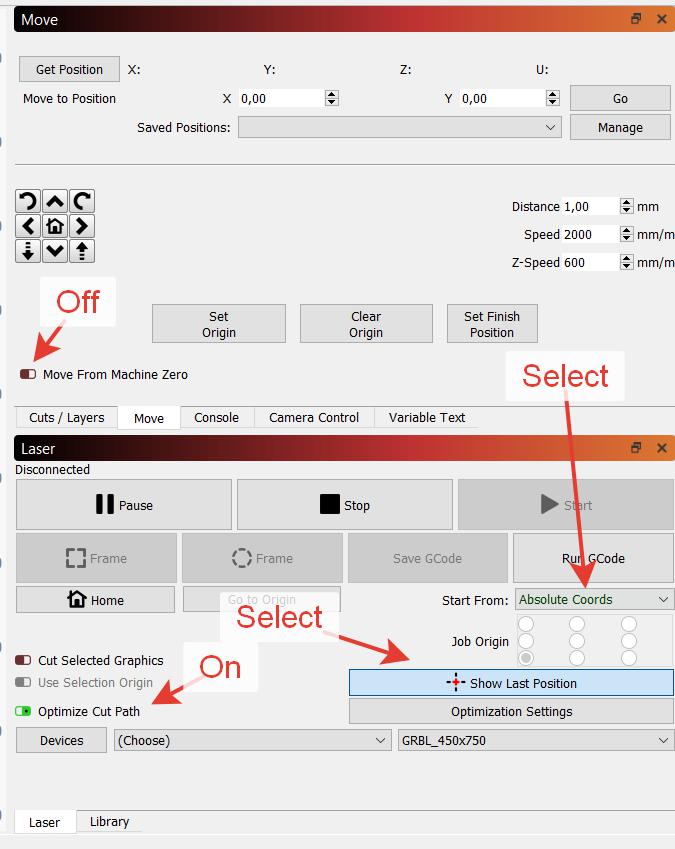
- Now we go to the tab page in the left-hand bottom corner and set up everything as shown on the screenshots.

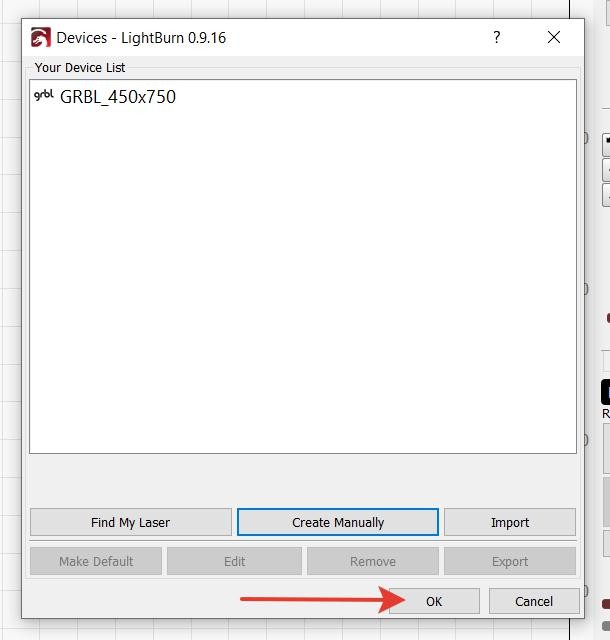
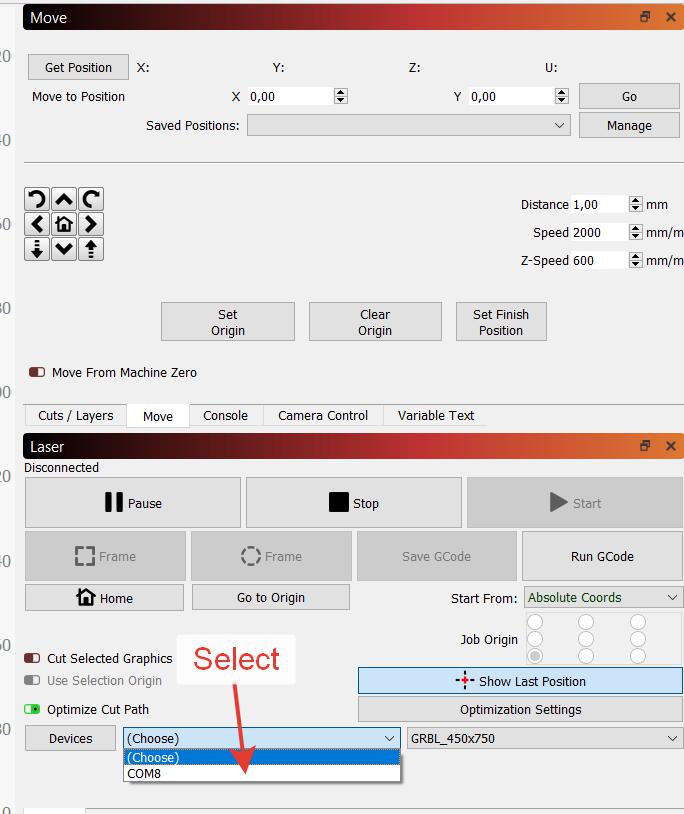
- We pick up our device from the list. The port number COM may be different but must coincide with the port number from the instruction on the machine driver installation.

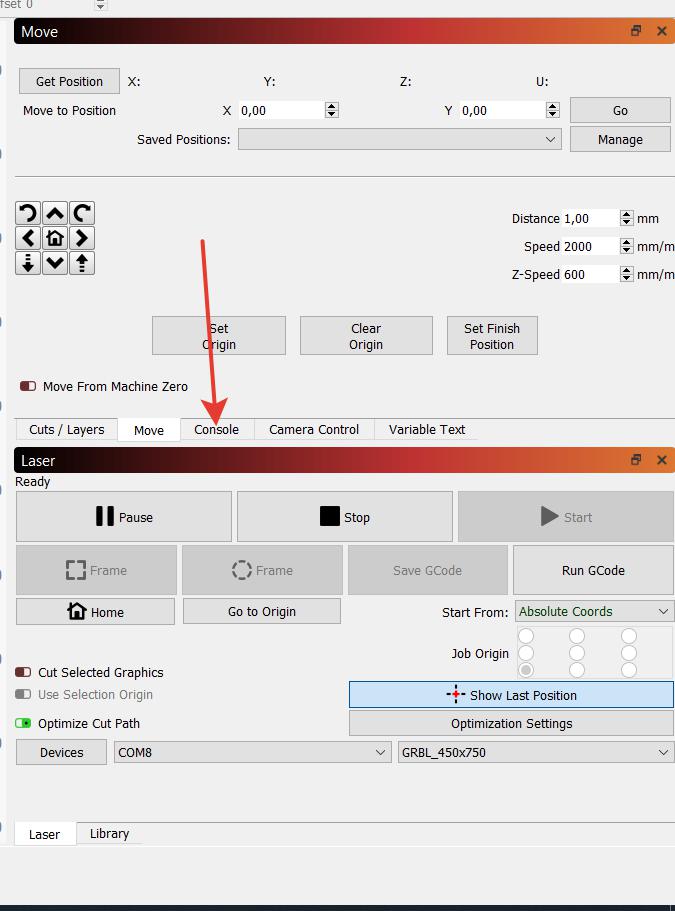
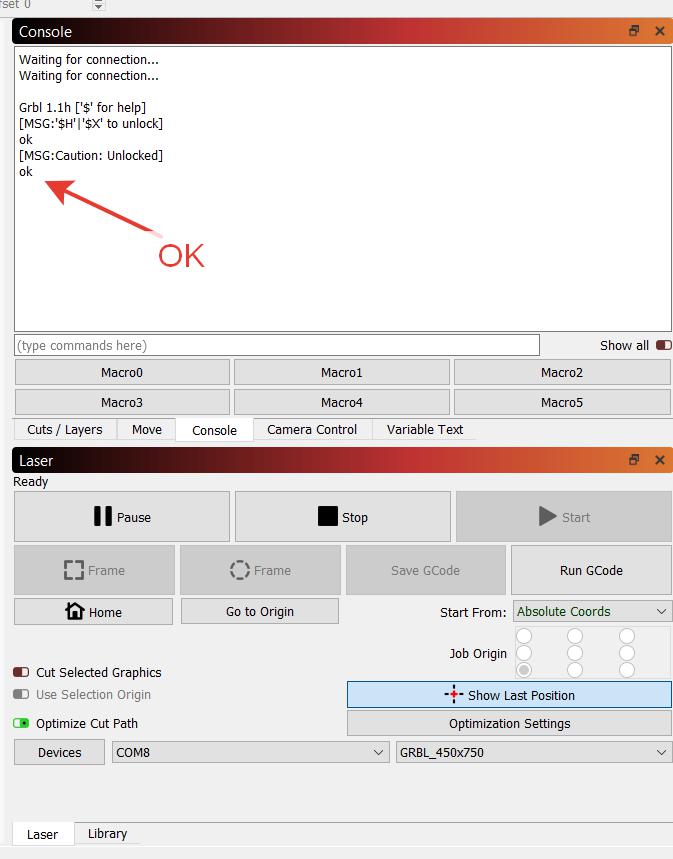
- Now we click the tab «Console»

- The following text will show up.

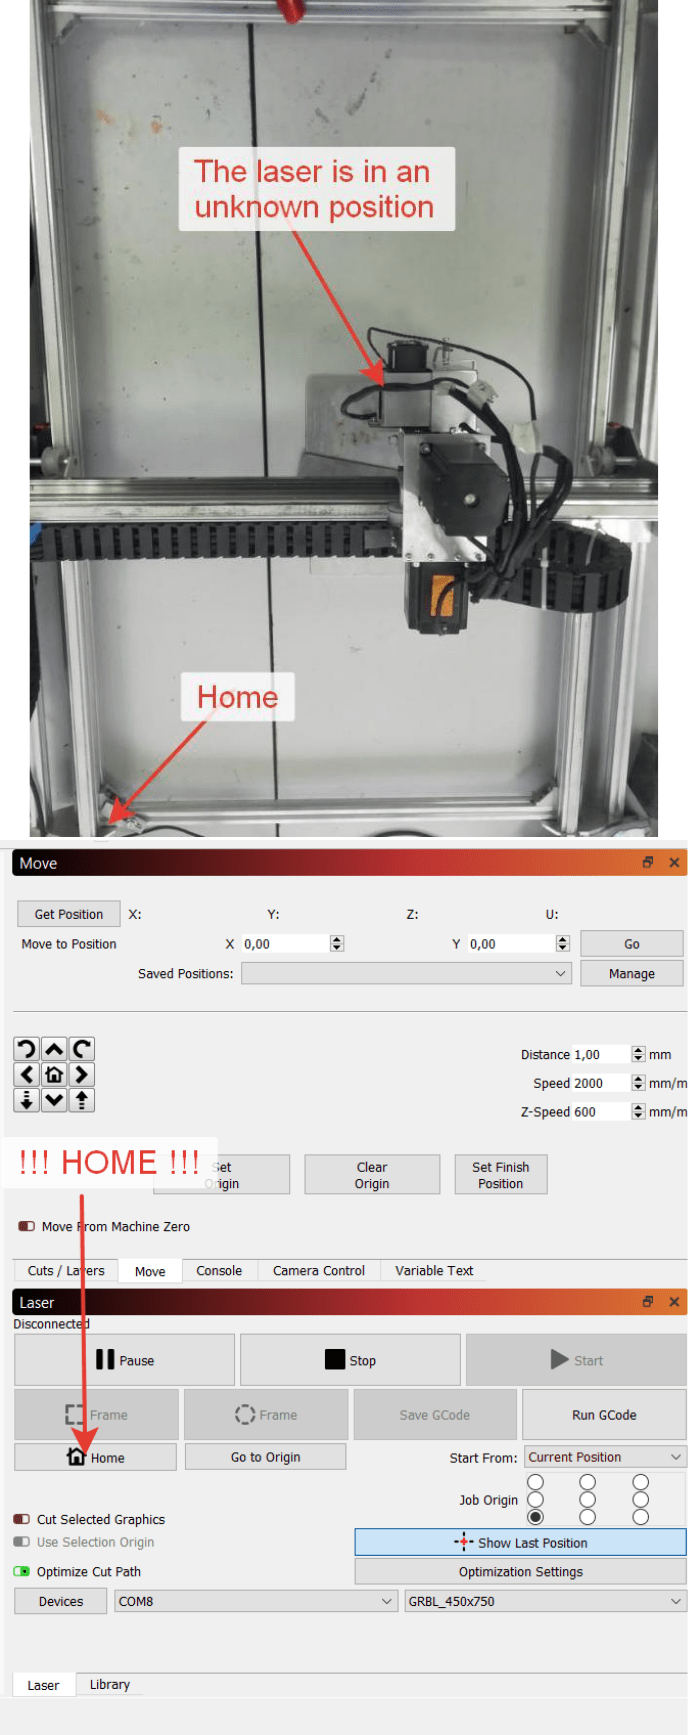
- Go laser in a home position.