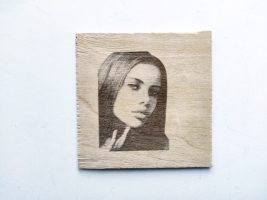
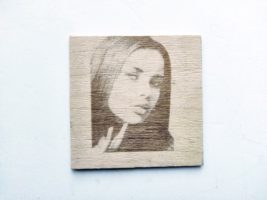
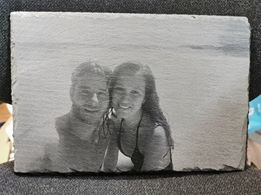
Today we have a tendency to make engraving on photos. Nevertheless, this action has some required clarification.
An important factor for high-quality laser engraving is image resolution. Photo resolution must be at least 333 dpi. If necessary, you can increase the resolution in your graphics editor by changing the raster (bitmap or for CorelDraw resample).
For example, photos from the Internet usually have a resolution of 72 dpi. Even such images can be engraved on a laser if the original layout is larger and has been modified to a smaller size.
We do not recommend increasing the small photos, as it worsens the resolution. This makes the raster too large. This option is not suitable for high-quality laser engraving.
Fortunately, to make a beautiful laser engraving of a photo you do not need to have special knowledge or experience. You can easily do it with the help of the Acan / Acan mini / CNCC LaserAxe programs.
Now there will be a small manual how to engrave photos by lasers. The choice of the parameters depends on:
• the material for the engraving;
• laser power;
• the image itself.
The quality of engraving depends on the type of material. The selection of the resolution for a particular type of material is very important for the quality of laser engraving.
For example, anodized aluminum can be engraved at a resolution of 600-1000 dpi because the raster points do not increase on the material during laser processing.
For wood or glass 333 dpi is enough, as each point of the raster when engraving becomes more than in the graphics editor. This is due to the surface quality.
For acrylic or laminate suitable resolution 500-600 dpi.
In most cases, a lower resolution of the photo (333-500 dpi) is sufficient for laser engraving of the image on plastic, as the raster points do not overlap each other.
The next question is about the time. The optimal burning time for the 3.5W Endurance laser is 4-5 ms with 100% of the laser power.
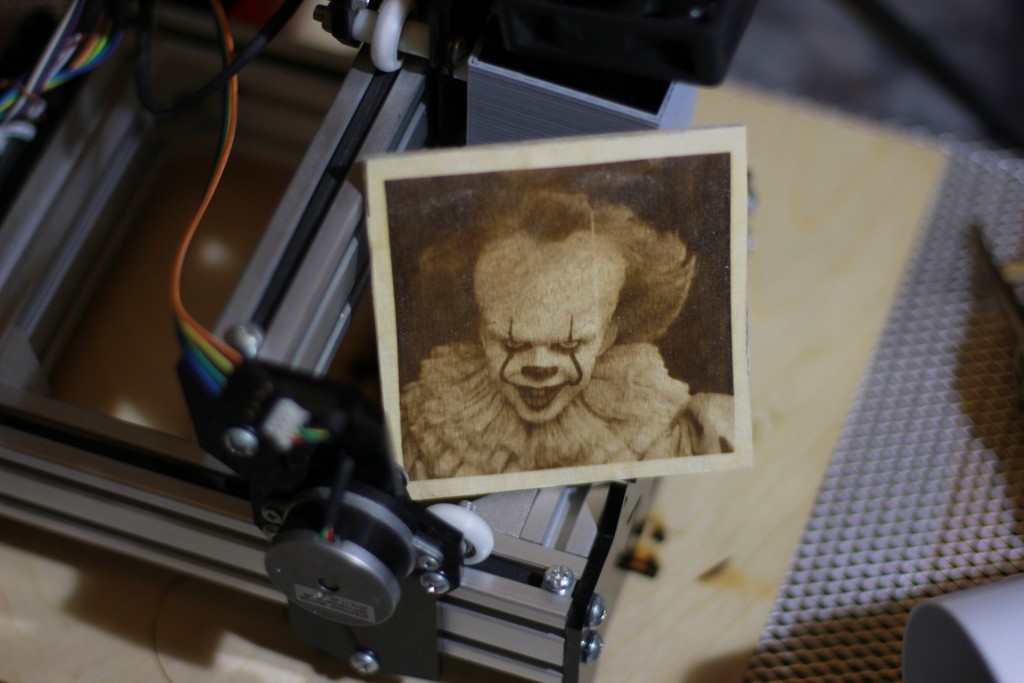
It is possible to change the image size. The size of the Endurance DIY mini worktable is 10 х 10 cm, so we need to fit in the photo on the worktable.
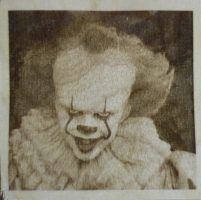
As it is seen, the ready engraving does not need any additional treatment of the image or surface processing.
In addition, the clown from the beginning looks very realistic as well and seems to come to life any minute.
Moreover, one more piece of advice. You will get high-quality engraving using a contrast image. It is important to remember that not all photos are the same, and not all materials are processed similarly. In some cases, it is necessary to optimize the photos so that they can be used for laser engraving. For example, you can increase the contrast of details in the image or, conversely, set the filter “blurred masking”. Most graphic editors have these features.
So take the Endurance laser and make your dream come true.
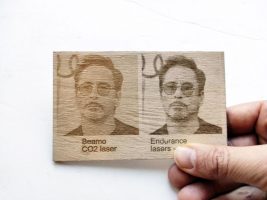
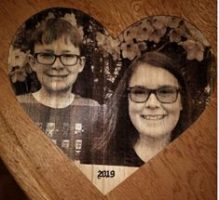
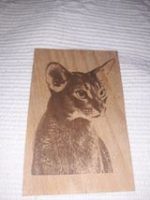
A photoengraving on plywood using 8.5 watt PRO laser installed on BEAMO FLUX Co2 machine
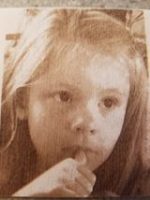
Photoengraving on a plywood
Our customers make and share
If you have any questions or concerns, please share with us!
Join our facebook community >>>
All you need to know about photo laser engraving: testing your board and your firmware
