All you need to know about how to make a DIY knife!
How to Make a Knife (Scramasax): Blade and Hilt Engraving, Sheath Cutting Out with a DPSS (Endurance 10 Watt DPSS Laser Nd:YAG, 1064 nm, F=30mm).
In this article we describe how to make a knife and a leather sheath for it and how to decorate a steel blade and a wooden hilt using laser cutting/engraving and pyrography. . The laser work was done with an Endurance laser CNC 3018 machine with 10 watt DPSSL

A few words about the knife we are going to make. The scramasax is a rather big knife that is why some researchers call it a short sword. This type of arms was very popular in the time of Vikings as it had many functions. Its unusual form makes this knife look quite exotic today.
On the Internet, there are a lot of bargain offers of this knife. The prices vary from $100 to several thousand depending on the material, quality, and decoration of the knife. The best material for the blade is composite steel (comparable to damask steel). Unfortunately, we don’t have it.
For our knife, we use a rather mild steel Е 235 with a carbon content of 0,2 %.
So, let’s set it to work:
Cut out the blade
We cut out a blade 40 cm long with a 10 cm tailpiece out of a 50 cm x4 cm x 0,4 cm steel sheet using a cutting disk and grind the bevels with a grinding wheel.


We cut out a hilt
We cut out a hilt out of a piece of wood (a plum branch), drill a hole in it and make a slot to fix the blade.


Laser engraving on a knife blade
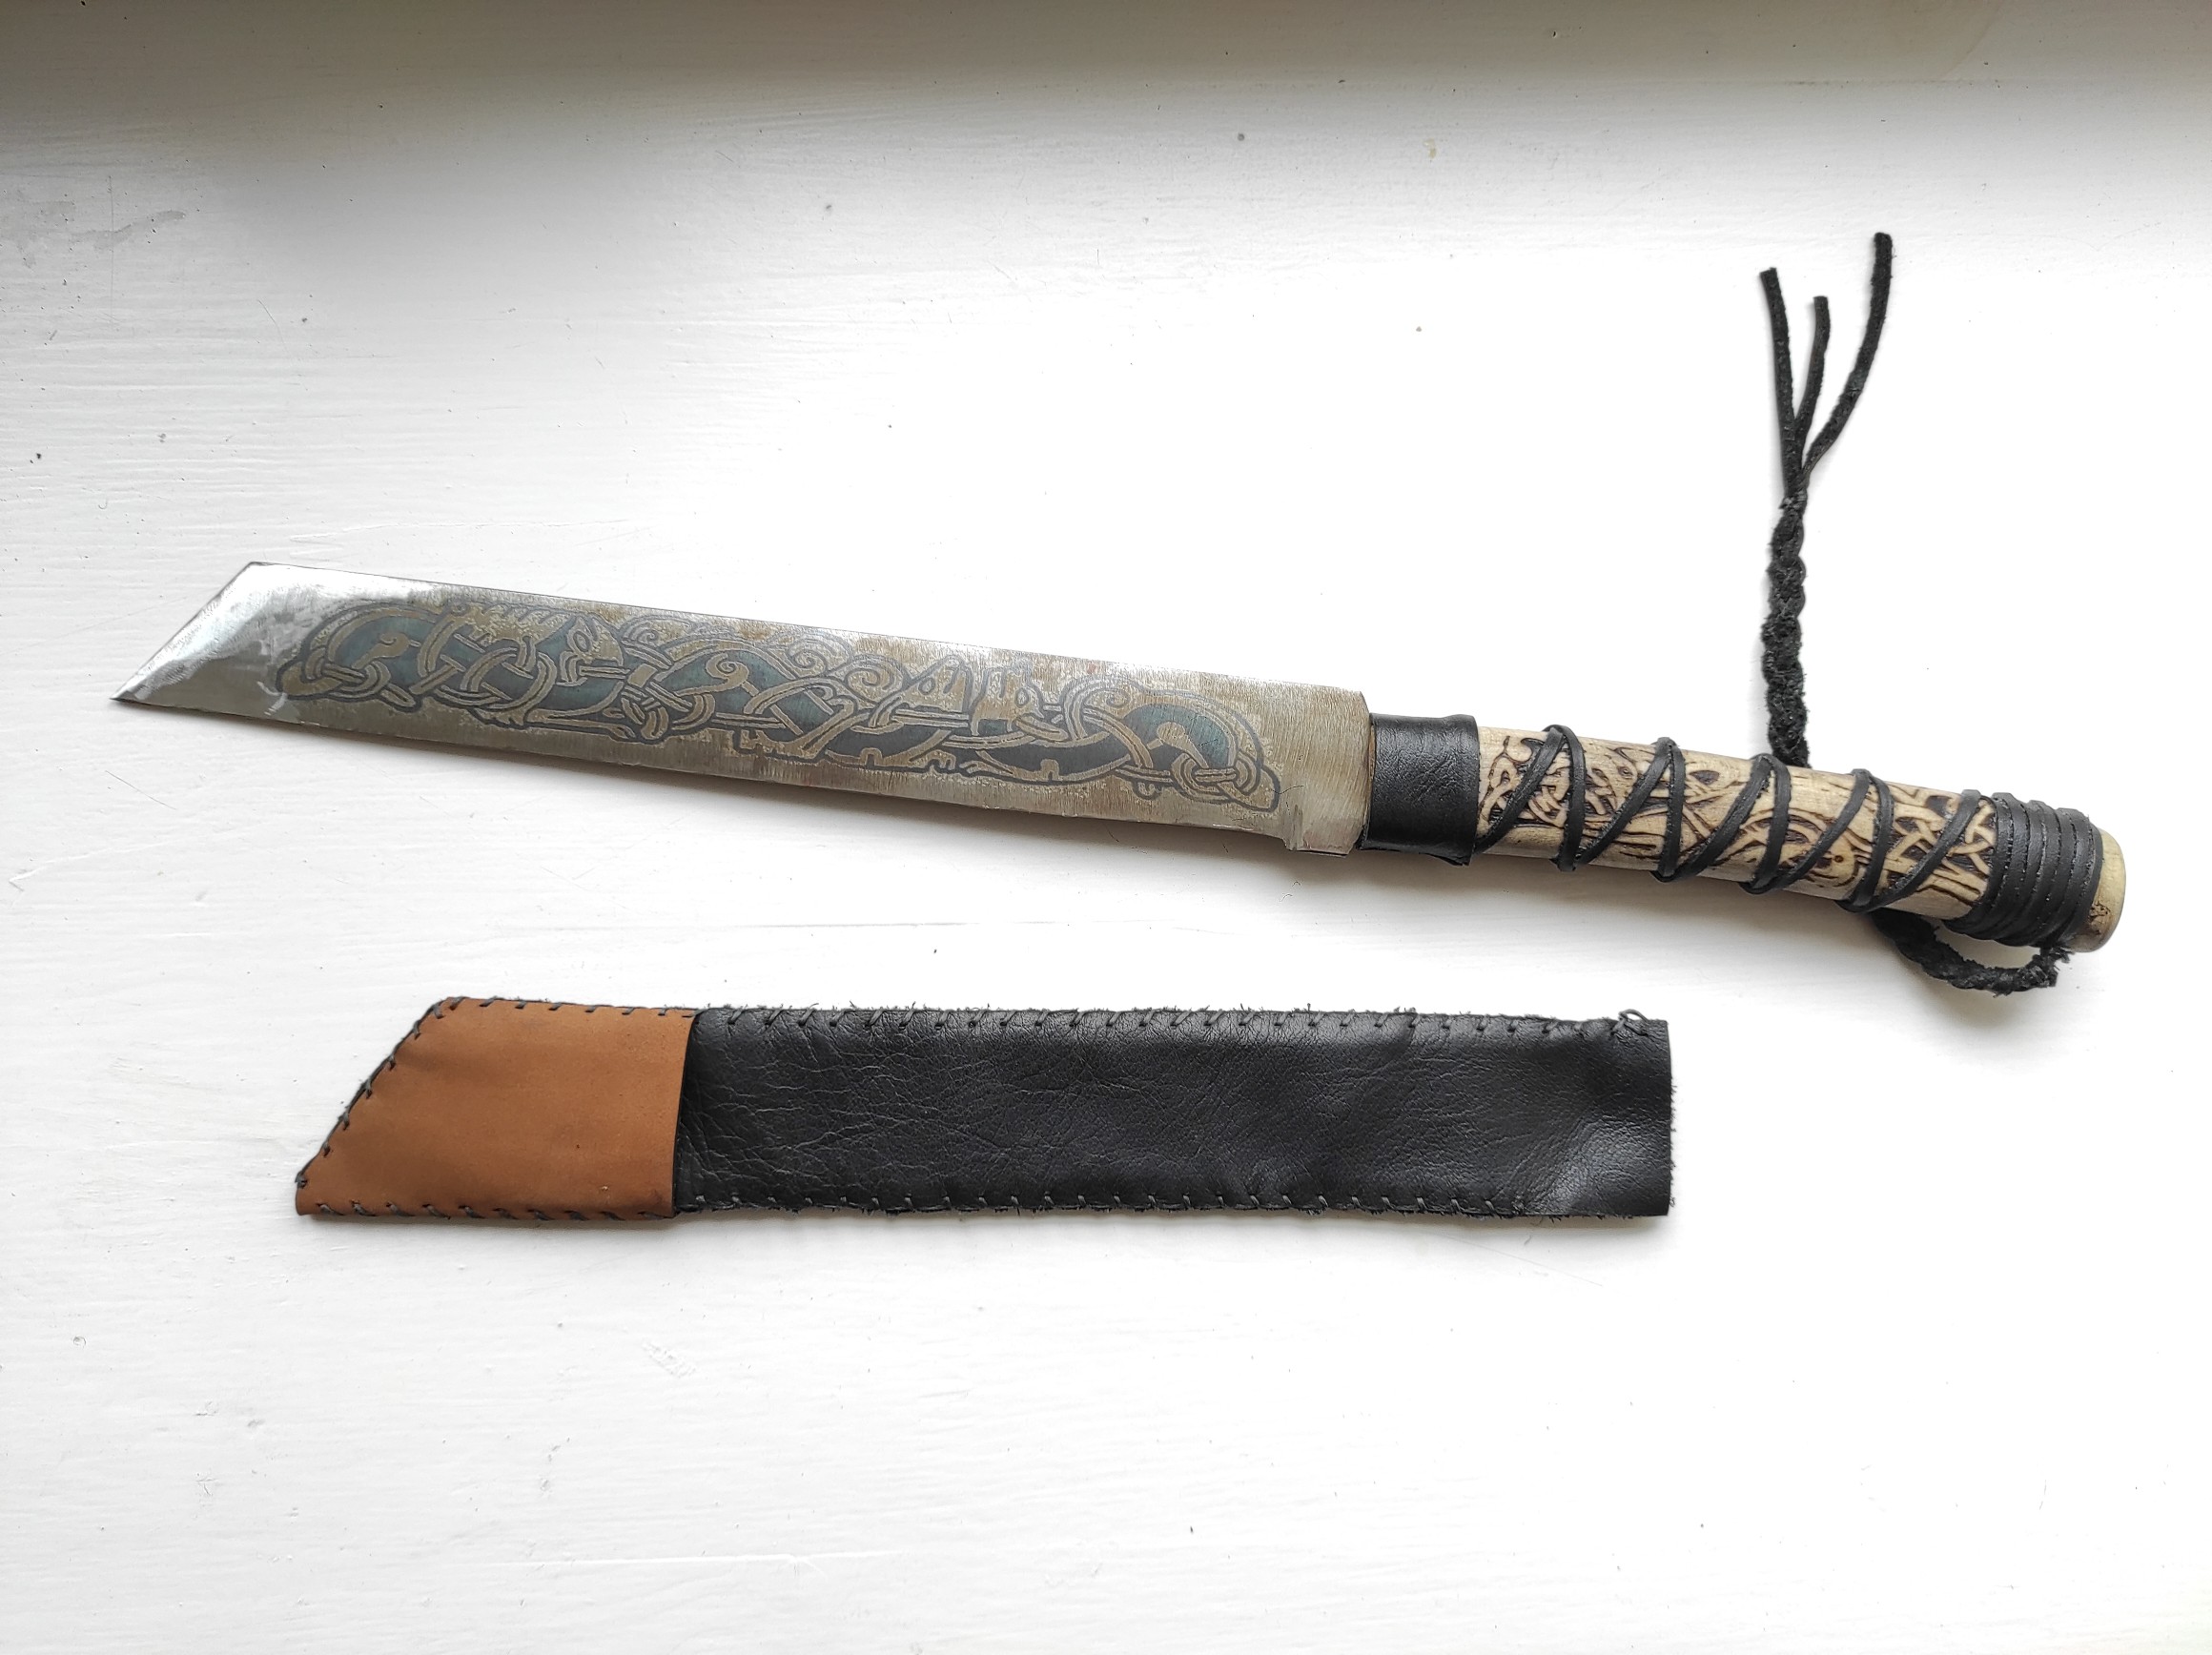
Then we get to work with the laser. We use an Endurance laser machine. To laser engrave a chosen pattern we open it in LightBurn 0.9.15 (all works with images we do in the same program). First of all, we set up the image size parameters to fit within the boundaries of the processed workpiece. The laser operation parameters are as follows: speed 800 mm/min, power 99%, number of passes 1. The laser beam focus is on the workpiece. We place the blade onto the worktable, fix it and start the laser. Due to this combination of the material and the laser processing parameters, we obtain a dark blue image (the effect of tarnishing resulting from the oxide film formation on the metal surface during thermal treatment). In this way, we treat one side of the blade.


We pattern the other side of the item in another (rather unusual) way.
We cover the metal with black acrylic enamel. Any paint soluble in acetone will do. As the paint dries we place the knife under the laser in the same way as in the previous method. Now our task is to remove the paint from certain areas of the surface to create the image we need. For this we change the parameters: speed 900 mm/min, power 25%, number of passes 1. The focus is on the workpiece surface. We select the power in such a way that the laser removes the paint where it is needed and at the same time does not rub off small details.
After processing we lightly wipe the resulting image with alcohol to remove carbon deposits. Then we form a kind of curb around the pattern with adhesive tape and fill in the resulting tray with an aqueous solution of copper sulfate. The laser-treated areas of the item quickly get covered with a copper film. In ten minutes the copper coating grows up to 0,5 mm thick. Now we can wash off the paint with acetone or any solvent. After the removal of the paint, the relief made by the formed copper coating is well seen.


Taking care of the hilt.
Now let’s take care of the hilt. To get a hilt of the required shape we need to physically treat and polish our piece of wood. Then we place the ready workpiece under the laser and fix it with sticky tape. To laser process the hilt we use the following parameters: speed 600 mm/min, power 99%, number of passes 1. The focus is on the workpiece. We also need to use airflow as wood emits much smoke when burning. After laser patterning one side of the hilt we turn over the piecework, fix it and decorate with the same image, which has been reflected vertically beforehand in the LightBurn program (as the workpiece is overturned as well). When the process of patterning is over we treat the ready wooden hilt, decorated with asymmetric engraving, with linseed oil to make it waterproof.


Laser leather processing
Then we work with leather. We need a long strip of leather to decorate the hilt and make the sheath. To make a leather cord for decoration we create a concentric circle image in any graphic editor (Corel Draw or Adobe Illustrator, for example). The necessary diameter of the circle is 10 cm and the width of the spiral turn is 0,4 cm. We open the image in LightBurn and set up the following laser parameters: speed 350 mm./sec., power 99%, number of passes 1, the focus point is 1 mm below the workpiece. We place the leather piece onto the worktable fix it with sticky tape and run the laser. The laser cuts the leather in spiral order making a leather cord 2 m long. It’s more than enough.
Hereafter, we set to make a sheath pattern. The laser processing mode is the same. We place a suitable sheet of leather under the laser, fix it the same way as before and run the laser. At the end of the cutting we have ready parts for the sheath with perforations for stitching.


Knife assembling
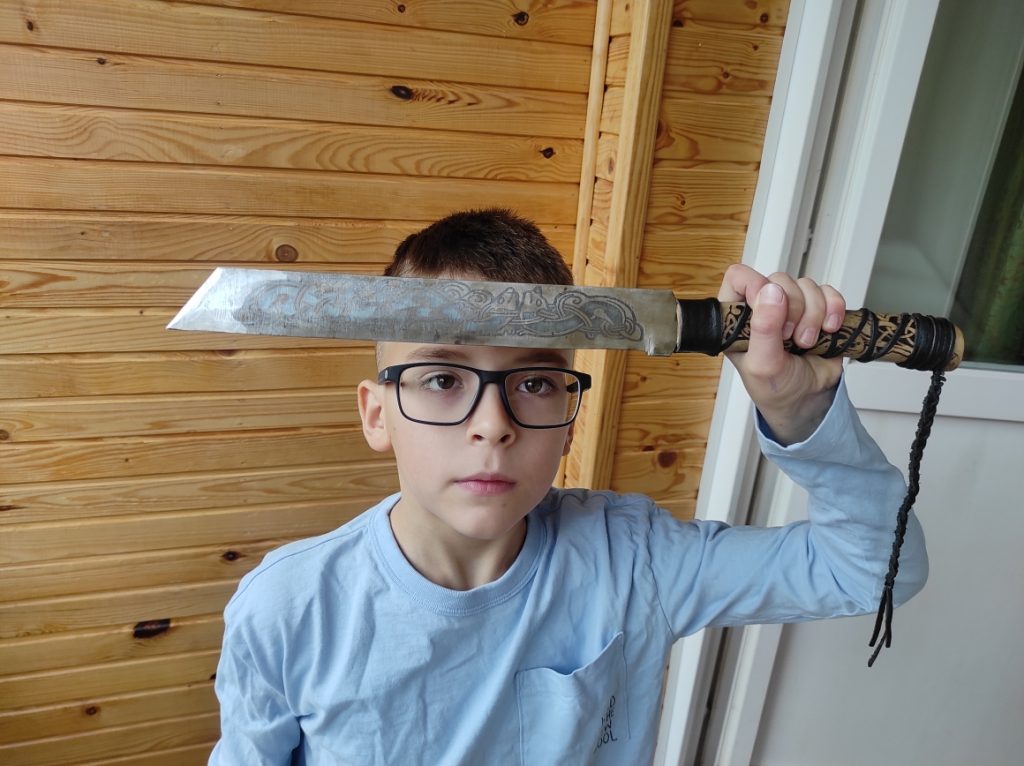
The last step is assembling. We insert the blade tailpiece into the hilt slot. No additional fixation is needed. The joint is secure enough. Then we wrap the hilt around with the leather cord and fix it with glue, stitch the sheath parts down the perforation lines. The ready item is shown in the picture.
Look for other ideas of laser processing here: https://endurancelasers.com/gcode-samples-2/.


Enjoy!
Take a look at more things that you may do with Endurance lasers >>>
If you have any questions – you are welcome to ask us in a Livechat


