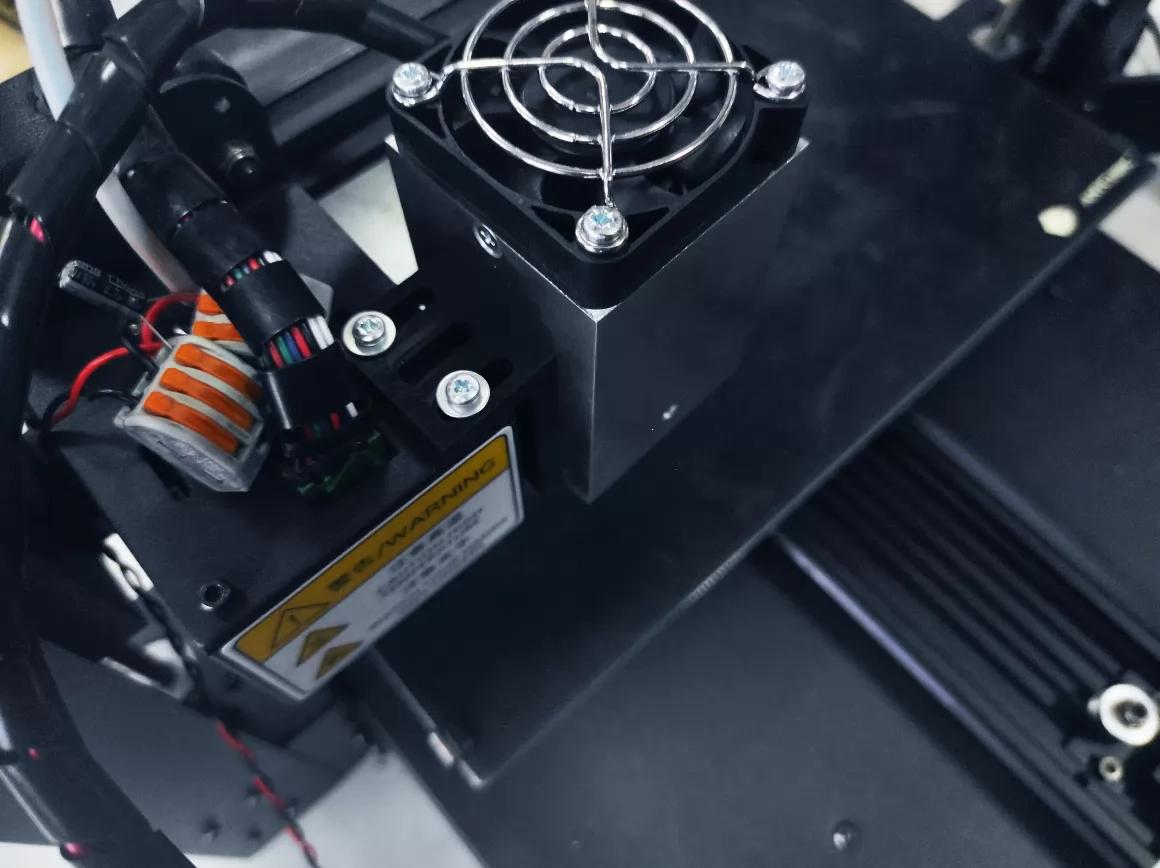
All you need to know about wiring the laser (diode and DPSS) to your 3D printer or CNC machine
First of all, check your manual for your 3D printer or a CNC router. You might already have a proper laser pin to wire the laser.
If there is no laser pin on your board, then check for a PWM pin.
Usually, all our lasers work on Fan 1 PIN (3D printer) or a spindle pin on a CNC machine.
Keep in mind that all Endurance lasers work out of 3.3-24V PWM voltage. However, an Endurance DPSS works from 5V PWM signal.
Sometimes the PWM pins do not work correctly and require adding a capacitor or a resistor in the wiring circuit.
Usually, it is necessary to do if your laser does not turn on and off exactly at the time you run g-code (when you see there is a time lag)
If you have an open-collector output without pull-up, then you need to install a capacitor or resistor. Depending on the circuit, it can be from 100 ohms to several kilo-ohms. As for the capacitor, it can be there only for experimental purposes, because it distorts the waveform.
Endurance 4/10 watt DPSSL installation guide
A detailed video guide about installing the DPSS laser on FDM 3D printer (ANET A8)
Explore detailed wiring diagrams:
It is very easy to mount (hook) the laser to your CNC machine or 3D printer. We supply all compatible connecting mounts.
All you need to know about how to hook the laser properly
All you need to know about how to wire the laser to main 3D printers.
All you need to know about how to wire the laser to main CNC machines
Learn more about TOP – 2021 3D printers for adding the diode or DPSS alser.
Best 3D printer of 2021: top choices for work and home use. How to connect the Endurance lasers.
Fitting an Endurance Laser to my Home Built CNC Router (a real live video by Graham Ham)
Connection to your board
Connecting the laser to the main board of your machine is very easy but you need to check the voltate on pins and do not miss polarities.
All Endurance lasers are equipped with MO1 PCB and support 500-1000 Hz PWM signal
About Endurance MO1 PCB. The driver board to run the laser from external power supply.
All Endurance PRO series are equipped with Mo2 PCB that allows to operate the laser with 25 kHz frequency and operate the laser with analog signal
Learn more about TTL on YouTube >>>
Turn on / off the laser.
The laser can be turned (on / off) manually or by sending g-code commands such asL M103 / M105 or M11 / M12, depending on your board. Learn more about g-code >>>
Laser power can be changed using the S parameter or L parameter, depending on your board and the version of your firmware.
An important things you need to know about GRBL parameters, firmware settings
Most 3D printers have Marlin firmware while engraving machines and CNC machines are using GRBL firmware. 0.9 GRBL is an old version, not mostly all machines have GRBL 1.1H, 1.1F, and 1.1G
If you have any questions or issues with the connection the laser, please let us know in our LiveChat and we will be happy to assist via Skype, Whatsapp, Viber, Telegram, Facebook Messenger, Google Hangouts, WeChat, Line (see the icons on top of the page). (+7.916.225.4302)
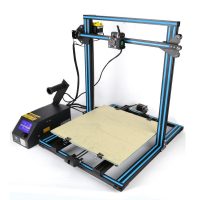
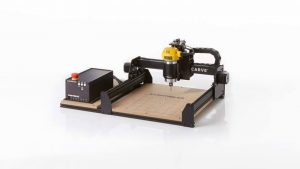
Laser fastening and connection
One of the most popular questions is:
How to connect the Endurance laser?
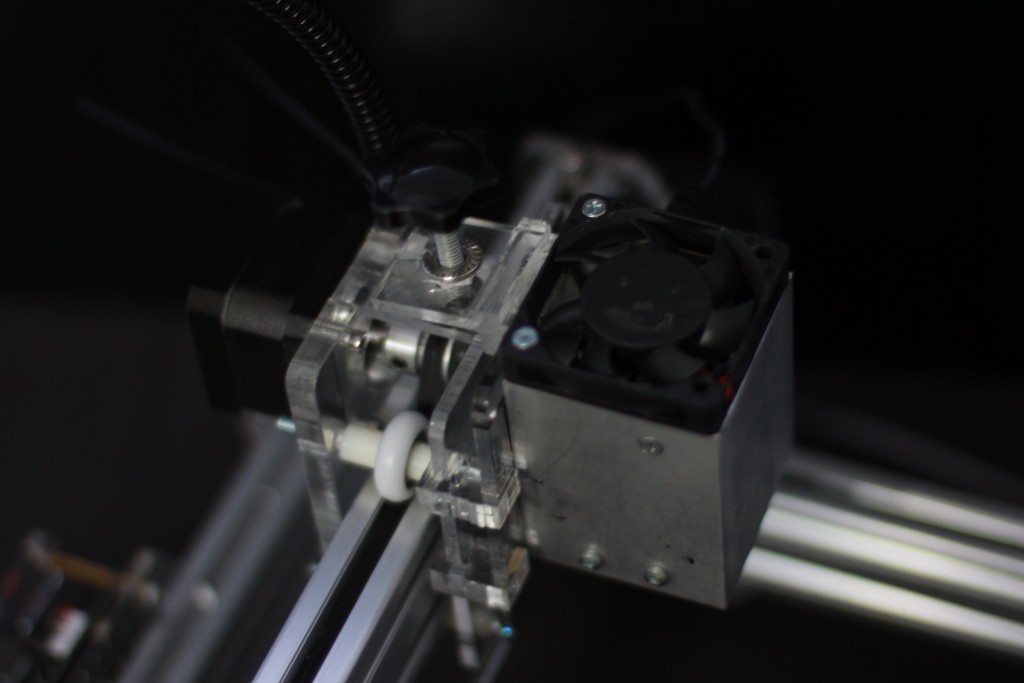
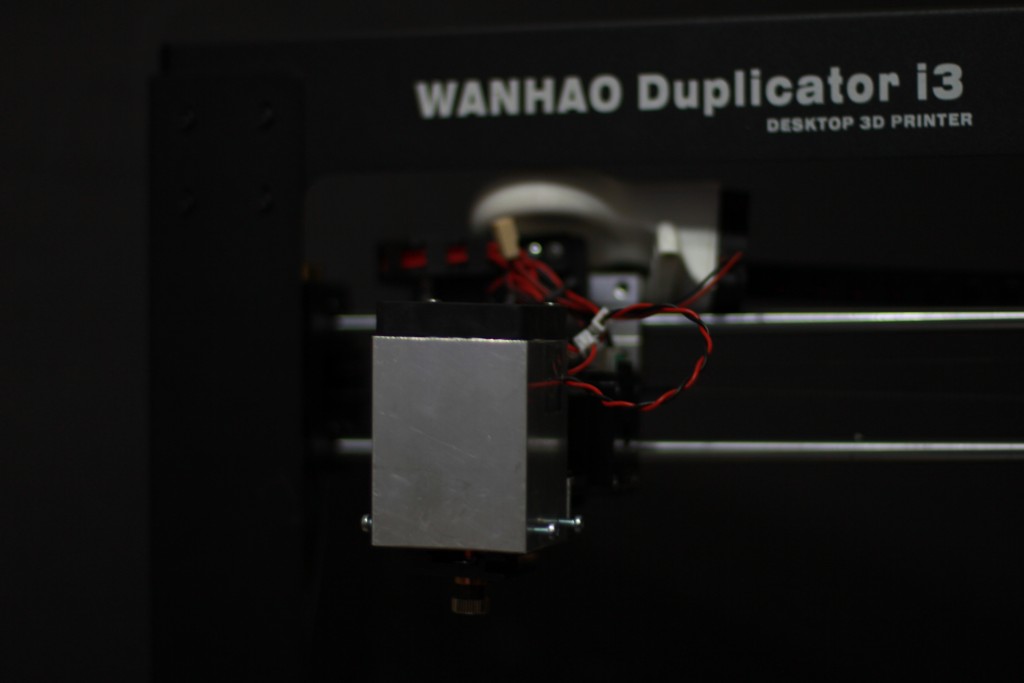
This question has two aspects:
• physical fastening of the laser to a 3D printer or CNC machine,
• the connection of the laser power to the control board of a 3D printer or CNC machine.
Laser fastening (hooking) to a CNC machine or 3D printer
To physically attach the laser to a CNC machine or 3D printer, you can either make an adapter yourself or order a fastening adapter at Endurance.
Many 3D printers and CNC machines have their own fixation holes, so it is impossible to make a universal fastener for all machines in advance.
We have open 3D models of fasteners in * .skp format, if you decide to make your hardware, however, we recommend attaching the laser to the regular metal casing of a 3D printer or CNC machine.
An additional fastening adapter can be L-shaped or U-shaped, in rare cases has the form of T, and fasten the laser to the CNC machine or 3D printer.
Installing the 10 watt Delux laser on AnyCubic Mega X 3D printer
Getting started an Endurance 10 watt laser with your CNC machine
How to hook an Endurance laser to CNC 3018 machine
Use L or T mounts to hook the laser near the spindle.
Endurance mounting brackets
How to find a PWM pin (TTL signal) on your board – a detailed video guide!
The easiest thing is to find using oscillograph.
You can find the PWM with a multimeter or a regular fan (with the same voltage that you have on your PWM pin)
Acrylic enclosure for Ender 3
STLs for mounting brackets for Endurance lasers
https://www.thingiverse.com/thing:3648619
https://www.thingiverse.com/thing:3504551
https://www.thingiverse.com/thing:3530513
https://www.thingiverse.com/tag:endurance_laser
https://www.thingiverse.com/thing:3237486
https://www.thingiverse.com/tag:laser_engraver
https://www.myminifactory.com/object/3d-print-endurance-lasers-connector-plate-prusa-i3-mk2-2-5-s-wip-95281?fbclid=IwAR2c4hZVxJ3yi5HcJ2KM7z71WQ0S36B-vxijSVDwLbw4Tcvk24bRr9L0wts
All STLs in one place >>> https://www.thingiverse.com/endurance_lasers/designs
Download advanced and basic mounting brackets (STL files on Thingiverse)
An Advanced and basic mounting brackets: https://www.thingiverse.com/thing:4444946
Examples of how to use Endurance laser mounts to fasten the laser to your CNC machine or 3D printer
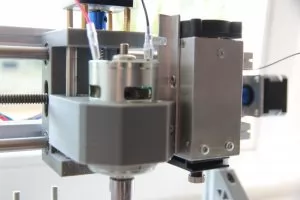
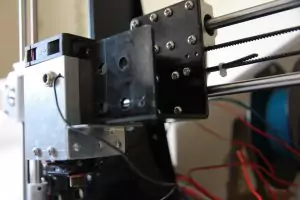
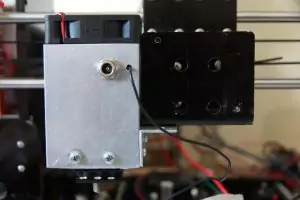
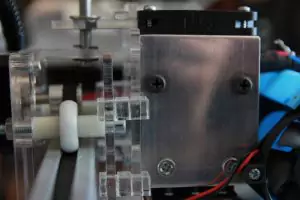
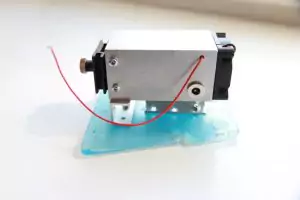
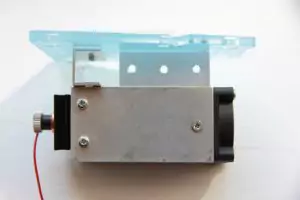
Laser connection of old Endurance lasers and some Chinese lasers to the control board of a 3D printer or CNC machine
To connect the Endurance laser to a CNC machine or any 3D printer, you need to find a 12-volt output on the control board of the device. You will need an output of 1-5 A (for different laser modifications you need different amperage … for example, for a 2.1 W laser you need 2 A, for 8 W – 5-6 A).
If the control board current is less than required, connect the laser by means of a special Endurance adapter MO1, which enables to power of the laser from an external source.
It is important not to violate the operating conditions of the control board of the CNC machine or 3D printer, not to overheat the control board, otherwise, it might fail.
In some 3D printers, you can use the fan output, but only for low-power lasers 2.1 W and 3.5 W. To connect a 5.6 W or 8 W laser, you can use either the heater output with the required amperage or the Endurance adapter MO1.
If there is a PWM on the control board, the TTL + laser output should be connected to the PWM. (When the laser has three wires, the third one controls the laser on/off switch, changing the so-called signal duty ratio.) If the signal duration is short, the laser glow will be weak. As the signal duration increases the laser emission power will increase too.
We pay special attention to the fact that since the digital MOSFET is used, the signal voltage varies from 0-7 volts, but the duty ratio depends not on the voltage, but on the pulse duration.
Many people believe that by modulating the signal in the range from 0 to 7 volts, you can achieve different emission power. But that is not true! The power of the emission depends only on the pulse duration.
If there is no PWM on the control board, as on many 3D printer control boards, the TTL laser output is to be connected to a 12-volt input of the device to ensure the maximum laser emission.
If you have any questions concerning the laser connection, be sure to write to us about this and we will find a solution.
To accurately say how to connect the laser to the 3D printer control board, we need:
• the control board schematics
• control board photo
• control board manual
Everything you needed to know about Endurance lasers
High-quality standard
Multi-level testing system.
Industrial components.
Ultra reliable
The guaranteed duration of the continuous operation ~48-72 hours.
True continuous power output
Our products have the rated power output as advertised – unlike Chinese analogues.
TTL mode
Can be turned on and off with 3.5-24V.
Variable power output.
Plug and play
Universal and compatible mount.
Compatible with most 3D printers and CNC machines.
Friendly return policy
Do not like the laser?
Simply return within 30 days and get a full refund.
Real-time advice
We assist and give advice by Phone / Email / Facebook messenger / Telegram / Whatsapp / Viber.
Professional support
We help to install and tune the laser. We offer qualified after-sales support.
Everything you need
We ship everything you need in one parcel to get started.
Immediate delivery
We ship all units within 4-24 hours. DHL express delivery allows you to get the package in 3-5 days.
Lifetime warranty
All our lasers are tested and could work up to 10000 hours.
Upgrade option
Do you have an old model? Upgrade your unit with more powerful one.
3 axis cnc router (1250x1250x120 cut area)
300×300 D-bot 3D printer
750mm X-Carve
a 5 axis cnc from 5axismaker (500x500x400)
A large CNC machine controlled using Mach3 and an Ethernet Smooth Stepper
Acro
ADIMLab
Alfawise U30 printer
Anet A8
Anycubic
Anycubic 4max
Anycubic i3 (Anycubic i3 Mega)
Anycubic Photon
Atom2 Gizmo 3D
axiom precision ar8 pro cnc router wiring
Azteeg X3 Pro
Big ox CNC
Craftbot+
Creality 10 S5
Creality CR-10
Creality CR-10S pro
CTC flashforge replica
Custom Delta 3D printer
Davinci 1.0a with repetier
DlyingBrad
Eleksmaker / Eleksmaker A3 Mana board
Creality Ender
Creality Ender 2
Creality Ender 3
Creality Ender 4
Felix
Flashfordge (Flashforge)
FlSun
Folgertech FT-5
FT-5
Gecko g540 controller (GeckoDrive 540)
Geeetech
Home built 3D printer / Home built CNC Router
Home made printers from 220×220 to 1080×600
Hyper Cube
JG Auroga
Kossel
Laseraxe 2.5w CNCC
Laser-Bot
Legio 3D
Lutzbot
MakerBot
Makerfarm
MakerGear M2 (MakerGeora M2)
MakiBox
MillCarve
Monoprice
Monoprice maker select v2
MPCNC
MPMS v2 L
OpenBuilds C-Beam
OpenBuilds MiniMill with Duet electronics
Openbuilds Ox (OpenBuilds OX CNC router)
OpenBuilds-C Beam
pmdx – 411 interface
PrintrBot
Prusa
Prusa i3
Prusa mk3 / Prusa mk3s
Raise3D
Raprap RAMPS 1.4
Replicator 2 / 2X
Reprap
ReXYZ S22.
Rigitbot
Robo 3D
Robo3DR1+
Rostock max v2
SeeMeCNC
Shapeoko 2 / 3 XXL
Shark (Shark 4HD / Shark XD4)
Shopbot
Snapmaker
Solidoodle 2
Stepcraft 420
Stepcraft CNC
Taig Mill
TAZ5
TAZ6
Tevo / Tevo Little Monster
TinyG
TRex 2
Tronxy
Tronxy x5s
Tronxy XY-2
Ultimaker 1 / 2
Ultimate
Velleman K8220
WanHao
Wanhao 4S
WanHao Duplicator i3
X-Carve / X-carve 1000×1000
XYZ / XYZ Davinci A1.0.
Zortrax
Eleksmaker Mana
RAMPS
Arduino Uno + CNCShield V3
SKR 1.3
Anet A8
Duet 3D wifi
mks 1.0
CNC xPro V4
xpro v3
Rambo 1.3
Ethernet Smootstepper
Smoothieboard
Lerdge S,X,K
mks dlc
SainSmart Genmitsu CNC 3018
Laseraxe 3 axis board
blackbox openbuilds
DDCSV offline controller
fystec f6
Sainsmart Genmitsu 3018 MX Toshiba MCB with Mach 3&4
Duet LAN
