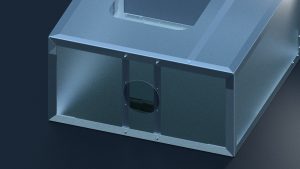
Ortur Laser Master 2 Enclosure
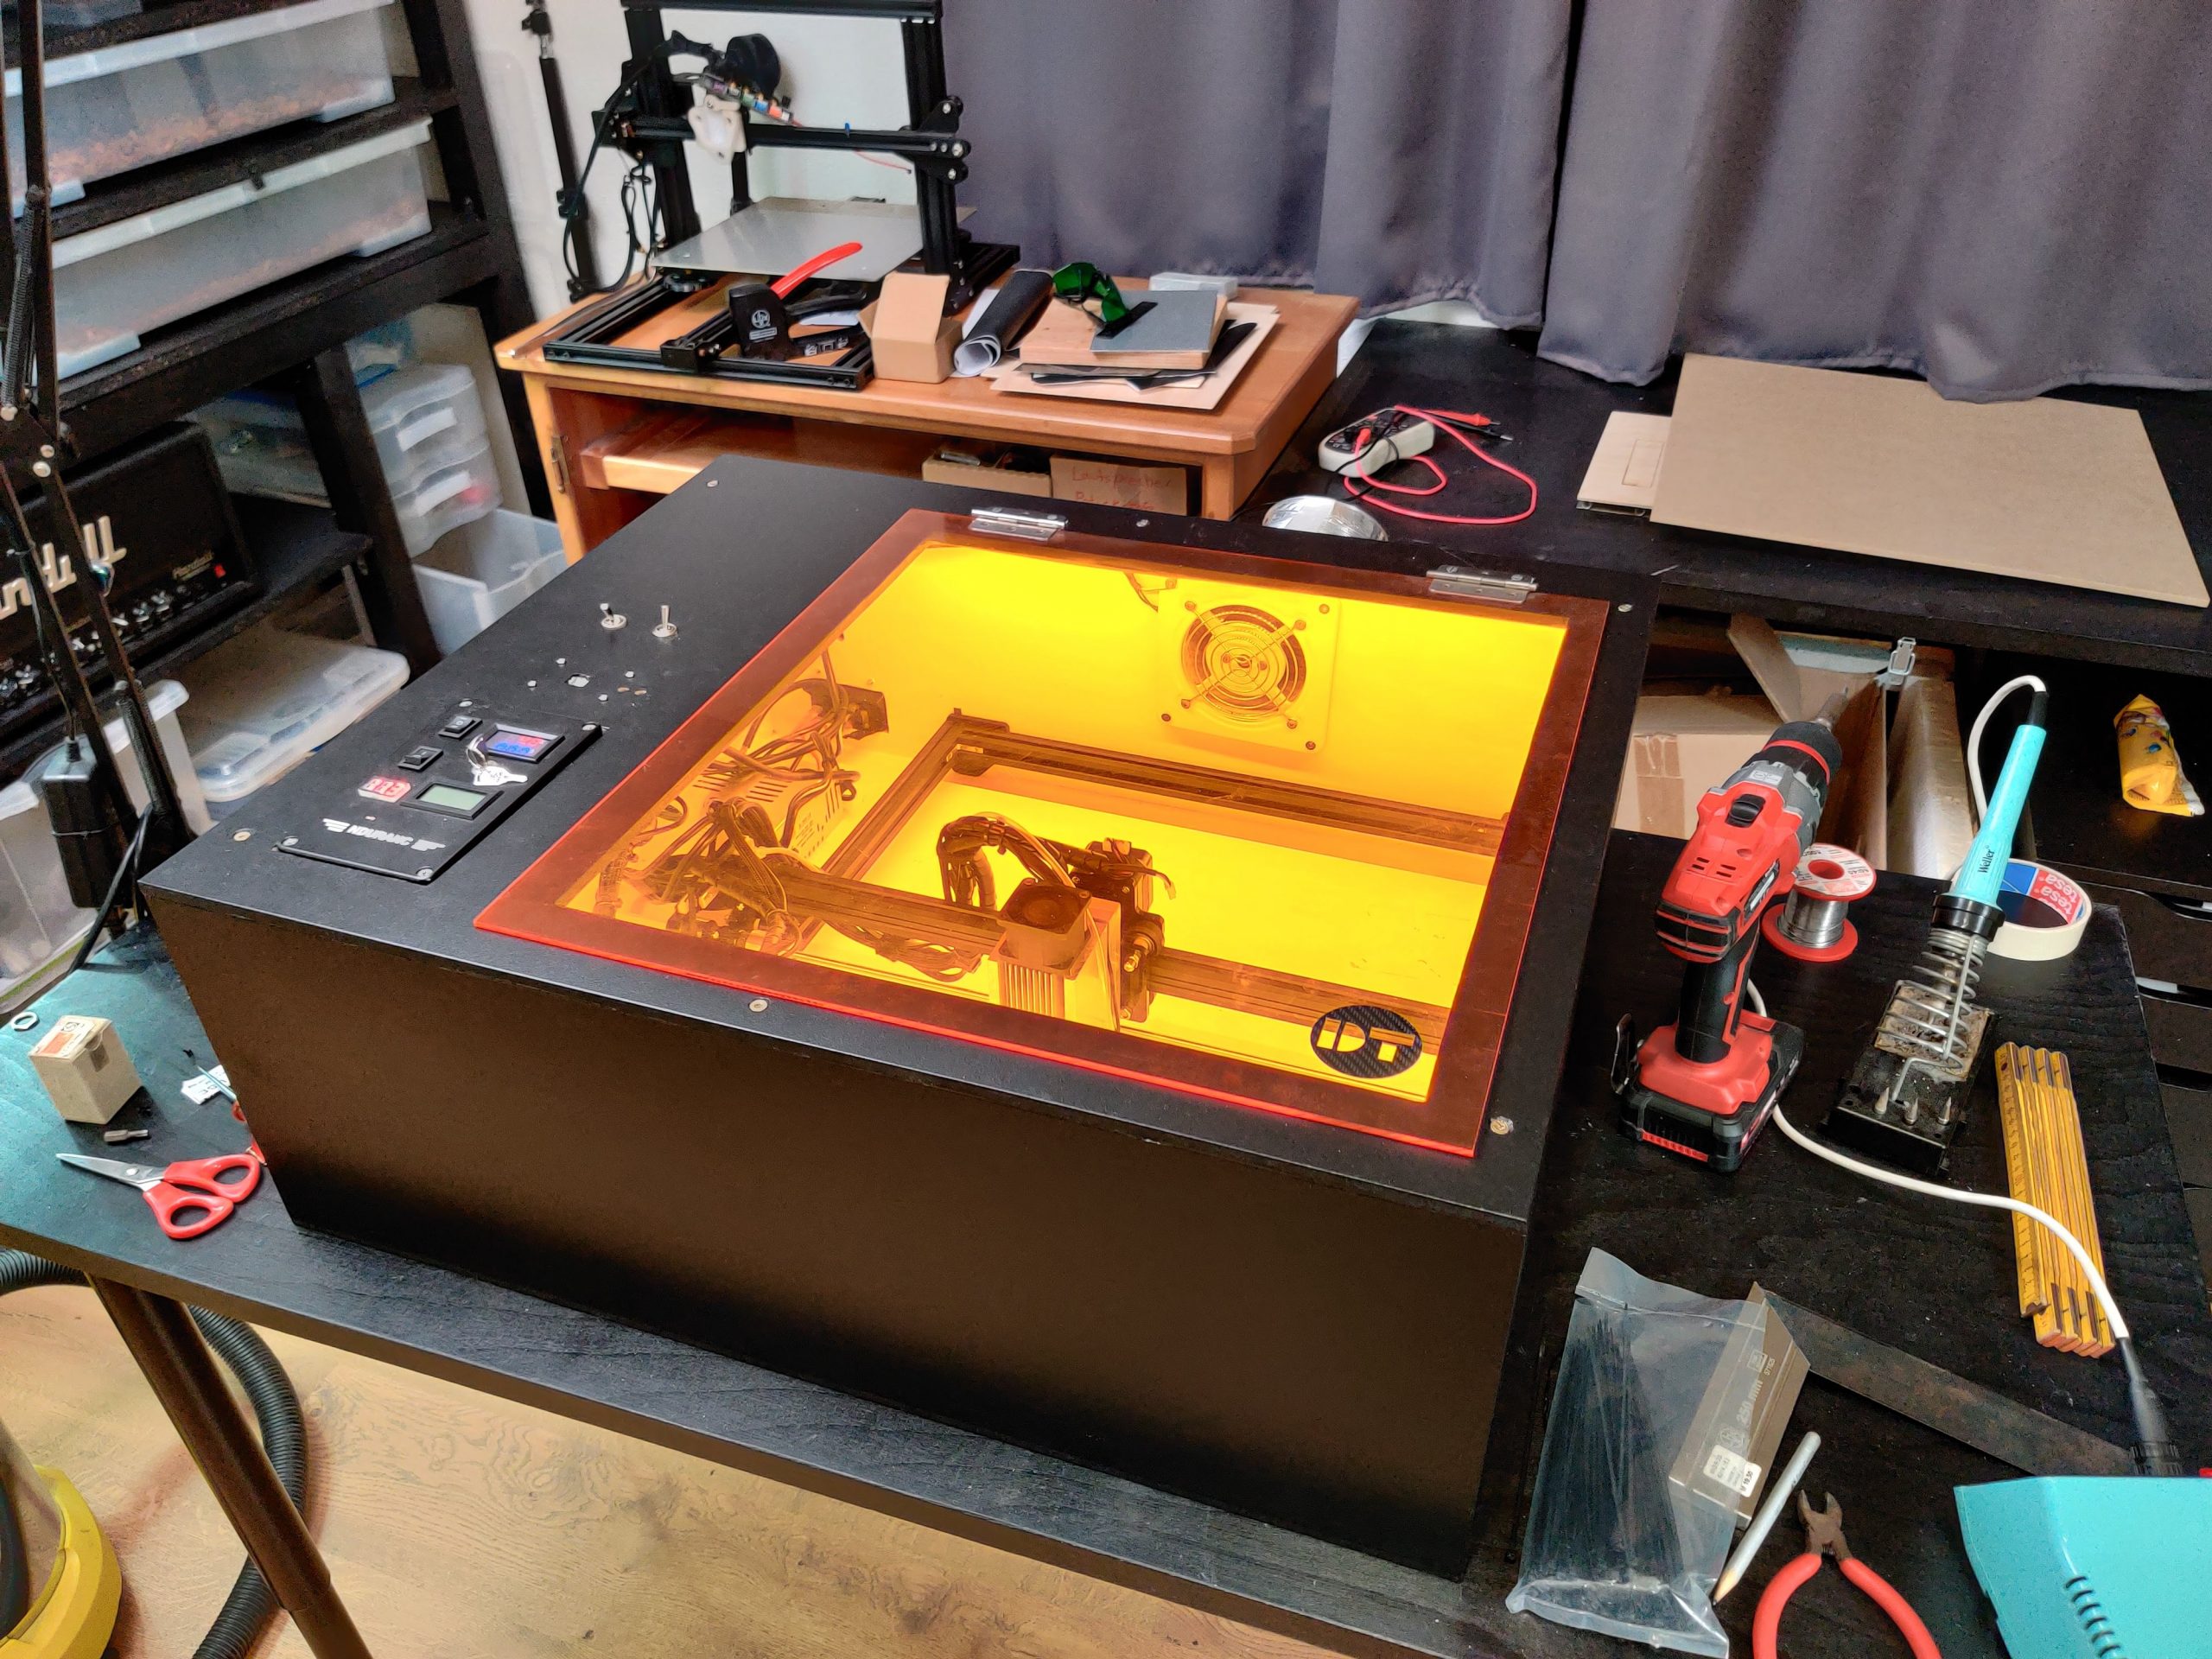
The Ortur Laser Master 2 is a great entry-level laser engraver and cutter, only made better by upgrading it with an Endurance Laser. However, it still has the same problem as all other cheap laser engravers, the smoke created by the laser just fills up your room, making it very impractical to use indoors. Building an enclosure that exhausts all the smoke out of a window is the only real solution to this problem. This is an attempt to build an enclosure that gets the job done, without costing too much or being overly complicated to build.
Planning
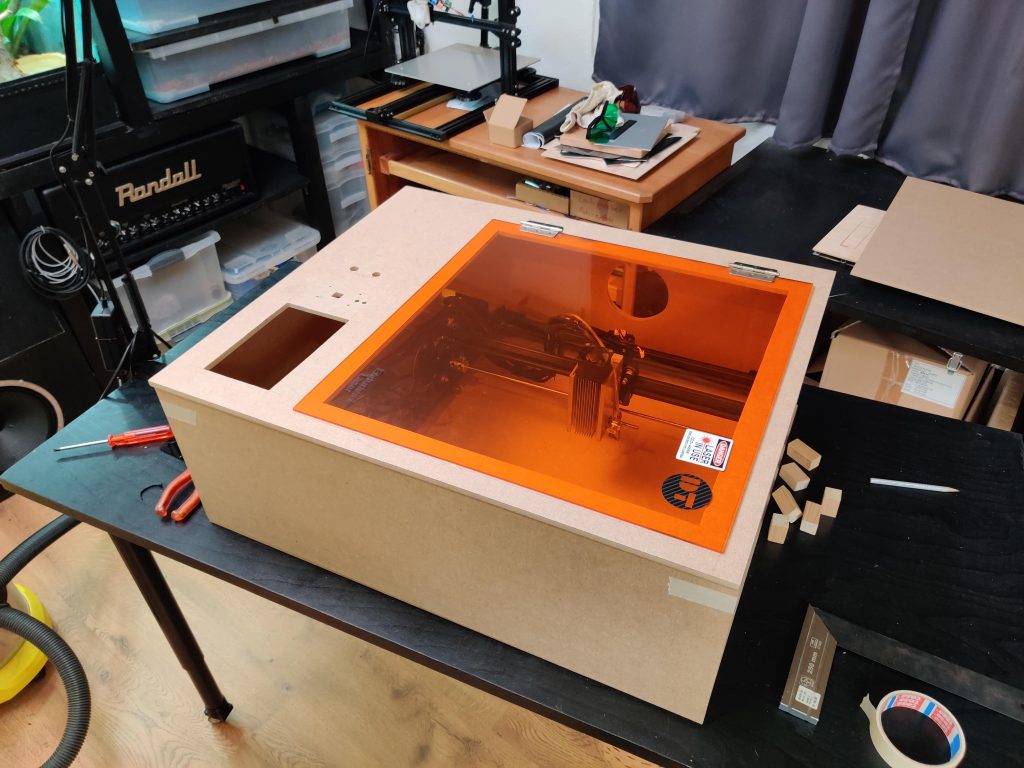
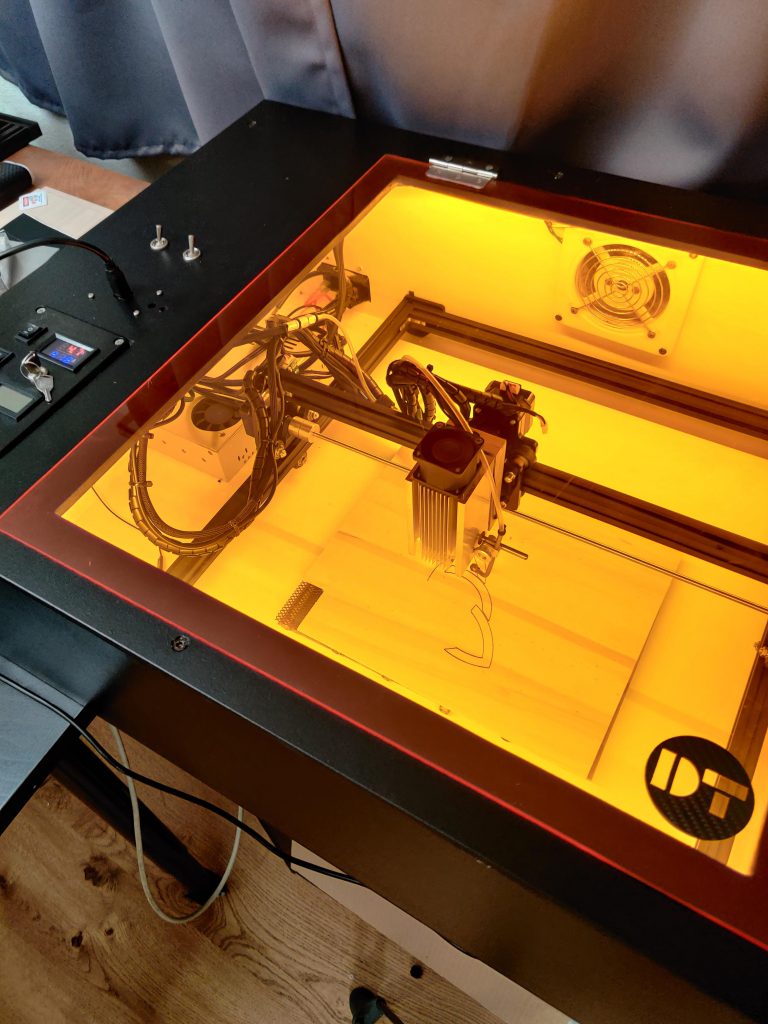
The requirements for this enclosure were quite simple. It should fully enclose the laser but should still be as small as possible. There should also be an easy way to survey and access the cutting area. To finish off, all the electronics should be contained and easy to use.
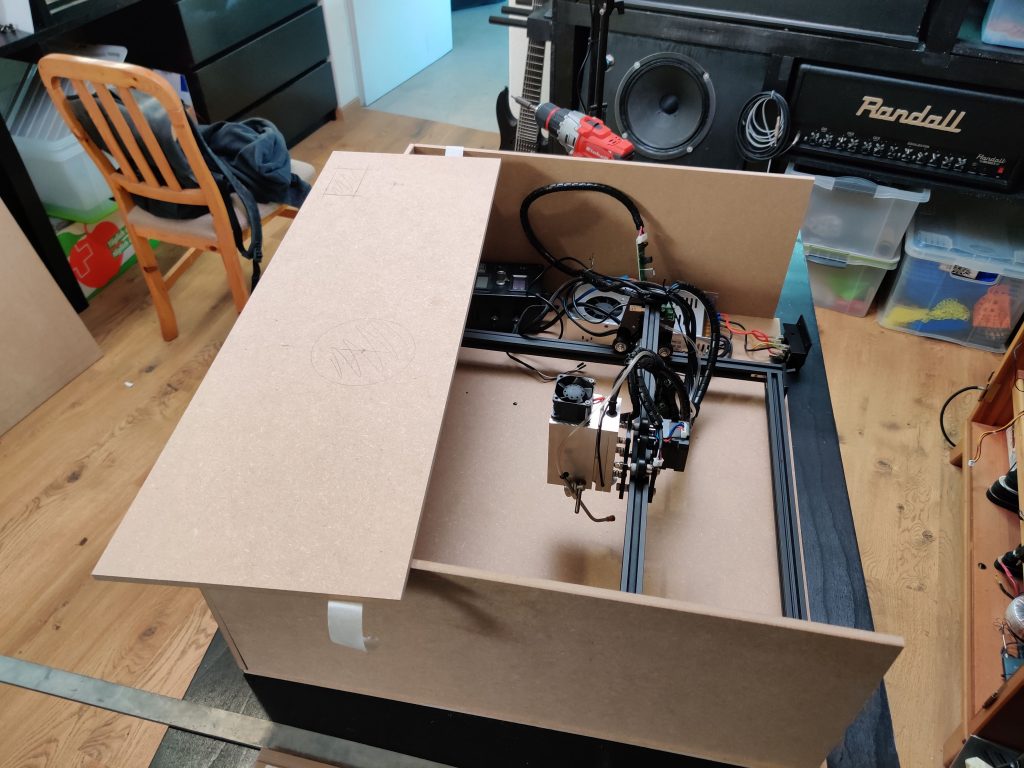
This led to a box construction being used with a screwed-on top for serviceability, as the access hatch is not large enough to fit the laser through. All the electronics are also mounted to this top panel for easy accessibility. To block the harmful laser light but still allow you to look inside, a sheet of orange acrylic was used. It is almost completely opaque for the spectrum of light the laser emits, resulting in almost no leakage.
Building
For the main material, MDF was chosen. This is not the optimal choice for a laser enclosure, as it is flammable. The proper material would be sheet metal, however, that would make this project much more expensive and much more involved. Using a flammable material as your enclosure is not recommended. If you still do, never run the laser unattended and keep a fire extinguisher nearby. You likely will never have an issue, but it is a risk.
To make building even easier, you can have your MDF cut to size at the hardware store, leaving just some holes to be cut, which can be easily achieved with a jigsaw. After that, wood glue and some screws can be used to assemble the box. To give the screws for the top some more meat to grab onto, some wood blocks can be glued to the sides.
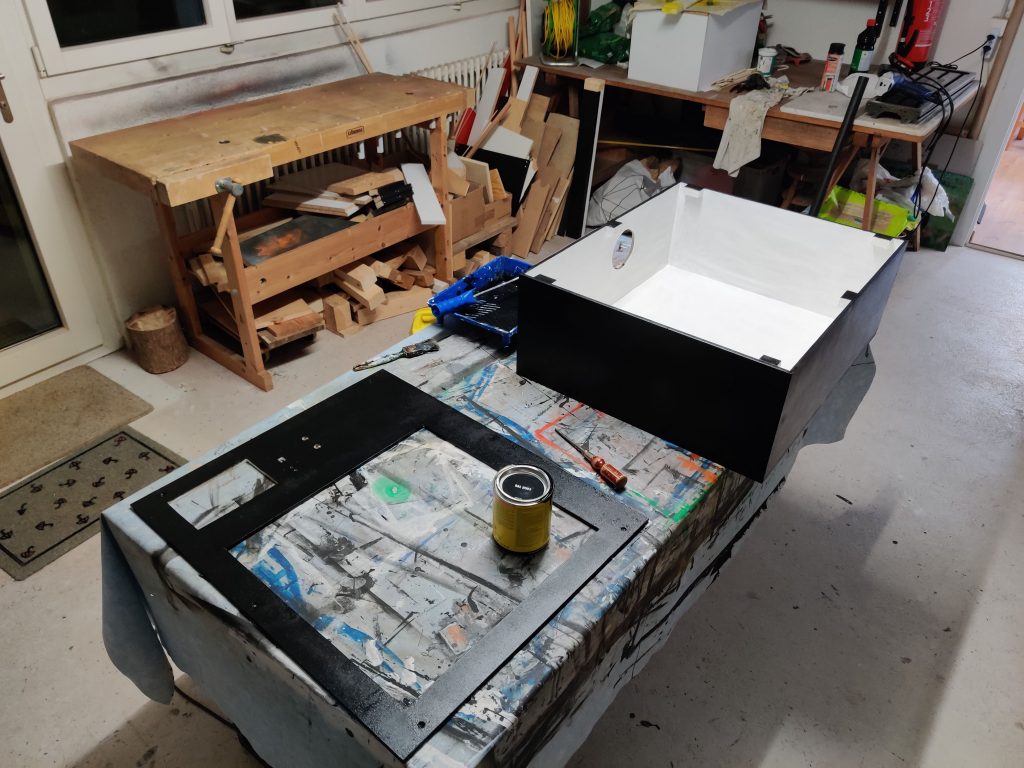
To finish off the main construction, the whole enclosure got a coat of paint. White on the inside for good visibility and to not absorb the laser light as easily, thereby reducing the chance of it catching fire. The outside was painted black to give it a stealth appearance.
Electronics
There is not much going on in the electronics department, mainly the electronics of the laser itself, which I will not cover here in any detail. The only additions are some LED strips that are wired to the power supply with a switch in line and the exhaust fan, which is wired to mains power, also with a switch in line.
Conclusion
And there we go, all done. Overall, this project cost less than $50, and took only a weekend to complete. It will do a great job at keeping all the smoke out of your lungs, the stray laser beams out of your eyes, and the noise of the fans out of your ears.
Upgrade your existing Ortur frame with Endurance lasers beam combiner (double your laser power output)
10 watt Delux laser installed on Ortur frame
A problem with an Ortur laser 5500 mw (5.5 watt). PWM does not work properly!
Watch a live video of an Ortur laser test
Endurance enclosure box
An Endurance customizable protective frame (shield) for your engraving / cutting machine
More DIY laser enclosure
https://www.instructables.com/How-to-Make-a-Ventilated-Laser-Box-Endurance-Laser/
How to install the 8.5W Endurance Laser on Ortur Laser Master 2 Pro
