")
10 mm (2/5″) wood and plywood laser cut with Endurance 15 watt water-cooled laser.
Real power and real quality by Endurance Lasers!
Getting started
It doesn’t matter what laser engraver you have, with very few exceptions they all have one big issue in common, they are not enclosed. While this doesn’t matter as much for a 3D printer, where you only need an enclosure to print exotic materials, for a laser it is a must. Engraving or cutting anything produces a lot of smoke, which will just fill up your room if you don’t deal with it. You could run your laser outside or next to a big window, but this is not a great long-term solution, especially during the colder months. Additionally, having an open frame laser engraver running poses a danger to any other people or pets that are entering the room and not wearing the proper safety equipment. While commercial enclosures do exist, most of them are very expensive, as shipping large items does not come cheap. This is why I will show you how you can build your own enclosure on a weekend with only very minimal tools at hand.
Super low-budget option
Depending on your experience level, budget, and the amount of time you’re willing to invest, there are a few different options for a DIY enclosure. On the very cheap end would be getting a large cardboard box to just cover the laser while it is running. This will keep all the smoke contained, and if you’re feeling fancy, you can even add a cheap exhaust fan with some flexible ducting to get the smoke out the next window. However, there are of course some safety concerns with using highly flammable cardboard around a laser cutter, plus there is no way of observing the progress.
Inexpensive, but functional
This leads me to the next step up, and the option I would actually recommend. We will build a box around the laser, using either MDF or construction foam. To get some visibility, you can add a tinted acrylic window, that blocks the laser light, but still lets you see inside. For dealing with the smoke we’ll use a cheap exhaust fan and some flexible ducting. This will result in a very functional enclosure that is still very easy to build and not too expensive.
Step 1. The Panels:
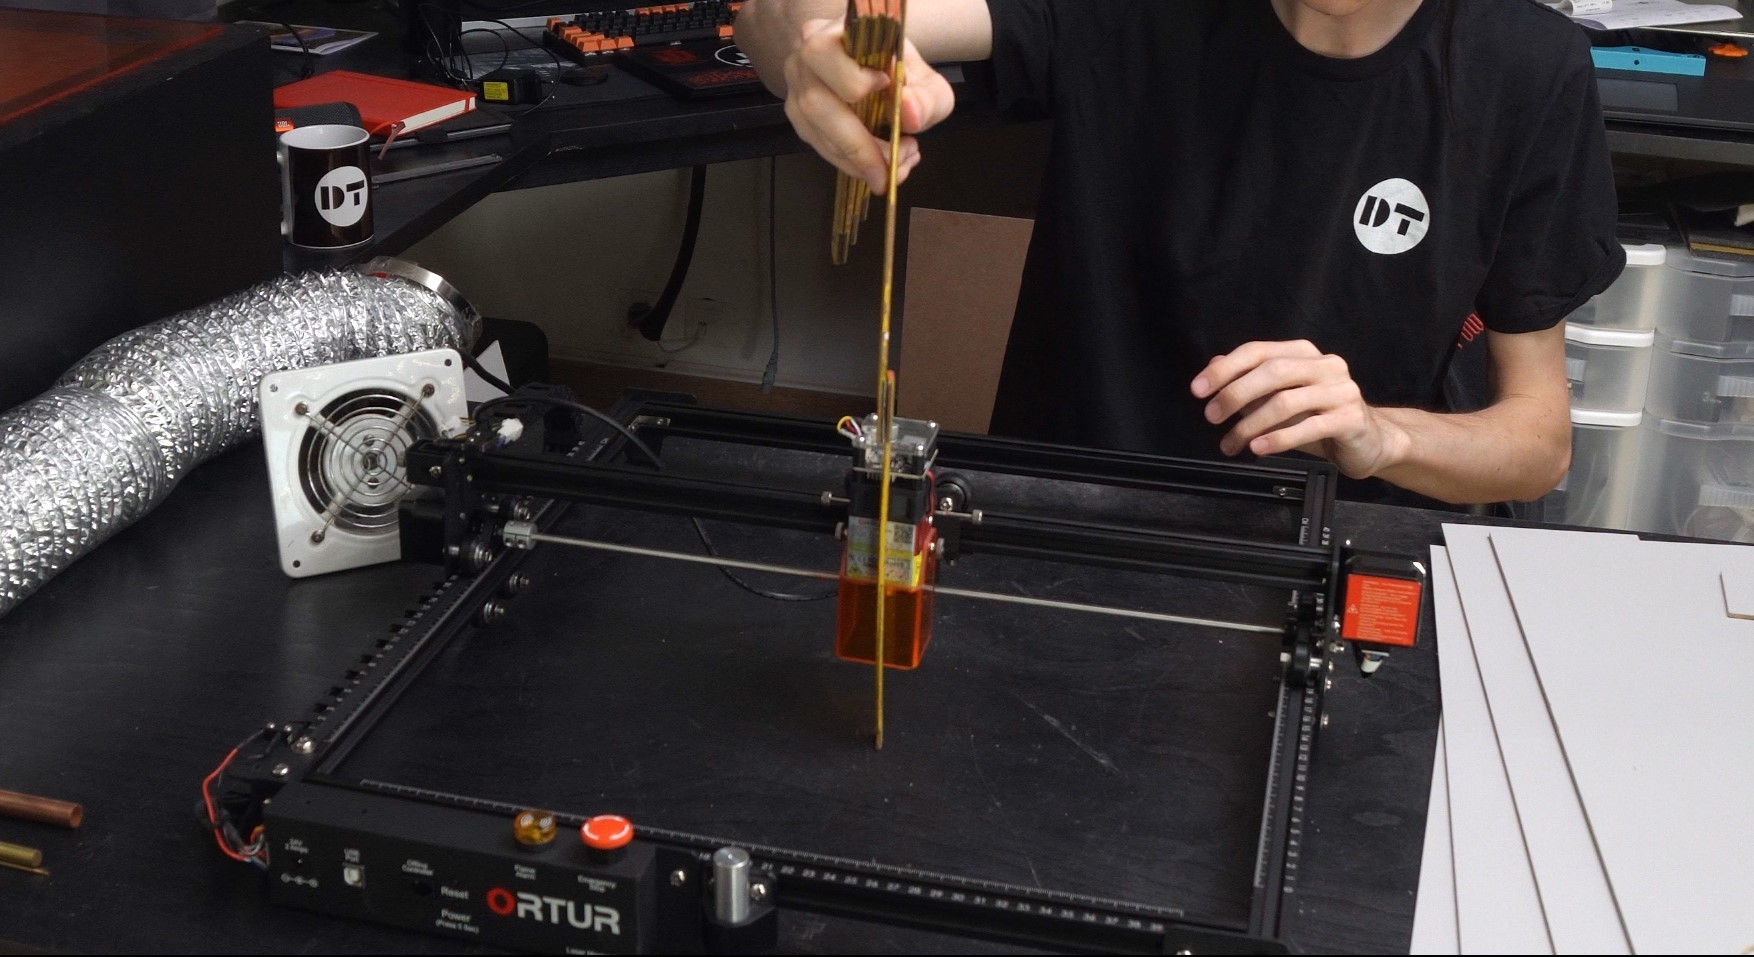
Because every laser engraver has slightly different dimensions, it would do you little good if I just told you the measurements I used for my machine and left it at that. Instead, I will show you how you can find the correct dimensions yourself.
To get the width of our enclosure we want to have a look at where the widest part of our machine is. Also, keep in mind things like cables sticking out that might need some room for it to move smoothly. To that measurement, you will then add a bit of extra margin, maybe like 1/2in or 10mm. If you’re not too worried about the size, feel free to add a bit more, but there is no need to go too crazy.
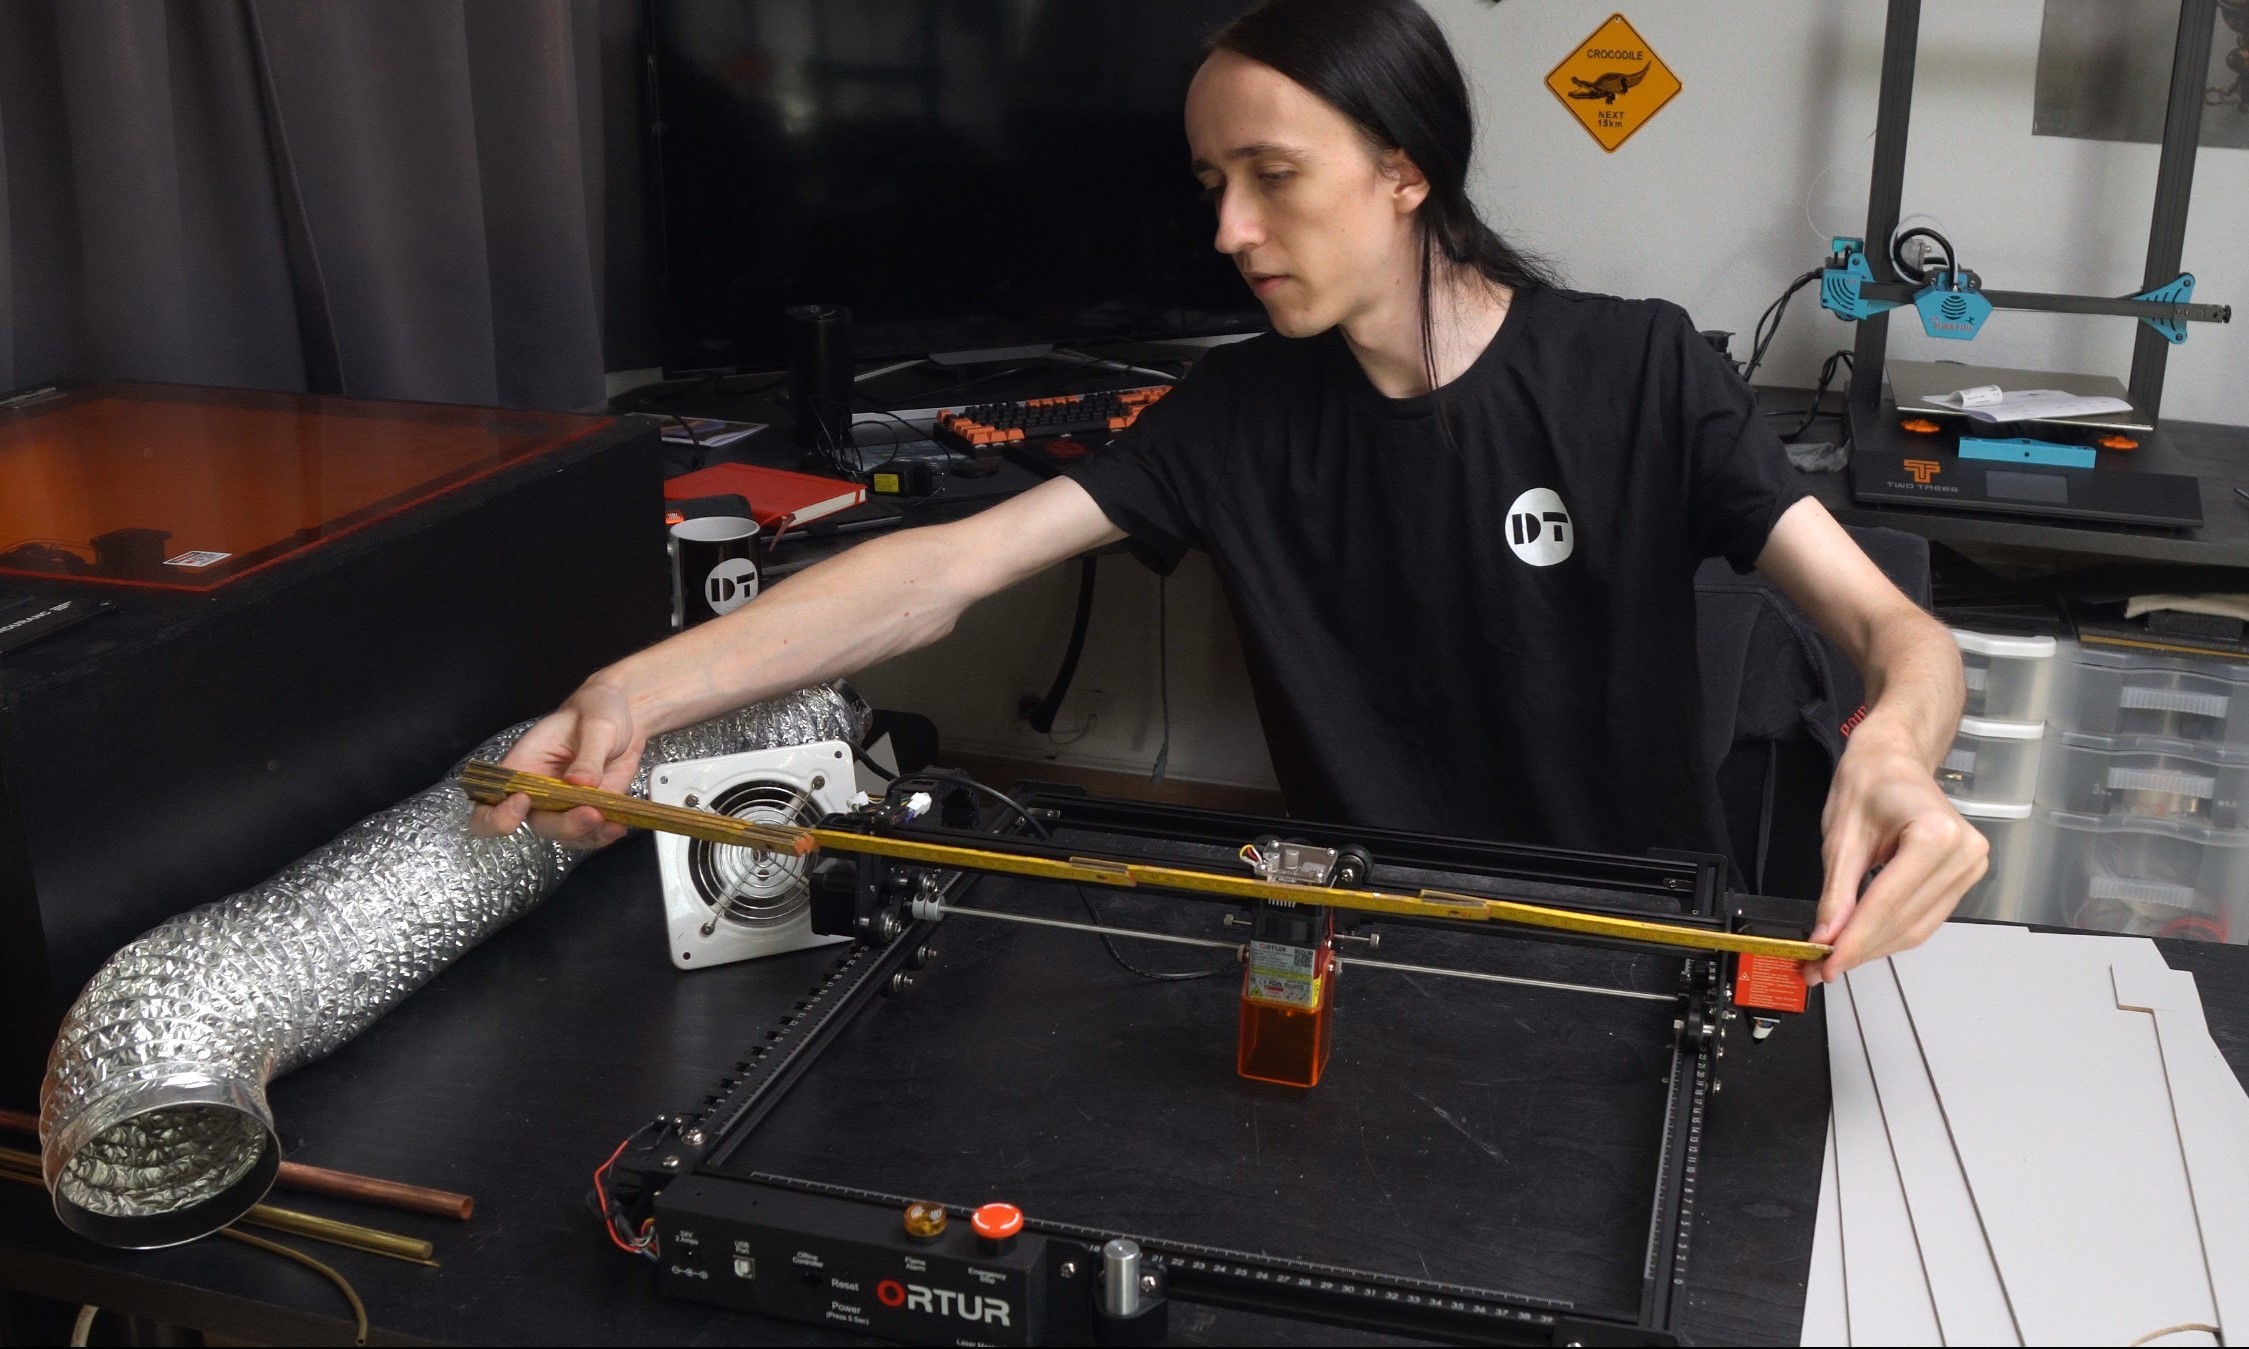
We can then do the same thing for the depth, you just want to make sure that you move the laser all the way to the back and front to ensure it doesn’t stick out further at one of the ends. If your laser has a front-mounted control panel, similar to the one on the Ortur Laser Maste 2 pro here, you can also have that stick out of the enclosure for easier access. In that case, just measure from where that ends. You will also want to add twice the thickness of the material you’re using to either the side or front and back pieces. This ensures that you still have the right dimensions when you have butted the sides up against each other. For the height of the side pieces, you want to move the laser head to the highest position it goes and then measure from your table, once again paying attention to any cables sticking out.
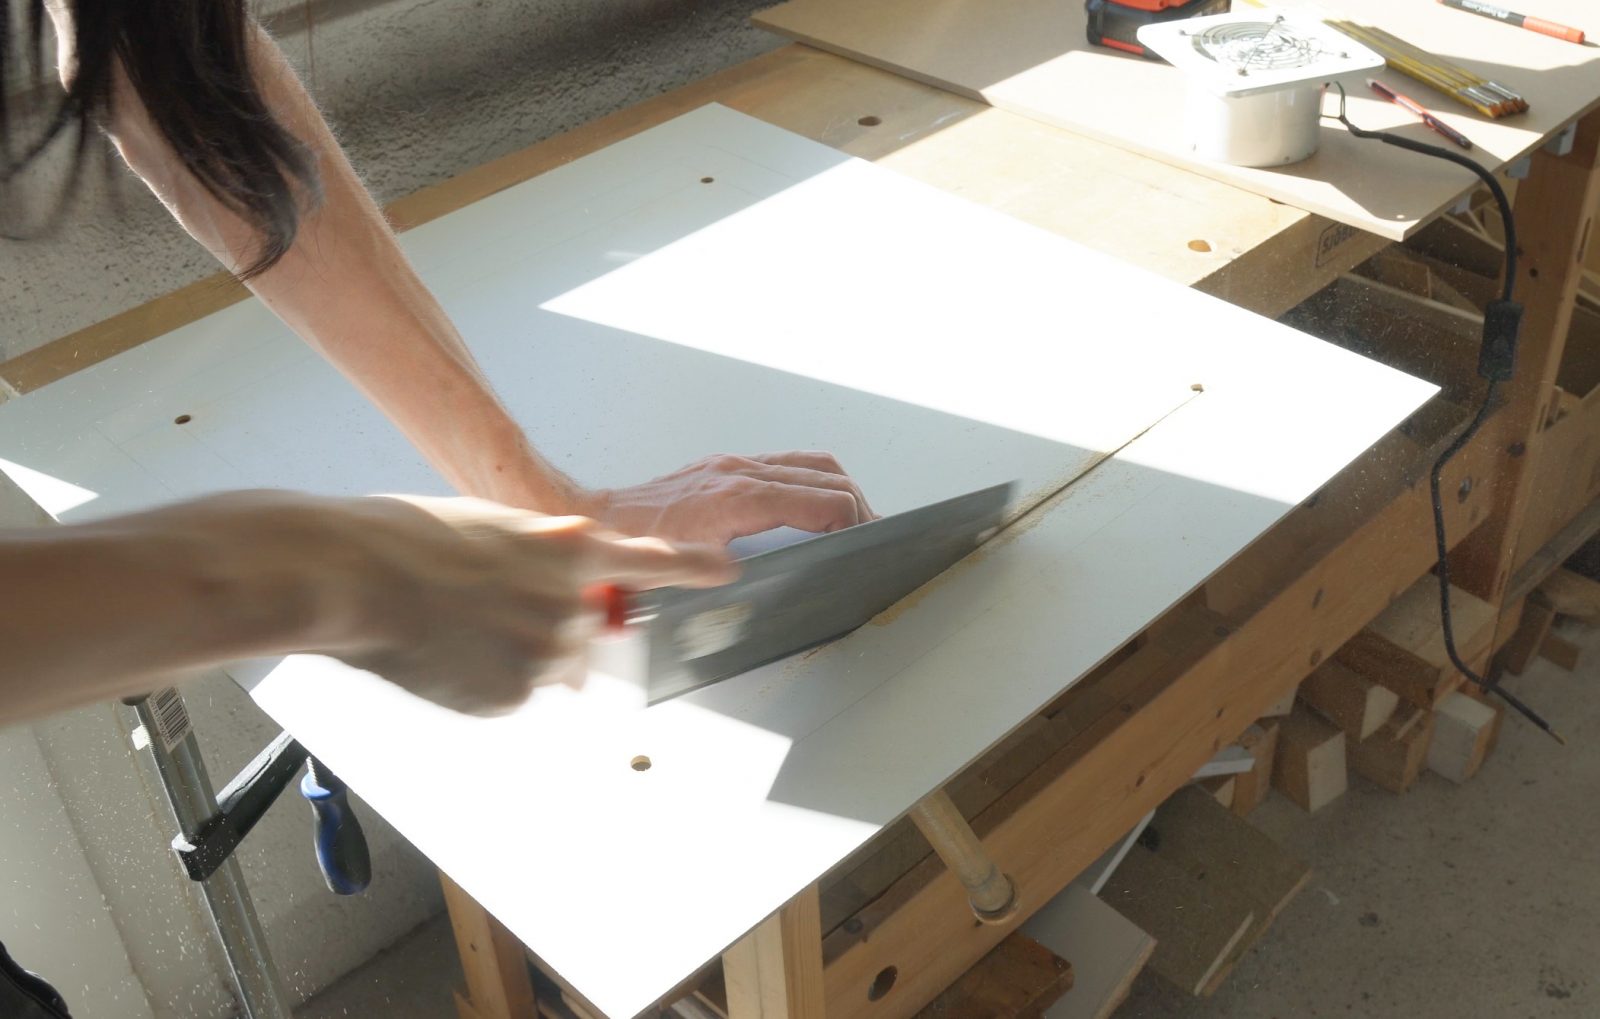
For the top, and optionally also the bottom, you can use the same dimensions you just calculated, making sure to add twice the material thickness to the one you haven’t already done so. With that, we have all the measurements we need to get our panels. If you are going with MDF, you can get the pieces cut directly at most hardware stores, making your job much easier afterward. If you are using foam board, like the one used to make signs, you can just use a utility knife to carefully cut out the pieces needed.
Here is a small overview of how to determine the dimensions for the panels:
Base/Top Width:
- Measured Width + 2x Gap + 2x Wood Thicknes
- E.g.: 620mm + 2x10mm + 2x3mm = 646mm
- E.g.: 24.5in + 2×1/2in + 2×1/8in = 25 3/4 in
Base/Top Depth:
- Measured Depth + Gap in Back + Wood Thicknes
- E.g.: 610mm + 10mm + 3mm = 623mm
- E.g.: 24in + 1/2in + 1/8in = 24 5/8 in
All Sides Height (except front if you have the electronics stick out):
- Measured Height + Gap
- E.g.: 180mm + 10mm = 190mm
- E.g.: 7in + 1/2in = 7 1/2 in
Left/Right Width:
- Measured Depth + Gap + Wood Thicknes (= Top Depth)
- E.g.: 610mm + 10mm + 3mm = 623mm
- E.g.: 24in + 1/2in + 1/8in = 24 5/8 in
Front/Back Width:
- Measured Width + 2x Gap (Different from Top Width!)
- E.g.: 620mm + 2x10mm = 640mm
- E.g.: 24.5in + 2×1/2in = 25 1/2 in
Step 2 – Other Hardware:
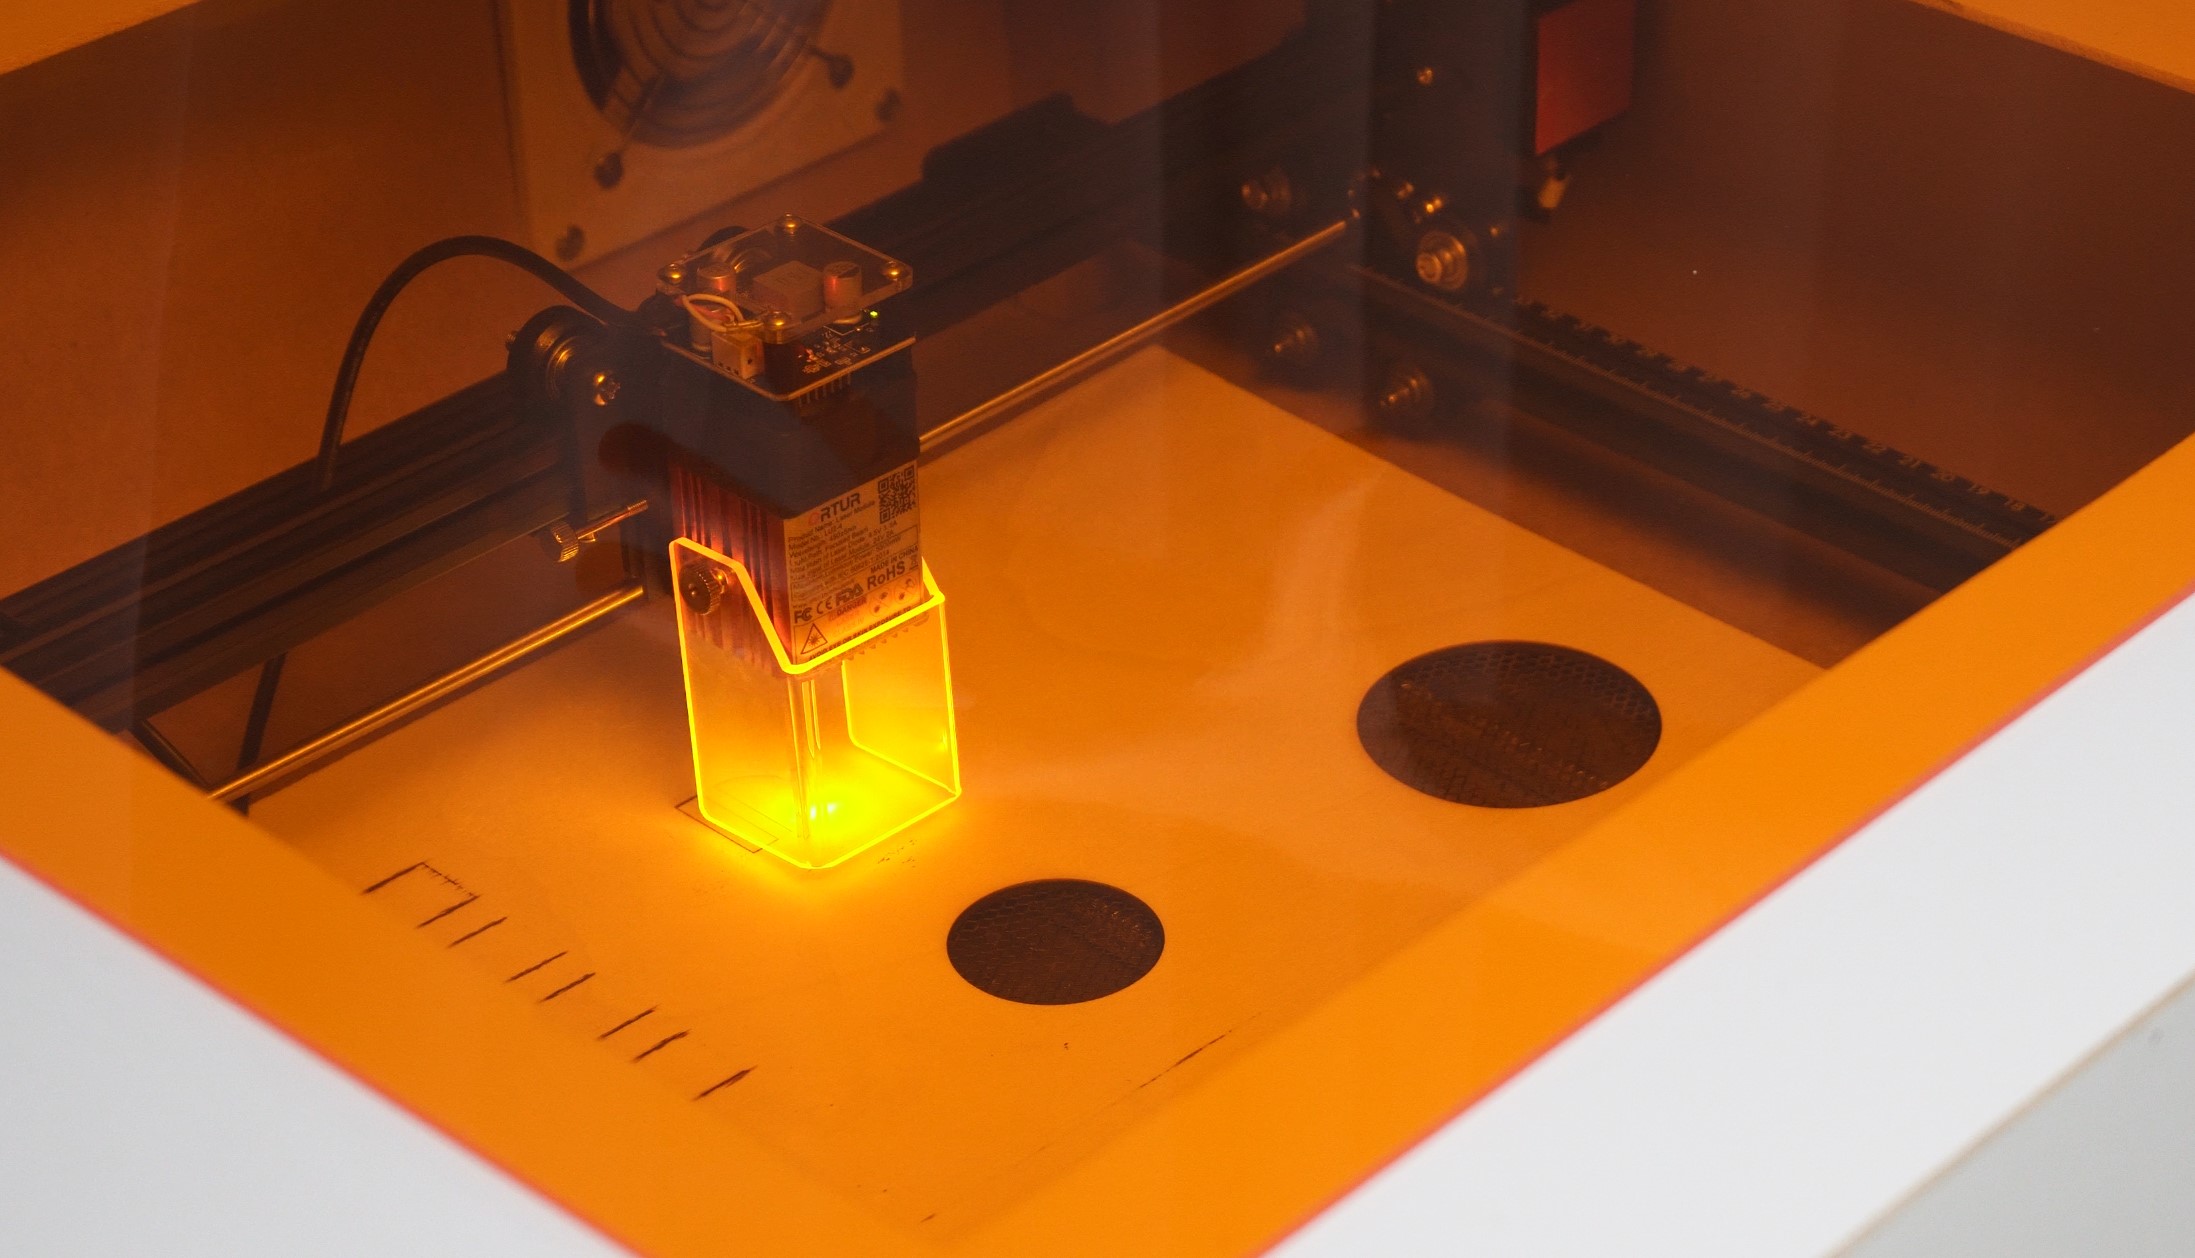
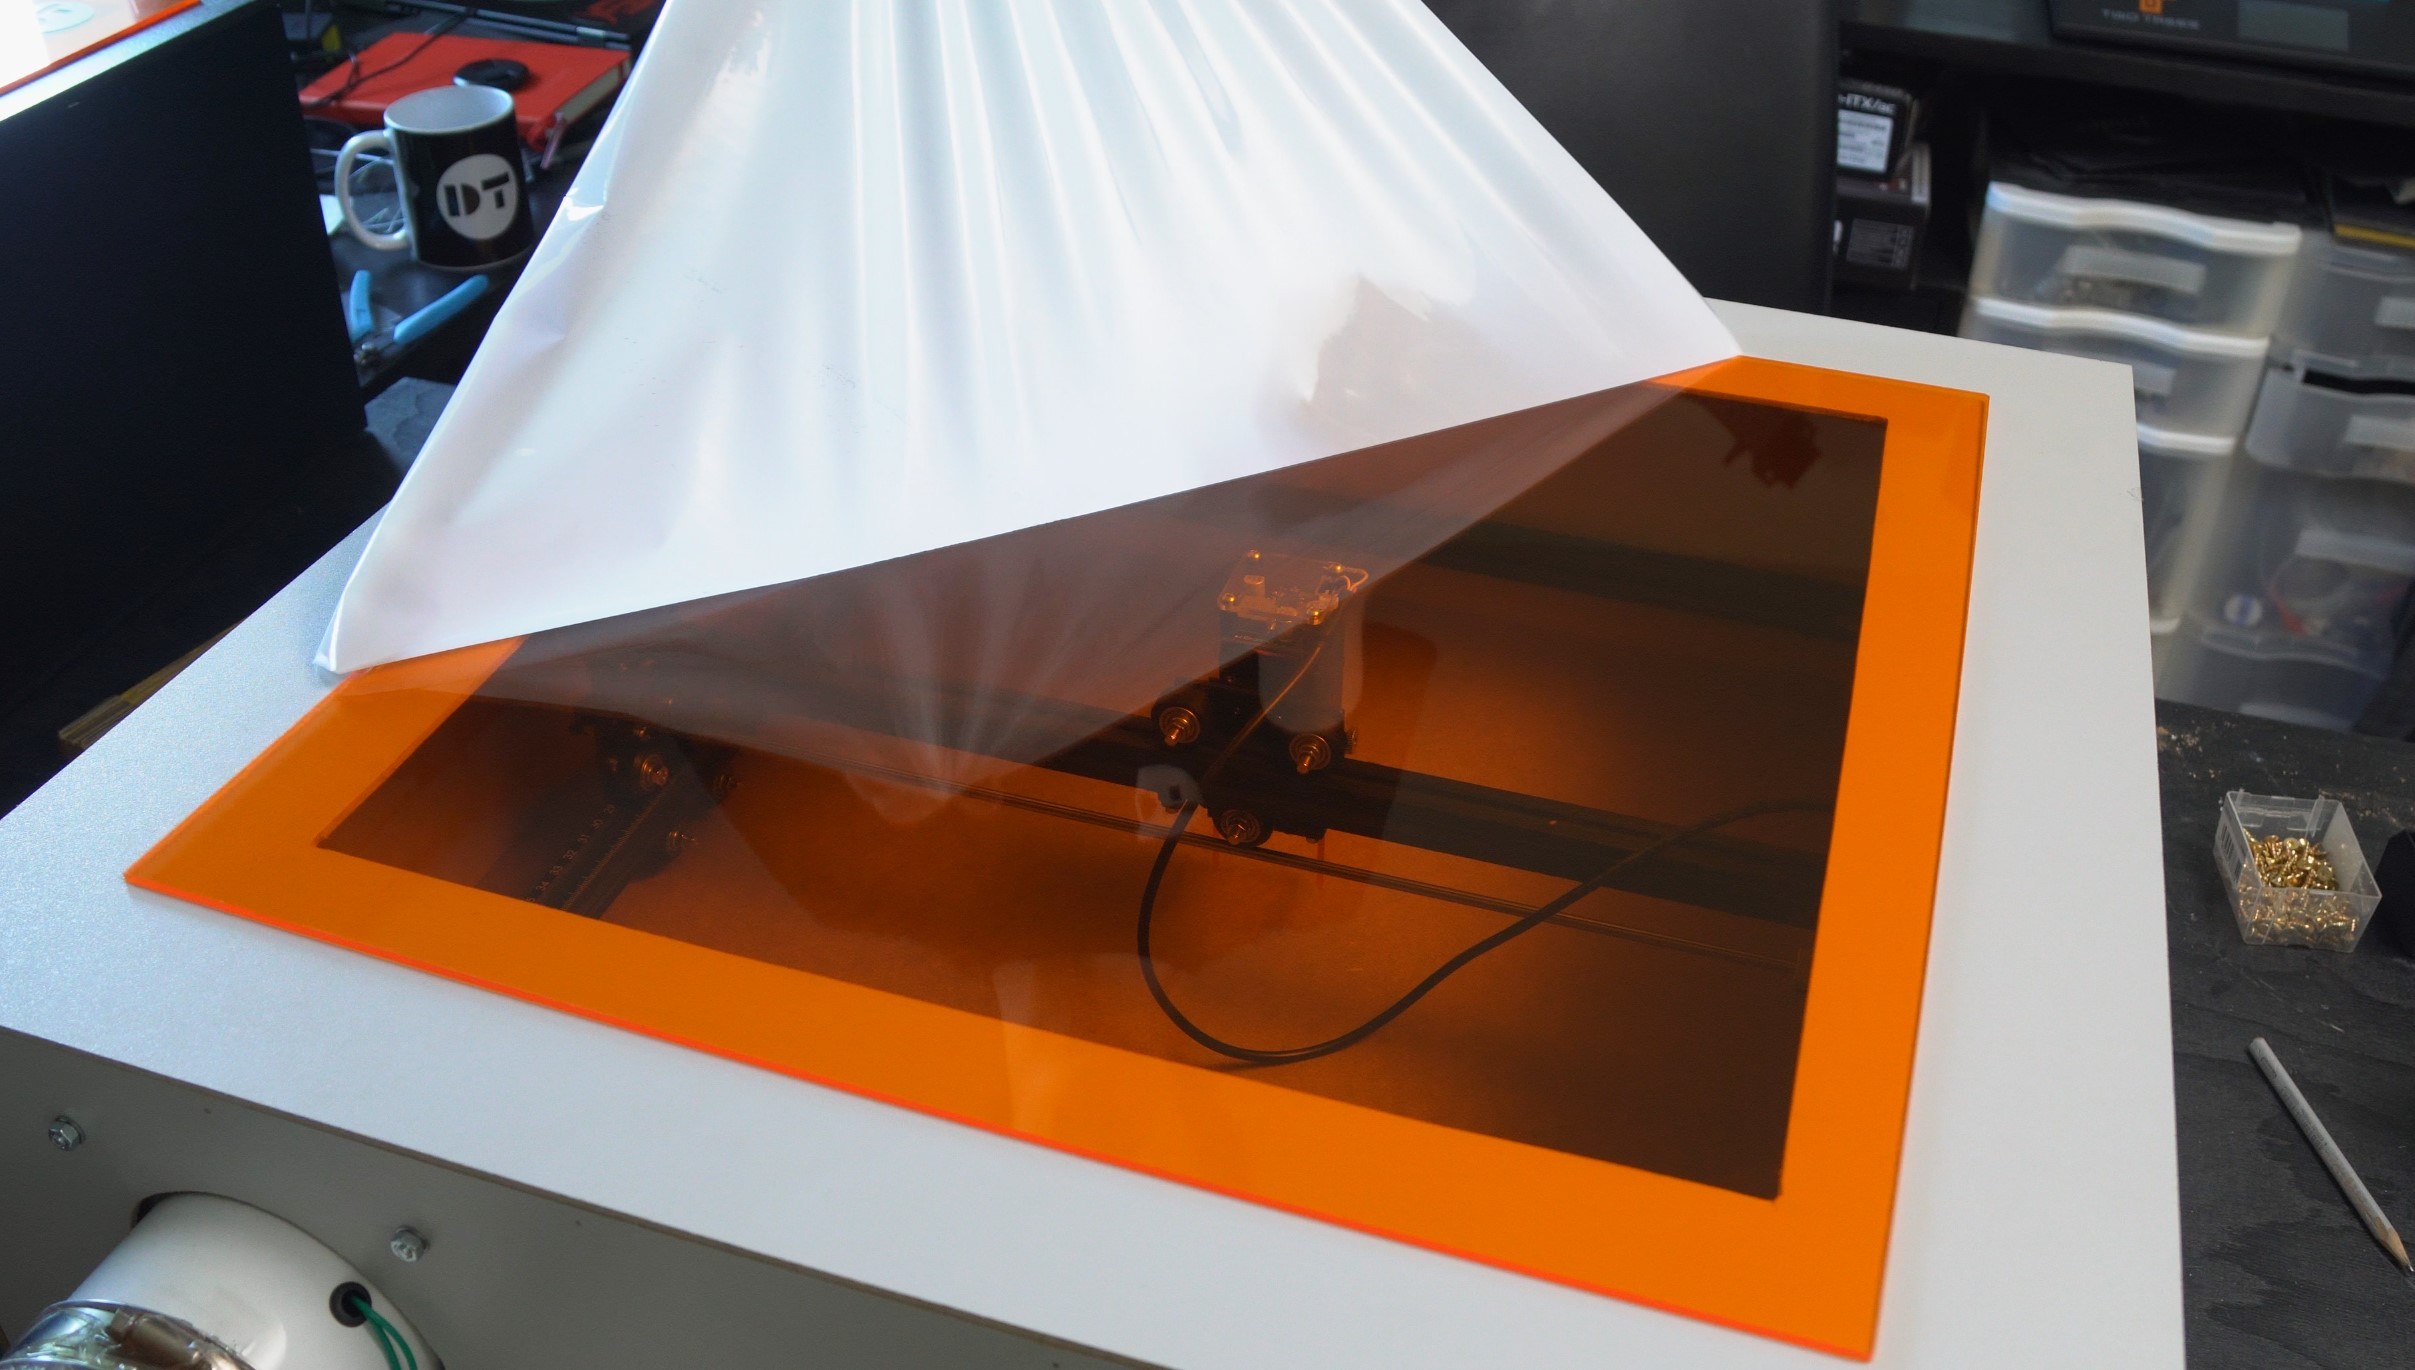
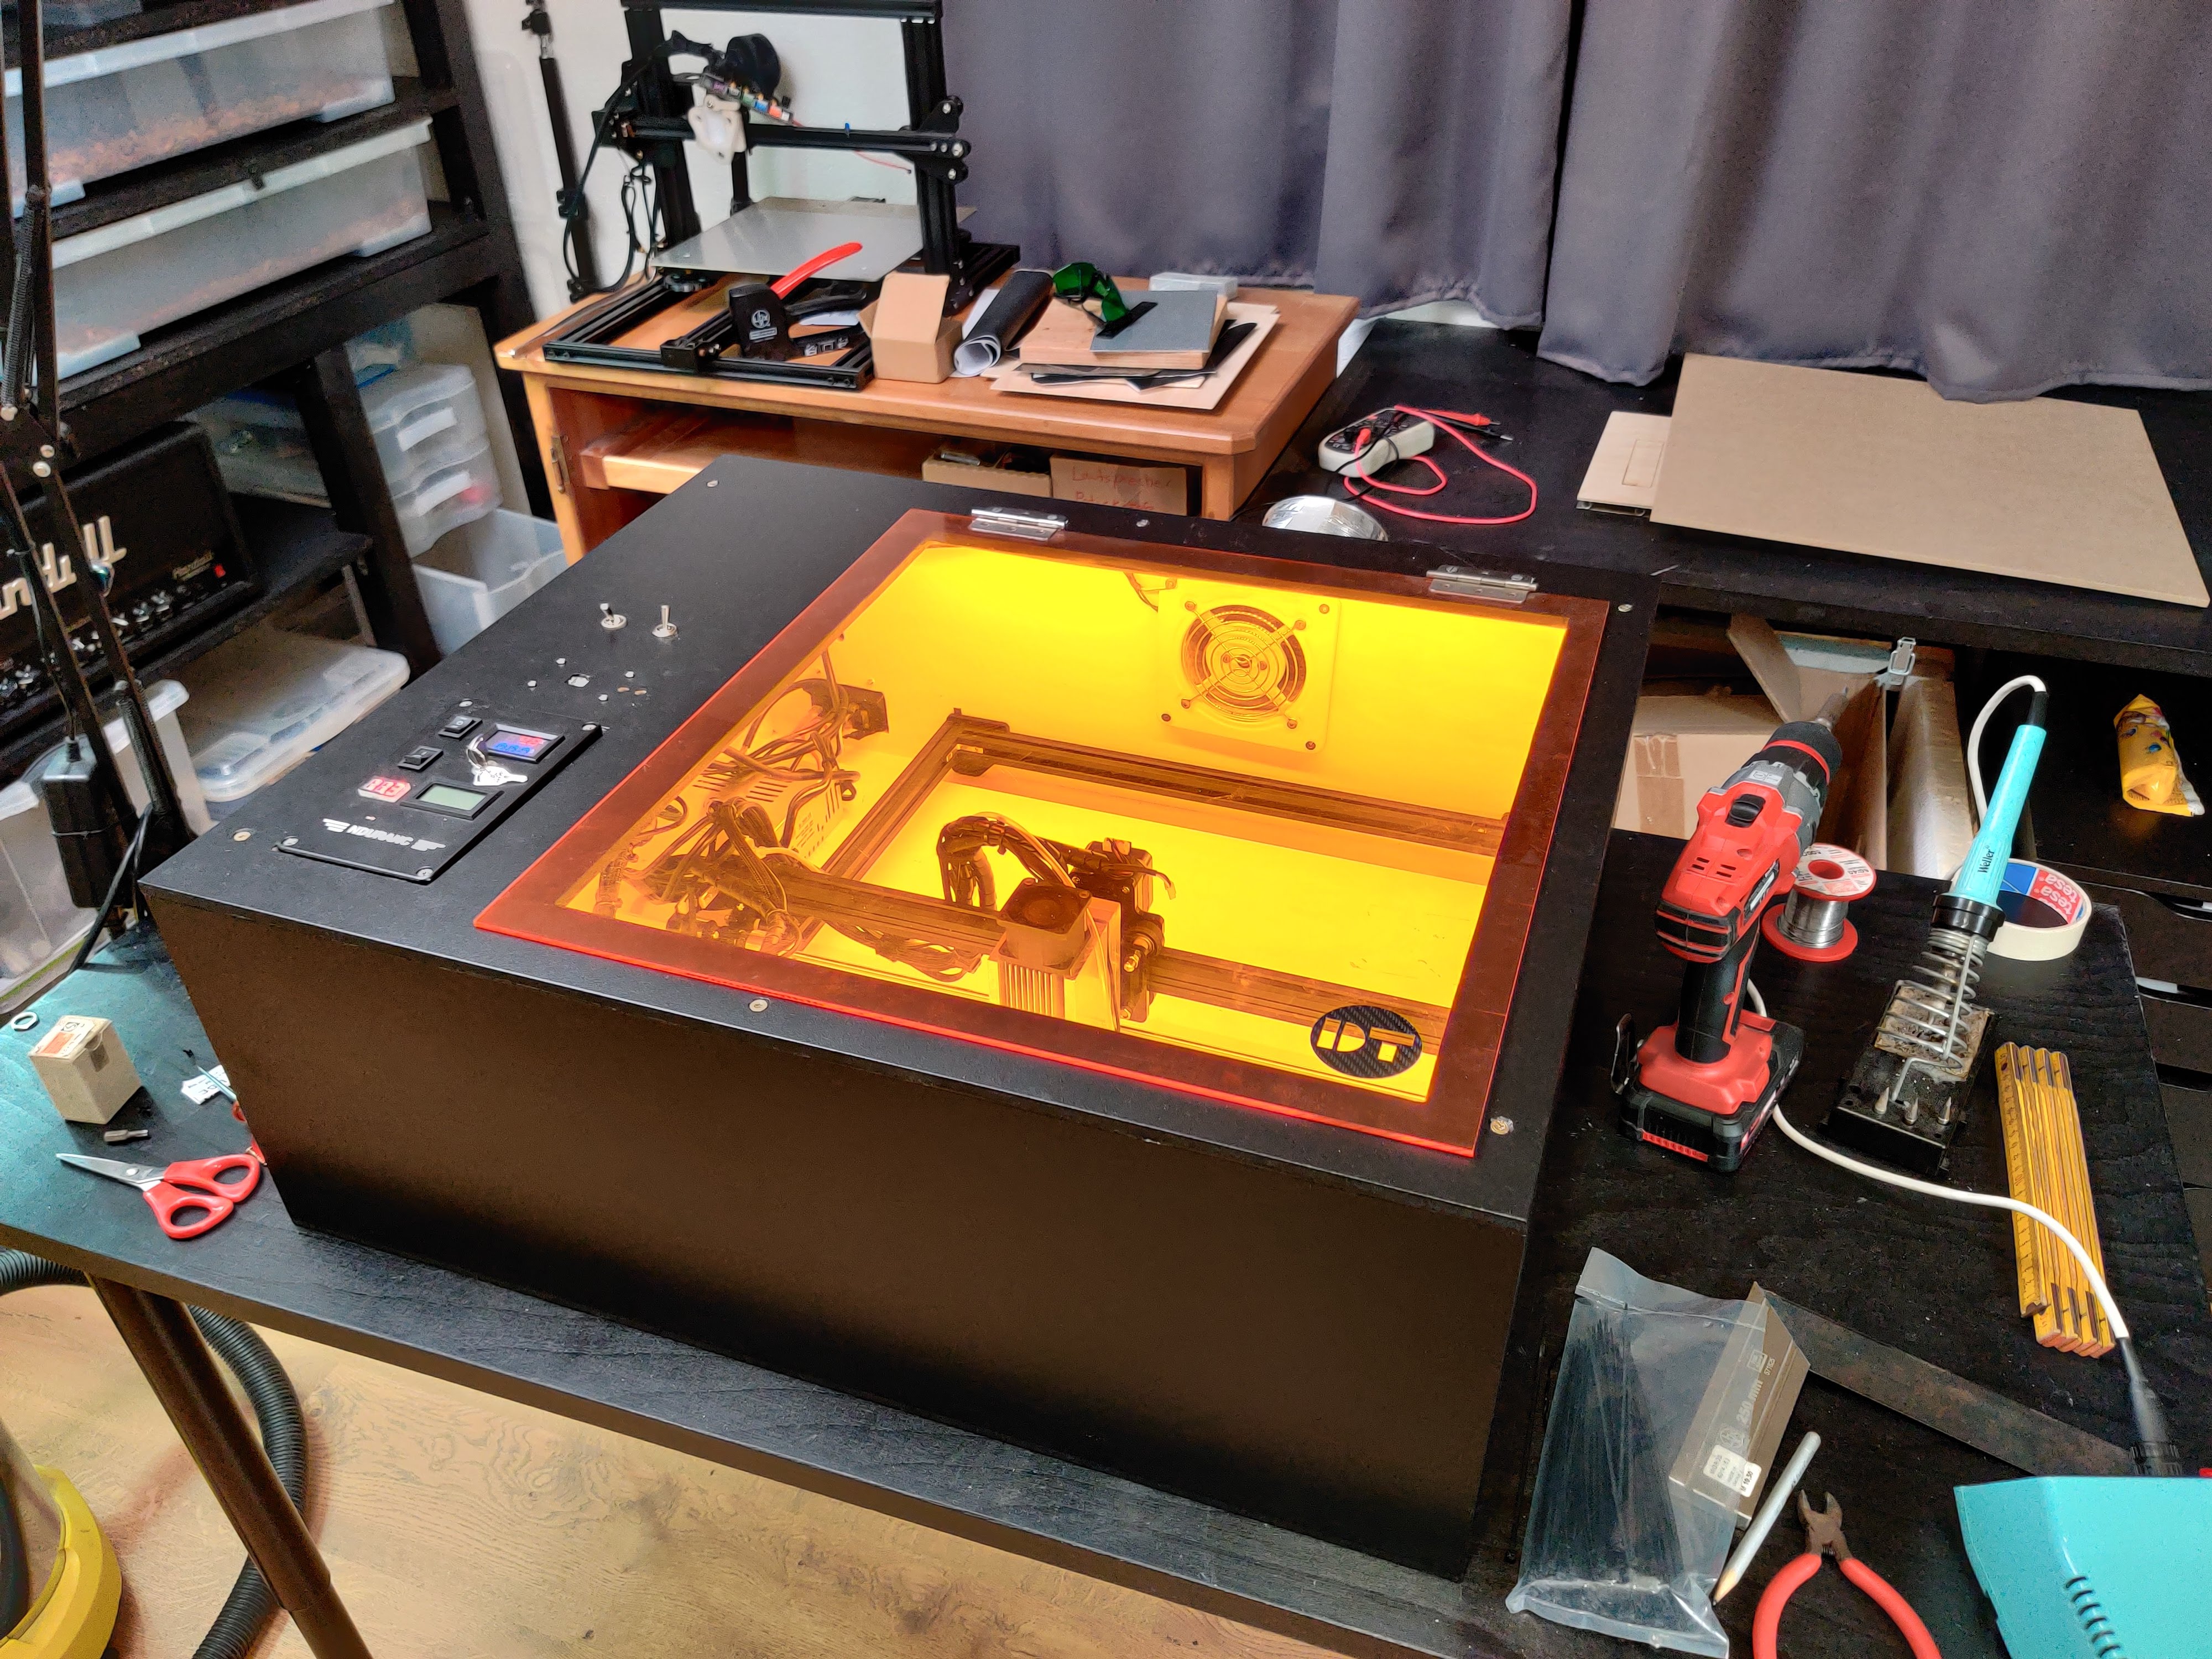
If you want a window on your enclosure you can get some tinted acrylic. For diode lasers (which most inexpensive laser engravers are), orange or red-tinted sheets work great, with the orange making it easier to see inside. The laser itself is blue, which is at the opposite end of the visible light spectrum, so the vast majority of the laser light will be absorbed. This is the same principle as laser goggles are using. (Disclaimer, this is not certified safety glass, so use at your own risk) You might get lucky and find tinted acrylic at one of your local hardware stores, but don’t worry if they don’t carry it. Amazon is also a great source if they ship to your area. If all else fails, you can look for a plastic or window store in your area, which will surely offer tinted acrylic or can at least order it but will probably also charge quite a bit more.
Some other things you will need are hinges for the lid, the exhaust fan, and some flexible ducting. The hinges should be available at your hardware store, and the exhaust fan and ducting can be bought from Amazon or Aliexpress if you don’t find anything local. Something around 4in (10cm) should work well. If you want to get fancy, you can also get some L-brackets to reinforce the corners and pick up some lights to put inside, but that is completely optional.
Step 3 – Building a DIY enclosure for Ortur LM2:
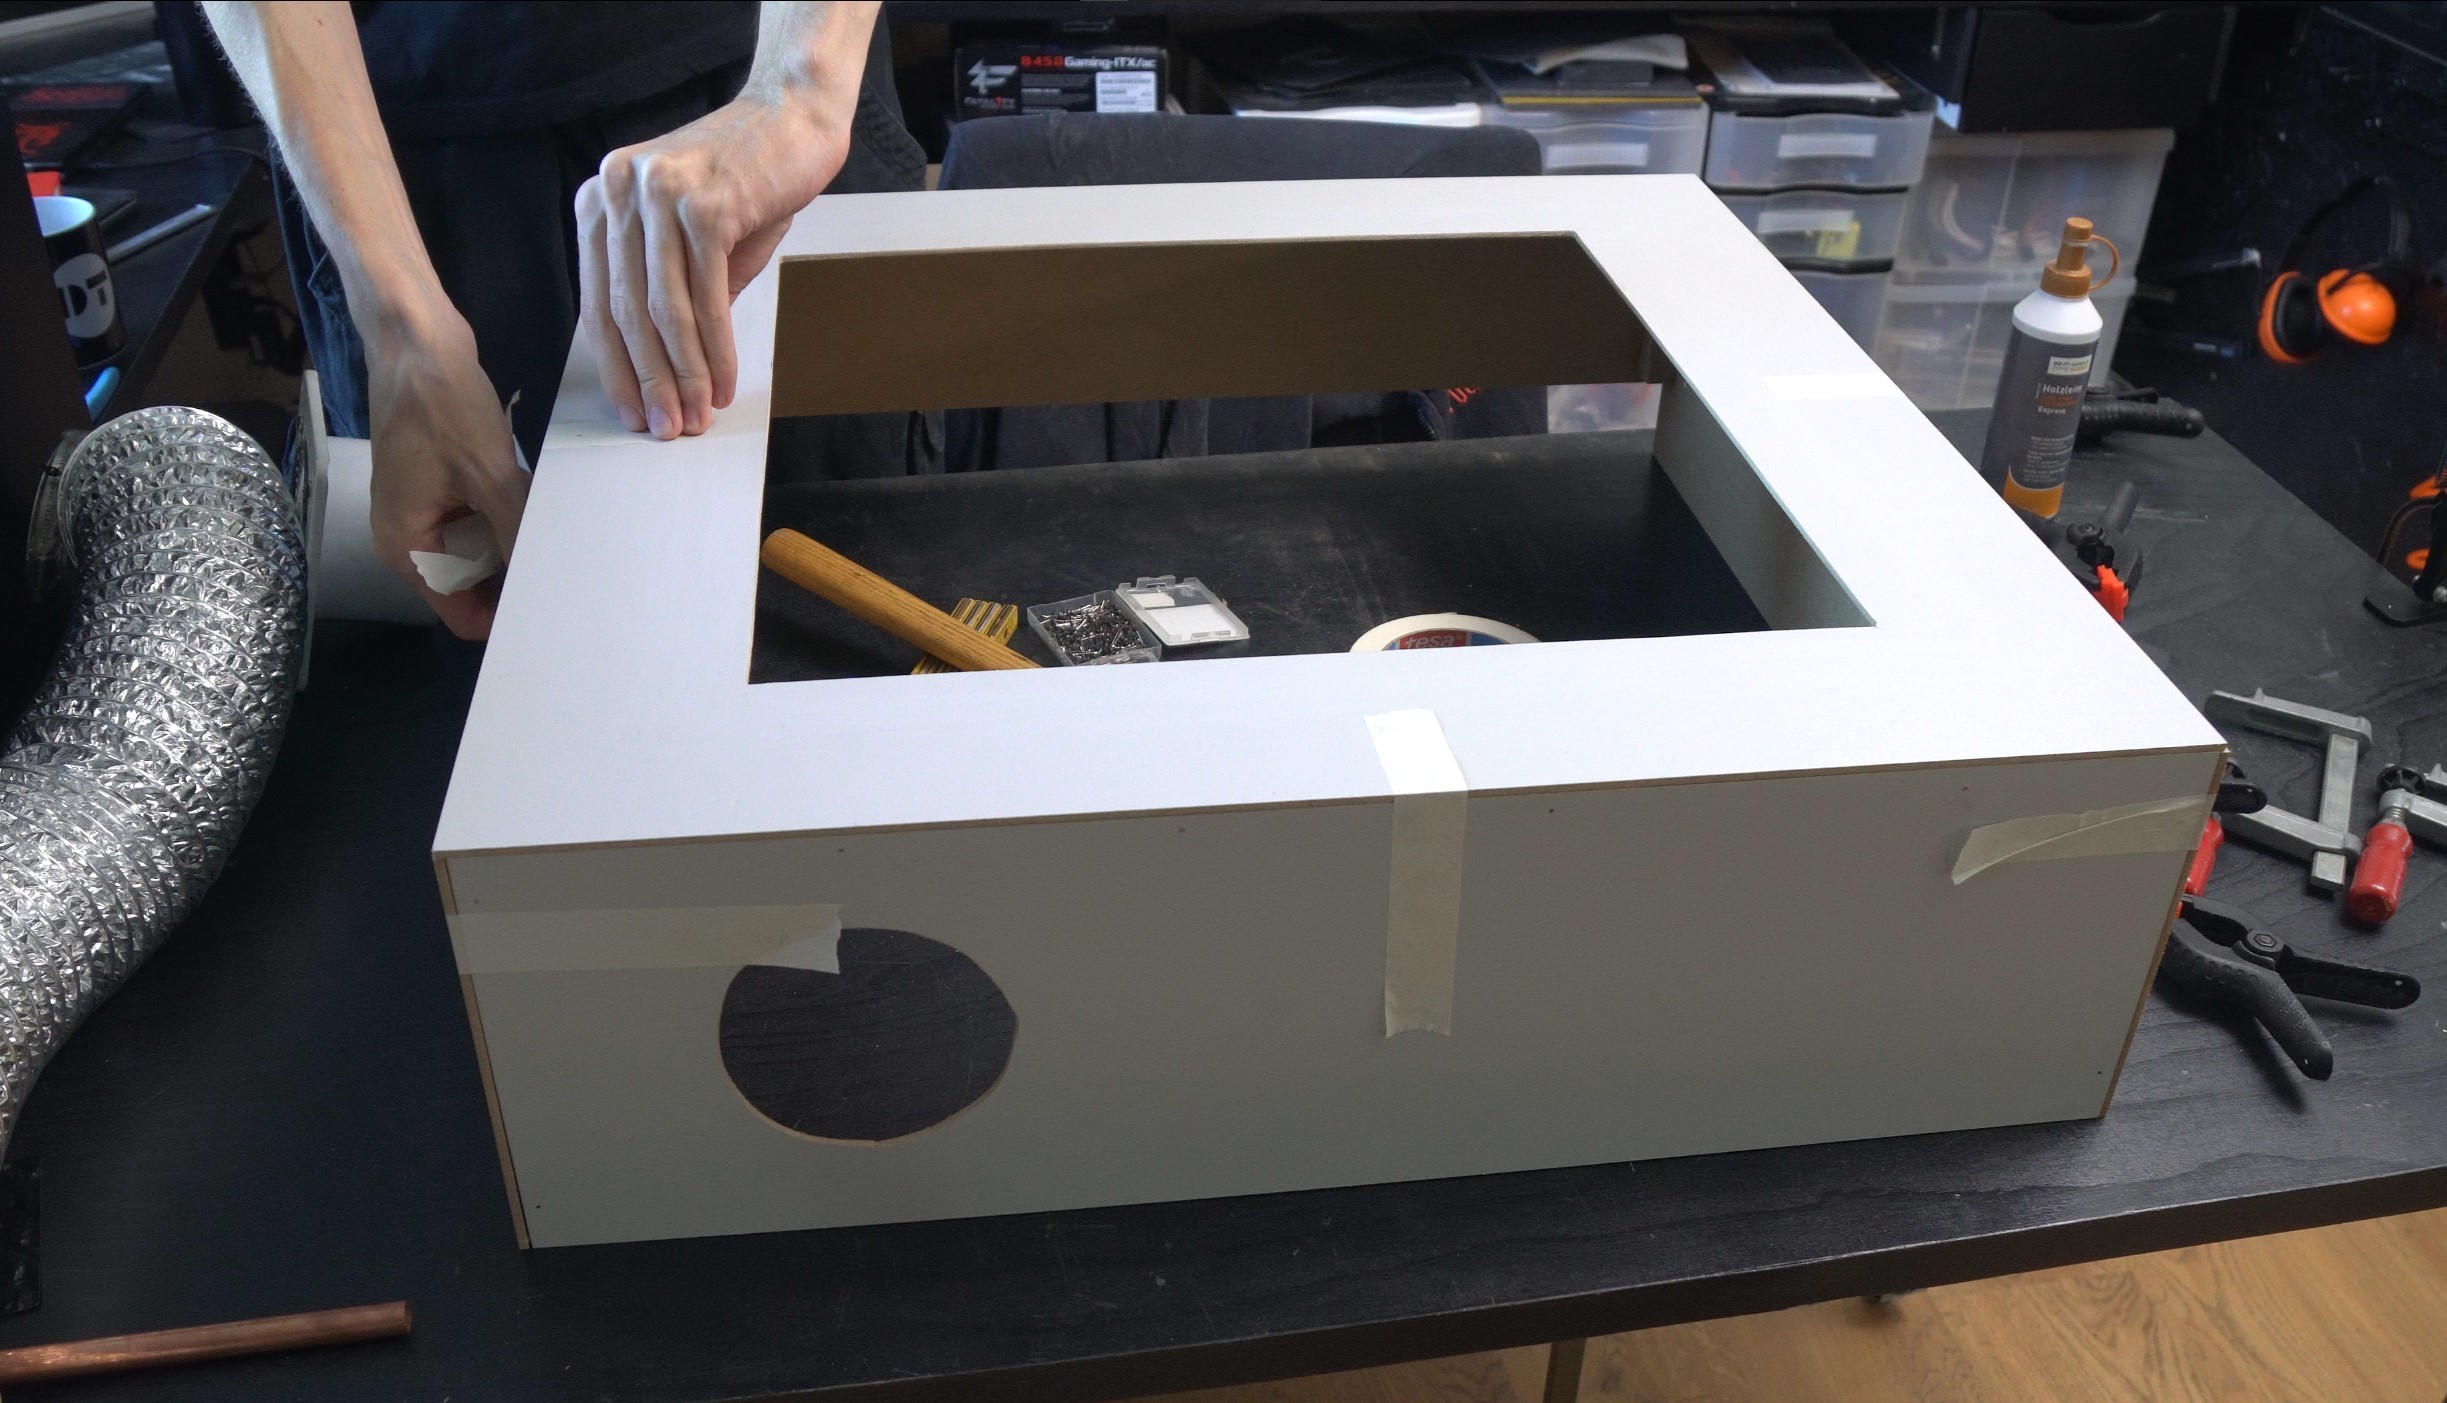
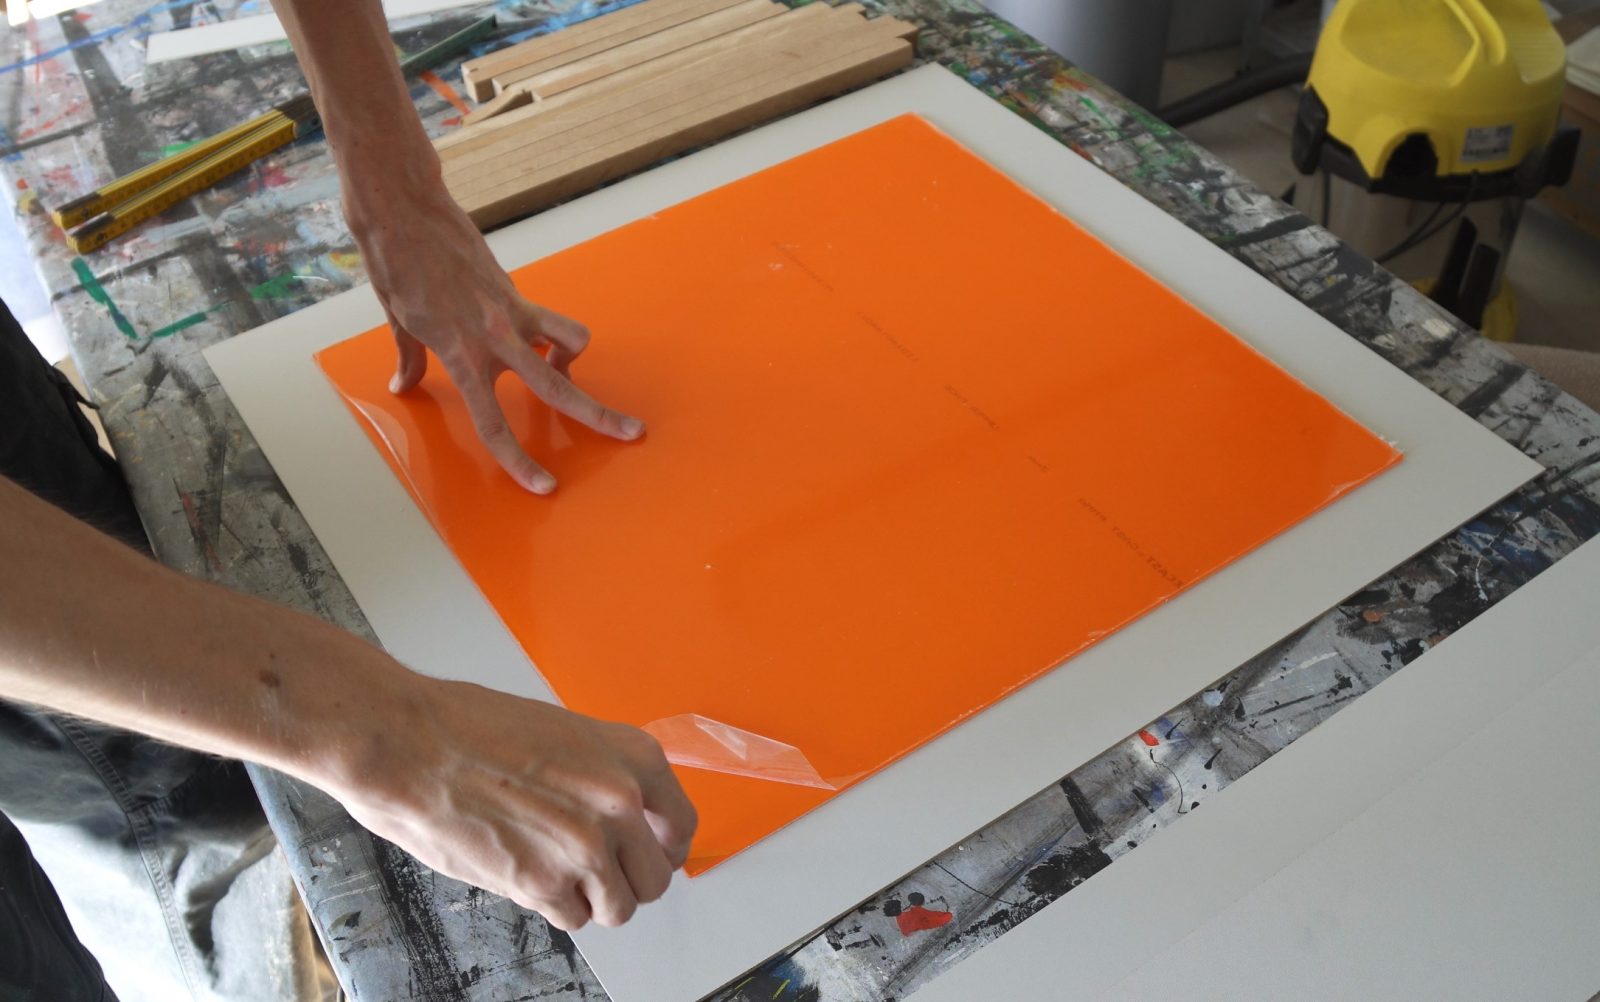
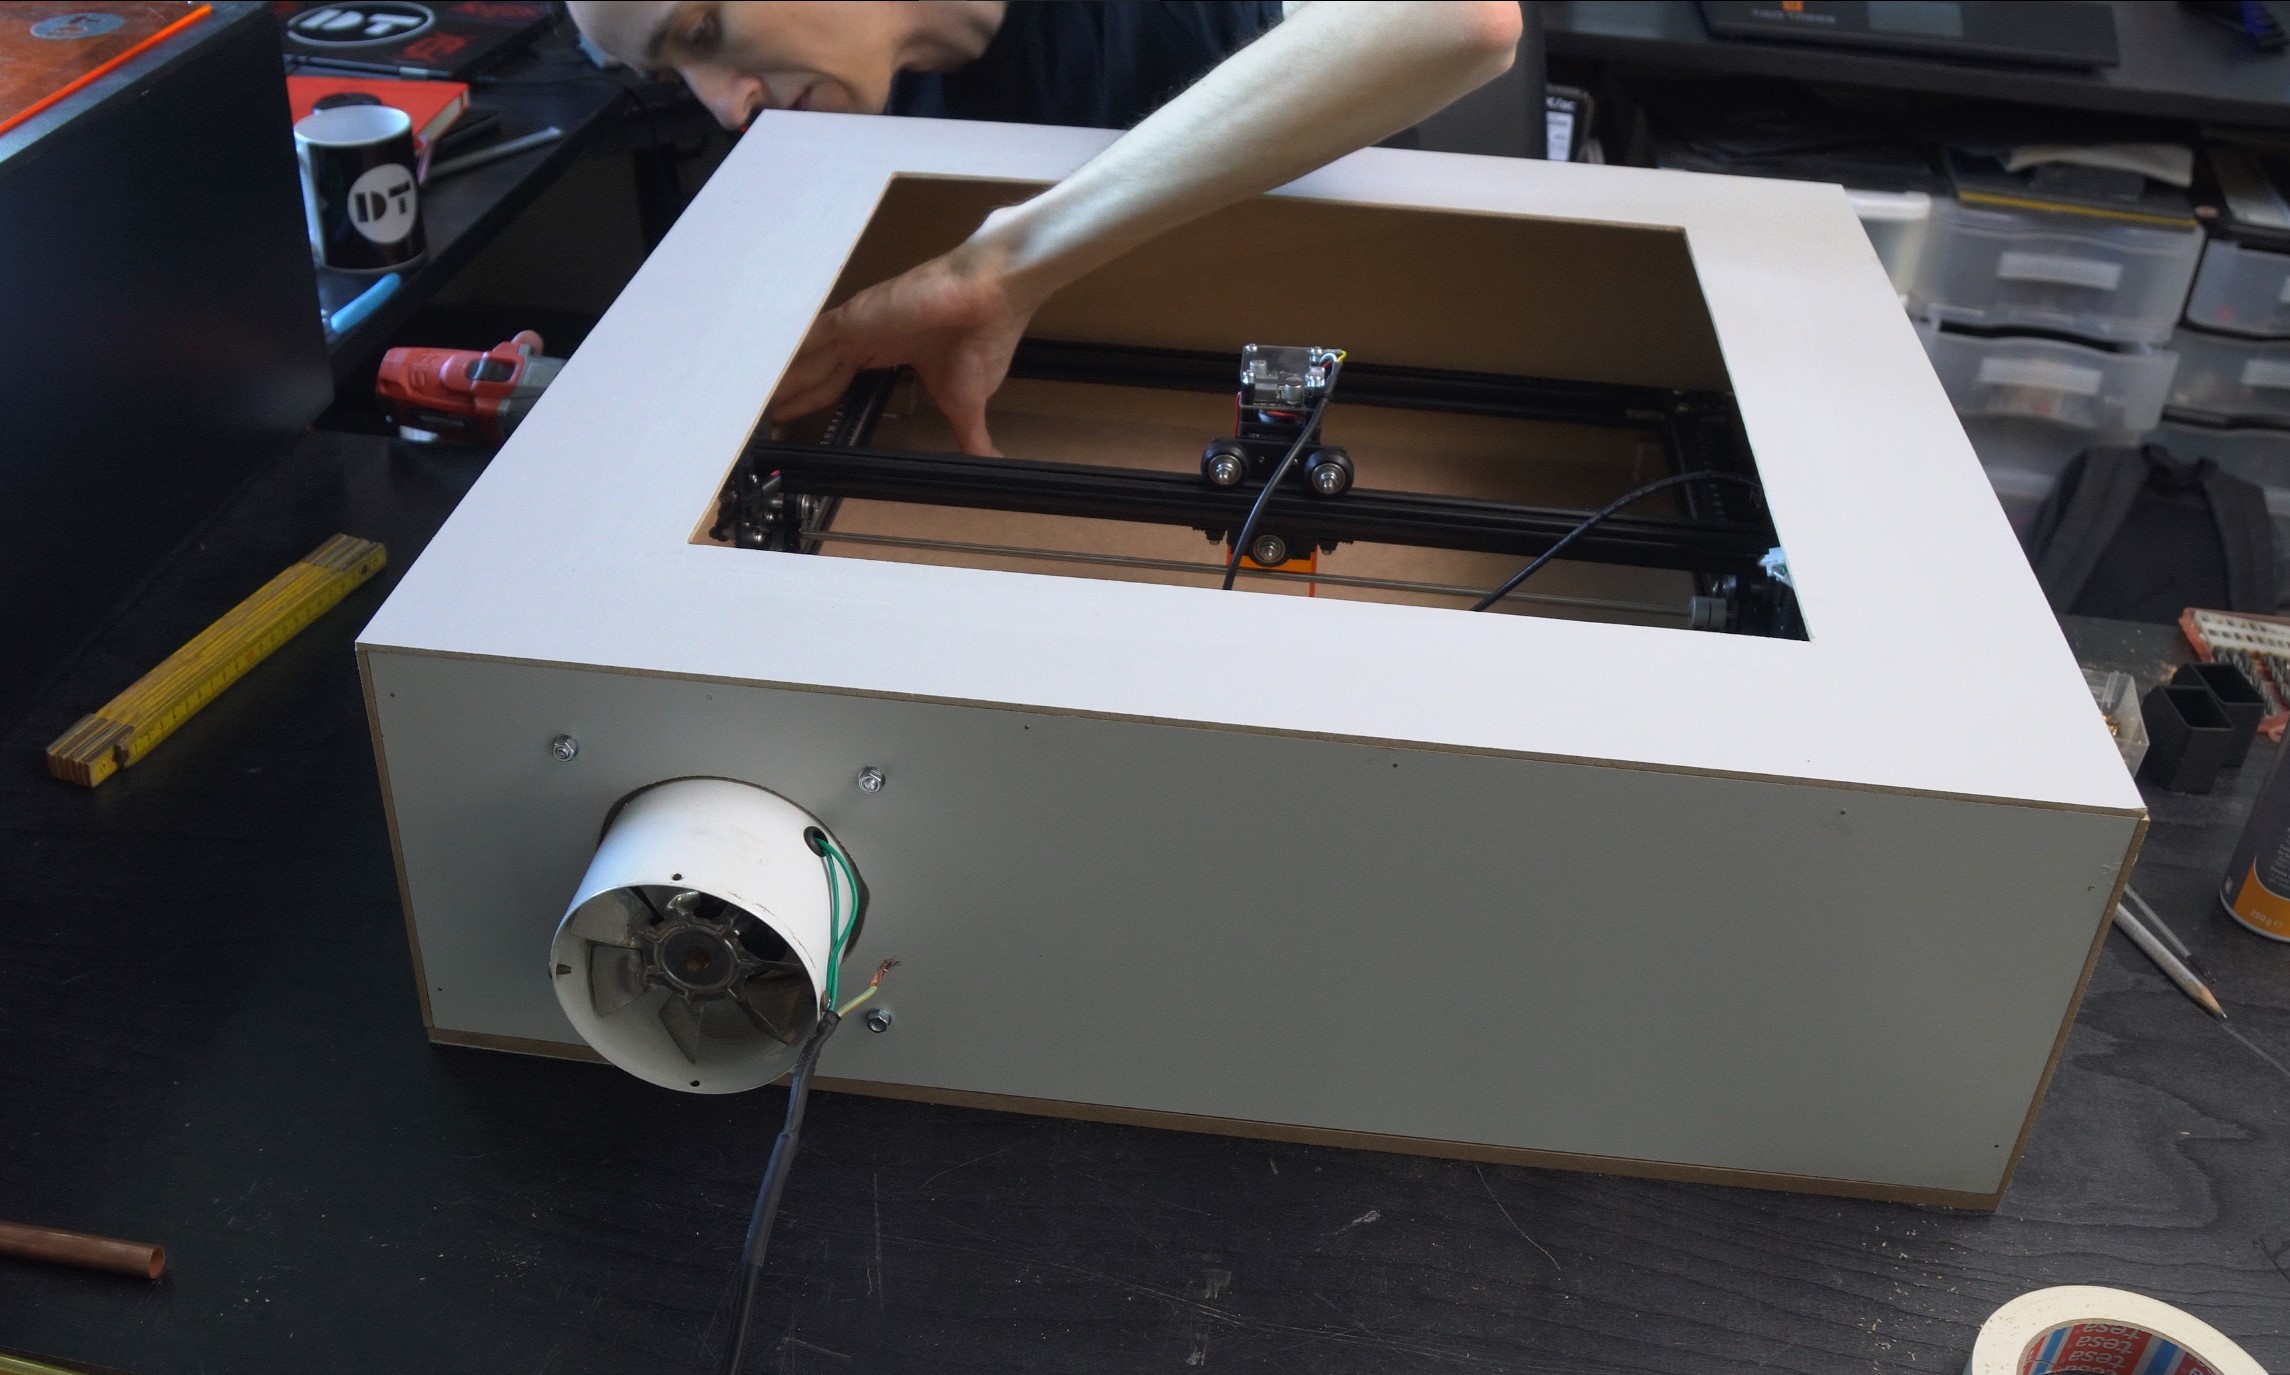
The first step is to cut the hole in the top for the window. The easiest way to do this is to place your acrylic piece on top, trace it with a pencil, and then use a ruler to make another line offset inwards. It doesn’t matter exactly by how much, as long as it is enough for the window to sit on. You can then use a utility knife or small hand saw to cut it out. While you’re at it, you can also cut the hole for the exhaust fan in the back piece. It doesn’t matter too much where you place it, so if one of the sides will be closer to your window, feel free to place it there, otherwise, the middle is probably best. If you want your front interface to stick out of the enclosure you can also cut that out at this point.
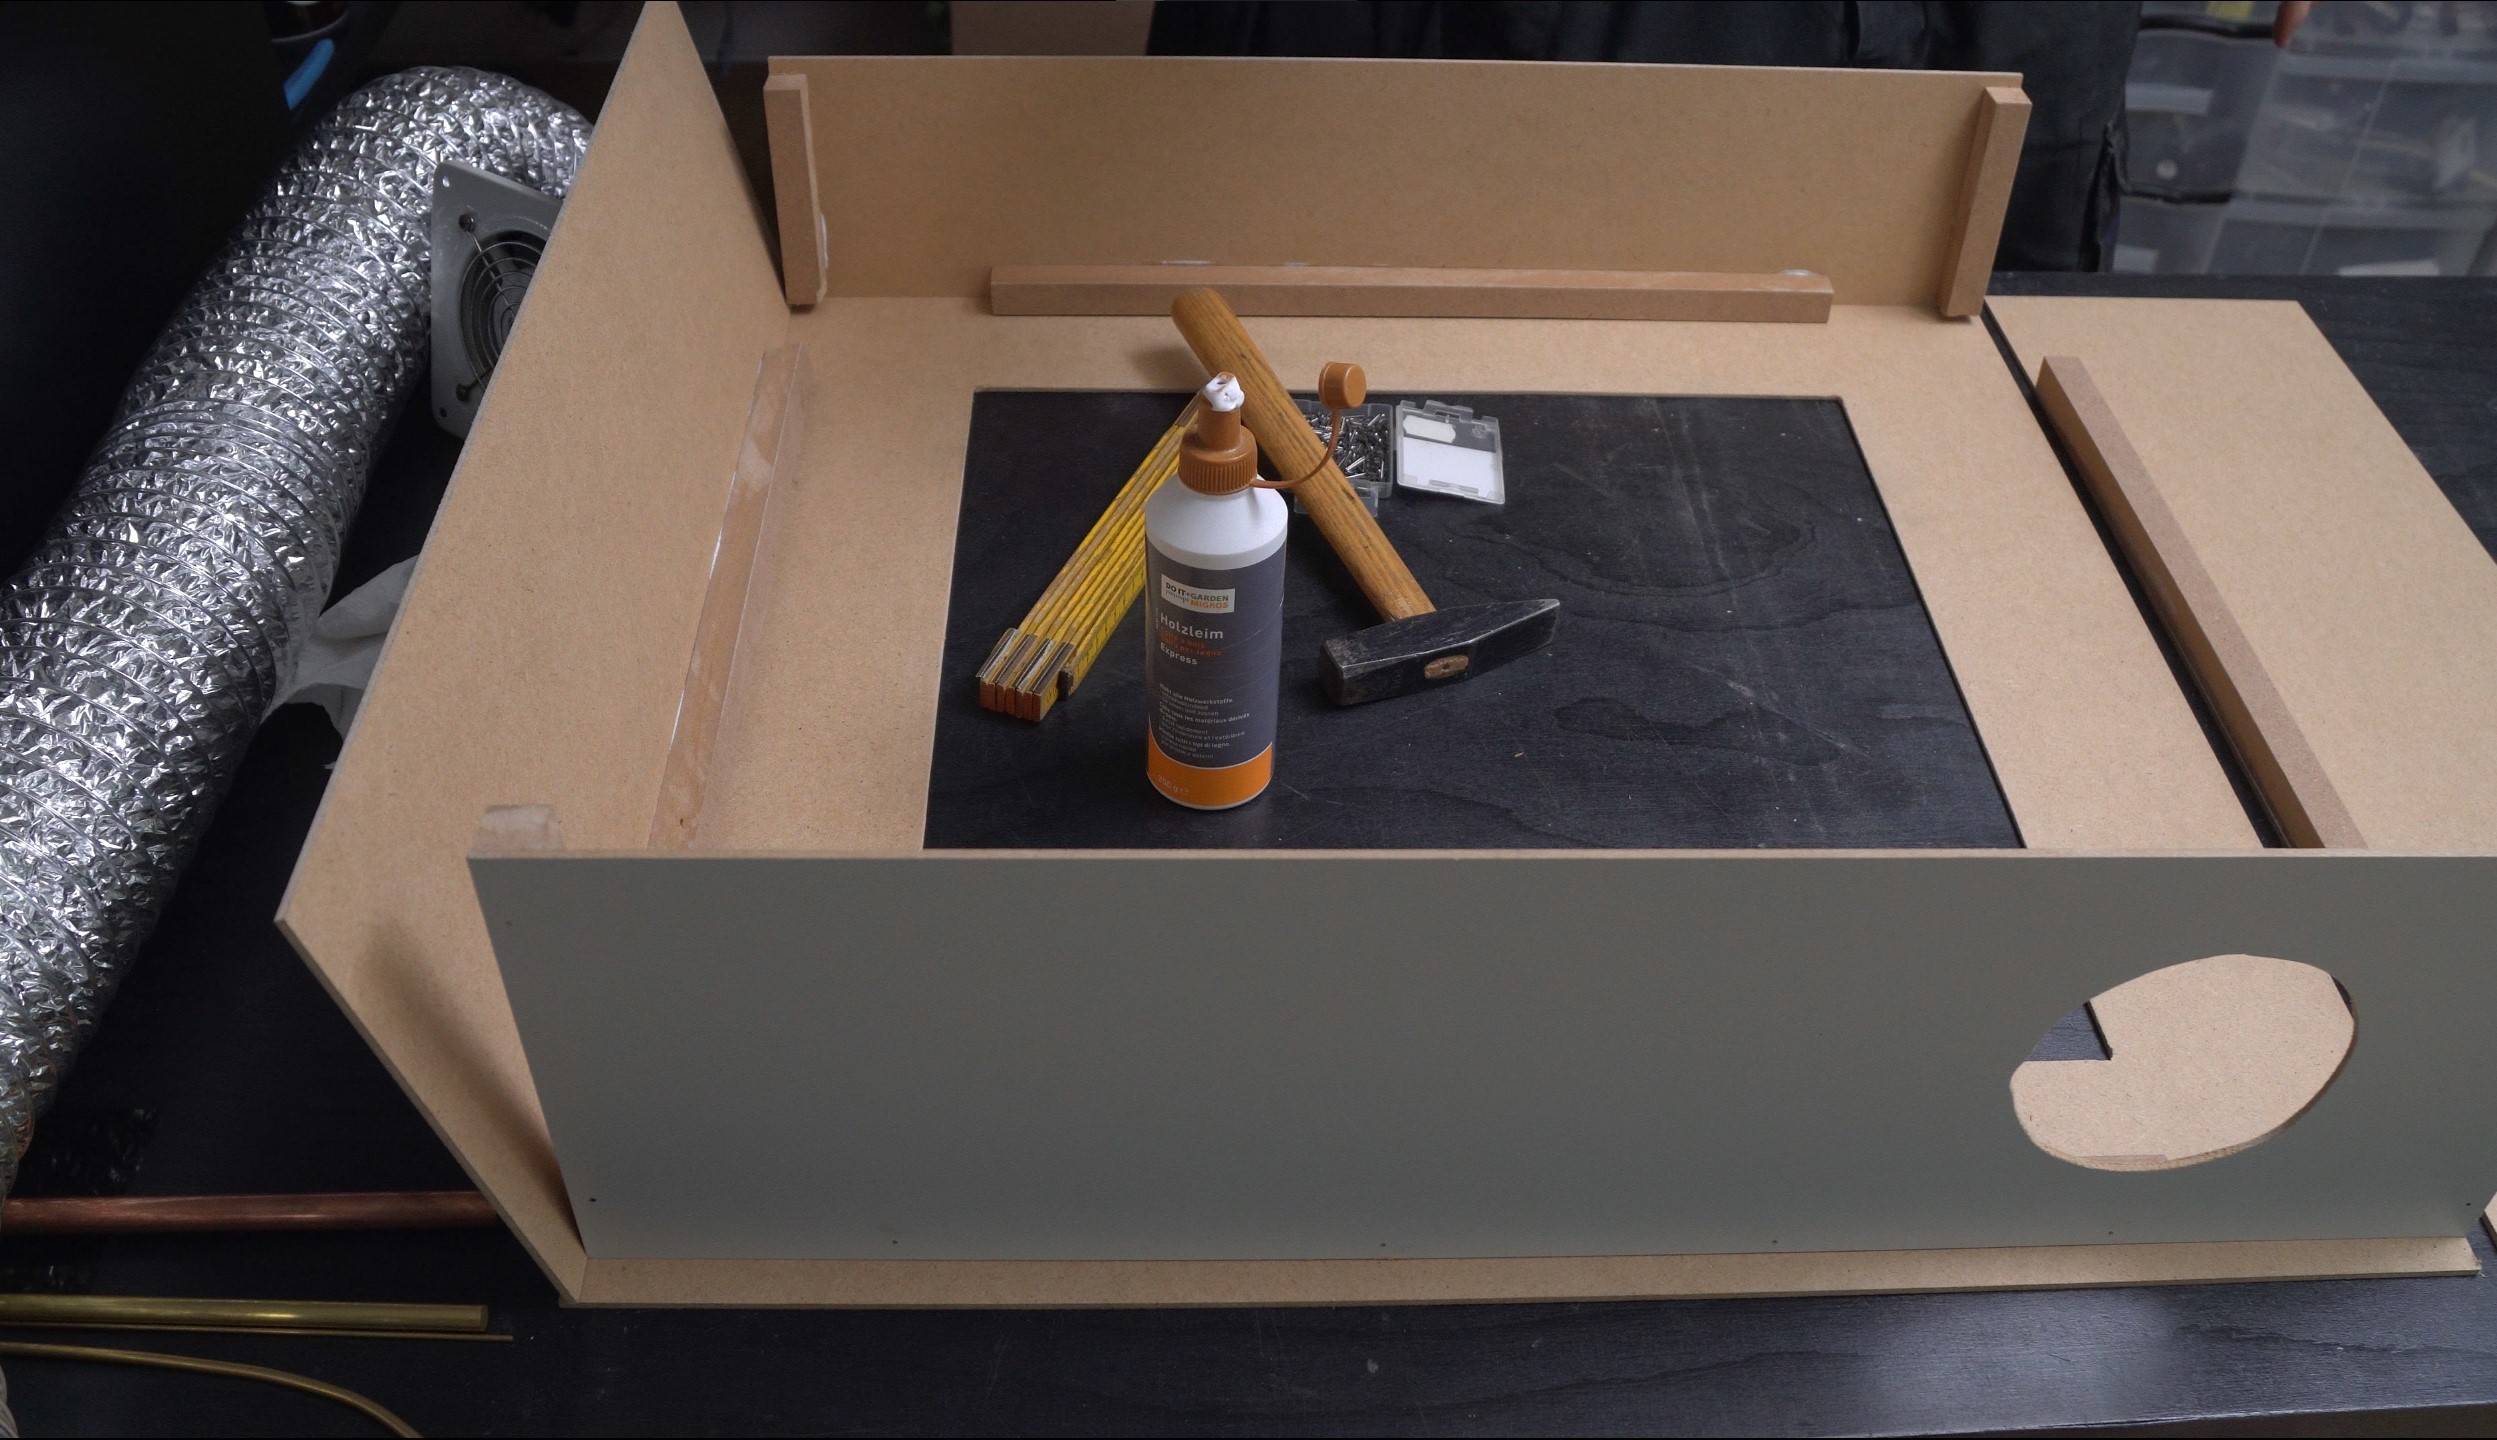
Next, you want to glue all the pieces together. If you’re using foam, hot glue is a great option, while regular wood glue works great with MDF. In case the MDF you’re using is very thin (1/8in / 4mm or less) you might want to use some extra wood strips in the corners to give the glue something to hold on to.
To attach the hinges to the acrylic you could drill into it and use bolts, but I found that using epoxy glue works great and is a lot easier. To compensate for the thickness of the acrylic, you can use some scraps of similar thickness underneath the hinges on the other side.
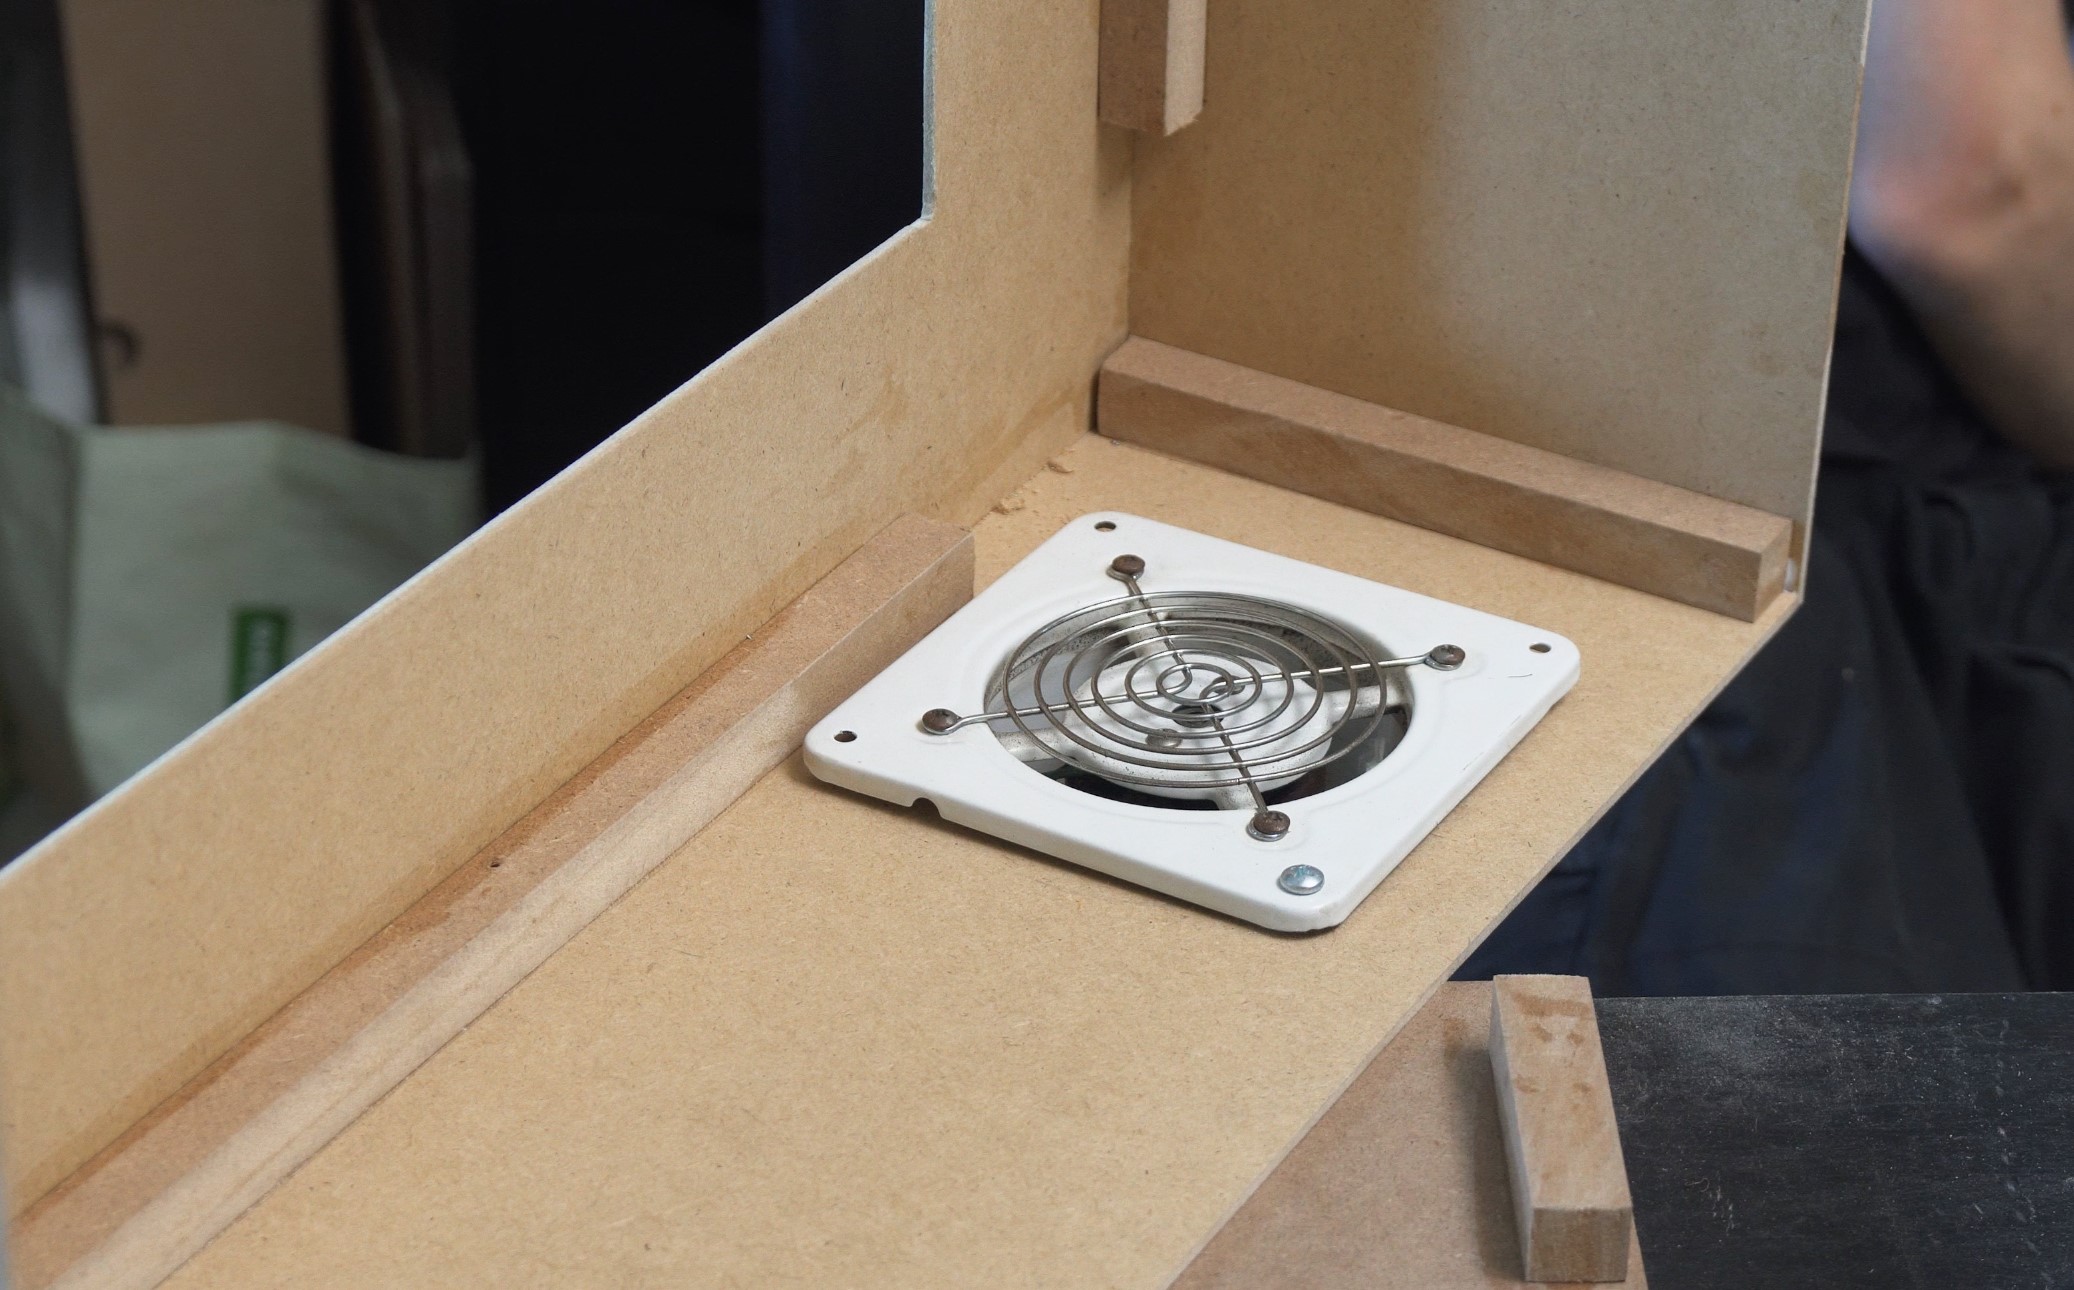
Lastly, you can also install the exhaust fan and any lights you might want. If you are using a bottom, you can use some angle brackets or wood blocks to screw in from the side and hold it in place, while still being able to remove it to service the laser.
What if you want something fancier
When building your own enclosure, the only limit is your imagination. You could easily use some thicker MDF for the sides to make the enclosure stronger. To open the window more easily you could laser cut or 3D print a handle for it. You can also add switches to turn on and off the fan and lighting, or completely reposition the electronics to a more convenient location. You might also want to pick up a honeycomb table, which allows the smoke to escape underneath the piece you’re cutting to give a cleaner result. Another great option would be to add an air assist to your laser, this will not only give you cleaner results but also increase the thickness you can cut. There are various DIY designs out there that you can 3D print or otherwise build.
In the beginning, I mentioned that cardboard is a bad option because it is flammable. After that, I recommended using MDF, which is made from wood dust, and therefore also flammable. However, it takes a lot more to set MDF on fire than cardboard. Still, if you are worried, you could either use sheet metal to build the enclosure or cover the inside with some thin aluminum sheet or thick foil. This will eliminate any chance of it catching fire, but you should still always be present and watch your laser, as the wood you are engraving on could still catch fire, or there might be some other issue. Once again, you’re doing all of this at your own risk.
Conclusion
Adding an enclosure to your laser engraver is the easiest way to take it from a nice gimmick that you use once and then never again, to a valuable tool that is always at the ready. I have various laser engravers that all have their strengths and weaknesses, but the only ones that I actually end up using all have an enclosure. The quality of life and safety improvement that comes from adding an enclosure in my opinion is well worth the few hours and $50 it takes to build one.