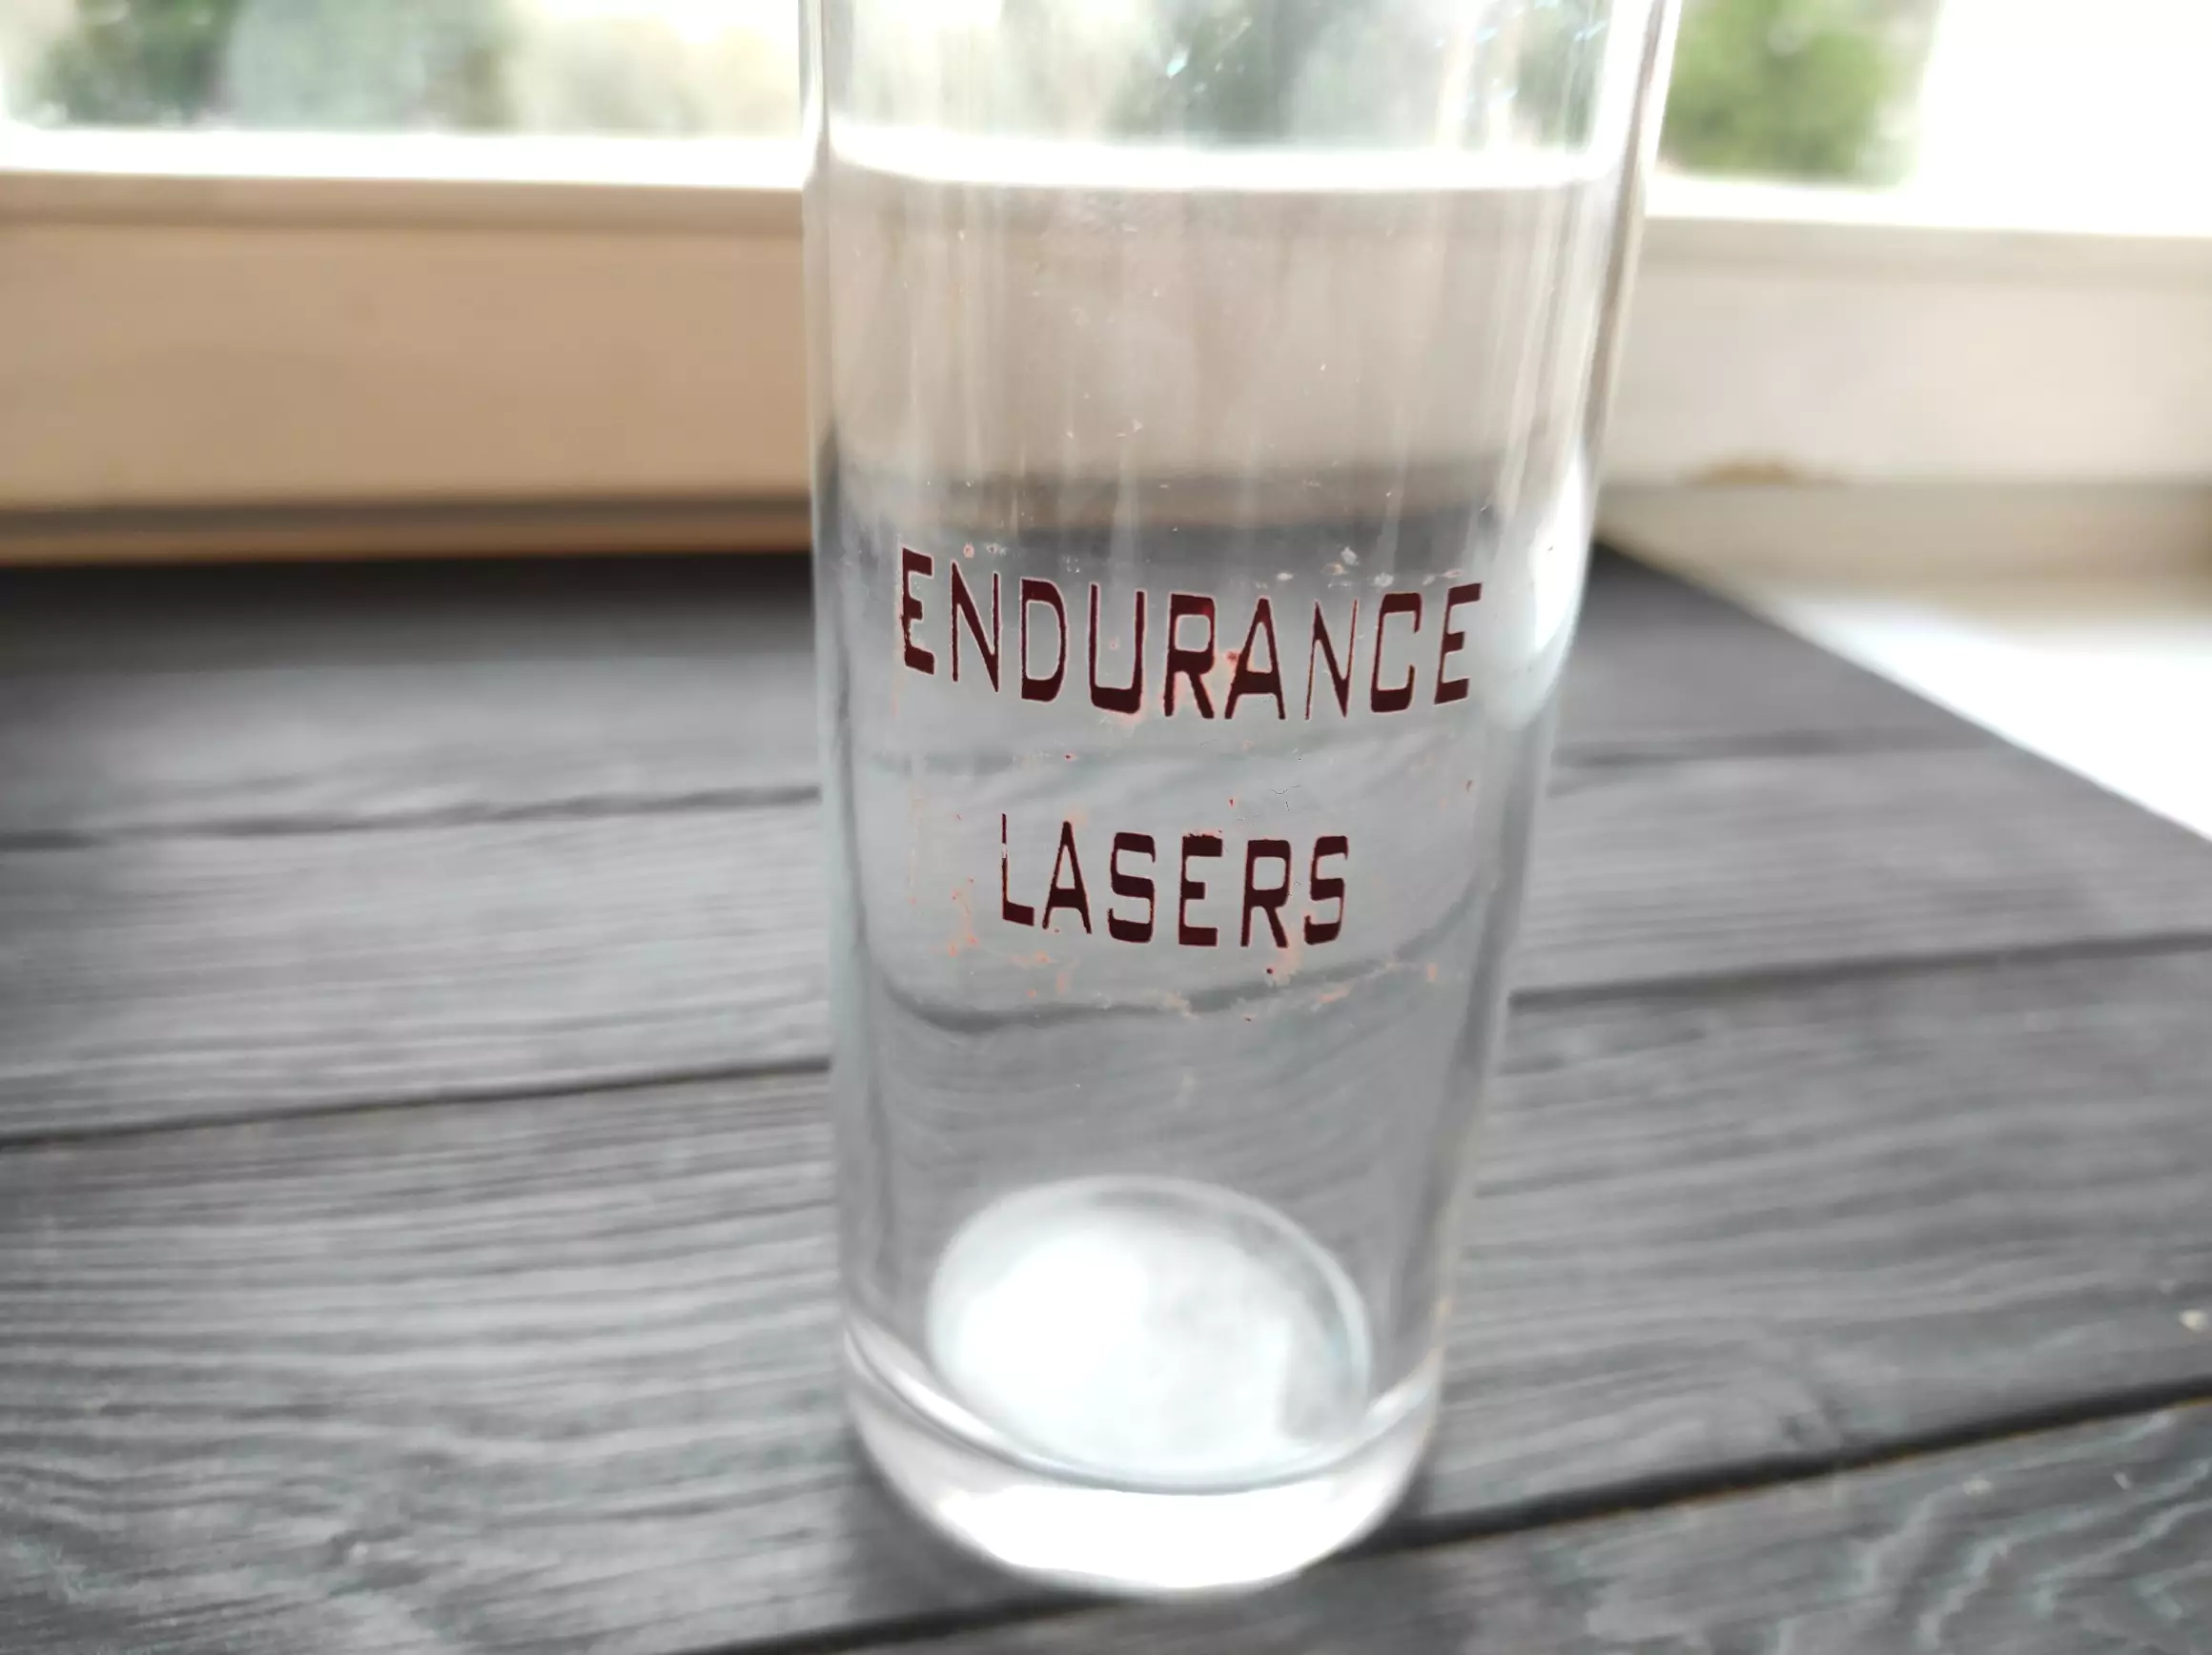
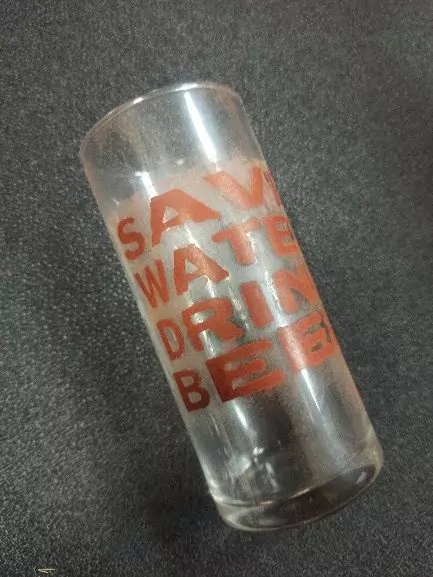
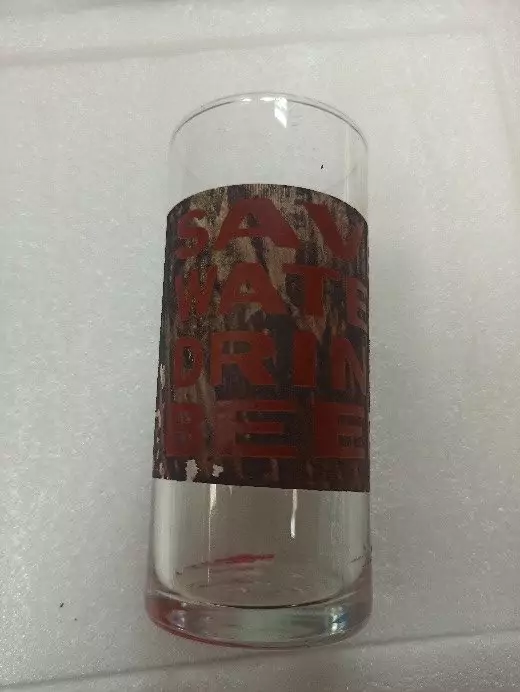
Color Engraving of a Drinking Glass Using a 10 watt PLUS PRO ‘ updated Diode Laser & G2 short focal lens.
We are going to tell you about one of the ways of color engraving a glass surface. This method is based on paint removal with a diode laser. We use as paint a special liquid glass mixture.
Let’s start from the beginning.
Preparation of the surface
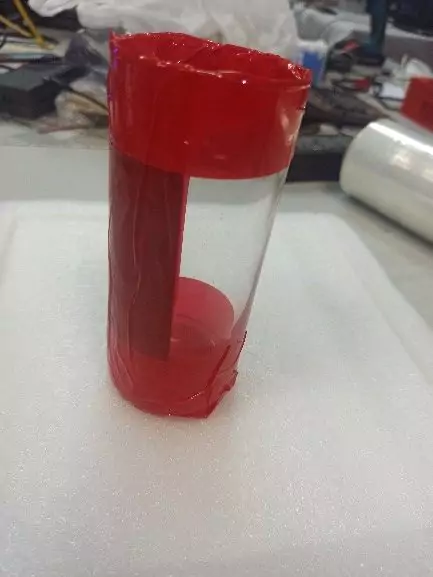
A regular cylinder drinking glass will fit for our purpose. First, we need to mark off the area of the future processing with sticky tape. We do it to prevent painting of the areas beyond those to be processed. When tape pasting the glass, we leave free of tape a rectangular 7 cm x 8 cm in size. Then we degrease the glass surface with acetone or alcohol.
Paint mixing
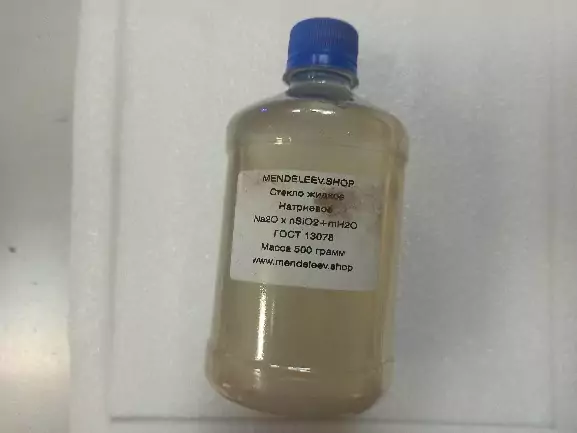
To paint the glass we need a special composition resistant to environmental exposure but sensitive to lasing. For this, we use a mixture of sodium water glass (Na2O x nSiO2 + mH2O) and metallic red coloring pigment (independent of the choice the result will be the same).
It should be pointed out that sodium water glass applied to the surface of regular silica glass starts the process of interpenetration (diffusion). After solidification of the liquid glass you can remove it only mechanically.
For our task, we need about 10 ml of liquid glass, 0,5 g of pigment. This is the right amount to dye the liquid glass deep red. The mixture should be mixed well for a homogenous tint.
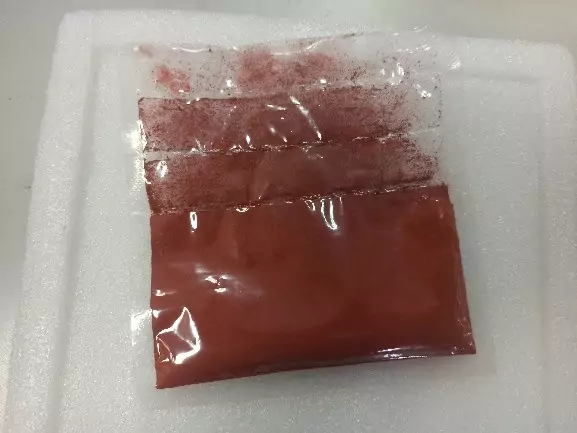
Coloring
The prepared surface of the drinking glass should be covered with the resulting paint in thin even layers. It should be done quickly enough as the time of liquid glass solodification is only 10-15 minutes.
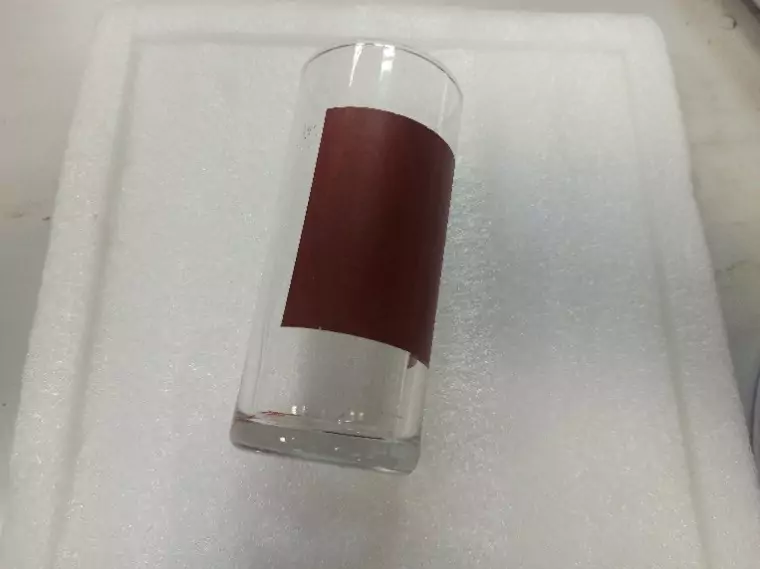
Image preparation
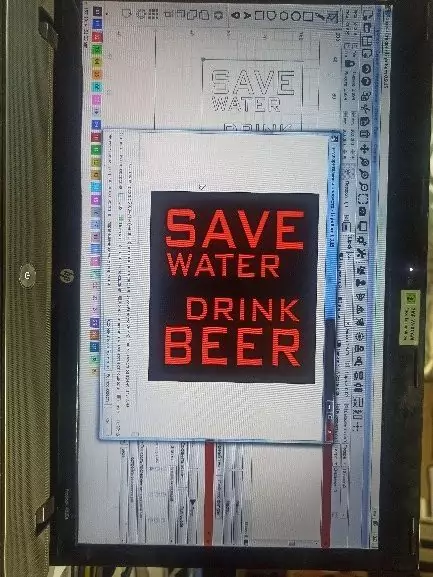
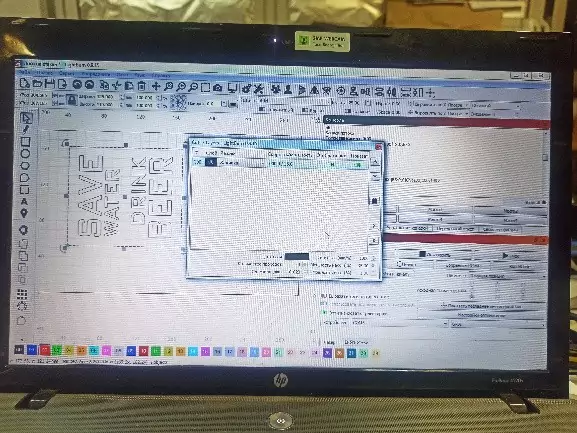
In the LightBurn program, we create a pattern (description, in our case) we need. The font and size selection is possible in the software. Then we draw a rectangle frame around the inscription using the “Rectangle Creation” tool and select “Fill” mode. This will make it possible to laser process the entire area of the rectangle but letters. Now we have to set up the laser parameters: speed 1000 mm/min, power 35%, number of passes 1, focus point 5 mm above the material surface, processing interval 0,02 mm.
LightBurn Tutorial & a real story. Laser engraving / cutting software
Preparation and start of the laser
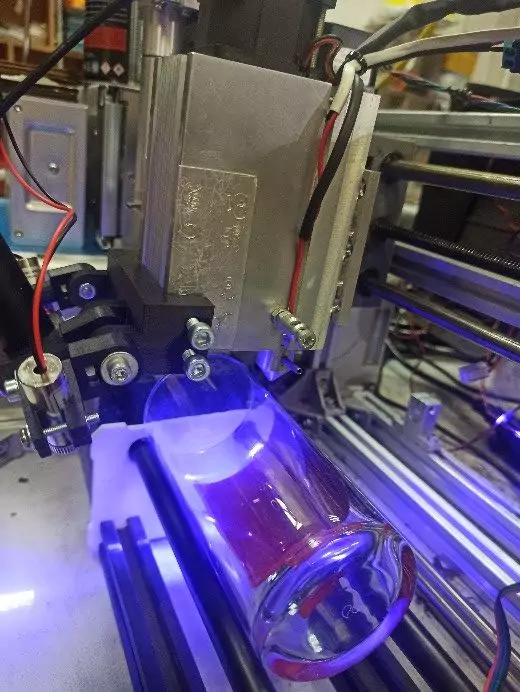
To process a cylinder item a special module is needed. We connect it to the Endurance laser machine and use it instead of a movable worktable. This module has two rotating axes, which will rotate the glass during laser processing. We place the module with the drinking glass under the laser so that the laser beam is directed to the glass surface at an angle of 45° with the longitudinal axis of the glass. This will enable to laser process the painted surface not perpendicular to it but at an angle. In this way, the laser beam hits the interface between the glass and paint and removes the latter.
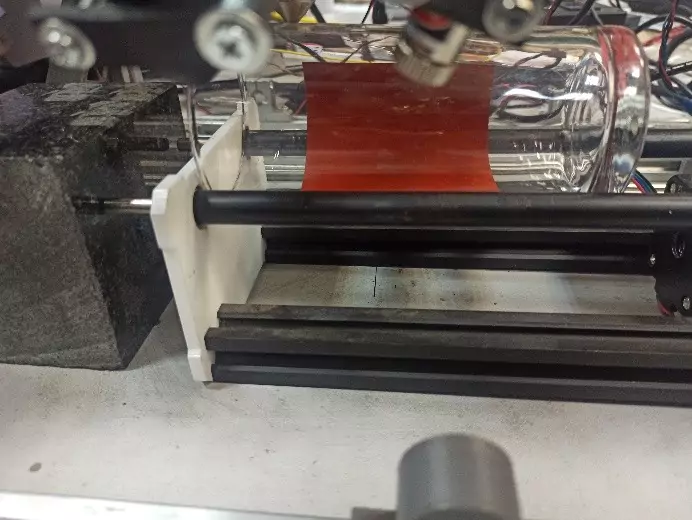
Adding rotary jig (a-axis) to CNC 3018
After we have installed the module with the glass we run the laser. The processing time is about 40 minutes.
When the laser processing is finished it is necessary to remove the paint chars wiping the glass with a piece of rough cloth dampened with solvent.
That’s it!
Watch a detailed video lesson
How to make a color metal engraving on stainless steel – all you need to know.
