Laser cleaning
Laser cleaning is a good and safe technology to clean up surfaces in no time. This technology helps easily remove rust, paint, varnish, dirt and other coatings and depositions, degrease surfaces. Since no chemicals are used this process is safe and does not pollute the environment. Due to the reliability and durability of the used equipment and its little power consumption, this technology is getting more and more widely used in industry.
Fields of use:
- Cleaning of plastic and rubber casting forms
- Removal of paint and rust
- Surface degreasing in food industry
- Degreasing of metal surfaces before welding
- Cleaning of welding seams and surfaces damaged by welding
- Removal of lacquered and polyamide coverings
- Restoration of buildings, bridges, sculptures and paintings
- Soot removal
- Neutralization of radioactive surfaces
- Wire isolation removal
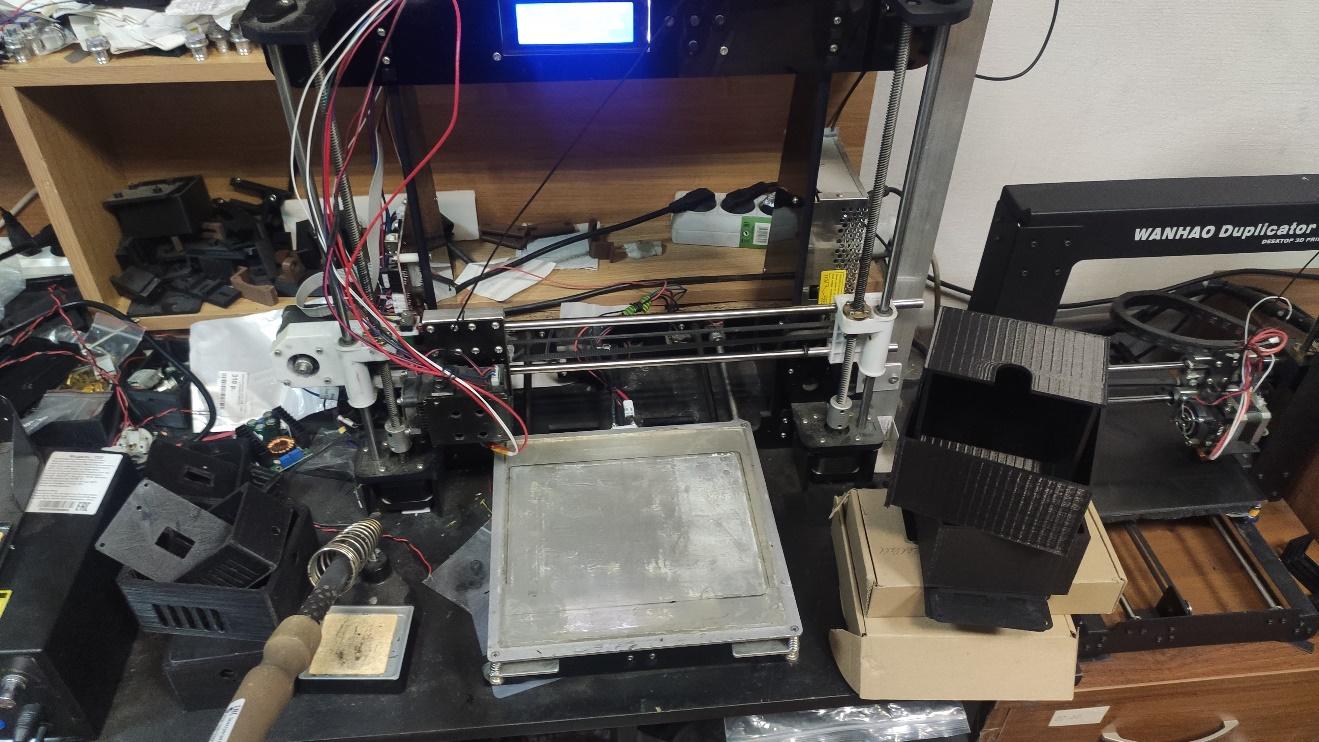
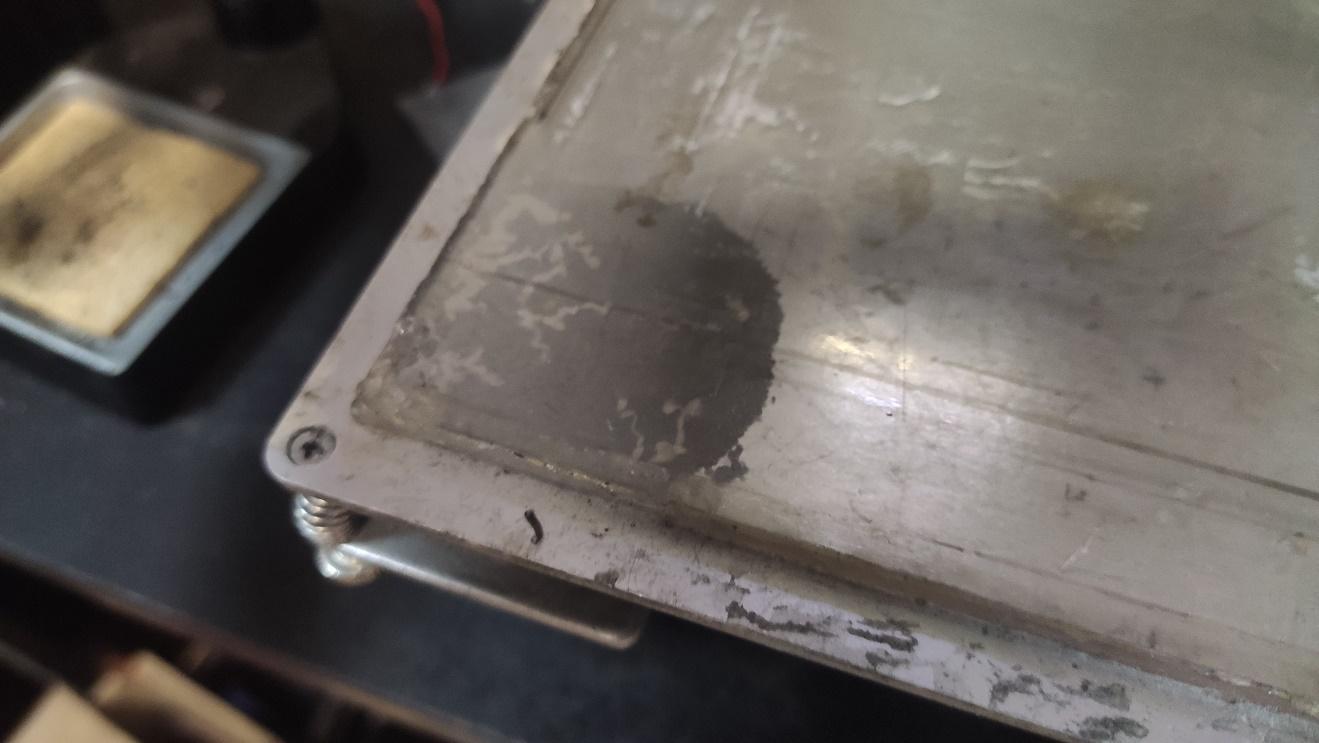
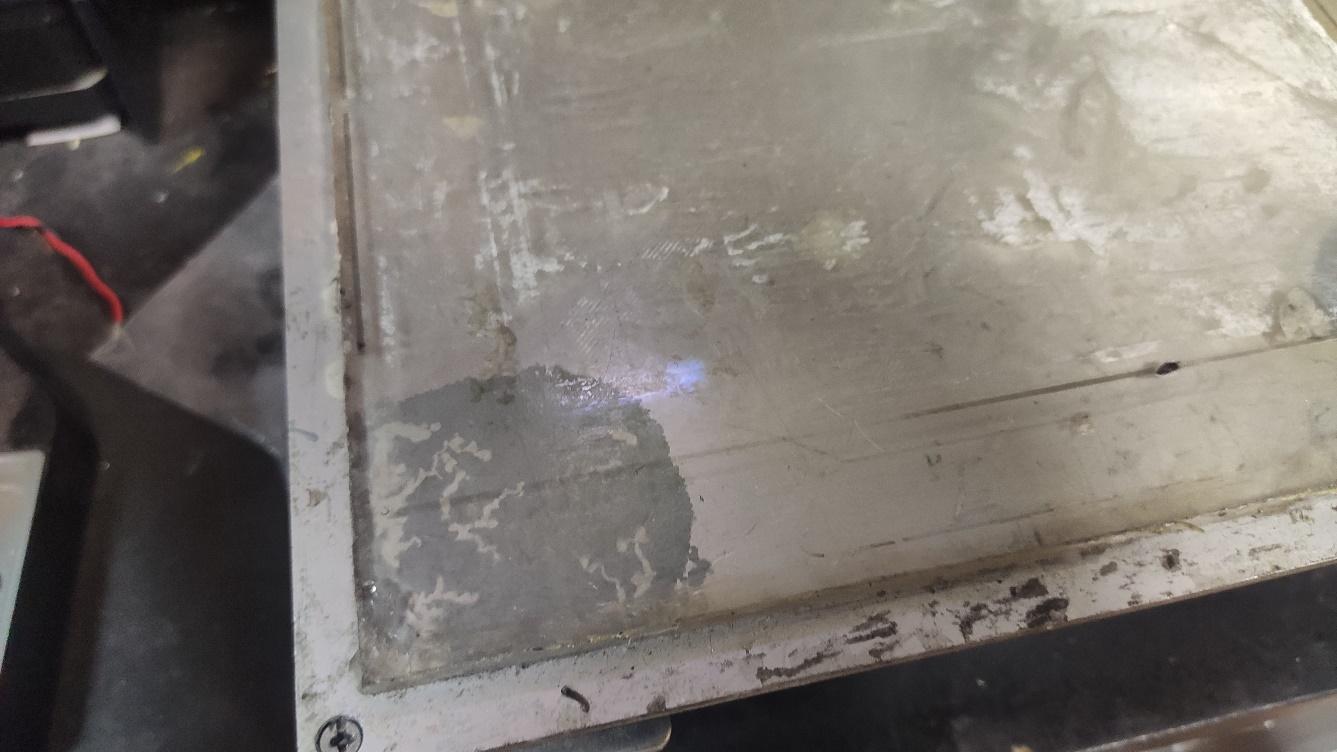
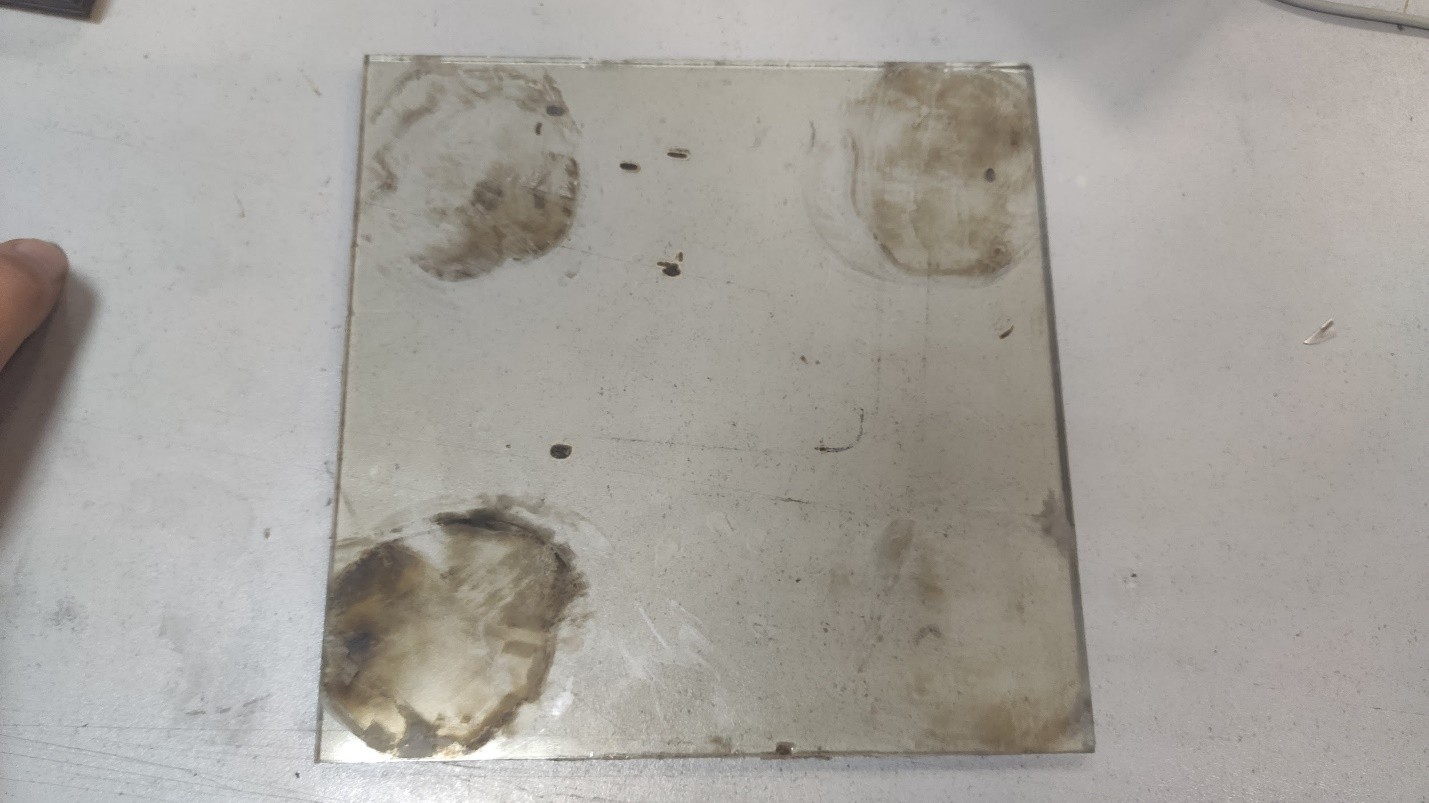
We had a task to unglue a hardened glass from a heating table of a 3D printer. The glass was glued to an aluminum plate at 4 points by means of thermal adhesion. We could not take it off mechanically, as the glass was very fragile and split off easily when we tried to get at it at the edges. So, we decided to use a galvo scanner with a fiber laser to attack the adhesion under the glass as its beam (unlike that of the CO2 laser) easily passes through glass.


We’ll need:
– Galvo scanner
– Raycus 30w laser
– Acetone (it dissolves a little the adhesive with which the glass is glued to the aluminum plate)
– Utility knife
The work was done in EzCad.
Laser glue removal process
The whole process is extremely easy.
By trial we find the best parameters for the laser to burn the adhesive.
Speed 800 mm/s
Power 60 %

We also find that the best result is obtained when the focus is about 5 mm above or under the aluminum plate.
We create a circle (It fits as closely as possible to the shape of the adhesive stains) and do hatching (the parameters are in the picture)


It is important to set the angle of the hedge because we’ll have several passes. 
Now, using a pilot laser we aim at the plate and start the process in the Continuous mode as we don’t know yet how many passes we’ll have. (4 passes for each stain was enough.)
After laser treatment of all the spots with the adhesive we carefully cover the area under the glass with acetone. A couple of minutes later, as we put a knife blade under the glass the adhesive gives up, and the glass comes loose. So we get a clean working table , to which we will glued a new glass with better properties for 3D printing.
if you have any questions – let us know in our Livechat.
Comments and ideas are welcome down below
