

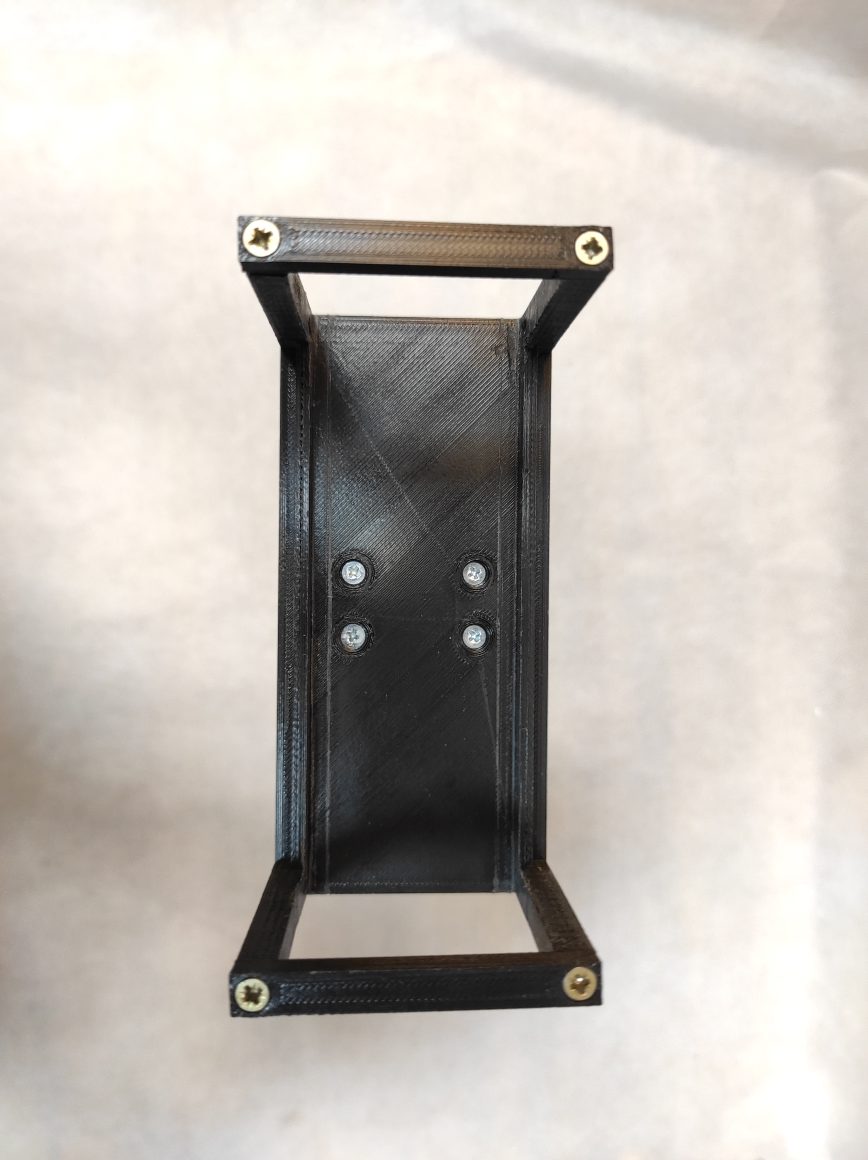
3D printed parts


DIY LASER GALVO CONTROLLER – ALL YOU NEED TO KNOW
A detailed assembling instruction

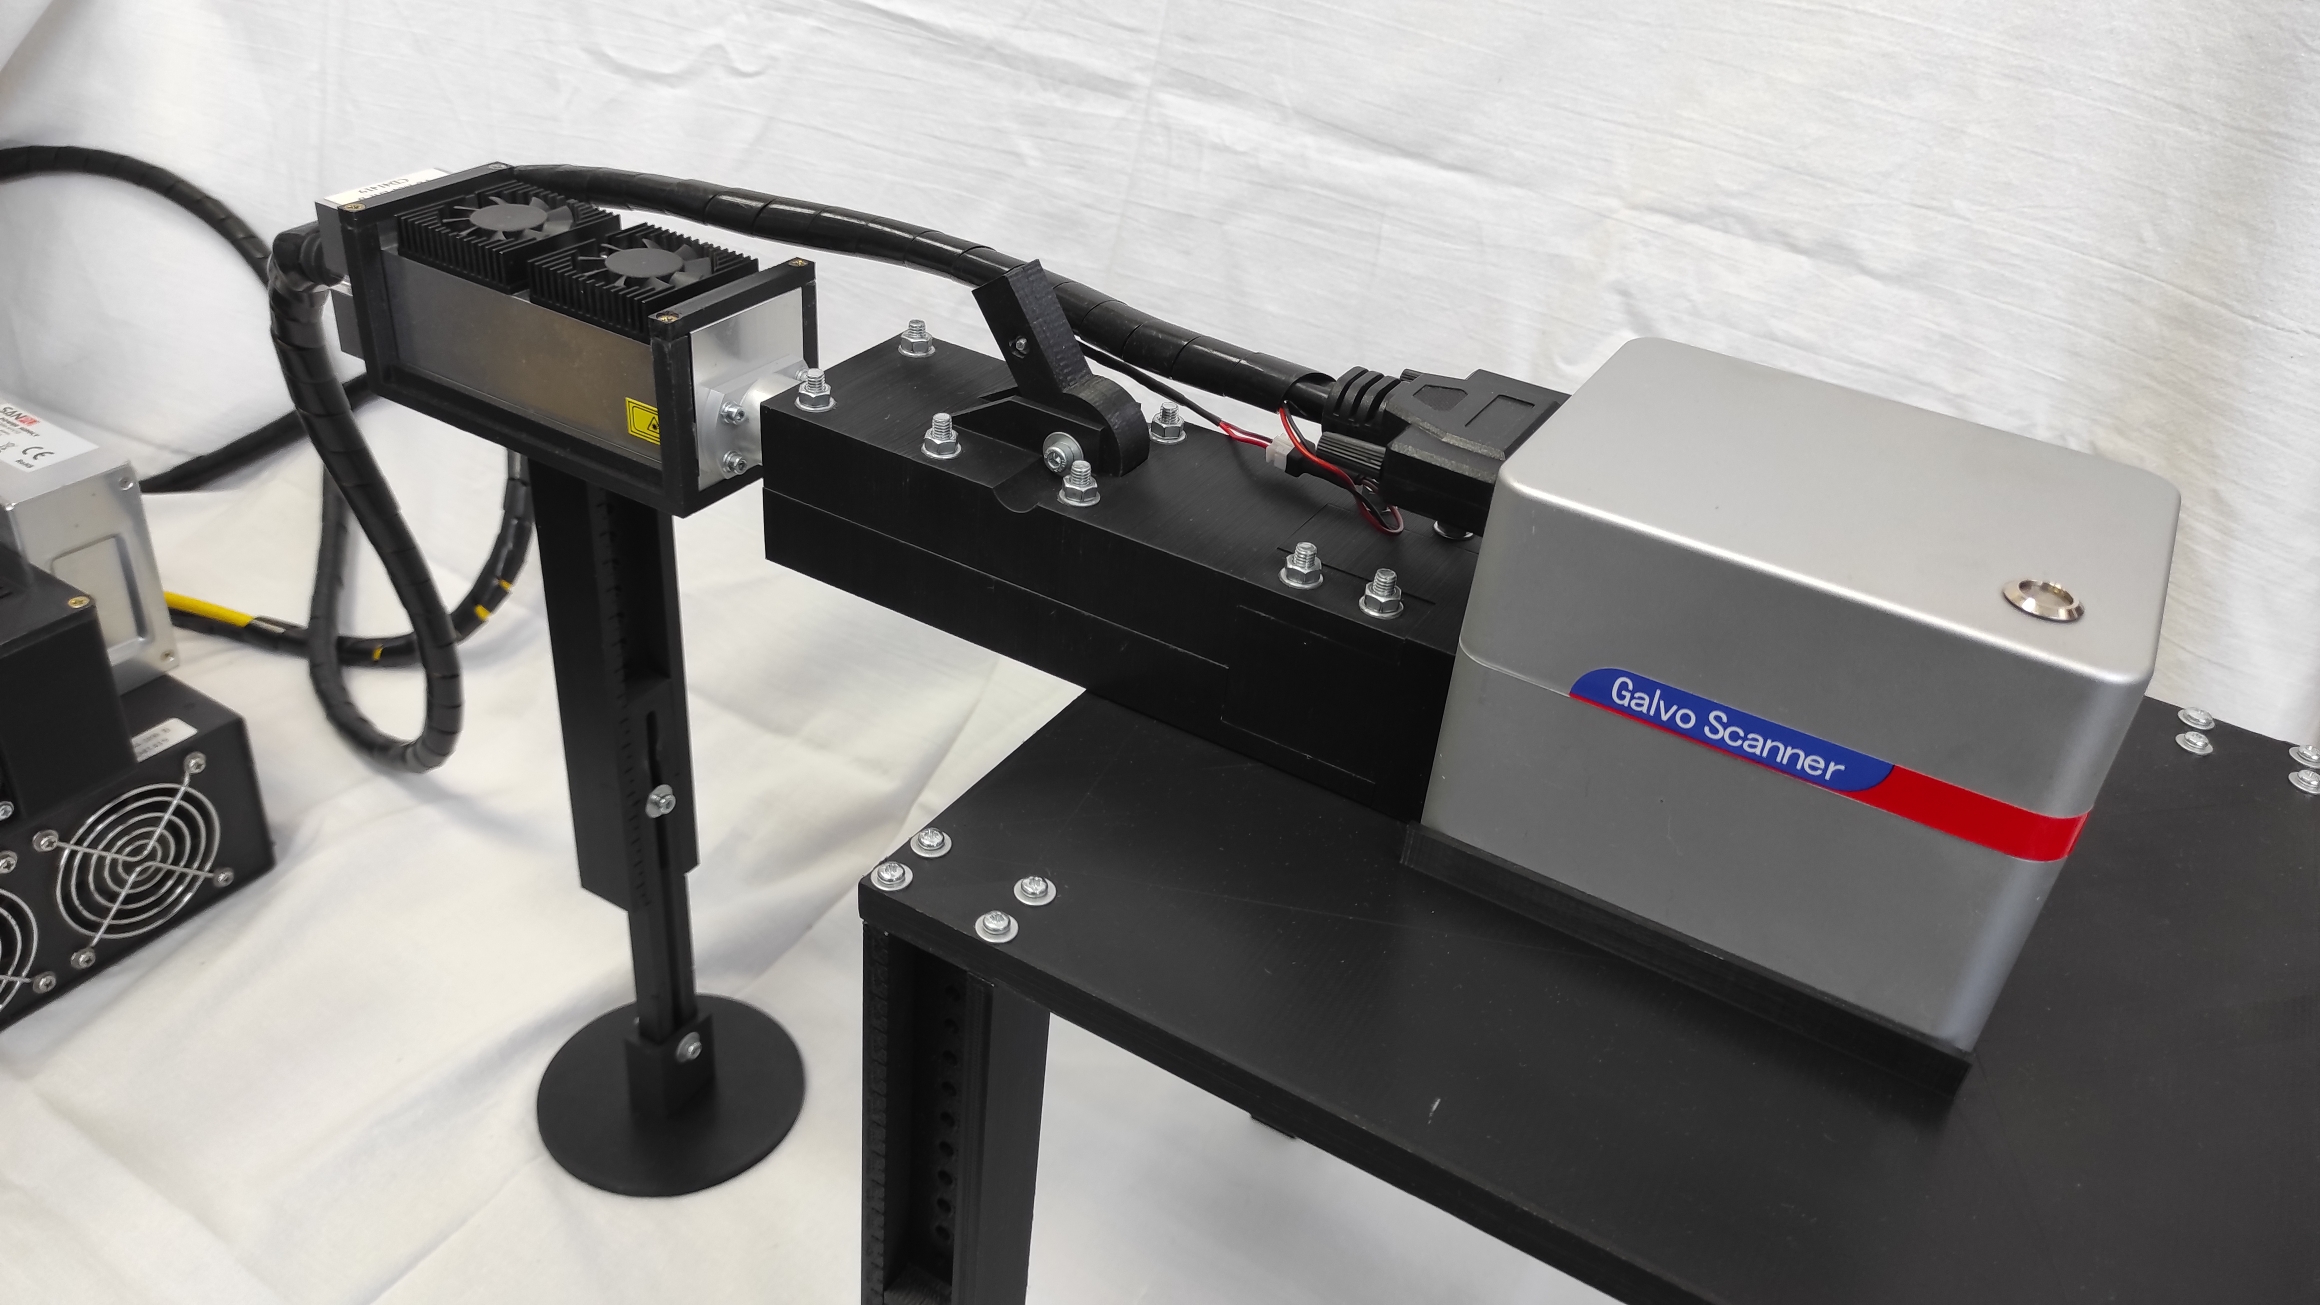
An endurance DIY DPSS GALVO scanner can be made with 3d printed parts. This DIY GALVO guide will show you have to create your galvo scanner and get it to function properly. A galvanometer is an electrical instrument used for measuring small current. Forces from the current cause a rotation of a moving coil. Galvos don’t require any limit switches and they are controlled with absolute coordinates. Movement and positioning are very important with the galvo so it should be properly aligned with the laser and the beam expander should be correctly installed. To begin, you will first need to 3d print all the parts required. What you will find is a lifting surface table, 4 adjustable legs, mount for galvo, laser holder, PWM, and connector,
All the required 3D printable parts are available on the Endurance Thingiverse
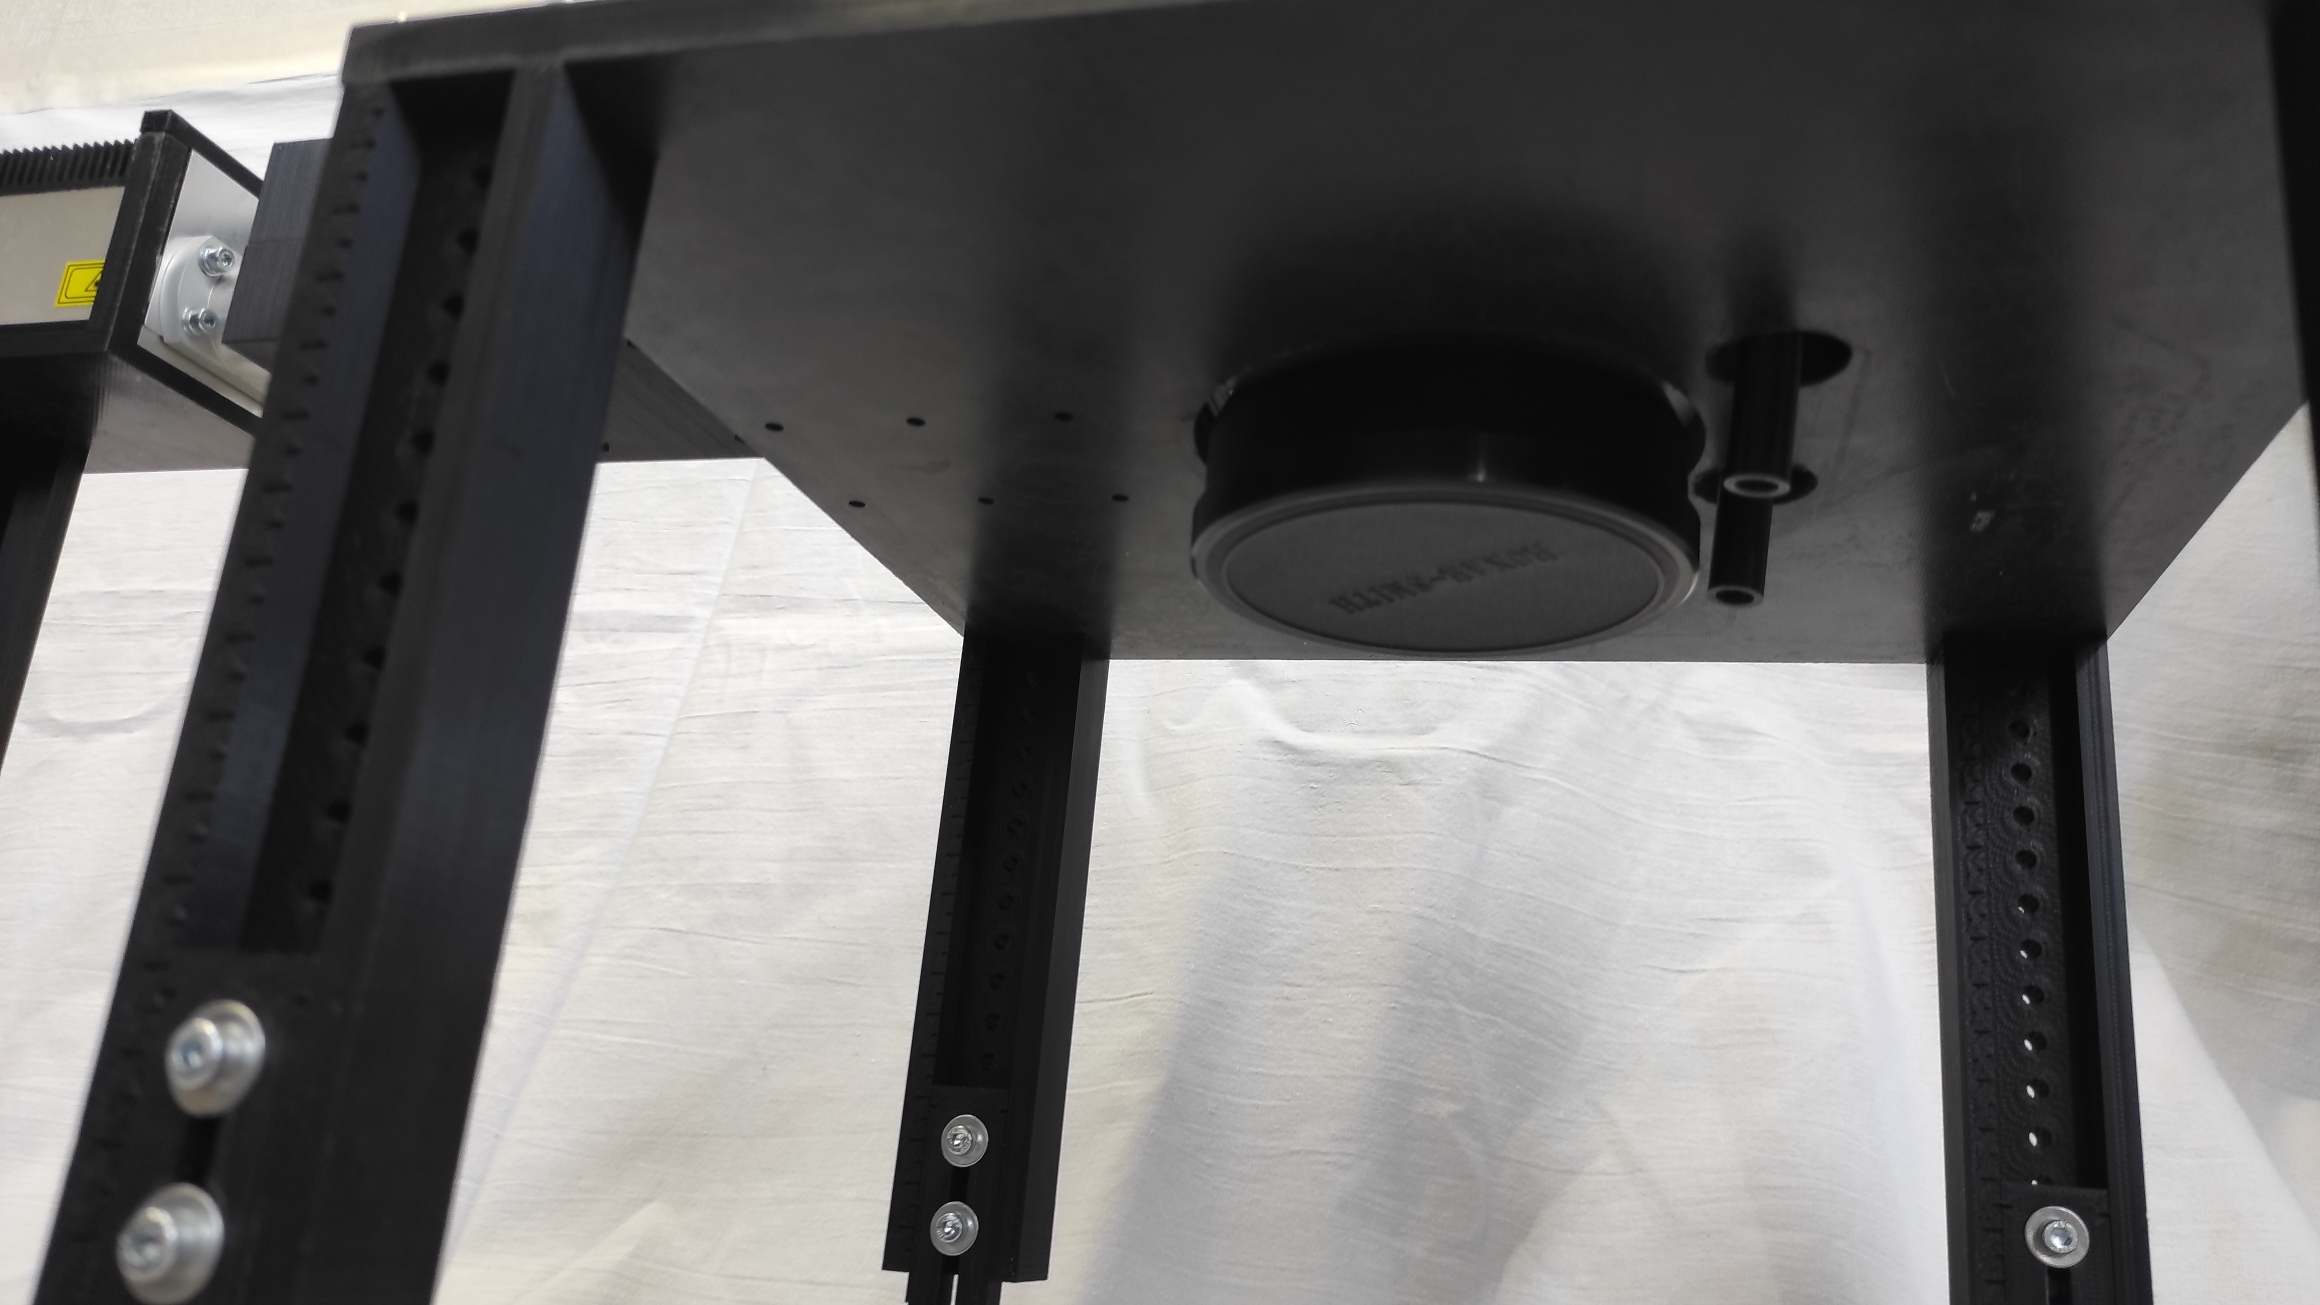
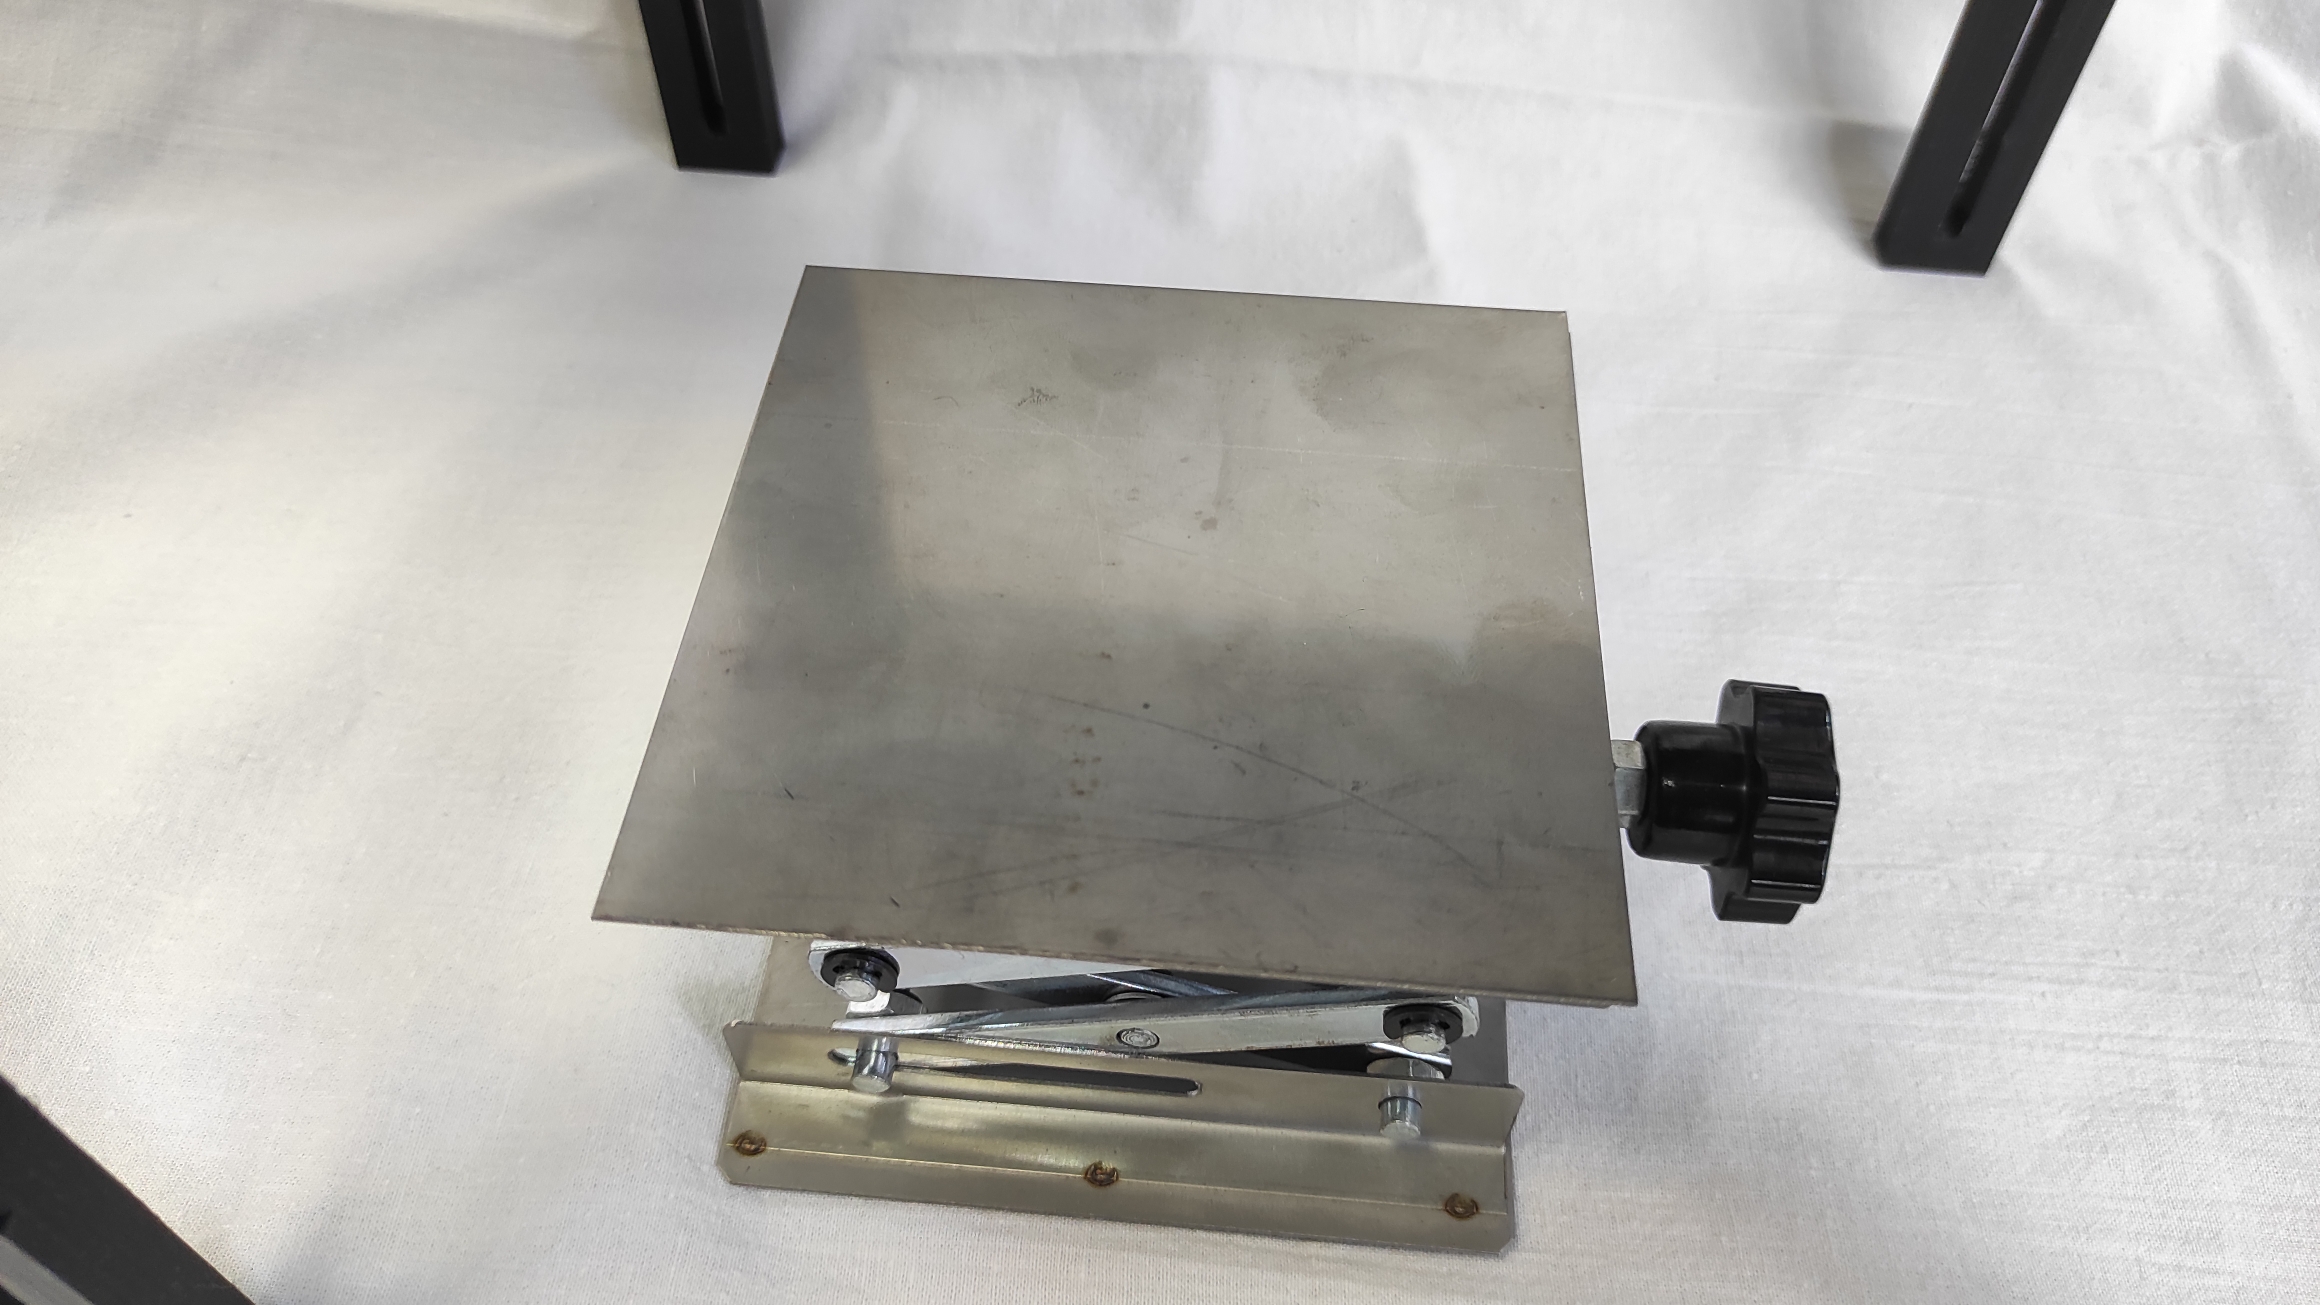
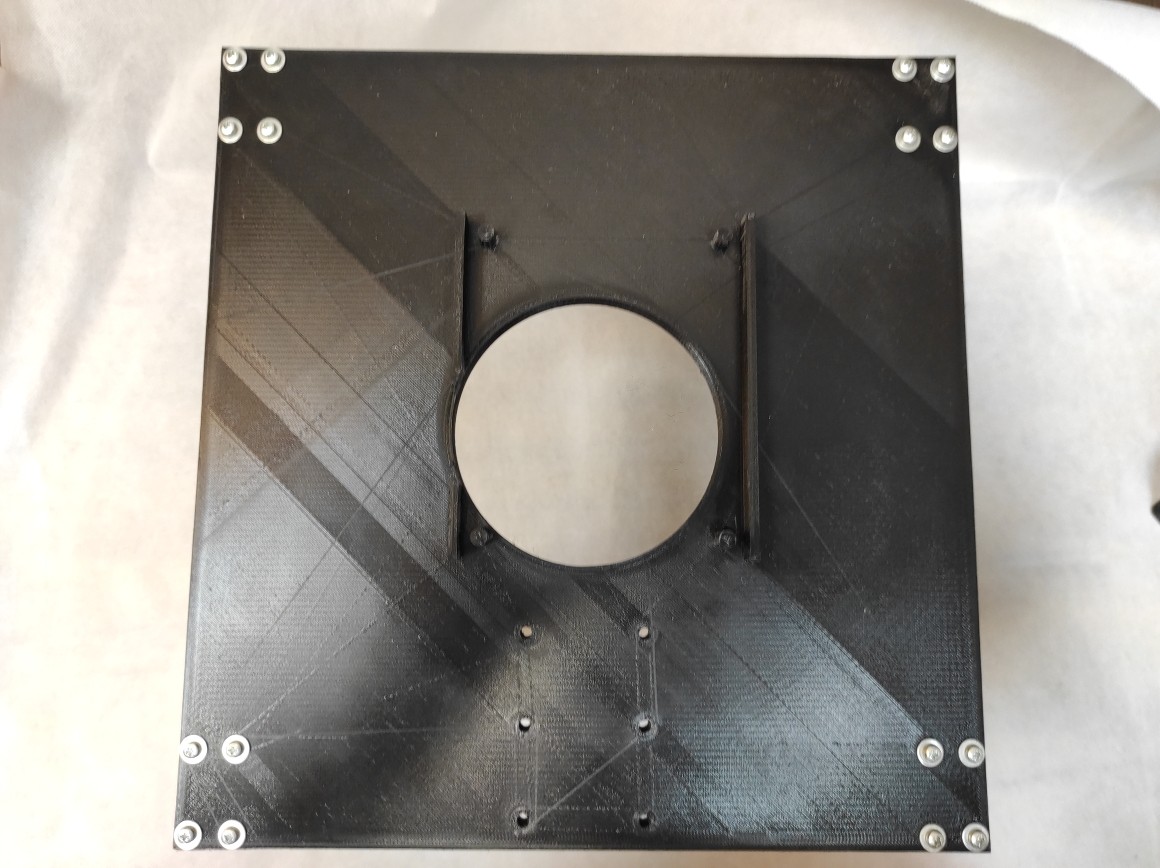
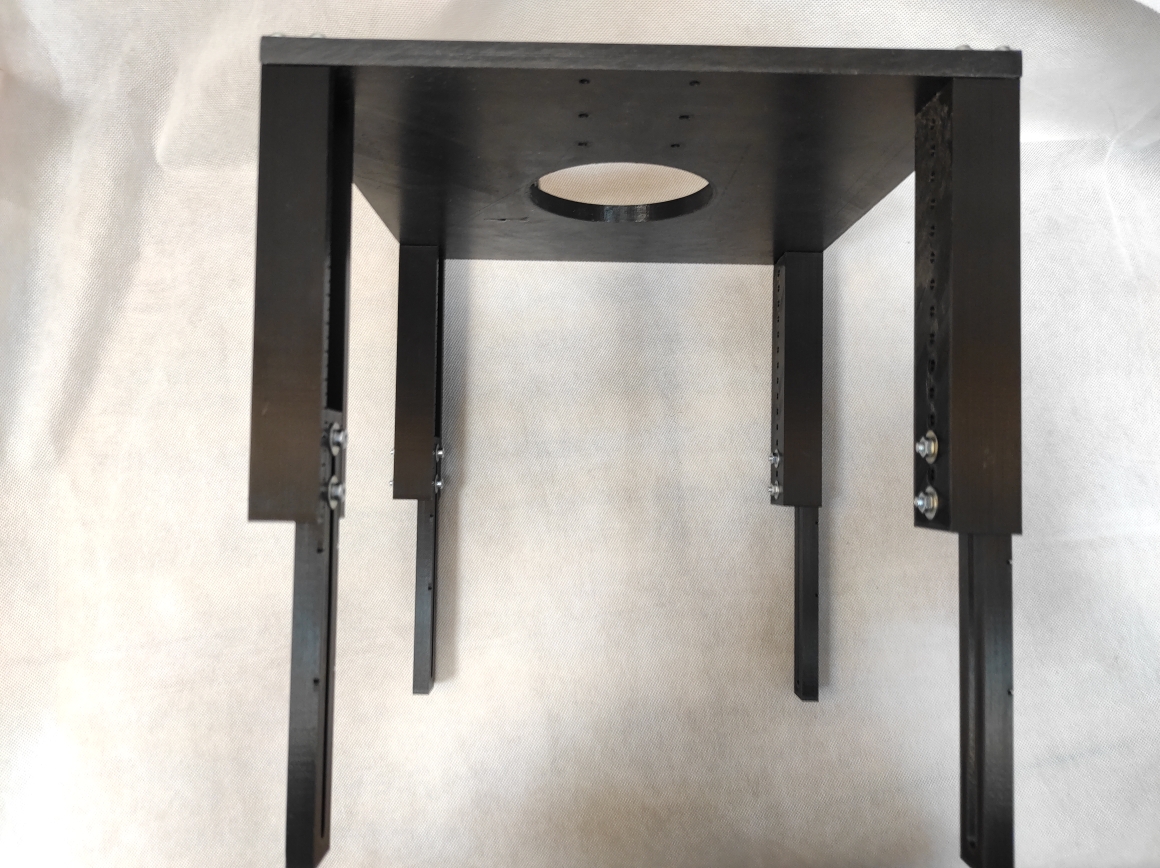
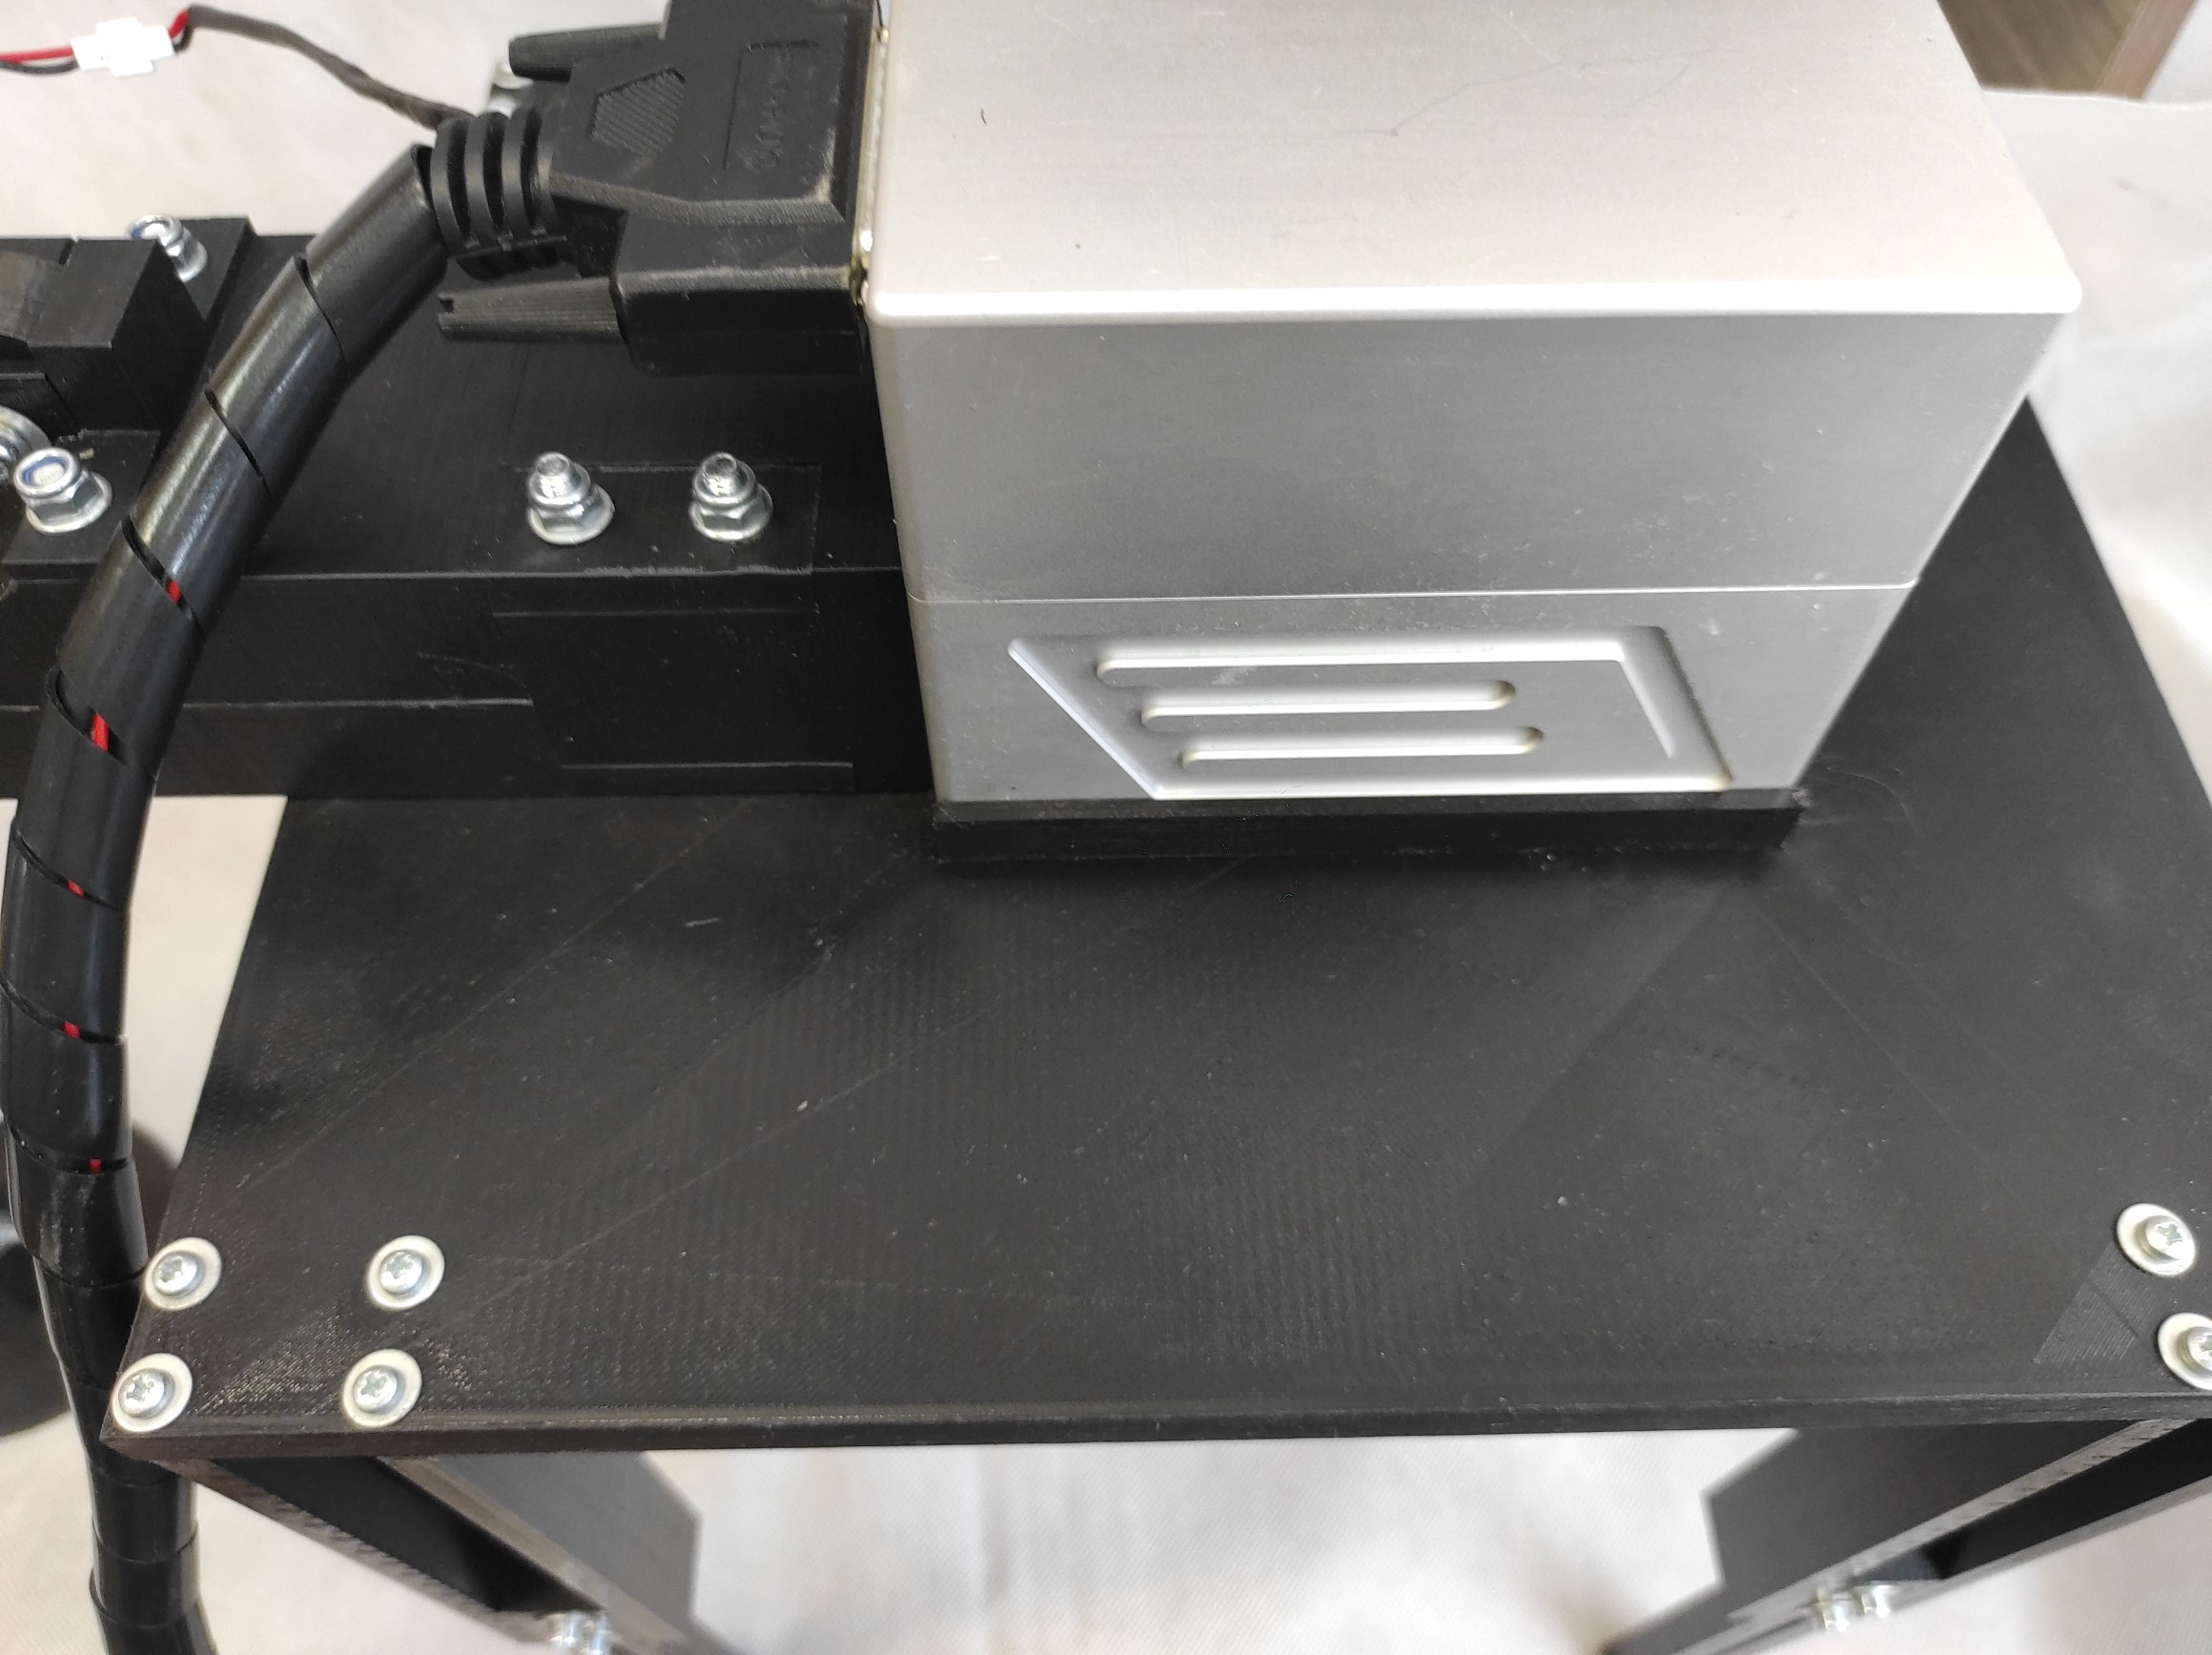
The first part is installing the four legs onto the table.
Use M3 screws to attach each adjustable leg to the table. The legs are adjustable to make it closer to the surface. The legs should be fixed on the maximum length.

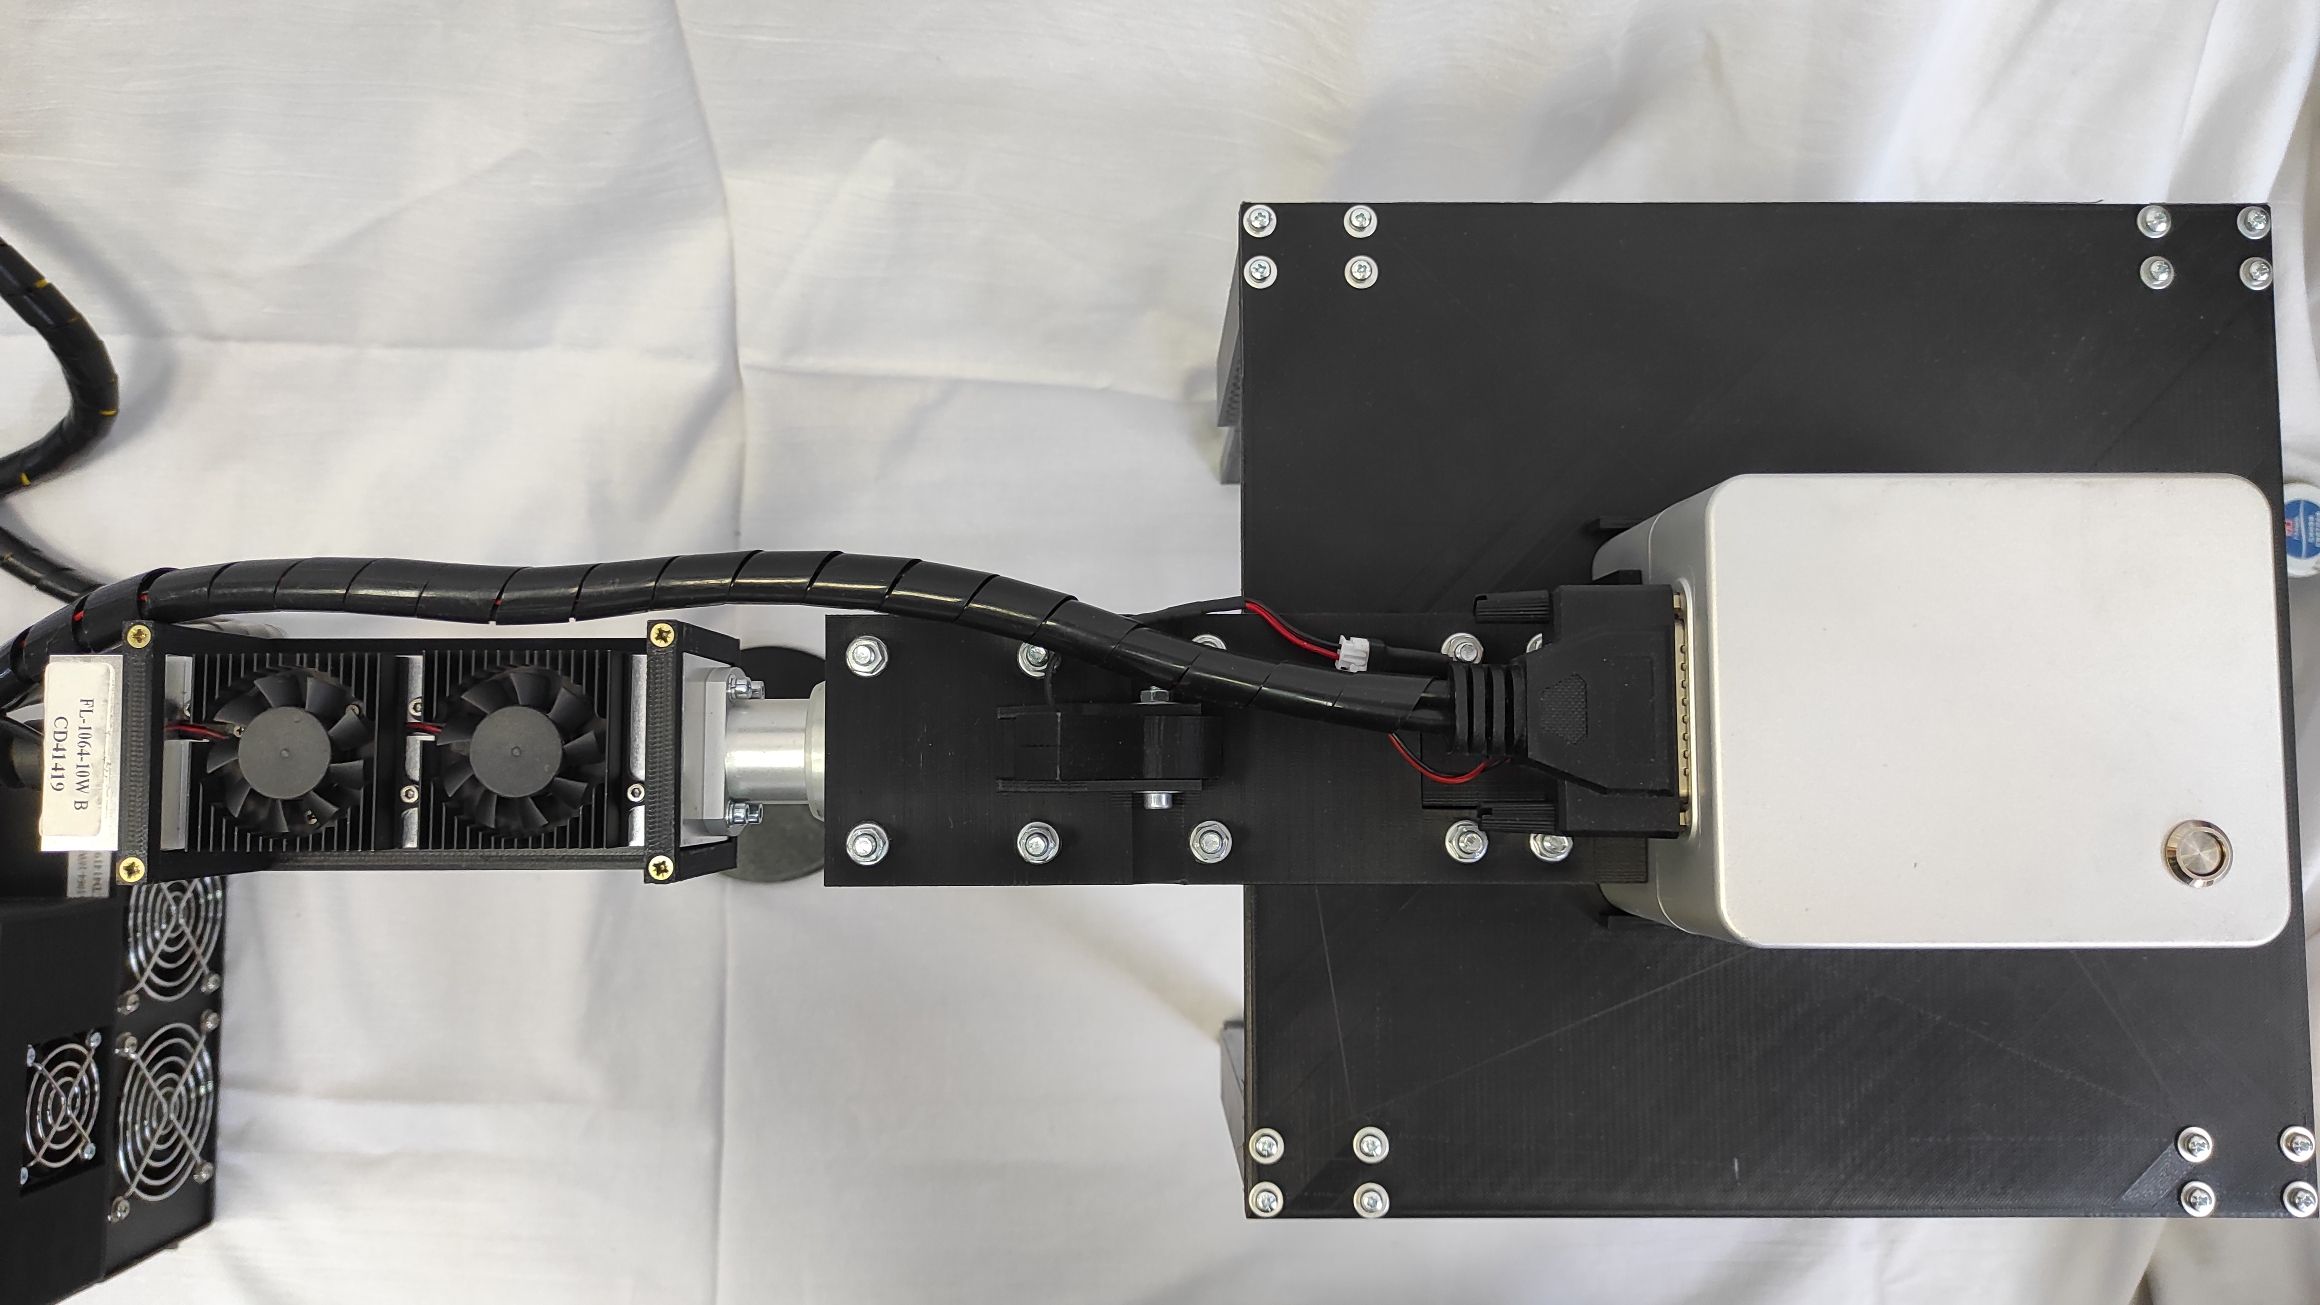
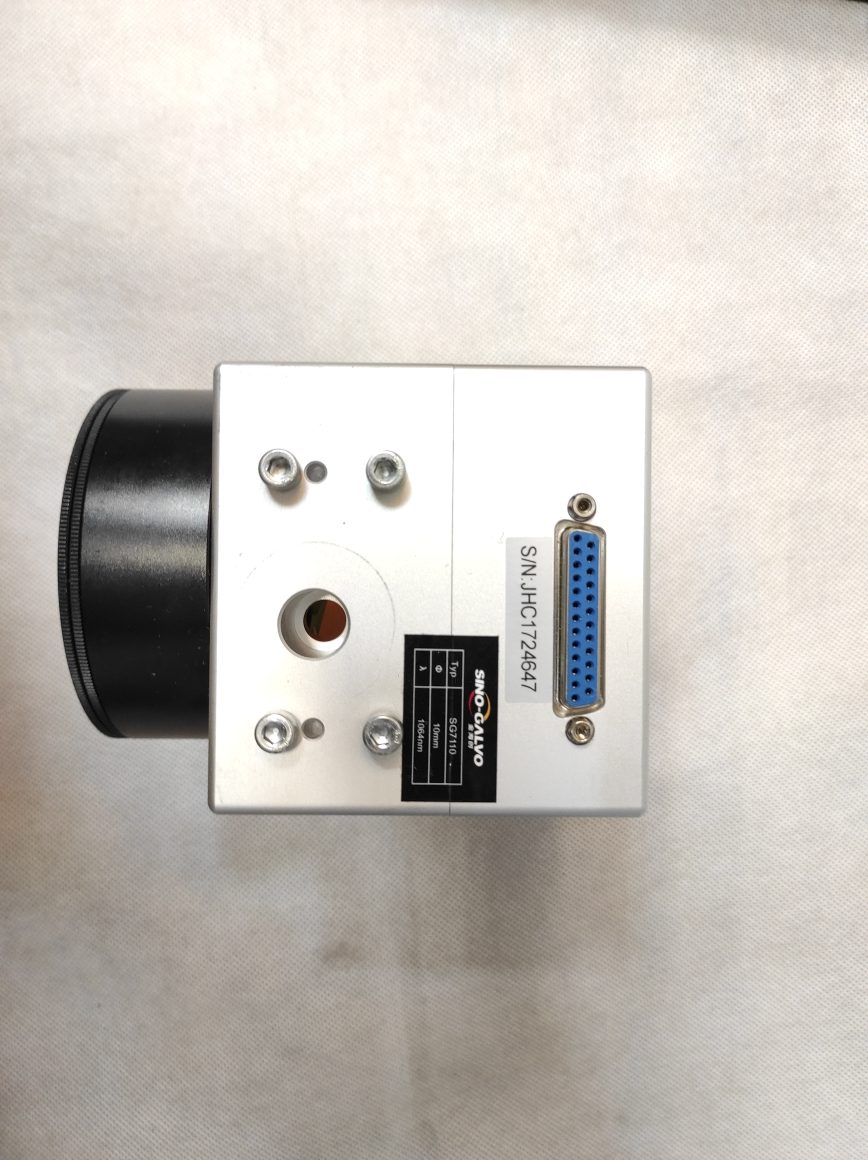
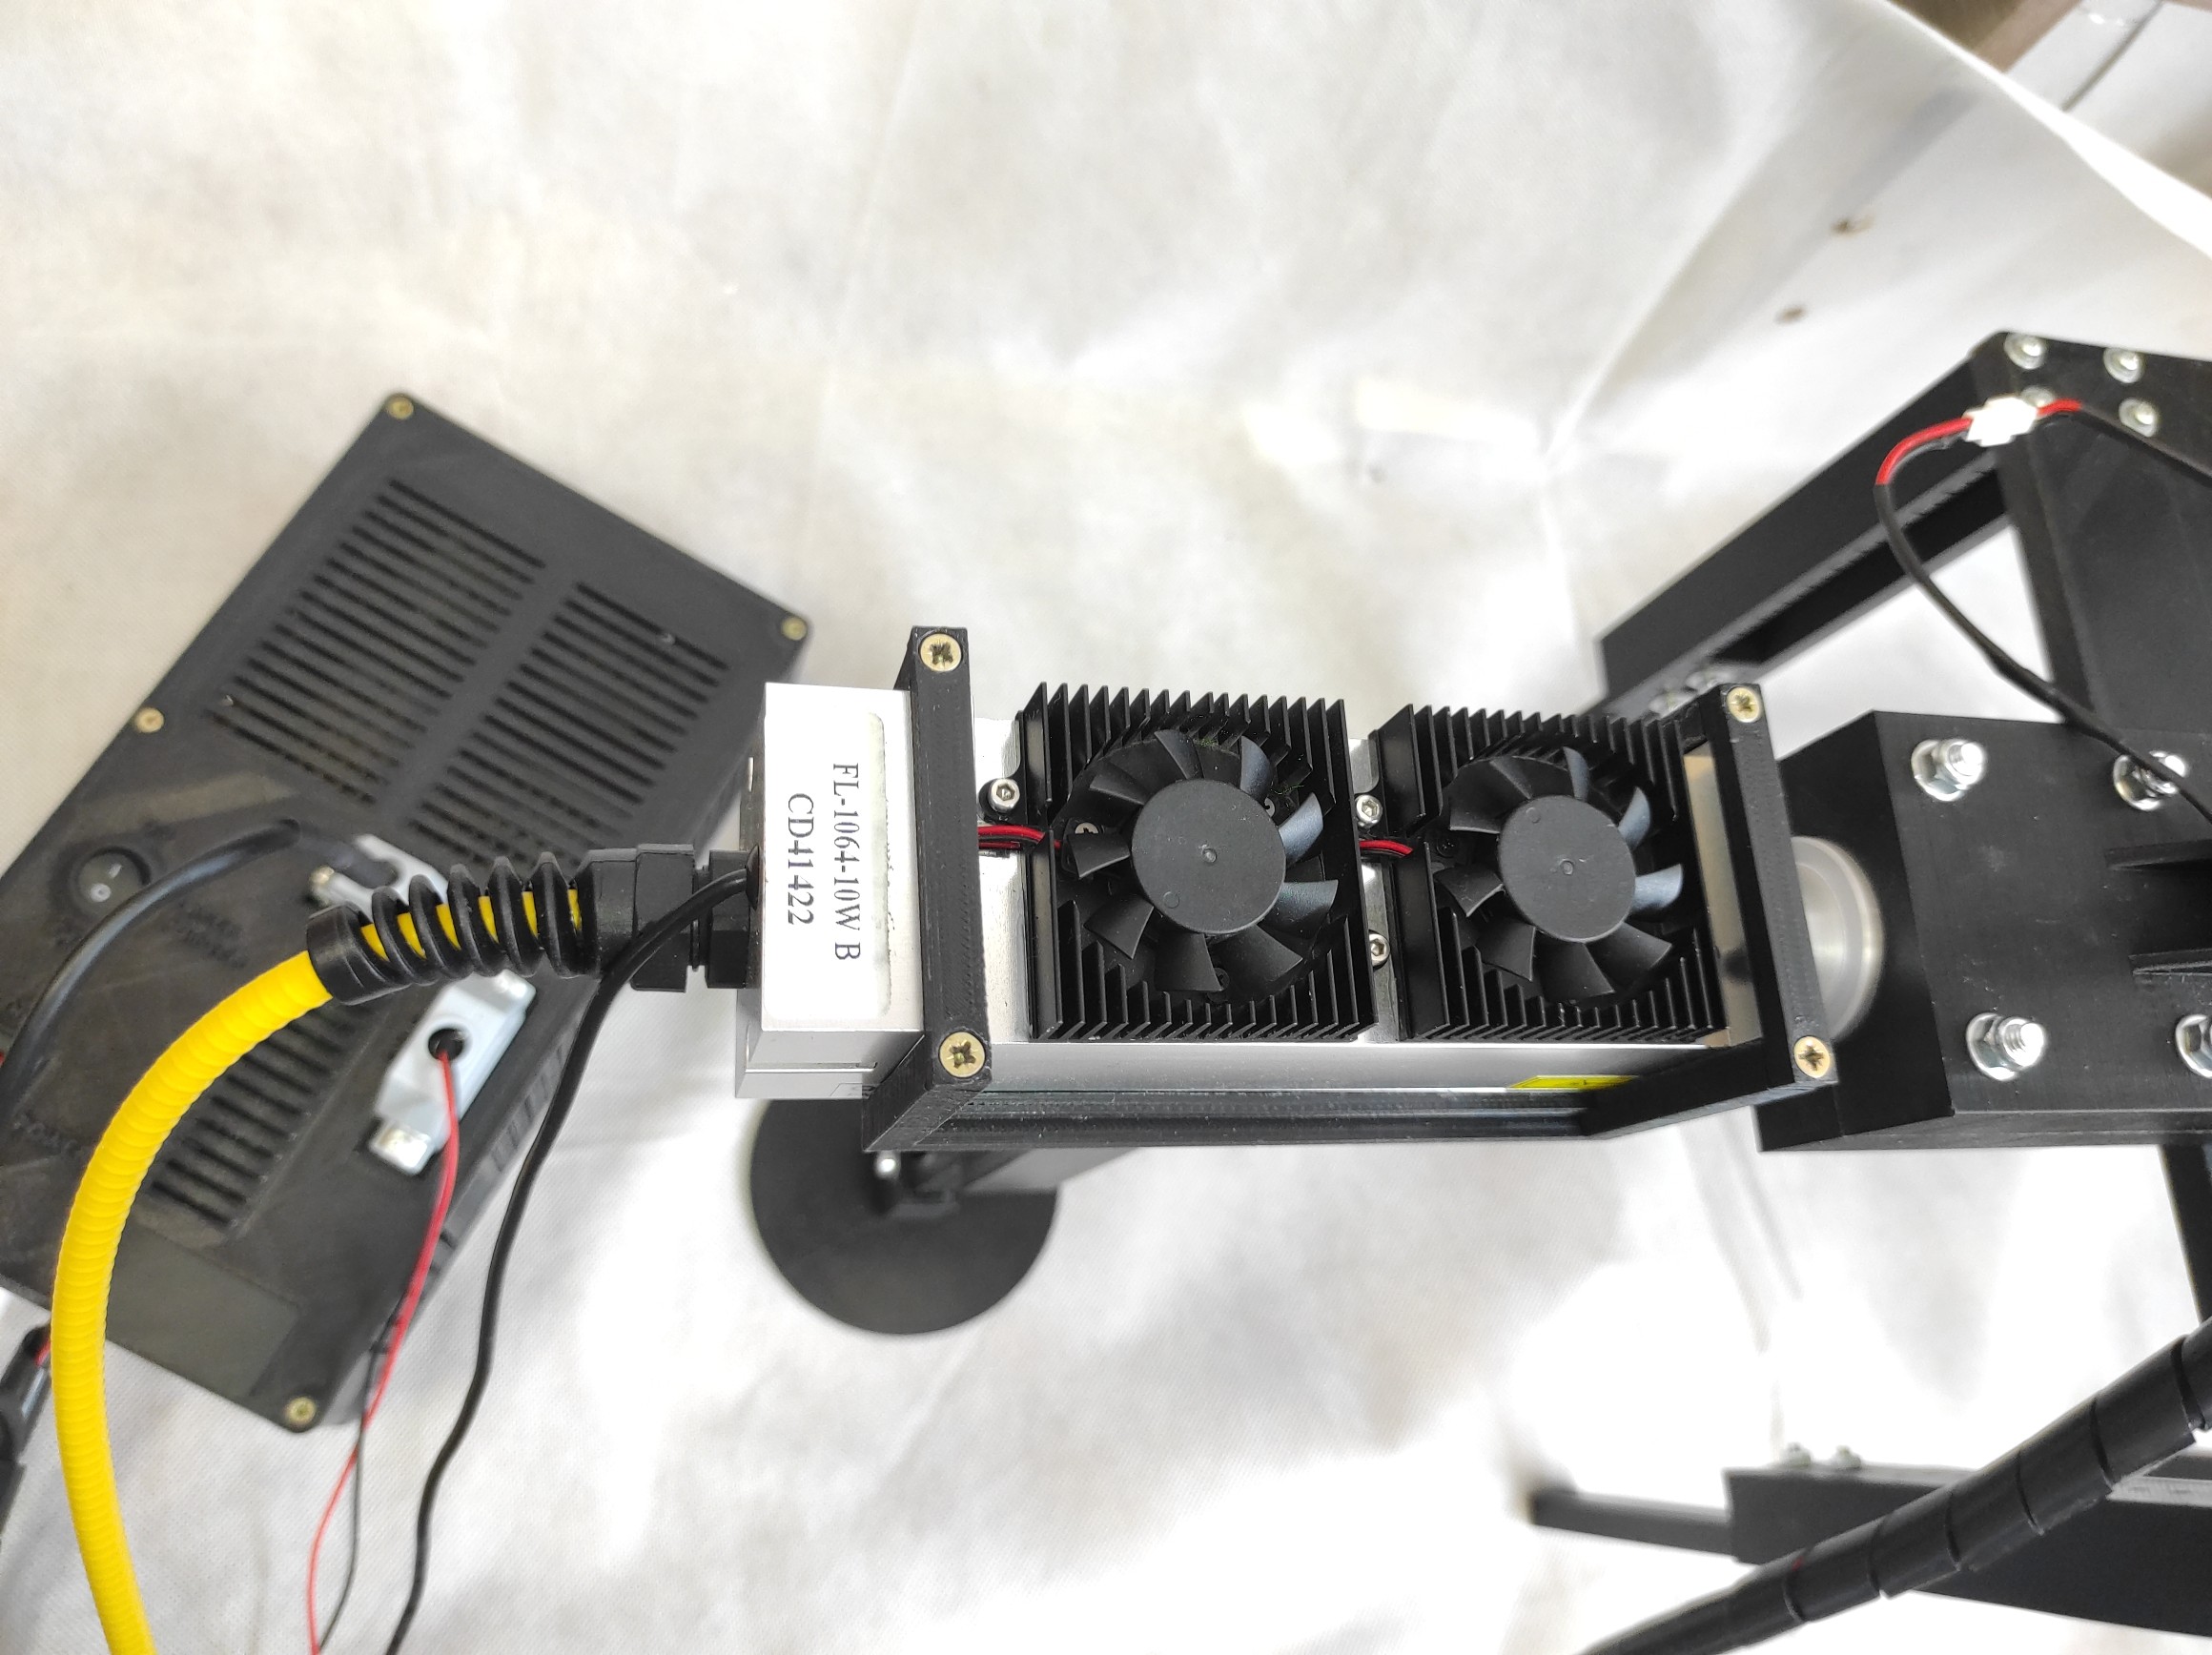
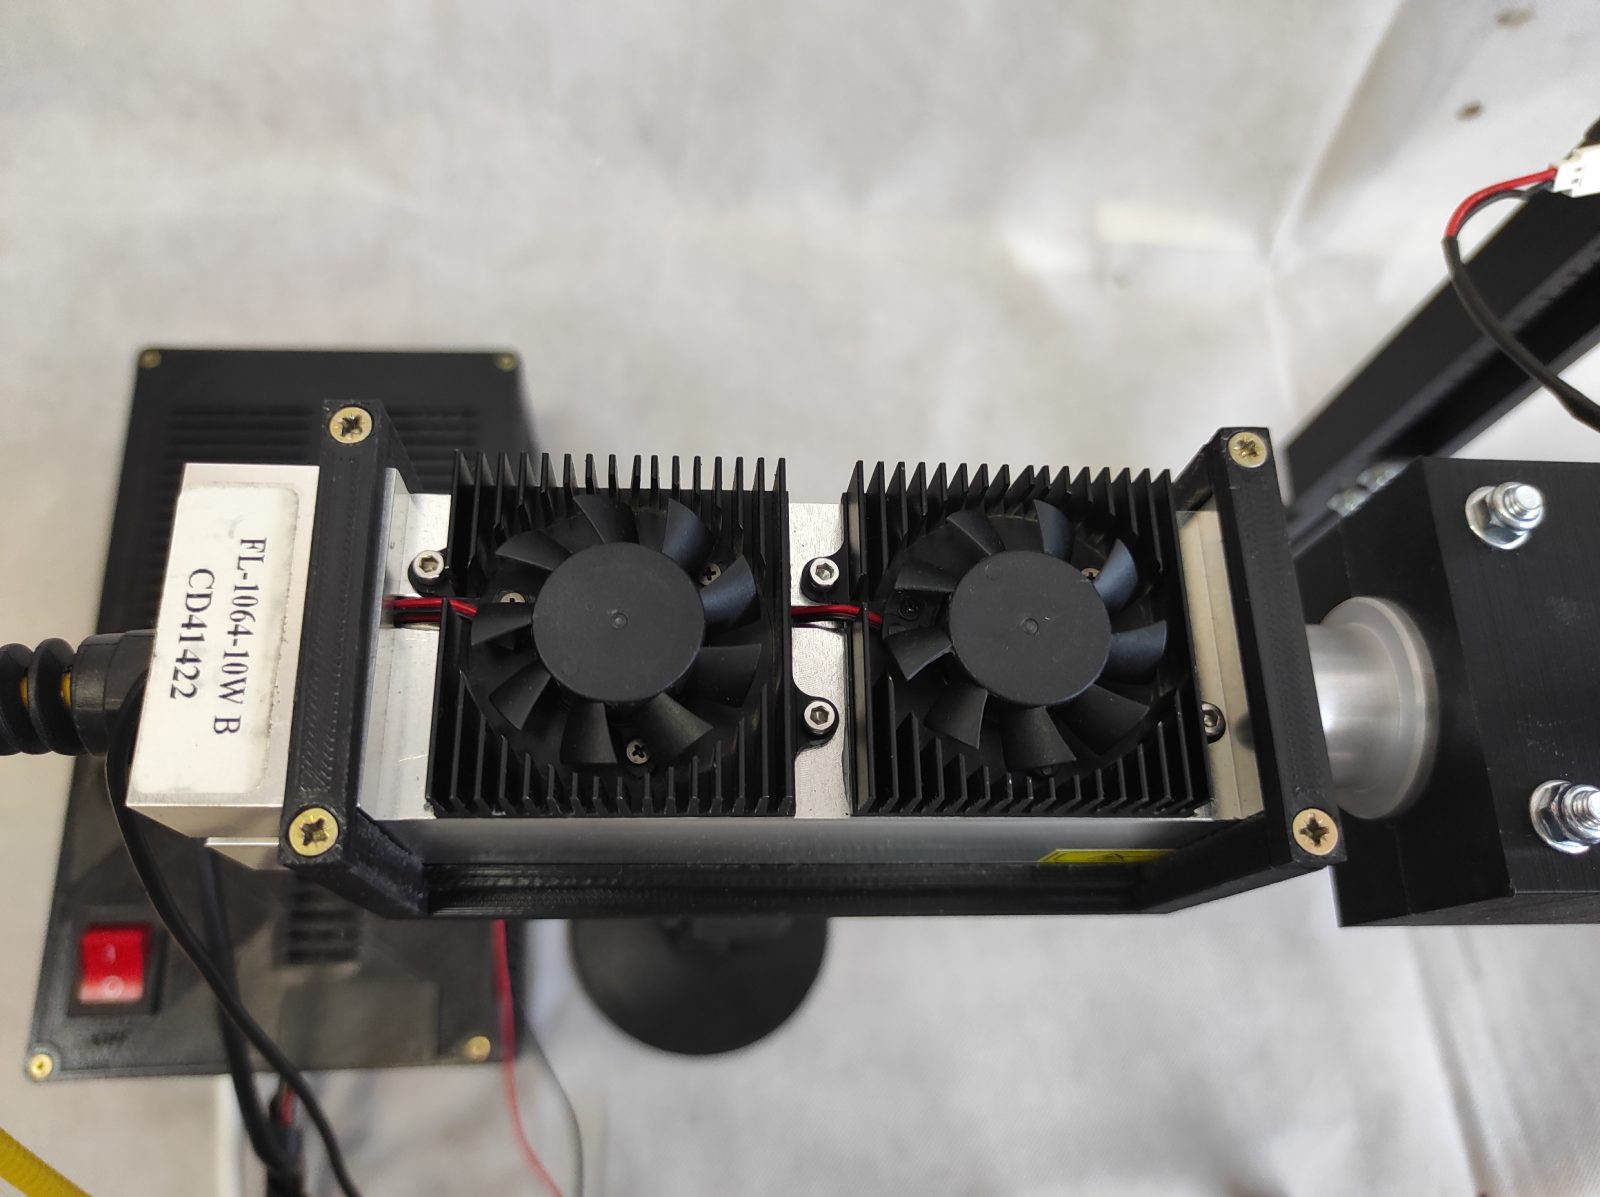
CONNECTING THE GALVO AND LASER
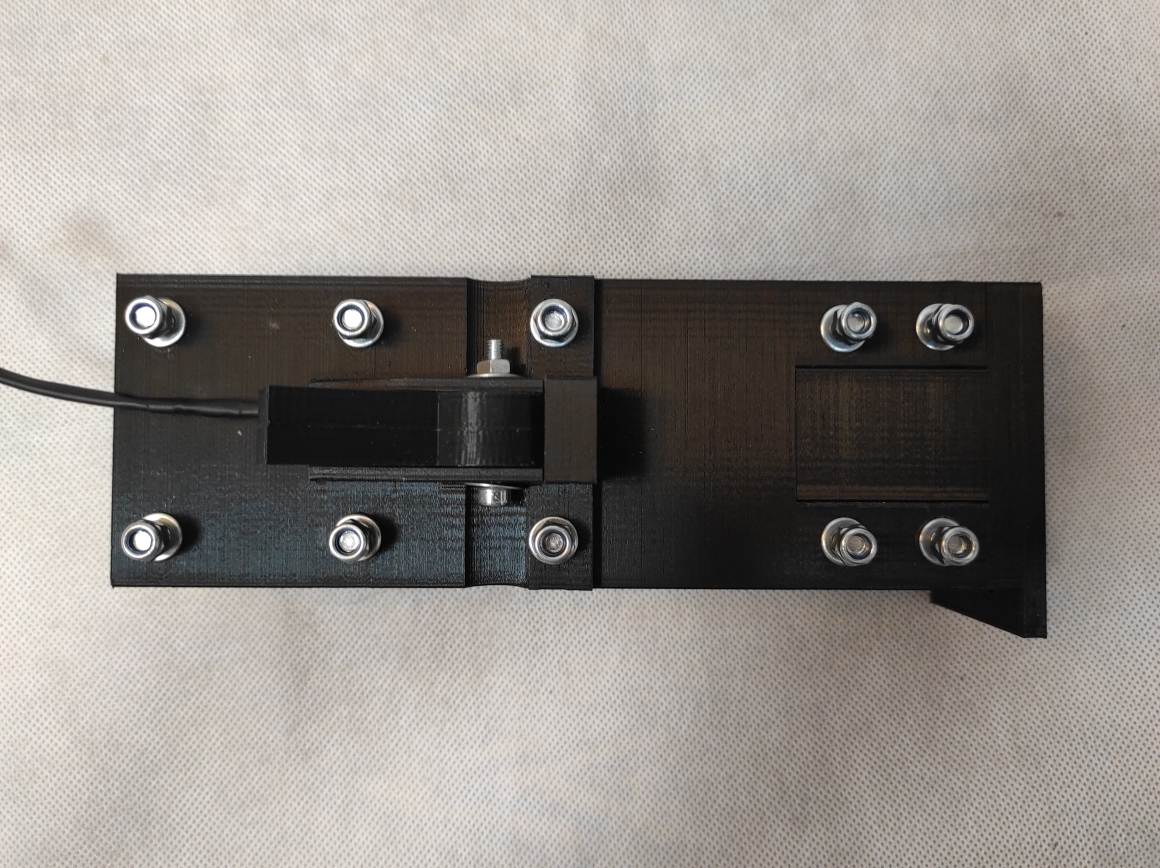
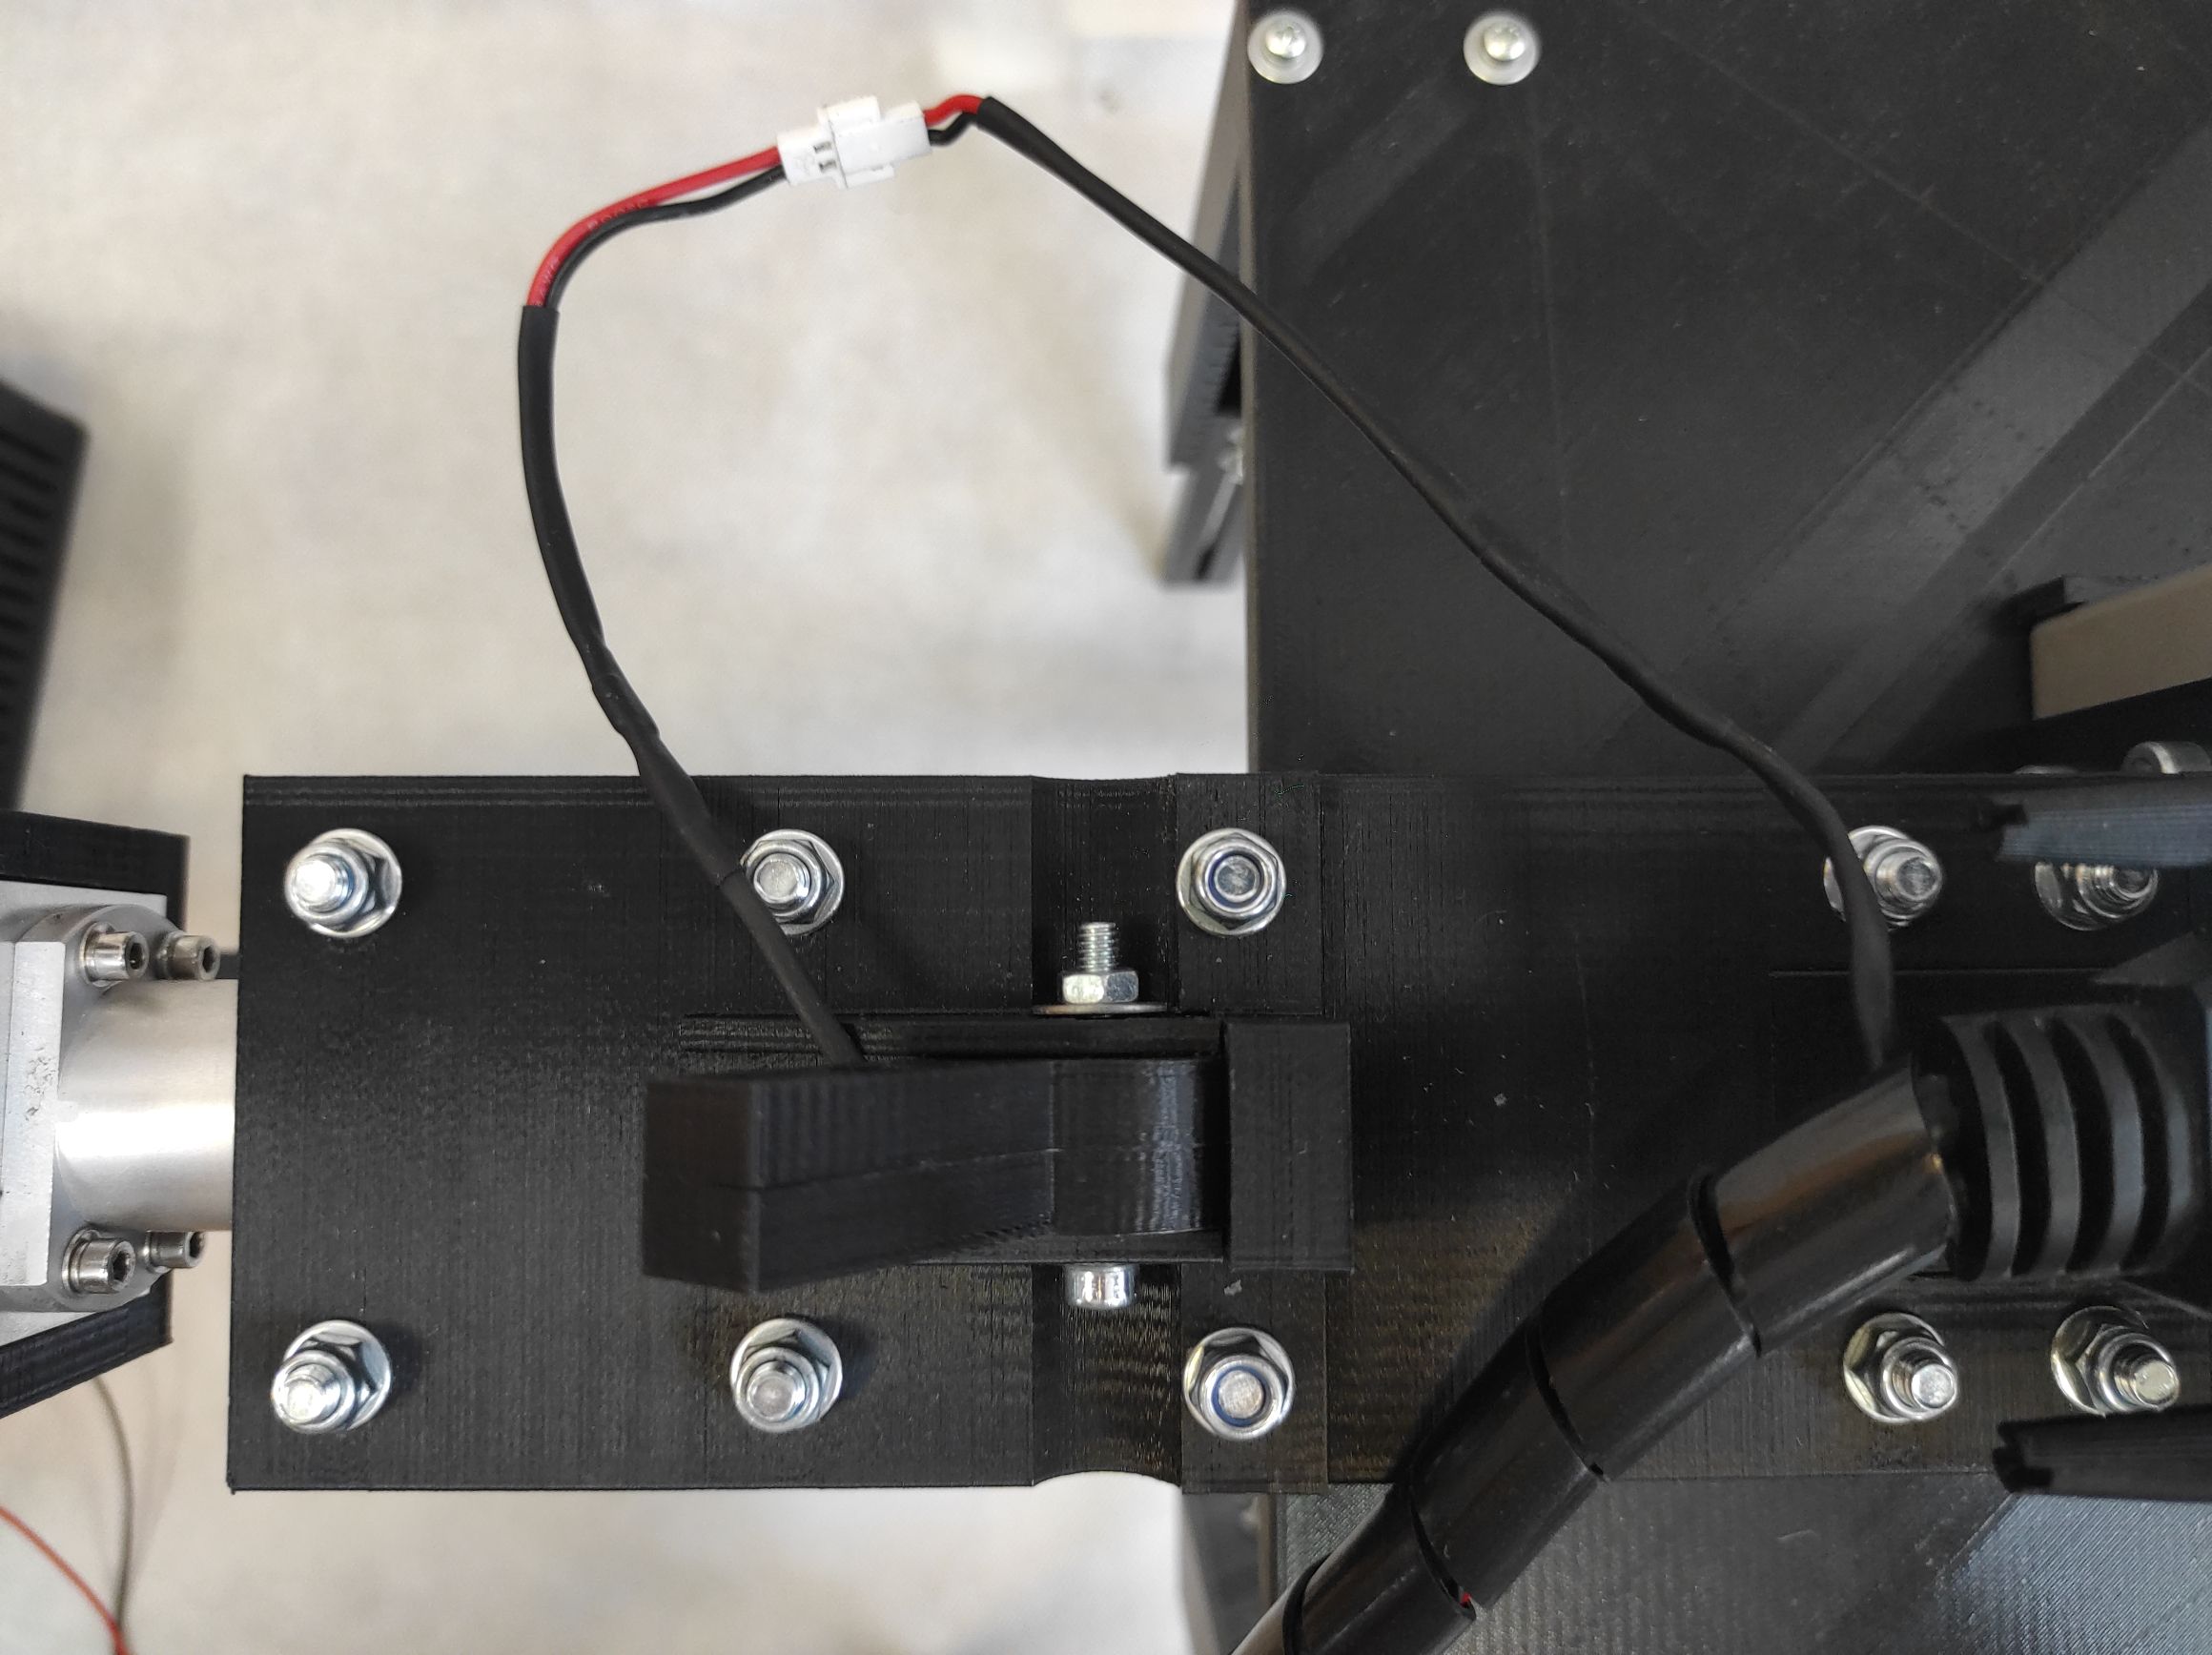
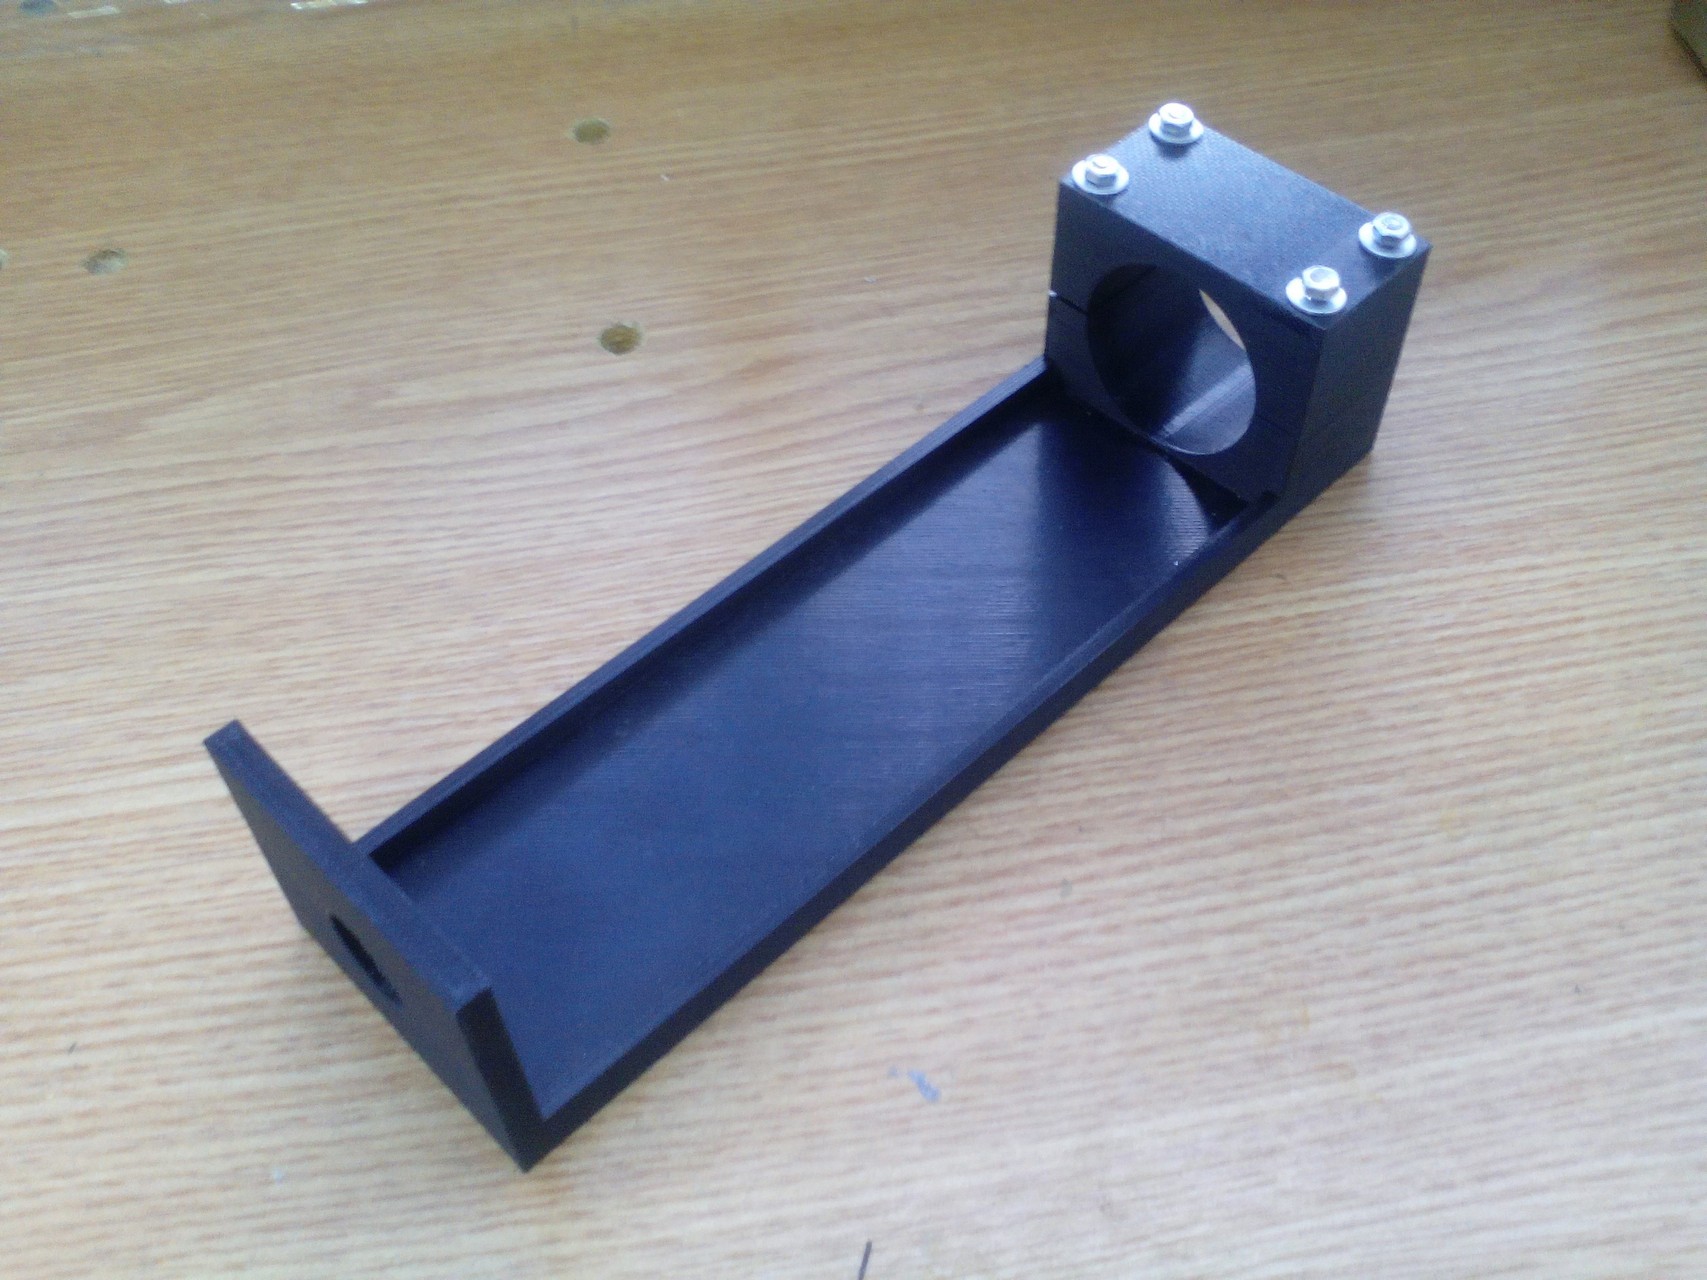
The next step is attaching the galvo head with the 3d printed mount. Once mounted, the galvo head can fit into the center of the table. It is now possible to connect the laser to the galvo head.

With the galvo on top of the table and in the center of the table, face it towards the screw slots and add the 3D printed bottom of the laser headcover.

The laser headcover has 2 pieces that will cover the extender of the laser head and you will need for the laser head to connect to the galvo. Once you attach the bottom piece for the laser head put the laser inside of the laser holder.

ALIGNING THE LASER AND GALVO
The laser height should be the same as the laser table and the laser and the galvo need to be aligned. Use the leg of the laser holder to adjust to the exact height. After this, put the top cover of the laser cover that fits on top of the extender.
you close it with the top of the 3D printed cover. It should now all connect well to the Galvo mount.
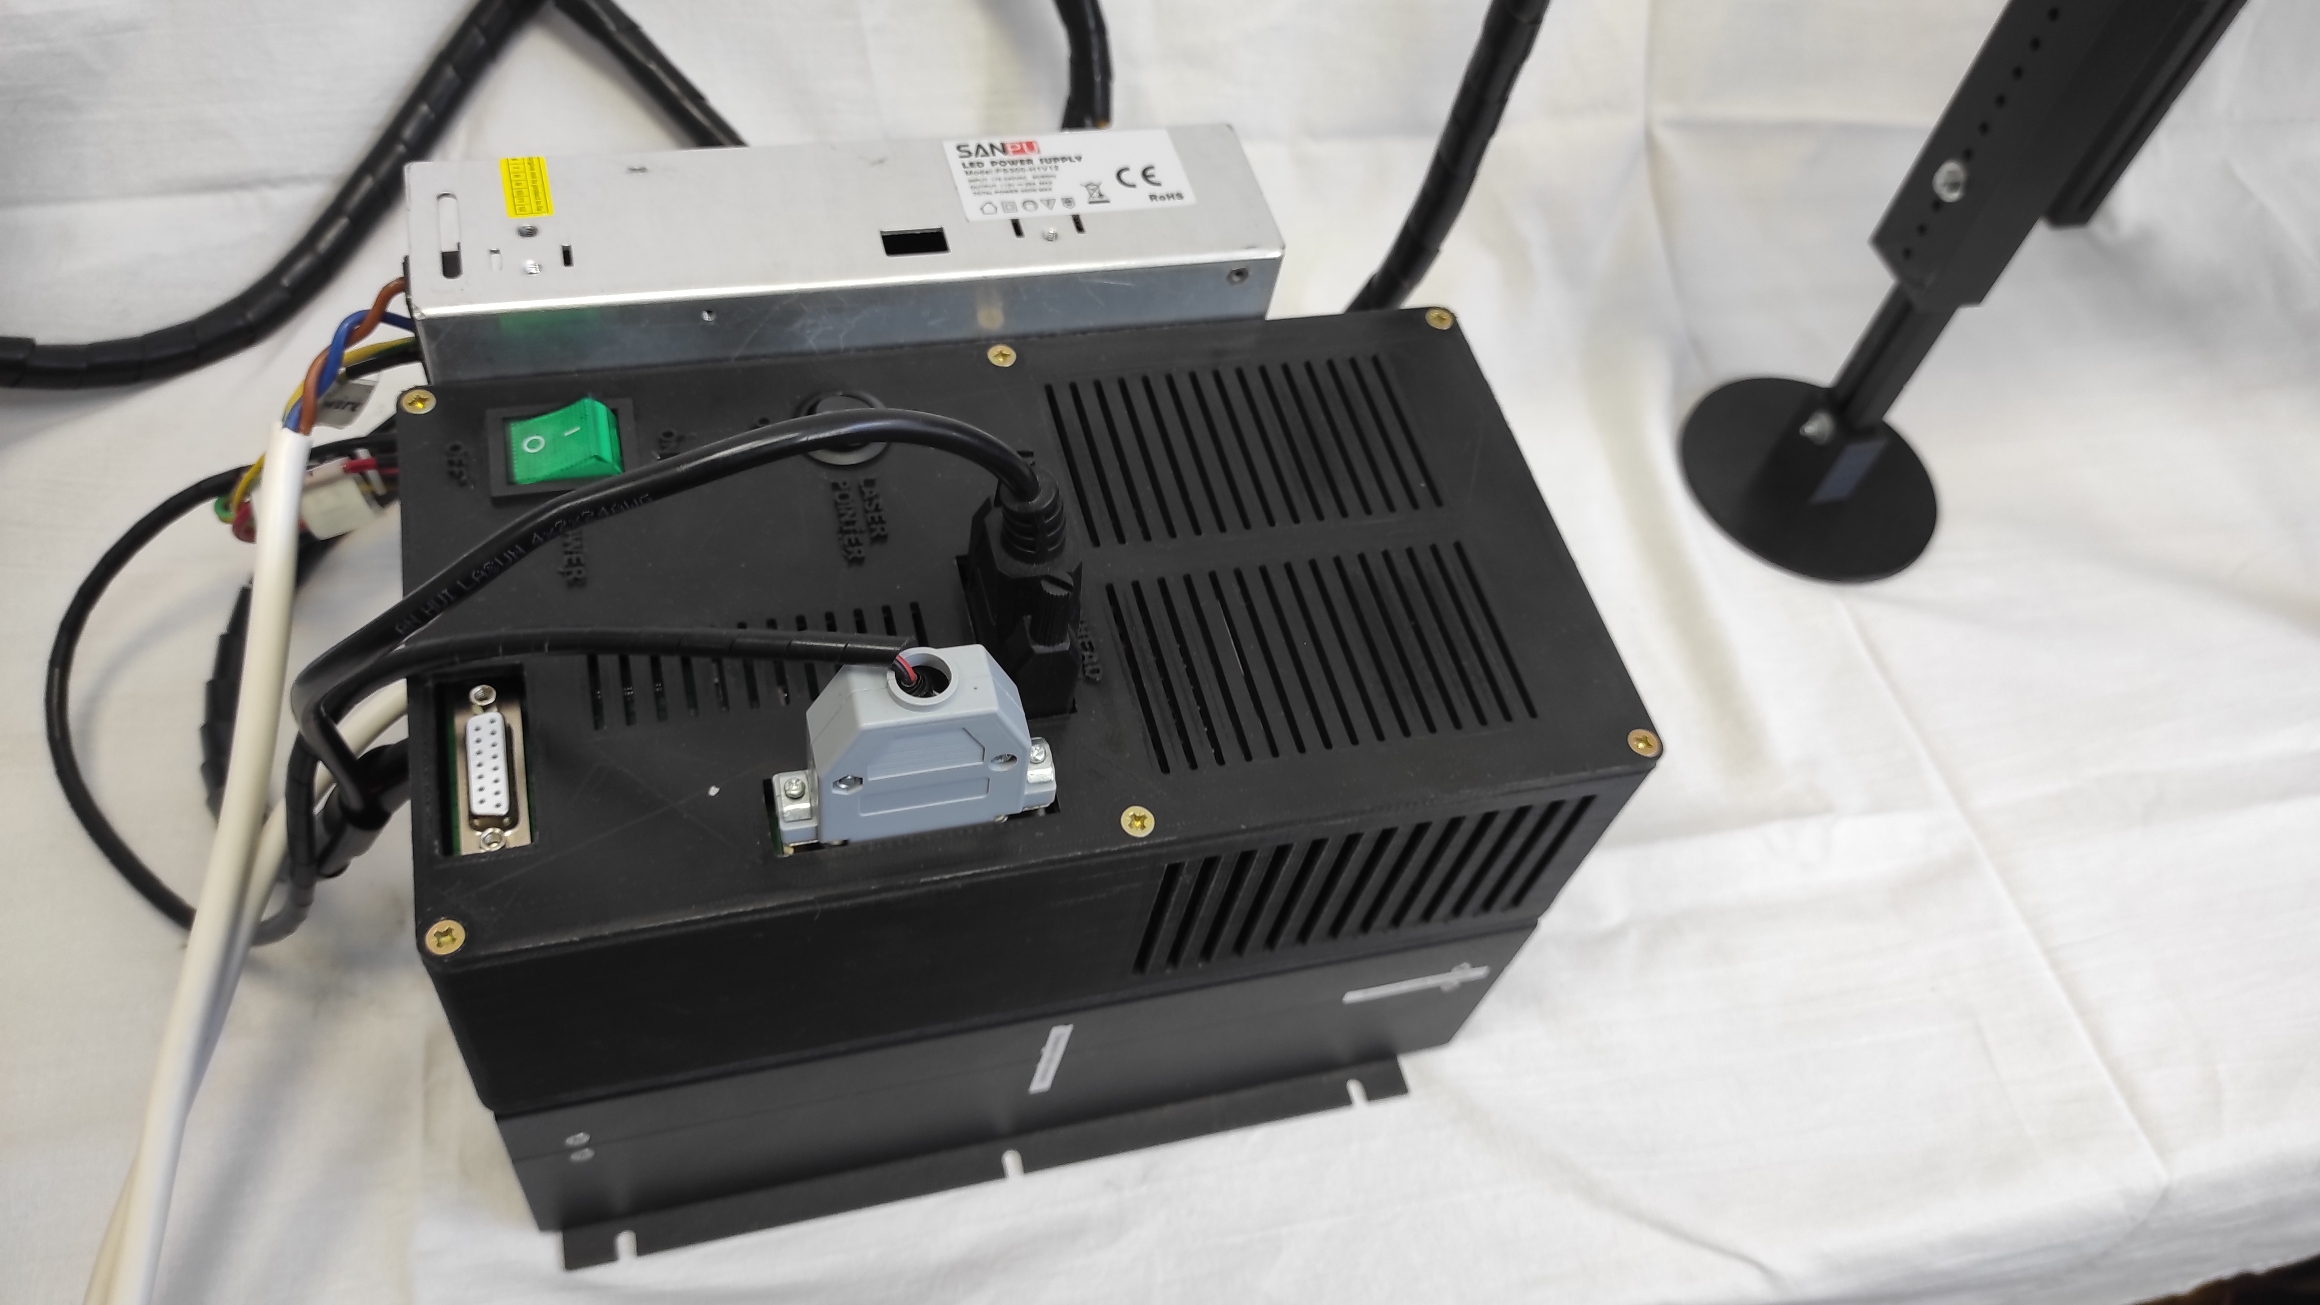
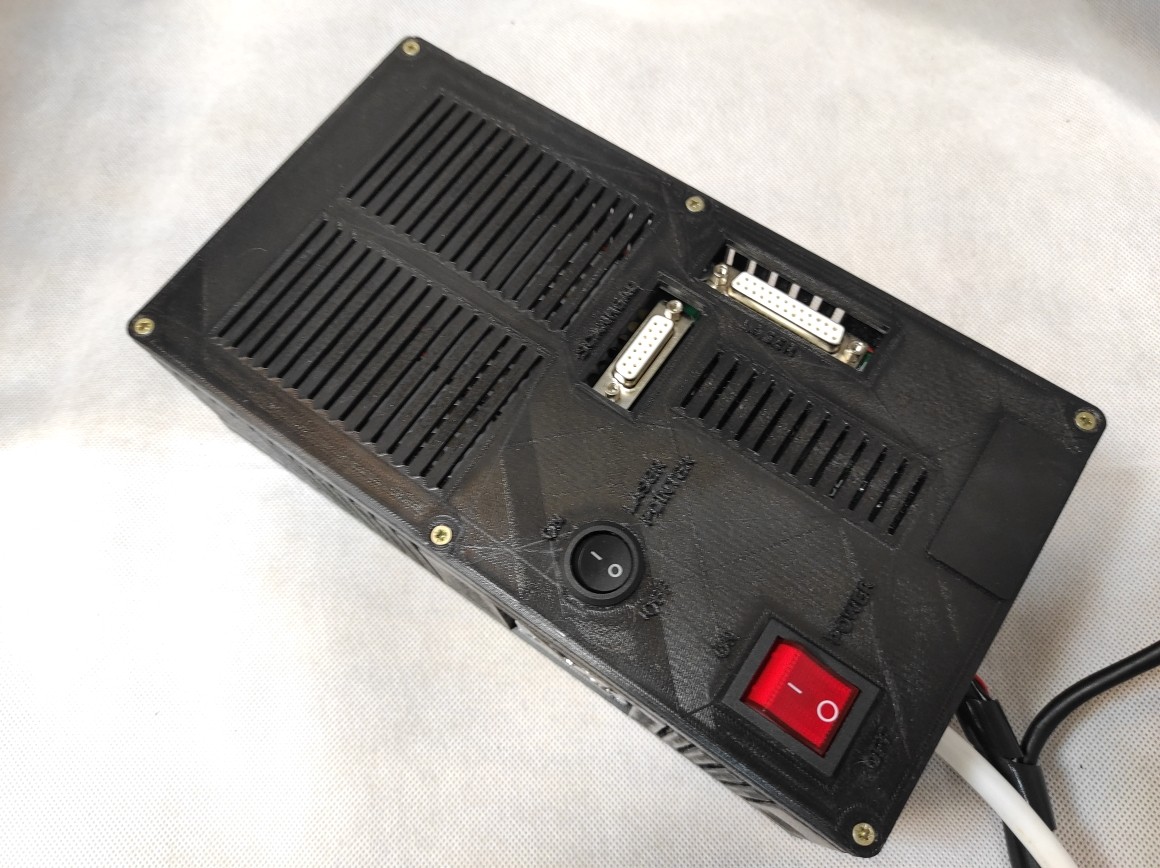
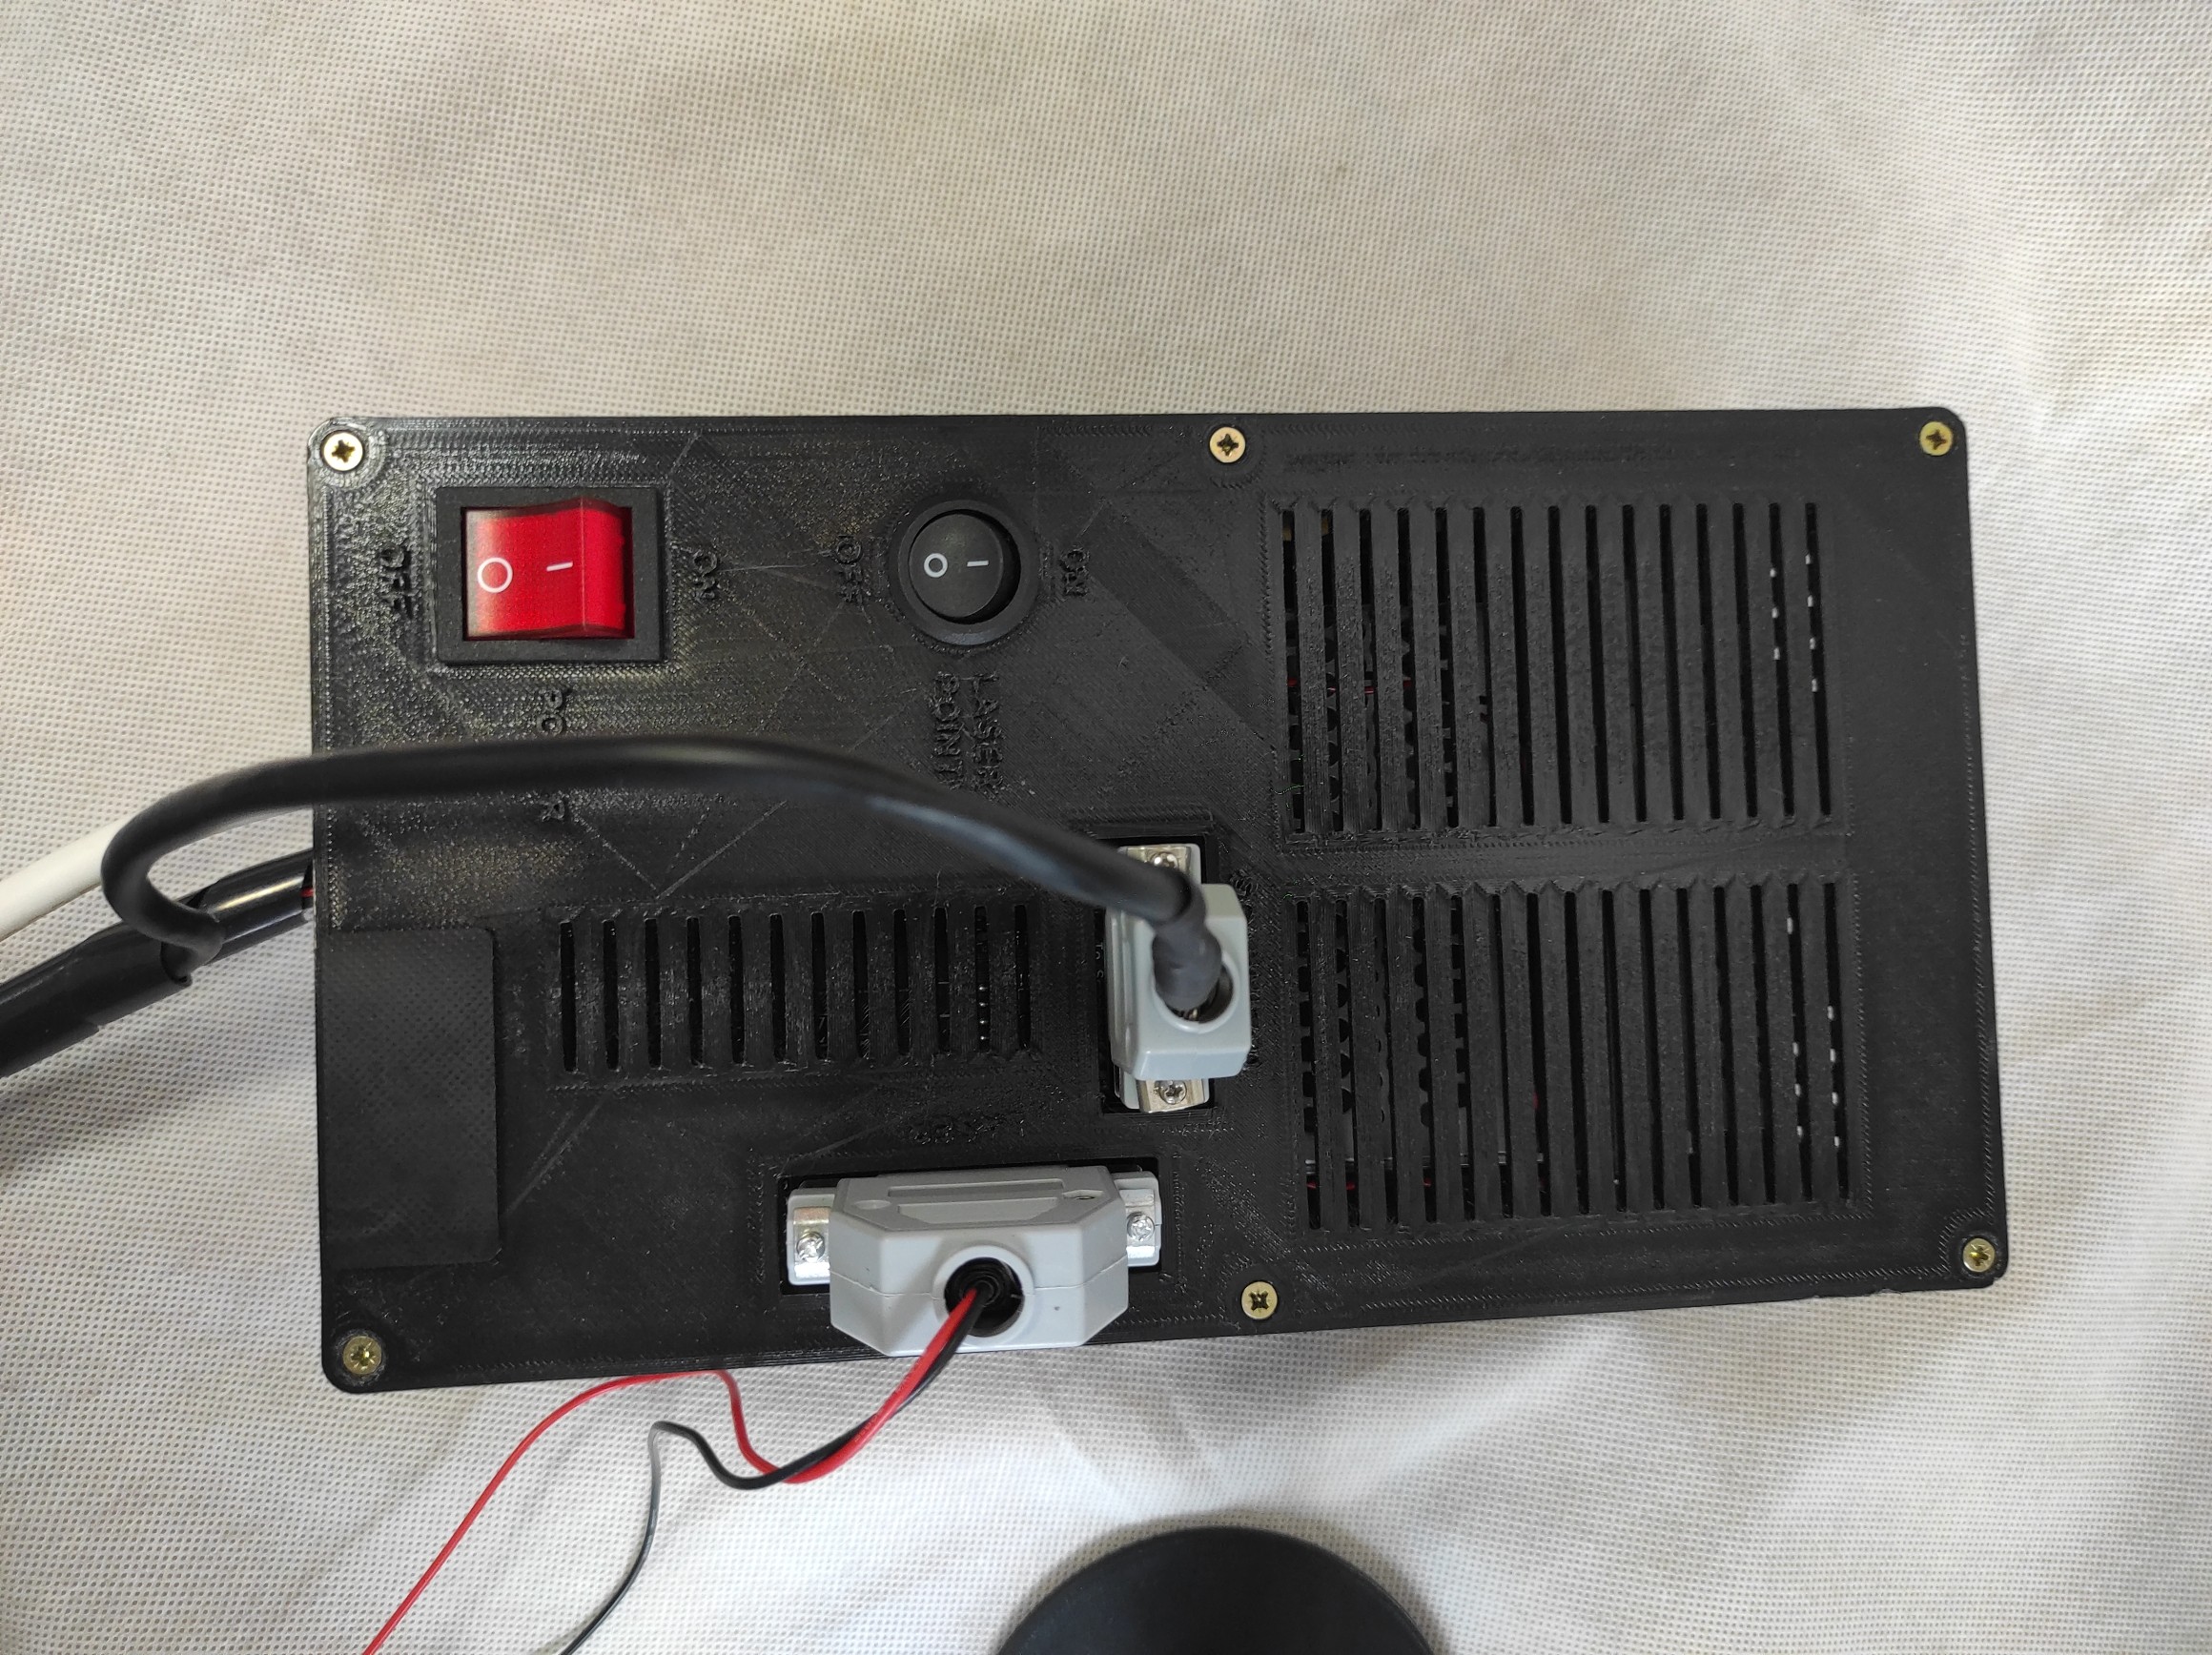
WIRING YOUR GALVO
Wiring you Galvo is a seamless process.
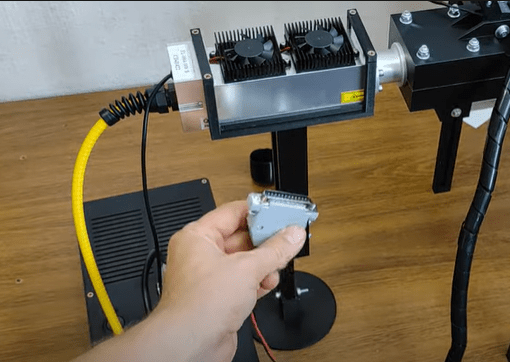
With an LPT connector, make a connection to the galvo.

The LPT cable for PWM( Pulse-width modulation) connects to the DPSS laser module.
Next,
Power on!
SOFTWARE
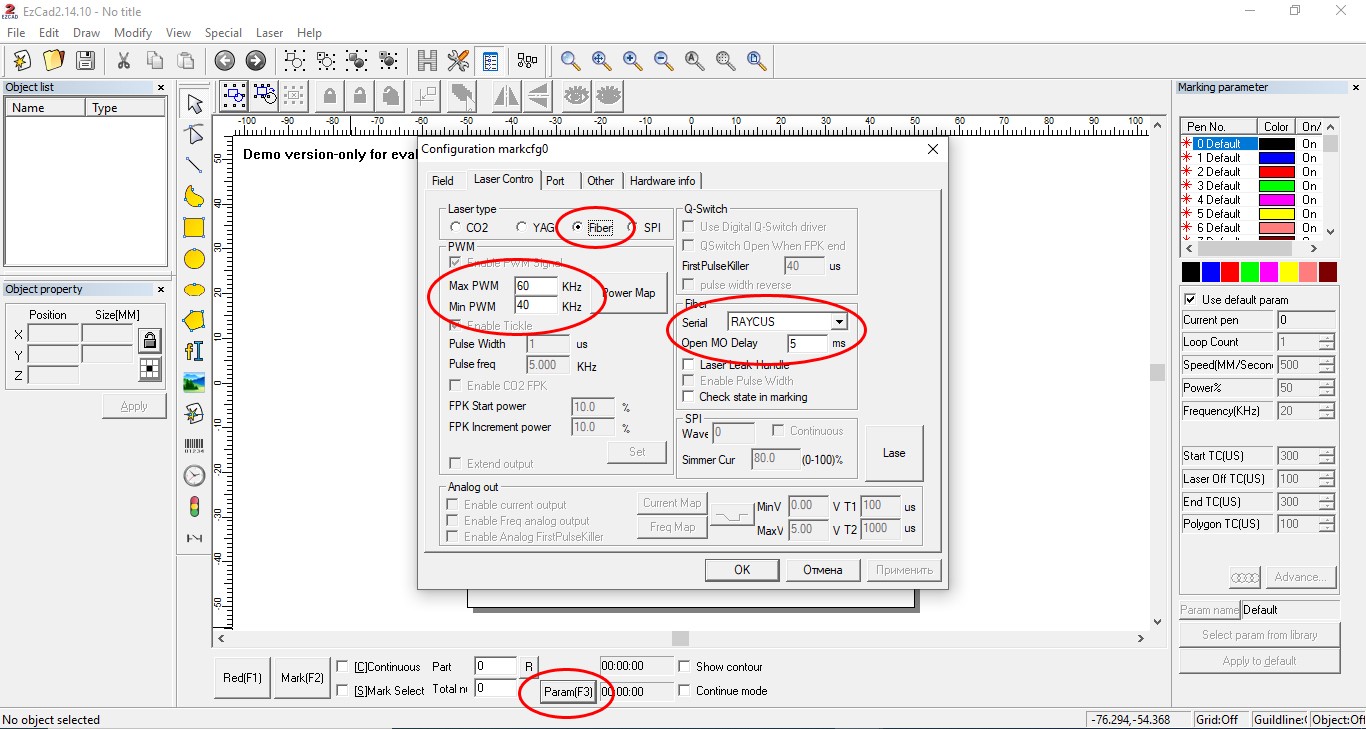
Use EzCad software to detect and use the laser.
You will need to find the focus on the laser. This is done by running the laser on minimum power. The regulation can be flipped to see where the laser point appears. You will be able to see and also hear the focus with a crinkling sound. Check the laser
Calibrate the laser pointer with the original laser beam.
Param>Other>Red light pointer> The Parameter that should be set for the pointer to be with the original laser beam is X-6MM and Y-19MM.
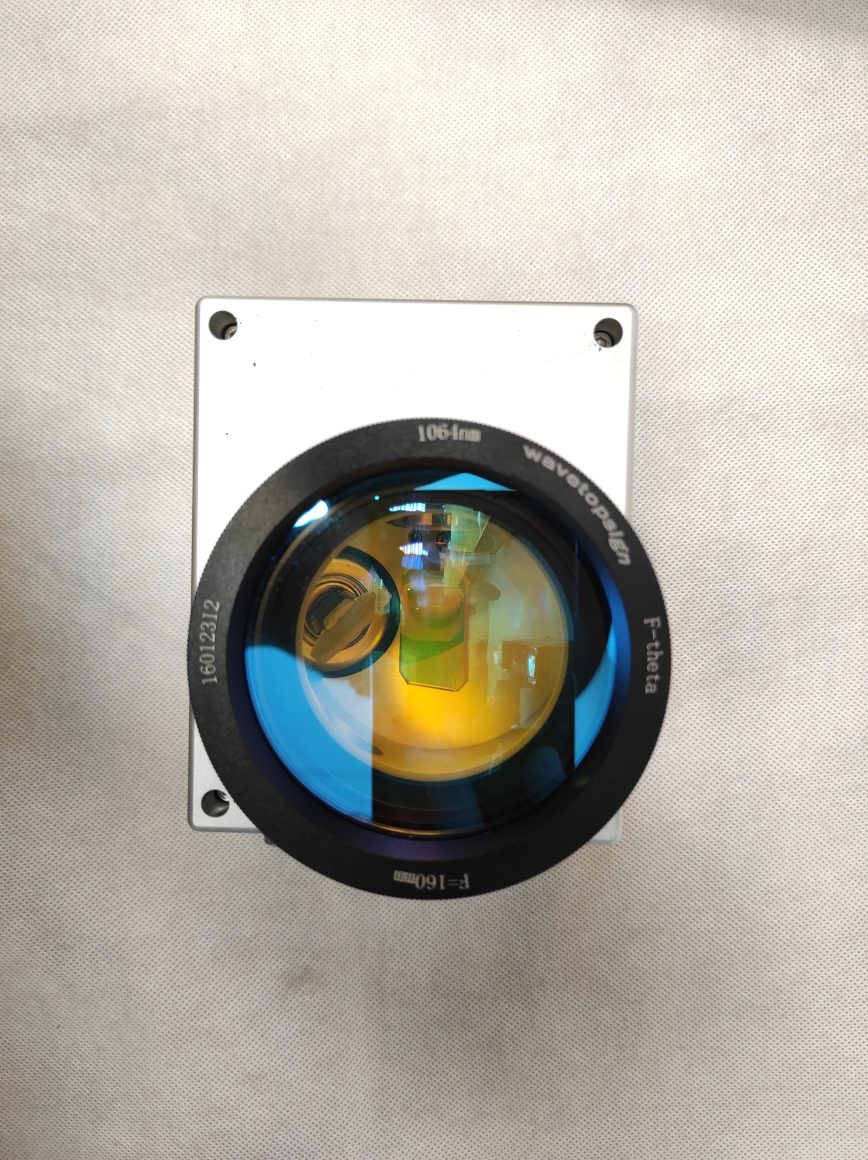
Testing beam expander

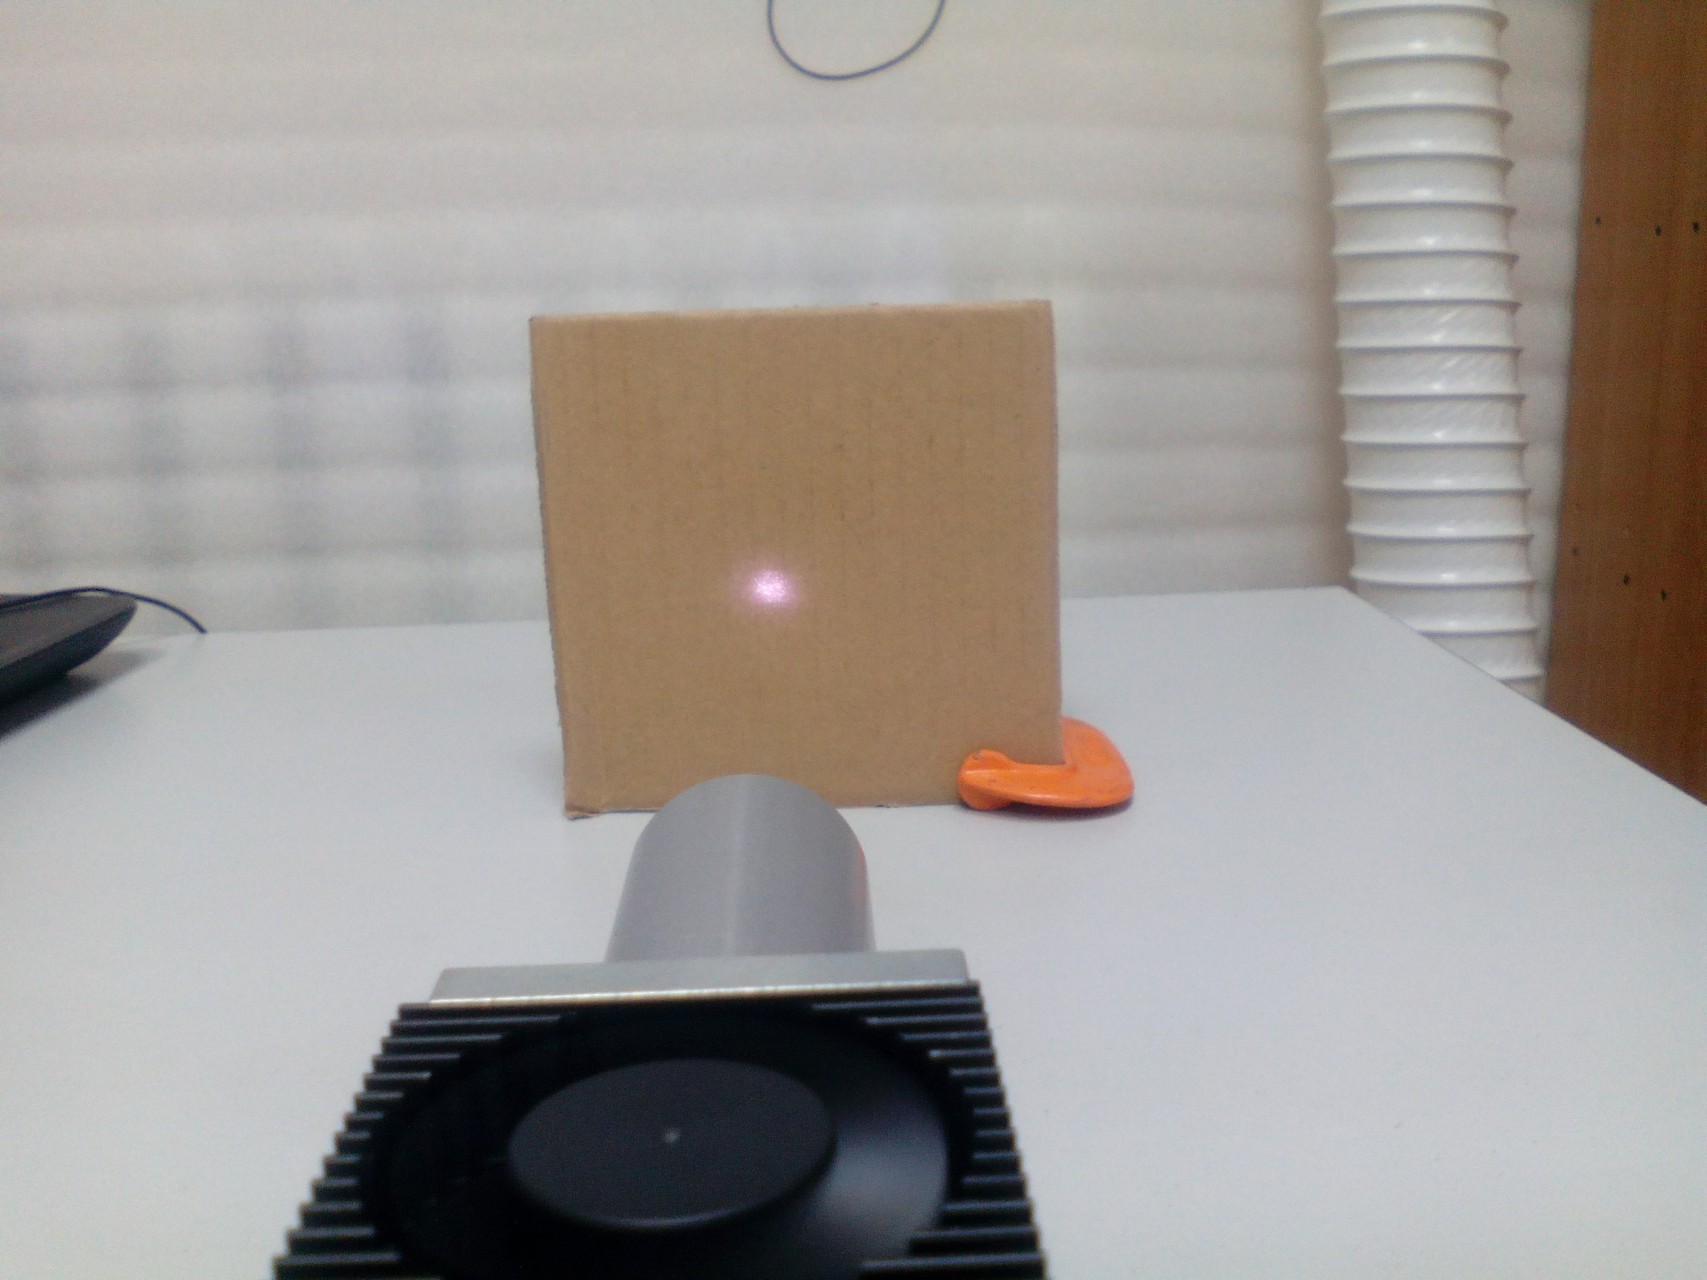
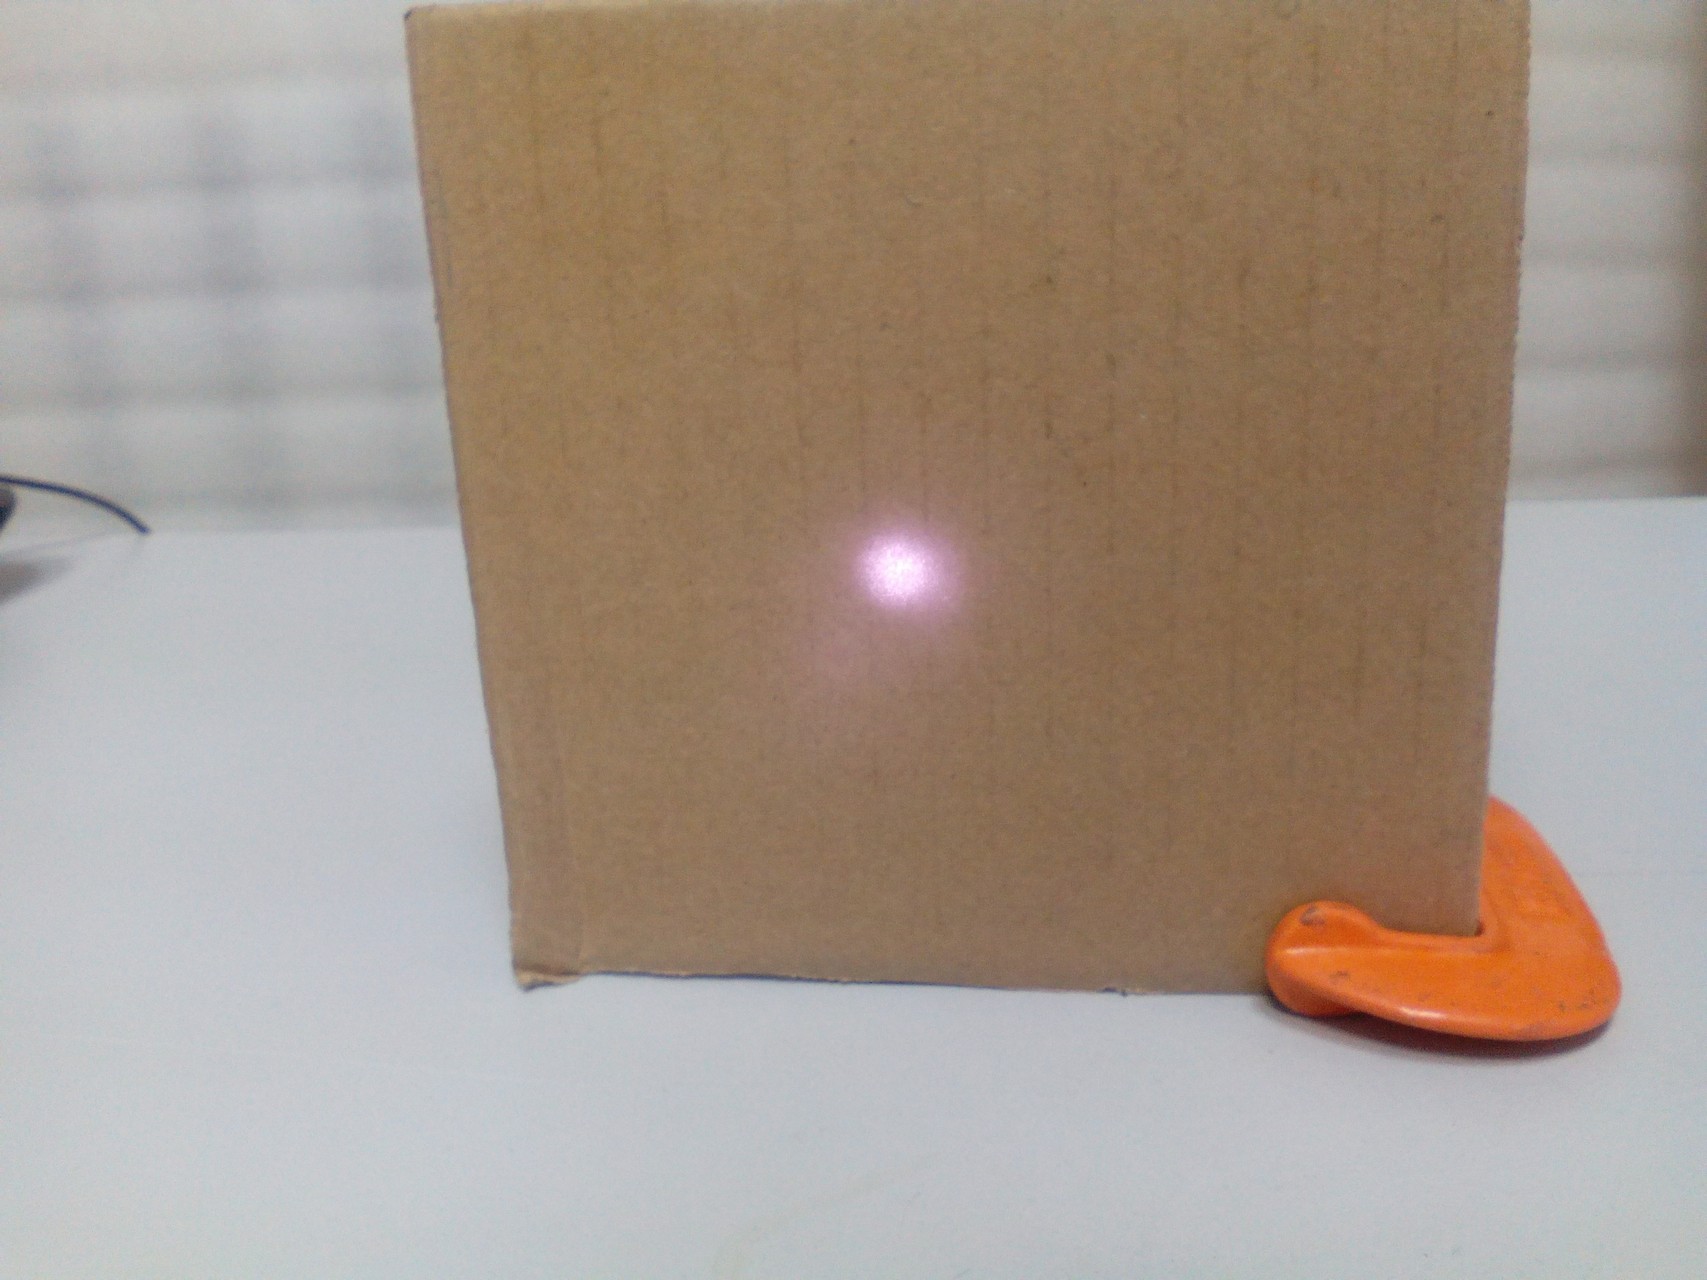
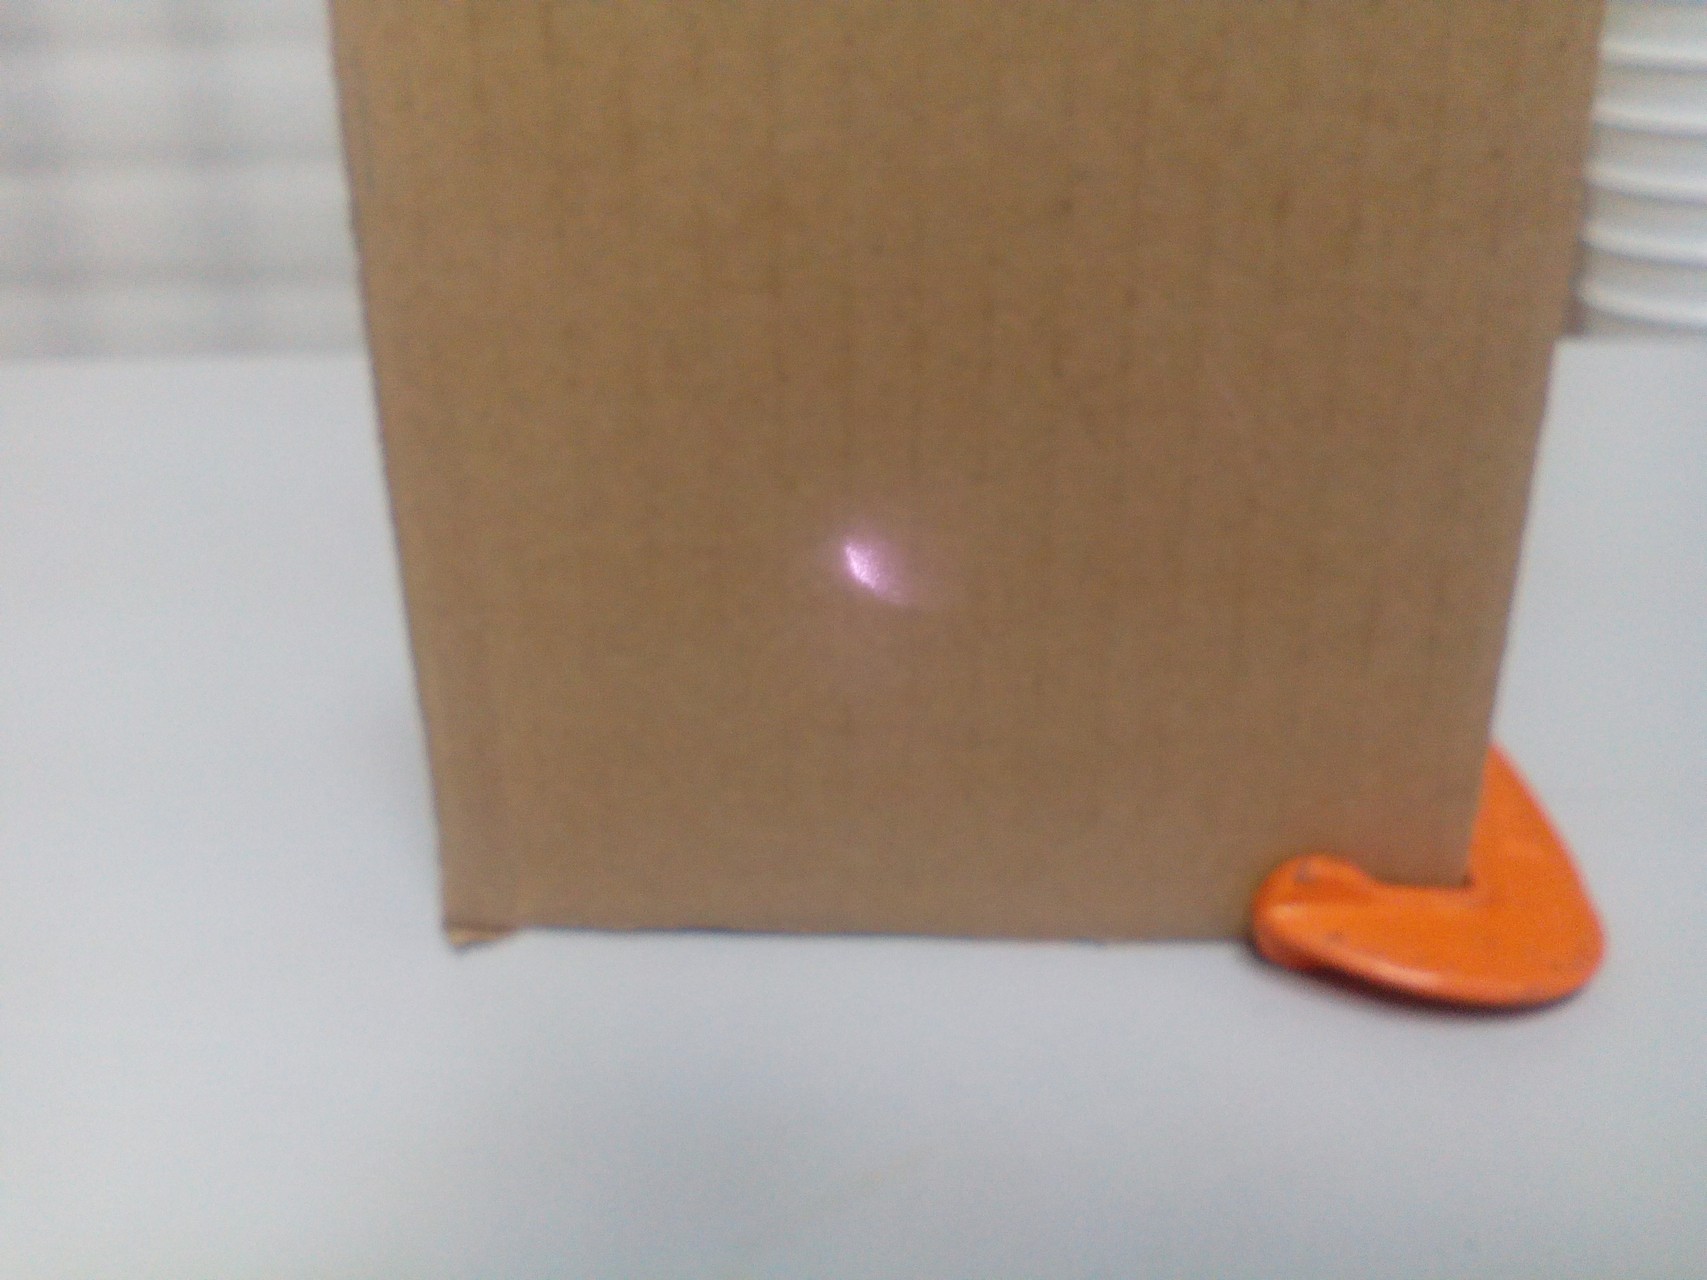
Check the beam expander is installed correctly by turning on the laser on low power and placing a cardboard sheet at a 20cm distance in front of the telescope. A complete bright round spot should be seen. If the point of the laser is scantly shining and barely showing a circle, then the beam expander is not properly aligned.
Turn on the laser at low power. Look at the cardboard through your smartphone’s camera. You should see a bright, round spot
If the spot is not completely round, then the beam expander is not properly aligned. It is necessary to loosen the screws that secure it, and slightly move it right-left-up-down to get the round spot.
Laser safety should also be remembered and the laser module should not be operated without knowing basic laser handling safety!
You will find the software package from Google Drive
Download Software 2.14.16 package from Google.Drive >>>
Drivers for the board: drivers
EzCad with manual: Ezcad2.14.10(20180103) (1)
Screenshot of settings for Raikus in EzCad. The settings are opened with the “Param” button at the bottom of the EzCad, or with the “F3” key. Laser Control tab.
You will be able to find an instructional video to make a DIY galvo system with 4 or 10waat DPSS laser How to make your own laser galvo marking machine. Fully 3D PRINTED! – YouTube
Testing beam expander
Download Software 2.14.16 package from Google.Drive >>>
Endurance custom gavlo scanner heads for diode, DPSS, Fiber and Co2 lasers