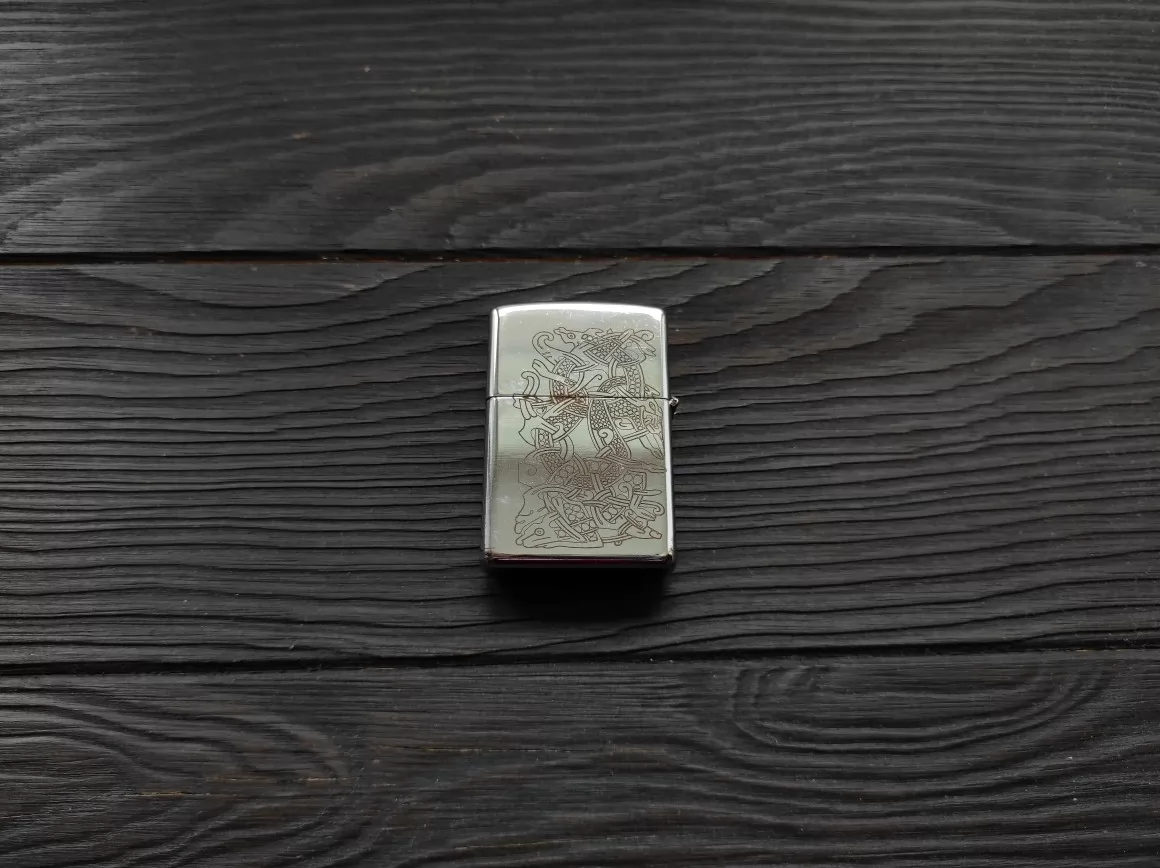
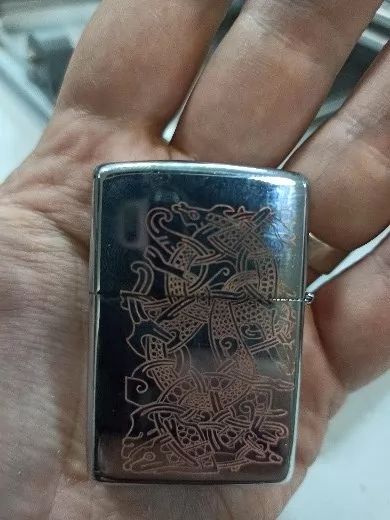
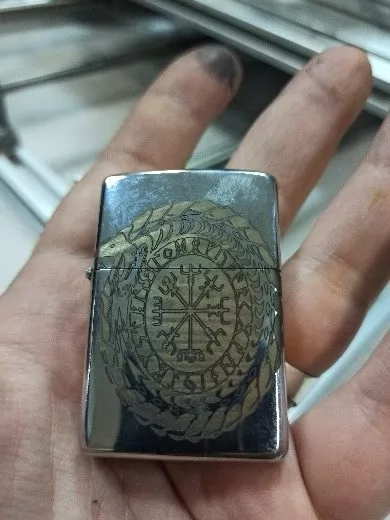
Two Different Ways to Engrave a Metal Surface of a Cigarette Lighter with a Diode Laser (Endurance 10 Watt DPSS Laser Nd:YAG, 1064 nm, F=30mm)
In this article, we describe the process of engraving of the metal surface of a lighter with an Endurance diode laser (for more ideas for lasing of different materials go to https://endurancelasers.com/gcode-samples-2/)
More about laser metal engraving
Engraving on metal – all you need to know about laser metal etching / marking / engraving
As an object for engraving, we have a metal cigarette lighter.
Below we describe how to pattern a metal surface in two different ways.
Template making for laser engraving
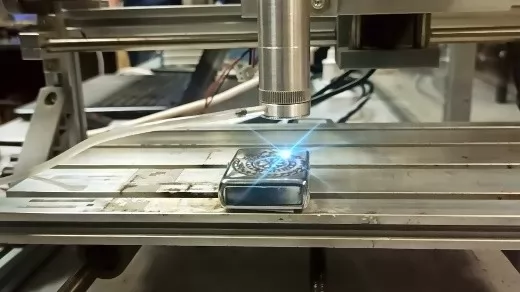
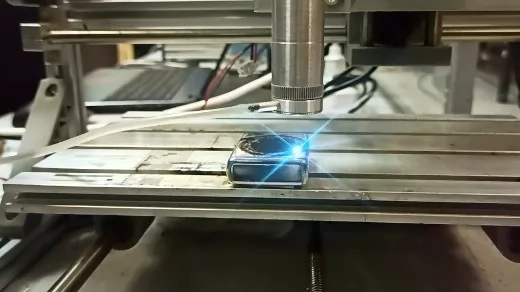
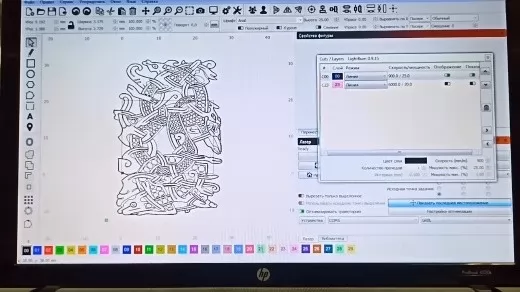
First of all, in any program for working with vector images, we create a pattern to be engraved. Then we open it the LightBurn 0.9.15 program and set the following parameters: the processing speed for lines 300 mm/sec., power 99%, number of passes 1, focal point on the workpiece surface. For the areas to be painted over (shaded): the processing speed 800 mm/sec., power 99%, number of passes 1.
Thus, different modes of engraving will be used for the lines and areas of shading, subsequently, they will have different colors.
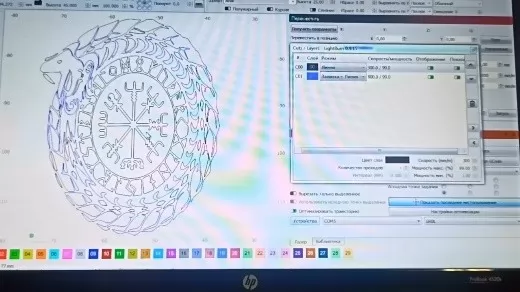
Positioning the lighter on the worktop
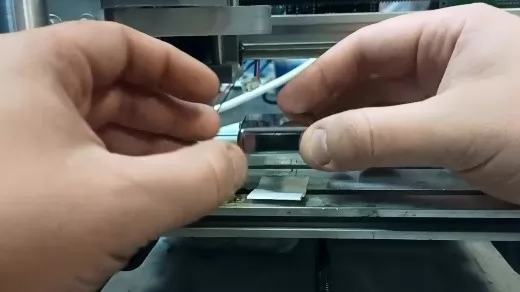
We place the lighter onto the laser worktable, fix it with adhesive tape and adjust the laser position aiming it in our case to the bottom left edge of the lighter flat surface). It is important to correctly set the size of the image so that it fits in well within the lighter surface being engraved. Now we can start the laser. It takes us 30 minutes to process one side of the lighter.
Preparation of the other side
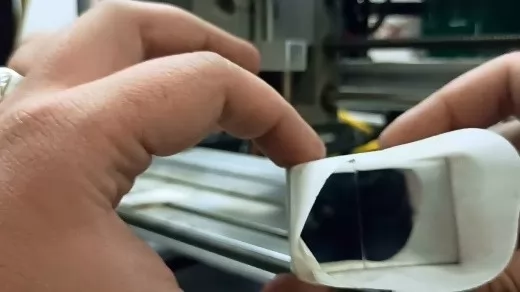
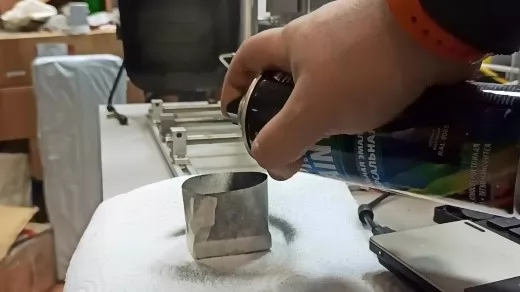
The next step is the preparation of the other side of the lighter. To do this, we need to cover it with black paint, soluble in acetone. We cover the surface with a thin layer of aerosol acrylic paint.
Pattern creation
While the paint is drying, we create another pattern in a vector graphics program and open it in LightBurn, set the required image size and the following engraving parameters: processing speed 900 mm/sec., power 20%, number of passes 1, focal point on the workpiece surface.
Laser engraving process
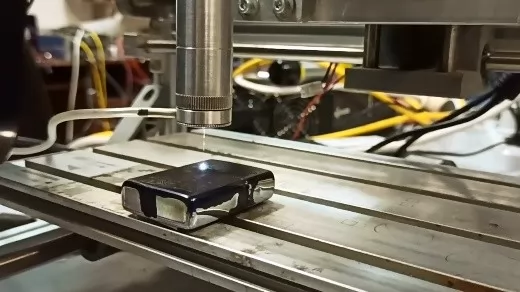
We place the lighter onto the worktable with its painted surface up, fix it with adhesive tape and start the laser. In the process, the laser beam removes the paint at the required areas according to the image. It takes us about 10 minutes.
Cover the processed areas with the copper
Now we need to cover the processed areas with copper. For this, we wrap the lighter with sticky tape in such a way that the tape forms a kind of a small cup with a lighter flat surface to be filled with a solution of copper sulfate. We make the solution in ratio one part of dry copper sulfate to one part of water and cover with it the painted surface of the lighter. As the result of the chemical reaction, copper is deposited on the laser-treated areas of the metal surface. This process takes about 20 minutes. In the end, we remove the paint residues with some solvent or acetone. The copper image is immune to these chemicals. 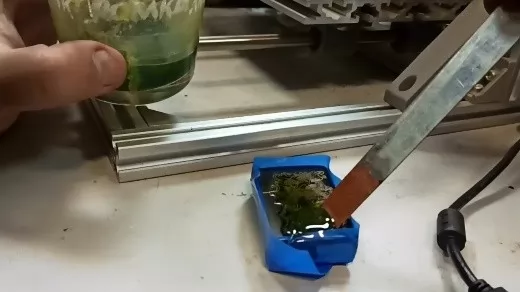
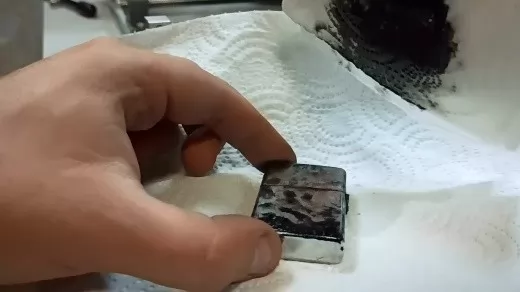
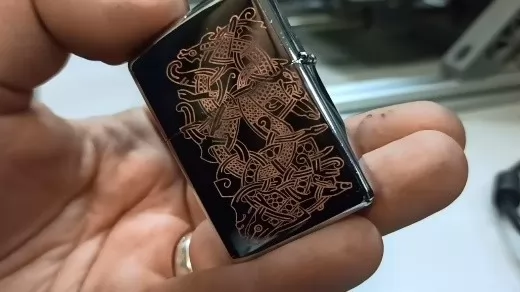
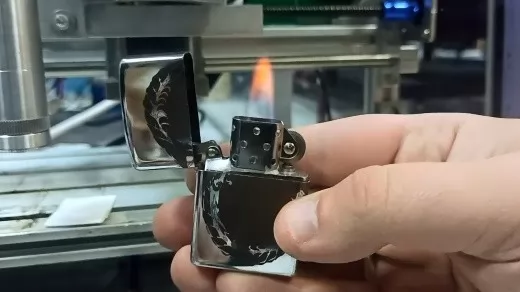
Thus, we have a lighter with engravings made by two different methods. Only the use of the laser helped us achieve this great result.
Explore Endurance laser abilities >>>
Endurance lasers: all about cutting and engraving abilities of diode, DPSS, fiber, Co2 lasers.
Laser Engraving & cutter projects – photo and files – best ideas
