High-quality standard
Multi-level testing system.
Industrial components.
Ultra reliable
The guaranteed duration of the continuous operation ~48-72 hours.
True continuous power output
Our products have the rated power output as advertised – unlike Chinese analogues.
TTL mode
Can be turned on and off with 3.5-24V.
Variable power output.
Plug and play
Universal and compatible mount.
Compatible with most 3D printers and CNC machines.
Friendly return policy
Do not like the laser?
Simply return within 30 days and get a full refund.
Aluminum Engraving and Cutting – all you need to know
Aluminum laser marking with 4 watt DPSSL
General principles of aluminum laser processing
Obtaining embossed images on aluminum by way of laser engraving is the most widely used method of this material surface processing. Using a laser engraver, it is possible to make engravings of the highest quality and degree of detail. The engraving speed and its depth depend directly on the main parameter of the engraver – its power. Powerful enough engravers can both engrave and cut aluminum (as we know cutting is nothing else but deep engraving).
Now a few words about aluminum itself. Aluminum is one of the best materials for lasering. It is light, yielding, and has high thermal and electric conductivity. Aluminum is much easier to laser cut and engrave than steel, zinc, copper, or titanium.
Peculiarities about anodized aluminum
Anodized aluminum has some more useful features such as high corrosion and mechanical impact resistance, which make it stand apart. Anodizing is a chemical electrolytic reaction of metal with an oxidizing element. In this process, a thin coating of oxide is applied to the surface of the metal (here, aluminum). The end result of anodizing is the creation of a thin layer of an anode oxide film (AOF). One of the distinctive features of the anode coating is its ability to absorb dyes of various chemical compositions.

Anodizing aluminum process – detailed video
Anodized aluminum laser engraving with 8.5 watt PLUS Endurance blue 445 nm diode laser module
Concepts of lasering based on the material features and laser settings
The laser technology is an ideal option for aluminum marking and engraving. DPSS, diode and fiber lasers are good options for aluminum processing. As for CO2 lasers, only very powerful CO2 laser (150 watt+) machines can cut and engrave metals and usually with oxygen assist.
Methods of aluminum lasering depend on two factors:
the type of aluminum, if it anodized or not, and what type of lasering is needed: cutting, engraving, or marking. Let’s consider each of the above cases in detail.
Laser engraving of non-anodized aluminum
Even low-powered machines can create embossed engravings on aluminum surfaces. A 10W DPSSL laser is good enough to perform rather deep (0.2-0.3 mm) engraving depending on the processing speed. In the engraving process, the laser heats the processed areas of the metal, and the aluminum there evaporates. This process results in relief engraving.
An aluminum laser engraving video with 8.5 watt DIODE blue laser:
Aluminum laser cutting with 10 watt DPSSL and short focal lens (F=20/30 mm)
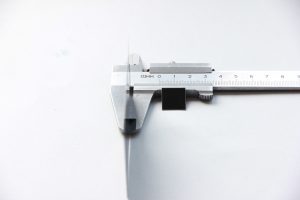
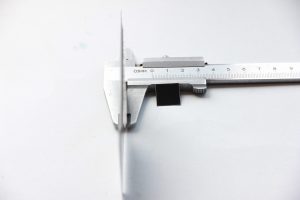
Laser cutting is practically the same process as engraving but envolving thru and thru depth of the material. Since aluminum is a rather soft and low-melting material, it is easier to cut than other metals. It is worthwhile mentioning that when cutting it does not matter if aluminum is anodized or not as the AOF is much thinner than the metal itself. A 10 watt DPSS IMPULSE 1064 nm Nd:YAG laser can manage to cut through a 0.2-0.3 mm aluminum plate.
To cut a 0.5 mm aluminum plate a 15-30 Watt fiber laser is needed.
A laser cutting video with 30 watt DIY Raycus fiber laser emitter
Laser engraving and marking of anodized aluminum
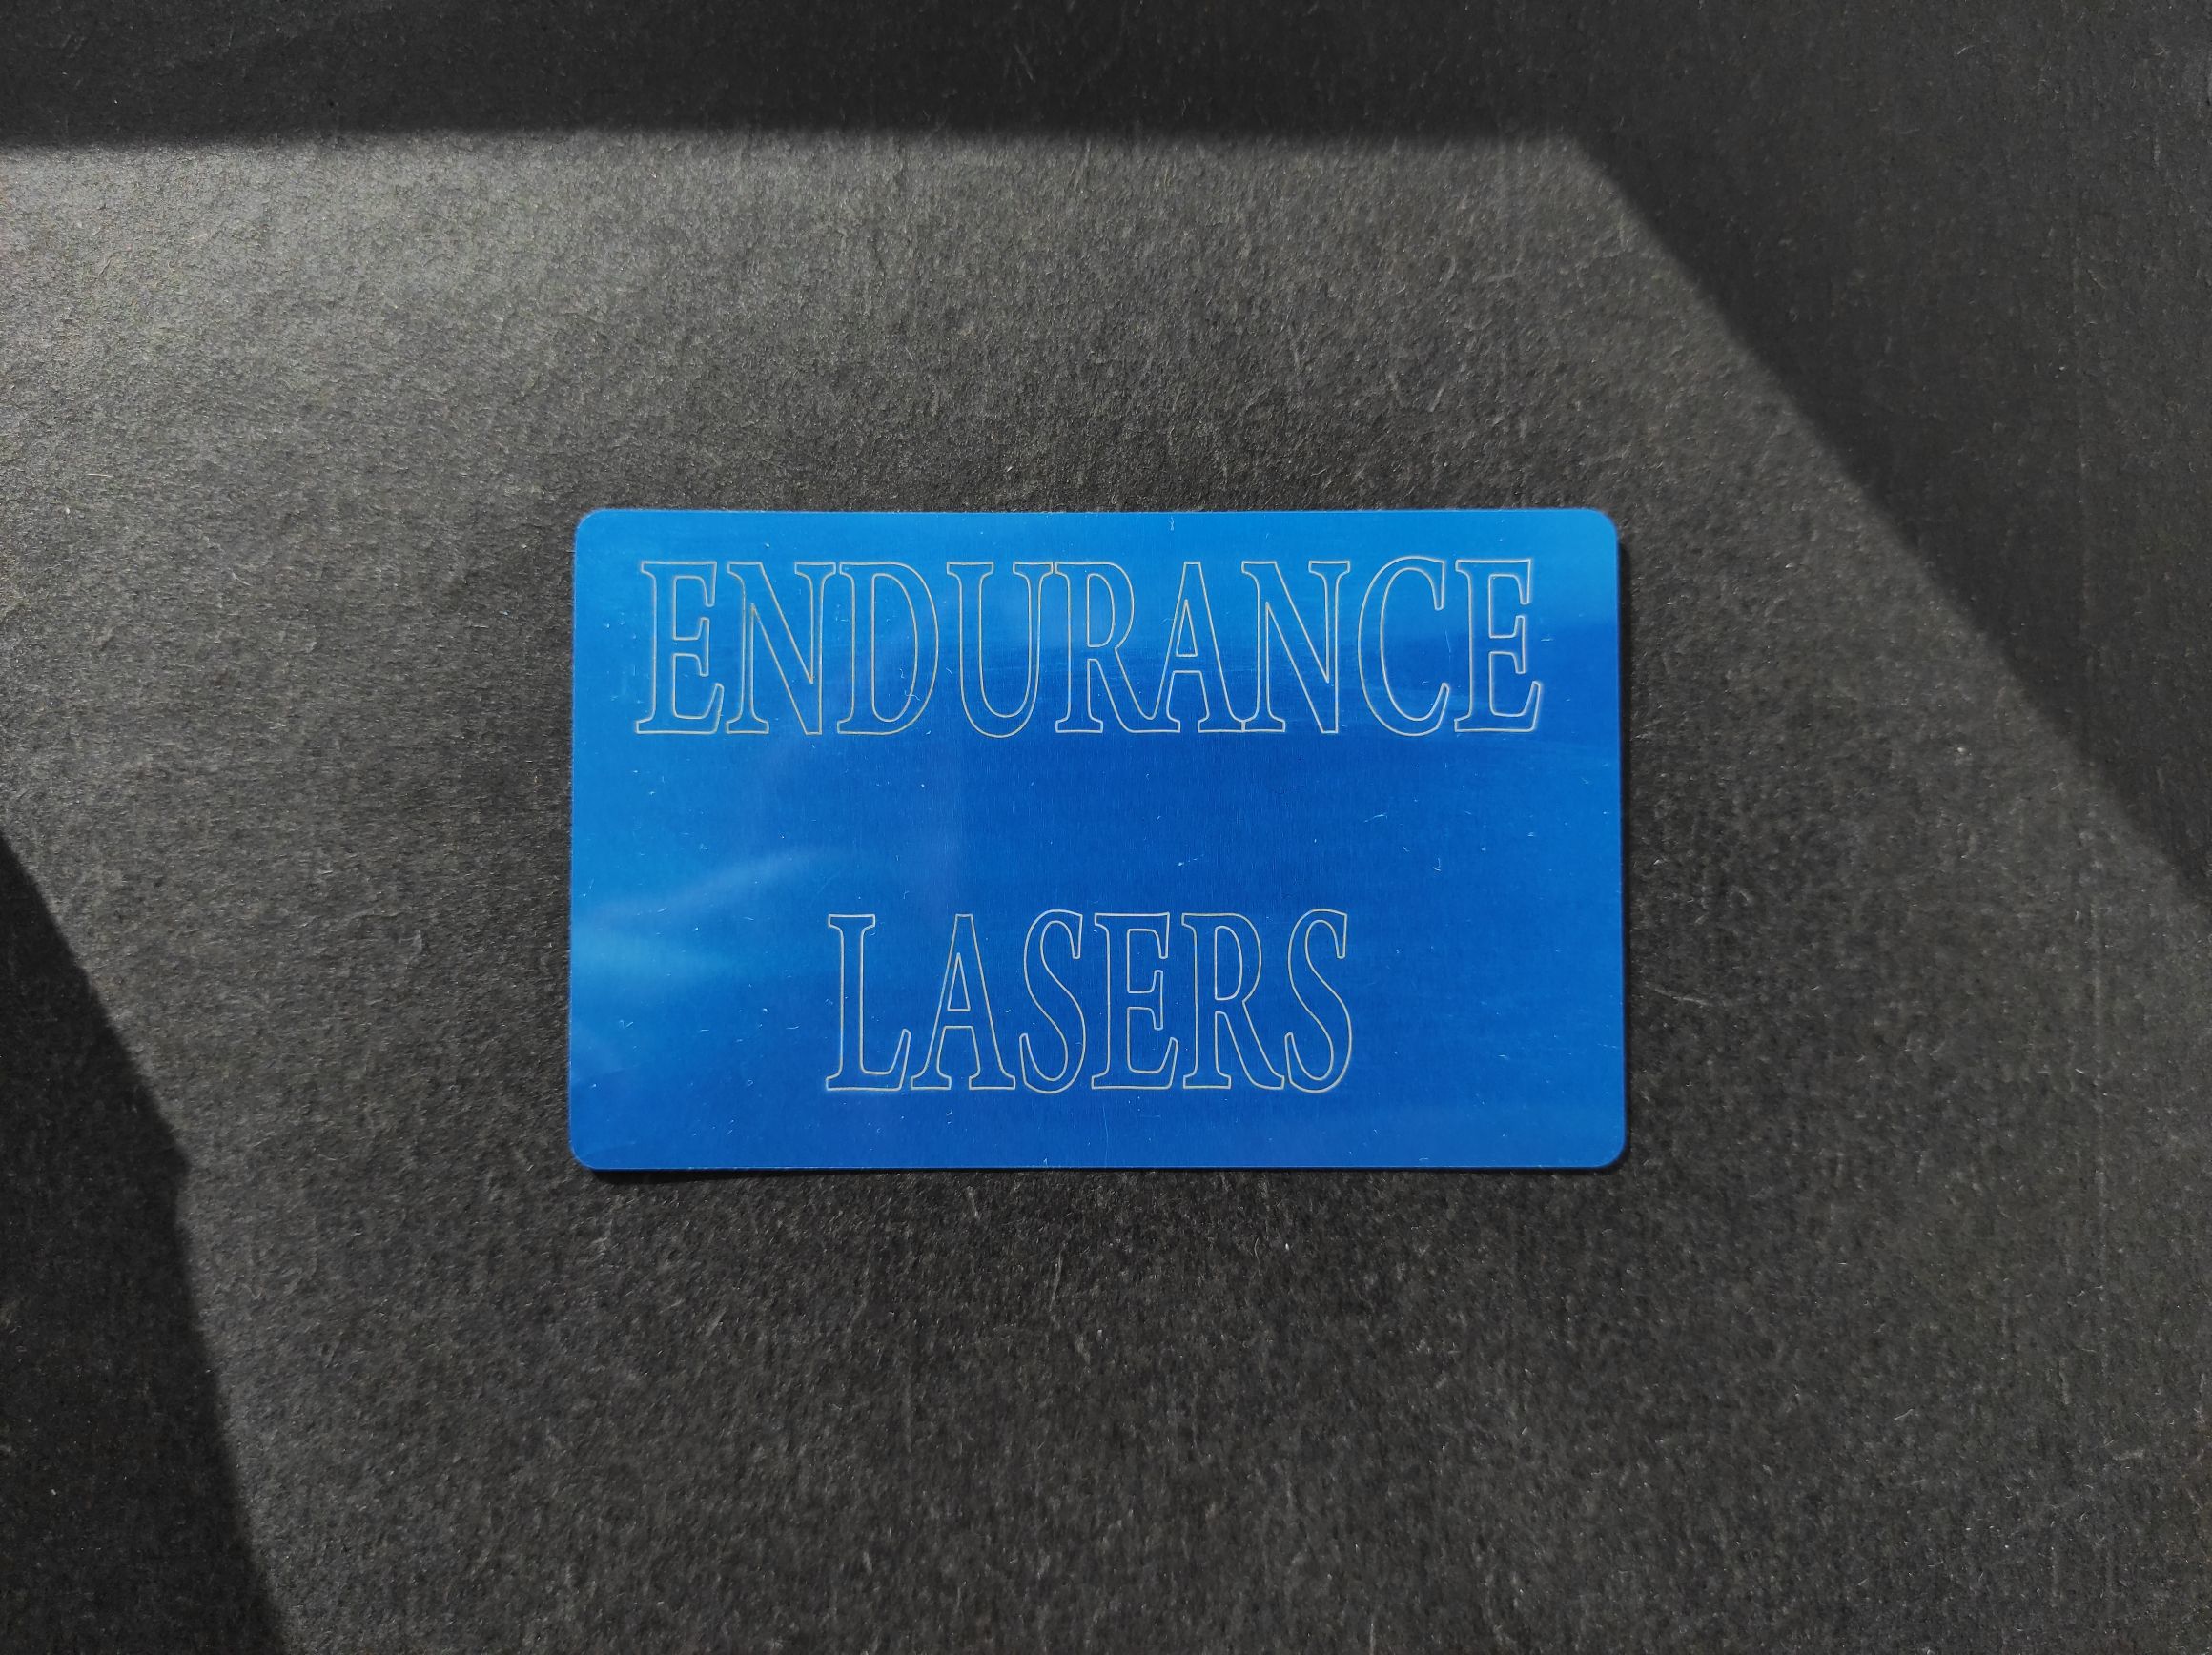
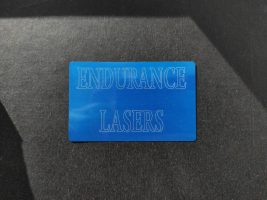
Anodized aluminum is covered with an oxide film, which is more difficult to destroy by the laser. The AOF is usually colored by various dyes after application. With the optimal laser parameters for the aluminum processing, you remove only the oxide film leaving the metal beneath it intact. The processed areas, when cleaned of the AOF, gain on a usual white metallic color. This type of processing is called laser marking on anodized metal (aluminum). Low-powered laser engravers, 4 watt DPSS, or fiber lasers can easily cope with this task.
Engraving on anodized aluminum is performed in the same way as on untreated aluminum. The only difference is in the processing speed (you need to choose a slower speed) or does more passes.
An anodized aluminum engraving video with 4 watt DPSSL
Engraving Aluminum DPSS 4 watt Endurance Laser (personal experience)
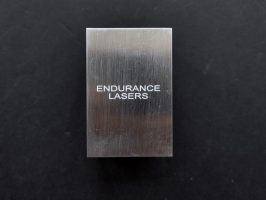
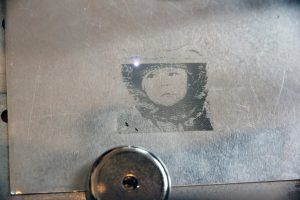
Engraving aluminum will result in various shades of gray, not black. Fine-tuning the settings can provide a bit more contrast but the range of applicable marks is very narrow. If the application calls for a black etch, consider using an oxidizer after engraving. Oxidizers are used most commonly if the aluminum has a protective coating (urethane, clear coat, clear anodized) covering the area that is not engraved. Deep metal engraving on aluminum can be done using multiple passes. Consider deep engraving and using a black epoxy/color fill. Although the marks on aluminum are not black like they are on steel.
I have found this information very useful because getting image engraving with definition can be frustrating right out of the box. All though I have not tried the after engraving image to make it stand out better I have used the trace feature in light burn to compliment the engraving on aluminum.
Endurance DPSS has a very fine focus point this combined with the frequency and pulse makes for a very power full engraver. I have in Lightburn run this engraver at .3% power on aluminum and watch it engrave the surface of the metal.
Doing text at any power range gets great results and speed. If you do at a very small power setting with speed it will mark the aluminum very lightly where as you can easily remove the mark with steel wool.
Note when you engrave set your engraver not to home after engraving I have found this helpful to stop lines going to the home location. Also, be for going home use the black box to kill power to the engraver. This is due to the NEJE controller it leaves the laser on very low power when returning home.
Types of the material for laser processing
As for the aluminum grades, here are some of them: primary, deformable, technical, foundry, for steel deoxidation. These grades differ in the content of additives from 0.3% to 3%, but these parameters don’t affect the cutting/engraving processes. As for aluminum alloys, the modes for their processing differ a lot.
Pure aluminum and aluminum-magnesium alloys require the same laser processing modes.
Aluminum-manganese alloys are a little bit harder for lasering.
Aluminum-copper-silicon alloys are mоre solid materials and not so easy to laser process.
The mechanical properties of a heat-strengthened aluminum-copper alloy might be sometimes even better than those of low-carbon steels. This alloy is rather hard to laser process.
Avial, aircraft-grade aluminum, belongs to a group of aluminum-magnesium-silicon alloys doped with minute quantities of some other metals. Despite its high strength and resistance to mechanical stress, this alloy is easy to laser process.
Examples of aluminum laser marking and engraving
Here are some examples of aluminum laser processing and its potential application.
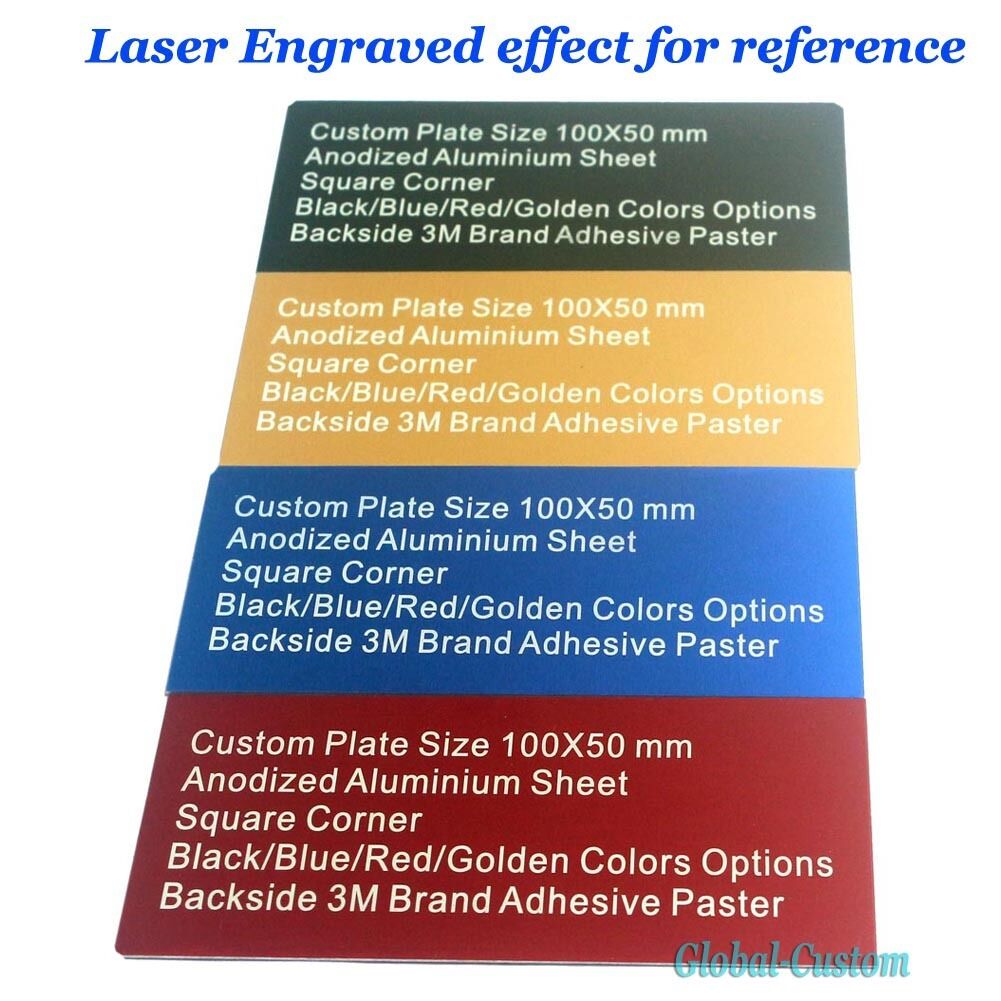
Different types of anodized aluminum plates
Laser engraving on a tablet
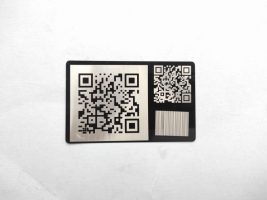
Tags laser engraving
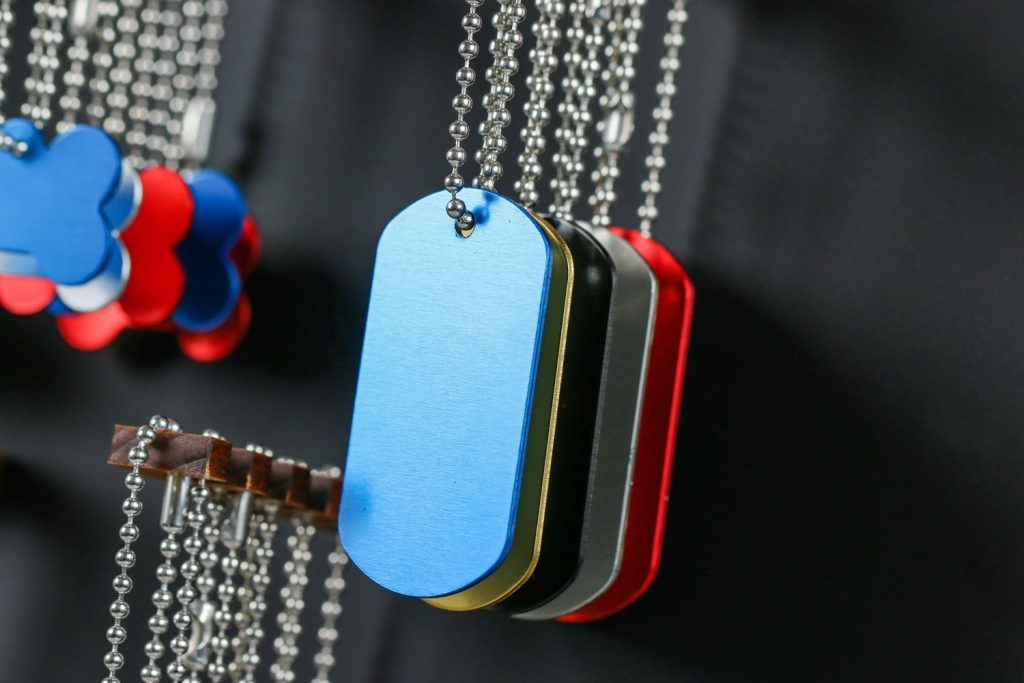
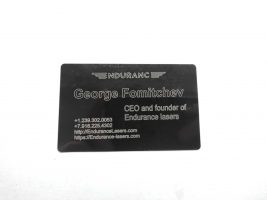
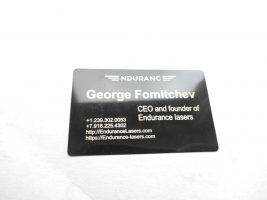
One of the laser processing examples is engraving on anodized aluminum plates. This is a much-in-demand type of metal patterning. Plates engraved in this manner are durable, corrosion-and wear-resistant, and pleasant to look at. This kind of production is widely used in all spheres of the industry including making tags for marking various goods as well as marking computer equipment, smartphones, and other gadgets (this type of processing is very popular with major manufacturers of cell phones and tablets).
Laser marking of parts
The marking of parts is widely spread in the industry. All finished parts go through the process of laser marking (a corresponding QR code is also often applied to make reading of the detailed information easier). Laser-marked inscriptions, logos, patterns are much more durable than painted or printed labels.
This method is suitable for manufacturers of metal structures, fasteners, machines, and devices of any type.
Anodized aluminum laser marking is also widely used. Inscriptions and patterns of all kinds made on this material are even more tamperproof, which is very important as these details function usually in aggressive mechanical and chemical environments.
Laser engraving in the souvenir production
Many large and small enterprises, professionals as well as amateurs are involved in souvenir making. Laser equipment allows doing deep engraving on aluminum, anodized aluminum and its alloys.
A list of souvenir products suitable for laser engraving is unbelievably long: toys, crockery, utensils, keyrings, writing tools, figurines, brand symbols, logos and what-not.
Aluminum laser cutting
Metal laser cutting is one of the most complicated technological processes. Aluminum cutting is no exclusion. For this one needs very powerful machines. The thicker the metal the more powerful lasers to cut it are required.
Laser cutting is used at large enterprises and plants as powerful laser machines consume a lot of electric power and are large in size. The fields of this technology application are limitless: the aviation and space industries, motor-car construction, mechanical engineering, production of metal constructions and small general-purpose parts, military industry, etc.
Laser cutting of aluminum foil
This technology might attract the interest of rolled metal manufacturers. Fiber and DPSS lasers of low power (10W) easily cope with this task. Diode lasers for this should be a lot more powerful.
Endurance lasers can engrave on all metals with and without special engraving paste.
Super abilities of an Endurance 10-watt laser: engraving on steel, stainless steel, glass, ceramics, and anodized aluminum
About laser engraving and anodized aluminum using diode lasers and applying ‘Dry Lube Moly Spray’
Engraving on anodized aluminum using 8,5 watt+ PRO Endurance laser
Read a personal story about anodized metal etching by Markus Geßner.
Full guidance about engraving on anodized aluminum
How I engrave anodized aluminum:
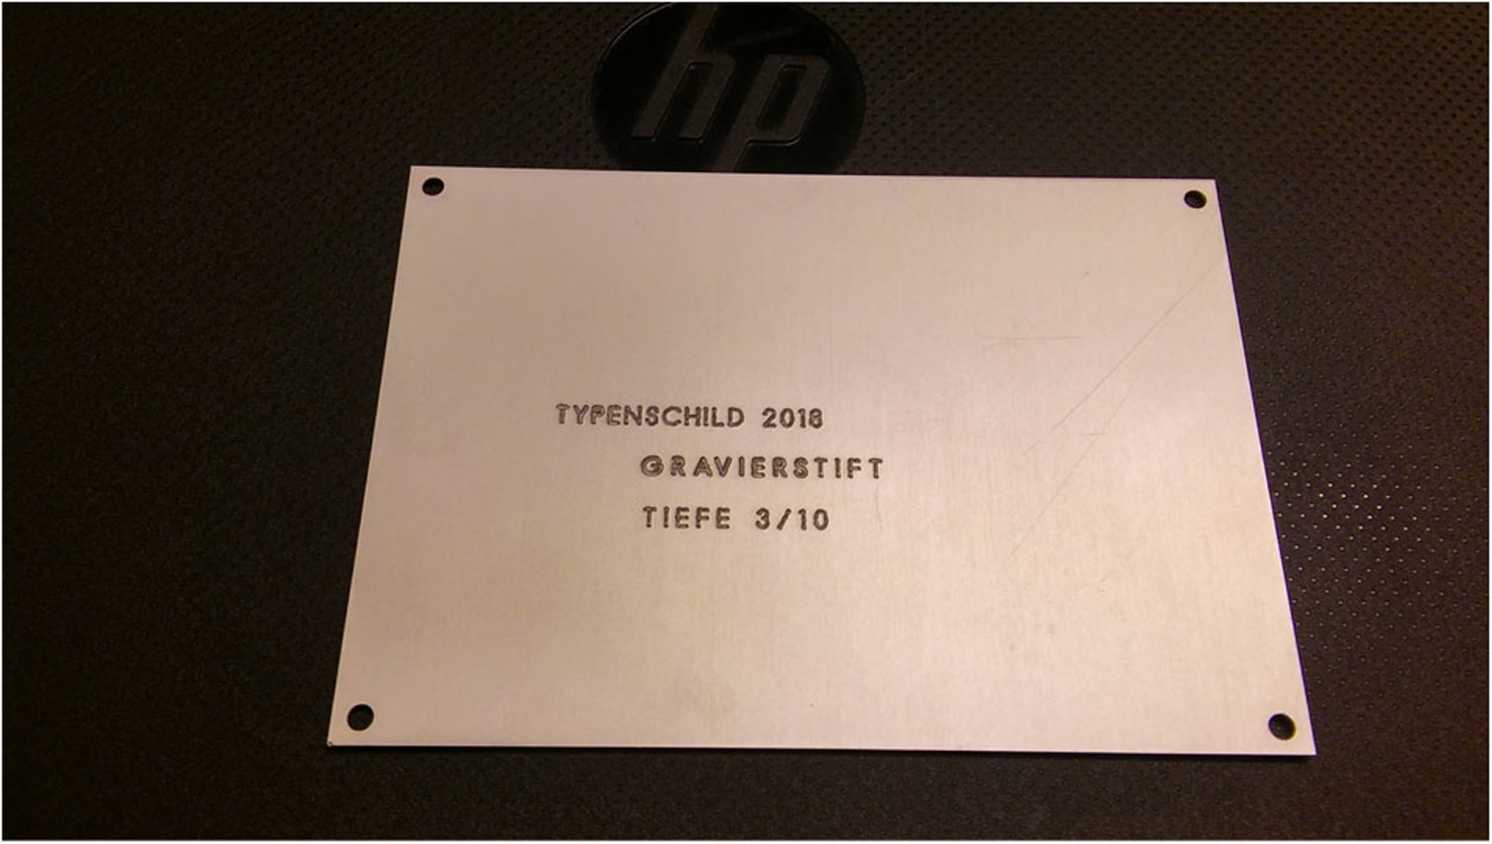
Take the piece you want to engrave and color it in a dark watercolor from a paintbox. In this example, I took a dark blue.
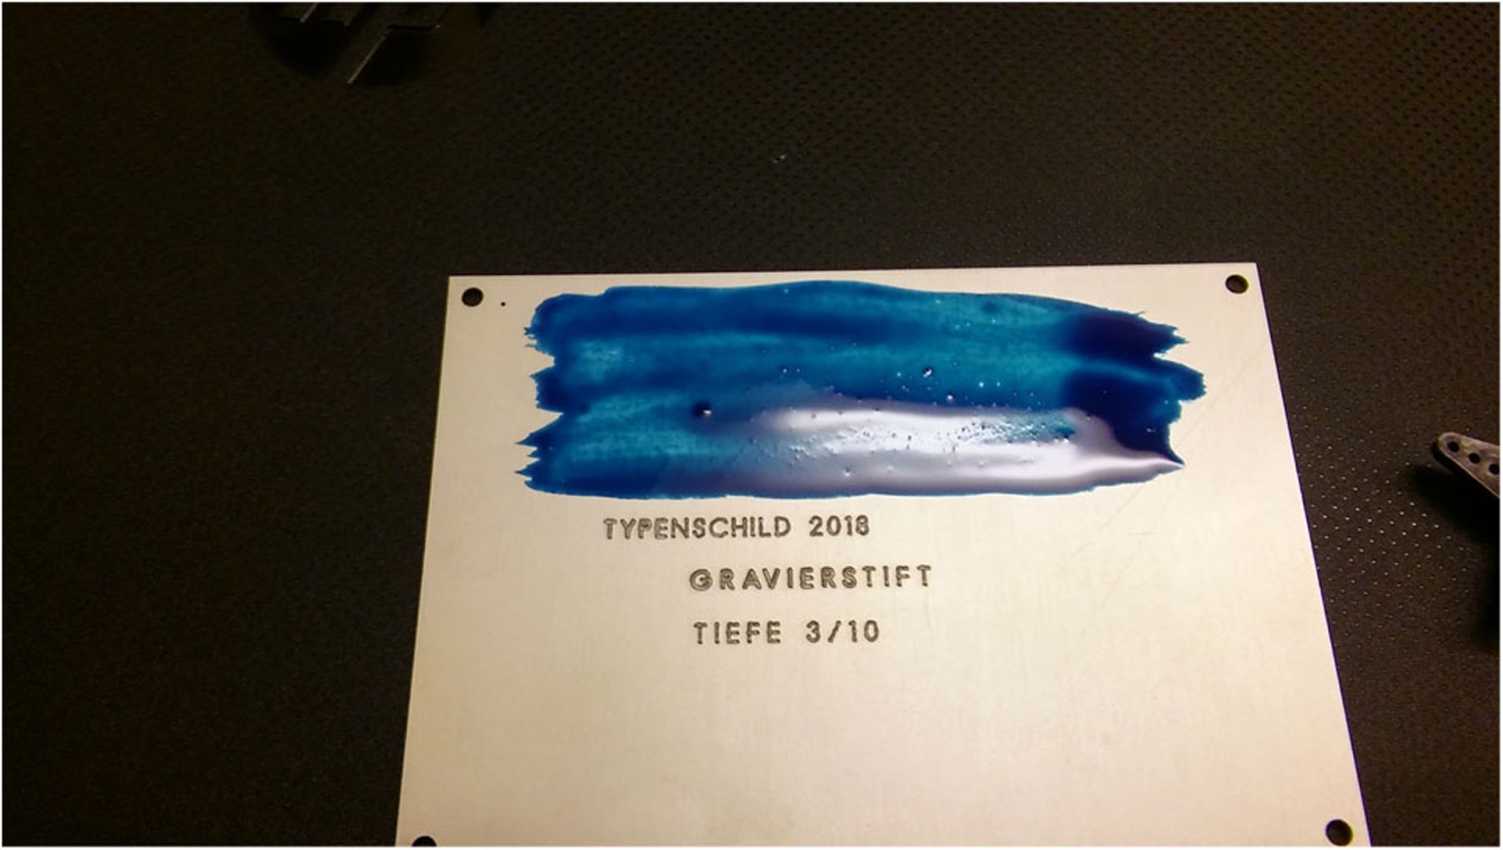
Don’ make the surface too wet or too much light/dark mixed. Not good.
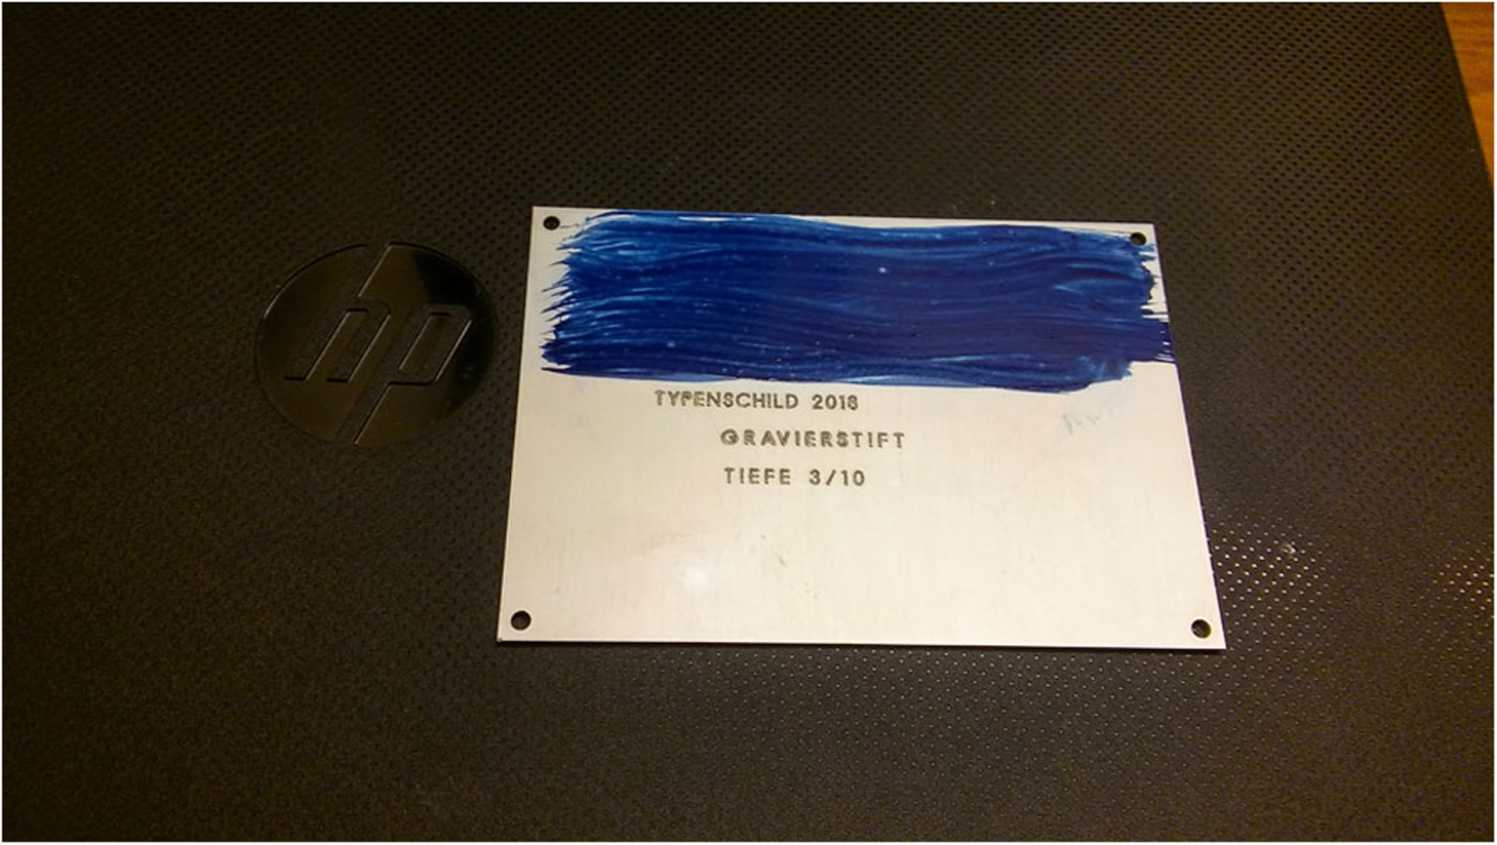
This way is much better:)
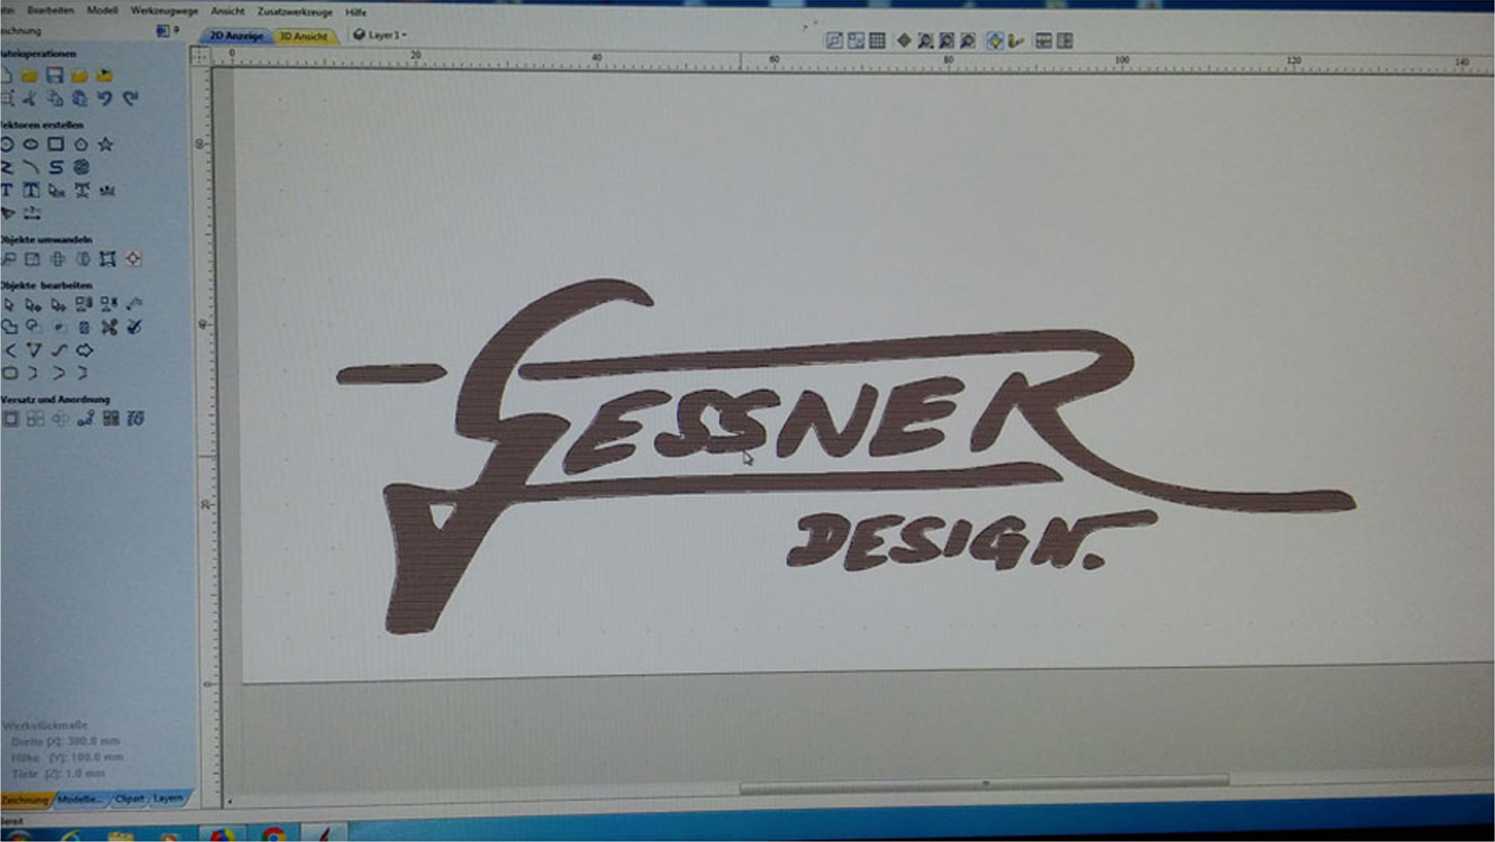
While the color dries prepare your Image or Vectorgraphic for the geode and save the file. I took Aspire to make it – Inkscape can do the job as well.
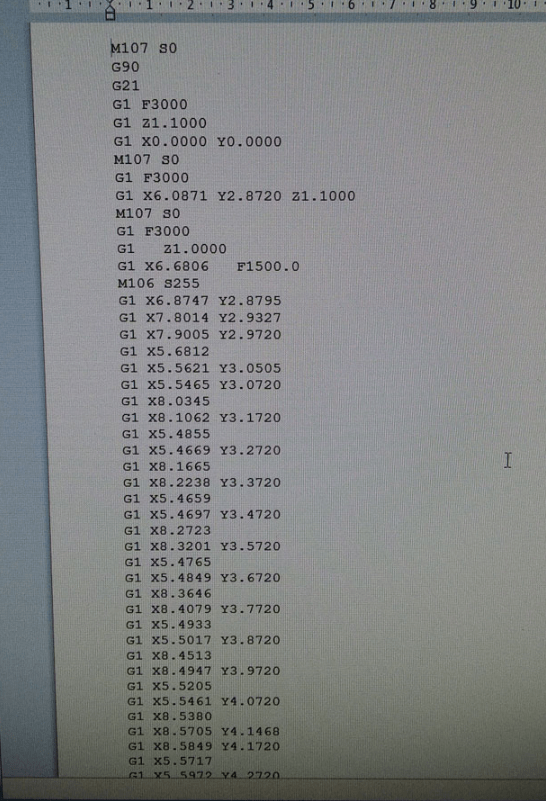
I always check my gcode-file before I start. Here you can see and check whether everything is fine or not.
Settings
Move speed 3000 mm / min
Engrave speed 1500 mm / min
and Z height is (accidentally) 1 should be zero for perfect focus – so I gave command G92 Z1 to set the height before I started.
Adjust focus on the right height for the surface of the shield and start engraving.
NEVER FORGET PROTECTION GOGGLES
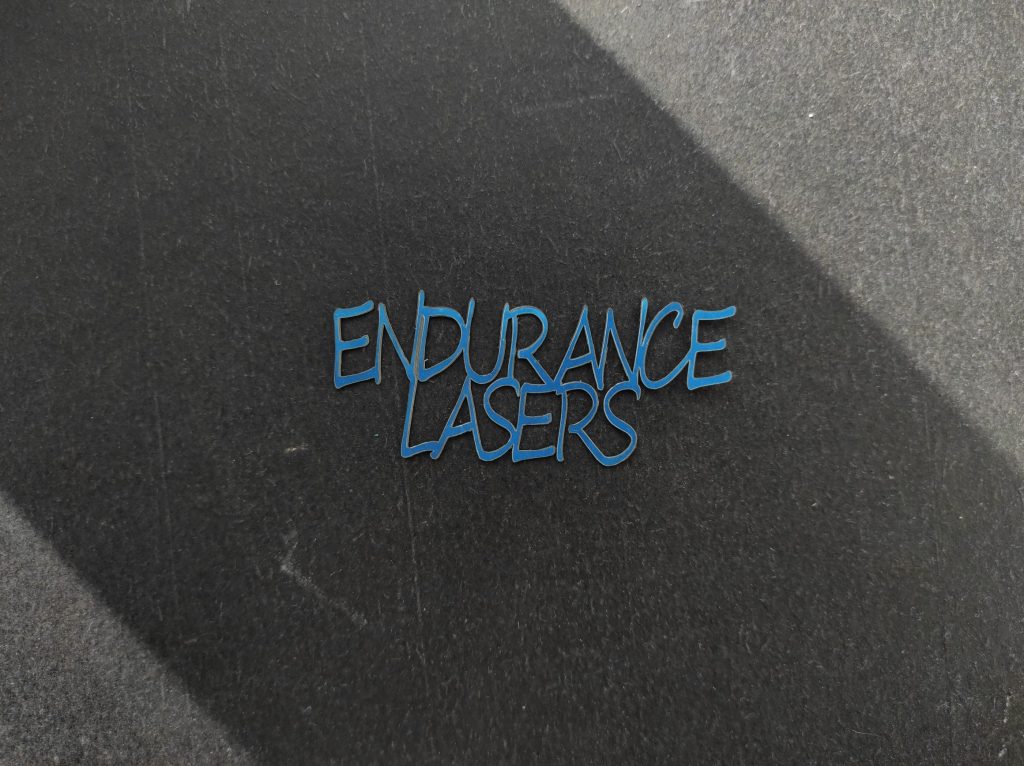
My logo has a size of roundabout 60x20mm – so it took only 4minutes.
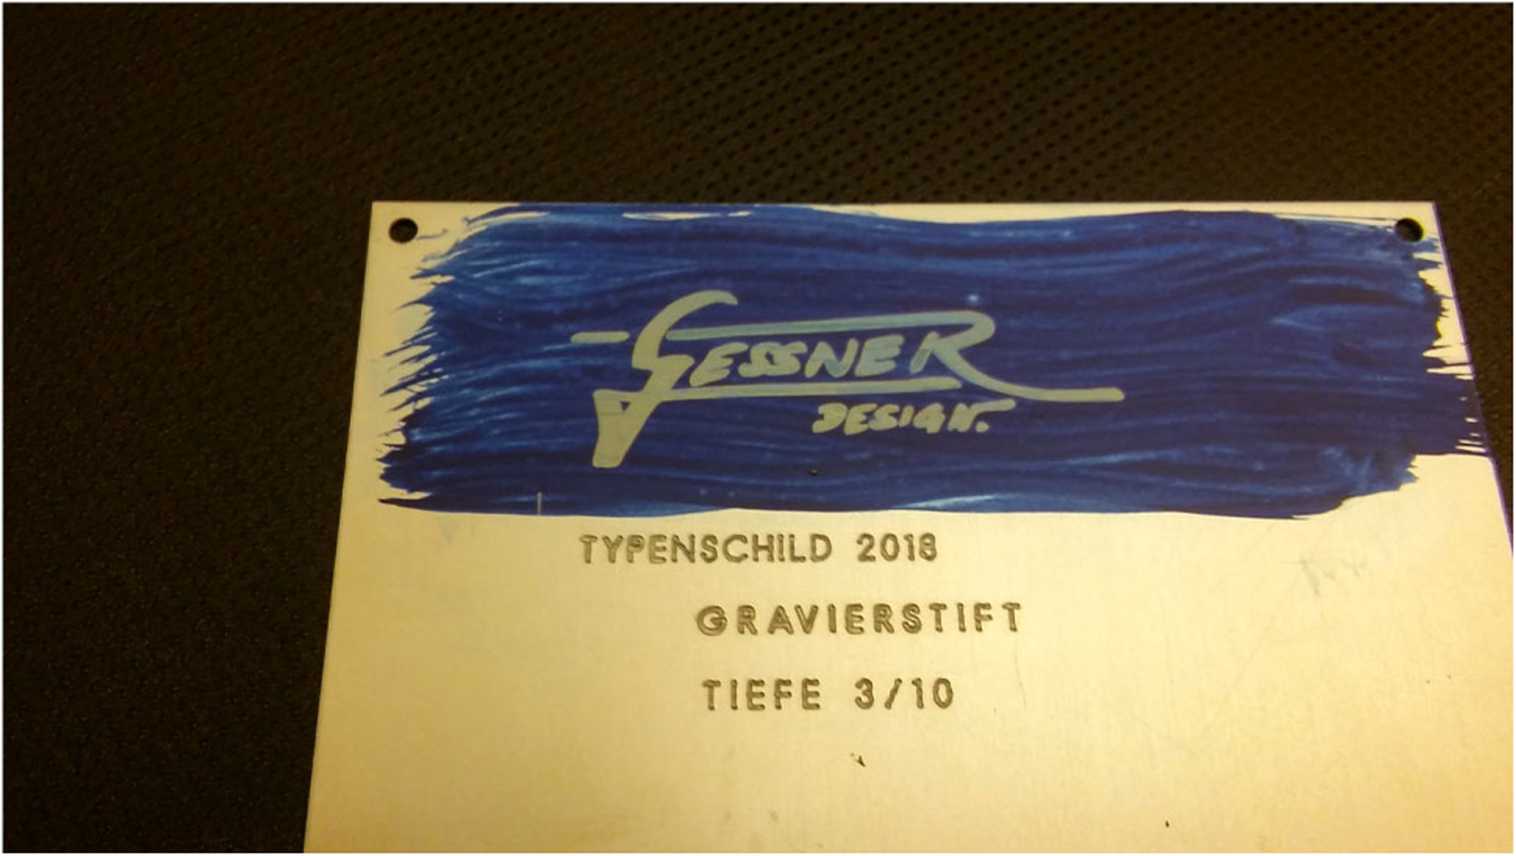
When the job is done – wash off the remaining color. Here we go – finished 🙂
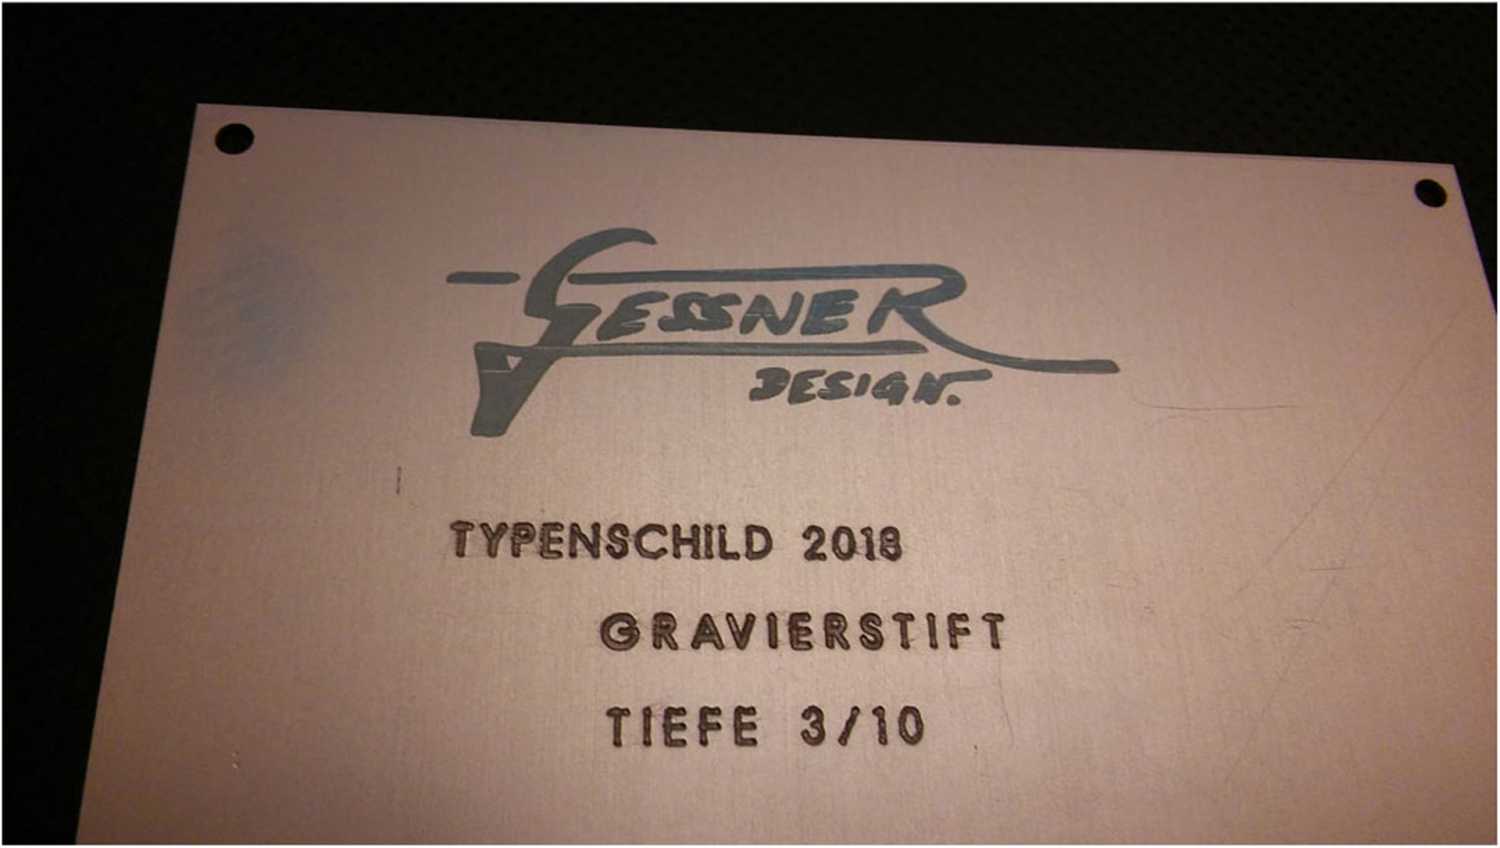
Using Dry Moly Lube for etching stainless steel using the Endurance 10W Diode Laser by Florian Kelsch
All you need to know about metal engraving / etching / marking
Using Dry Moly Lube for engraving (marking) stainless steel using the Endurance 10W Diode Laser
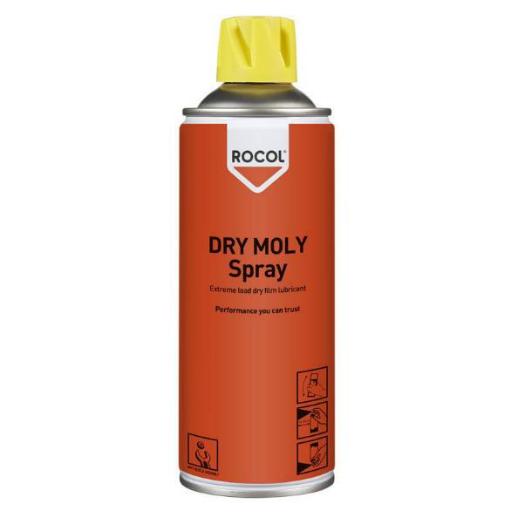
You can get the Dry Moly Lube on many different platforms. It should not matter which brand you are buying. I’ve got mine from eBay.
First of all, you simply spray a layer of the Dry Moly Lube at the piece of stainless steel and let it dry (takes only a couple of seconds to dry)
Now you simply engrave it. I’m using Lightburn as my laser control software and used the following key settings:
Speed: 3mm/s
Power: 100%
Pattern: Crosshatch (bidirectional)
Flood Fill and scanning shapes individual (one letter at a time)
After the job is finished, the stainless steel should look something like this:

Guidance to use Dry Moly Lube – by Florian Kelsch
Now you should clean it with some cleaning alcohol (I’m using Nail Polish remover, like isopropanol 99.9%)
After cleaning it usually looks like this:
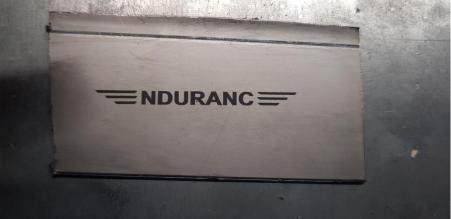
You can’t see it on the photos but the Finish after polishing the stainless steel is pretty nice looking.
The Letters are pretty shiny.
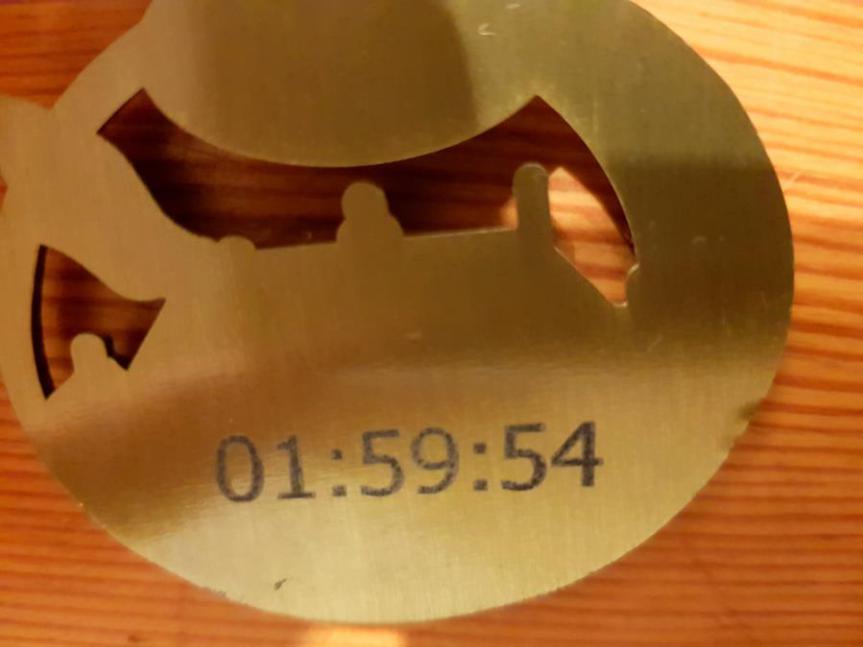
I’ve also tried the Dry Moly Lube on a brass medal. The outcome was okay but I didn’t expect the Laser to engrave directly into the brass itself. Need to do more tests with plain brass plates. Will keep you updated.
Video footage by Graham Ham about engraving on stainless steel
