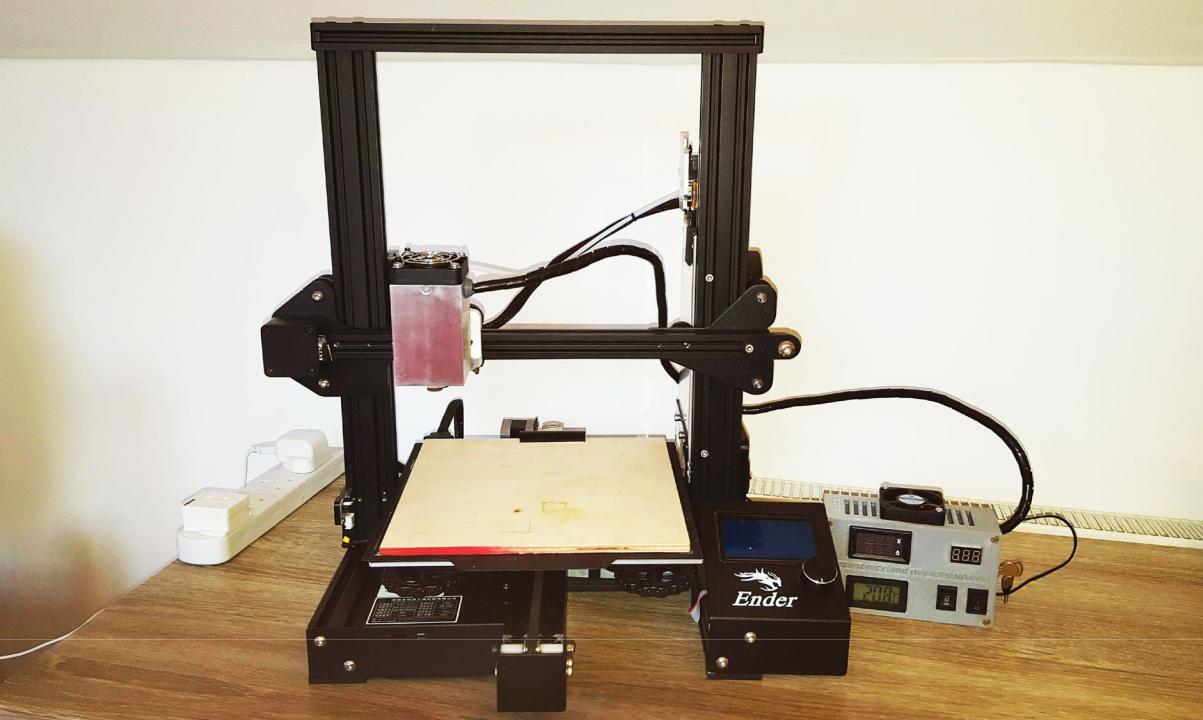
Creality Ender 3 / 3 Pro step-by-step hook up guide
In this guide we explain how to simply connect your Endurance Laser to a Creality Ender 3 / 3 Pro printer.
The procedure is fully reversible and does not permanently modify your 3D printer.
Let’s start!

Step 1: Motherboard
Open the motherboard enclosure using the Allen-key provided by Creality or from your personal set.

Once opened, you will see this motherboard or a very similar version. There is no significant difference between motherboards, don’t worry if it doesn’t look exactly the same.
 Step 2: Extension cable
The connection between printer and laser is made using the Extruder PWM Fan socket. It is easy to identify because it is the only one that has blue and yellow wires connected to it.
It also has FAN printed on the motherboard.
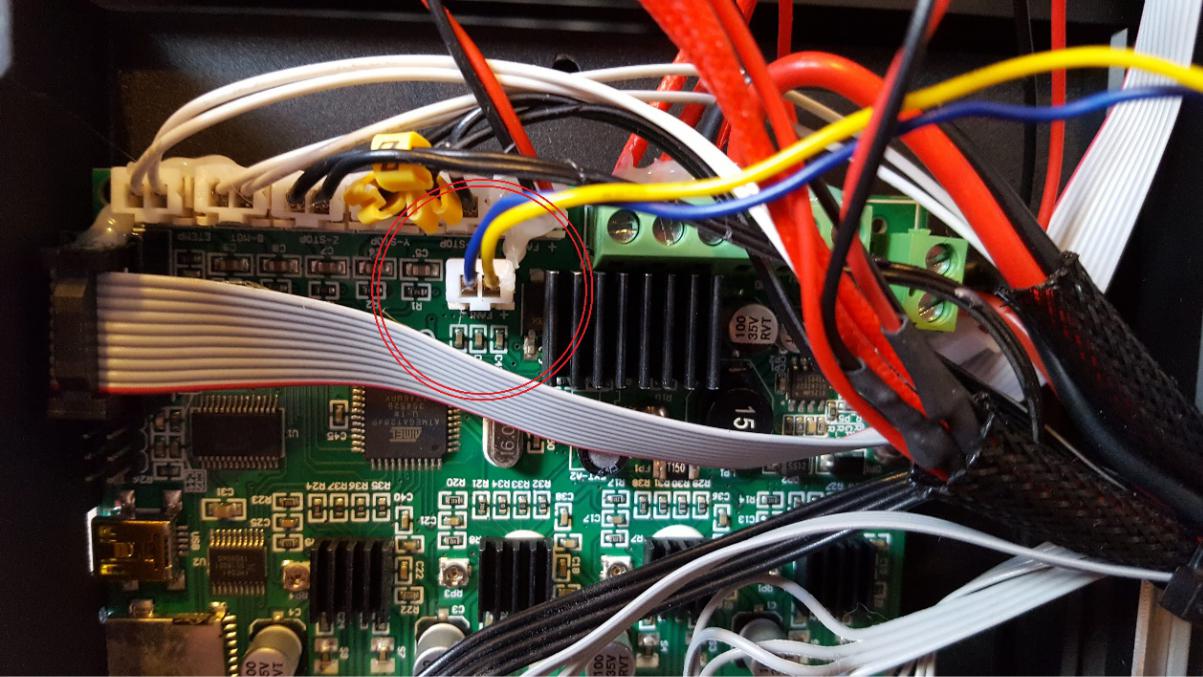
Remove the blue and yellow wires gently pulling the white plastic plug.
Now connect the provided extension cable to the FAN socket.
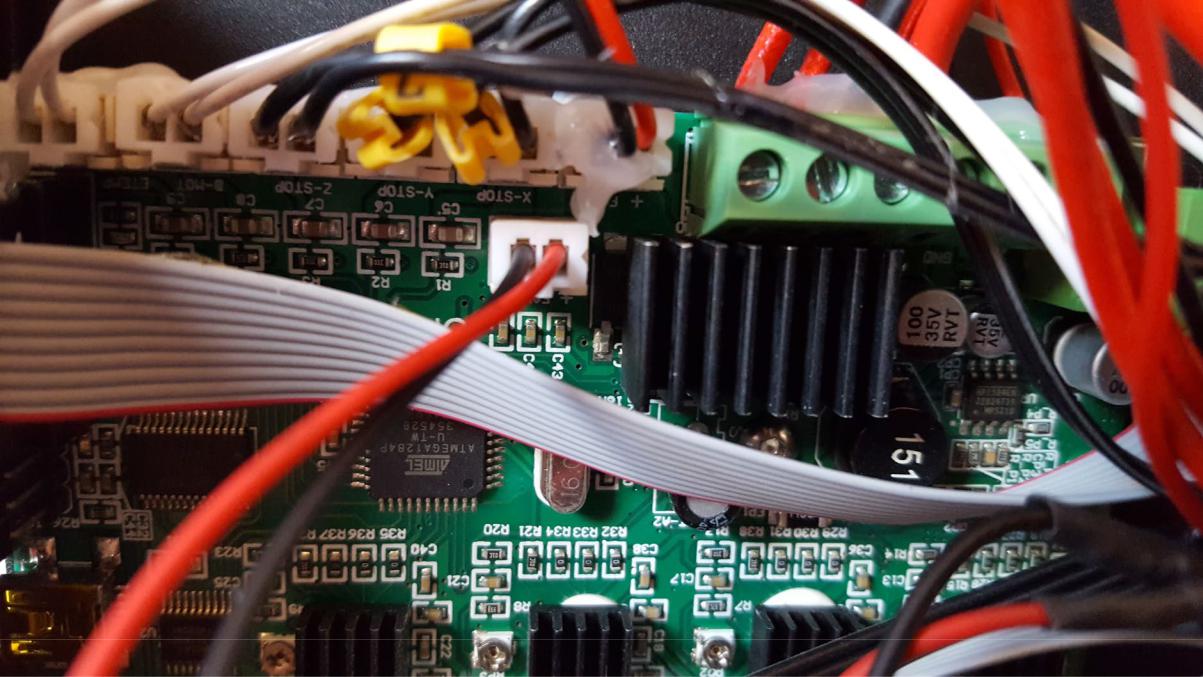
Now take the extension cable you just connected and the blue-yellow wires to the back of the printer and close the motherboard lid. This will allow you to quickly swap between 3D printing and Laser mode.

Now the printer is still fully functional for 3D printing and ready for Laser mode.
Step 3: prepare the quick-swap extruder/laser mount
You can download 3D-printable mounts and brackets on Thingiverse:
https://www.thingiverse.com/ (put full link here)
If you are up for a challenge and you have some machinery available, you can download the step file for the aluminium version we are using in this guide:
https://www.thingiverse.com/ (put full link here)
Whatever version you decide to use, remember to check your Z limit before using the printer. Manually drive the Z axis to the home position and adjust the limit.
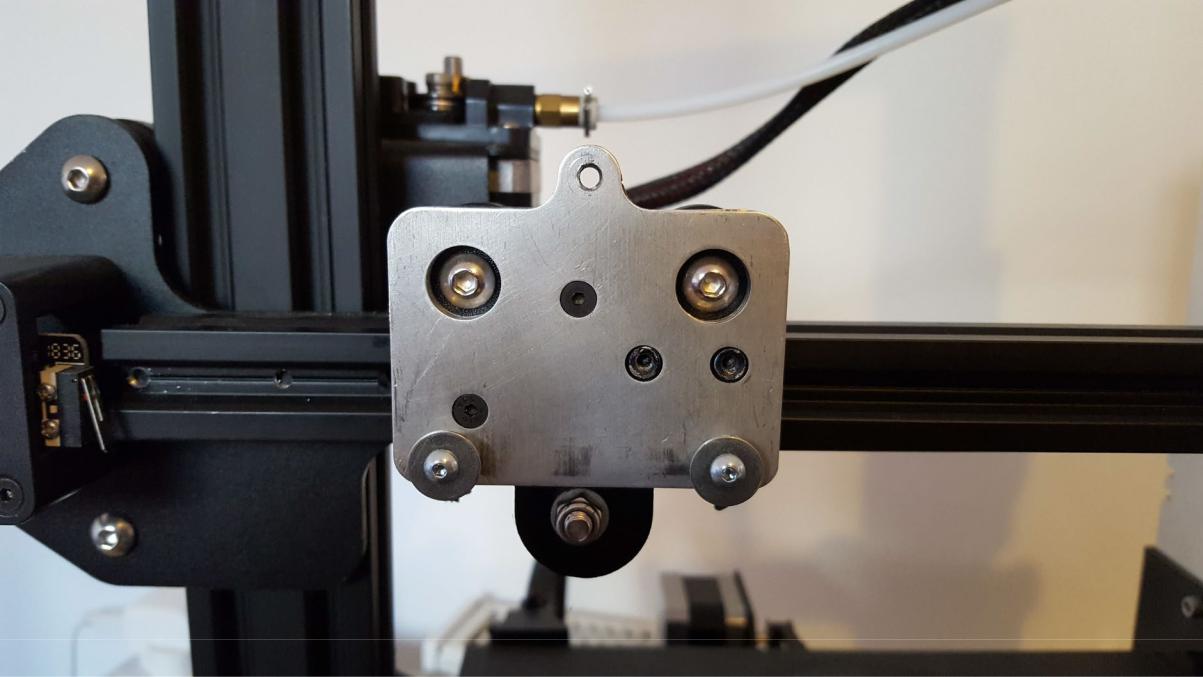
Pic: carriage plate (this part always remains attached)

Pic: Extruder mounted
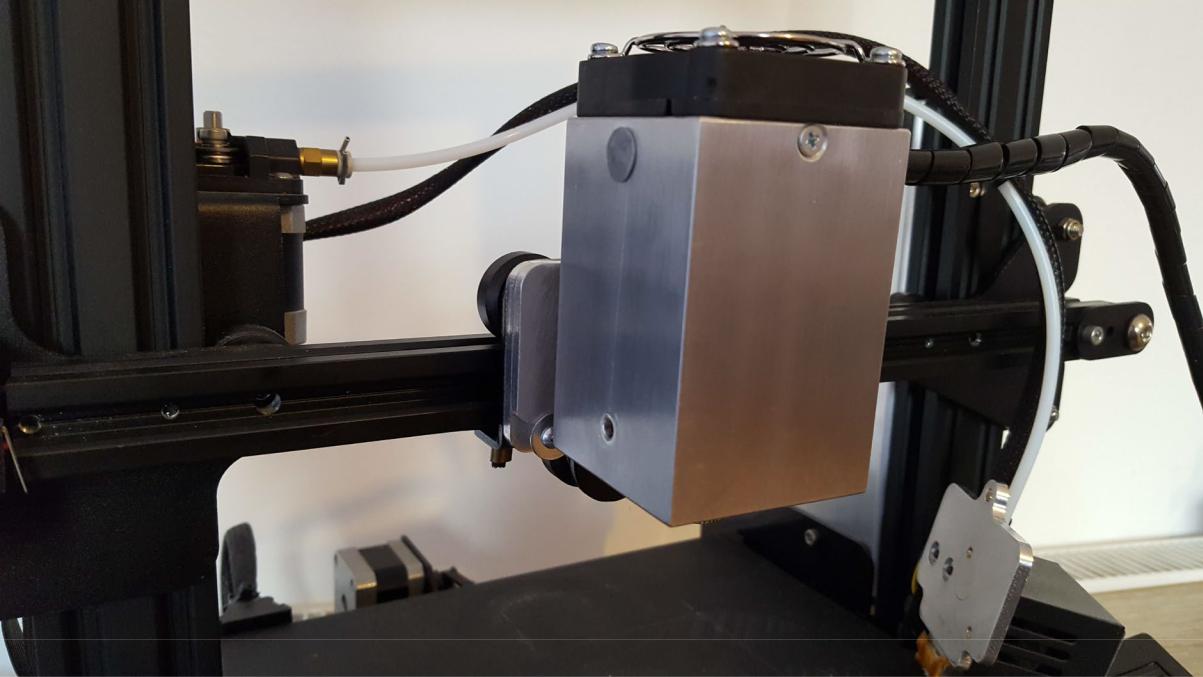
Pic: Laser mounted
Step 4: Connect the Laser
Once you mounted the Laser on the carriage (see last pic), connect the cable coming from the Laser Controller Box to the extension cable we installed earlier on:

Step 5: Ready to engrave
FROM THIS MOMENT, WEAR YOUR PROTECTIVE GOGGLES ALL TIME!
Turn ON the printer’s power supply.
Connect the Laser power supply to the Power Socket on the Laser Controller Box and turn the key-switch on.
The indicators on the box will turn on and the fan mounted on the laser will start. Your Endurance Laser is now ready!
Connect your favourite software to the printer’s USB port or upload a Gcode on the SD card and start engraving!
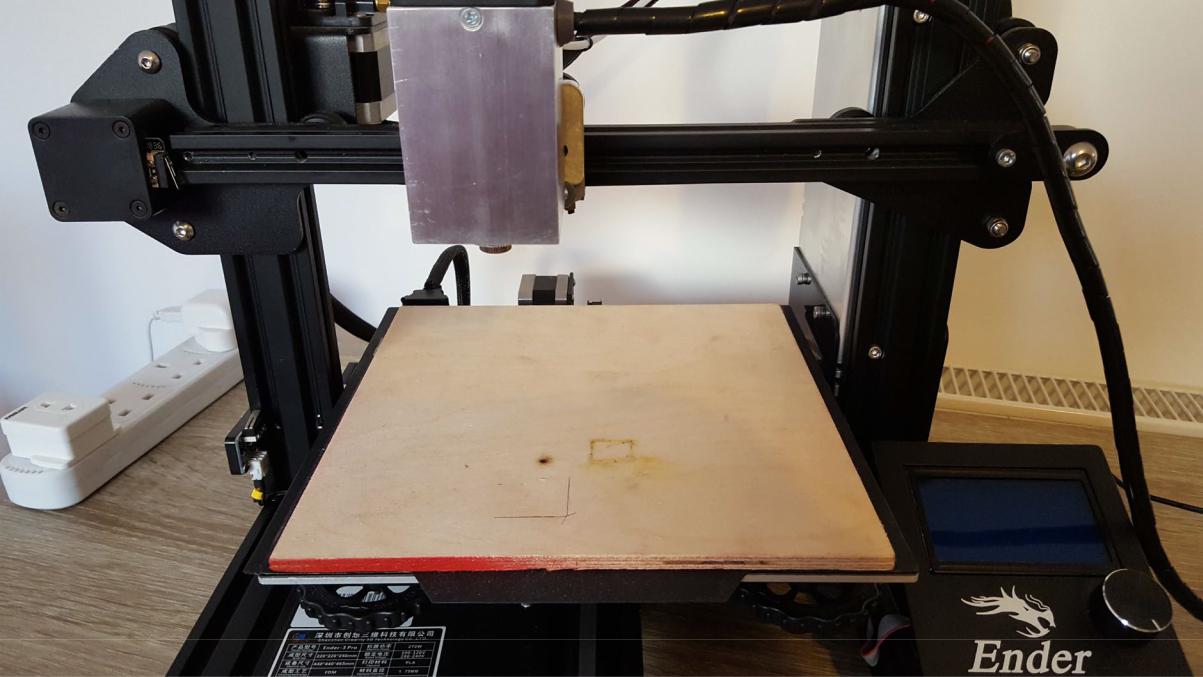
We suggest to use a spare board to protect the printer’s bed.
Additional notes:
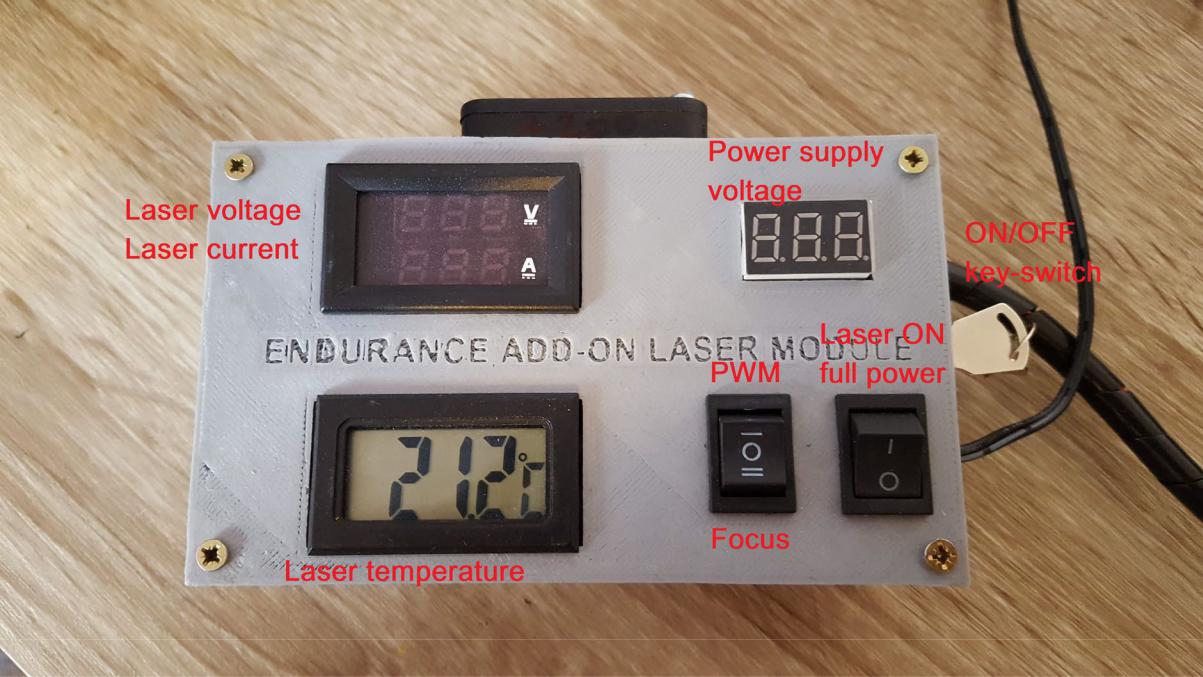
- When using Gcode to control the Laser, put the switch on PWM and “Laser ON full power” on 0.
- To use the Focus function, please connect a 5V power supply to the USB port on the Laser Controller Box
Happy Engraving!!
