
How to make a musical instrument using the laser and a 3D printer!
Explore “Hurdy Gurdy”
A Hurdy Gurdy is a medieval instrument that creates sound by turning a wheel that is toughing some strings. Nowadays, it is quite hard to get your hands on an affordable model, as they are all handmade. The Nerdy Gurdy project allows you to build your own Hurdy Gurdy with the help of modern manufacturing techniques like laser cutting and 3D printing.

Choosing a Version
For this project, the four-stringed version 5 was chosen. There are also files available for a six-stringed version, that would be the version 6. The opensource project includes all the files that need to be laser cut and 3D printed plus an excellent instruction manual telling you what else you need and how to put it together.
Cutting the Parts on a Smaller Laser
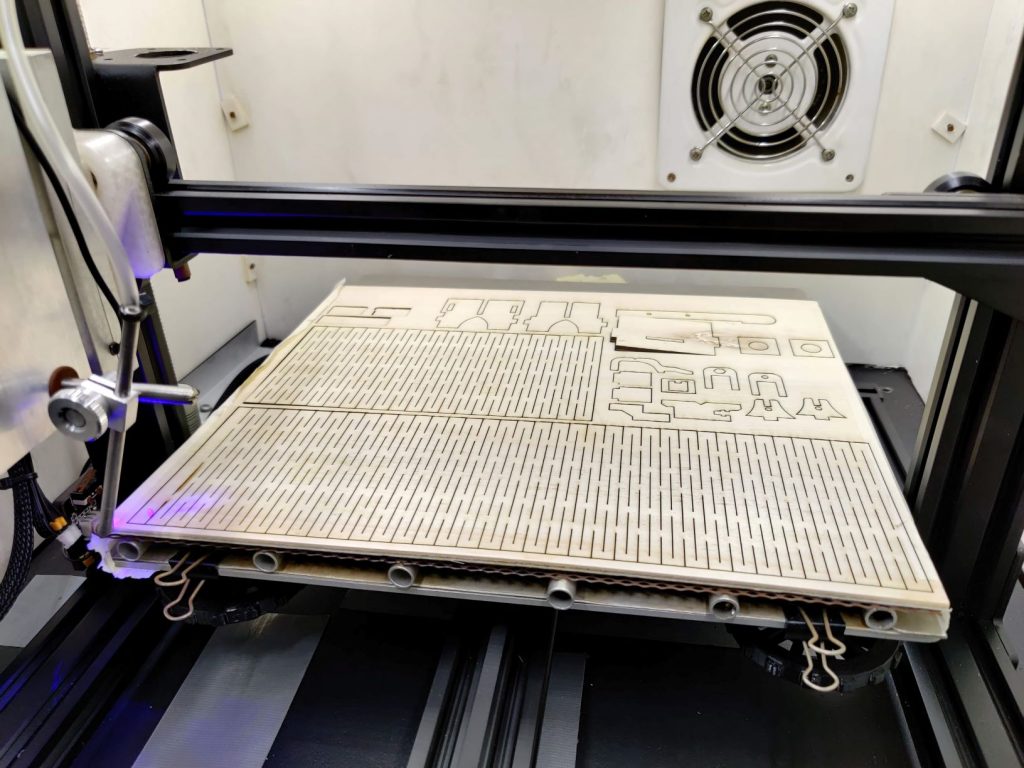

Since the laser used for this project is a 10W plus Endurance laser attached to a CR-10 3D printer, the default 400x600mm files were too big. To make them fit on the laser, they had to be rearranged, and some of them cut into multiple pieces. The only pieces that can not be cut this way are the top and bottom parts, as they need to be one piece and are too large. For these, you could either print out the template on paper and cut them by hand, or ask a friend with a bigger laser to cut them for you.
The Assembly Process

After cutting and printing all the necessary parts, it was time for assembly. With the help of the instruction manual, this is quite straightforward, but still rather tedious. It becomes especially time-consuming if you also sand and paint all the parts, which is almost a must if you want an attractive looking instrument. For the wheel, you need to add a continuous strip of wood to the outside to provide a good contacting surface. The manual calls for thinning down some wood and soaking it to get the shape, however, if you can get your hands on some real wood edge binding for furniture making, that works great too and is much easier to work with.
Applying Rosin

After completing assembly, you still need to coat the wheel in rosin and add cotton to the strings. This is what will make the strings vibrate with the characteristic sound. There are many great tutorials on YouTube that teach how to do this. As you are coating your wheel for the very first time, you will likely need to add quite a bit of rosing to get it to sound properly.
Enjoy
Finally, all that remains is to learn some songs and enjoy the feeling of playing an instrument that has been around for hundreds of years.
Detailed Video about the process:
Link to the Nerdy Gurdy Project Website: