
Newfangled Solutions CNC Software Home of Mach3 >>>
Mach3 turns a typical computer into a CNC machine controller. It is very rich in features and provides great value to those needing a CNC control package.
More about Mach3 getting started
Getting started with MACH3
Content
1. Connections for your Endurance laser
2. Setting up a Mach3 profile
3. Using Vectric to create the GCode
4. Installing the Post Processor
5. Operational Description
Basic Connections
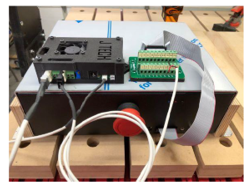
You need to connect the ESS to your Break out Board (BoB) using the supplied
Parallel port and header cable.
Setting up a Mach3 profile
To simplify things just use Port 1 Pin 17. This is what I used… It’s best to create a
new profile in mach3 to do this, make sure you clone from a profile that has the
motors already tuned correctly. I named mine ‘ESS Laser’.
Operational Description
The M11P1, M10P1 signals act about 10 times faster than the M3, M5. They
basically prepare the laser to turn on/off at the beginning/end of the next move.
Using Vectric to create the GCode
You can use several programs to produce the GCode but for the purposes of this
write-up, we will be concentrating on Vectric Aspire. Vectric is a very popular
software used by many professionals and hobbyists alike to design and create both
vector and raster engraving GCode. Vectric is starting to get serious about the output
for lasers and have recently added a specific laser tool. However, this is relatively
new and untested so we will be using the ‘End Mill tool’ method to control our Laser.
The Post Processor (PP)
Getting a good Post Processor is critical. Many of the PP’s I tried were causing
unpredictable results for my setup. I didn’t really want to start learning everything
about PP’s but turns out I had to do a fair amount of research and reading.
Install the Post Processor
To install the PP, download the file to your computer.
From within Vectric, GoTo -> Menu -> Toolpaths -> Install PostProcessor…
Navigate to where you downloaded the file and select it.
You will be prompted if you would like to make this your default PostProcessor
Click ‘Yes’
Then when you have set all your toolpath settings etc. for your project, select the
post processor from the drop-down box.
It will be named ‘Endurance Mach3 Laser M11p1 (mm)’.
There will also be a copy of this Post Processor in our Facebook group page under
the ‘Files’ section.
 Setting up your Endurance Laser using Mach3
Mach 3 set up (Endurance Laser Mach 3 PWM set up for AVID CNC/ CNC ROUTERPARTS) [older version]
Mach 3 PWM set up for AVID CNC/ CNC ROUTERPARTS And the Ethernet Smooth Stepper (ESS)
Setting up an Endurance 10+ laser using a DB25 Breakout Board, Mach3, VCarve Pro, and a Warp 9 Ethernet Smooth Stepper.
Replacing MACH3 with G- Code GRBL Controller (PDF)
Laser Post Processor Header Notes
By: Graham Ham (www.ghqp.com.au)
7/8/2017 Original version “Mach3_Laser_mm”
2/7/2019 Edited, minor modifications “Mach3_Laser M101_mm”
The following notes are also contained as comments at the beginning of the pp file
NOTES:
Controls LASER Power ON/OFF by direct controller port switching
Instead of M10 and M11 that does not work with some USB Controllers
Instead, this PostProcessor Uses M101 and M201 Macros that directly switch port#1 to switch the Laser ON/OFF
The M101 and M201 Macros can be found on the internet if you don’t already have them.
Their file names are: M101.n1s and M201.n1s (There are 8 port macros for Mach3 M10# is ON and M20# is OFF
Configure Spindle to be on Output #1 – Pin#? = Laser Control ON/OFF
Place Macros M101 and M201 into the Mac3 Macro Folder for whatever Profile you are using
eg C:/mach3/macros/mach3-laser
Macro file names:
M101.M1s turns Output #1 ON “ActivateSignal(Output1)”
M201.M1s turns Output #1 Off “DeactivateSignal(Output1)”
For my system, I also use the following Port#3 to switch my Fume Extraction & Air Assist On/Off
M104 turns Output #3 ON (Air Assist/Vacume)
M204 turns Output #3 OFF (Air Assist/Vacume)
This PP’s name is “Mach3 Laser M101 mm” and will be selectable in Aspire when you go to save a Tool Path.
—————————————————————————–
Place this Post Processor and you other most commonly used ones in the following directory on your C: drive.
*.* is you Vectric Aspire version number eg. 9.5
C:/Program Data/Vectric/Aspire/V*.*/My_PostP/
Any post processors placed here will become the -ONLY- ones displayed in the Post-Processor list when saving the G-Code file.
Testing PWM and Power out on your MACH3 board.
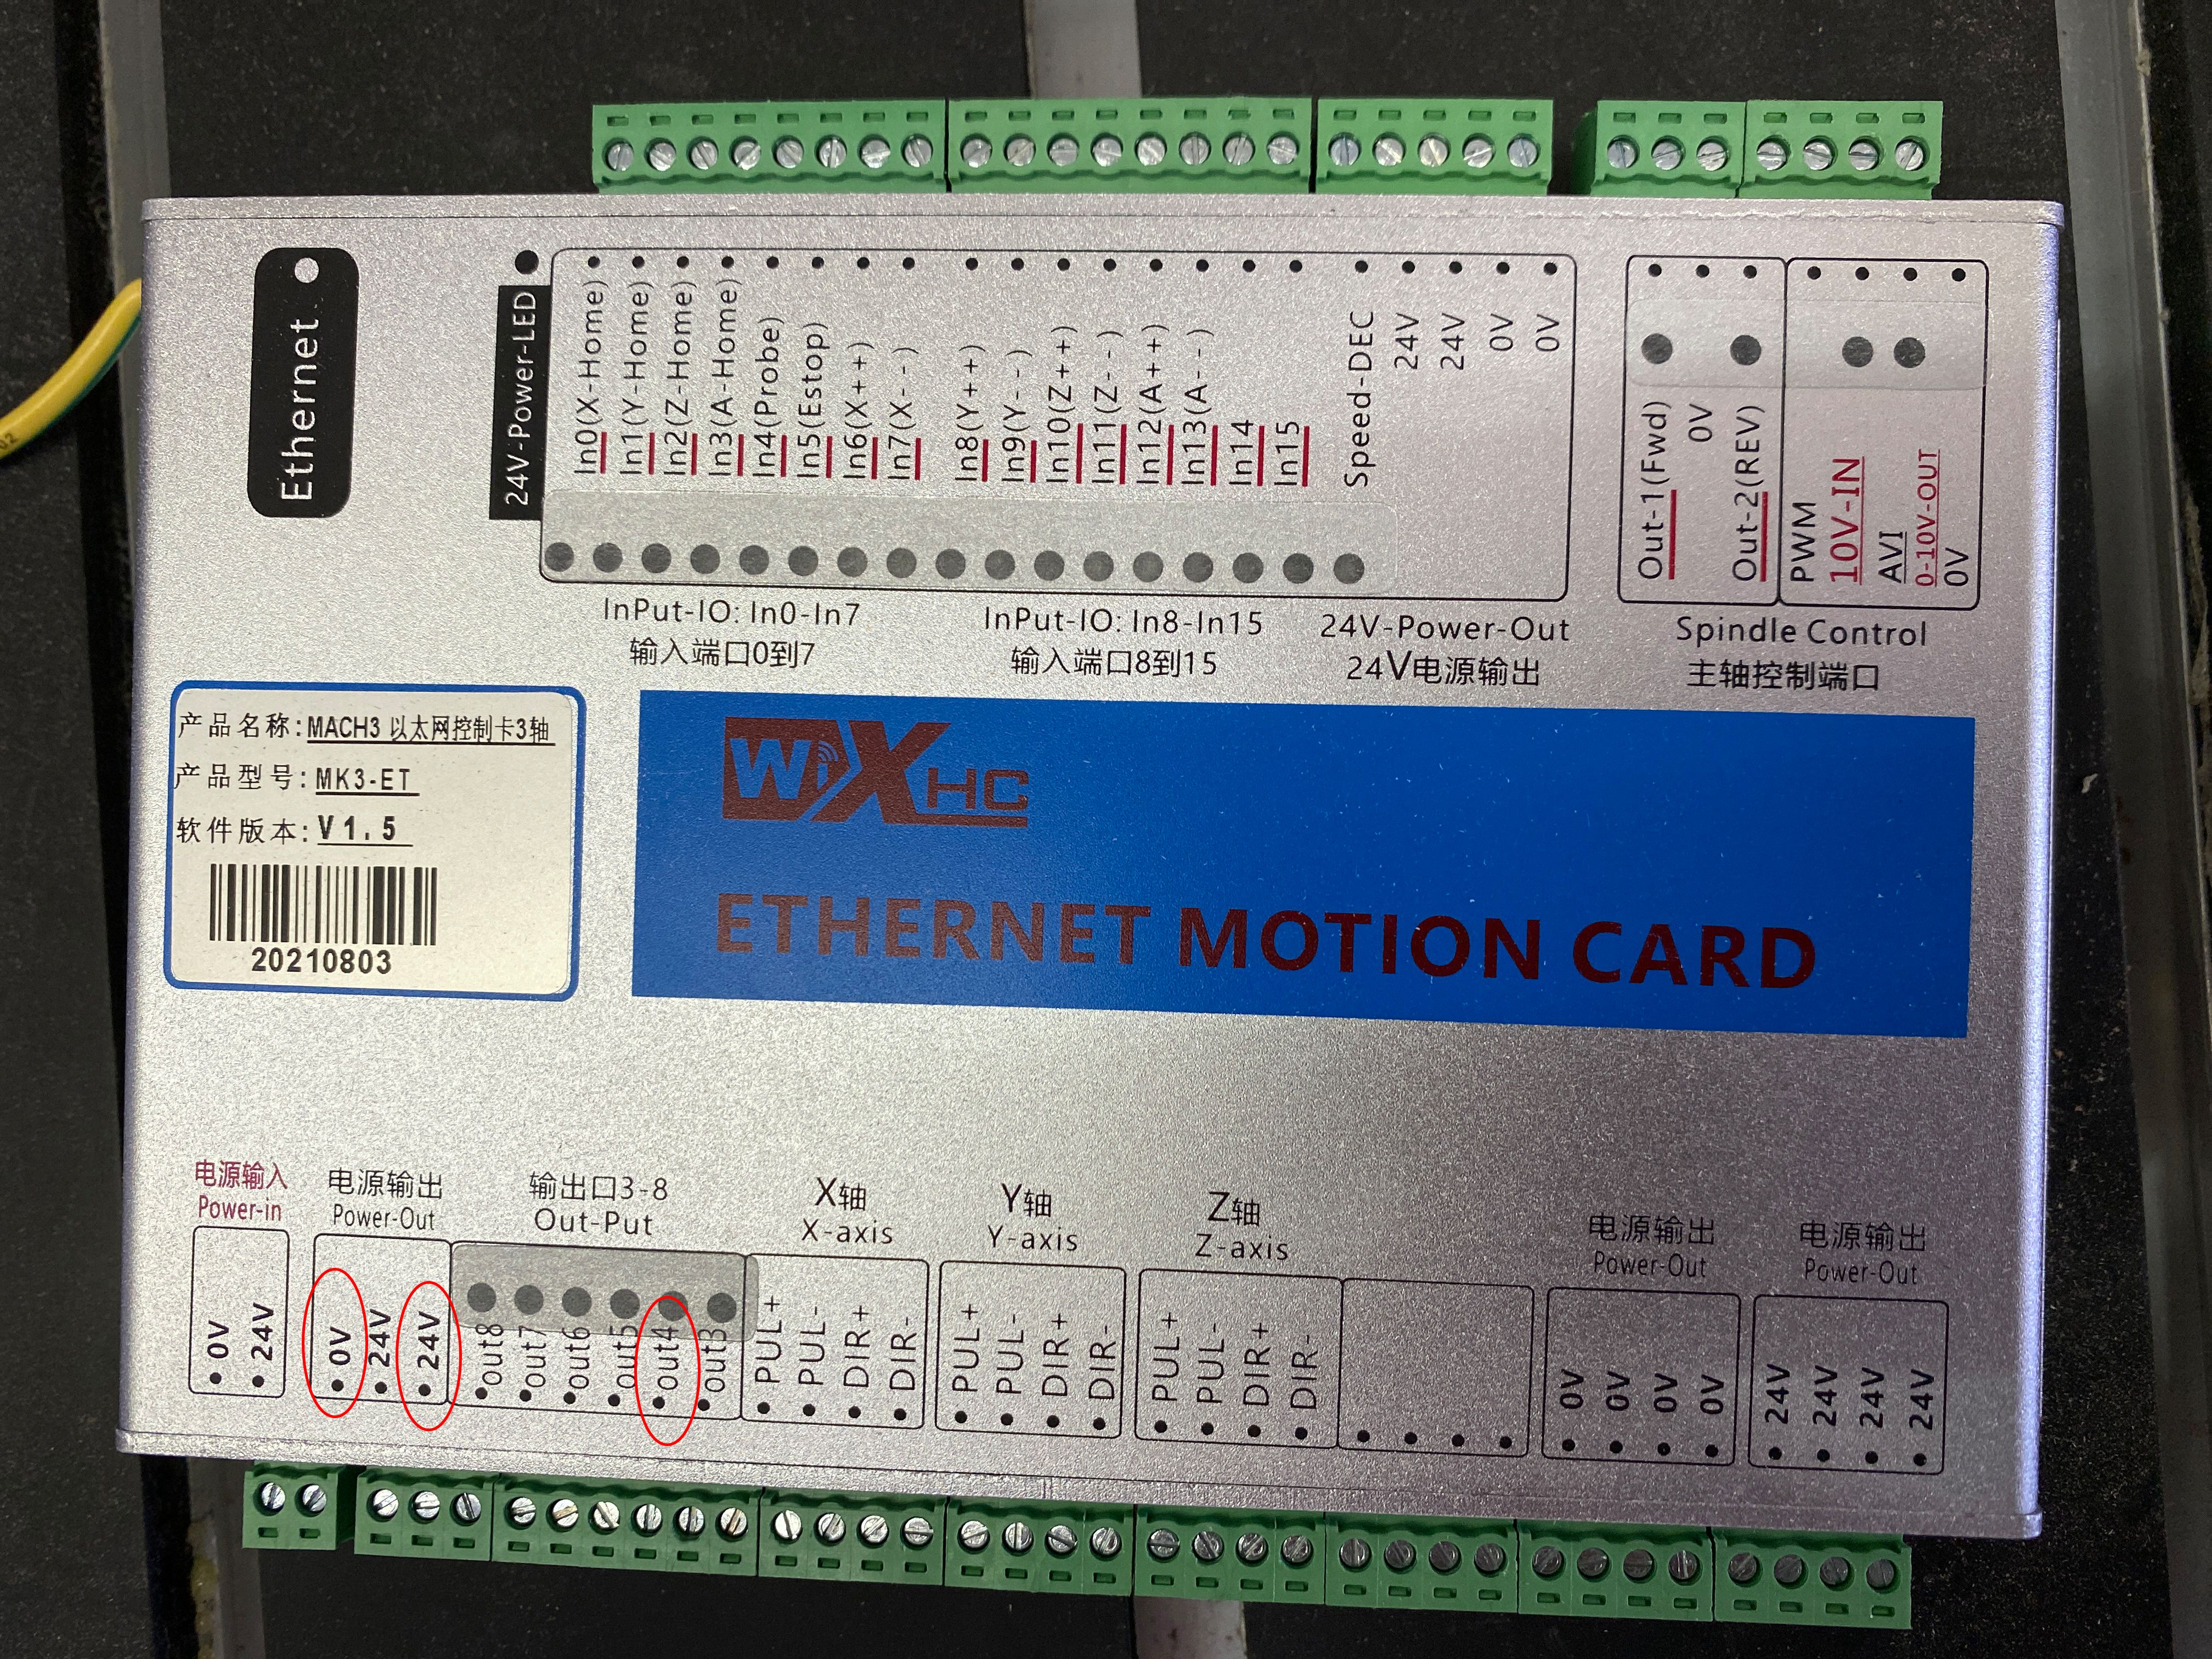
You need to connect the “24V” contact in the “Power-Out” group and the “out4” contact in the “Out-Put” group through a 10kΩ resistor. Then you need to change the profile settings so that during the execution of the gcode, when the M11P1 command is executed, a voltage appears between the pins “0V” and “out4”. The voltage will be 24V. When the M10P1 command is executed, the voltage between these pins should become 0V. This needs to be checked with a tester.
To generate the gcode, you can use the postprocessor file in which you replaced the M3, M5 commands with the M11P1, M10P1 commands.
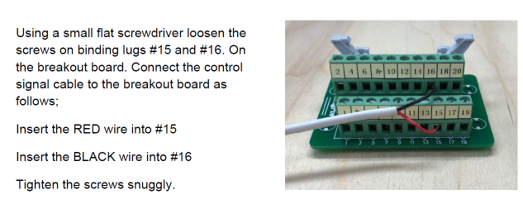
Once you have verified that everything is working correctly, you can connect the laser. A blue braided wire is used for connection. the red wire is connected to the “out4” contact, the black wire to the “0V” contact. The 3-position switch on the LaserBox is set to “II”.

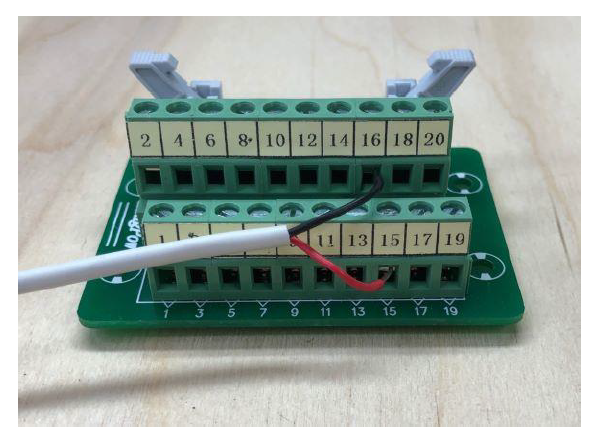
Setup output 4 port for the laser
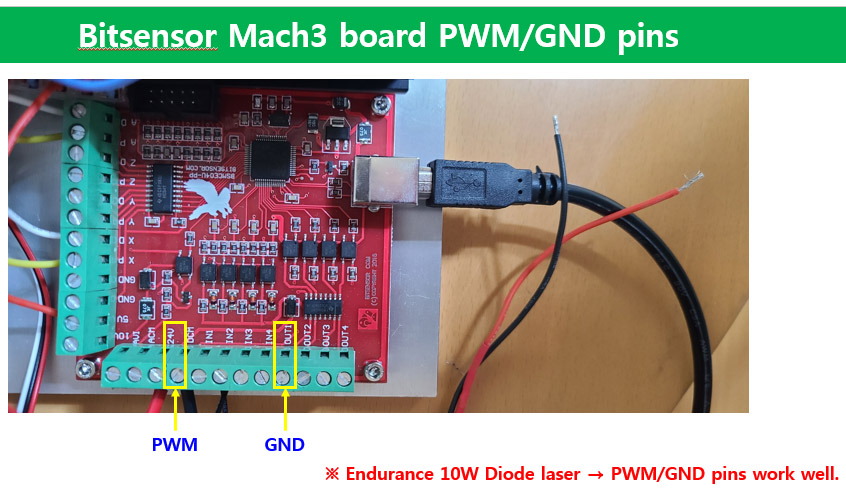
Bitsensor MACH3 board laser wiring
One improvement I made was to change the connection to the Shark to a plug-in breakout board. That allowed me to use Vectric VCarve Quick Engrave with the laser, and also to use the Next Wave Automation (Shark) Raster program for laser engraving of photographs/JPEG files.
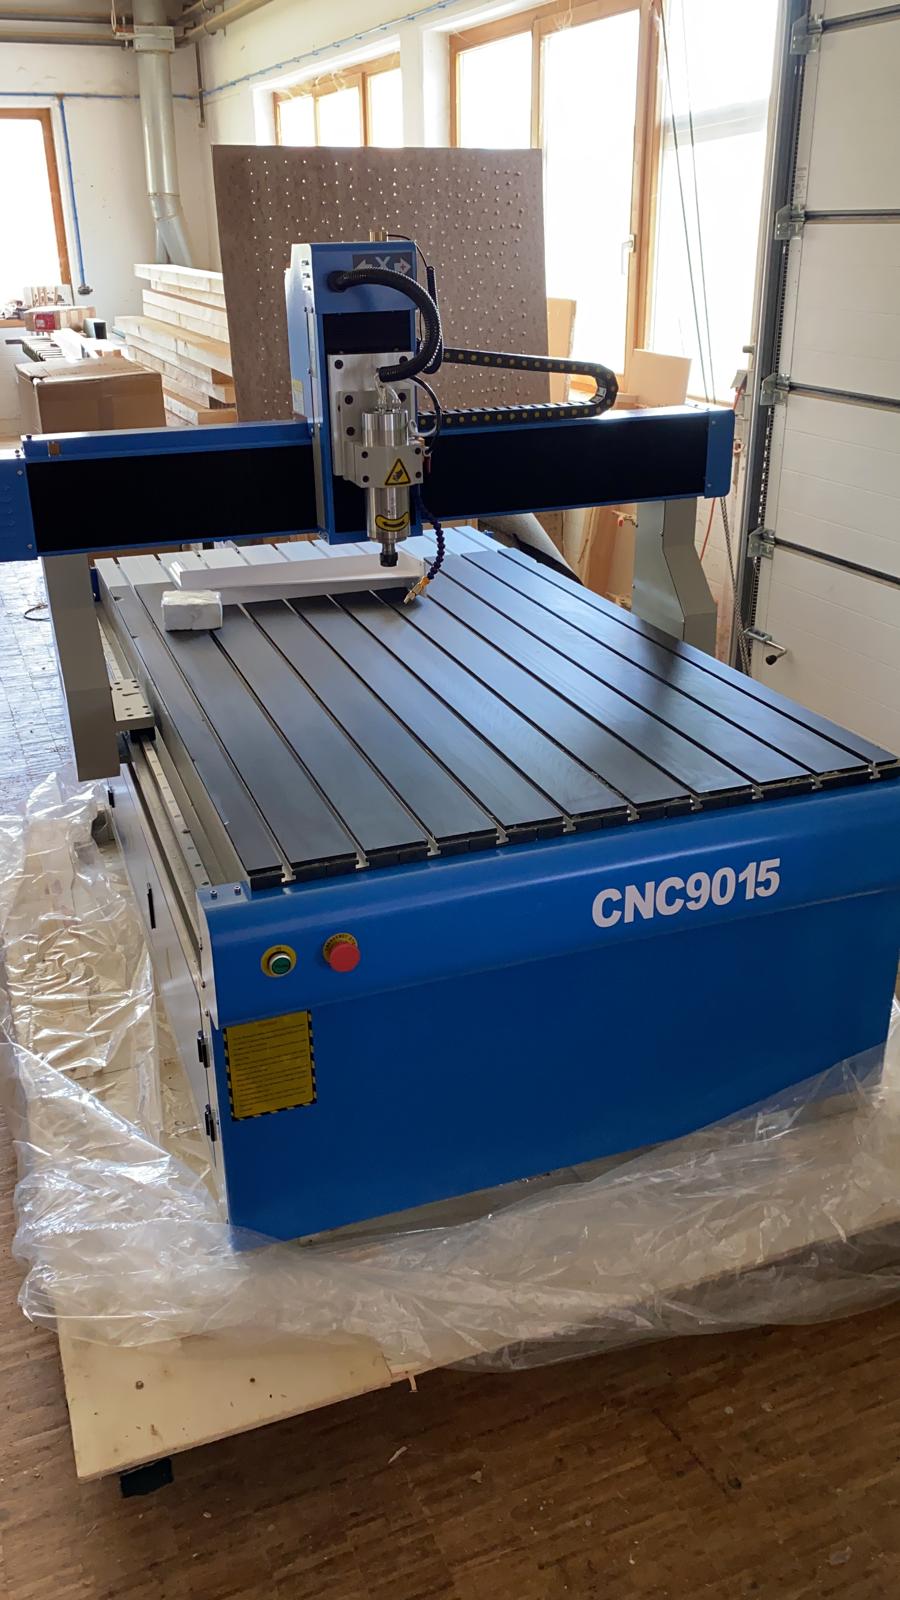
Installing Endurance lasers on difference CNC machines – upgraded routers