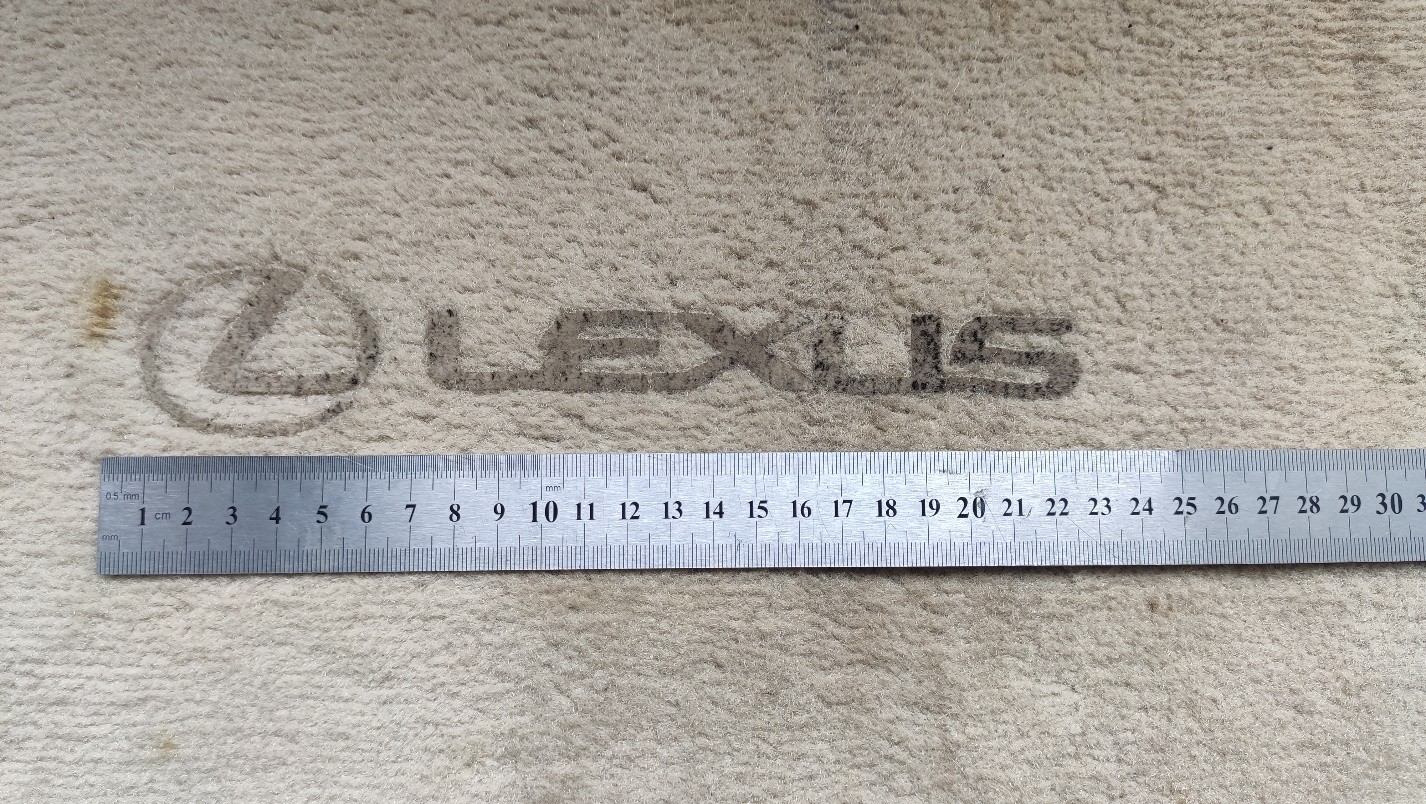
Task: restoration of a Lexus logo on a piled car foot carpet.
We have already restored the chrome-plated wheel and radiator grill logos of a Lexus car made in 2001. (See a full description of the process on https://endurancelasers.com/restoration-of-chrome-on-shiny-surfaces/ ). Now it’s my turn for the car pads. In course of time, the logo of the car on the car pads became worn. So we are going to restore them.
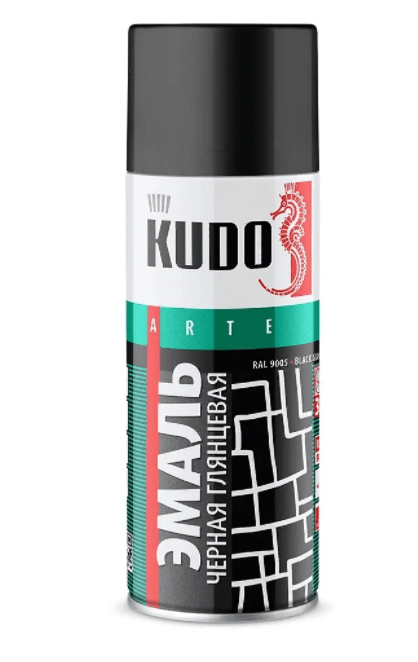
For this, we plan to use black acrylic paint. It sticks to textile well and stays in place. An image made with black acrylic paint looks perfect.
For this work we need:
– Acrylic paint;
– a laser machine (a CO2 or diode laser) with its software;
– plywood (after several tests plywood turned out to be the most suitable for our task)
– double-sided adhesive tape;
– masking tape or paper (to protect the rest of the foot carpet from the paint);
– an editor to work with vector files (e.g. CorelDraw)
The course of work:
- At first, it is necessary to create a file for laser cutting. For this, we need to create an exact copy of the logo image to be restored as a vector file. The simplest way to do it is to find a corresponding pattern on the Internet and adapt it to our needs.

If you cannot find the image you need on the Internet you can create it using outline racing in CorelDraw. To do this, we take a picture of the image along with a ruler trying to hold the camera parallel to the logo image plane.
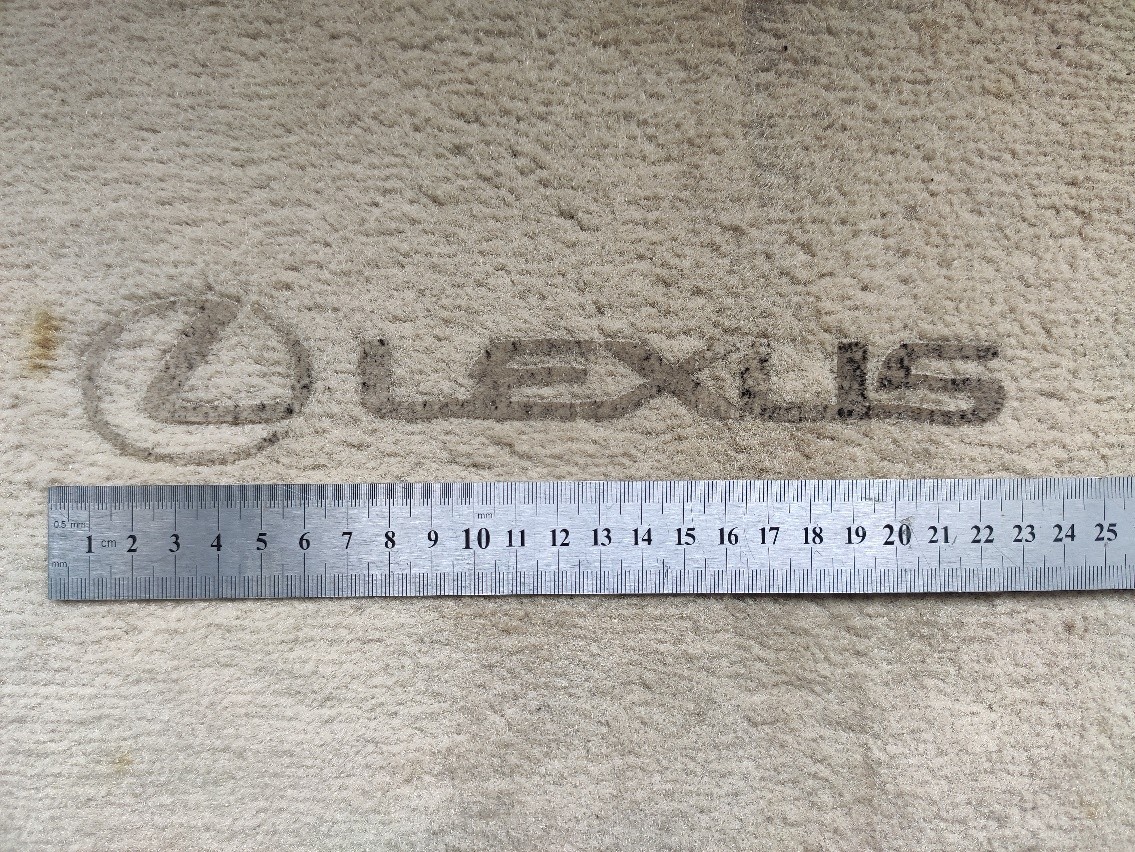
After outline tracing, we adjust the image for size using a rule.
As we see, one element (marked red in the picture below) of the logo is not connected with the rest of it. It means that after cutting it will go out. To prevent this we connect it with the logo by means of bridges.
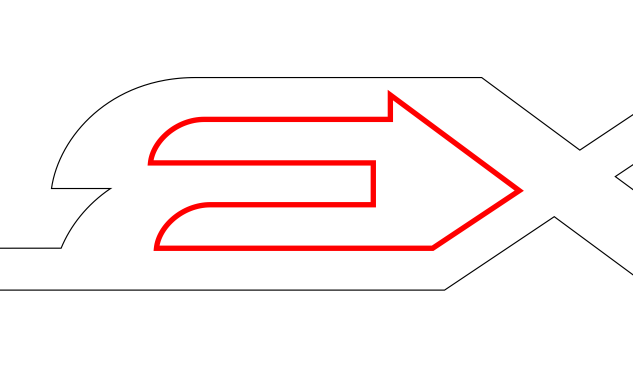

Now all the elements of the logo stencil will remain in place when we’ll use it.
2. The next step is making a logo stencil out of plywood. For this, we cover one side of our plywood piece with double-sided adhesive tape without opening its other sticky side.
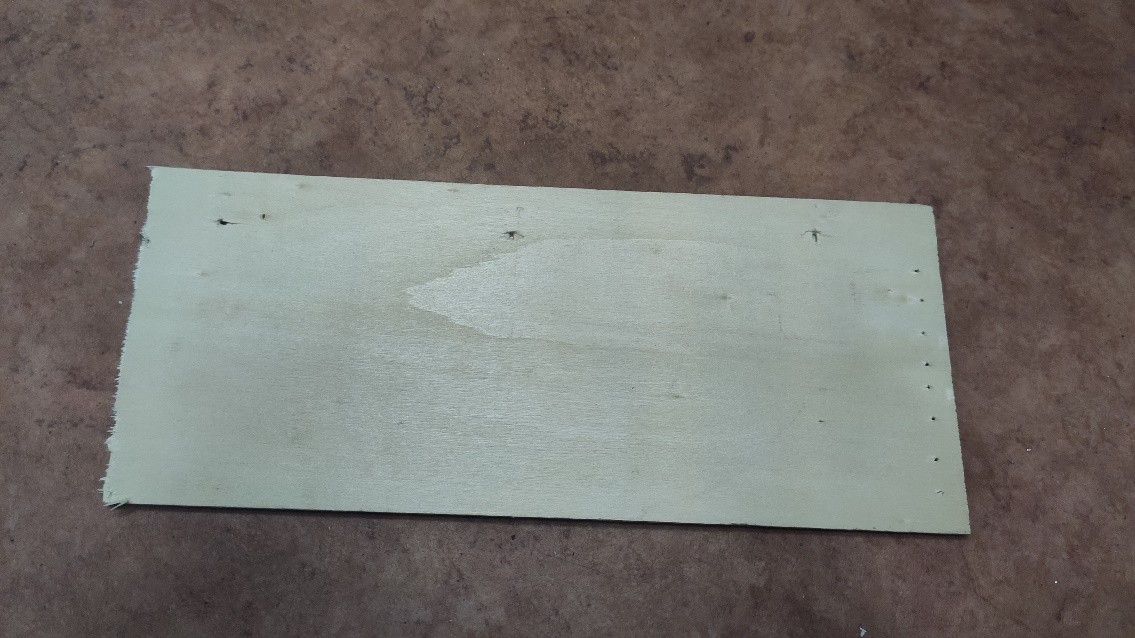
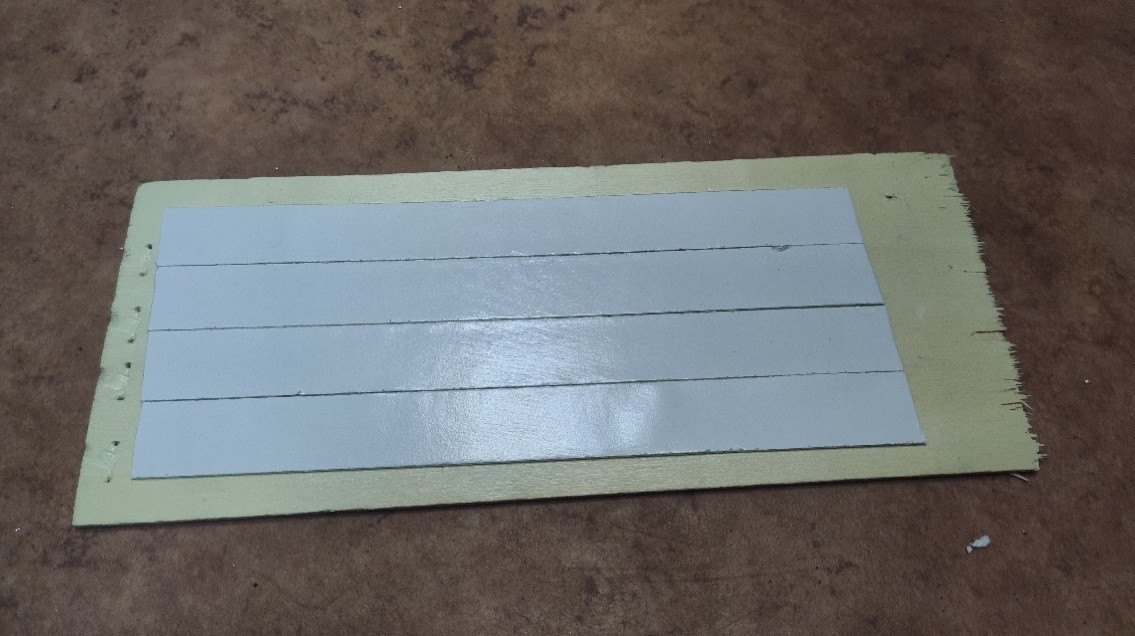
Then we place the plate onto the worktable with its tape-covered side down, aim the created stencil image at the tape-covered area checking its correct position on the workpiece,
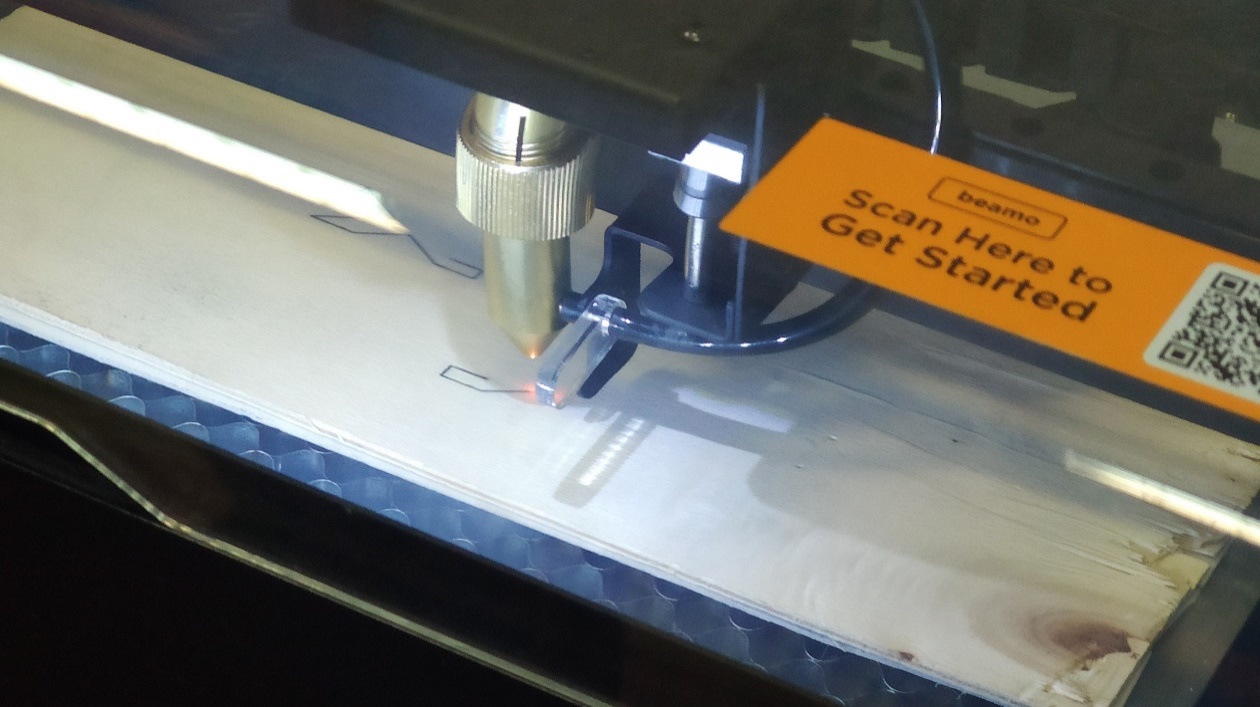
and run the plywood cutting mode. We need to make two passes because it is necessary to burn through the adhesive tape as well.
3. The stencil is ready and we check if it is good and corresponds to the logo on the foot carpet. It is good enough, so we peel off the protective film from the other sticky side of the adhesive tape and stick the stencil to the foot carpet, positioning the stencil in the right way.
So as not to stain the pad with the paint we covered the rest of it with paper fixing it to the stencil with masking tape.
Then we get to painting. We paint the logo by spraying it with a thick coat of black paint.
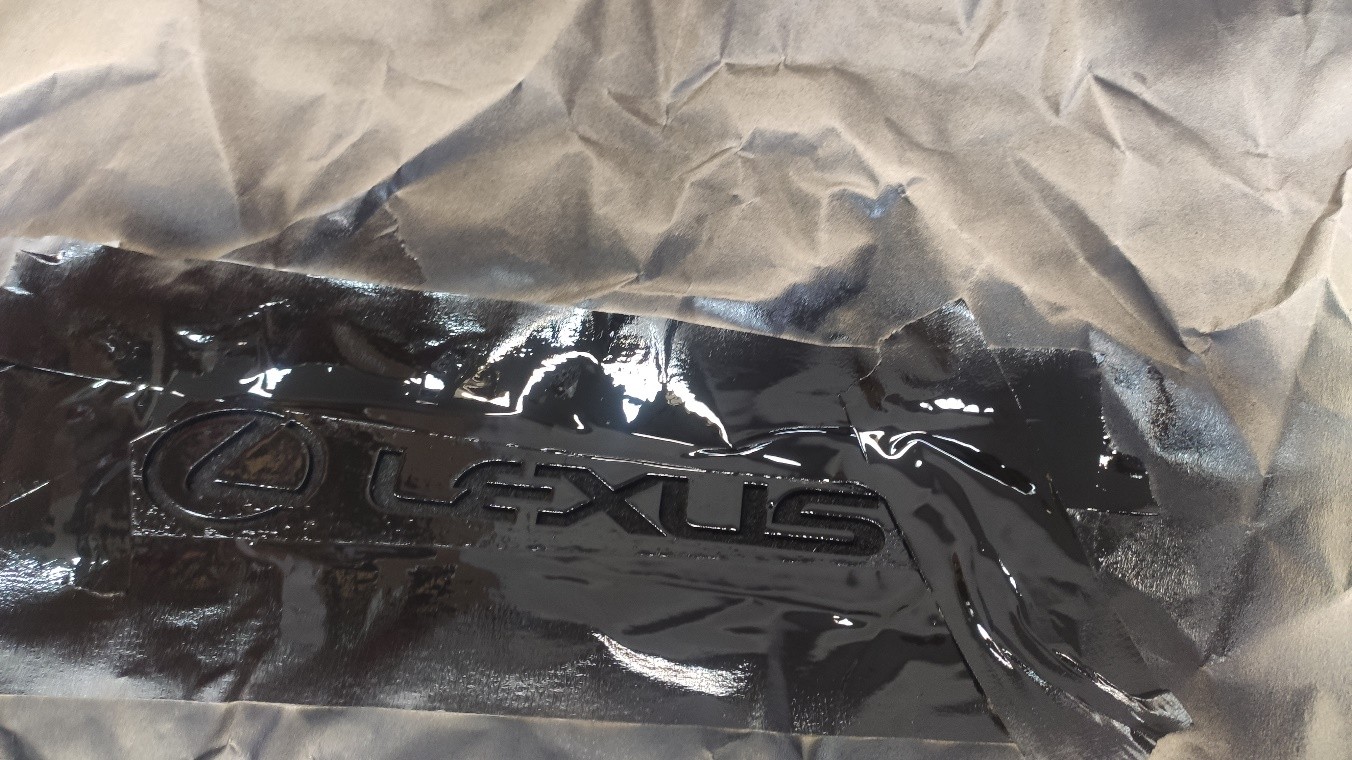
After painting, we wait for 10 – 20 minutes and take away the stencil.
When the stencil is removed we see unpainted areas at the places of the bridges we created to connect all the elements of the logo. So we paint these areas by hand with the same black paint using a cotton swab.
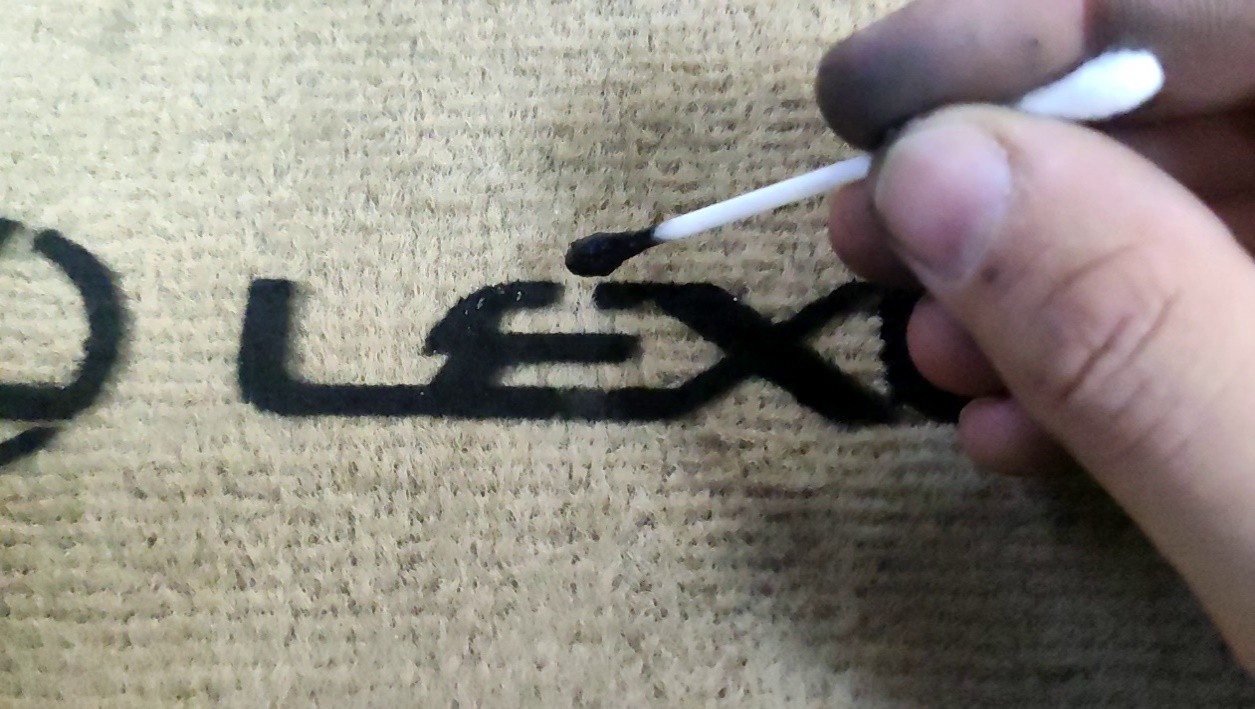
Now everything is ready.
As you see, it is possible to use a laser machine to make a stencil for refreshing faded colors of various patterns. Car foot pads are just one example of hundreds.
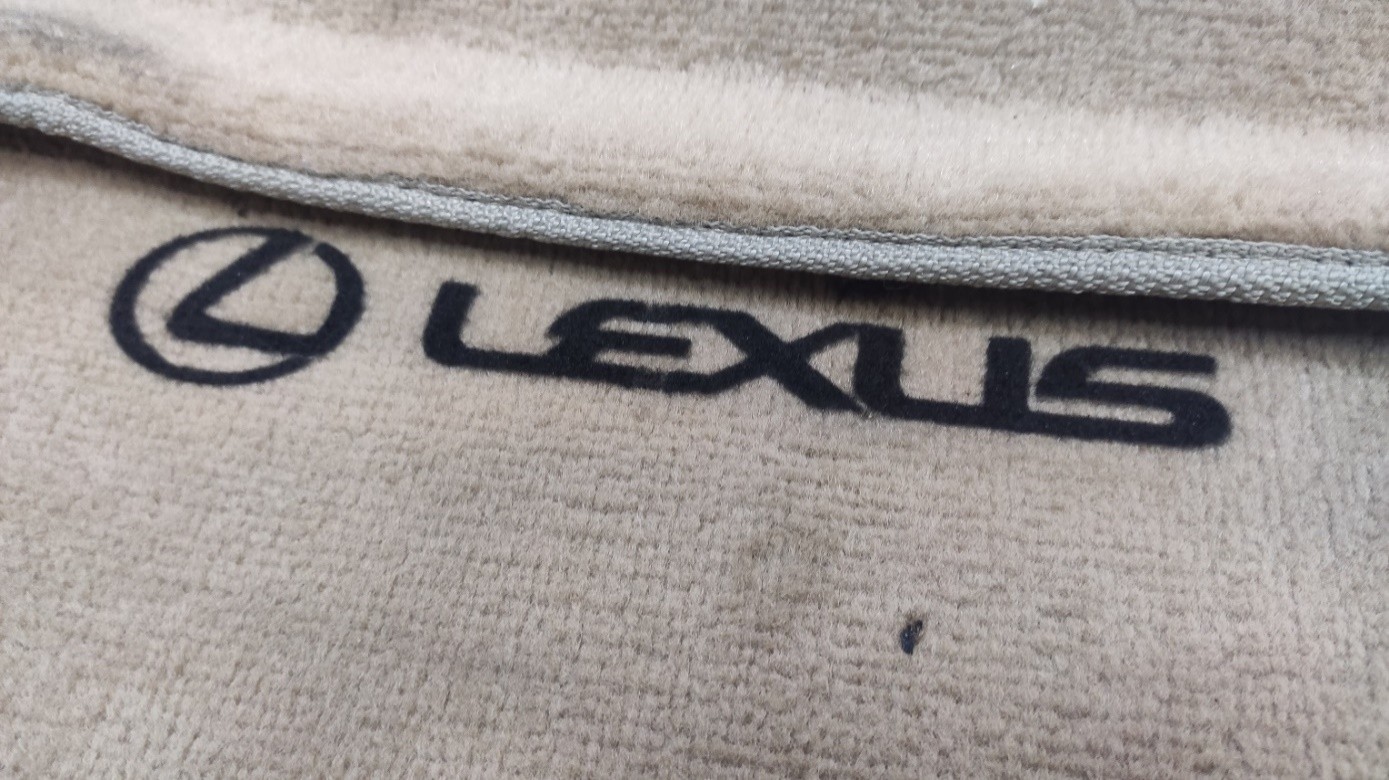
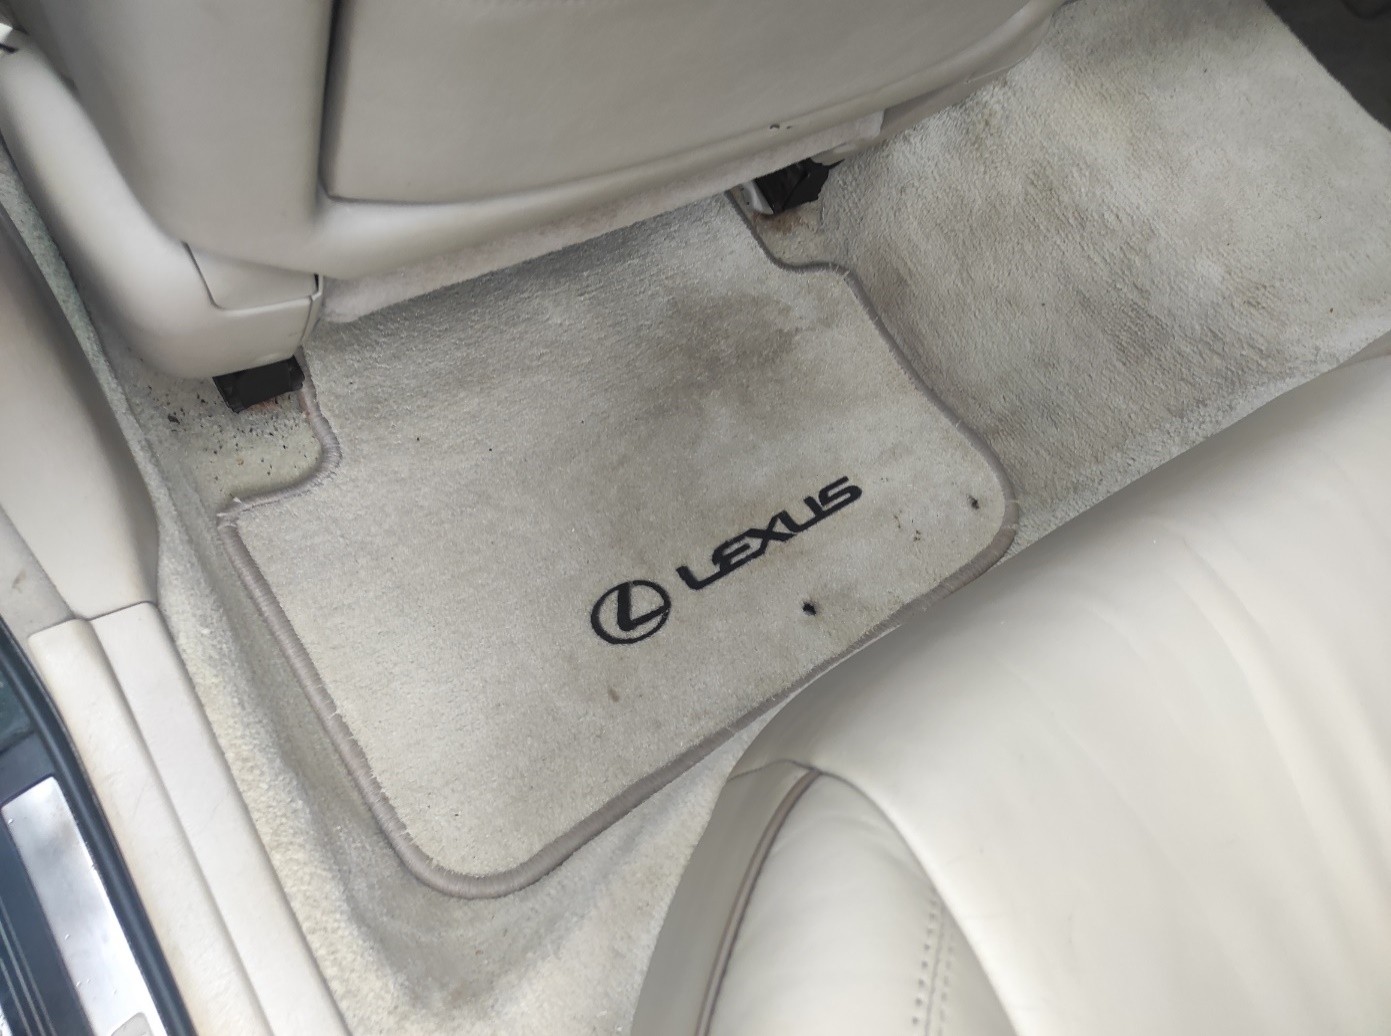
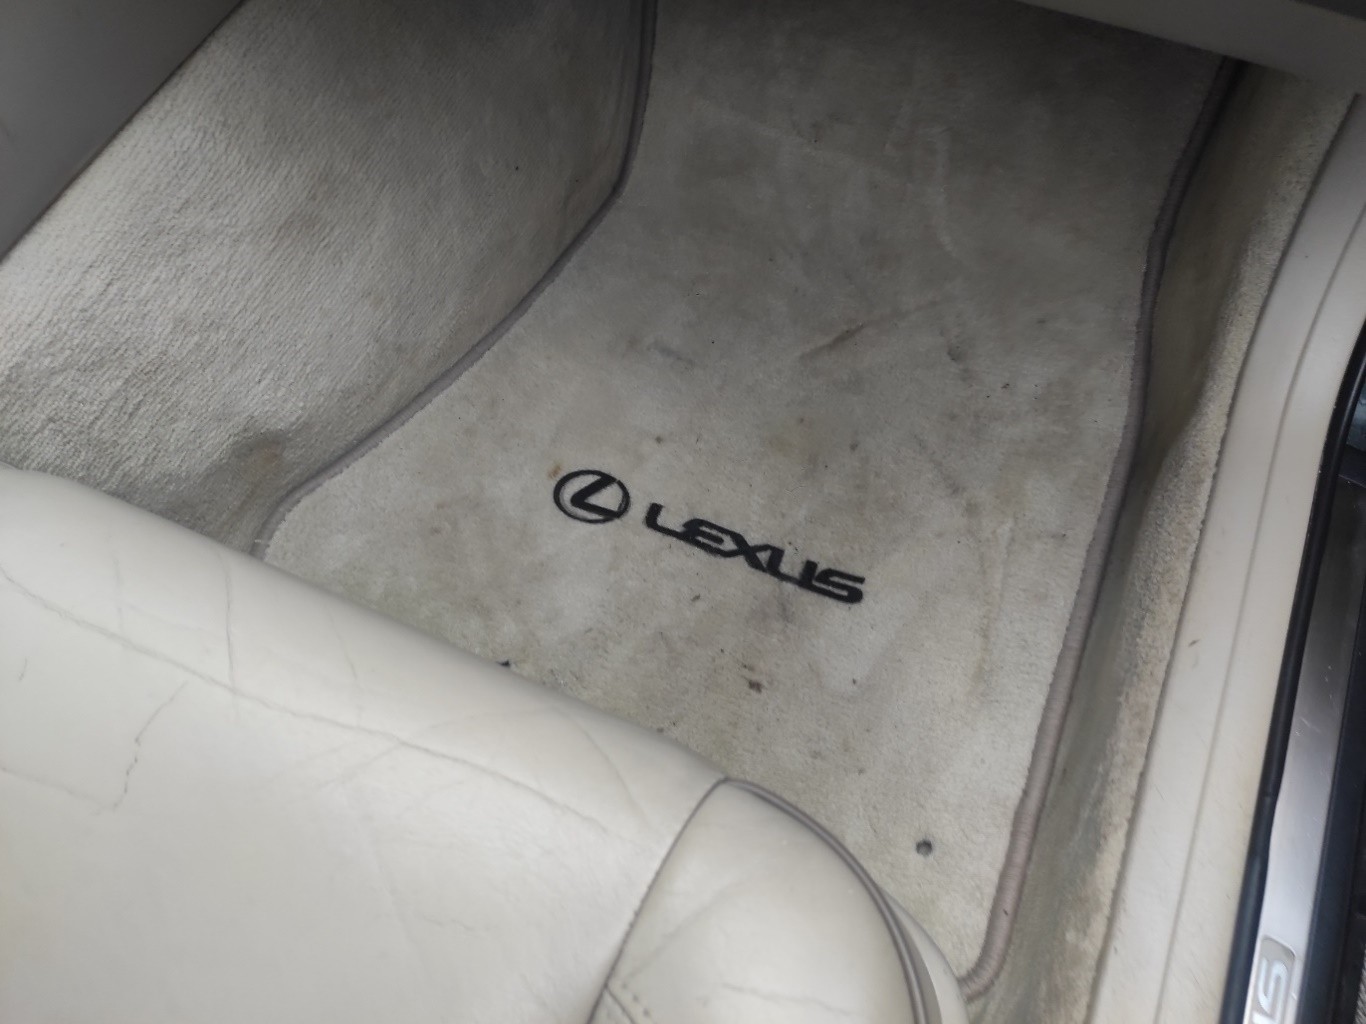
If you have any questions – let us know in Livechat.
Watch a detailed video guide of how to restore paint of the car carpet