All about business (aluminum) cards laser metal marking/engraving/etching.
Metal Business Cards – DIY.
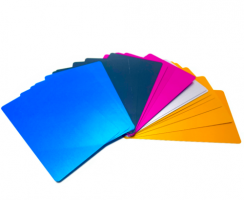
I came across these very cheap metal business card blanks on eBay, so I had to try them out. They come in a variety of colors, so whatever your preference is, you’re covered. Other than that, they are really thin, probably about the same as one made out of paper. This means they don’t take up too much space in your wallet. The only thing to keep in mind is that they, of course, are a lot heavier, so if you carry a lot of them, you’ll feel it. The durability isn’t the best, you can easily kink them if you want, but it’s certainly usable.
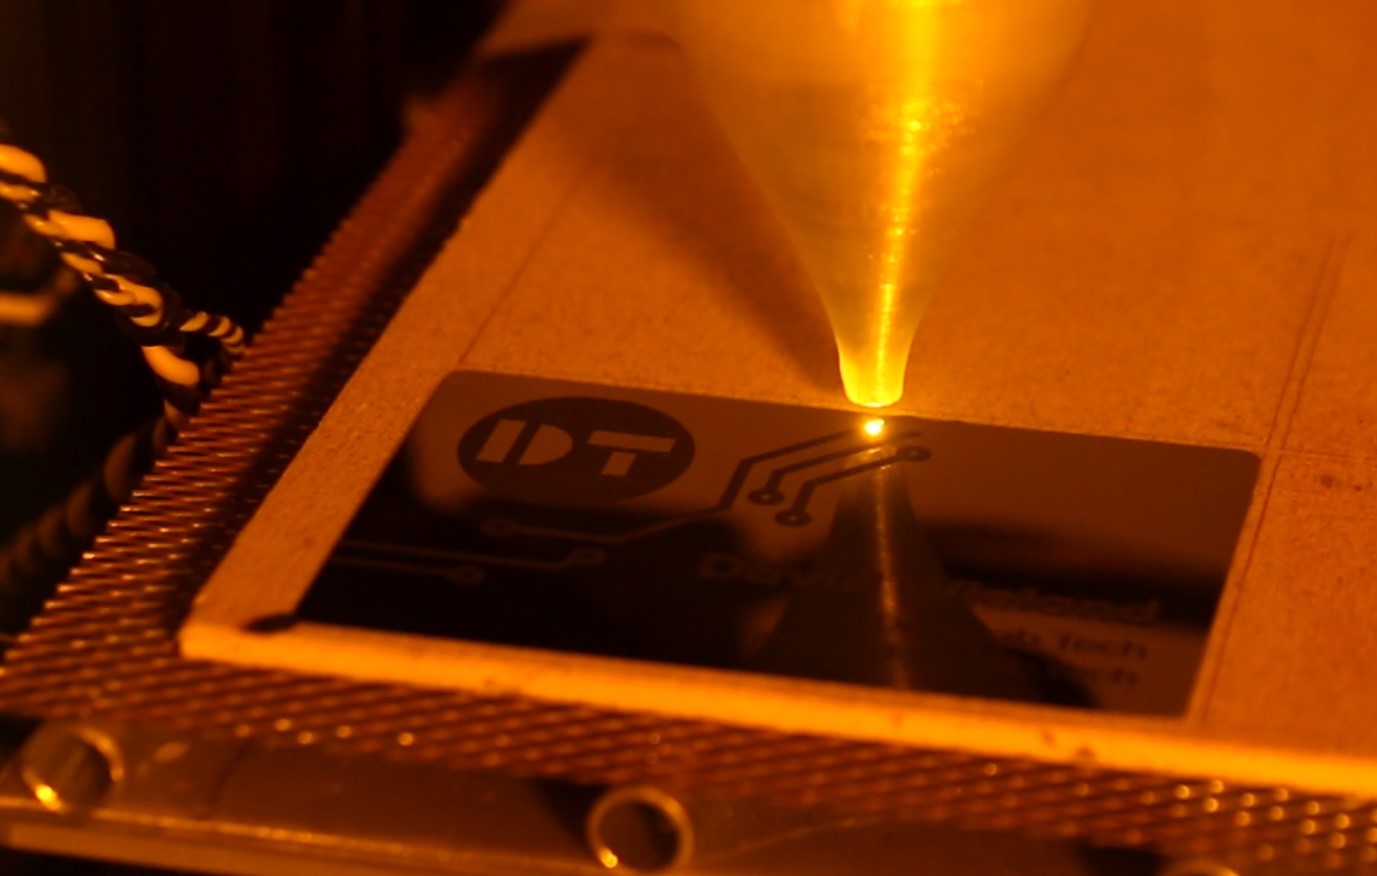
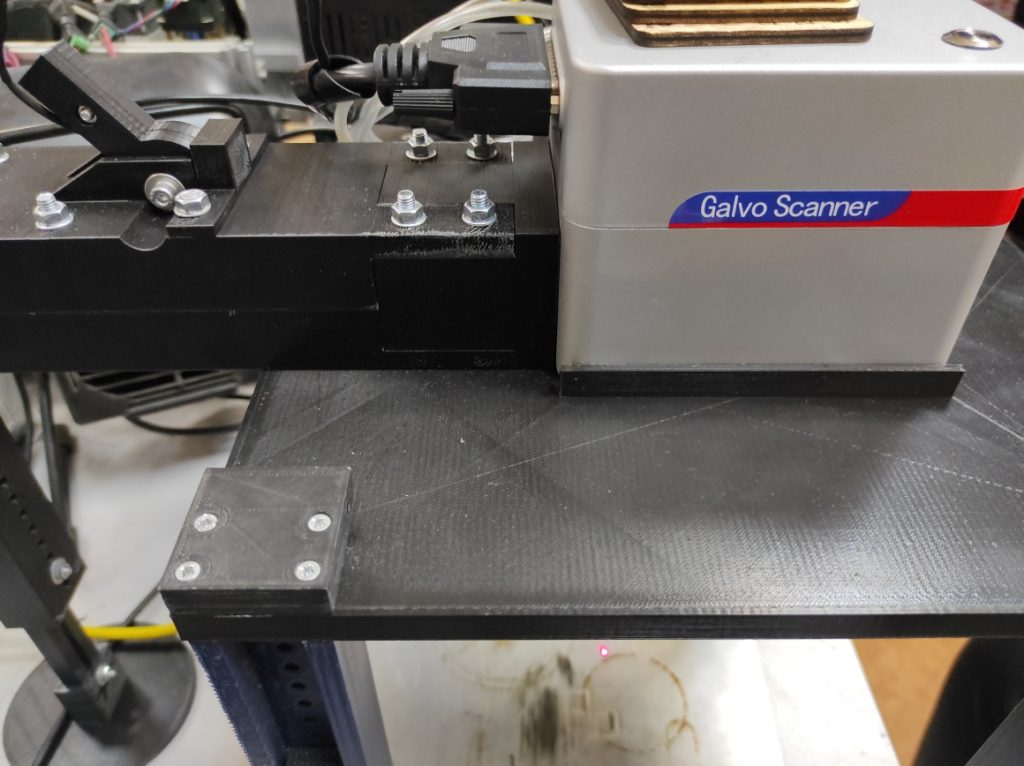
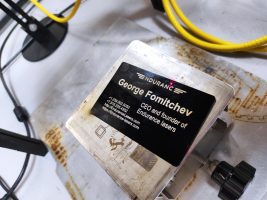
Ultra-fast business card making with a 30 watt DIY Raycus galvo system
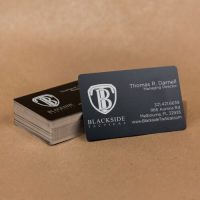
Examples of painted/anodized aluminum cards
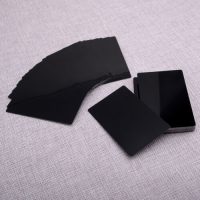
You need to purchase aluminum Blank, silver business cards specifically designed for engraving! These are cut to the standard business card size and ready to be engraved on! G
– SIZE: 3.3″ by 2.1″ by 0.22mm thickness.
SPECIFICATIONS
- Condition: 100% new
- Color: Black
- Material: Aluminium Alloy
- Size: approx. 8.6 x 5.4 cm(3.4 x 2.1 inch) (LxW)
- Item included: 100 x Business Cards
- Suitable: for office business use
Feature of painted and anodized aluminum cards:
- Made of aluminum alloy, solid and durable.
- Non-toxic and healthy, not easy to age.
- The metallic business card makes your identity distinguished and looks elegant.
- The anodized coating works well with laser engraving.
- Never rust, a good tool to give out at the meet.
Parameters and settings for fiber galvo laser system
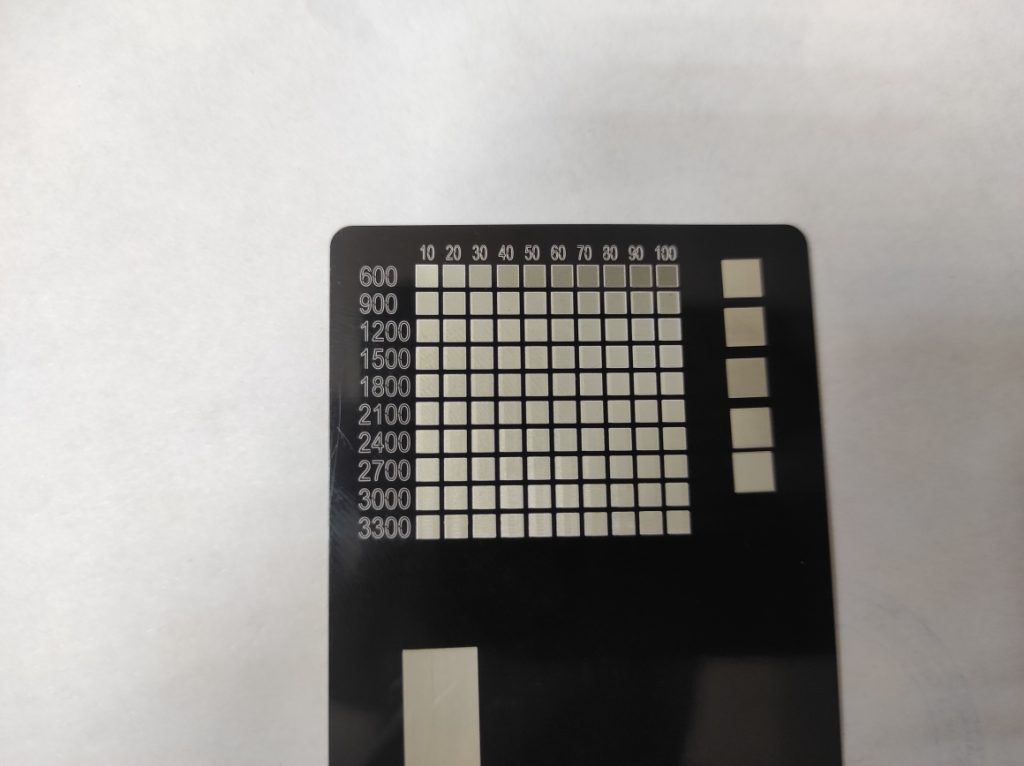
Speed 2100 mm / second
Power 90%
Frequency 50 kHz
Line frequency 0.04 mm
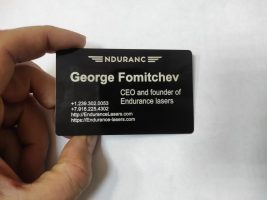
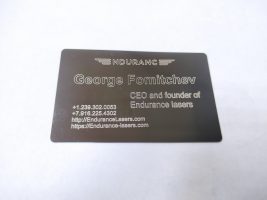
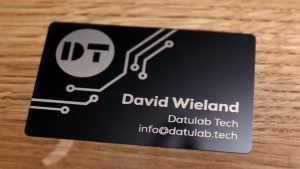
Business card laser marking
QR Code laser engraving
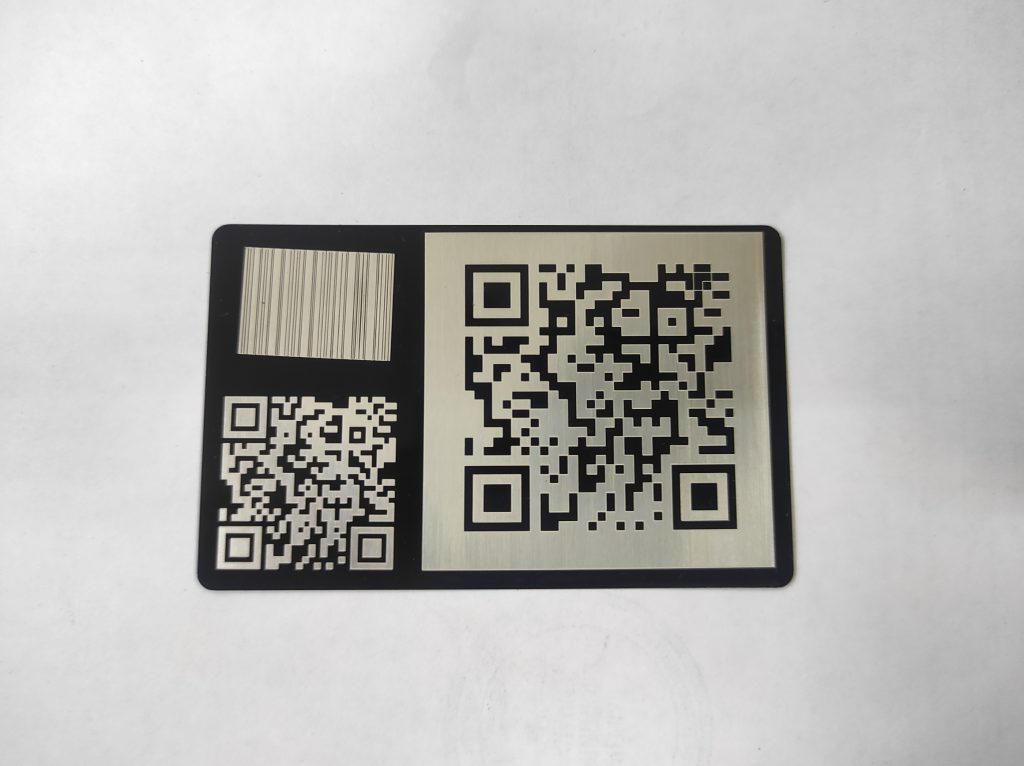
Invitational card
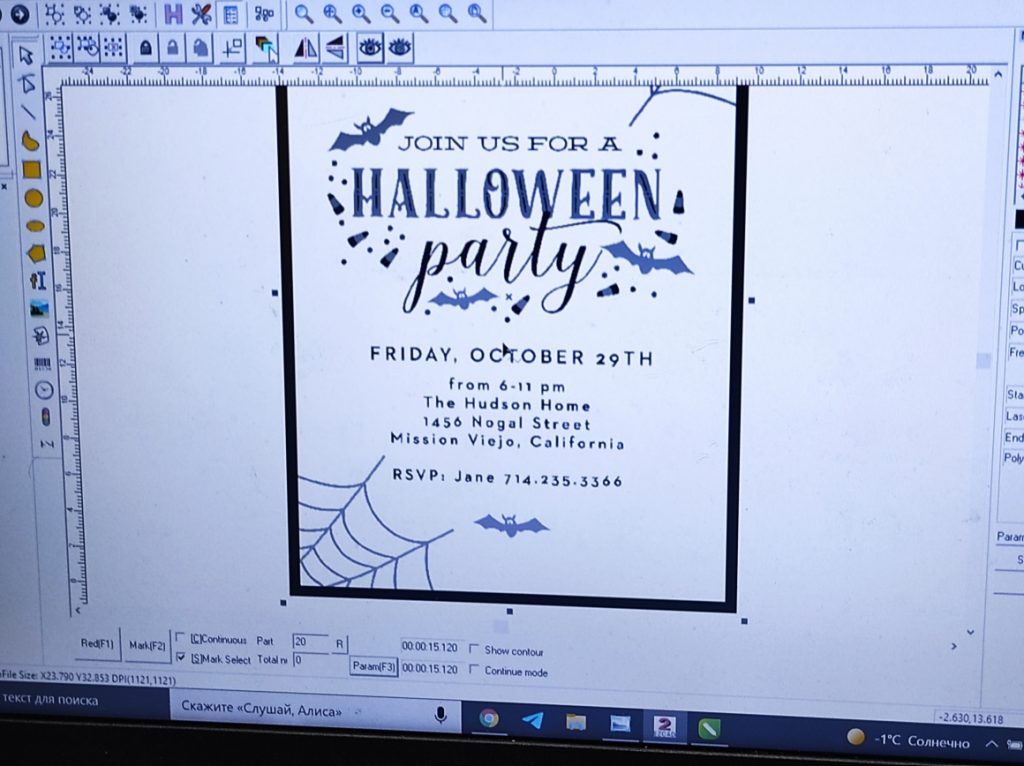
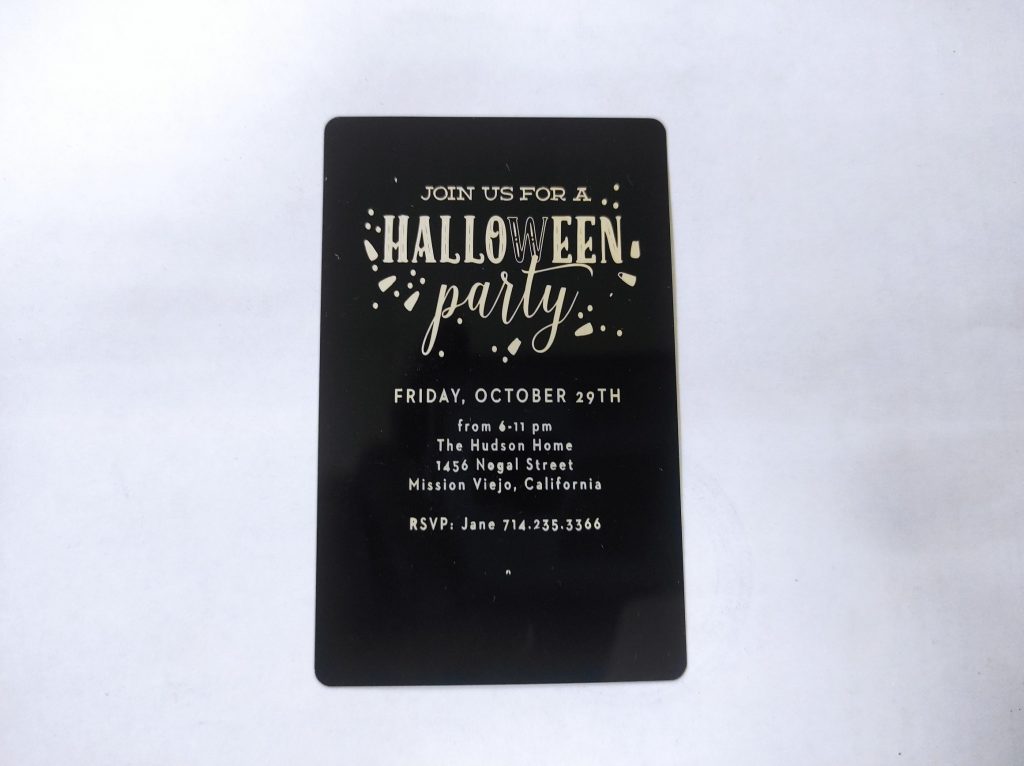
Halloween invitational card
How does it work with a diode laser?!
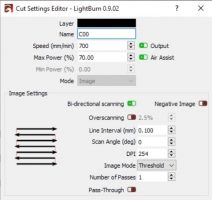
When engraving on these cards, you are stripping away the paint where you hit with the laser. This is quite easy and doesn’t take too long or that much power. On my 10W Laser, I used 70% power at 700mm/min, which is about the fastest that makes sense with my setup. The only thing you need to make sure is to set the interval to at most 0.1mm. With engraving wood and other things, I can get away with 0.15mm, but when I tried that with these cards, I was able to see lines on the engraved part.
Things to consider
To make sure the design is perfectly centered, I engraved the outline of the business card on a piece of wood first, then placed the card there and used the same work coordinates. This gets you very close to perfect. You will still want to oversize your design a bit though if you want it to go all the way to the edge. Otherwise, you might get a small border. This is especially important if you invert the design and laser everything except the design and logo away.
Conclusion
Overall, I am very pleased with the results, especially the inverted one looks really sharp and professional. You can tell even more there that it actually is a metal card and not plastic. If you are looking for some unique business cards, I can definitely recommend this. Just keep in mind that it does take quite a while, even at 700mm/min.
Enjoy the video footage
My setup: I am using a 10W Endurance Laser, which is mounted to my CR-10 using a quick release. I am also using an enclosure I built with an exhaust outside to control the fumes. Depending on the project I also use my air assist, which is hooked up to the air compressor.
