Masking tape cutting with a diode laser is an easy job even for a low power module, so making a masking tape stencil is a piece of cake!
I will make a try to describe my way of making masking tape stencils at the final spot.
The material is painted steel cabinets found next to the trash bin for some years!
Choosing an appropriate masking tape for a laser cutting
I have tested several kinds of masking tapes in order to decide which is the most appropriate for making a stencil with it.
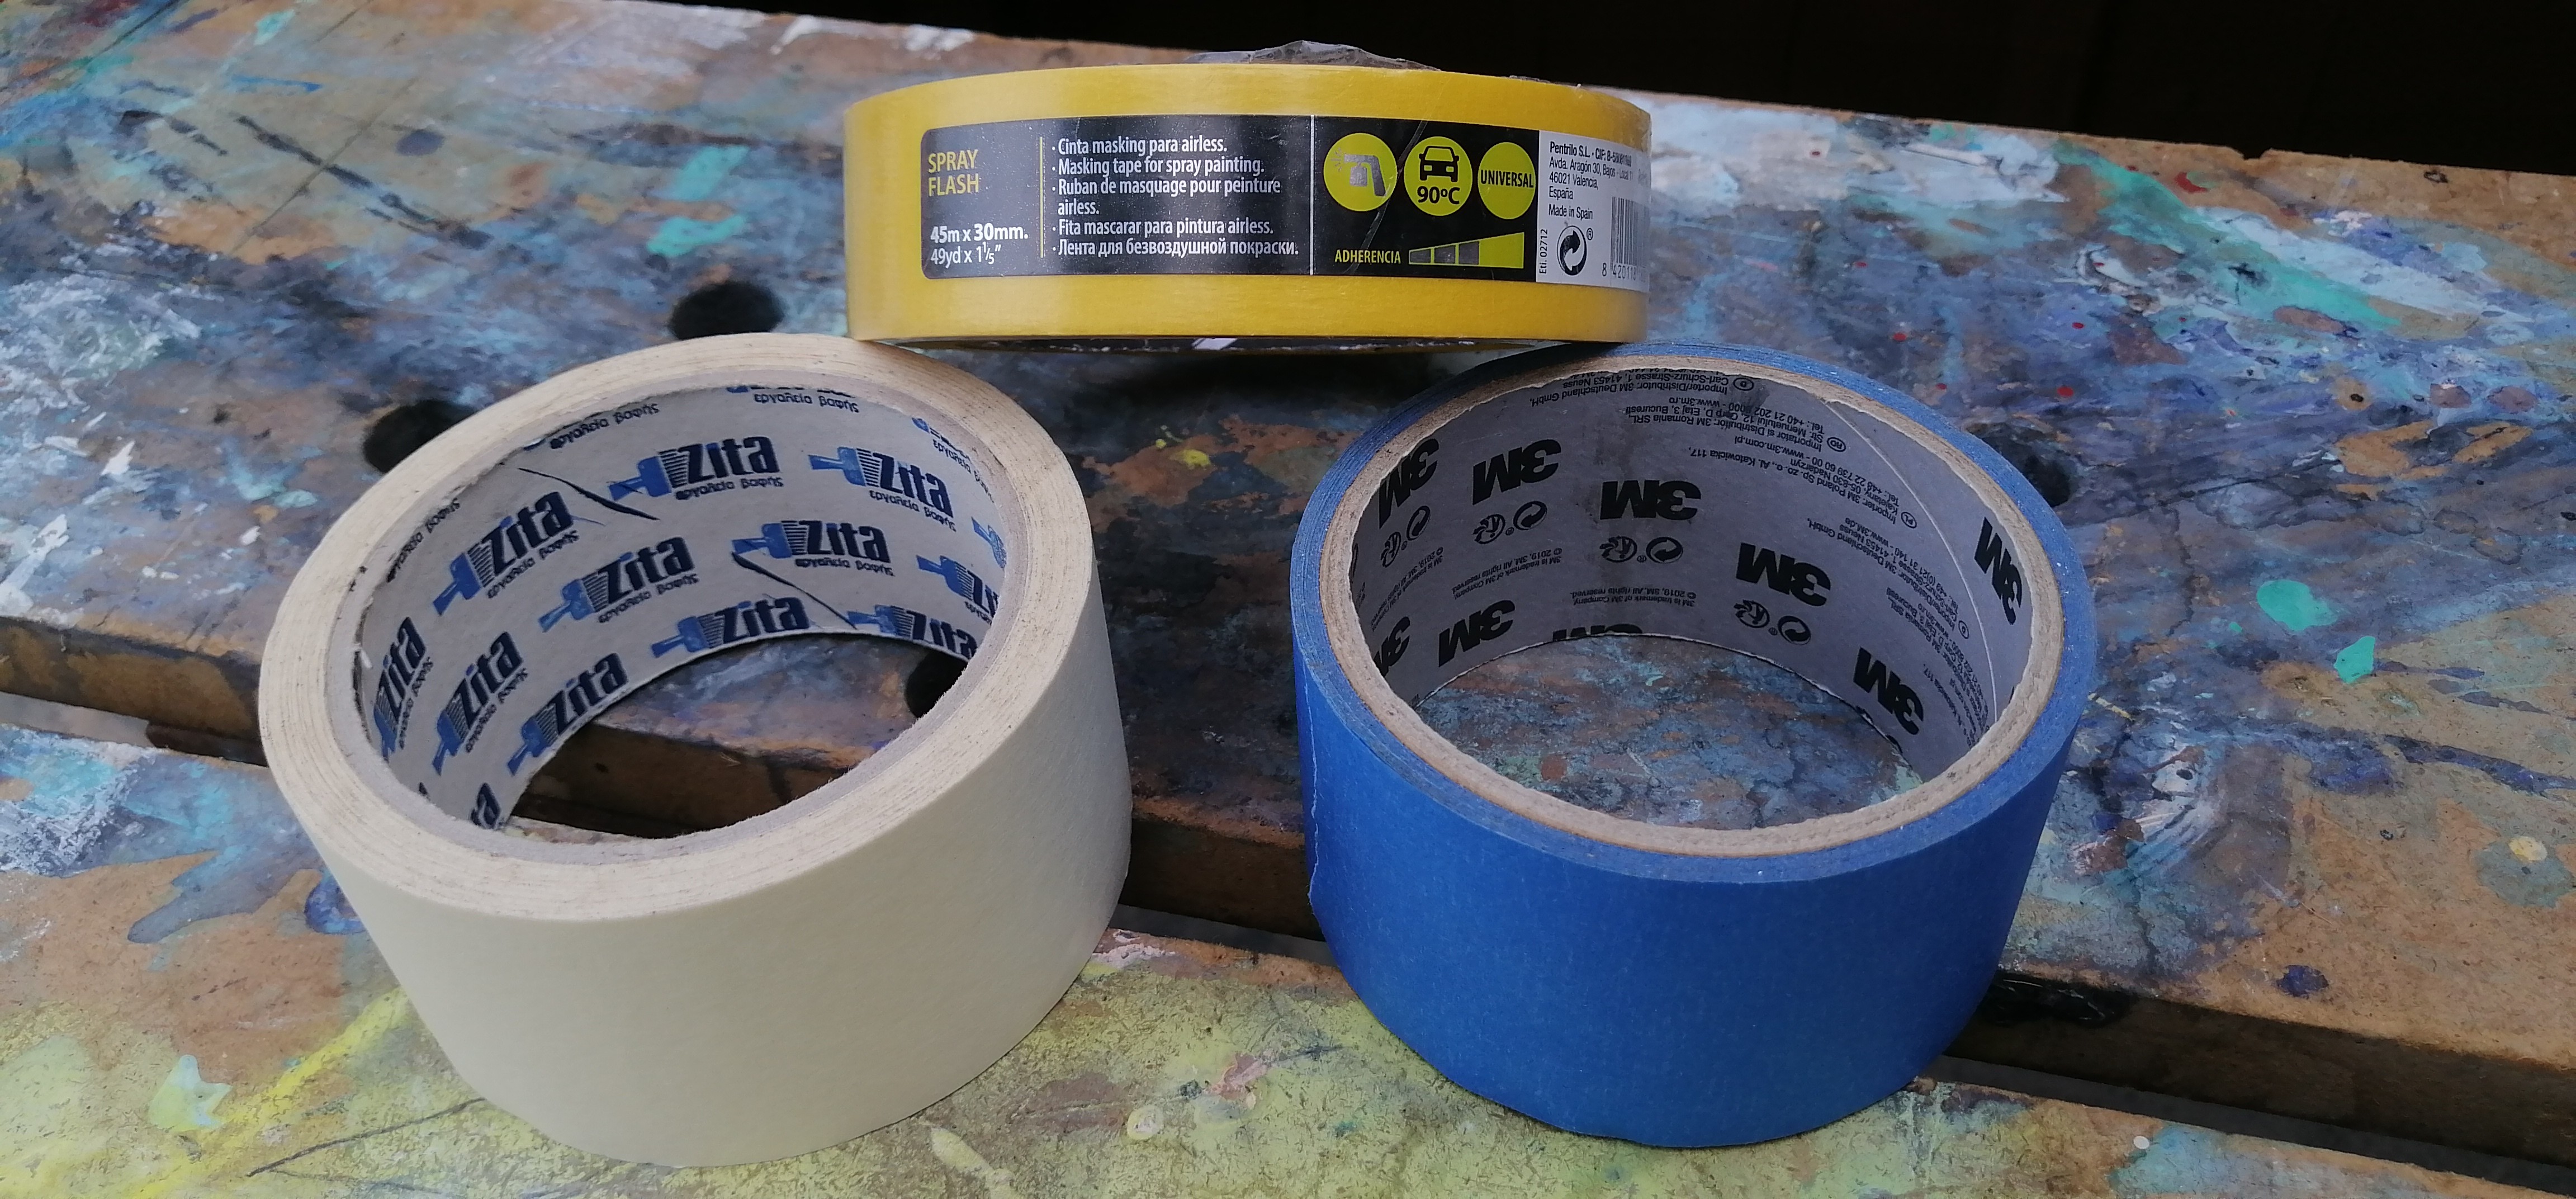
The cheap ones have low-quality glue which will be destroyed from the temperature of the laser beam and the color will pass from below giving a bad result.
The higher is the resistance of the tape to temperature, the better the result.
Applying the tape to the material
The tape can be applied to any material, but the results will be better in wood (painted or not), painted metal, and plastics. Glass, marble or unpainted metals are much trickier and it needs some trials first how to use the color spray on them.
The material should be clean from dust and residues in order for the tape to stick well.
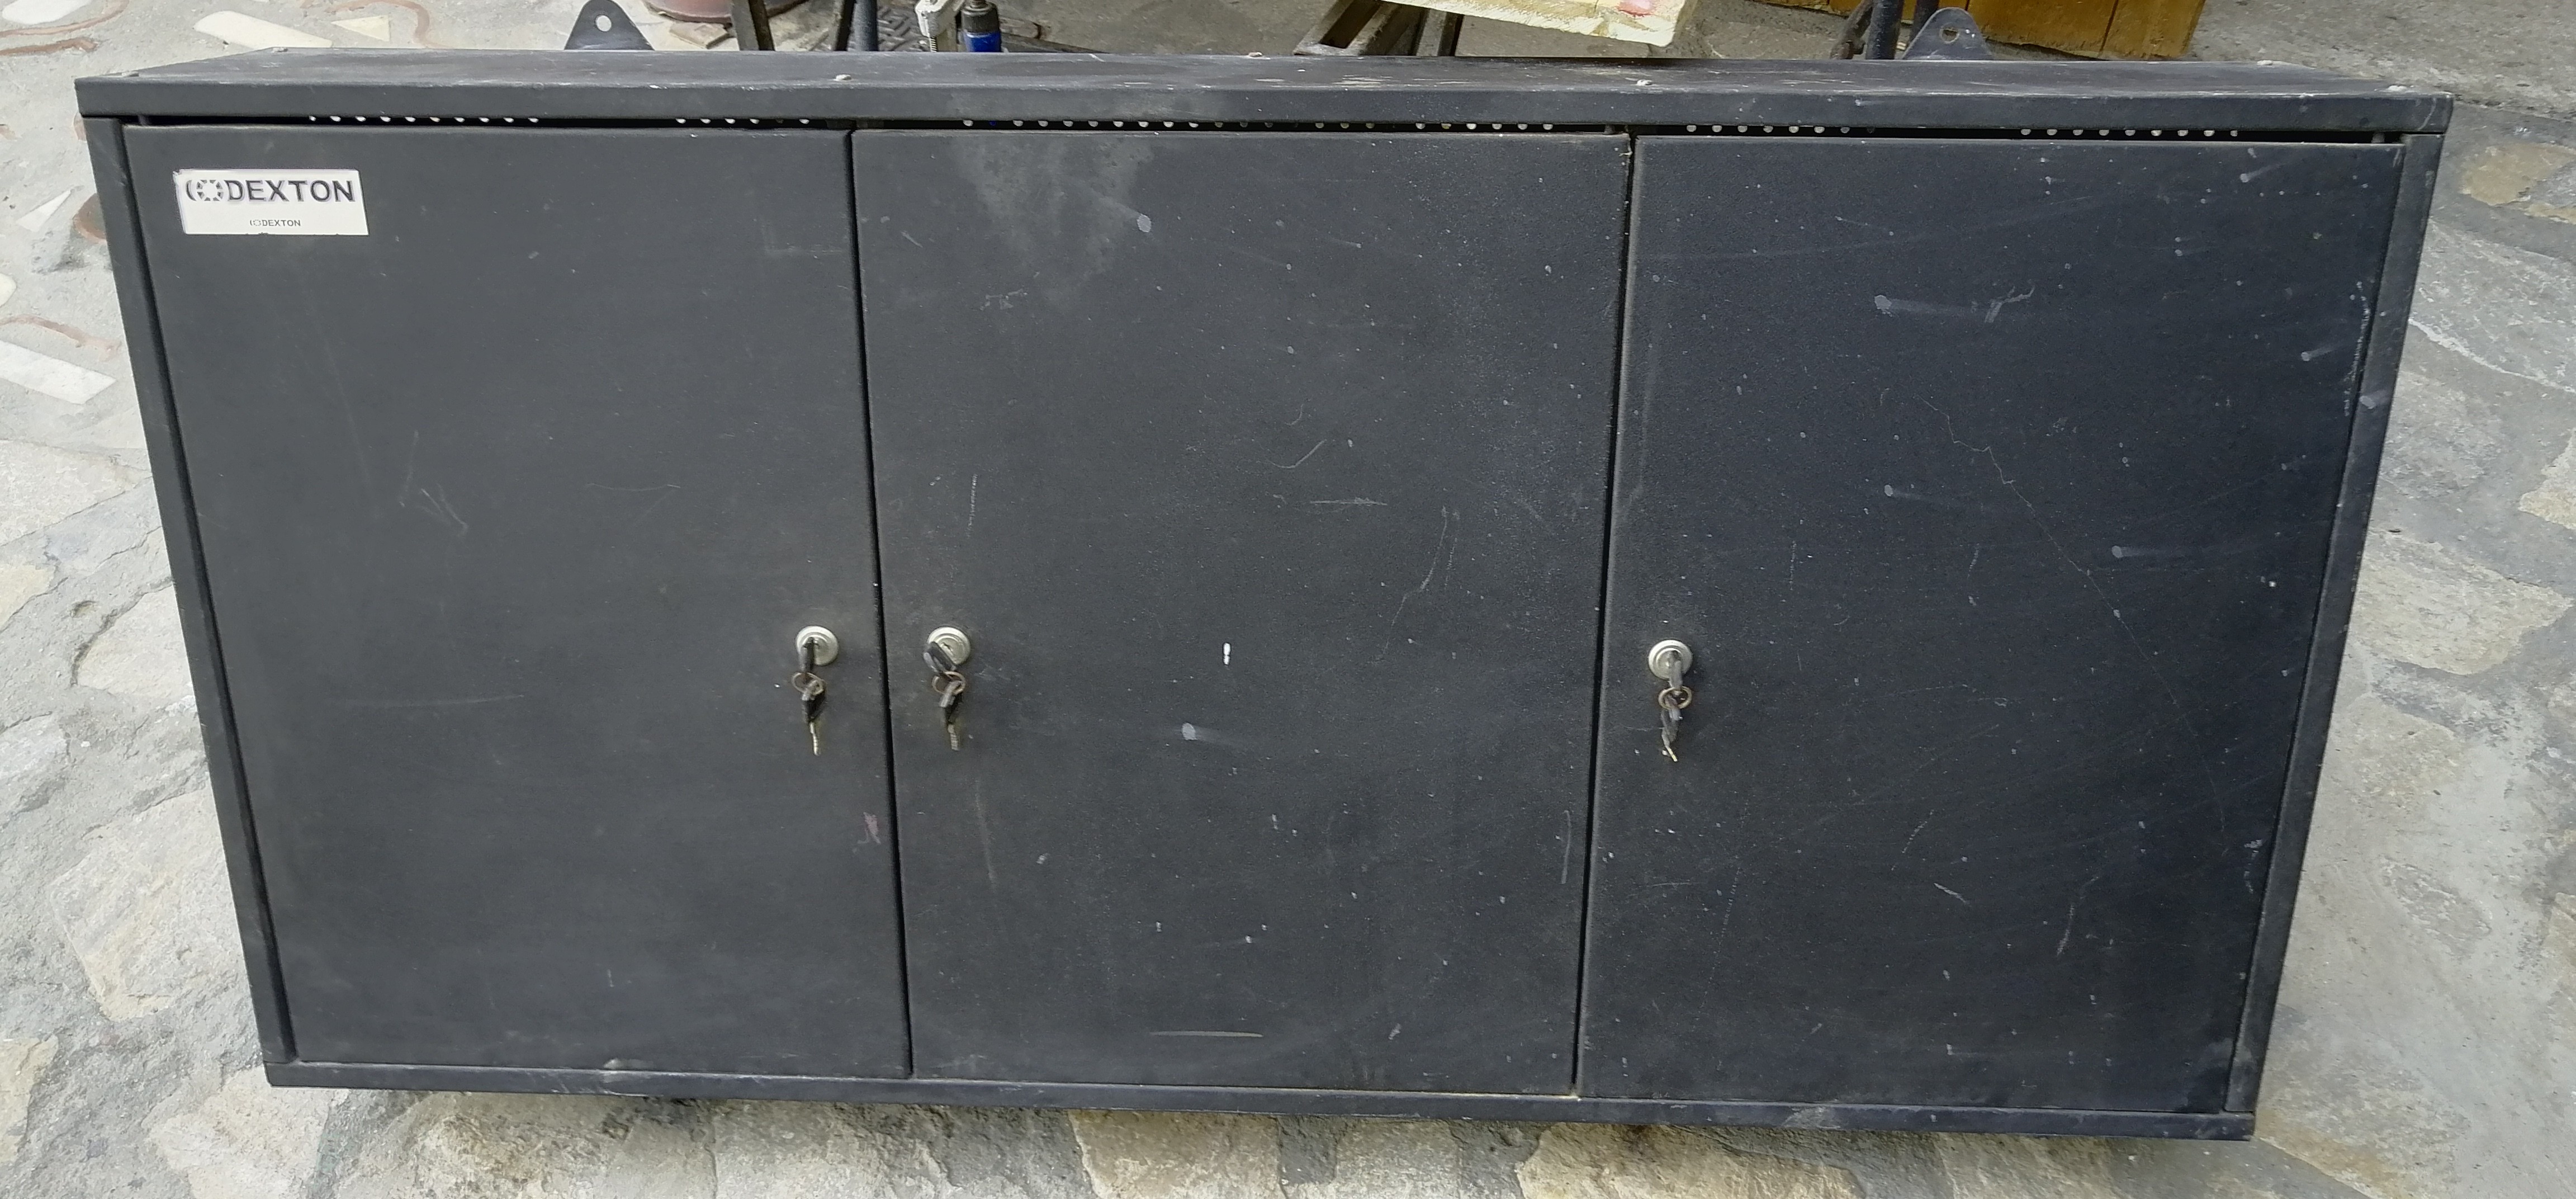
It wasn’t possible for me to clean completely the dirty cabinet, so I painted the door with black color spray (two different types, leftovers from other projects)
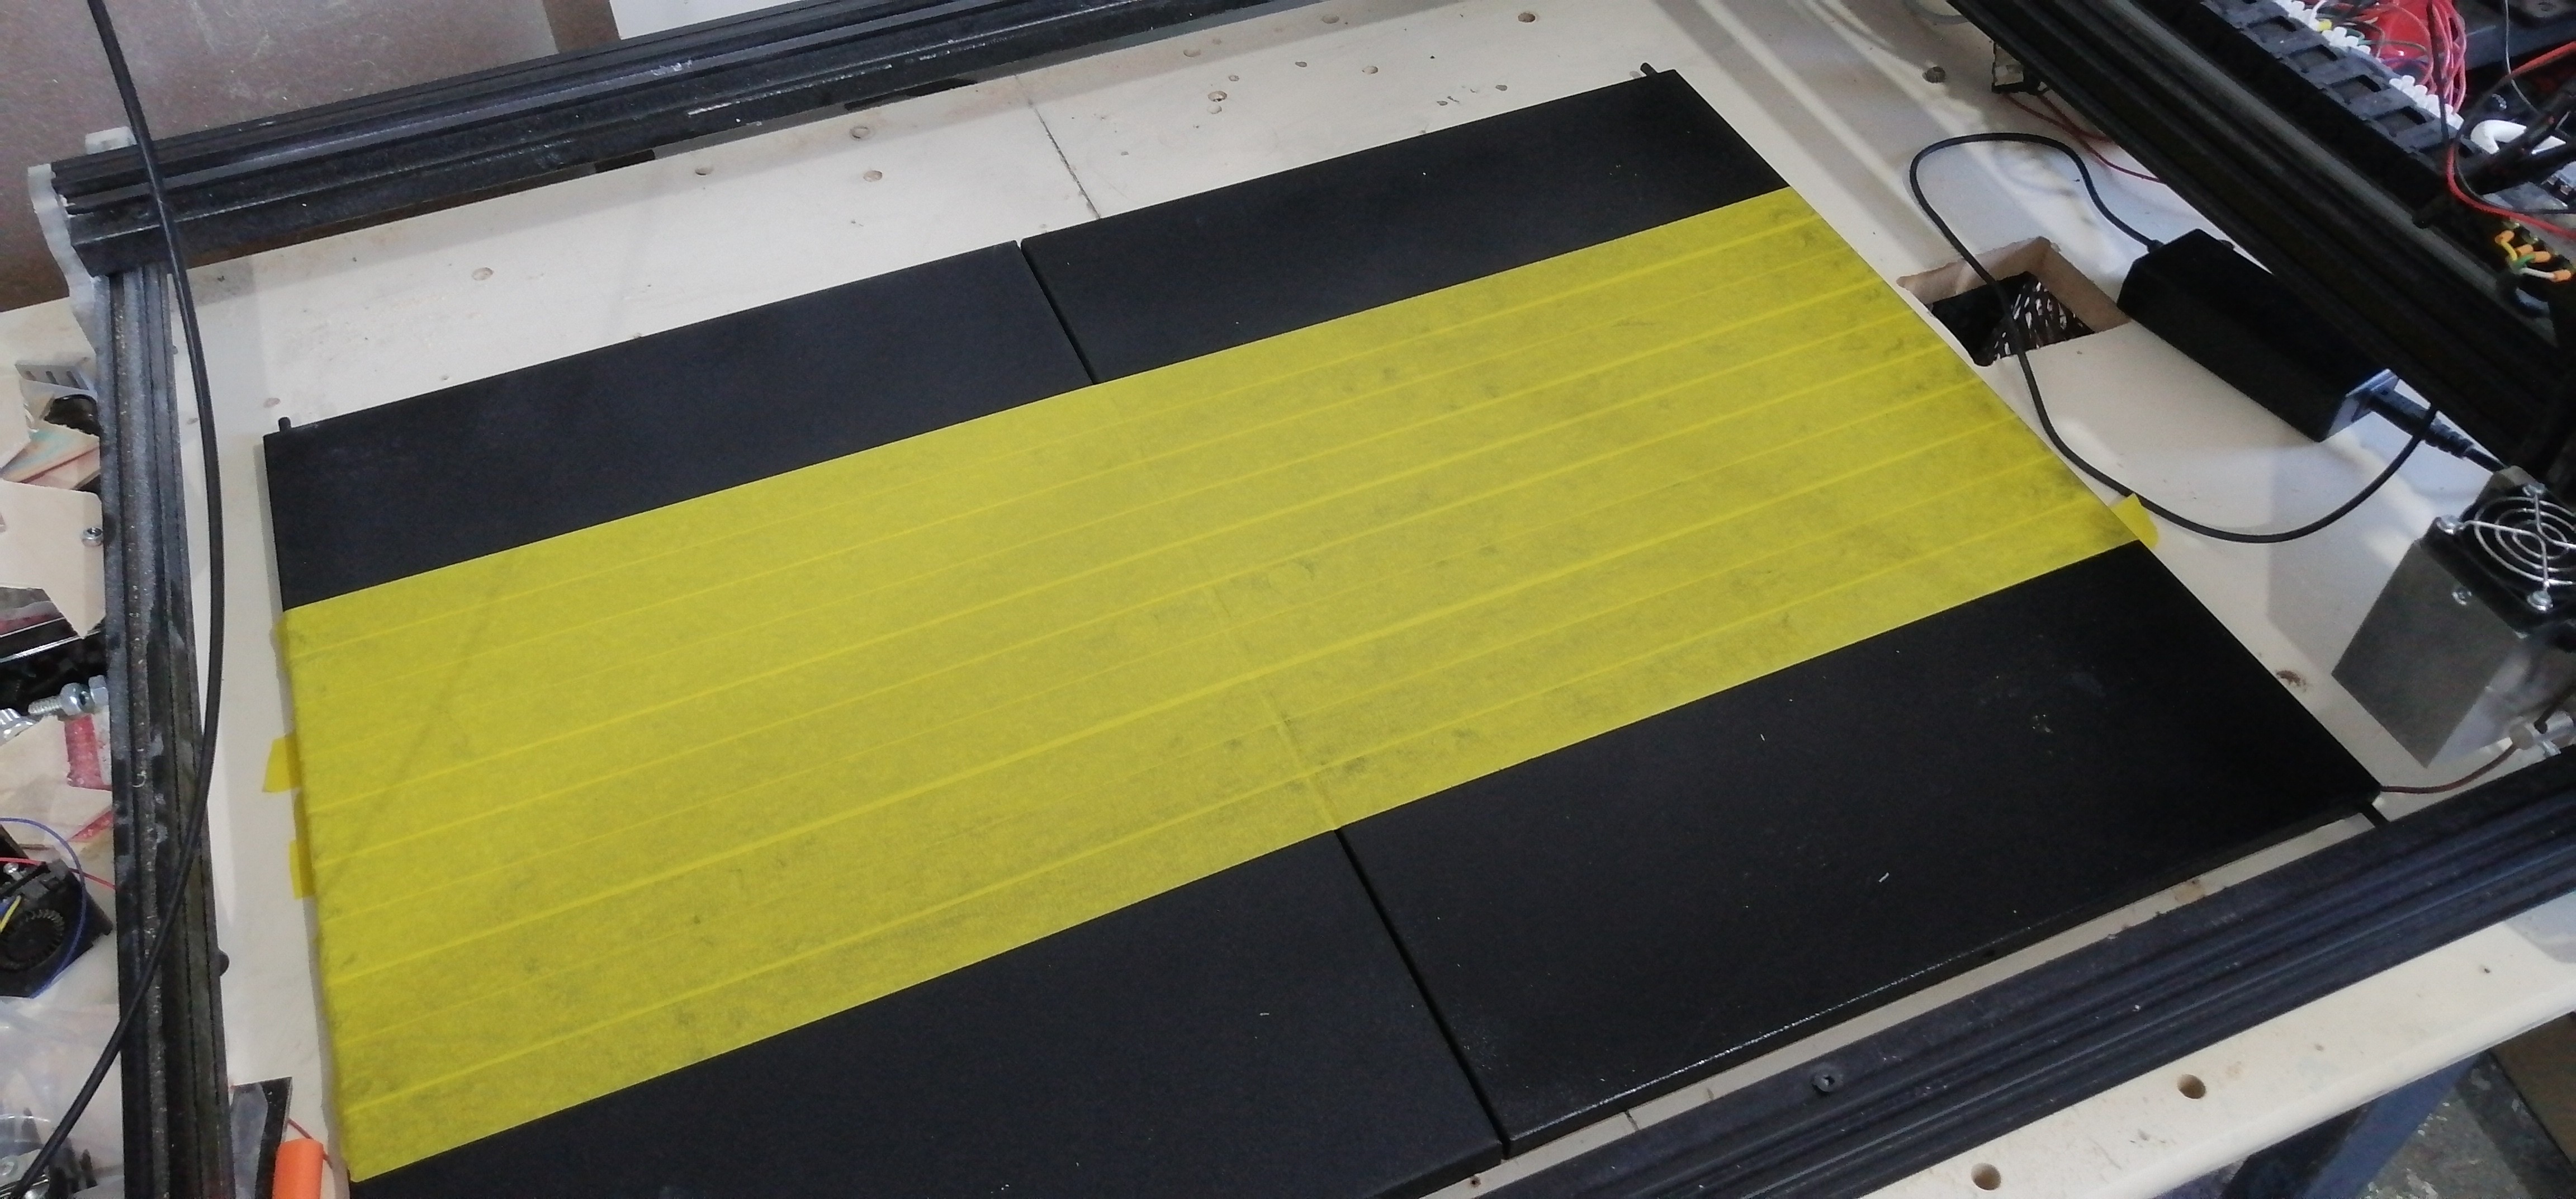
On big stencils, each row of the tape must be overlapped from the other. It will be much easier to use a wide masking tape. In my location, I found only 30mm wide tape and this is the one I used.
Setting up the laser
Zoom
A well-focused laser, as in every laser project, will give better results. I use the z-axis and a g-code in order to find the right distance from the lens to the material.
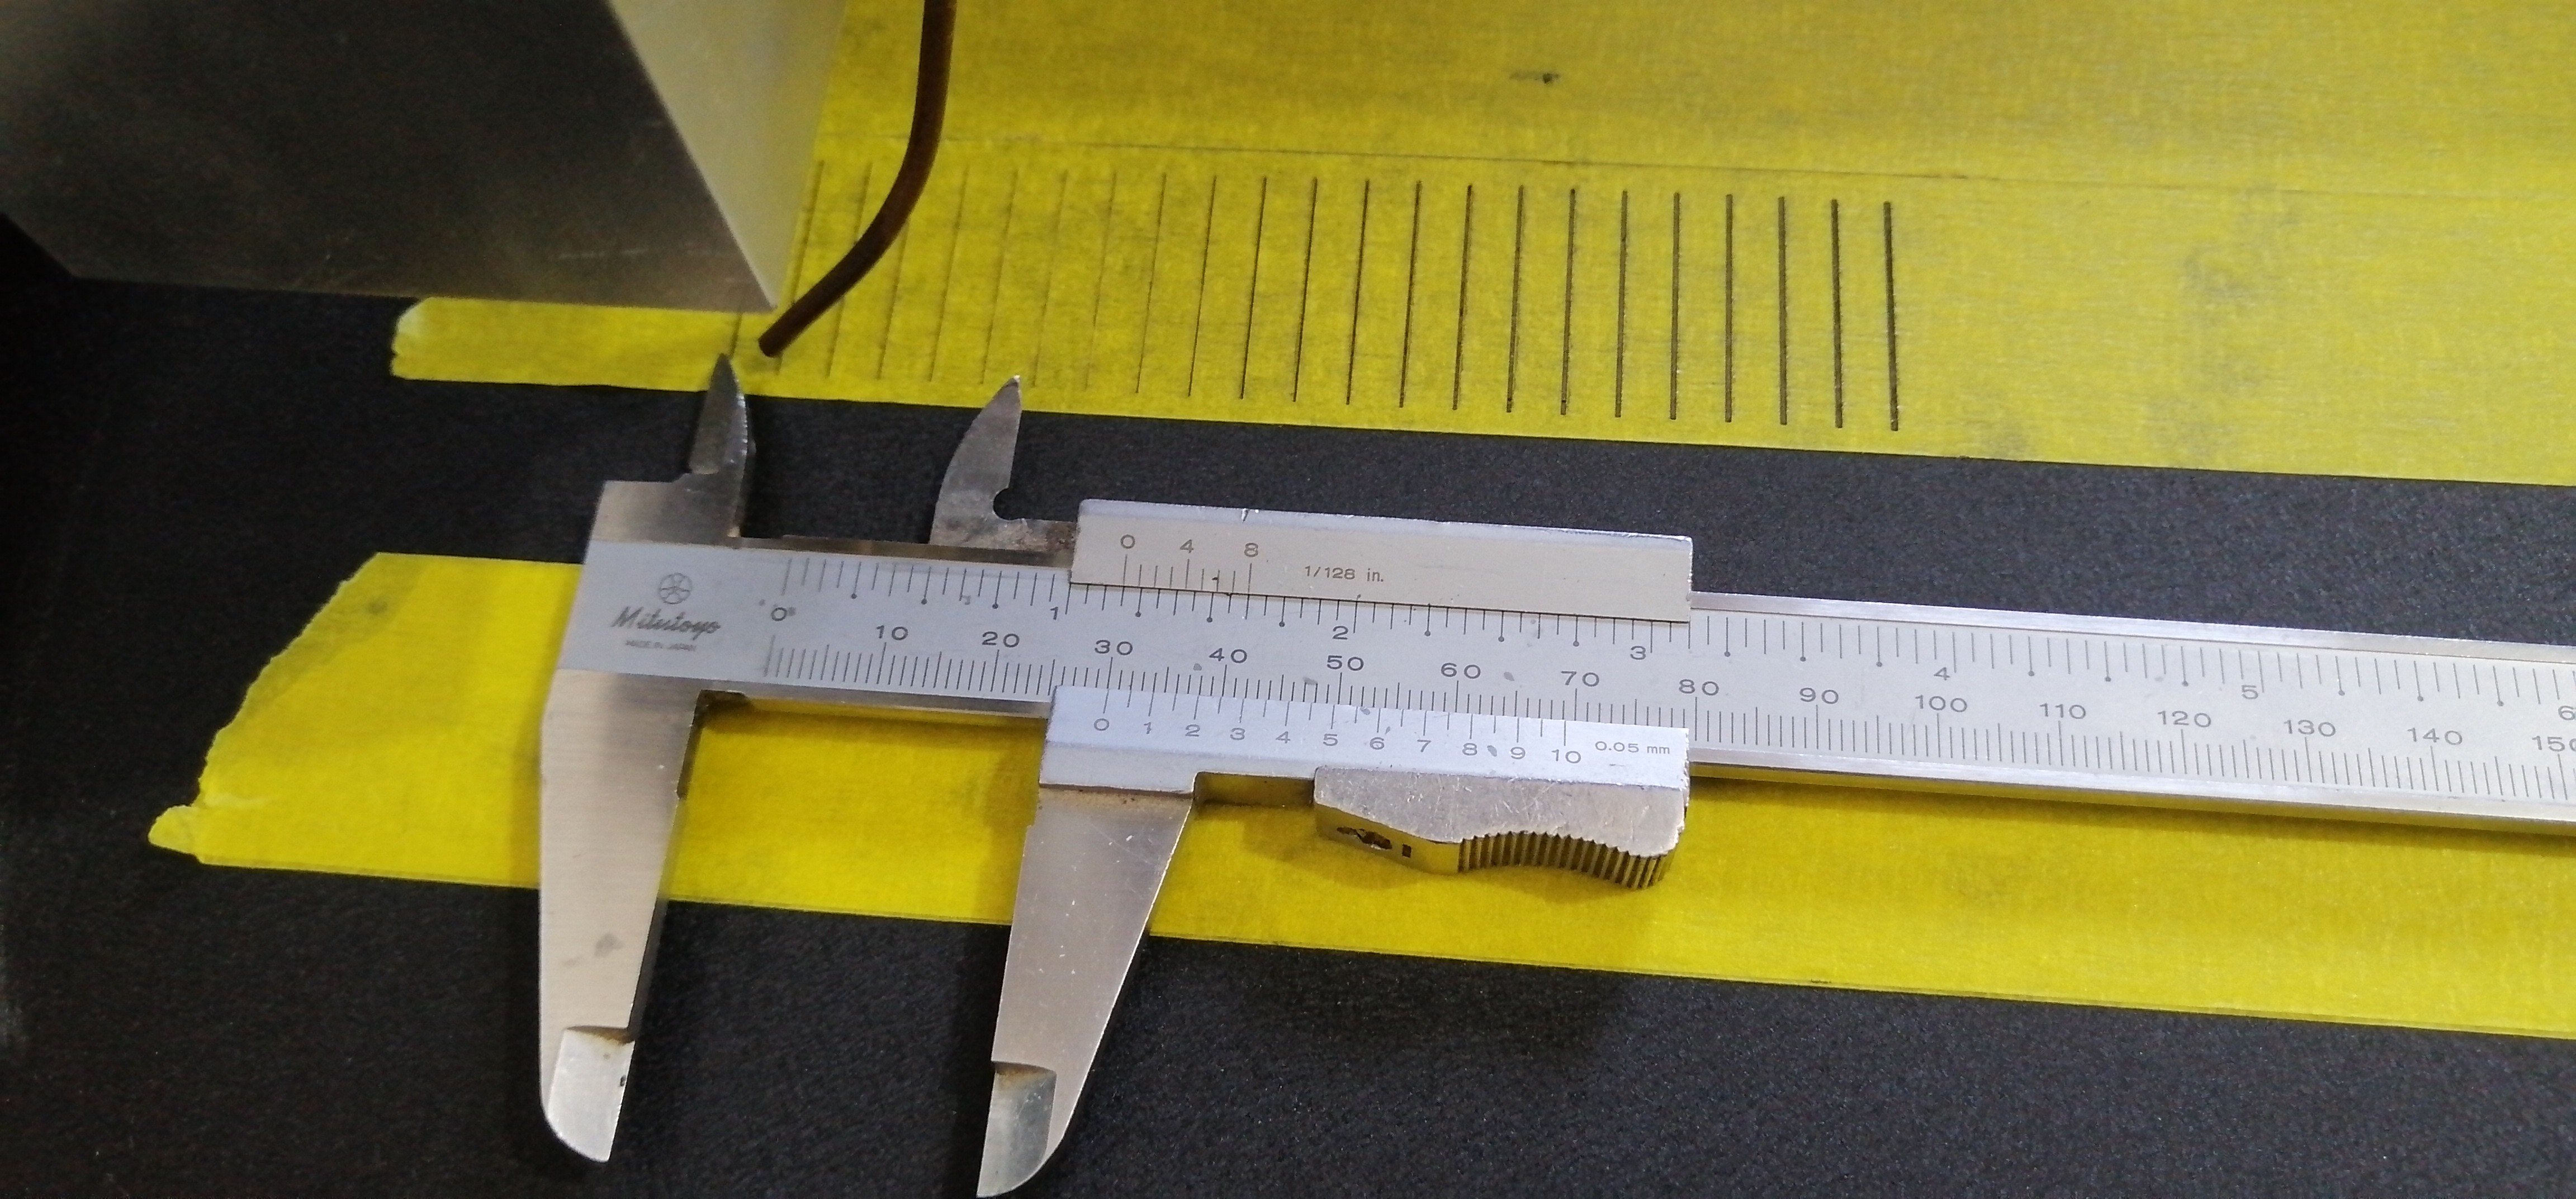
After executing the g-code I choose by eye the thinner black line and I measure the distance of this line from the first one. Moving up the z-axis by 3mm the laser is focused.
Power and speed
Having found the ideal distance from the lens to the material it is time to determine the power and the cutting speed (feed rate)
Due to the fact that every row of masking tape is overlapping the other, I made a test cut on the material having applied two layers of tape.
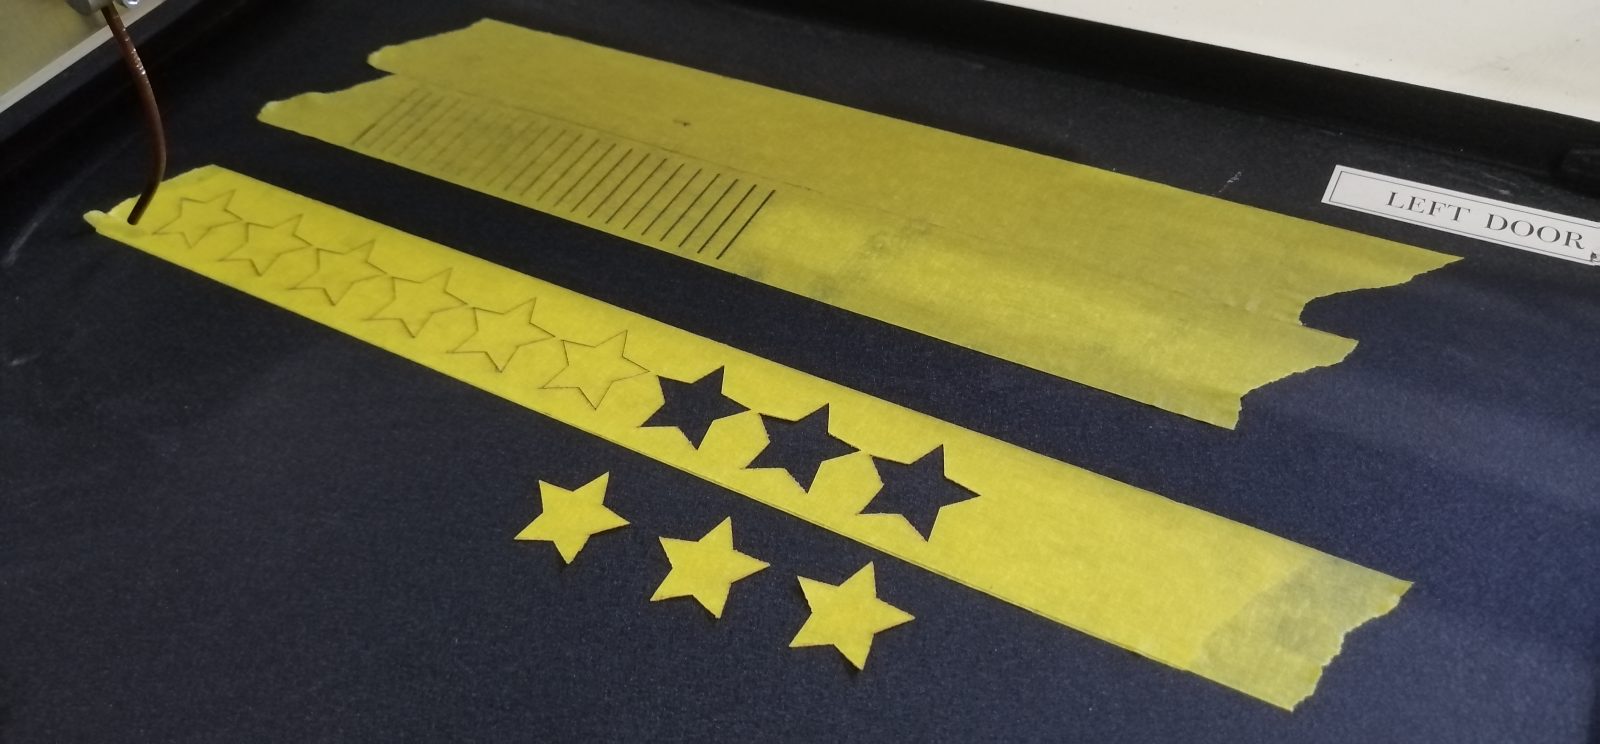
40% power at 1600mm/min was the setting I used with the Endurance 10W “invincible”
Burning!
After following all the previews steps, it’s time to cut the stencil
“Cleaning” the stencil
A small utility knife will be very helpful in order to clean the area of the stencil where the color will be applied
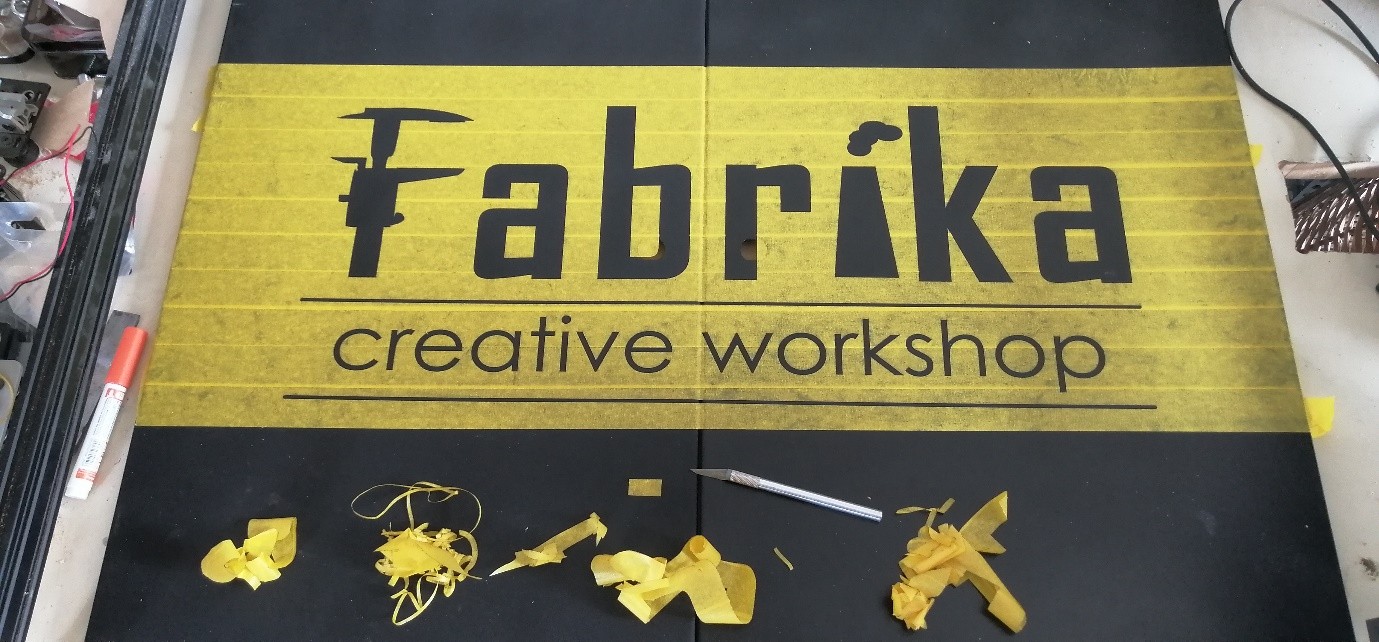
Painting and the final result
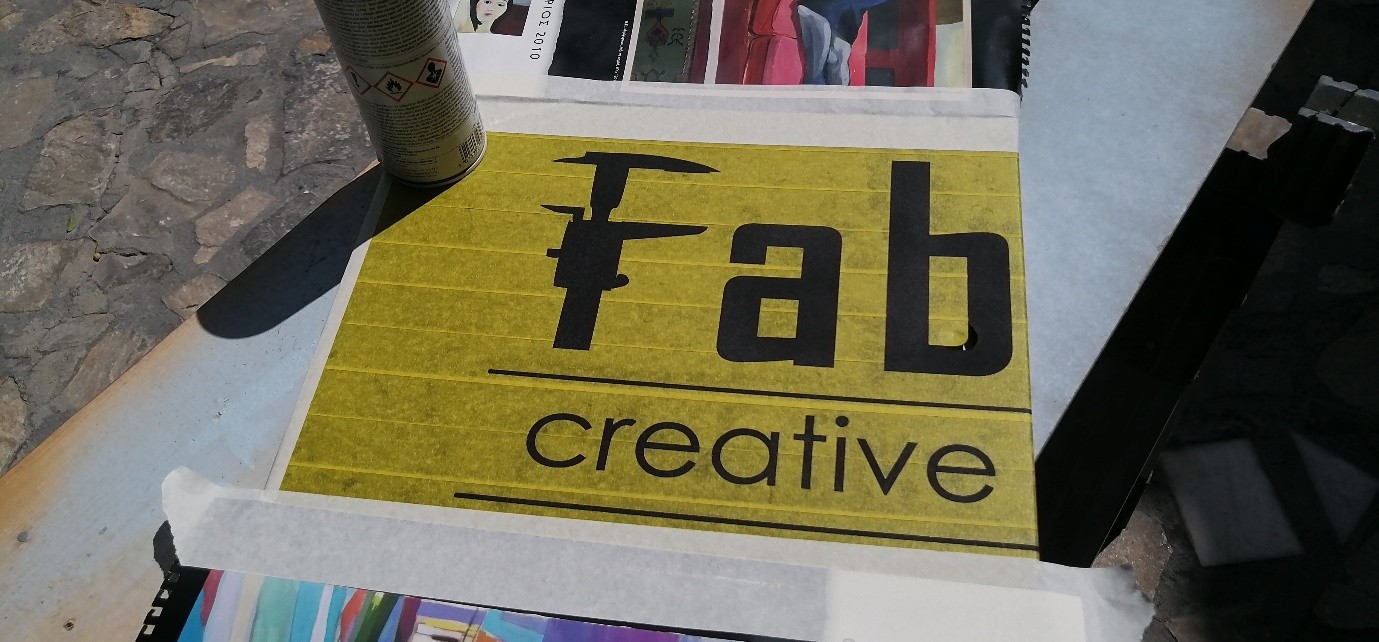

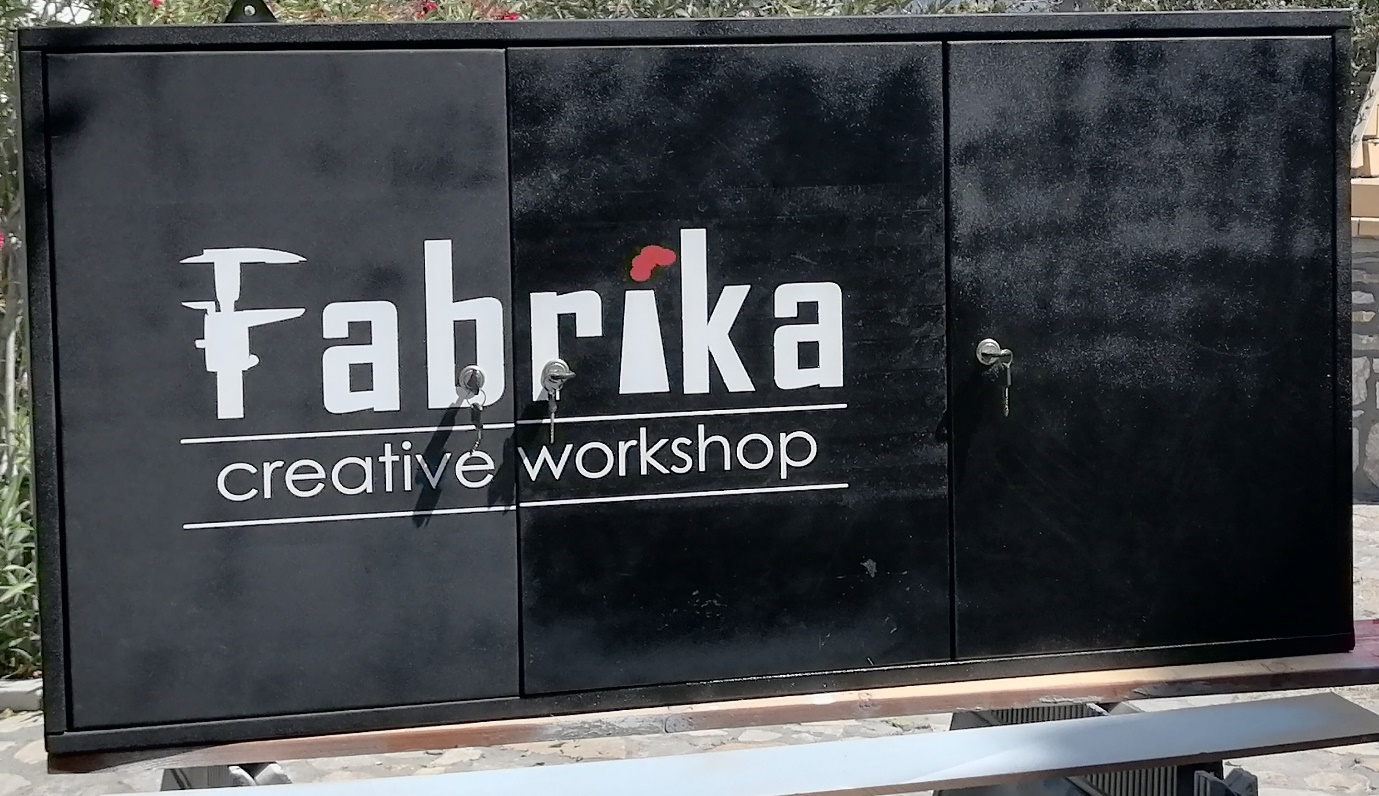
Ready to hang it on the wall!
g-code for laser zoom :
Restoration the paint of car foot carpets – all you need to know
Laser Engraving & cutter projects – photo and files – best ideas