A full guide of a diode laser beam focusing. All you need to know is how to get your laser focus correct.
On this page, we describe all methods of laser beam focusing. Everything you need to know about different types of laser lenses.
A short gif animation about laser beam spot, focal depth, and focal range.
Learn more about 3 elements, G2, G7, and G8 laser lenses.
Laser Lens
Lasers use a beam of light to engrave or etch information directly on the surface of a variety of materials. … This point when the beam is focused perfectly is called the focal point. The distance from the lens to the focal point is called the focal distance or working distance.
Basically, the focusing of a laser beam is achieved by using a single- or multi-lens laser optic, which is mainly characterized by its focal length and the diameter of the free aperture. On a fixed focus (15-watt DUOS), the ramp test can come in handy. Using a dynamic PWM to turn the laser down measuring the heat increase as the dot gets to its smallest point.
You may also adjust power with “Power settings” in Lightburn is at 2.5 percent.
We know there is an issue with the laser glasses wearing them can completely block out the laser beam making it impossible to adjust the lens especially if you wear OD5 and OD6 protective goggles).
We also suggest using a digital microscope just for setting the focus perfectly. Also, the Black electrical tape absorbs a ton of light from both the blue and violet laser modules.
The finer the focus the greater the power on spot. Beyond the focus point, the laser beam stays tiny for some time so that one can use it for Cutting thru material with or without air assist. Air Assist in cutting and engraving can come in the handy note you just need air at the smallest of flow. If your flow is too aggressive your cuts with be nasty because of too much O2 making it a mini blast oven inside your cut area. Using the slightest of air moving over the focus point at the correct speed can save time and give great cuts.
Diode laser beam focusing for
G2 lens (5-30 mm adjustable focal range)
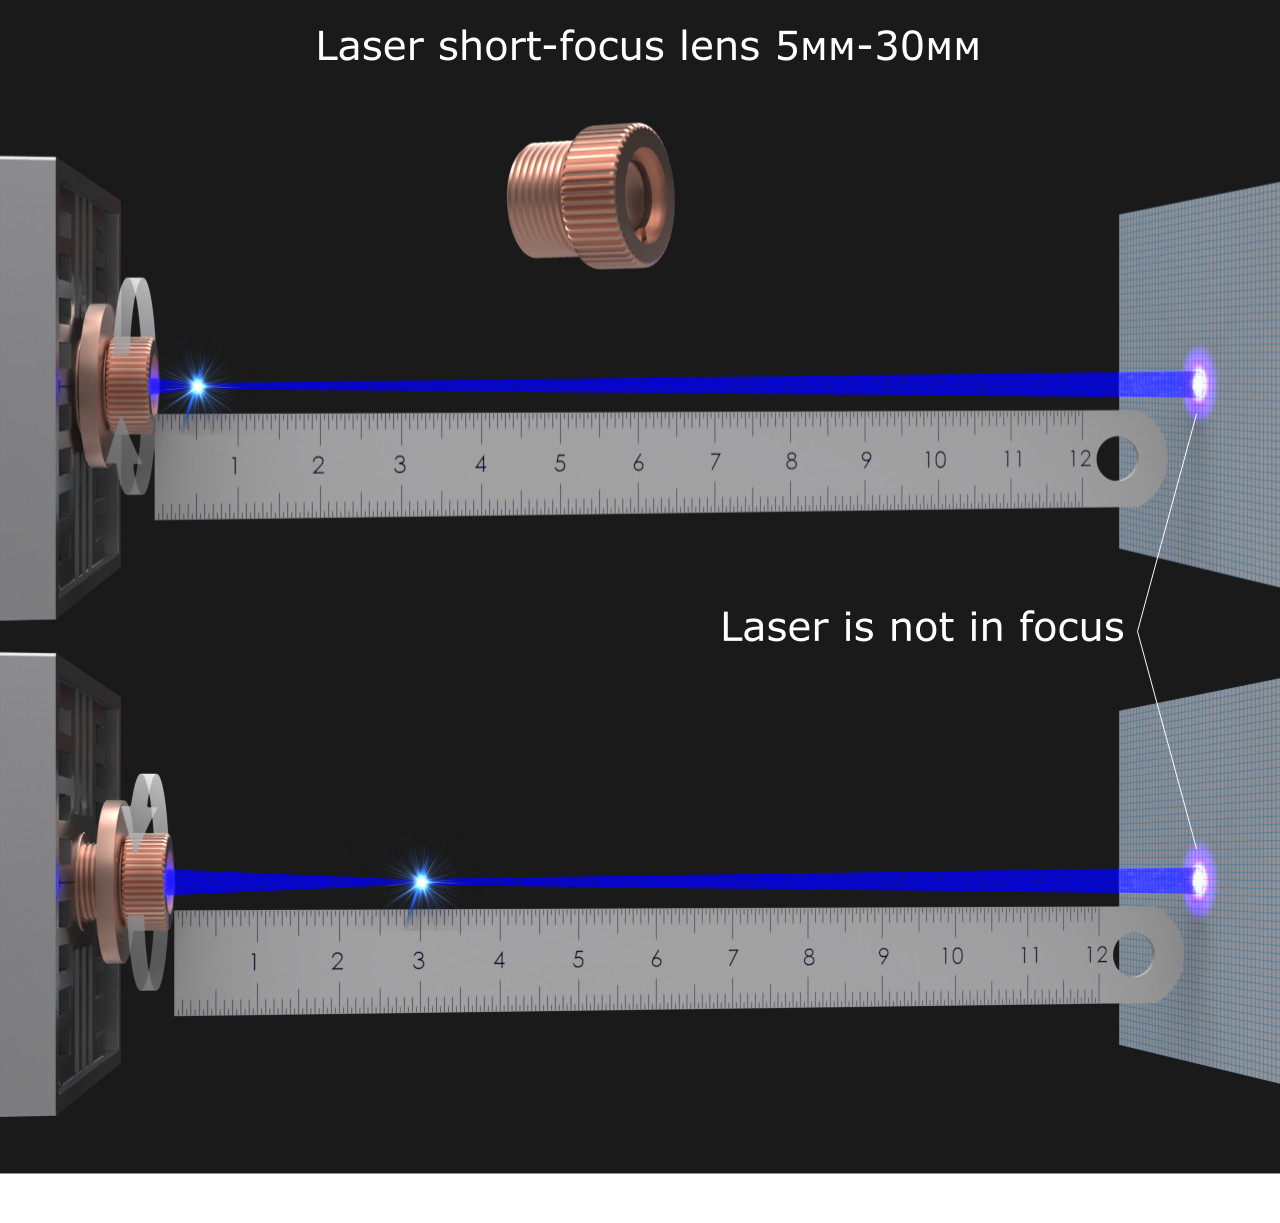
3 Element lens (goes by default with all Endurance lasers).
(5-10 cm [2-4”] adjustable focal range)
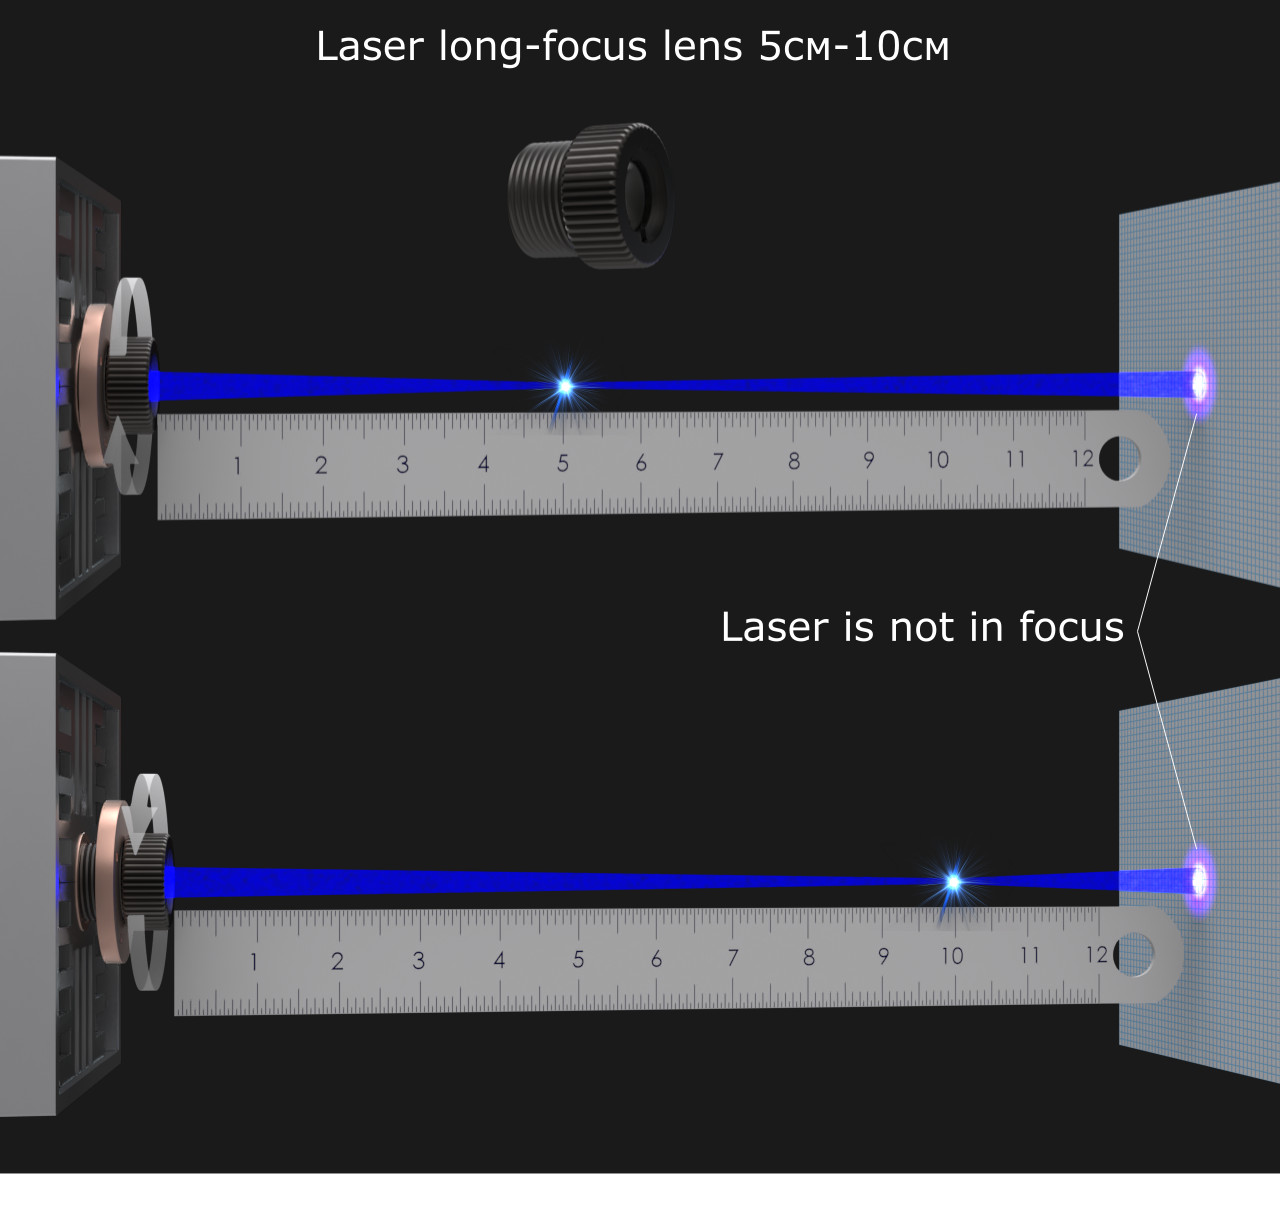
a ruler is in cm (~2.5 cm = 1 inch)
Laser beam spot | Focal range | Focal depth (gif animation)
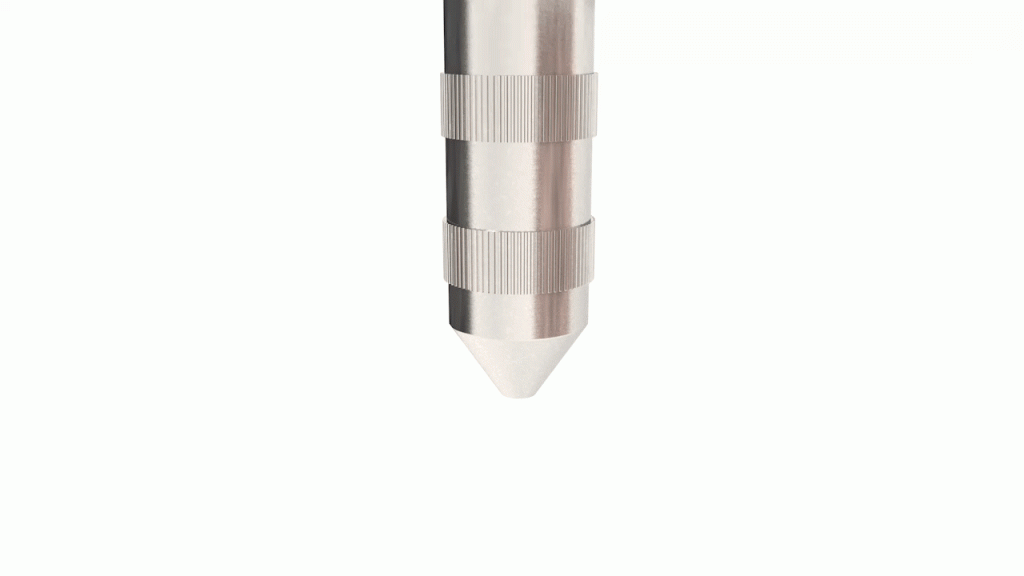
How to setup a diode laser-focused
Everything you need to know about different types of diode focusing lenses (Endurance laser lens pack)
All you need to know about Endurance laser lenses. Explore 3 elements, G2, G7, and G8 lenses.
Check your laser beam focus with a mirror Canon camera – a detailed video guide.
A detailed video of how to use a mirror camera and photo filter and observe the laser beam spot.
Allows getting the minimum laser beam spot.
How to use a digital microscope for the laser beam focusing
Beginner Guide Correct Laser Focus Point was written by Florian Kelsch
Measuring optical laser power for all types of diode lenses.
Laser beam focusing using a black anodized metal card.
Once you hear the “beep” on minimum power it means that you are in focus. The louder noise is – the better is the focus.
by Florian Kelsch
Endurance laser beam quality research.
Improve the laser beam quality with a semicylindrical extra lens. Decreasing slow axes size.
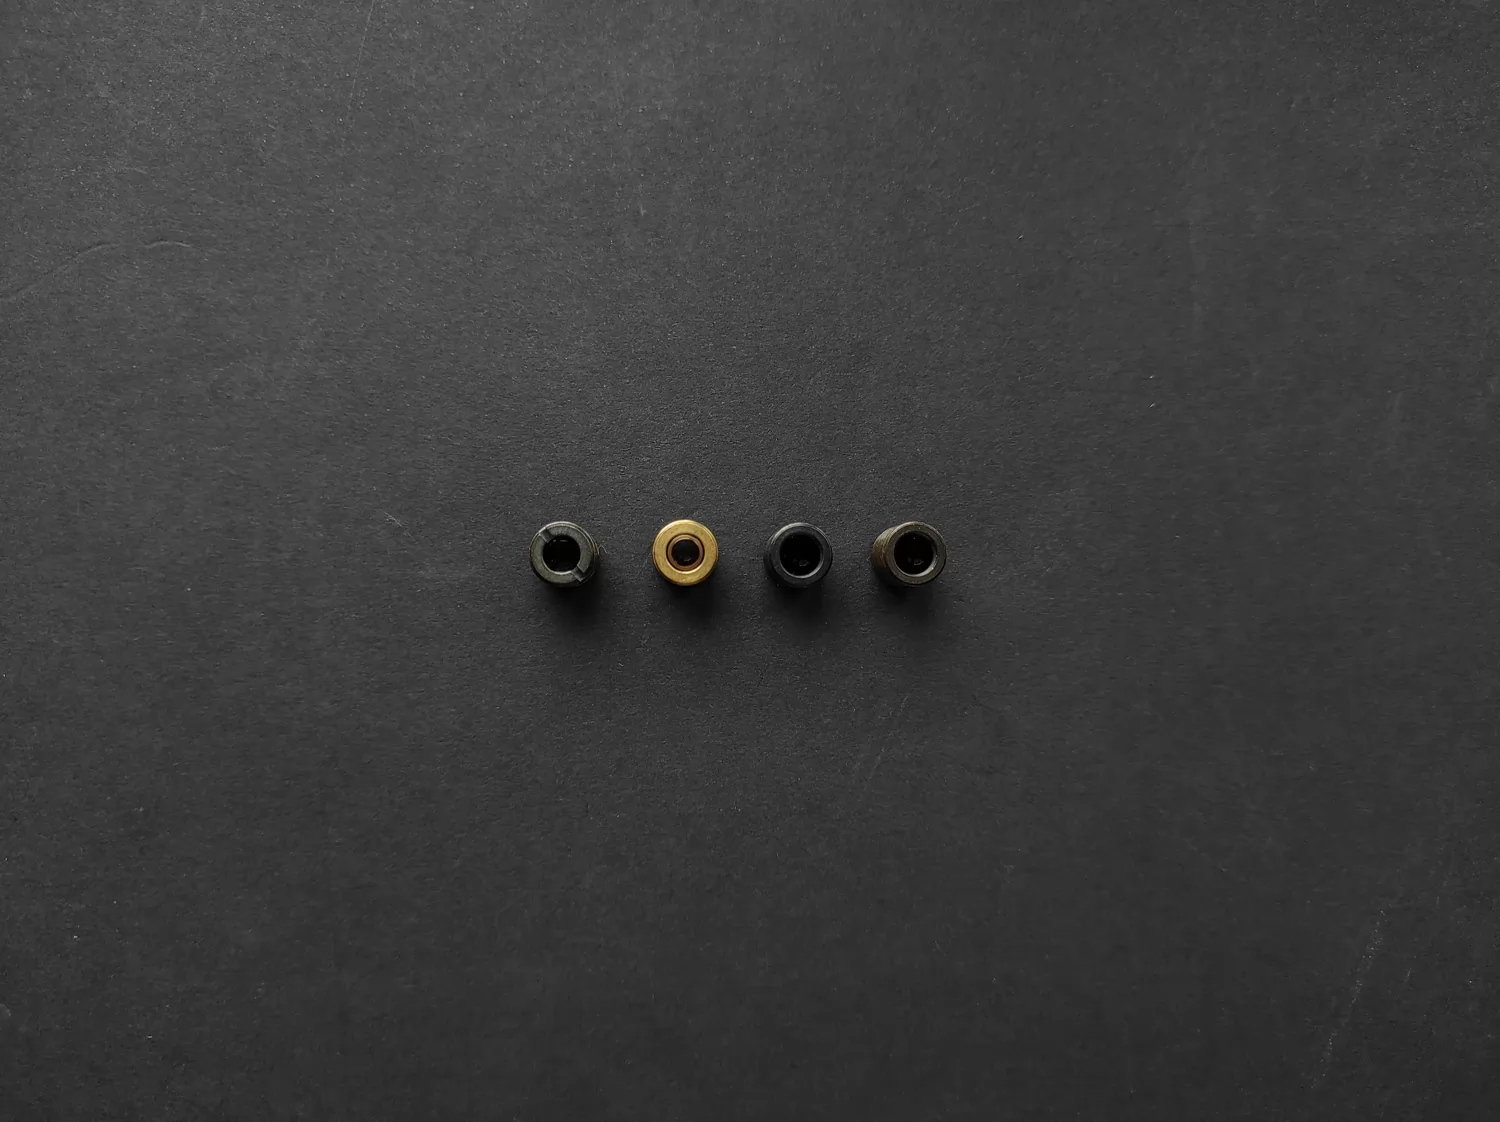
What is inside the laser lenses?
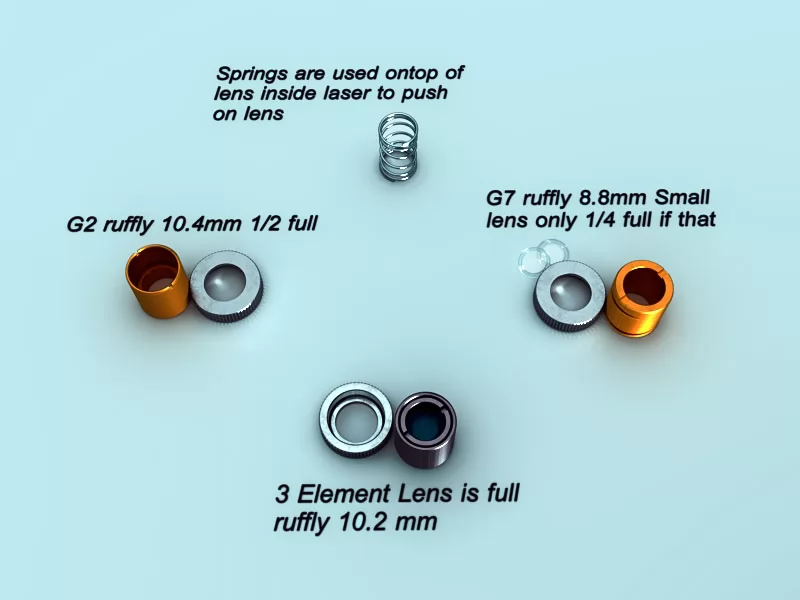
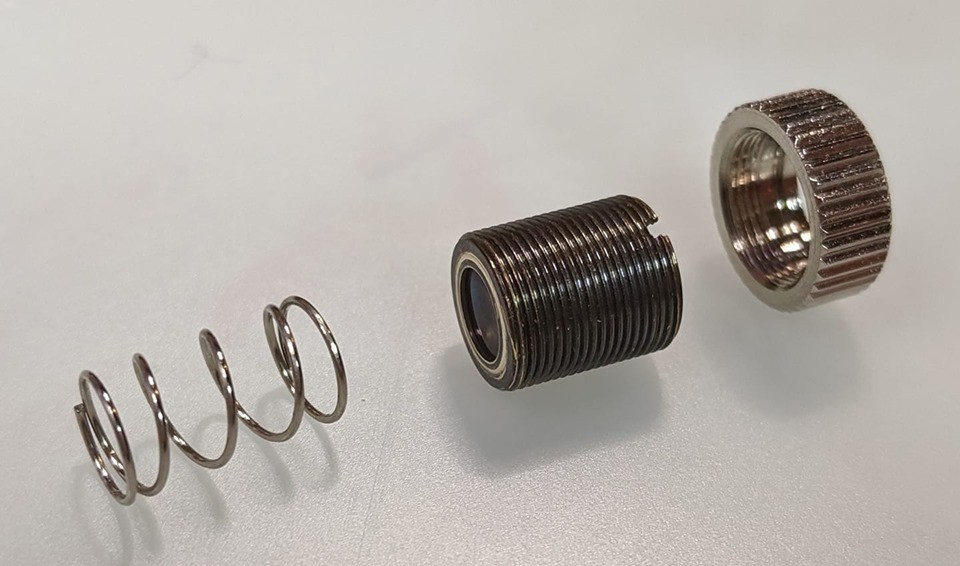
Notches are outside
Measuring of a focal length (range) for a different type of laser lens
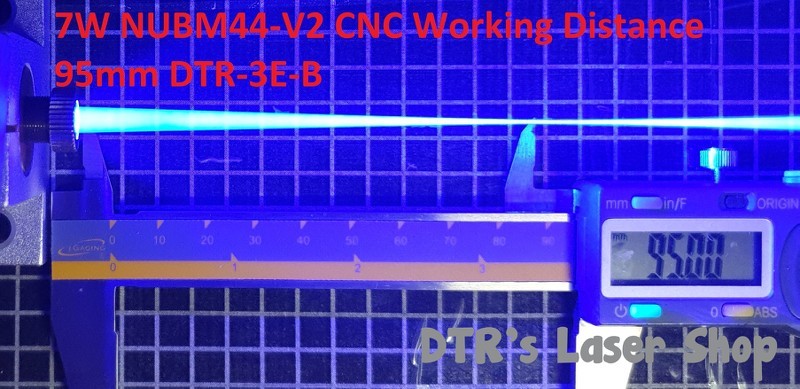
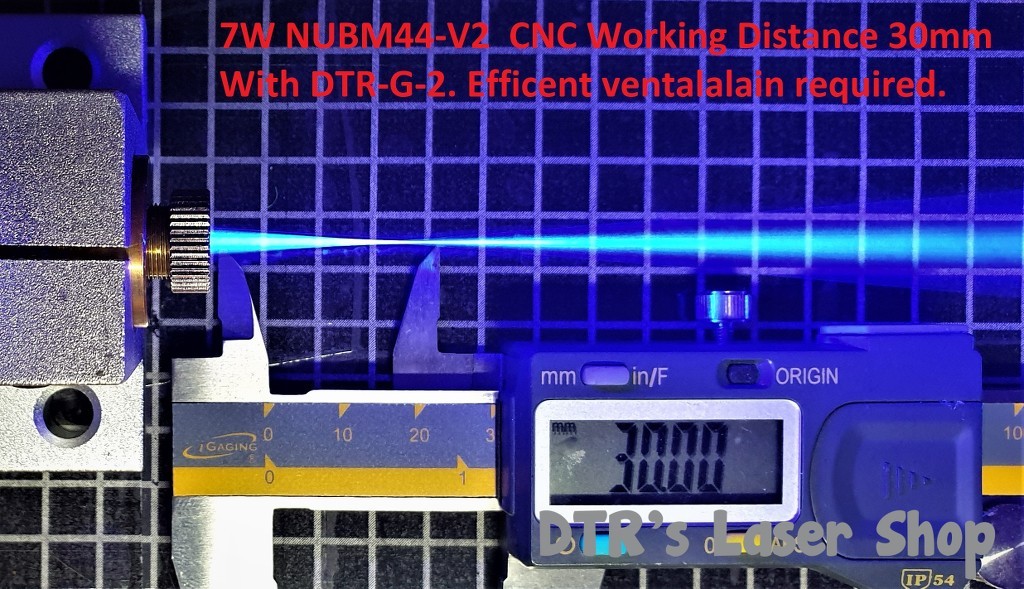
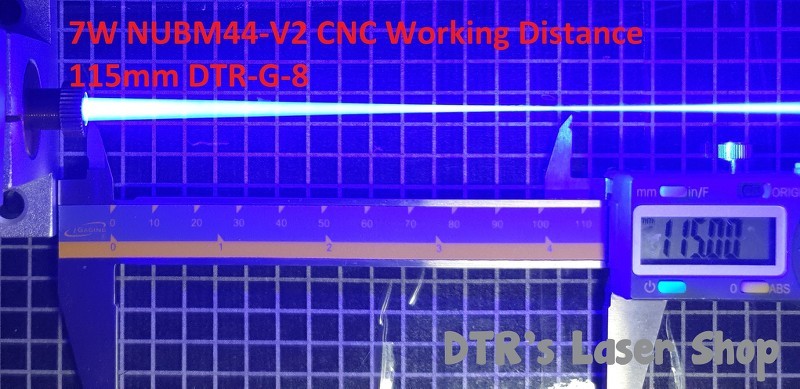
Laser beam focusing on your DIY engraving machine like Ortur, Eleksmaker, CNCC Laseraxe, Aton, Wainlux, Neje and others – a short video lesson.
Laser beam focusing on MakeBlock XY engraving plotter.
Improvement of laser beam focusing.
Adding 3rd spacer and get a fixed focusing range
No need to focus on the laser again. You know the focal range written on an Endurance lasers business card.
Focusing of a triple beam 30 watt laser. A detailed video guide.
How to align 3 beams in one single spot.
3 element laser lens focusing. Full written guide for your 3D printer.
It is very important to set up a proper focus range on your diode lasers. If you are in focus then you can cut and engrave effectively, if not, then you will face some problems with engraving and cutting
Here is the guidance on how to set up a laser focus range on a 3D printer or CNC machine:
We experimented with an Endurance Anet A8 3D printer combo.
1. To set up “home”, that is to find 0 for the Z-axis we use the command “G28 Z0” for the Anet A8 3D printer.
2. We move the laser up to 50 mm above the Z-axis.
3. Measure the range between the lens and the worktop, it is 37 mm, it means that the laser is 13 mm below the 0 (50 mm – 37 mm).
4. The estimated laser focal range for the 3 elements regular lens is ~60 mm, so we need to move the laser up to the expected focal range, that is 60 mm + 13 mm = 73 mm, where 3 mm is the difference between the 0 and the actual laser position.
5. Run the g-code (test1.gc)
This g-code draws 20 lines by way of changing the Z-axis height starting from 64 mm (- 9 mm from the initial setting of 73 mm) up to 83 mm (+10 mm).
The optimal focal range is considered the one when the thinnest line (on a piece of wood or plywood) or most clear-cut (on an anodized aluminum plate) was made. To keep your laser in focus use always these parameters for the Z-axis.
Nota bene:
Do not forget to measure the thickness of the material that you are going to cut or engrave and add it to the initial height of the 0 levels.
We use an aluminum anodized plate 0.5 mm thick.
However, if you want to get even better results you may run another g-code (test2.gc) with smaller steps (0.1 mm).
The optimal focal range for a regular (long focal 3 element lens) in our experiments was 71.1 mm from the Z 0 (home) position.
As for this 10 watt diode laser you need to make a correction for the focal range to get the best engraving results: 71.1 mm – 13 mm (the difference between the laser height and the Z 0 position) – 0.5 mm (thickness of the material)= 57.6 mm; this is the range between the lens and the surface of the work material.
Some terms and descriptions
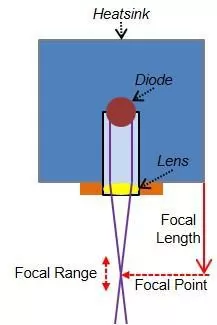
The diode creates a beam of light, this passes down through a cavity in the Heat Sink. It then passes through lenses which focus the beam.
The Endurance Lasers are Fixed Focus, this means the lens assembly has been pre-set to the optimal focus point. It can be adjusted if you wish by unscrewing and removing the spacers, but why would you want to? (That was a rhetorical question)
Focal Length
The Focal length is the distance of the Focal Point from the laser. I measure it as the distance to the bottom of the Heat Sink, not the lens which would be more accurate but setting the distance from the bottom of the Heat Sink is much easier, safer and more practical.
Focal Point
The Focal Point is where the beam converges into a tightly packed dot before expanding again. This is where the laser is most effective.
Focal Range
This all depends on the beam quality, it’s the distance where the beam can be considered to be in focus. A narrow beam will have a longer focal range, a thicker beam will have a shorter focal range.
Laser beam focusing on your 3D printer
A Practical Guide to Handling Laser Diode Beams-Springer Netherlands (2015) (PDF)
Learn more about laser lens pack
An Endurance laser lens pack + laser fixation rings & laser focusing ring
Learn more about laser beam focusing
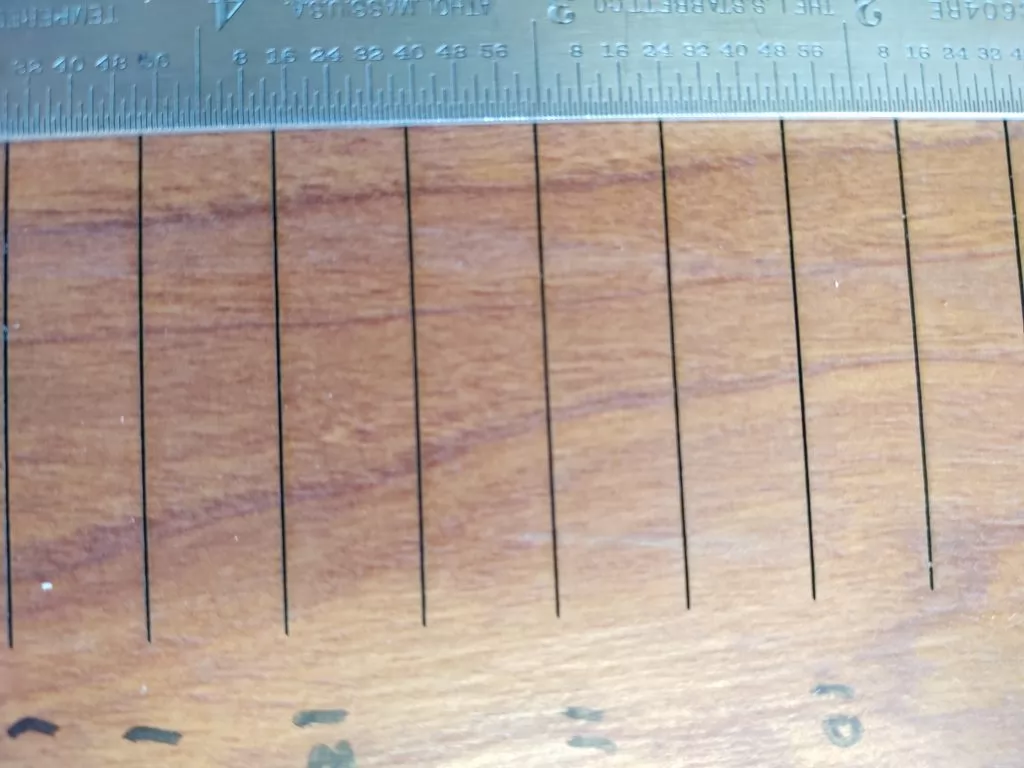
focus test (g-code example for laser beam focusing)
Installation and adjustment of a 10W laser on 3D printers Anet A8 from Inkscape & Repetier-Host
When the module is installed and fastened 1-2 cm above the extruder nozzle, proceed with its connection. Here everything is simple, there’s no need to rack your brains (we did it for you). are We connect the laser control panel directly to the module itself, we connect the 12V power supply to it, and connect the fan power to the FAN 1 connector to the control board of the 3D printer.
Next, to the laser module itself, we connect the 12V power separately (external power supply). If everything is connected correctly, the fans start working; to run the laser just turn on the toggle switch on the control panel, and a laser beam will glow.
Now it is necessary to adjust the lens to focus the laser beam. To make the task easier I recommend that you draw a line, approximately 4-5 cm long, using Inkscape. Convert these lines into a G-code and load it into the Repetier-Host program.
To adjust the focus measure the height of the laser above the workpiece on the work table with a ruler. As a starting point, I use the bottom of the aluminum box of the module itself. Next, lift the carriage up about 9 cm and begin to rotate the lens until the laser beam appears as a sharp small dot on the workpiece where you are going to engrave the lines. Start engraving. The focus is correct if the engraved line is clear. If not so repeat this procedure until you get a clear thin line, using the control in the program Repetier-Host, raise the carriage to any desired height (this can be done to within 0, 0.1 mm) and start again for engraving.
Explore abilities with z axes
2 new Z gantry made for new 10 watt Endurance Laser. Adding additional abilities
Download g-code for autofocusing with z-axis (CNC 3018 with GRBL 1.1H)
Do this procedure to the extent that we do not have a clear, even, and thin line.
An independent test of Endurance laser lens pack
Focal range laser lens test. laser lens tests (PDF). Testing lenses from different optical producers.
“As you may know, Endurance Lasers offers several different lens configurations which are now available in a “pack.” I now have the standard 3-Element, which came with my laser, and the G-2, G-7, and G-8 lenses which I received a couple of weeks ago. Now that I had them all, why not do a little experimenting?” by John Walker
High-quality standard
Multi-level testing system.
Industrial components.
Ultra reliable
The guaranteed duration of the continuous operation ~48-72 hours.
True continuous power output
Our products have the rated power output as advertised – unlike Chinese analogues.
TTL mode
Can be turned on and off with 3.5-24V.
Variable power output.
Plug and play
Universal and compatible mount.
Compatible with most 3D printers and CNC machines.
Friendly return policy
Do not like the laser?
Simply return within 30 days and get a full refund.
Real-time advice
We assist and give advice by Phone / Email / Facebook messenger / Telegram / Whatsapp / Viber.
Professional support
We help to install and tune the laser. We offer qualified after-sales support.
Everything you need
We ship everything you need in one parcel to get started.
Immediate delivery
We ship all units within 4-24 hours. DHL express delivery allows you to get the package in 3-5 days.
Lifetime warranty
All our lasers are tested and could work up to 10000 hours.
Upgrade option
Do you have an old model? Upgrade your unit with more powerful one.
