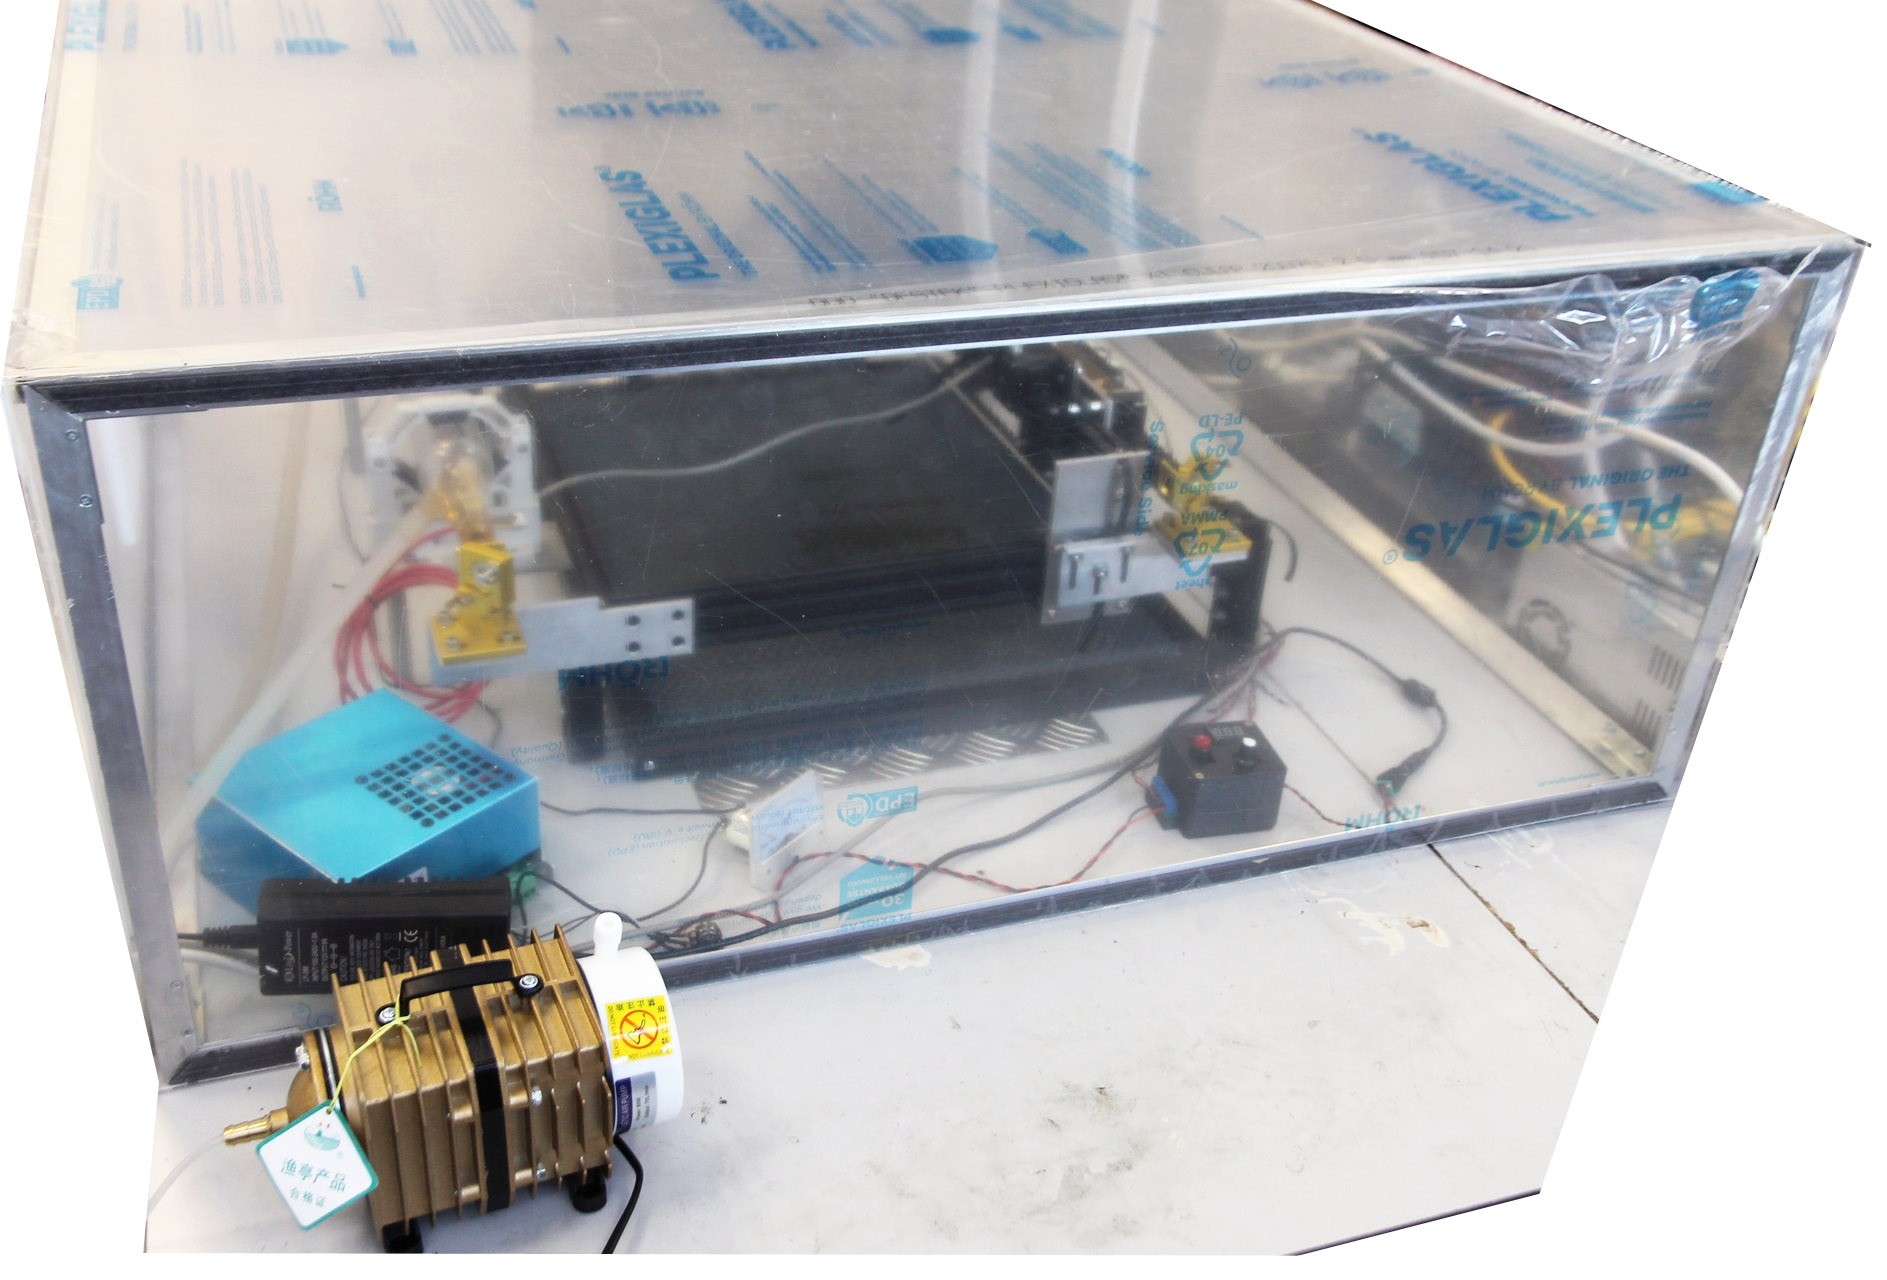
Fully compatible with Eleksmaker, CNCC LaserAxe, Neje, Ortur, Atomstack, WainLux and others
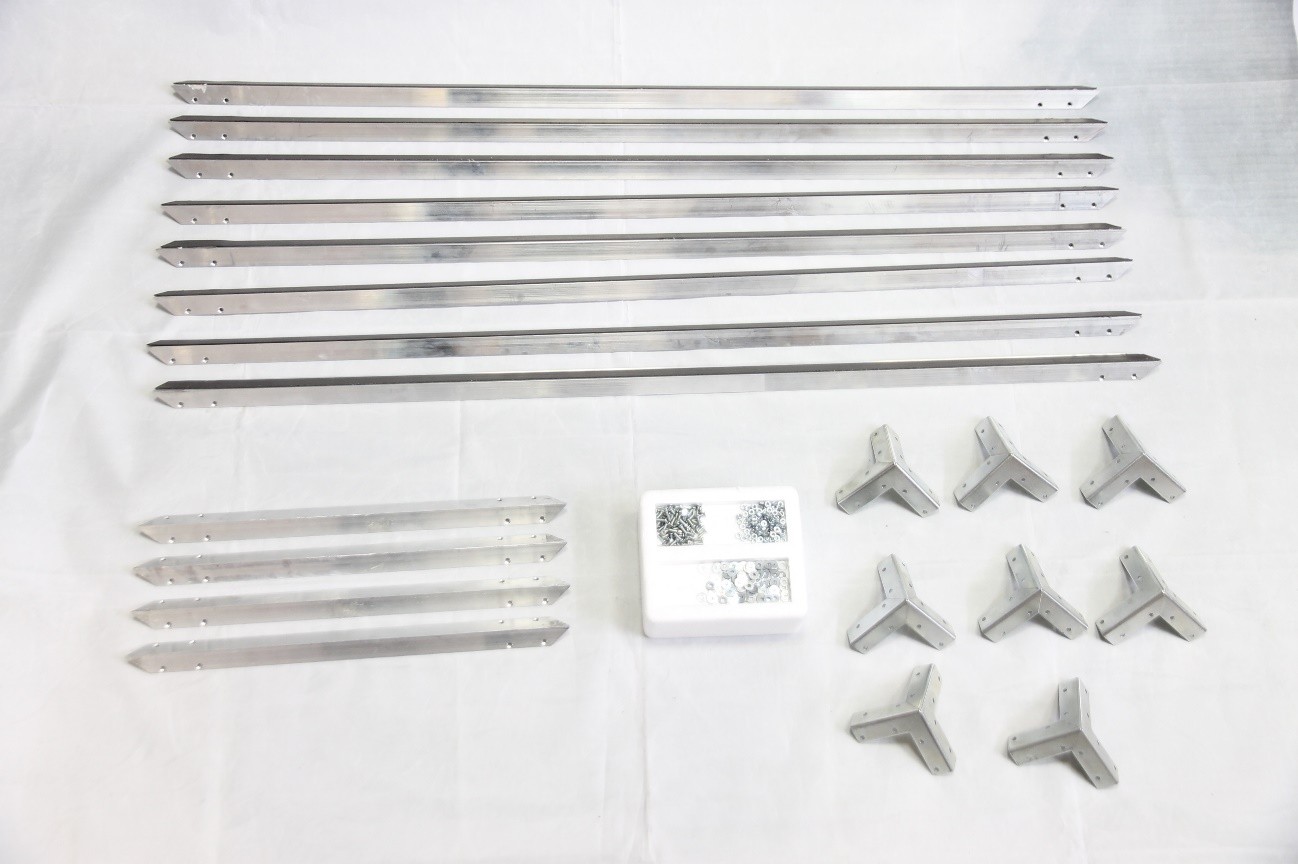
List of components (BOM) for a laser protective enclosure:
Joint angle 8 pcs.
Aluminum shape with magnetic tape 1000 mm 8 pcs.
Aluminum shape 400 mm 4 pcs.
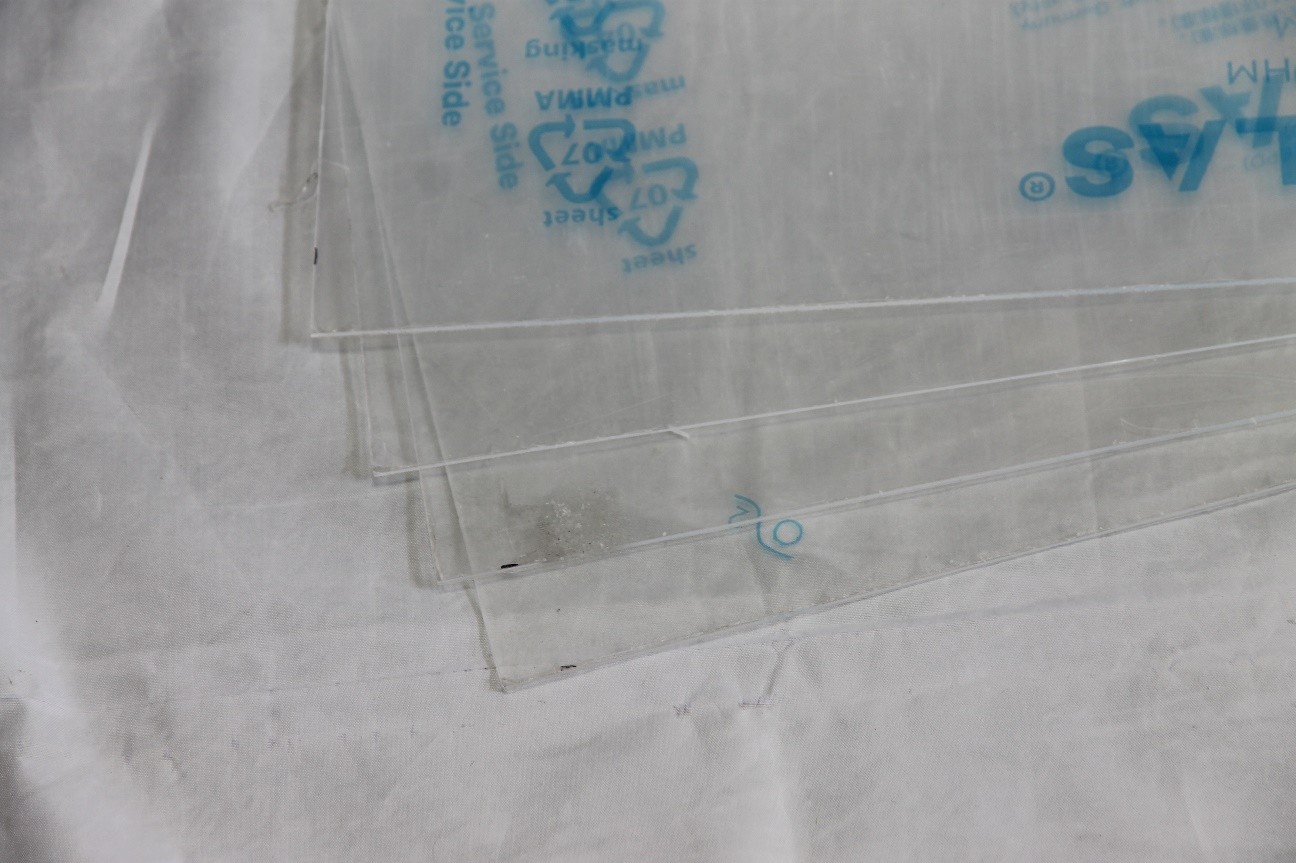
Transparent acrylic 1000х400х2mm 4 pcs.
Transparent acrylic 1000х1000х2mm 1 pcs.
Step 1
You will need:
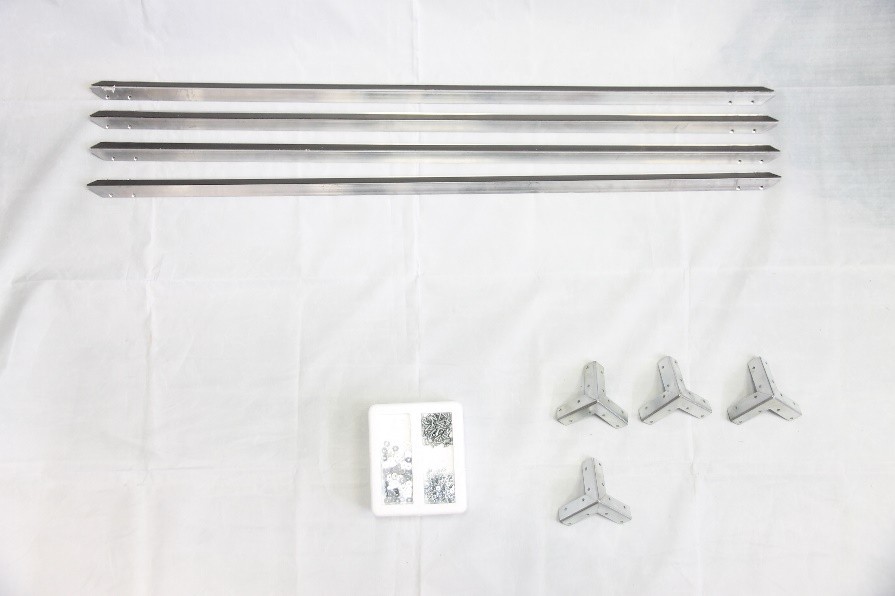
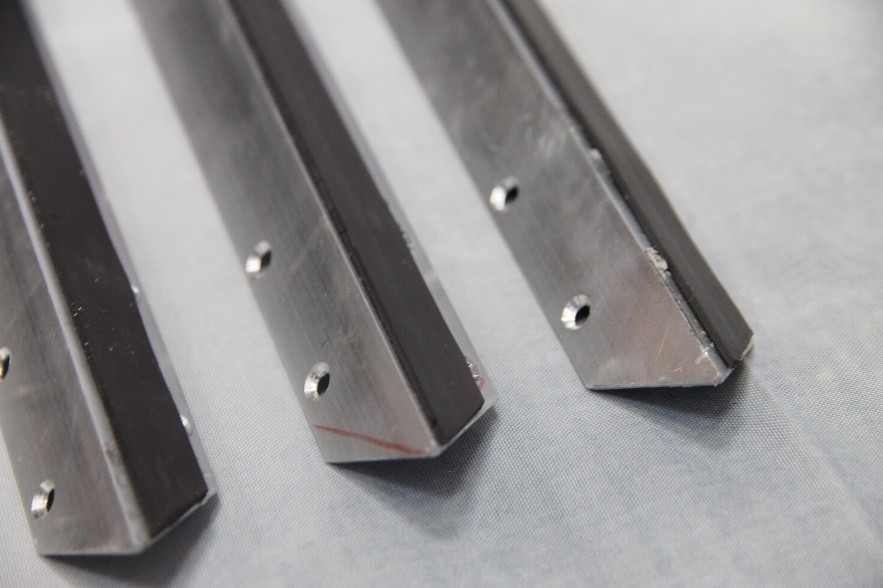
An aluminum shape with a magnetic tape 1000 mm 4 pcs.
A joint angle 4 pcs.
Set the parts as shown in the picture. Connect them with nuts and bolts.
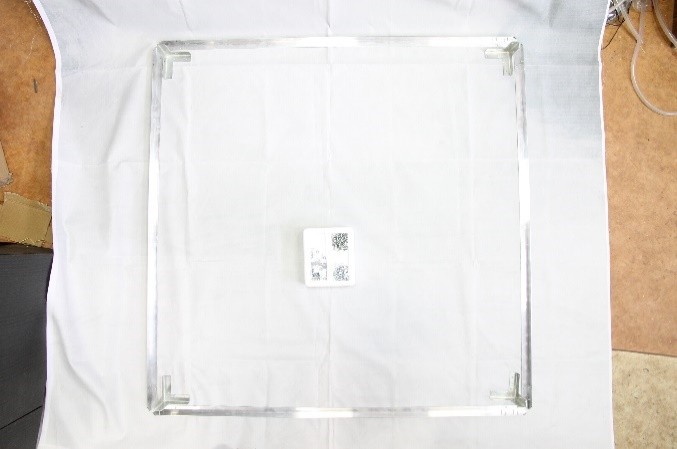
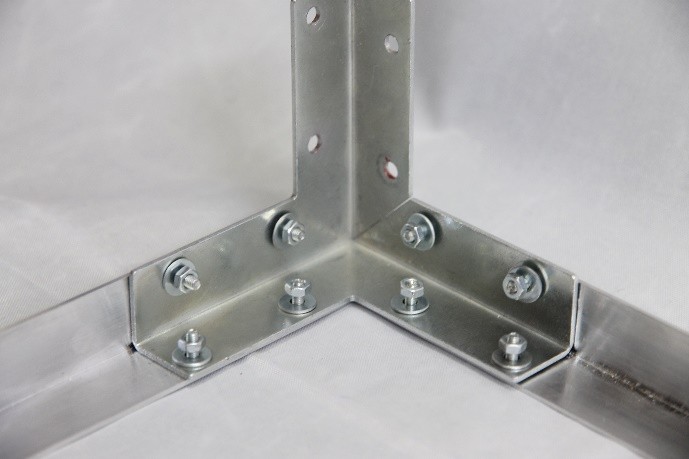
IMPORTANT: Mind the placing of the magnetic tapes.
Step 2
Attach an aluminum shape 400 mm to the assembled square as shown in the picture.
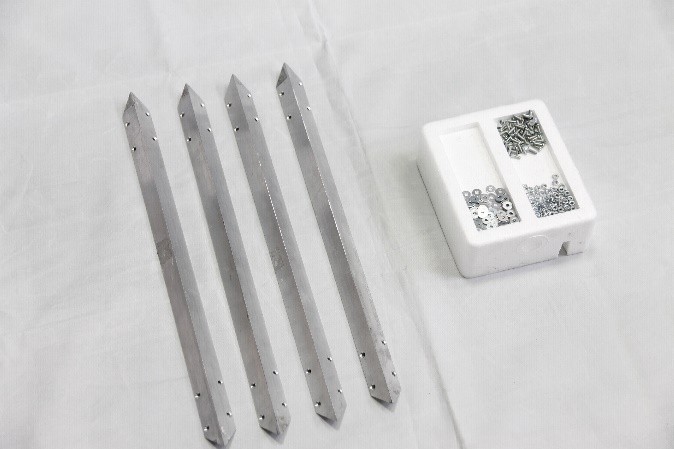
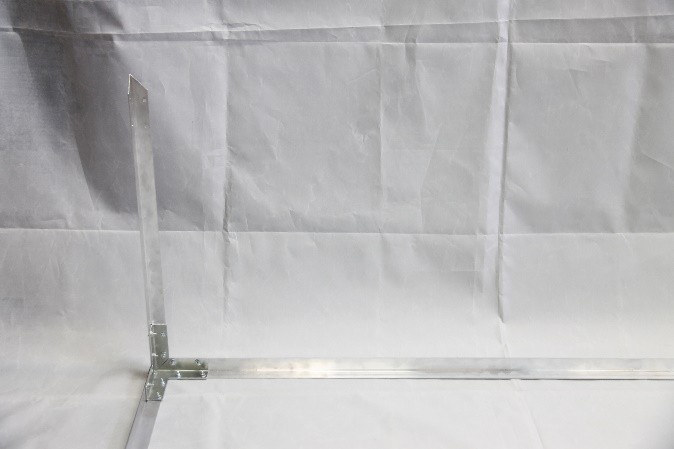
Step 3
You’ll need: 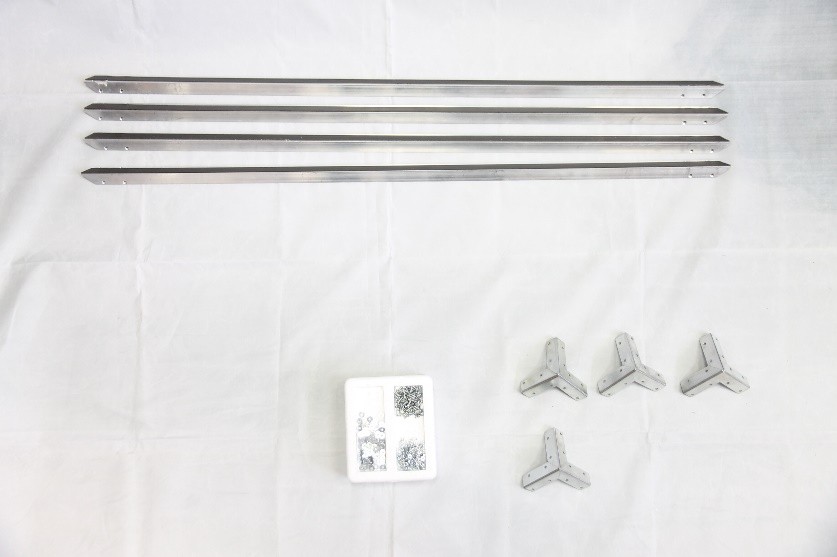
An aluminum shape with a magnetic tape 1000 mm 4 pcs.
A joint angle 4 pcs.
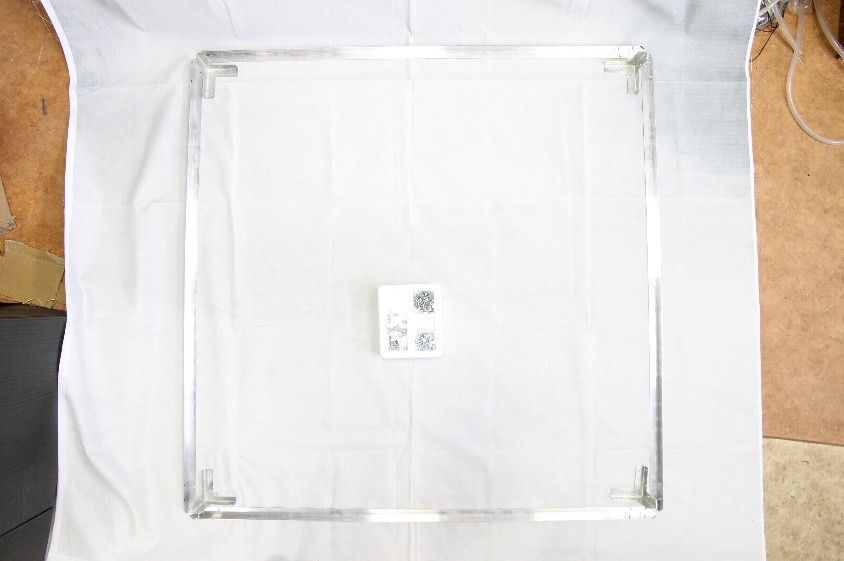
Repeat step 1. Place the parts as shown in the picture. Connect them with nuts and bolts.
IMPORTANT: Mind the placing of the magnetic tapes.
Step 4
Assemble the two pieces we have made at steps 2 and 3 in one unit as shown in the picture. This is a framework.
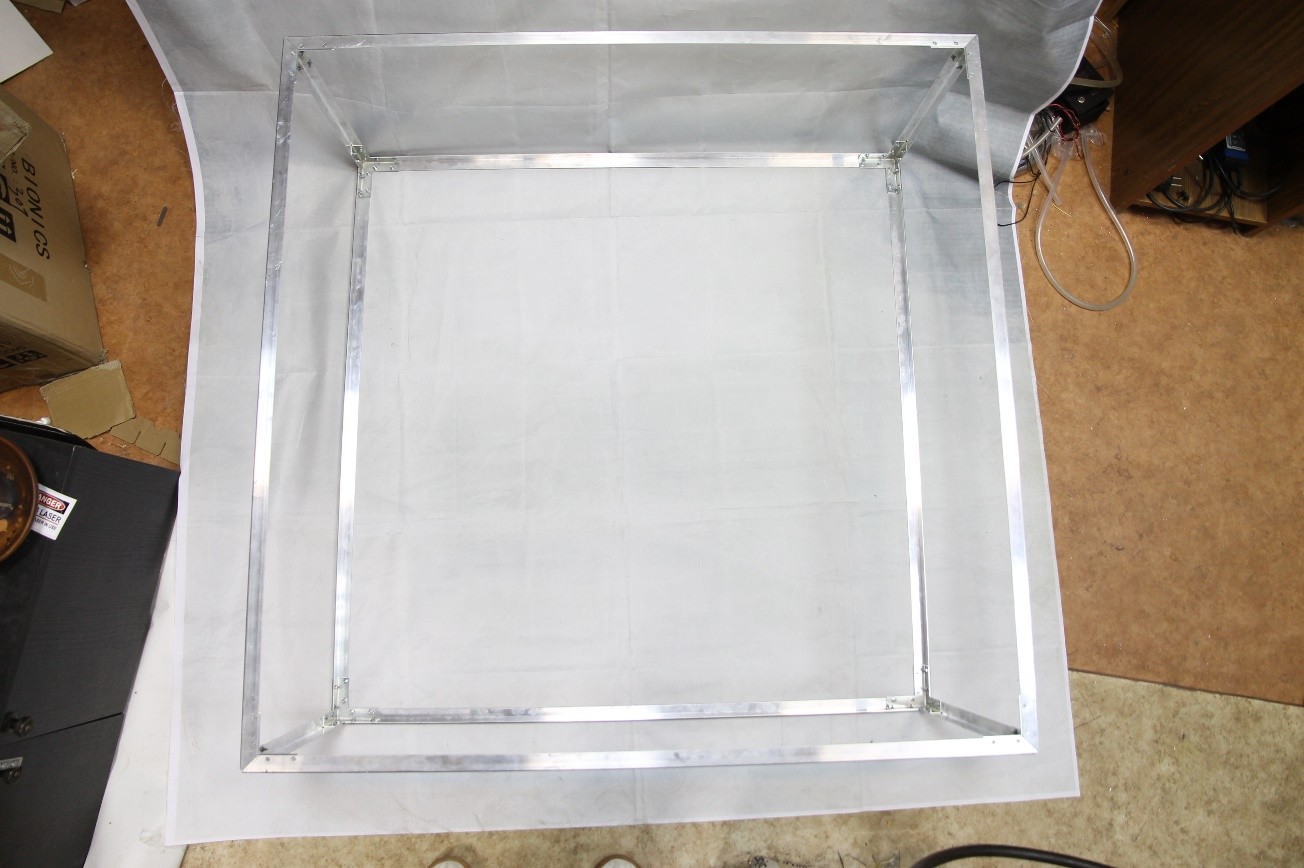
Step 5
Upturn the framework.
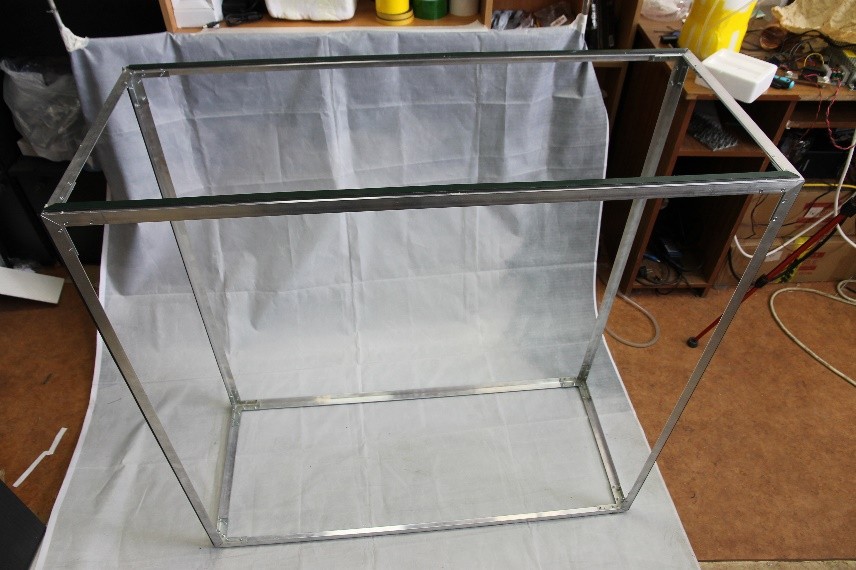
Remove the protective film from one side of the acrylic. Place it with the side without the film to the framework. Center it. Raising slightly the acrylic, remove the protective film from the adhesive side of the magnetic tape. Attach the acrylic to the magnetic tape of the frame. 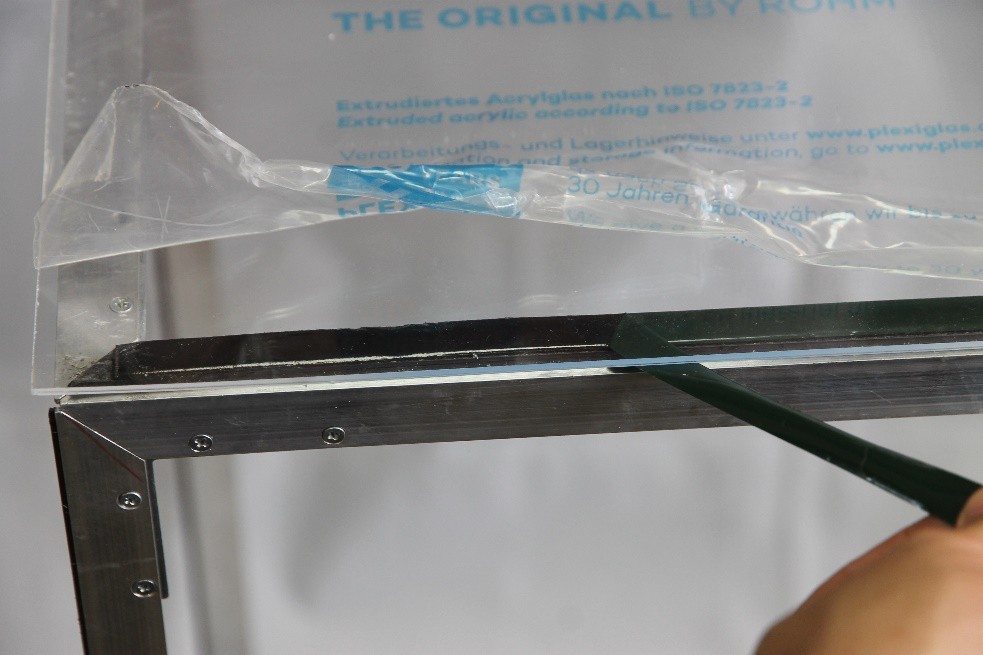
Do the same for the other sides of the frame.
IMPORTANT: Don’t forget to remove the protective film from the acrylic.
Step 6
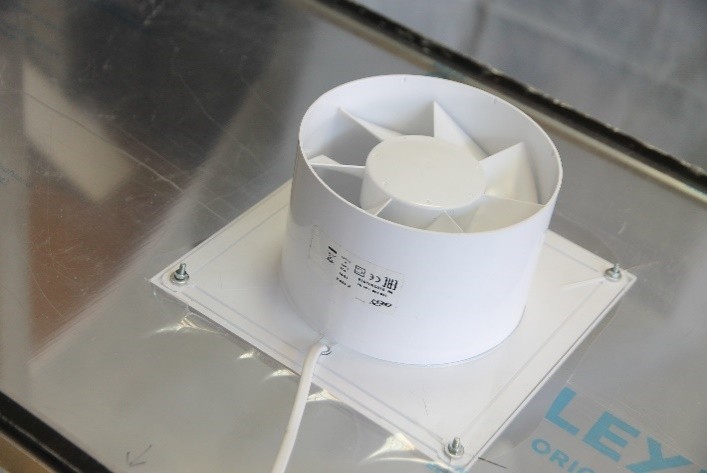
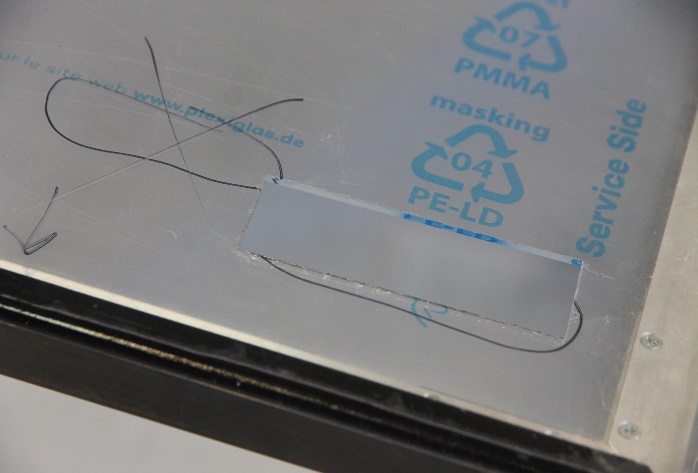
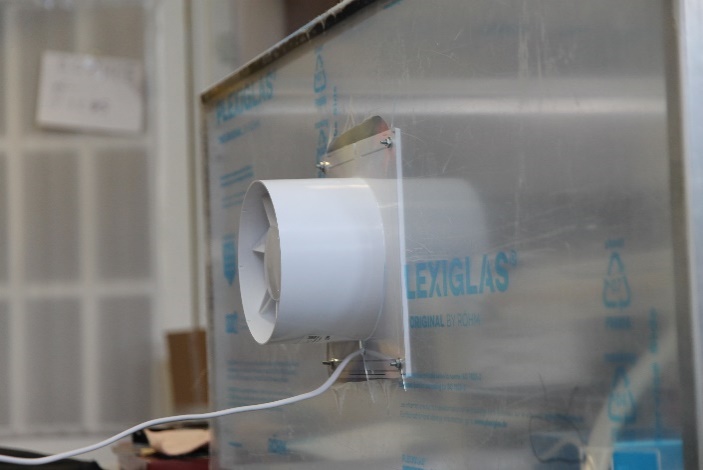
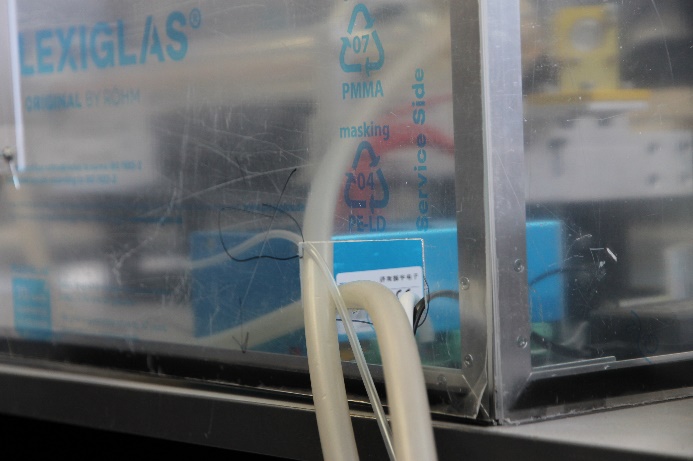
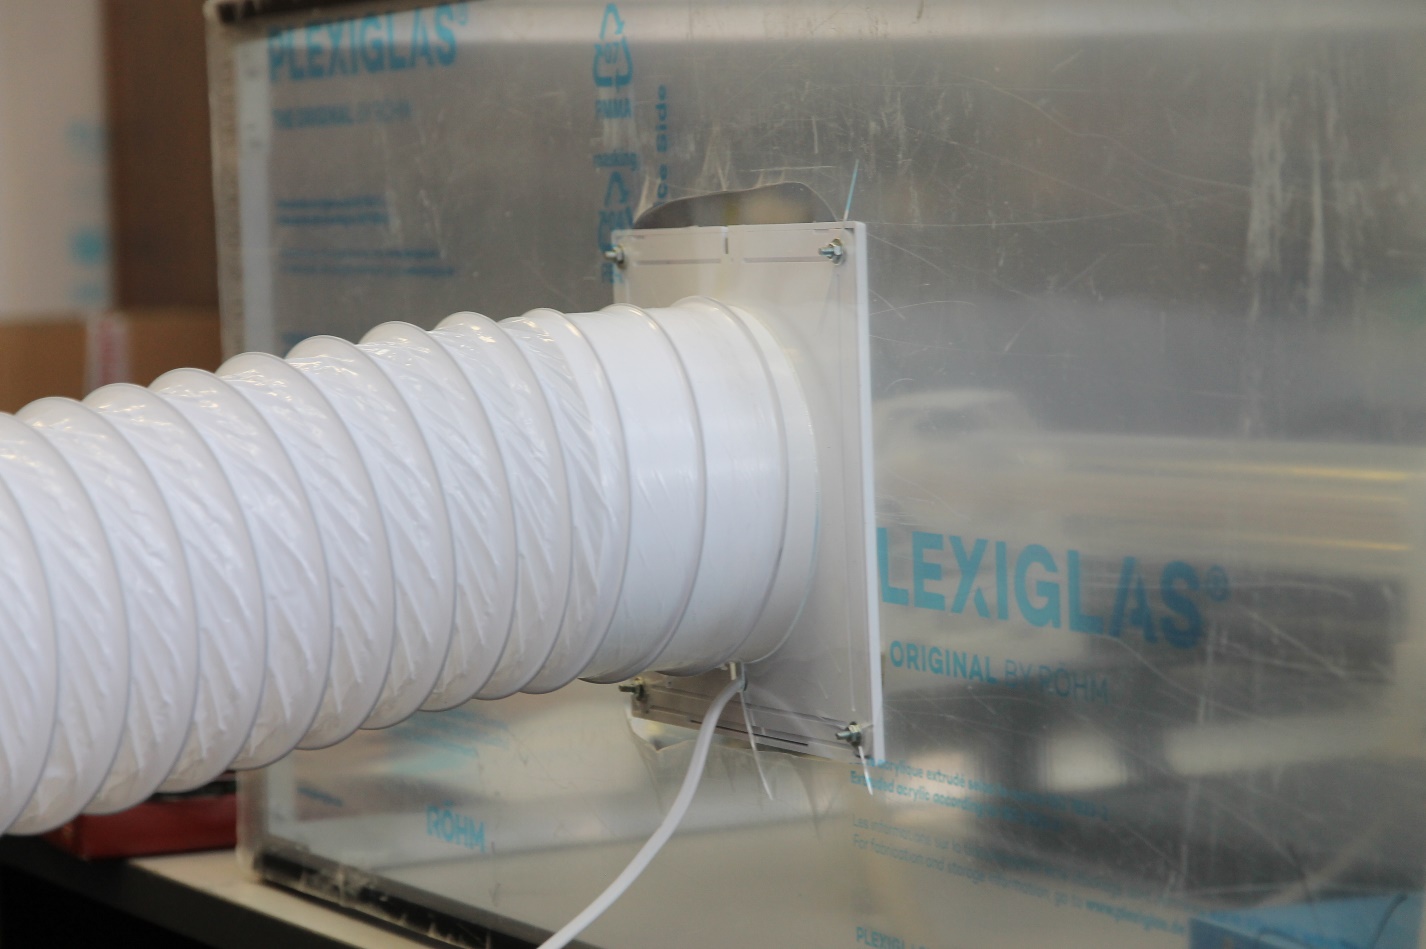
In one of the sides cut out a hole for a fan and holes for cooling tubes and wires.
Step 7
Install the box on the machine like Ortur, Eleksmaker, Neje, Atomstack, Wainlux, CNCC LaserAxe, Acan and others. Mount a discharge fan to its prearranged place. Insert wires and cooling tubes.
If you want a ready to go unit – you can order on our online store now
An Endurance customizable protective frame (shield) for your engraving / cutting machine
