Glass Engraving. Getting started.
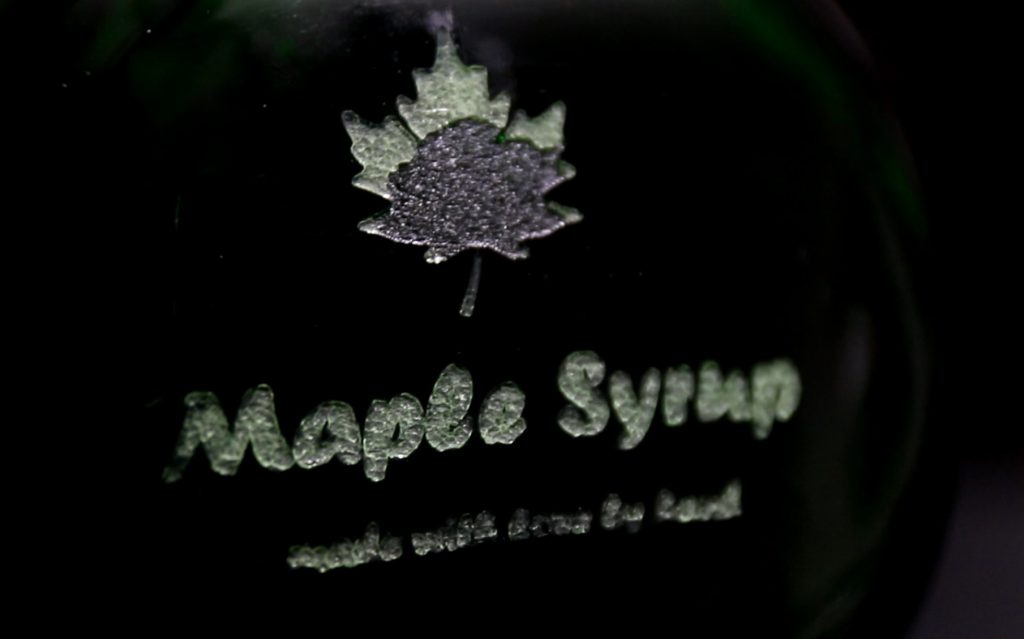
If you’re like me, you would never think that a 10W blue diode laser can engrave on a glass. Surely the melting point of the glass is way higher than what this laser can achieve. And yes, the melting point is higher, but still, you can actually engrave on glass quite easily. The way it works is, that the laser heats up the glass in one tiny spot. This then creates tiny fractures, which are nicely visible when you arrange them in the pattern of your design. If you go slow enough, you can even have the top bit of the glass break away completely, just leaving a rough surface that breaks the light differently than the rest of the bottle.

How to set it up
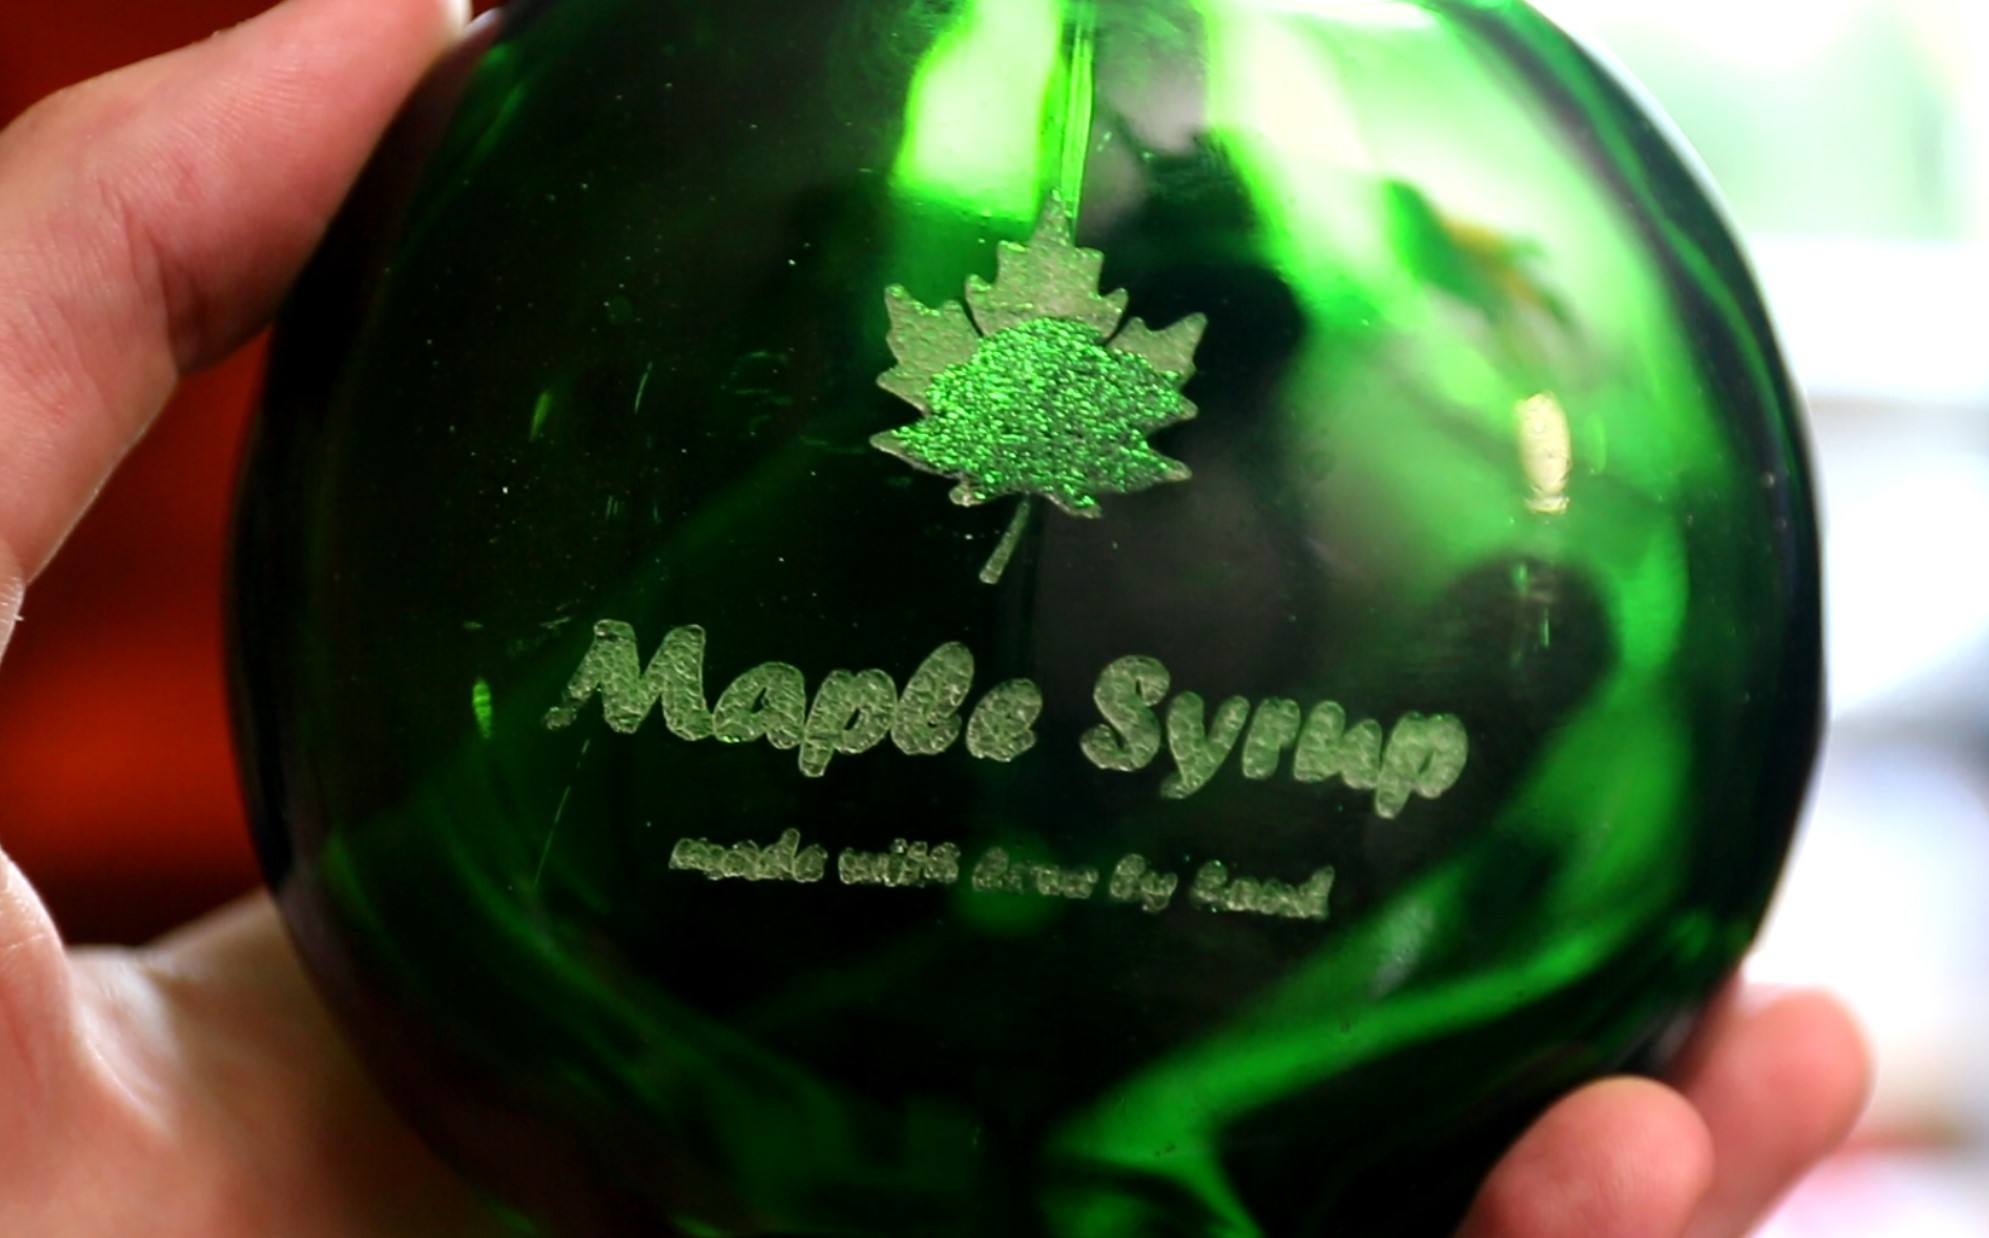
As with every engraving project, you will need your design, that you want to engrave on the piece. Something to consider is, that with glass you can’t produce too fine details. So, make sure, that your design is big enough to be clearly visible. In terms of speed, I did some tests on my 10W laser and found that anything between about 100mm/min down to 20mm/min works fine. If you go faster, you will just create surface cracks, which look milky white. If you go slower, you can actually have the top layer breakaway, which creates a slight recess and looks a bit more like the color of the glass. One neat thing is, that you can combine the two settings and create a two-tone finish.

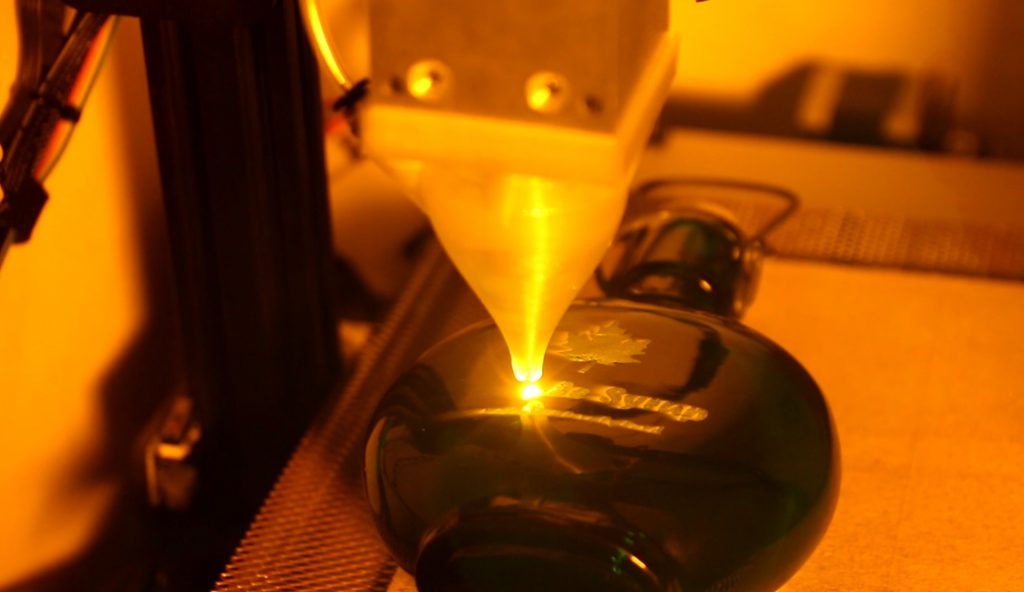
Engraving on green glass using an Endurance 10 watt laser
My setup: I am using a 10W Endurance Laser, which is mounted to my CR-10 using a quick release. I am also using an enclosure I built with an exhaust outside to control the fumes. Depending on the project I also use my air assist, which is hooked up to the air compressor.
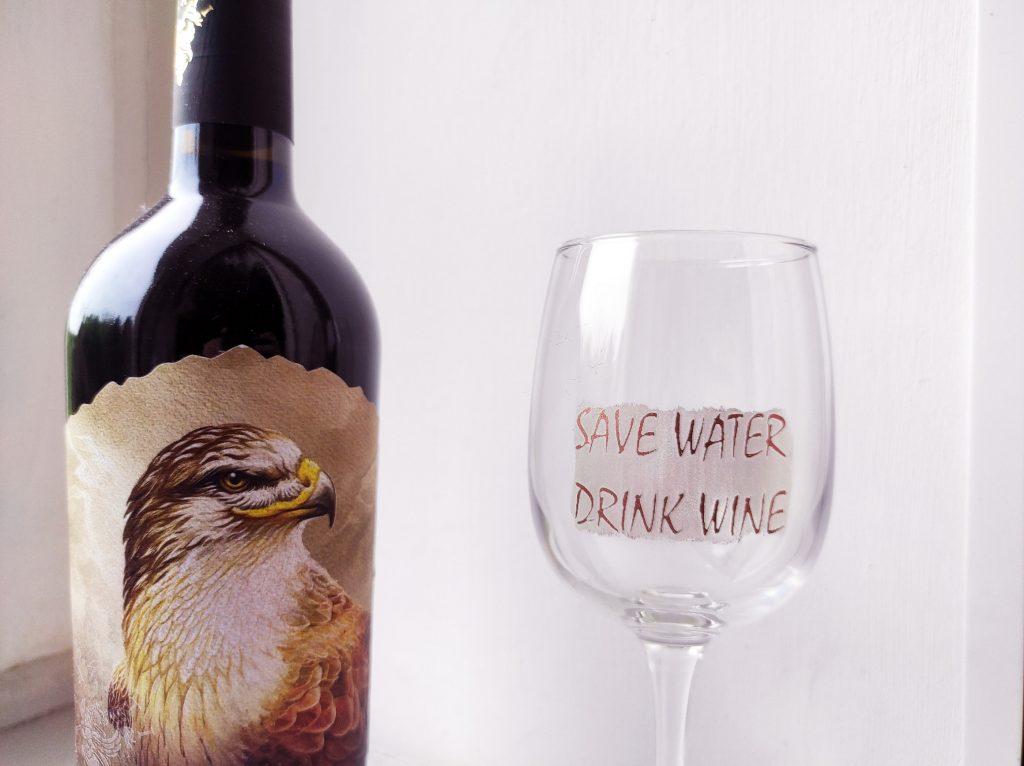
Paint your glass. Remove the pain with the laser.

