
Explore Fusion 360 For Laser Cutting
Content
- Fusion 360 Overview
- Create a New Component
- Start with your sketch
- Important for sketches
- Clear Sketch ready to export
- Extrude to have a better feeling for your Part
- Export your sketch
- Import the DXF in your Laser cutting Software
Full video lesson of how to operate a software Fusion 360
Basic Fusion360 Tutorial For Lasercutting
Fusion 360 Overview
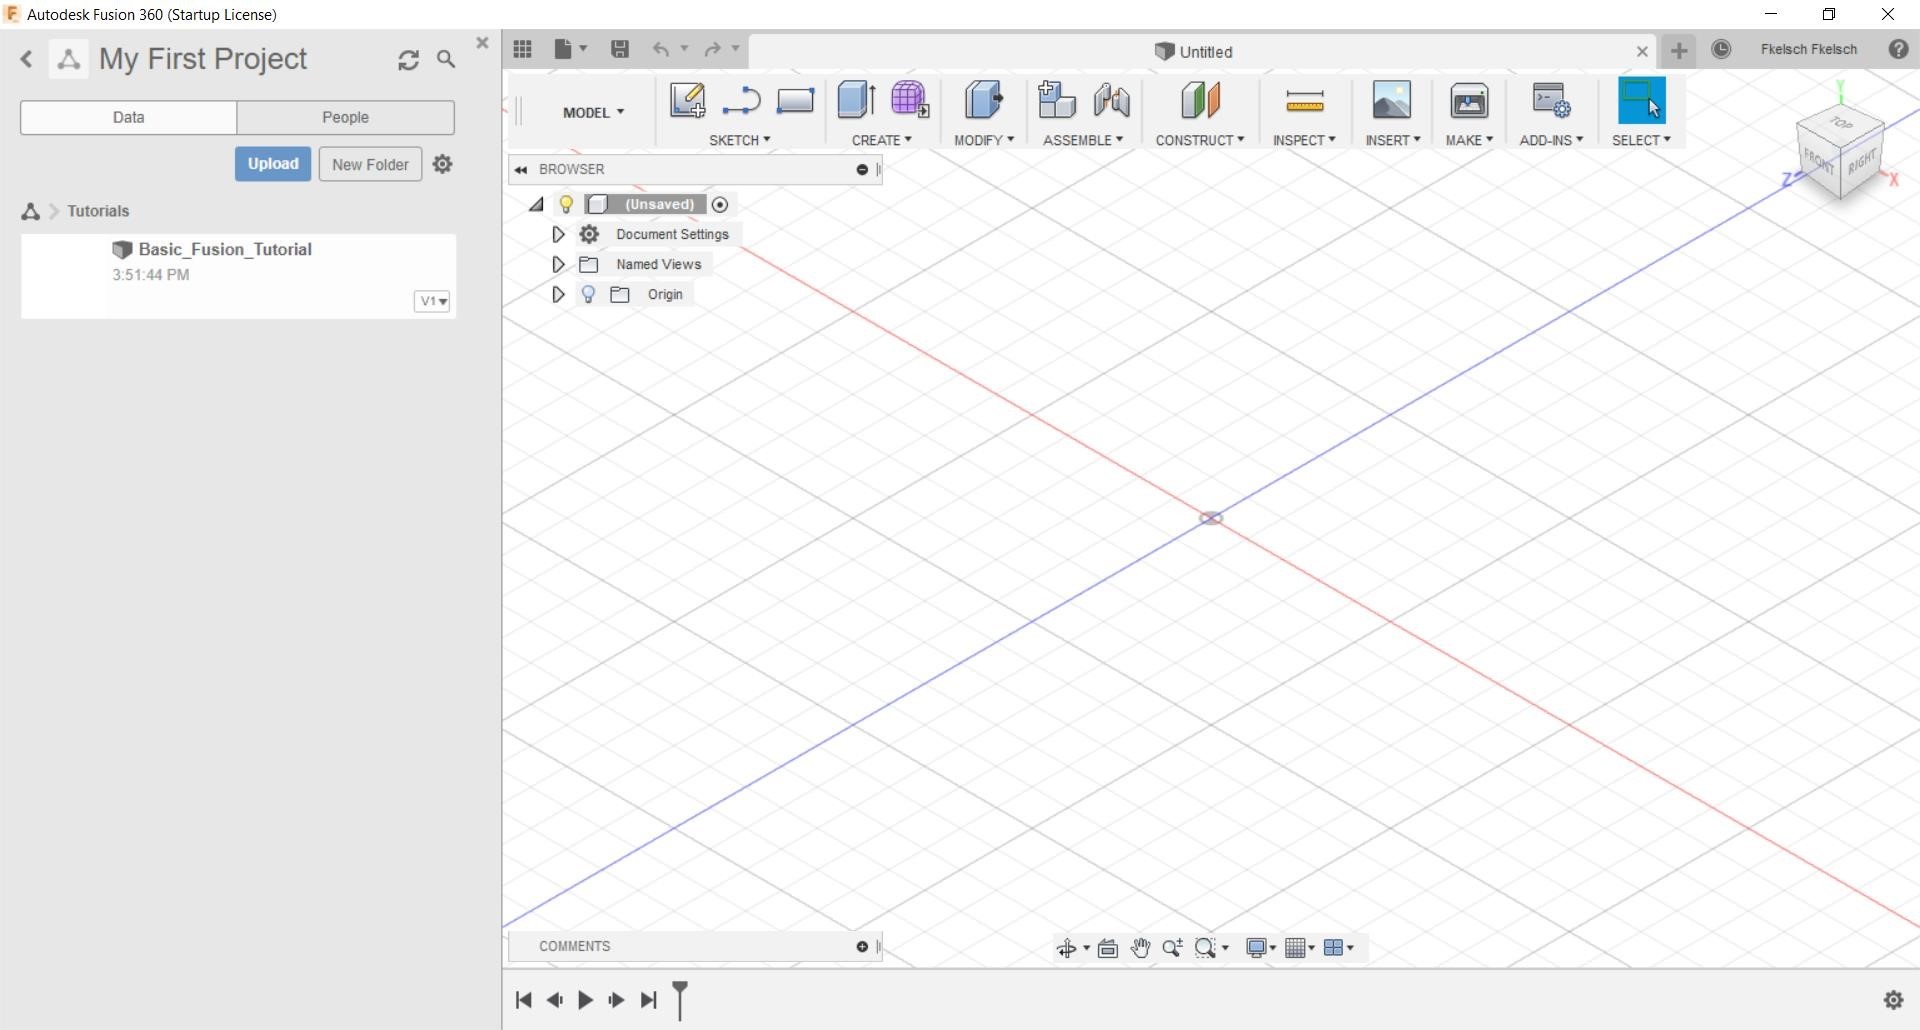 You should make sure to get a Overview about how to use Fusin360 and where the tools are located. For lasercutting/engraving you only need the „Sketch Tool“.
Create a New Component
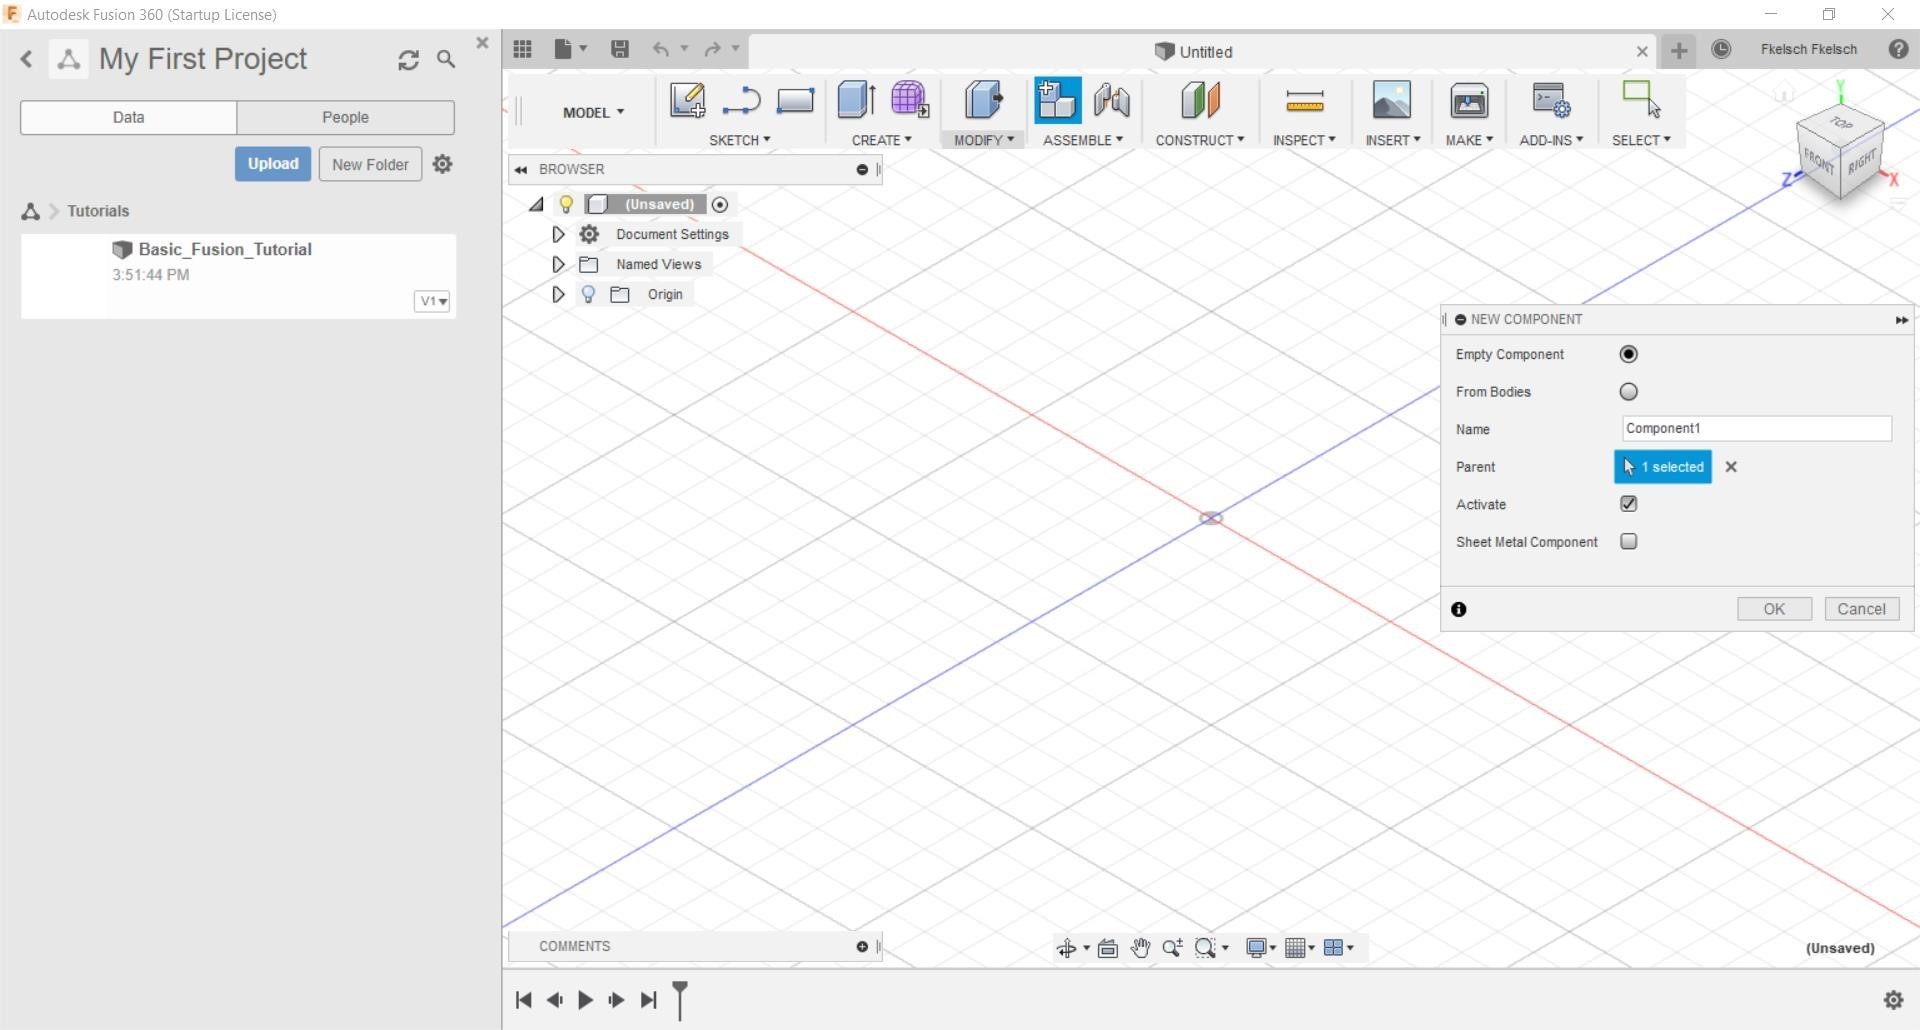 At first you always should work with Components to keep track of your Parts. Create a new one (blue highlighted button in the Top Row) Name it like the Part it will be at the end and confirm.
Start with your sketch
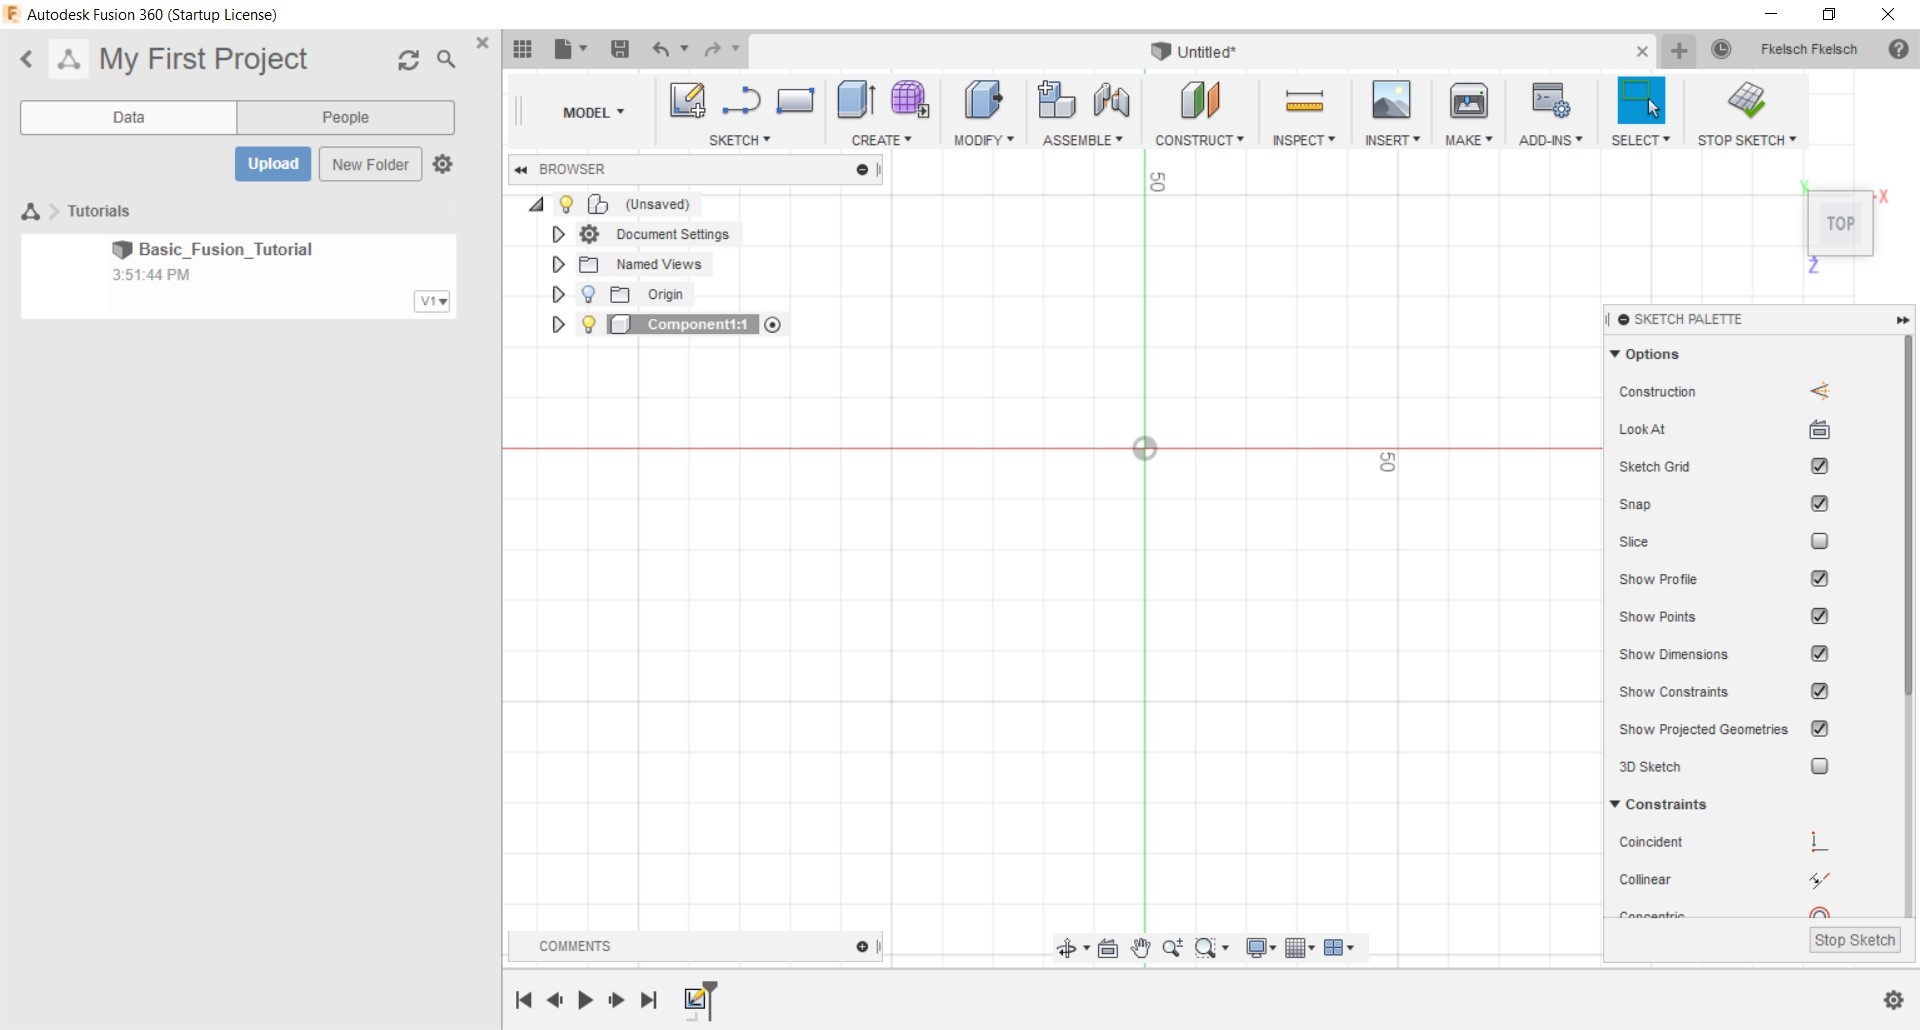 On the Top Tool bar you see the sketch tool. Simply click on the rectangle and start to draw the part you need.
Important for sketches
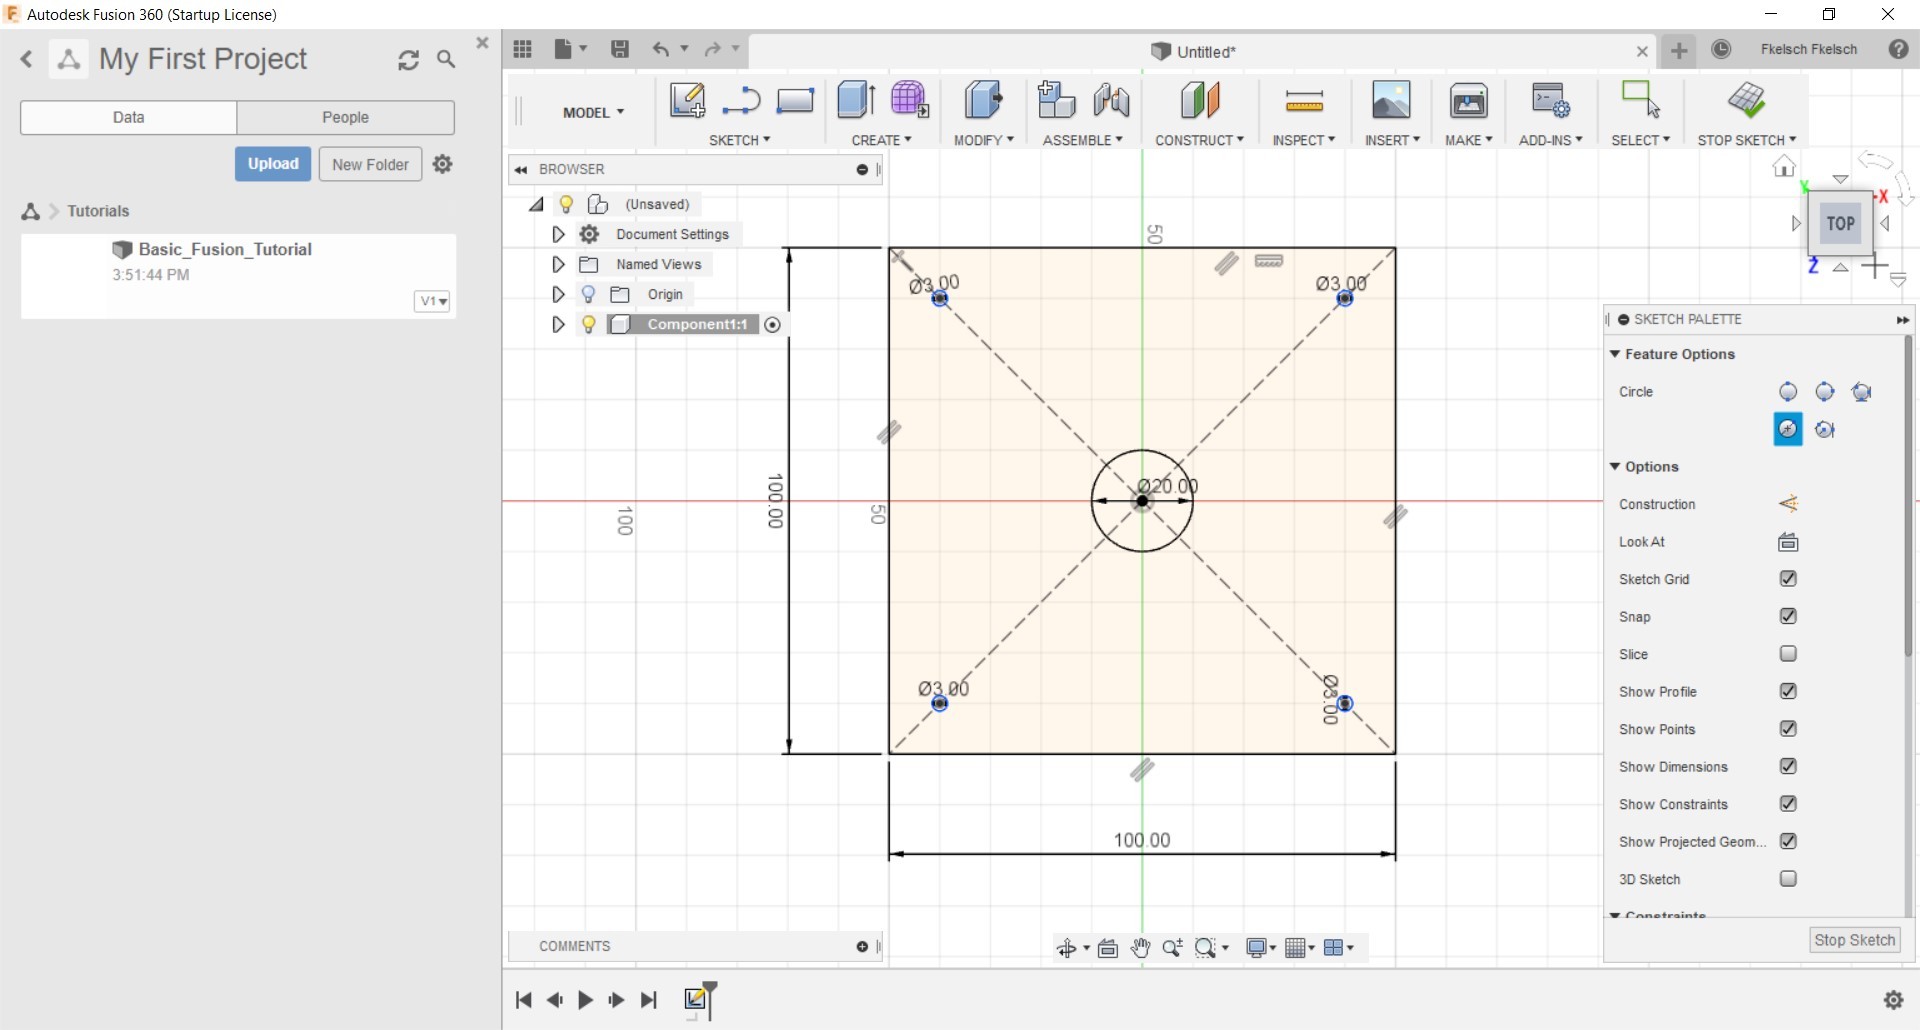 If you typed in specific measuerments, they will be shown at the sides of the drawing. The cutted lines need to be deleted or they will be exported as well later on as solid lines.
Clear Sketch ready to export
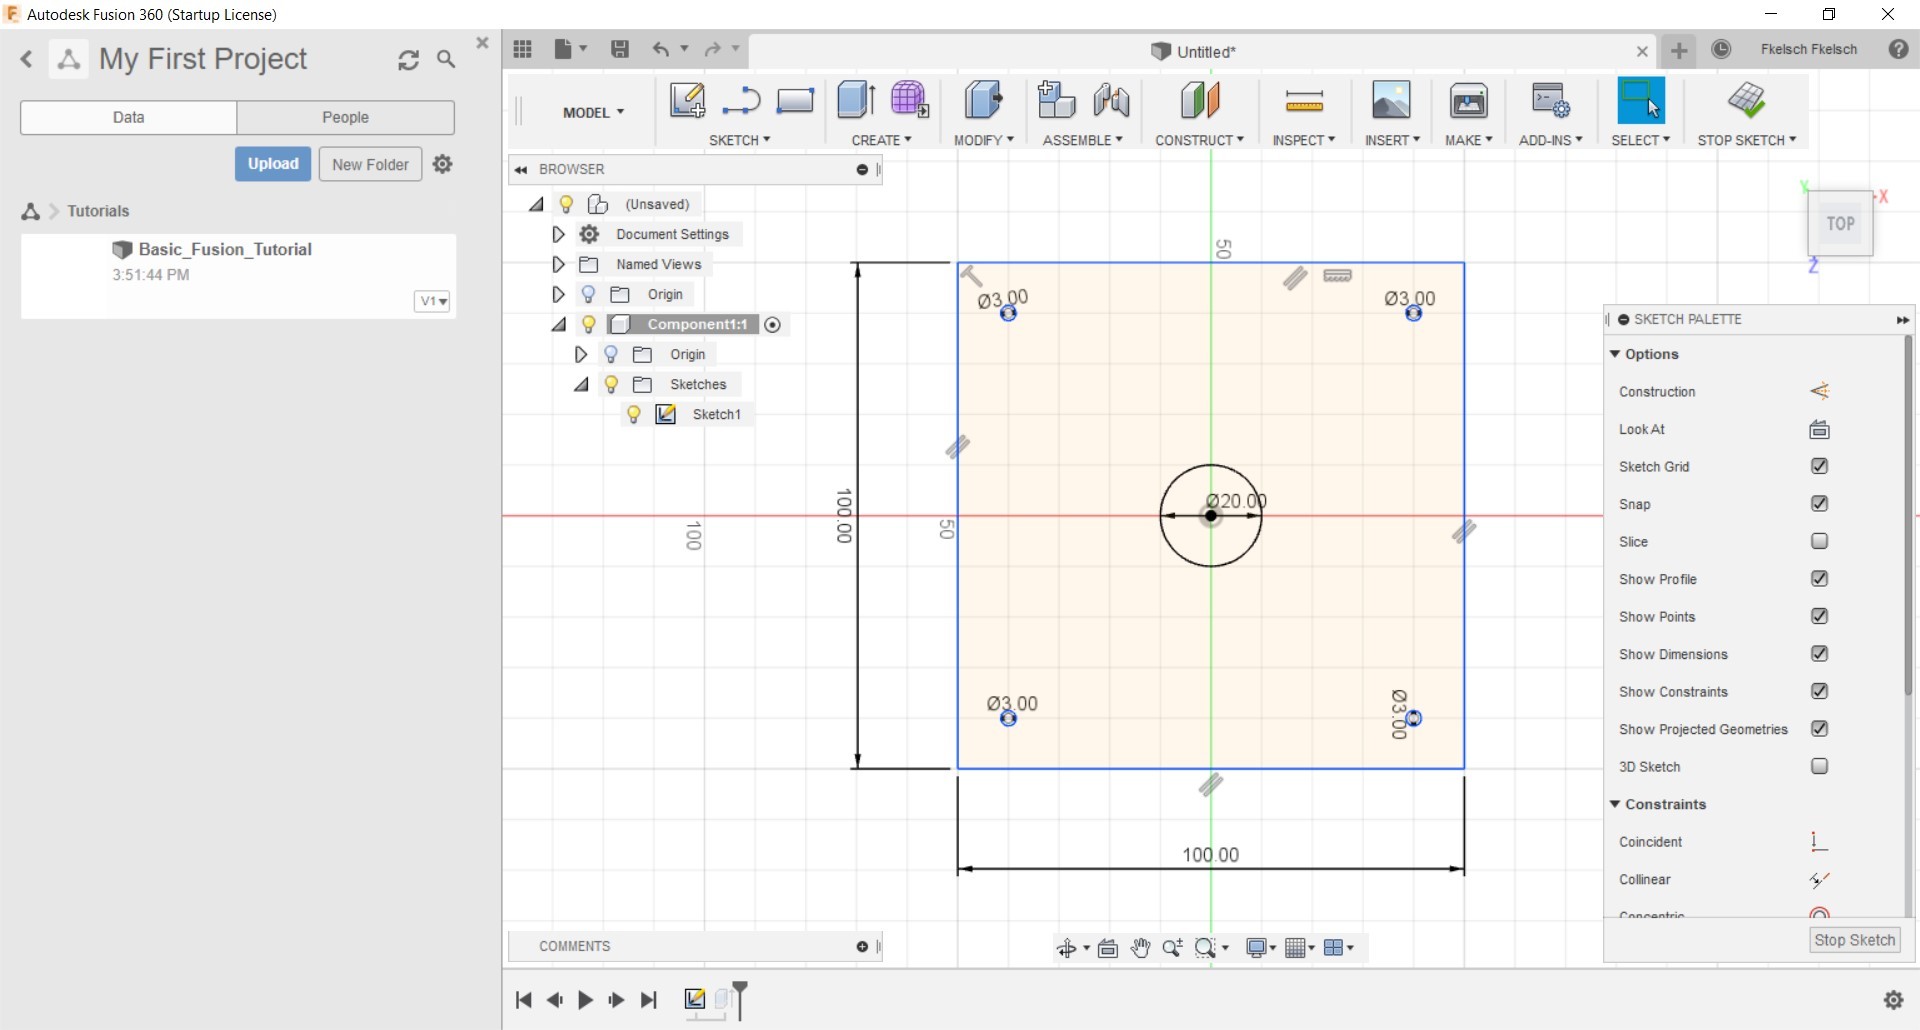
Thats how a clear sketch should look like ready to export.
Extrude to have a better feeling for your Part
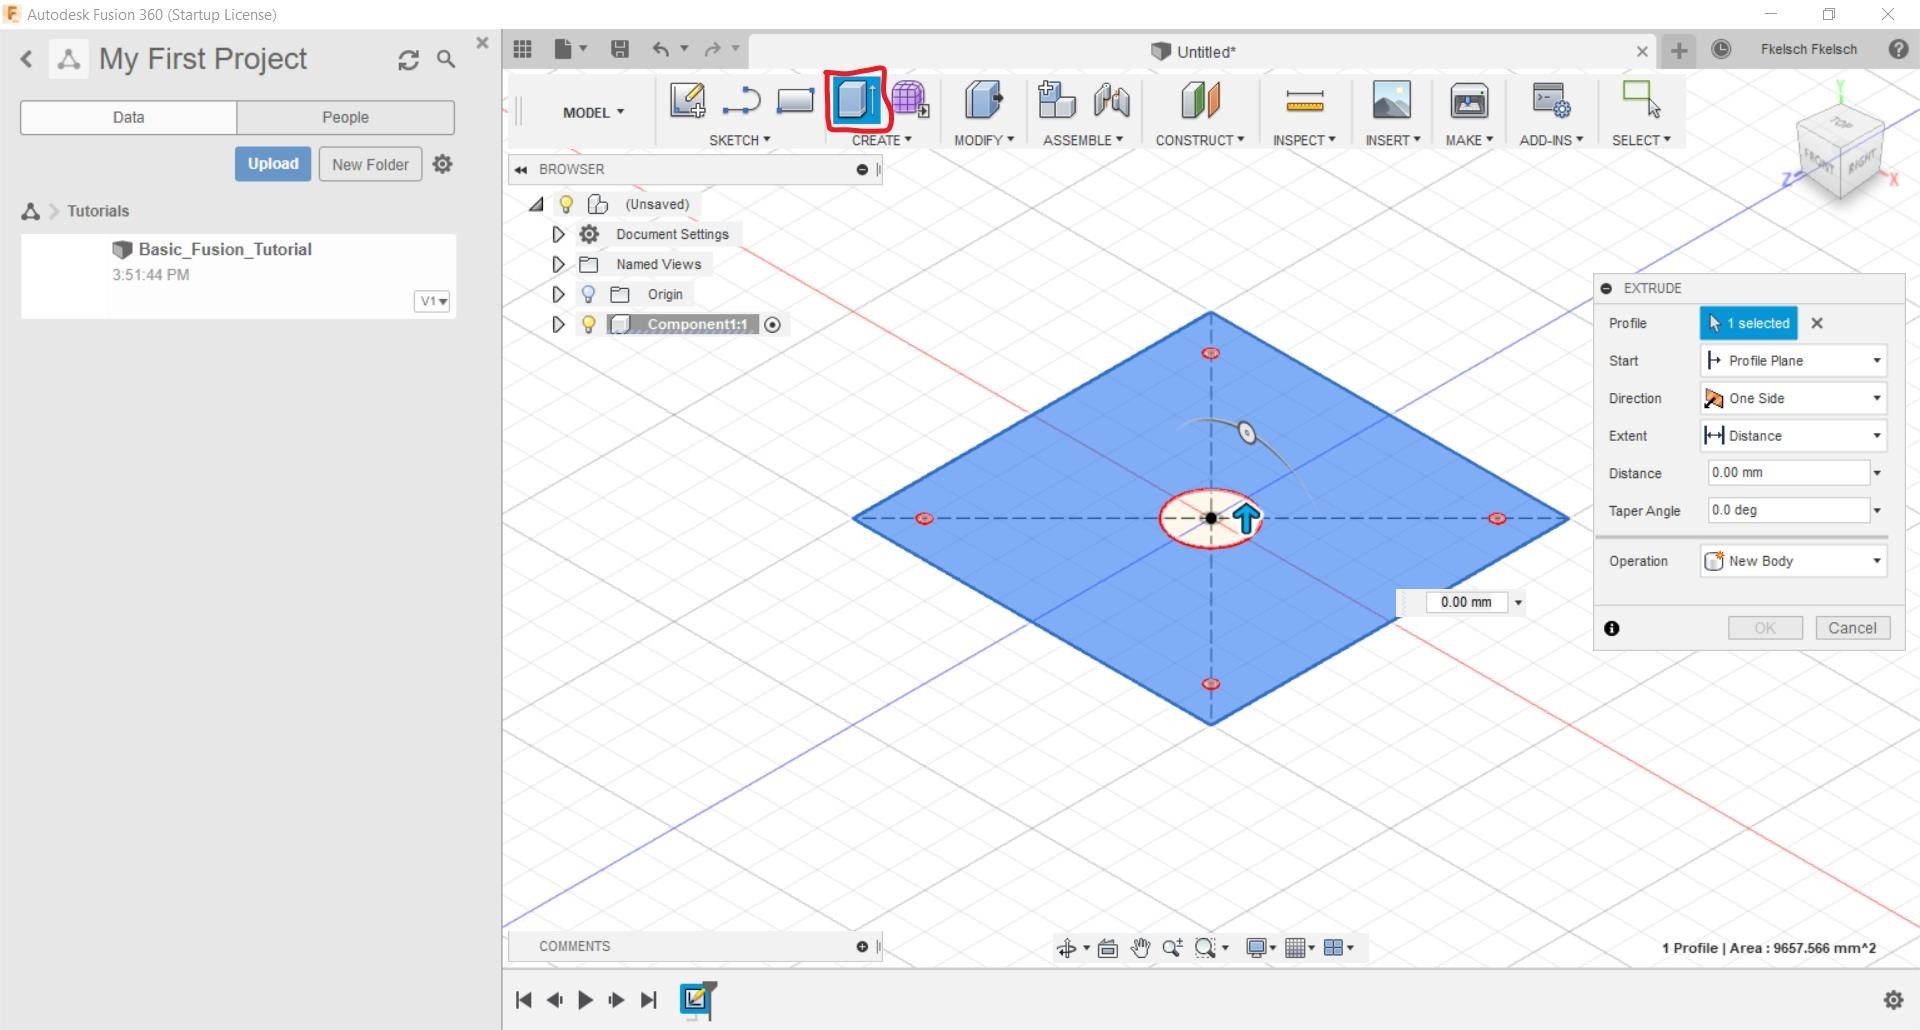
To get a better feeling how your part will look at the end you can extrude the sketch after you finished it (Top Right, stop sketch).
Simply click at Extrude (red circle) and drag it to the hight you want with the blue arrow.
Export your sketch
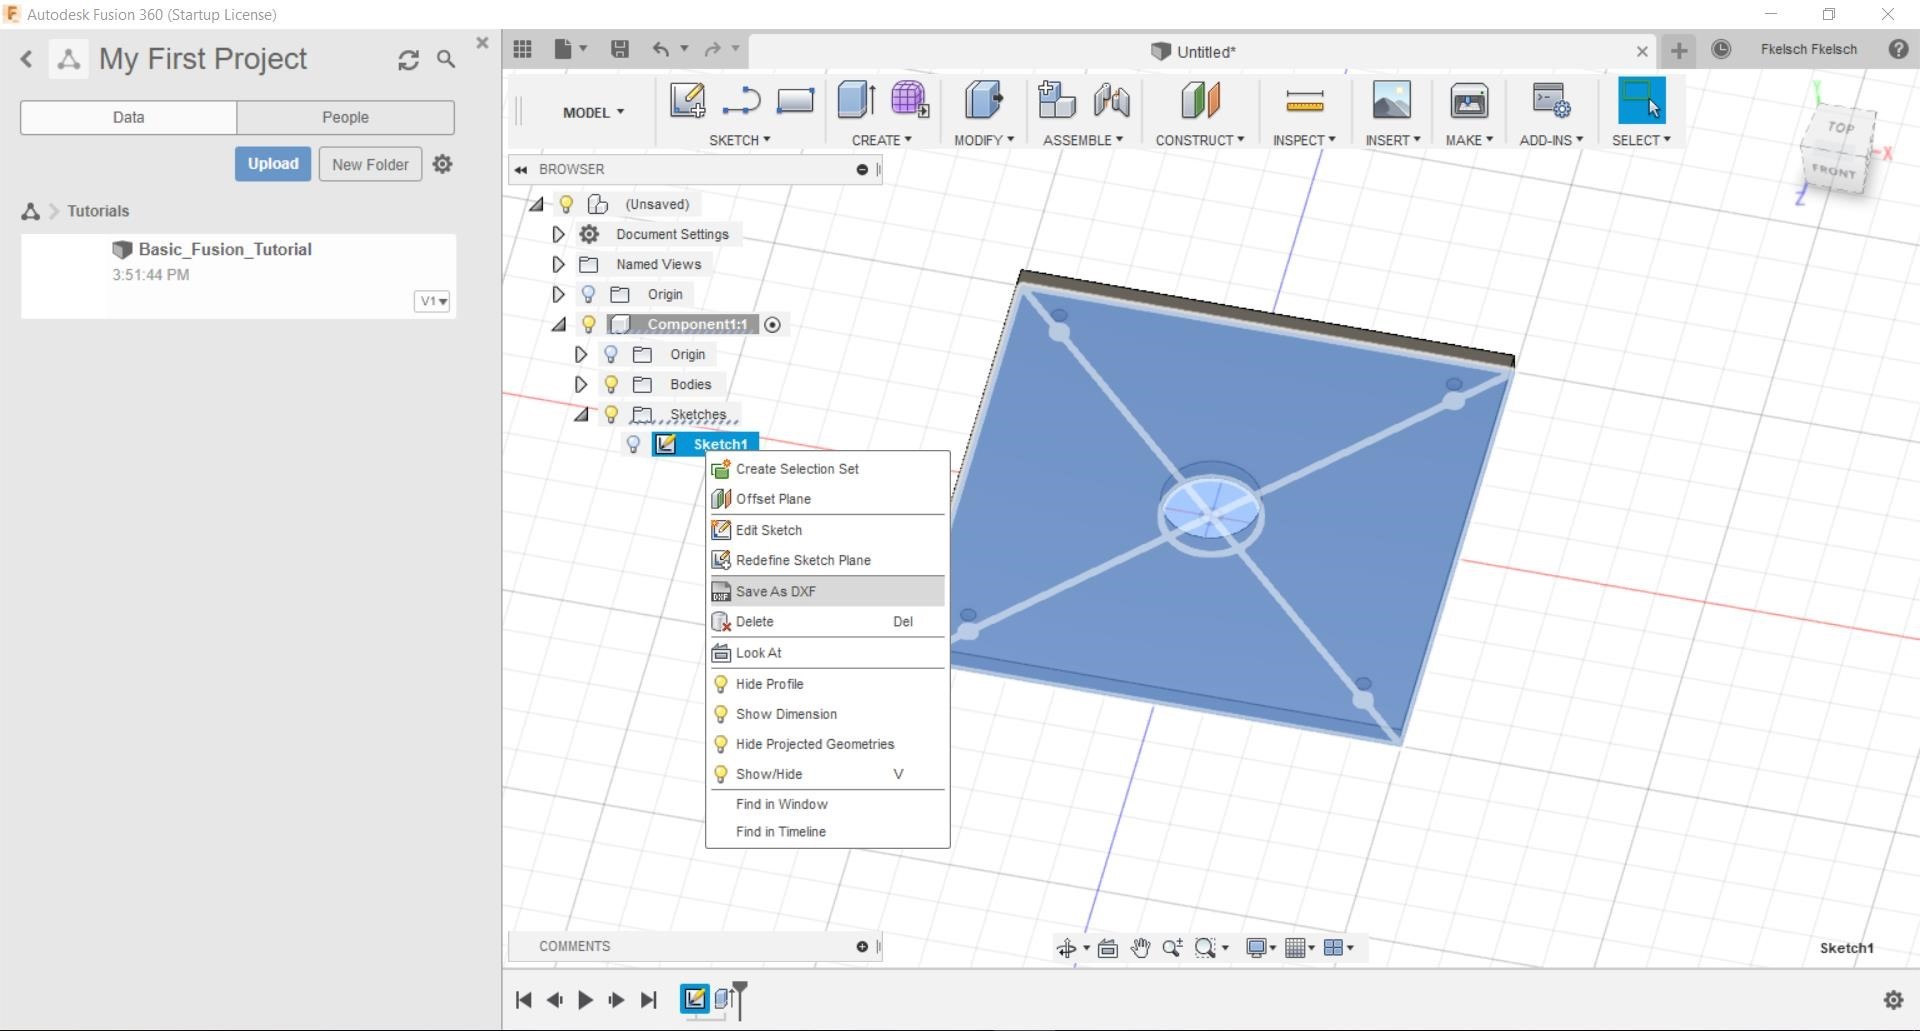
To export your sketch, right click it and go to „Save as DXF“
Choose your path where to save it and ist done.
Import the DXF in your Lasercutting Software
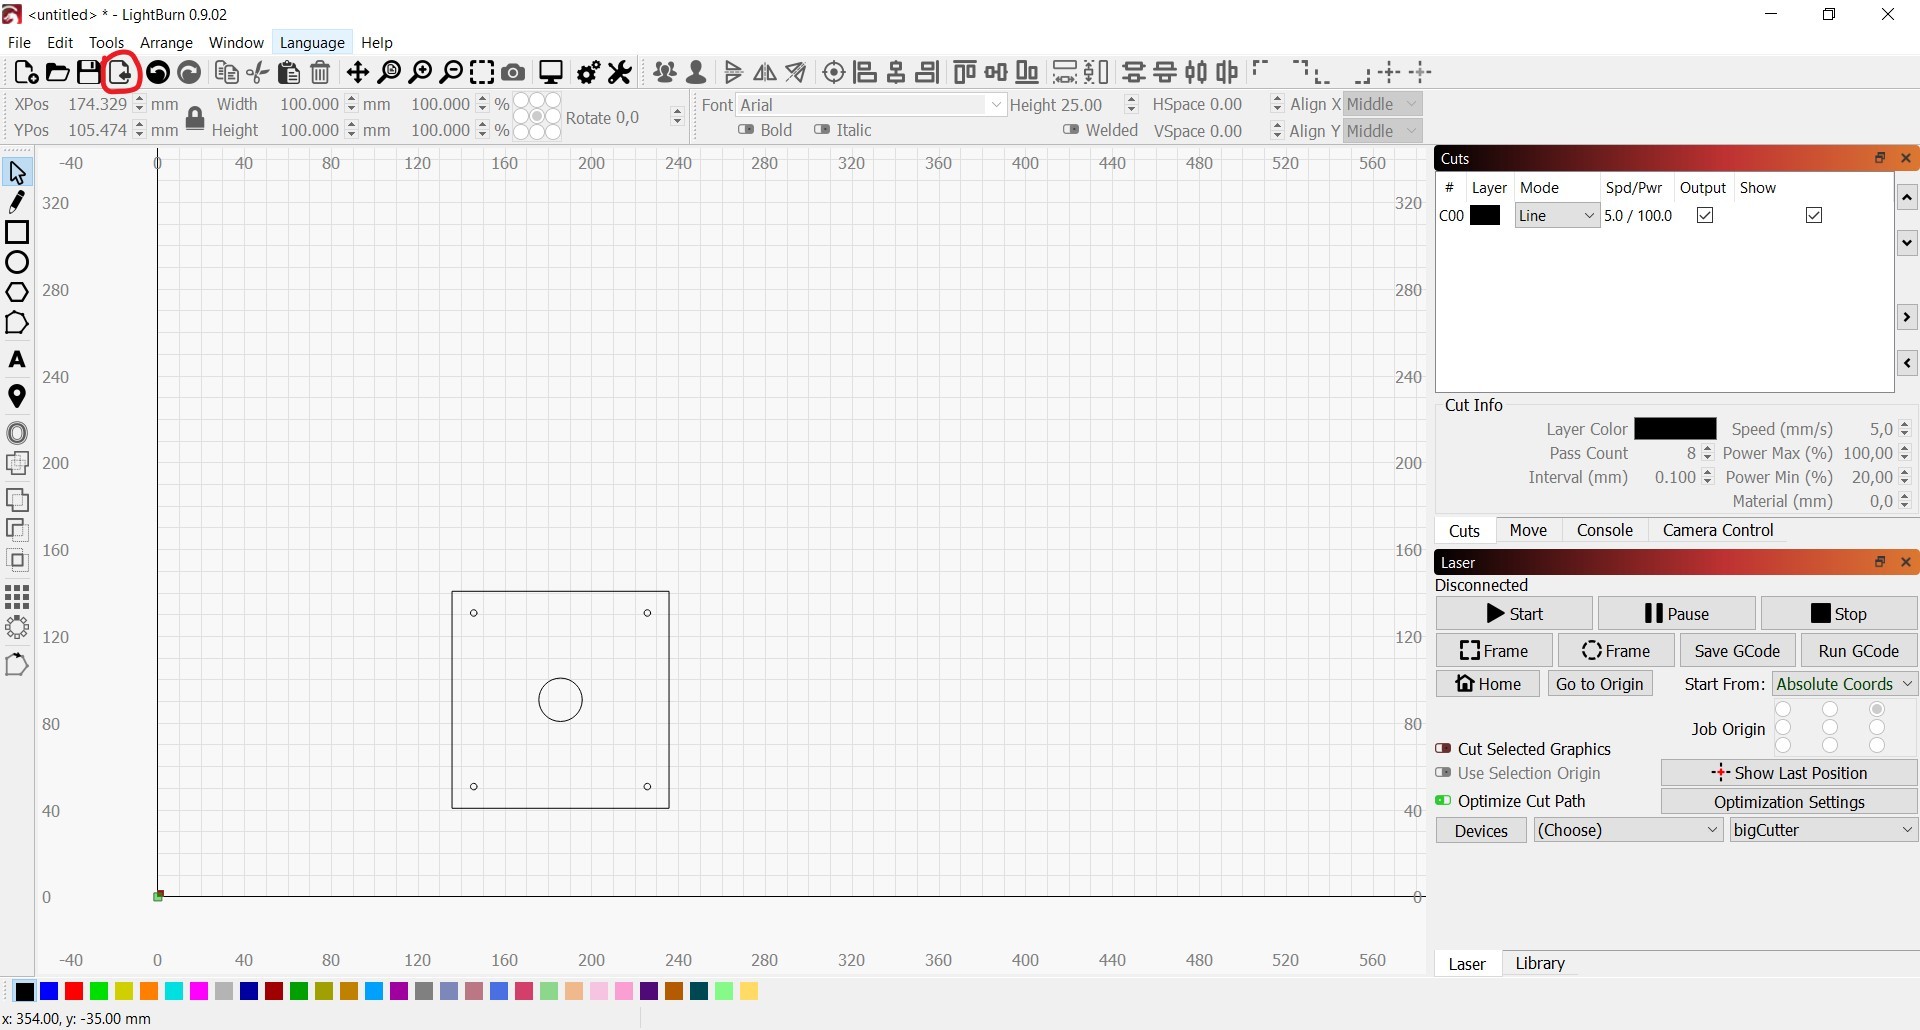 For me its Lightburn. Click the Import button or ctrl+i and select your previously exported dxf file and import it.
Now you can set up your cutting or engraving settings and you are ready to go.
Explore Facebook Fusion360 group:
https://web.facebook.com/groups/fusion360users/