Exploring the Possibilities
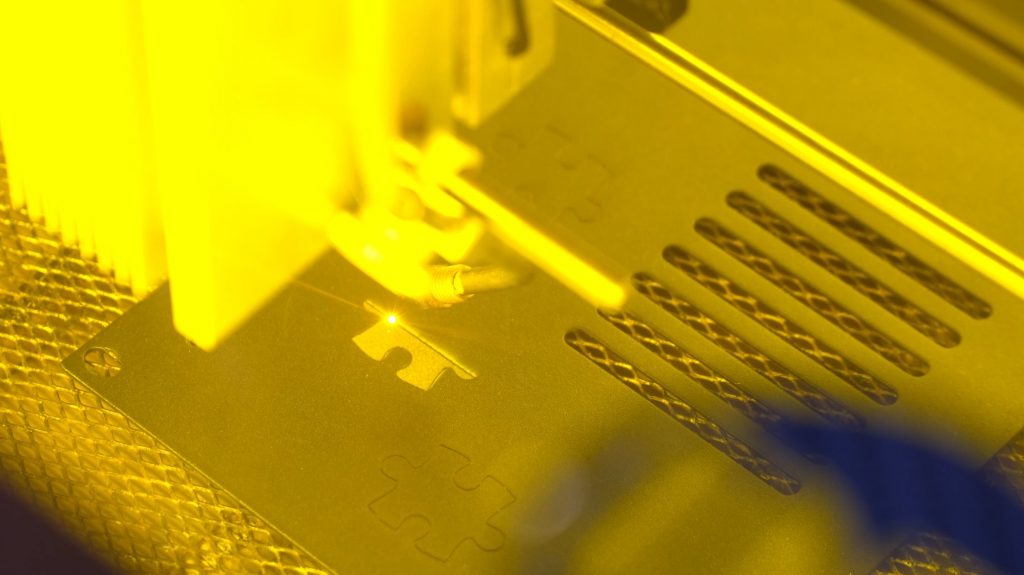
I’ve been using my 10W+ Endurance laser for a while now, first on a converted 3D printer, and now mounted to an Ortur Laser Master in a custom enclosure. Although I have cut many different things, I never did a comprehensive test, what of what is possible and at what speed. Today I rectified this by testing various materials at different thicknesses and with different cutting strategies. Below I talk about my findings, and if you prefer, you can also watch my detailed video about it on my YouTube channel. With all the numbers I mention, please keep in mind that they will vary a bit depending on how precisely you focus your laser, how your exact setup looks, and the properties of your material. So just take them as a starting point and do your own tests when dialing in settings for yourself.
Plywood
The thing I cut the most often is by far plywood. It cuts quite well and enables a wide range of possible projects. It is also very inexpensive and easily obtainable at any hardware store, making it the ideal choice.
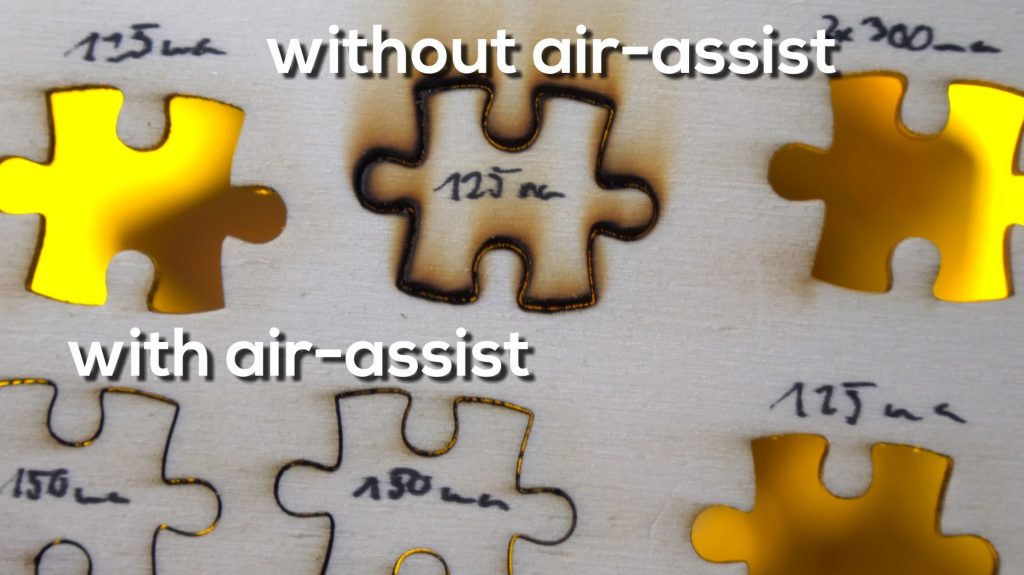
Apart from laser power, which is dictated by your machine and the speed you run at, another consideration is an air-assist. While not strictly necessary, it greatly improves the cut quality, with no smoke marks on the surface and only minimal chared material on the cuts. In some cases it can also increase your cutting performance, however, the gains are minimal and only really noticeable when doing a deep cut in a single pass.
3mm Plywood
This is my go-to for any projects that don’t require great strength. I usually order a large number of boards that are already cut to size for my working envelope, allowing me to just grab one of the stack and start cutting right away.
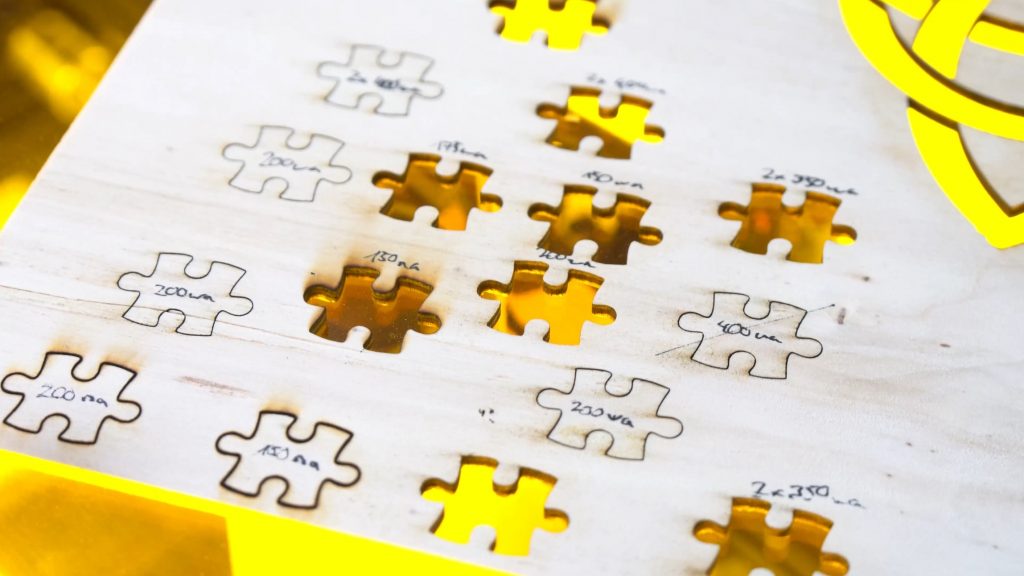
The settings that work best for me are 2 passes at 350mm/min each. This cuts through the material more reliable than a single pass at half the speed, however, 150-175mm/min with a single pass also gets the job done. If you are not using an air-assist I do recommend doing quicker passes, to avoid burning and give the smoke a chance to clear.
4mm Plywood
Not much changes when going from 3 to 4mm, you just want to dial down the speed slightly to something like 300mm/min with 2 passes. The thicker you go with the material the more apparent the gains of doing multiple passes get. While it is possible to cut 4mm plywood in a single pass, at around 125mm/min, I do recommend multiple passes, especially without an air-assist.
8mm Plywood
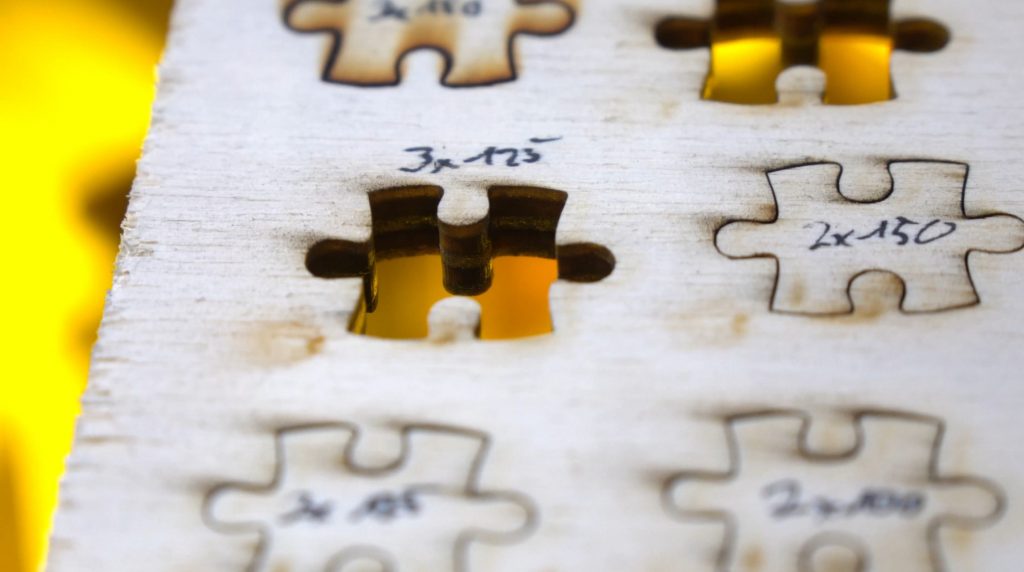
Yes, you read correctly, you can cut 8mm plywood with a 10W+ Endurance laser, and quite well at that. It does take a while, but surprisingly even without adjusting the focus while cutting with a Z-axis, the results are very clean with nice edges. The speeds I settled on are 3 passes at 150mm/min with an air-assist. Once again, an air-assist is not strictly necessary, with an extra pass it is possible without, however, the cut edge does have significant chared marks and is noticeably less precise and crisp.

Acrylics
Many interesting projects can be realized using acrylic sheet, that just wouldn’t work with wood. However, not all acrylics can be cut with a diode laser. The 10W+ Endurance laser and all other diode lasers utilizing blue light can not cut through clear acrylic. The laser beam goes straight through without impacting the material. You would need a CO2 laser, which operates in the infrared spectrum, to cut clear acrylic. However, tinted and opaque acrylic can be cut with a diode laser quite easily.
How much power you need depends greatly on the transparency and color of the material. Sadly I don’t have a good selection available to test with, so my results only apply to red translucent acrylic. I imagine that most other dark acrylic will need similar power settings.
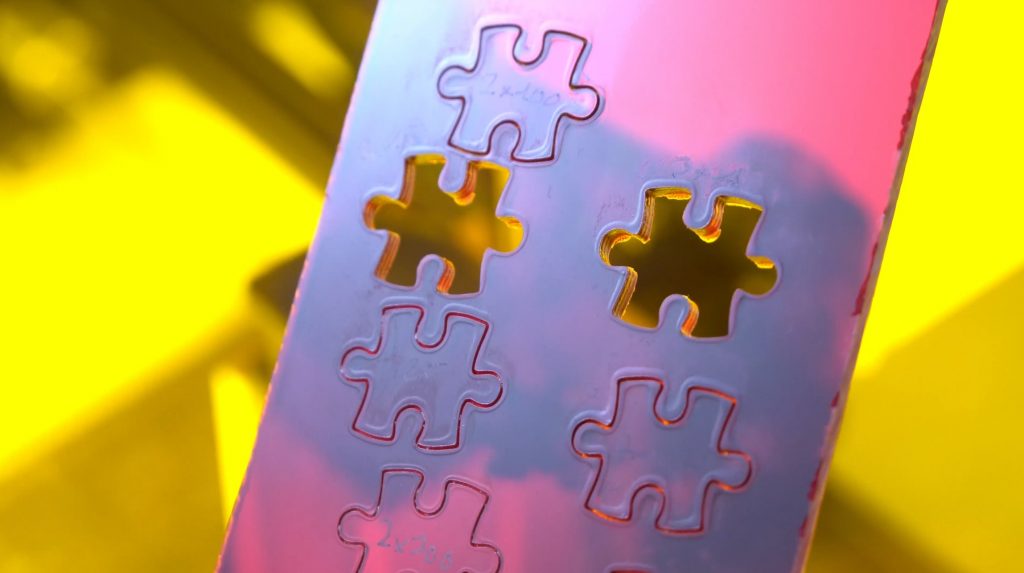
The speed I settled on for the 3mm dark red translucent acrylic I tested is 3 passes at 150mm/min. I found that if you go any slower, you heat the material around the cut too much and have it deform, leading you to cut the same thing multiple times. For that reason, I recommend to just do more passes. I also found that an air-assist will actually harm your cut quality as it creates strings of molten acrylic that don’t look very appealing. It also does not improve the cutting power, so I left it off for all tests.
Foam
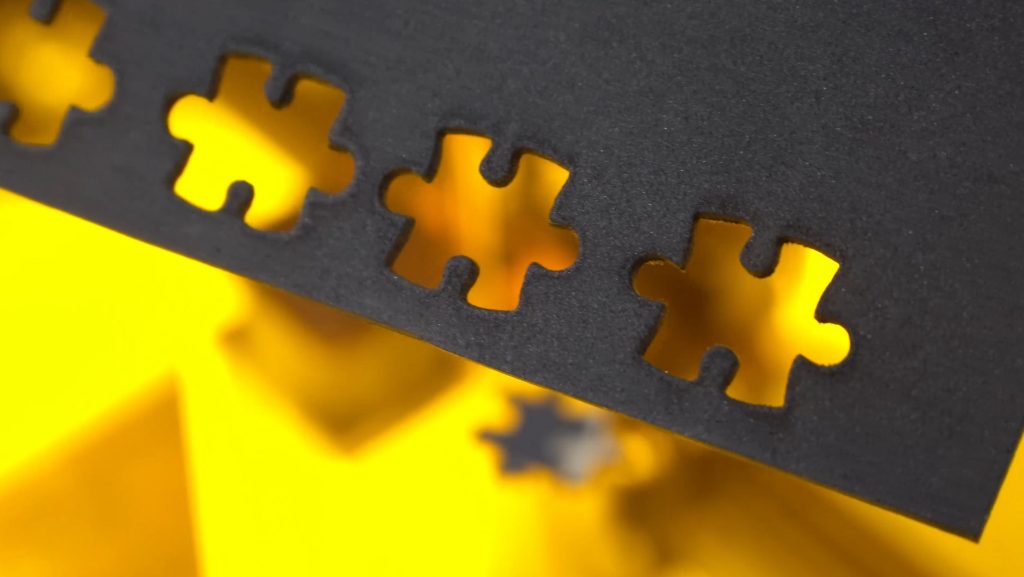
This is a great example of how much the color of your material can impact the required parameters. I was able to cut the roughly 1.5mm thick foam in black at 1000mm/min at 60% power. Attempting the same with white foam only left a small mark. To cut through the white foam I needed 2 passes at 300mm/min at full power, which is about an order of magnitude more power.
The reason for this is that the white foam diffuses and reflects the majority of the laser light, instead of absorbing it. You can also observe that the width of the cut in the white material is much greater than with the black foam. This is because the white foam spread the light over a greater area, only slowly melting it.
Printer Paper
Although printer paper is also white like the foam, it cuts much better. I ran at 1000mm/min at 60-100% power. It is worth noting though that with the same power I was able to cut through black paper that is almost twice as thick, proving that a lot of the light does get reflected.
Leather
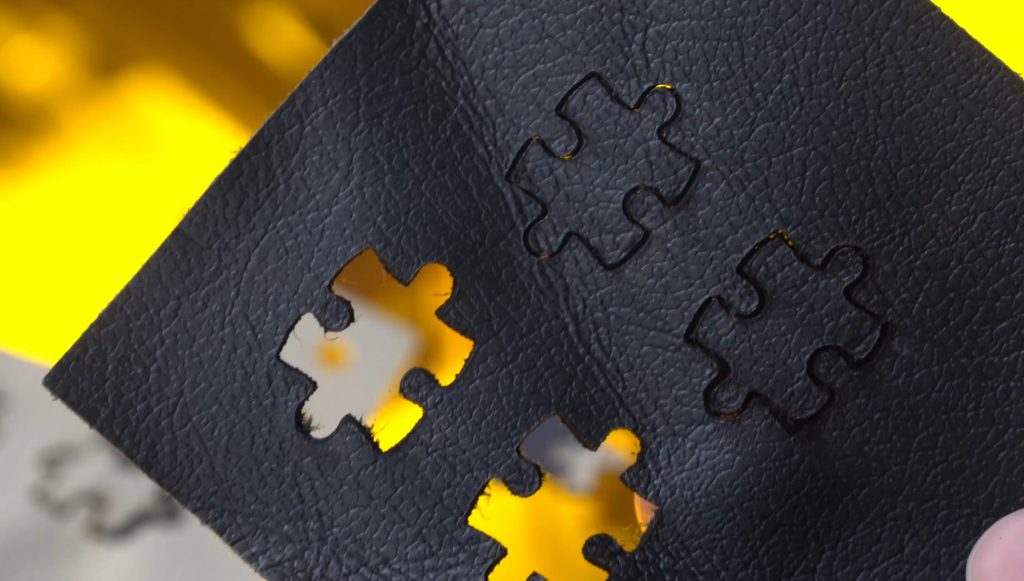
Opening a door to many interesting projects is the ability to cut leather. And surprisingly it is quite easy to do. The biggest challenge is not to heat the leather too much, which causes it to contract and mess up your piece. The solution to that is to do fairly quick passes and just more of them if need be. Depending on the thickness and color of your leather the settings will vary a bit, but I found that 3 passes at 500mm/min work quite well.
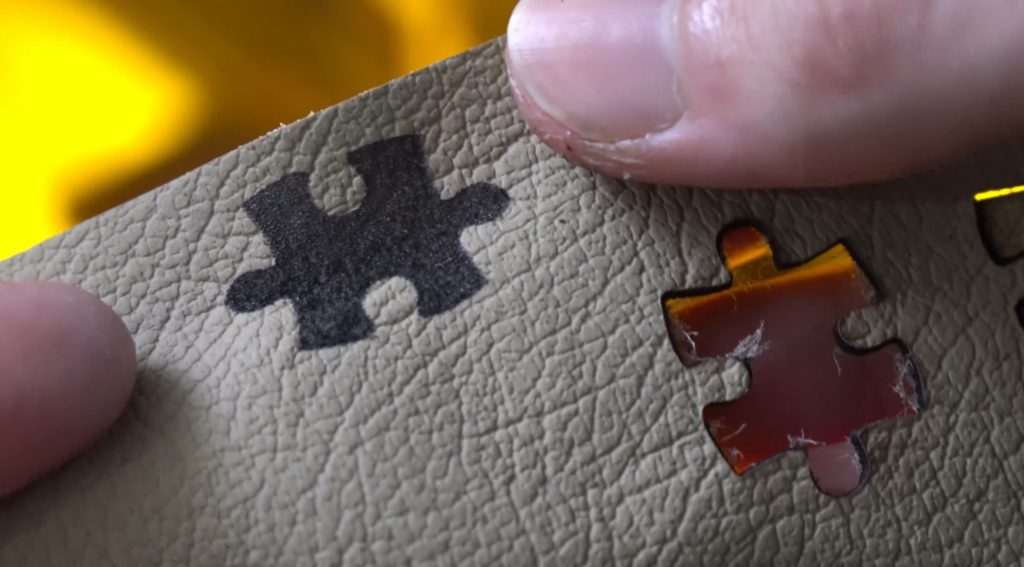
If you prefer to just mark on the leather, 1500mm/min at half power worked quite well, with a line spacing of 7 lines per Millimeter if you’re doing filled in work. If you want a darker image, you can either go over the same thing again or dop-down the speed, however, I wouldn’t go below 1000mm/min to avoid heating the leather too much.
Engraving Metal
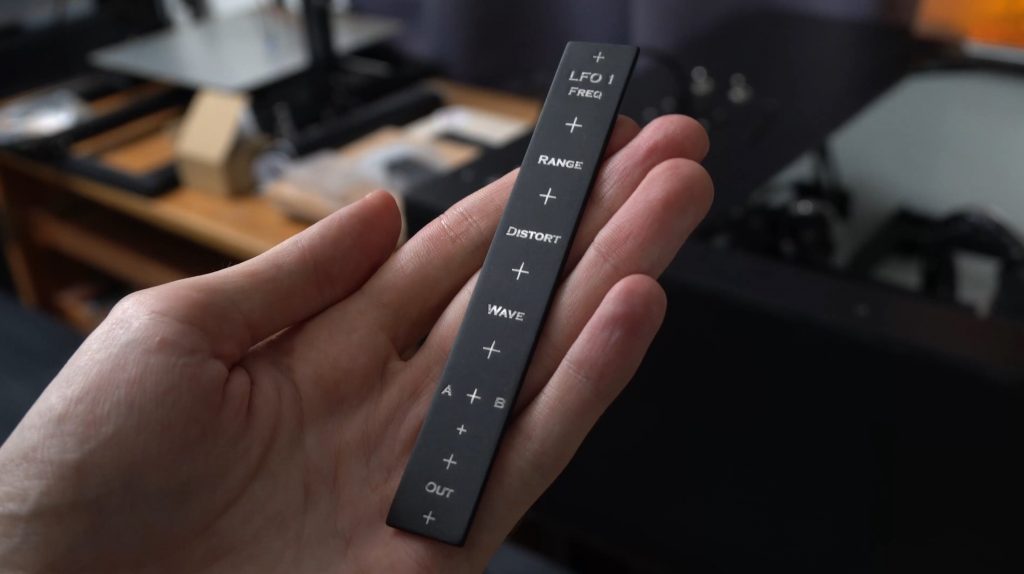
A great way to make your projects look very professional is to have high-quality markings on them. Be it a front-panel for an electronics project or any other application where you need something labeled, using a laser to do the markings makes it look like a production part.
The easiest way is to spraypaint your parts and then use the laser to remove part of the paint. This is how I do the front panels for my electronics projects, and at 2-300mm/min with a line-spacing of 10 lines/mm it is quite fast as well.
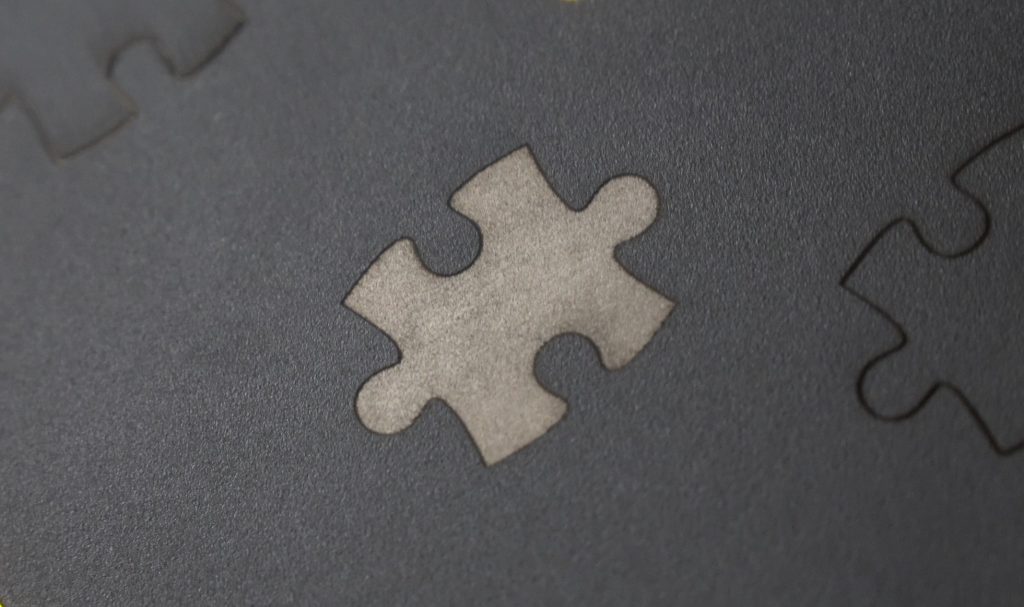
If you already have powder-coated parts, you can also use a laser to engrave on them quite easily. Depending on how thick the powder-coat is, you will have to adjust the speed a bit. I tested this with a panel of a 3D printer and settled on 100mm/min with 10 lines/mm. Or if you just want an outline, two passes at 100mm/min also worked well.
Conclusion
While there are, of course, many other materials that you can cut with a 10W+ Endurance laser, this selection is what I use the most in my DIY projects and what brings me back to the laser fairly frequently instead of using a 3D printer or CNC machine.
