
Everything you need to know about how to convert your 3D printer Creality Cr-10 into a laser cutter. A detailed guide.
Upgrading your Creality Cr-10 3D printer.
What changes are needed?!
I love my 10W Endurance Laser that I mounted to my CR-10. However, there are some things that I didn’t keep in mind when I first built the enclosure and air assist for it. This is why I decided to rebuild my setup to improve the usability and reliability of the laser.
Let’s get started!
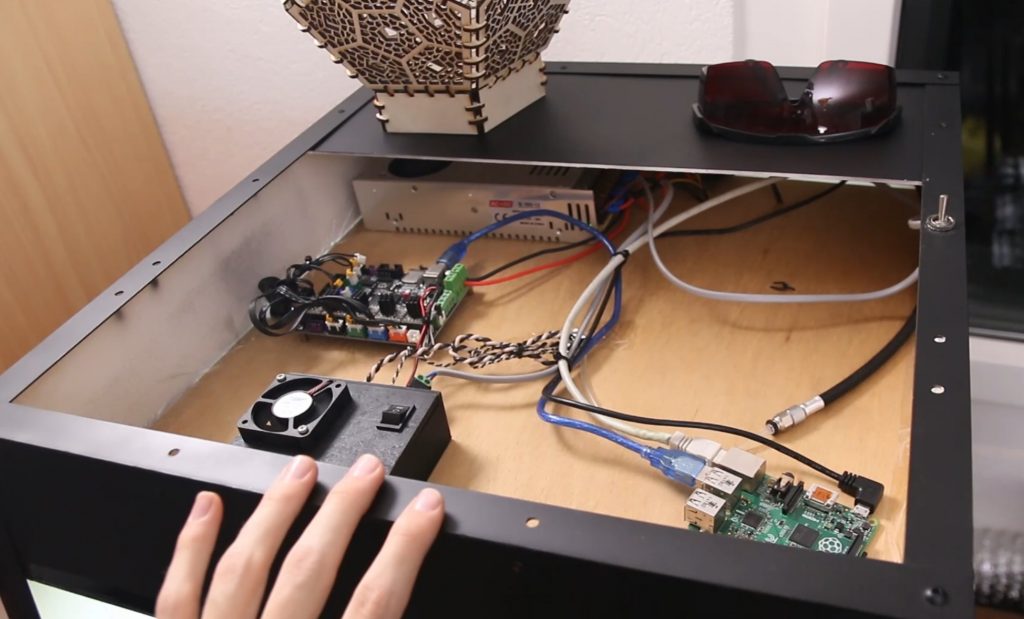
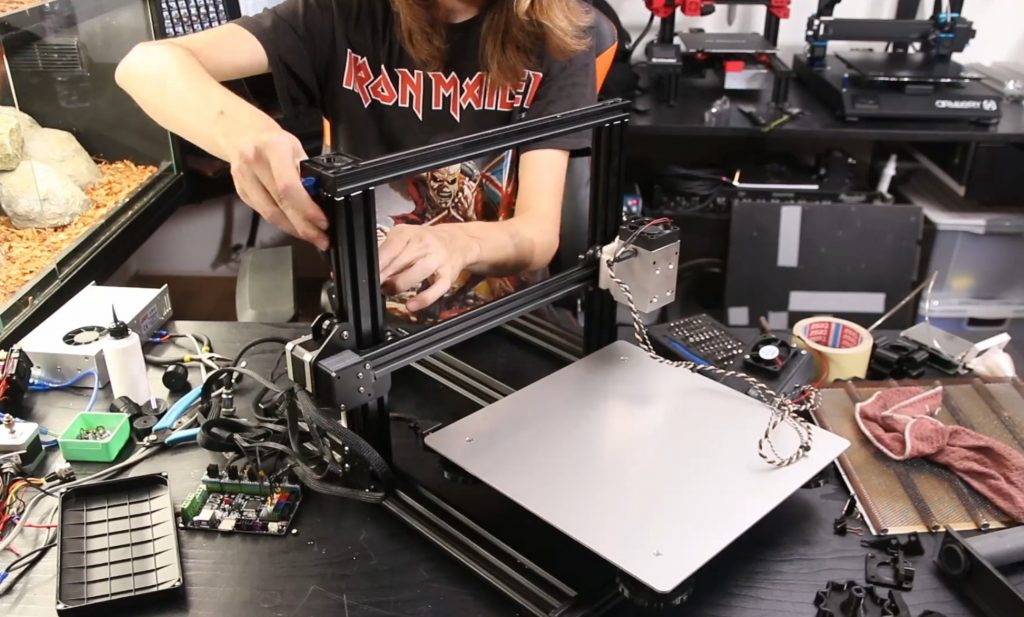
To start, I disassembled the laser almost entirely. I removed the enclosure, the electronics, and all the 3d printing related components. Originally I had intended for this machine to be dual purpose 3d printing and laser cutting, but it turned out that I never actually used the 3d printing functionality of it anymore, as I do have other printers as well. That’s why I decided to convert it to a laser only and make it a bit smaller. Because a laser doesn’t need 400mm of Z travel, I cut off 250mm of the Z-axis to shorten the overall height. This allowed me to move the electronics to the top and still make the enclosure a bit less tall.
Assembly. A detailed process description
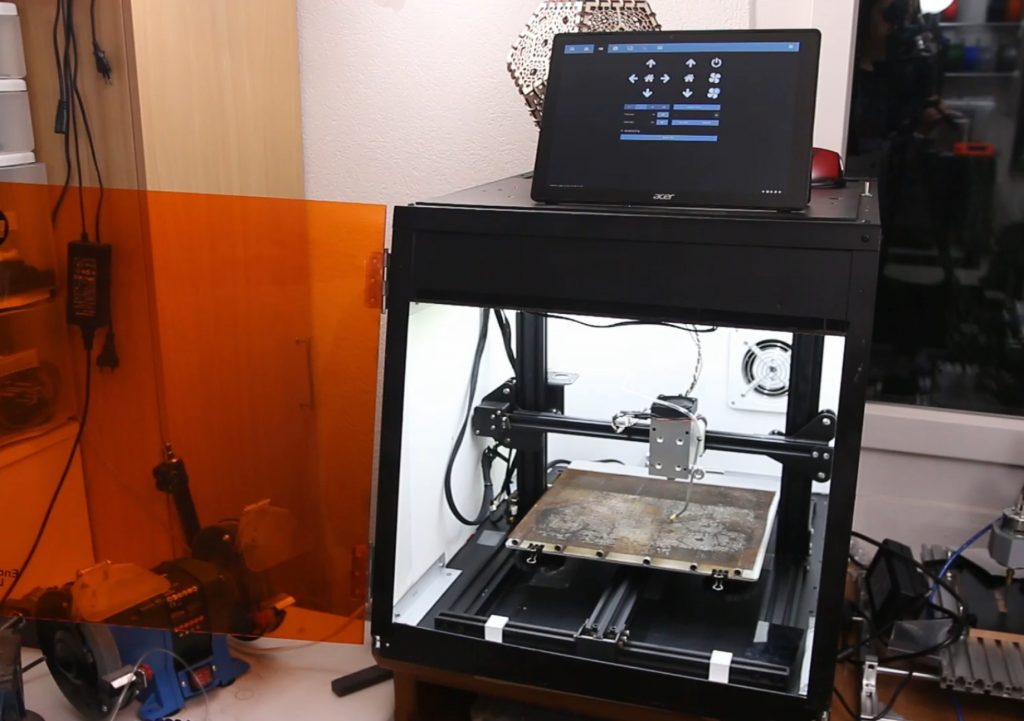
The next step was reassembling everything. This time, I chose to assemble the enclosure rigidly, not isolating it from the vibrations of the printer. The way I had it before caused the whole construction to be quite flimsy and didn’t do much in terms of noise reduction. After the frame and enclosure were assembled, I moved on to mounting all the electronics. They are now all conveniently accessible from the top, which will make testing with different options much more straightforward.
Air assist. Improving our laser abilities.
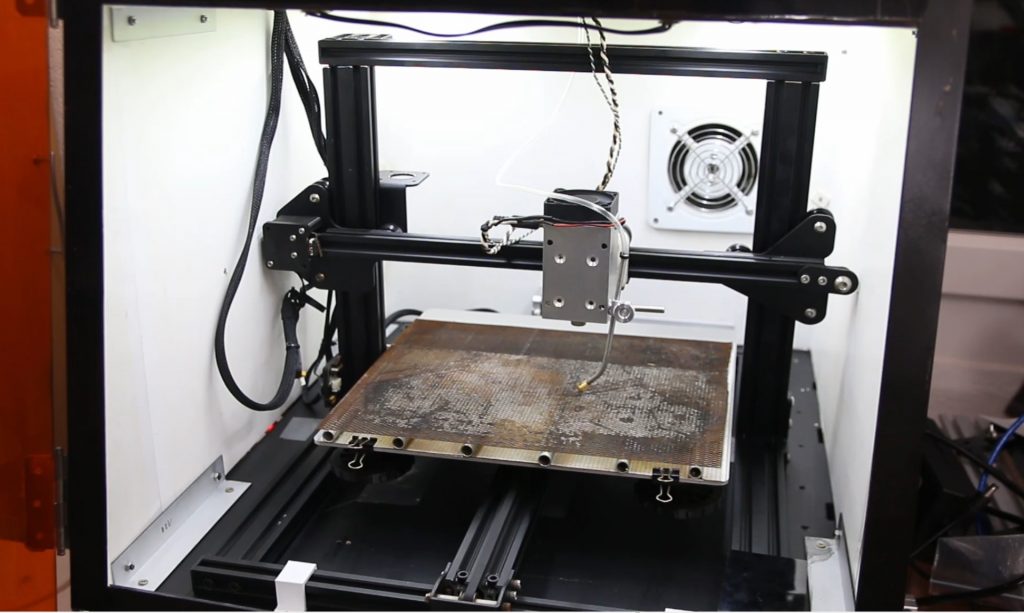
In my original design, I 3d printed an air assist nozzle that fits over the laser itself and directed the air right in the cut. This is great in theory, the problem was though, that I needed a hole in the top to fit the laser through and this is where most of the air escaped. This time I ditched this approach and instead borrowed the design that is included with the 10W+ Endurance laser, where you have an air hose on the side with a .2mm 3d printer nozzle focusing the air to get a directable high-pressure output. This also allowed me to use an almost silent airbrushing compressor, which makes it much more enjoyable to use, as the old compressor was extremely loud.
Conclusion. Enjoy your laser cutter!
Overall these small changes make the laser much more pleasant to use. The noise improvements with the air-assist will mean that I will actually use it instead of leaving it off because it is too loud. Moving the electronics to the top will make it super easy to install the 10W+ Endurance Laser that I have in the studio to test. Another neat side effect of moving the electronics is that the cable for the laser is no longer in the way of the Y-axis which makes the printer saver and more reliable. So I would say this upgrade was well worth it.
Getting started with Endurance diode lasers – focusing, settings, parameters, misc