Creation of a Stamp Using a DPSS (Endurance 10 Watt DPSSLaser Nd: YAG, 1064 nm, short focal lens – F = 30mm)

We continue to make various interesting things using a laser.
Today we will make a stamp with the Black Friday logo.
We need the following materials:
foam rubber for making stamps, an ink pad, and paper.
Steps of work -getting started
- We place a piece of foam rubber, 1.5 mm thick on the laser desktop and fix it around the edges with adhesive tape.


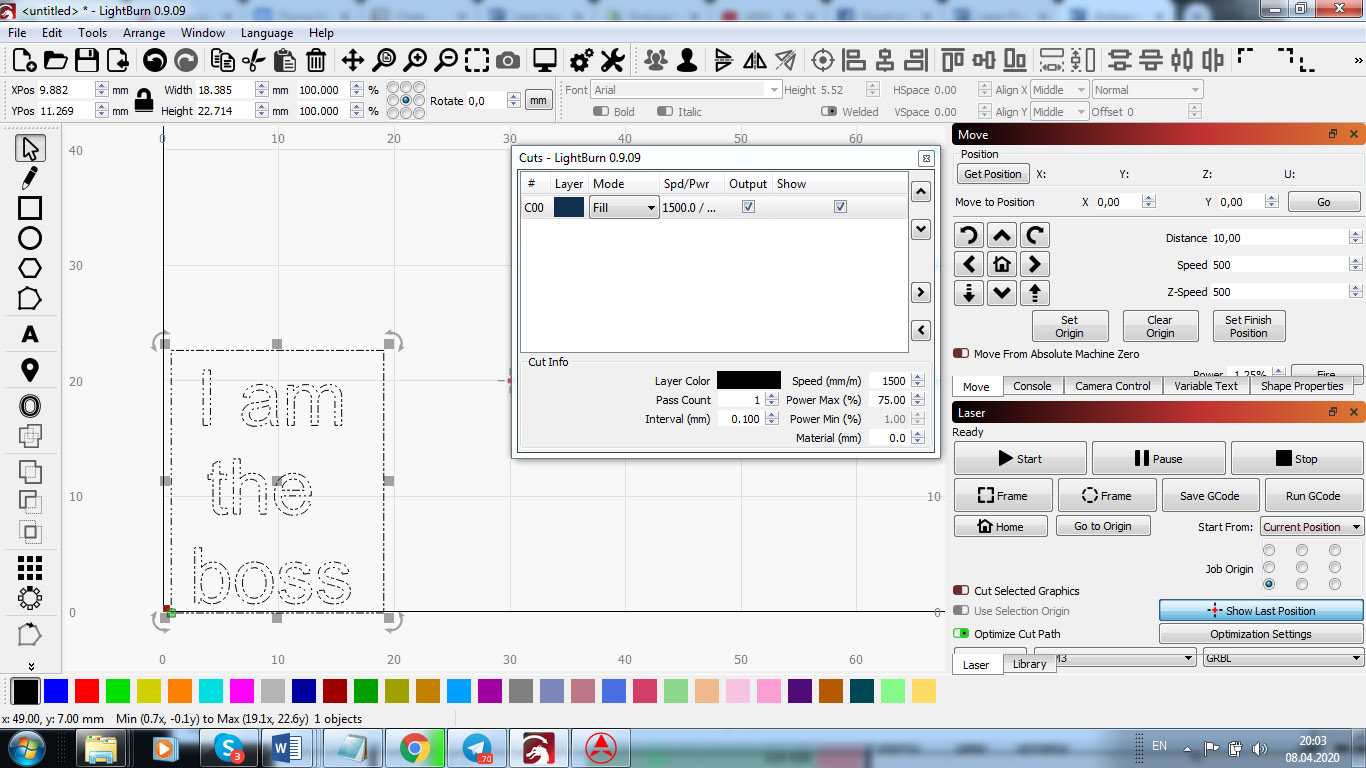
2. Then we open the file with the logo in LightBurn and adjust its size in accordance with the size of our workpiece. Using the tools of the program, we vertically mirror the image (it should be inverted) and select the following laser parameters: processing speed 1200mm / min, laser power 25%, interval 0.1mm, number of passes 1, focal point on the surface of the workpiece. 

3. Having selected the required settings, we start the laser. It takes us 25 minutes to make a stamp, 60mm x 47mm.


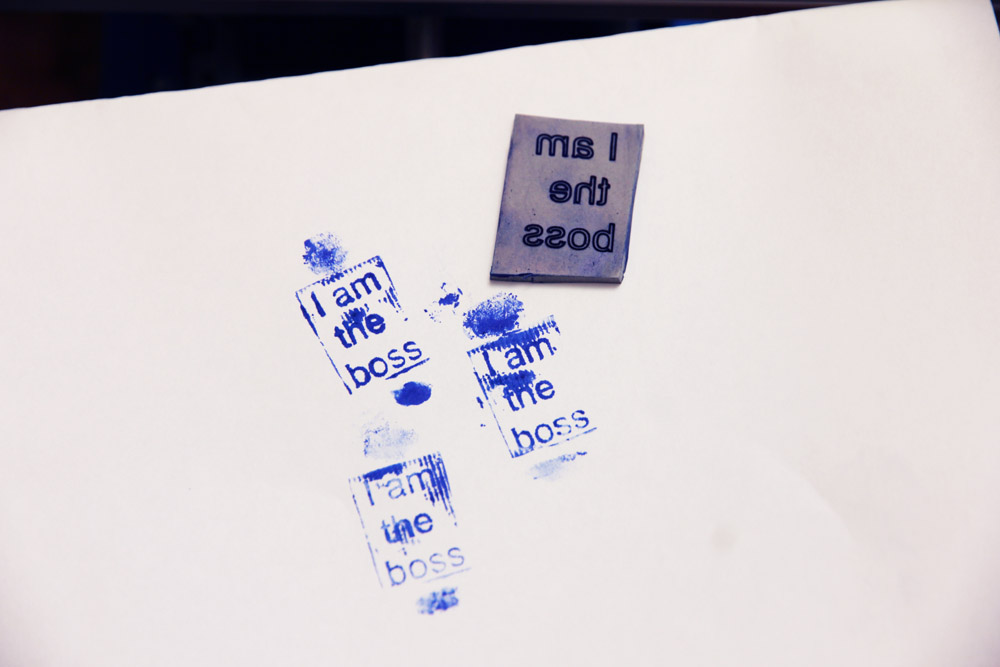
4. After engraving, we use the resulting item as a regular stamp to make imprints on paper. We apply the processed surface of the stamp to an ink pad, then press it against a sheet of paper. You see the result in the photo.


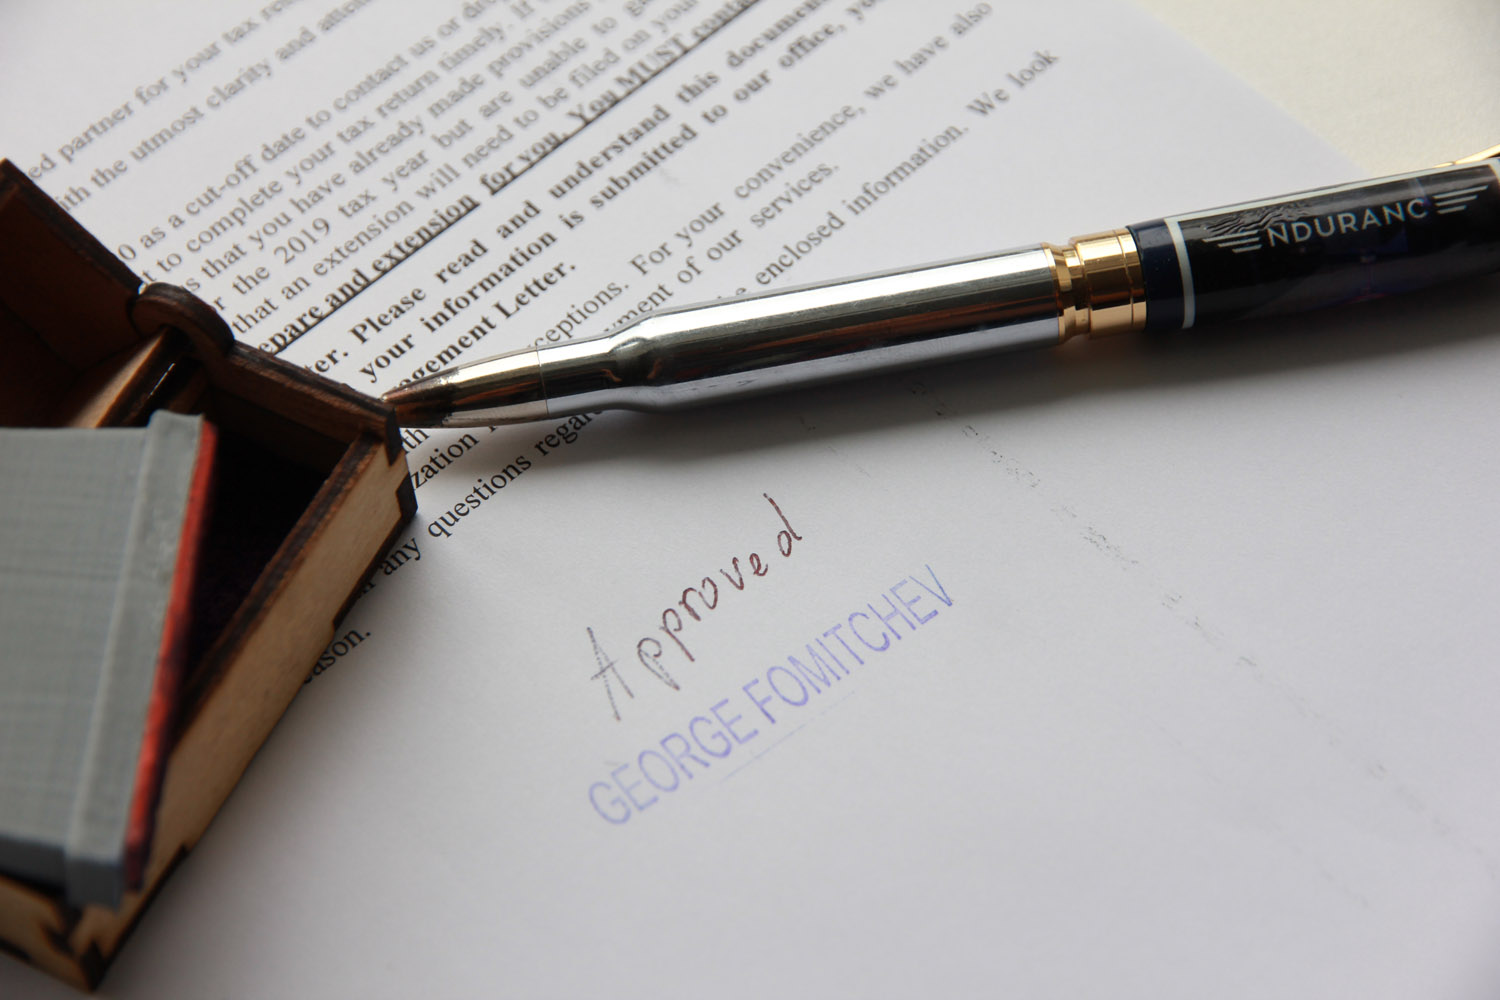
Now, it is very easy to make your own stamp or a seal with an Endurance laser.
Start your own business by making stamps and seals.
Make a seal and a stamp with the laser – a detailed video lesson
Very quick and easy.

First, you need rubber to laser engrave. Something like on ebay >>>

All the rest you will get with an Endurance 10-watt laser package including black focusing plate and silicone gloves.

A full video guide of how to make your own DIY stamp with a laser and a 3D printer!
Read another article
