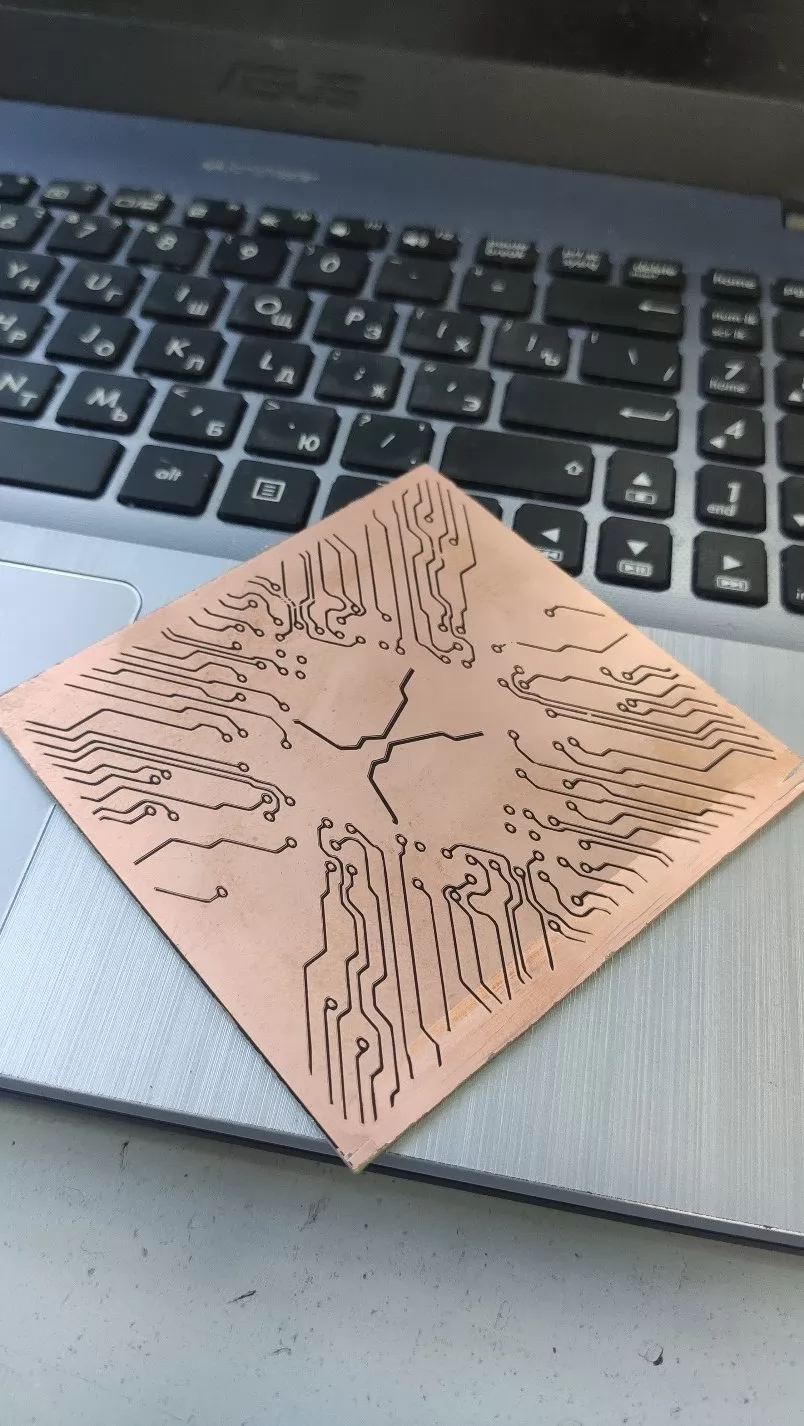
Experimental Engraving of Conductive Tracks on Copper-Plated Textolite with a 30W Fiber Optic RAYCUS Laser and a Galvoscanner
Step 1. Preparation
Task: To engrave a printed circuit board as accurately as possible for subsequent etching with iron chloride.
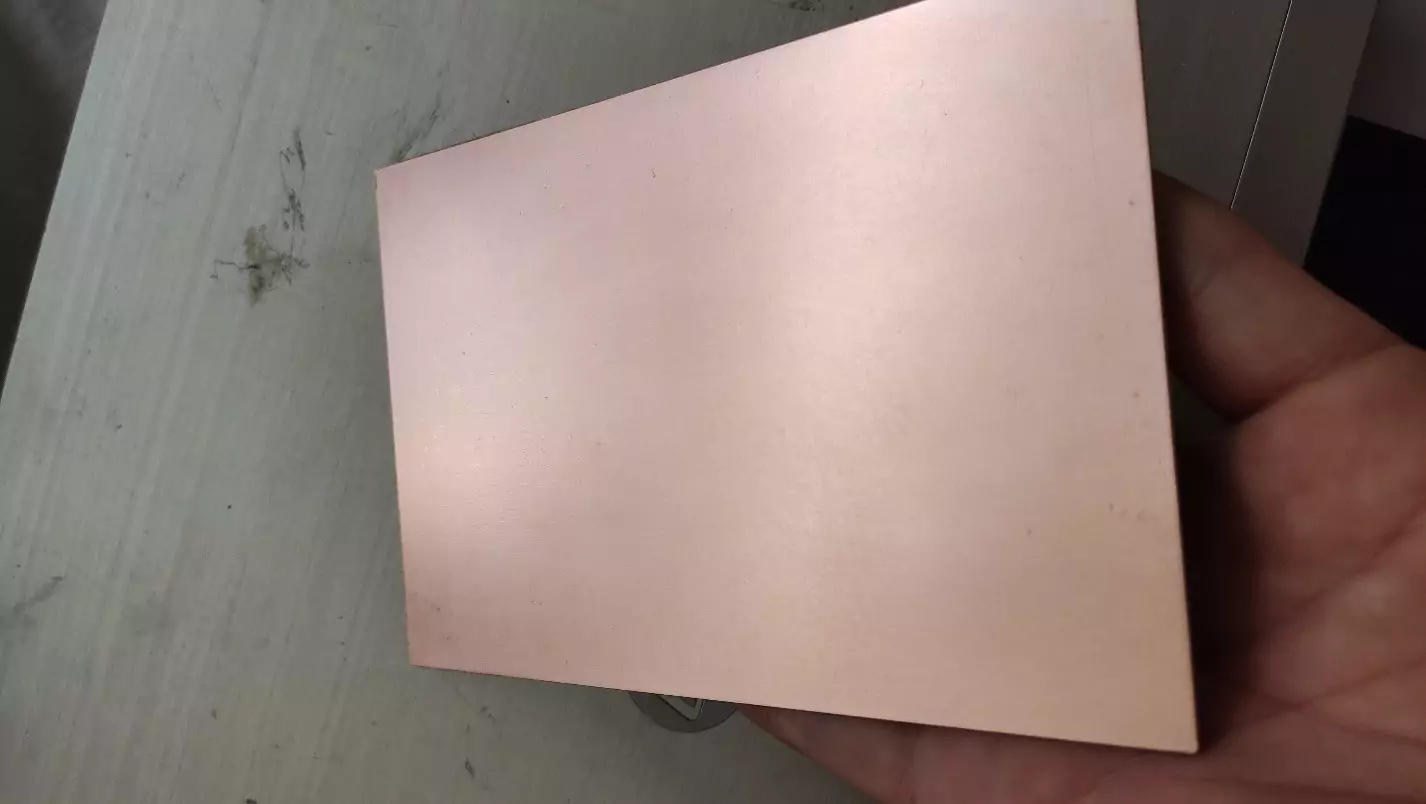
We will use a textolite plate with one side coated with copper.
First of all, we degrease the metal surface of the workpiece and black paint it.
After drying the paint we put the plate on the worktable. 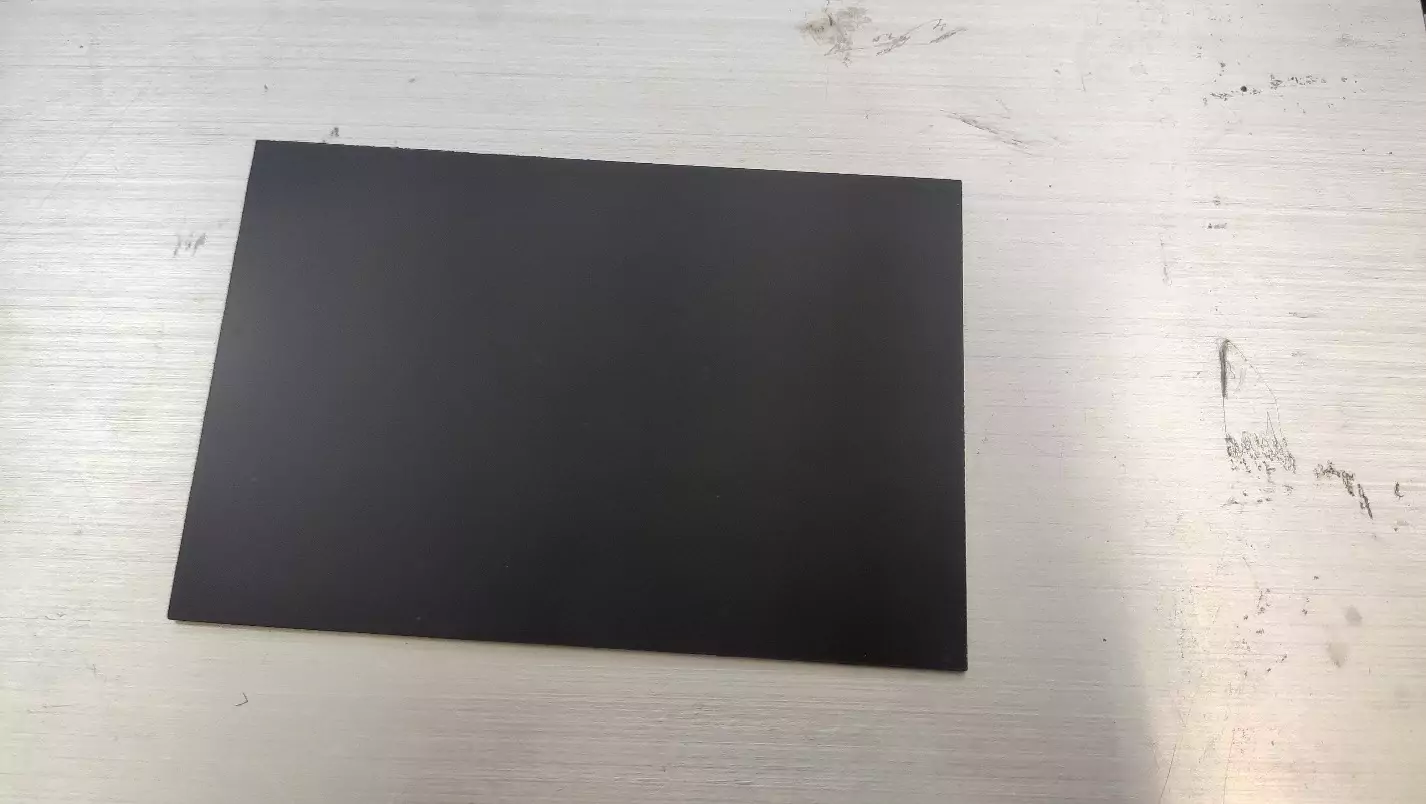
Step 2. Software
We work in CoralDraw. We find the circuit board, we are interested in, on the Internet. For more convenience we convert the raster image into a vector one using outline tracing. 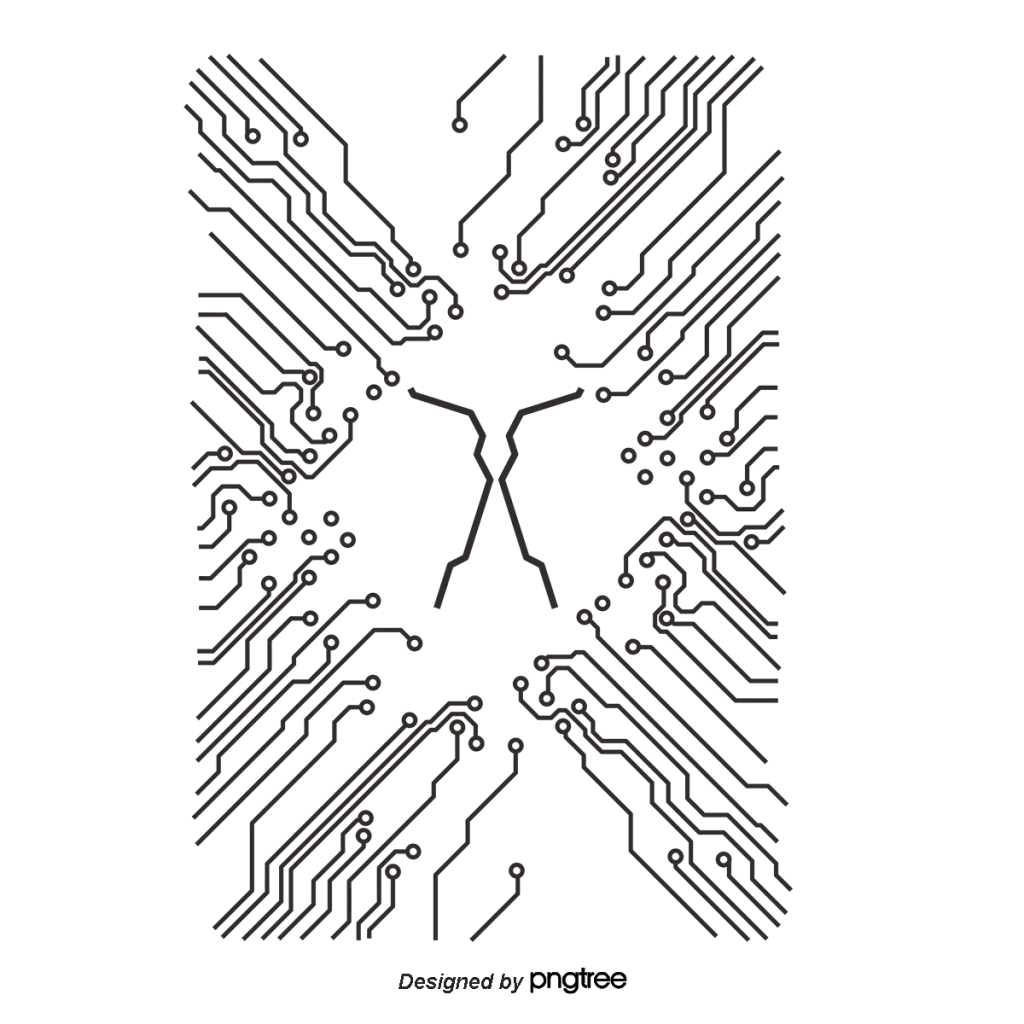
We need to burn out the paint outside of the conductive tracks. With this in mind, we invert the image excluding it from the rectangle.
Step. 3 EzCad parameters and settings
We save it as a .plt file, run isicad and import the file into isicad. We set the mark-making with a line frequency of 0.03 mm and start the laser.
The operating mode 1200 mm/s, power 28%. In this mode the laser burns the paint in those areas where copper will dissolve later on.
This is what we have as a result.
Step 4. Etching
Now we place the workpiece into ferric chloride solution 3.

The etching process may take from 5 to 60 minutes. It depends on the etching solution. In our case, it took us 12 minutes.
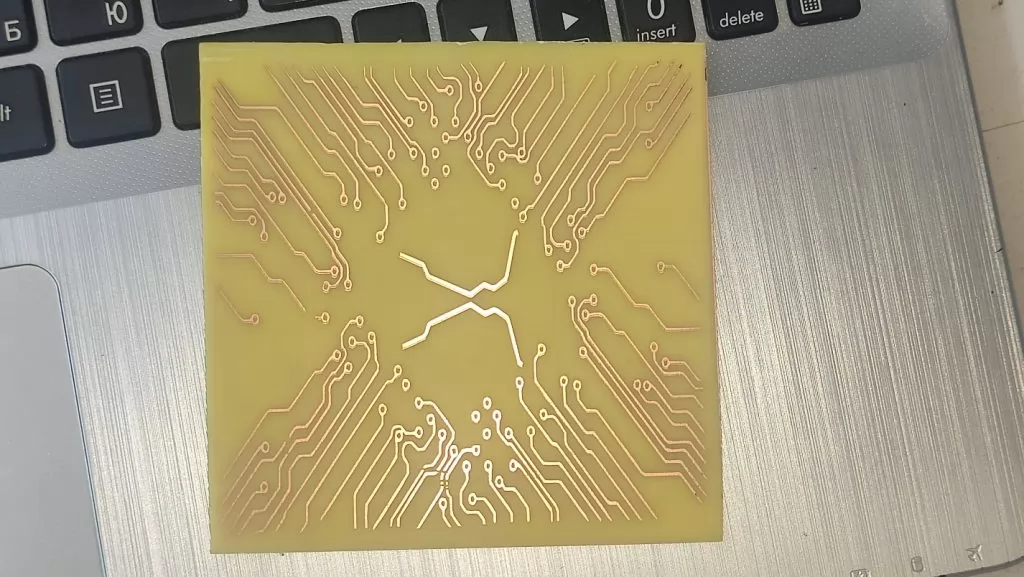
Here is a final result after etching and paint rinsing with isopropanol.
Enjoy the result – a DIY PCB made using 30 watt Raycus fiber laser
Watch a detailed video guide!
