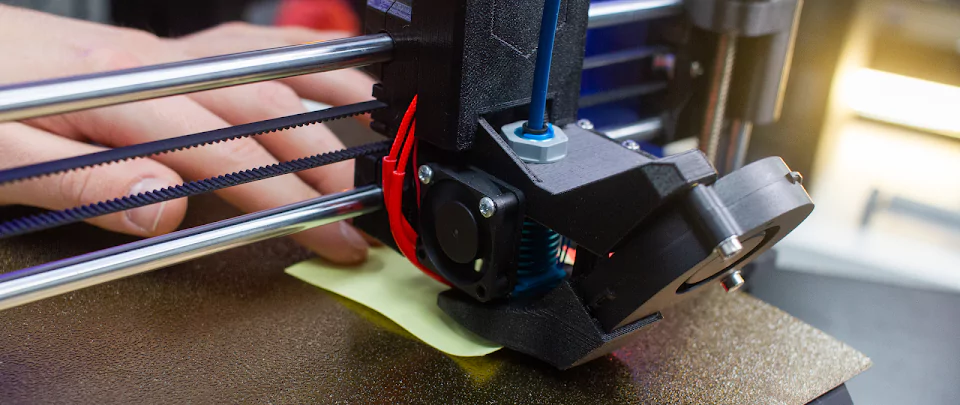
If you’re having trouble getting your 3D prints to stick to the bed, or if they’re coming out with poor detail and quality, it may be because your printer isn’t properly leveled. In this article, we’ll show you how to level your printer bed using a few simple tools and techniques. We’ll also go over the requirements for bed leveling and calibration, which is another important step in achieving the best printing results. Don’t let poor print quality frustrate you – follow these tips and you’ll be on your way to perfect prints!
When Do You Need To Level a 3D Printer Bed?
- Before you do the first print or after assembly of the printer.
- After you’ve changed the nozzle.
- Do it at least once a week. This is because even the best 3D printers can have issues.
- When a print has failed.
What You Need to Level Your 3D Printer Bed & When calibration is Needed
There are a few different tools that you can use to level your 3D printer bed, they include:
- Your 3D Printer: In this article, we will be using Ender 3 printer to learn how to level the bed and do the calibration.
- Piece of Paper: It’s useful in gauging the distance between the print bed and the nozzle.
- Paper Towel: You will use this for cleaning the bed.
- Isopropyl Alcohol: Useful in cleaning the bed before you begin leveling.
- Slicer App: This is helpful in slicing your prints.
- Filament: You will load a filament to your 3D printer in order to print a test print.
- Feeler gauge: Useful in measuring points.
- Laser Level: Useful for aligning and leveling.
- Digital Calipers: Used for verifying if the bed is properly leveled.
Types of Bed Leveling Techniques
There are two popular methods for bed leveling: automatic and manual. Each has its own advantages and disadvantages, so it’s important to choose the right method for your needs.
Automatic bed leveling is faster and easier than manual leveling, but it can be less accurate. Manual bed leveling is more time-consuming, but it can give you more control over the final results.
Here’s a quick overview of each method:
Automatic Bed Leveling:
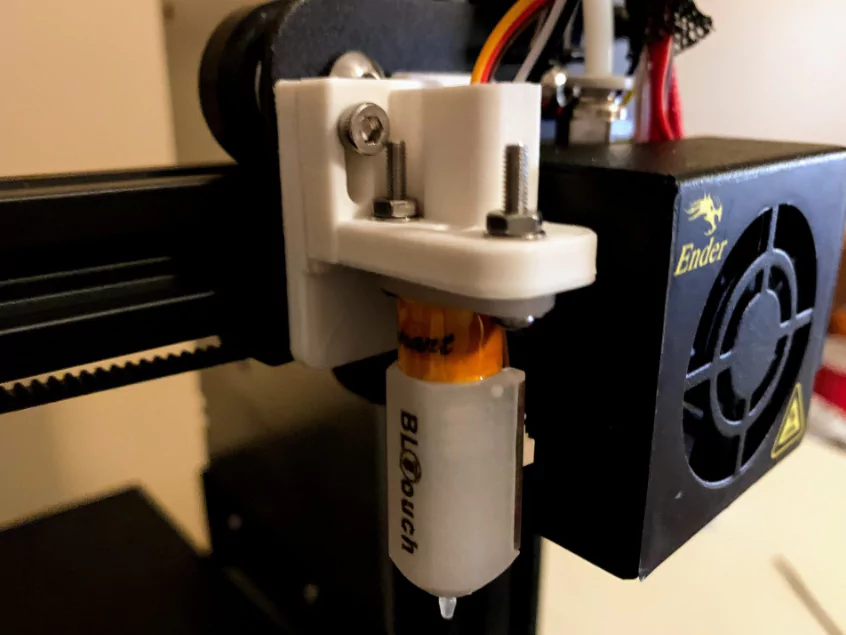
BLTouch autobed leveler for Ender 3
Automatic bed leveling is a process that’s typically used in 3D printing. The printer uses sensors like BLTouch to detect the level of the print bed, and then adjusts the Z-axis height accordingly. This ensures that the build area is always level, which is important for achieving consistent results. There are several different methods for automatic bed leveling, but they all share the same basic goal: to make sure that the build area is perfectly level.
One popular method is using an inductive sensor. This type of sensor uses a magnetic field to detect the level of the print bed. It will then emit a signal when it comes into contact with metal, which can be used to determine the height of the bed. Inductive sensors are often used in 3D printers because they’re relatively cheap and easy to use.
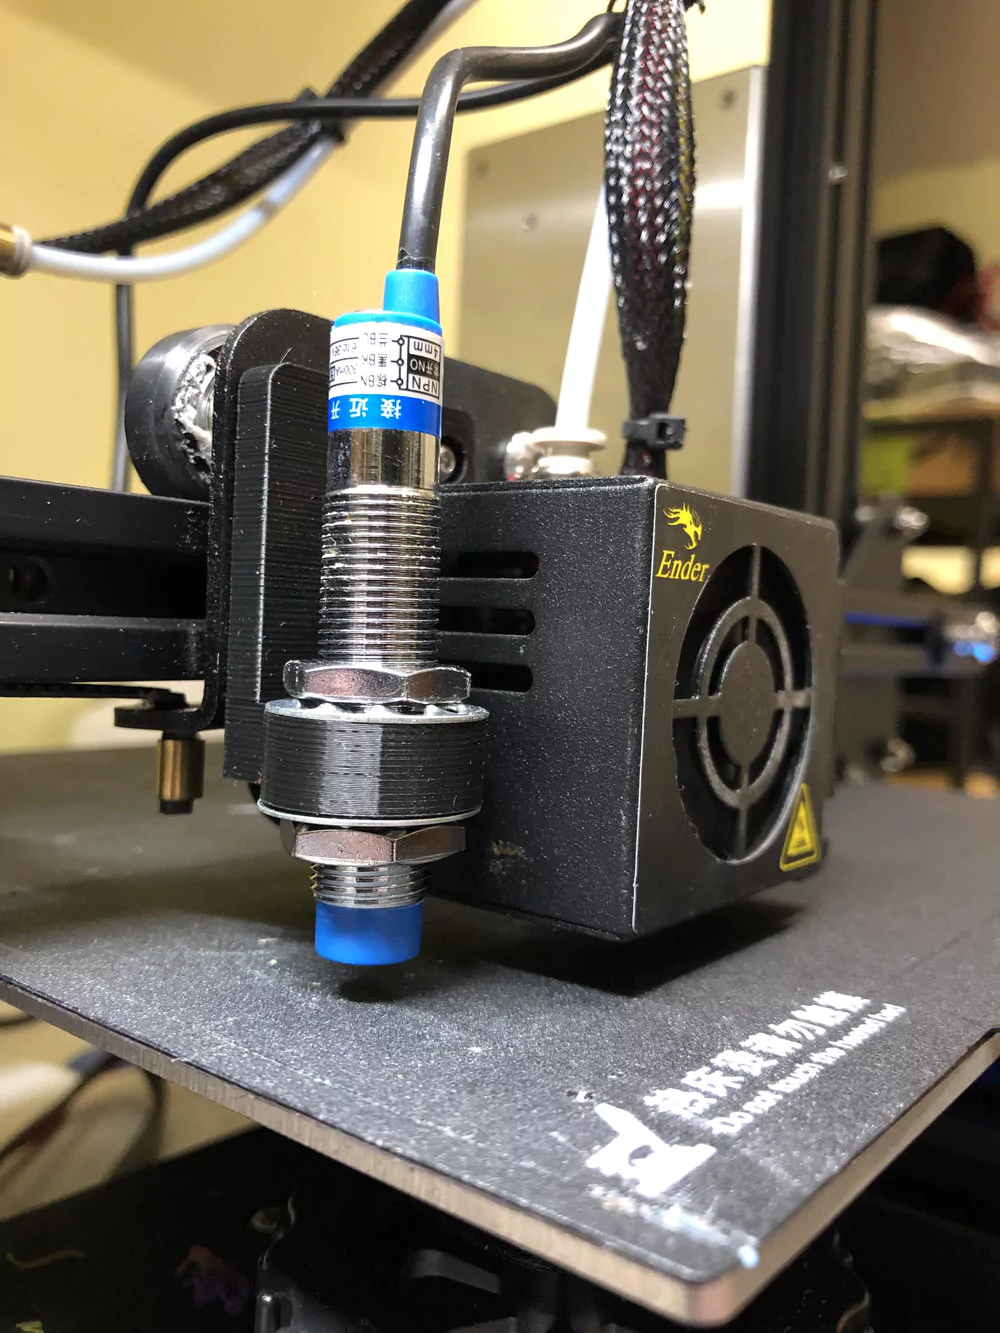
Inductive sensors mounted on Ender 3: Image source:metd.me
Another common method for automatic bed leveling is using a capacitive sensor. This type of sensor uses an electric field to detect the level of the print bed. Capacitive sensors are more expensive than inductive sensors, but they’re also more accurate.
There are other methods, but these two are the most common. No matter which method you use, the goal is always the same: to make sure that your print bed is perfectly level.
Pros:
- Faster and easier than manual leveling
- Can be used with most 3D printers
- No need to make manual adjustments
- Can be adjusted on the fly if needed
Cons:
- Less accurate than manual leveling
- Can be more expensive
- Requires a level bed to start with
Manual Bed Leveling:
There are a few different ways to level a 3D printer bed, but manual bed leveling is generally the most accurate method. This involves slowly adjusting each of the bed’s leveling screws until the bed is level in all directions.
Some 3D printers have an automatic bed leveling feature that does this for you, but it’s not always as accurate as doing it manually.
Here’s a step-by-step guide to manual bed leveling:
The process begins by heating up the 3D printer’s build platform to the temperature required for your material. This will expand the build platform slightly, so it’s important to level the bed while it’s at this temperature. Then a sheet of paper can then be used. This is described below where we show how to level the bed of Ender 3 using a paper.
Pros:
- More accurate than automatic leveling
- Gives you more control over the final results
- No need for a level bed to start with
Cons:
- Time-consuming
- Requires more experience and knowledge
- It may require special tools or equipment
Having looked at the two types of techniques for 3D printer bed leveling, let’s now have a look at the general process of bed leveling using some of the tools suggested above.
General Process of Bed Leveling
If you’re using a feeler gauge, start by placing the blade of the gauge between the build plate and the extruder nozzle. Adjust the screws until the blade is snug but not too tight. Repeat this process at each of your reference points until the entire build plate is level.
If you’re using a laser level, place the device on one side of the build plate and shine the beam across to the other side. Adjust the leveling screws until the beam is perfectly level. Repeat this process at each of your reference points.
If you’re using digital calipers, measure from the edge of the platform to various points on the build plate. Adjust the leveling screws until the caliper reads the same distance at each reference point.
Let’s now have a look at a real-life example by leveling an Ender 3 using a piece of paper.
How to Actually Level Bed on Your Ender 3 with a Piece of Paper
There are a few steps you need to follow to achieve this.
- First, make sure that the print head is placed in the center of the build plate as shown below.
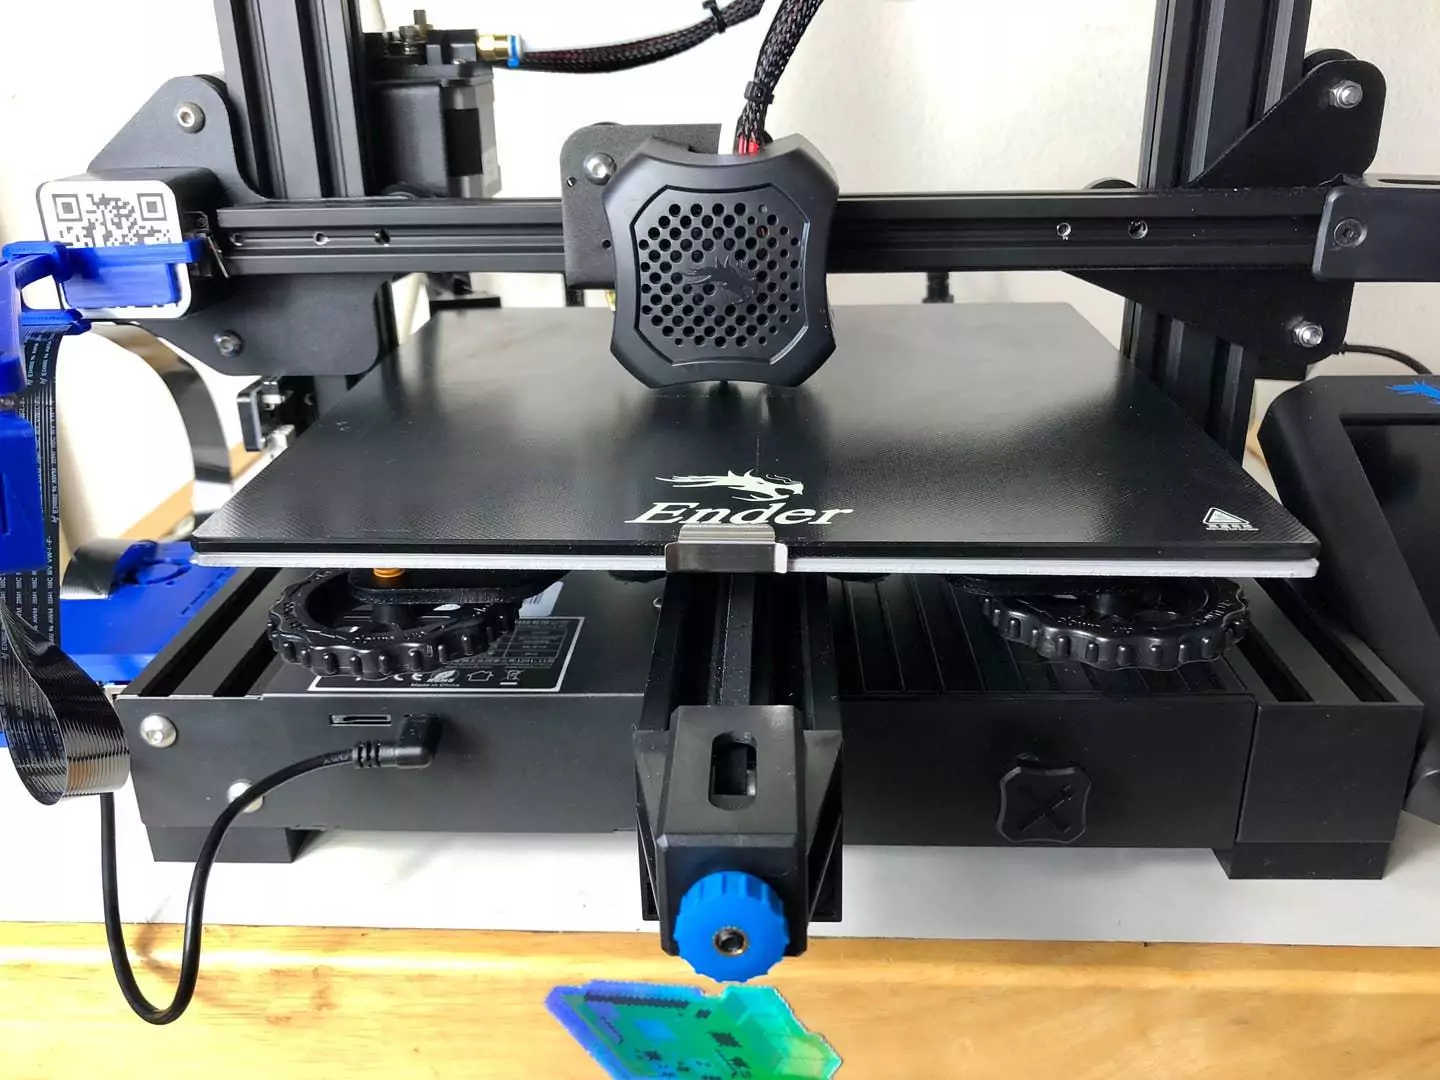
- Then, take a sheet of paper and place it underneath the nozzle. Slowly lower the paper until it just barely comes into contact with the nozzle.
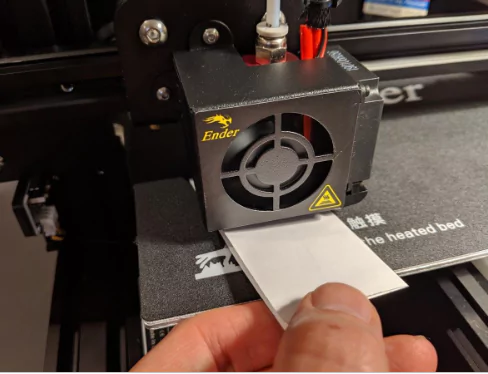
- Once the paper is in place, you can begin leveling the bed. To do this, move the z-axis adjustment knob until the paper feels snug between the nozzle and the bed.
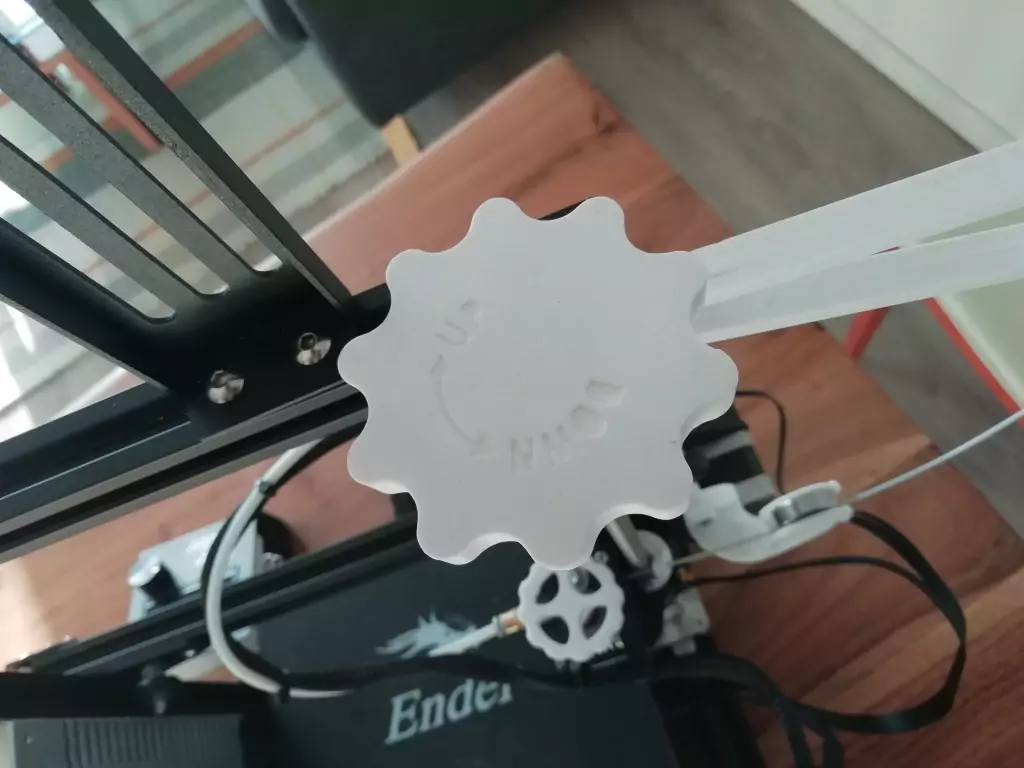
Z adjustment knob of ender 3 that you will adjust
- Once you have found the correct setting, you should be able to slide the paperback and forth with very little resistance.
- You can repeat the same procedure with the corners of the bed adjusting the knob.
- You will know that everything is well set when you will feel slight tension or vibration in the paper.
Testing Results: How to Check if the Bed is Well Leveled
If you’ve just leveled your 3D printer’s build plate, it’s a good idea to test it to make sure the table is flat. Here are some examples of how you can do this:
1. Use a Test Print:
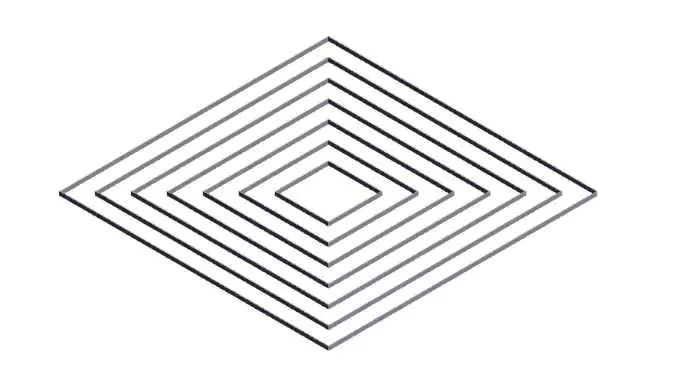
You can download the test model on Thangs. Once you download the files, run the G-code on your 3D printer and select the test print as shown below (It will be named “CHEP_bed_level_print.gcode”
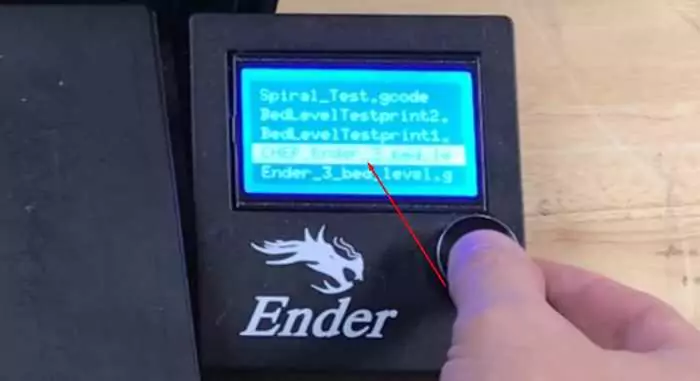
As it moves, you will then adjust each corner using a paper under the nozzle until you are not able to move it again as shown below.
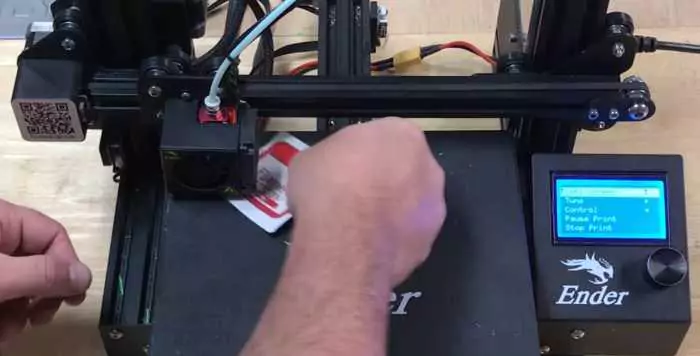
You will repeat that step in each of the corners. After you are done with the corners and press the button, the extruder will move to the center. You again insert the paper.
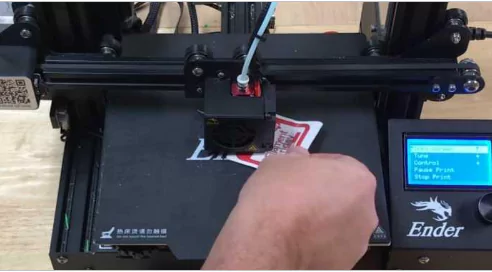
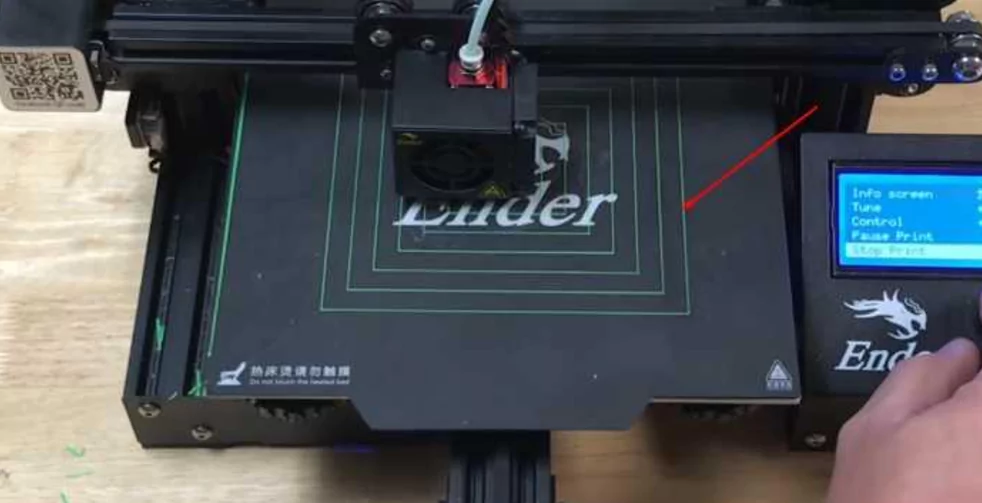
Once everything is well set, you will now print the model. If it prints successfully as shown below. It will mean that the bed was leveled properly, if not you will need to readjust it.
You can also test using a 3D Benchy and it will help determine if everything is well set up.
2. Use a digital level or an angle finder to check the surface of your build plate.
In this test, you can use a digital level or an angle finder to check the surface of your build plate. If it’s not perfectly level, you may want to adjust your 3D printer’s leveling screws until it is.
3. Place a sheet of paper on your build plate and attempt to slide it around.
If the paper slides around easily, then your build plate is probably level. If it doesn’t move at all or if it tears, then you may need to adjust your leveling screws.
4. Use a feeler gauge to measure the gap between your build plate and the extruder nozzle.
If the gap is too large, your 3D printer may not be able to extrude plastic evenly and your prints may be of poor quality. If the gap is too small, your extruder nozzle may become clogged. The ideal gap is between 0.2 mm and 0.3 mm. You can also use a piece of tape to mark the location of your extruder nozzle be using a piece of tape to mark the location of your extruder nozzle on the build plate. We can use this marker to make sure that our extruder is moving in a straight line.
6. Use your tape measure to measure the distance between the end of the filament and the front-left corner of the build plate.
The distance should be 100 mm. If it’s not, then your extruder is not moving in a straight line and you’ll need to adjust your 3D printer’s X-axis or Y-axis.
If you have performed a bed leveling procedure, it is important to check the results to ensure that the bed is indeed flat.
If you have performed a bed leveling procedure and your bed is still not level, you will need to perform the bed leveling procedure again.
Once your bed is level, you’ll need to calibrate it to ensure that your prints are of the highest quality.
General Process of 3D Printer Calibration
To do this, you’ll need to move the Z axis up and down until the nozzle just barely touches the piece of paper when laid across the hot end of the extruder. Calibration can also be done in your printer’s firmware settings.
It’s important to regularly check and adjust your 3D printer bed to ensure that your prints are coming out as intended. By taking the time to do leveling and calibration of your machine, you’ll be able to produce consistent, high-quality results.
Conclusion
In order to produce high-quality prints, it is important that your 3D printer is leveled and calibrated well. We have discussed both of these and you can follow these strategies to ensure that your prints are always successful.
