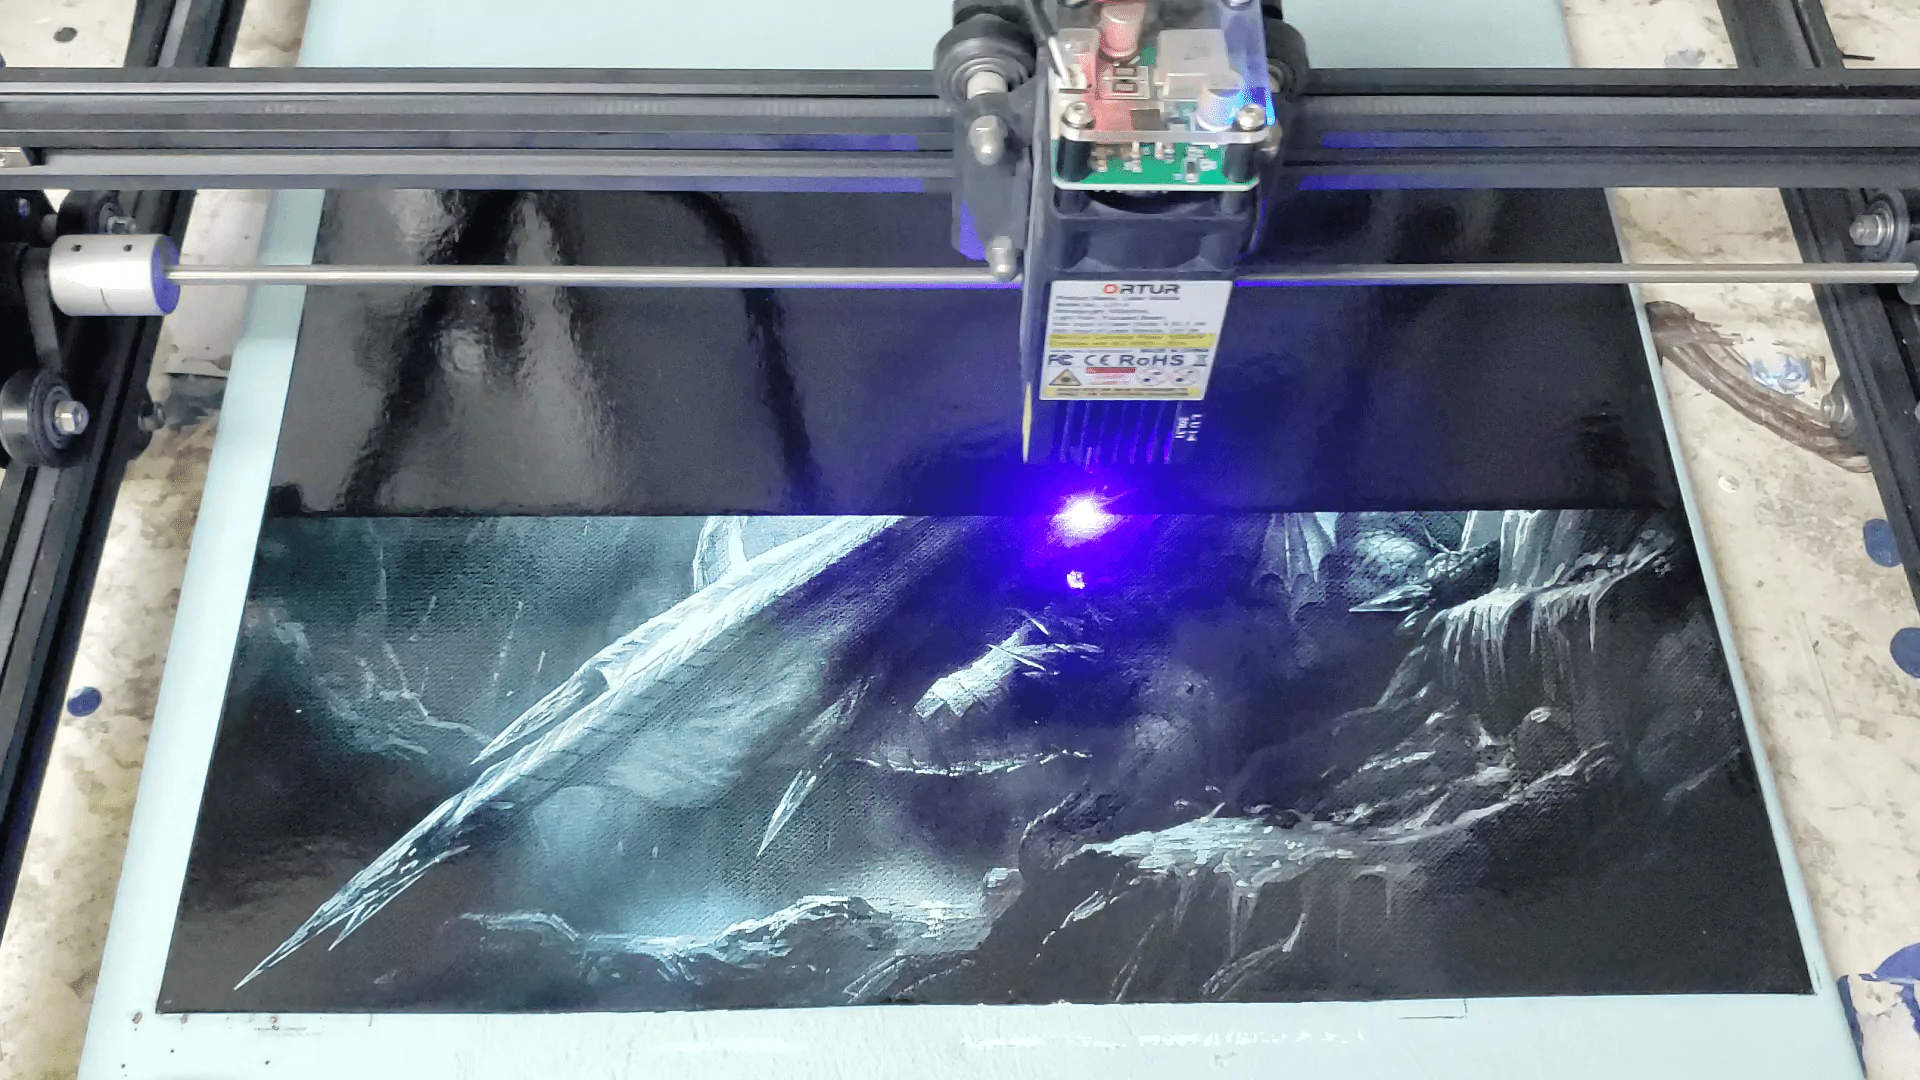
Hello everyone! Today I will describe the process I use to make laser paintings. This is one of my favorite projects. Desktop lasers are so versatile in the many different ways that people use them. For this project, I used the Ortur Laser Maser 2 (non-pro) 20w Fixed Focus. The medium is 11” x 15” ( 27.94 cm x 38.1 cm) 140-pound watercolor paper. I used Rust-oleum 2X spray paint (acrylic). The colors are Gloss White, Gloss Ocean Mist, Gloss Winter Gray, Gloss Navy Blue, and Gloss Black.
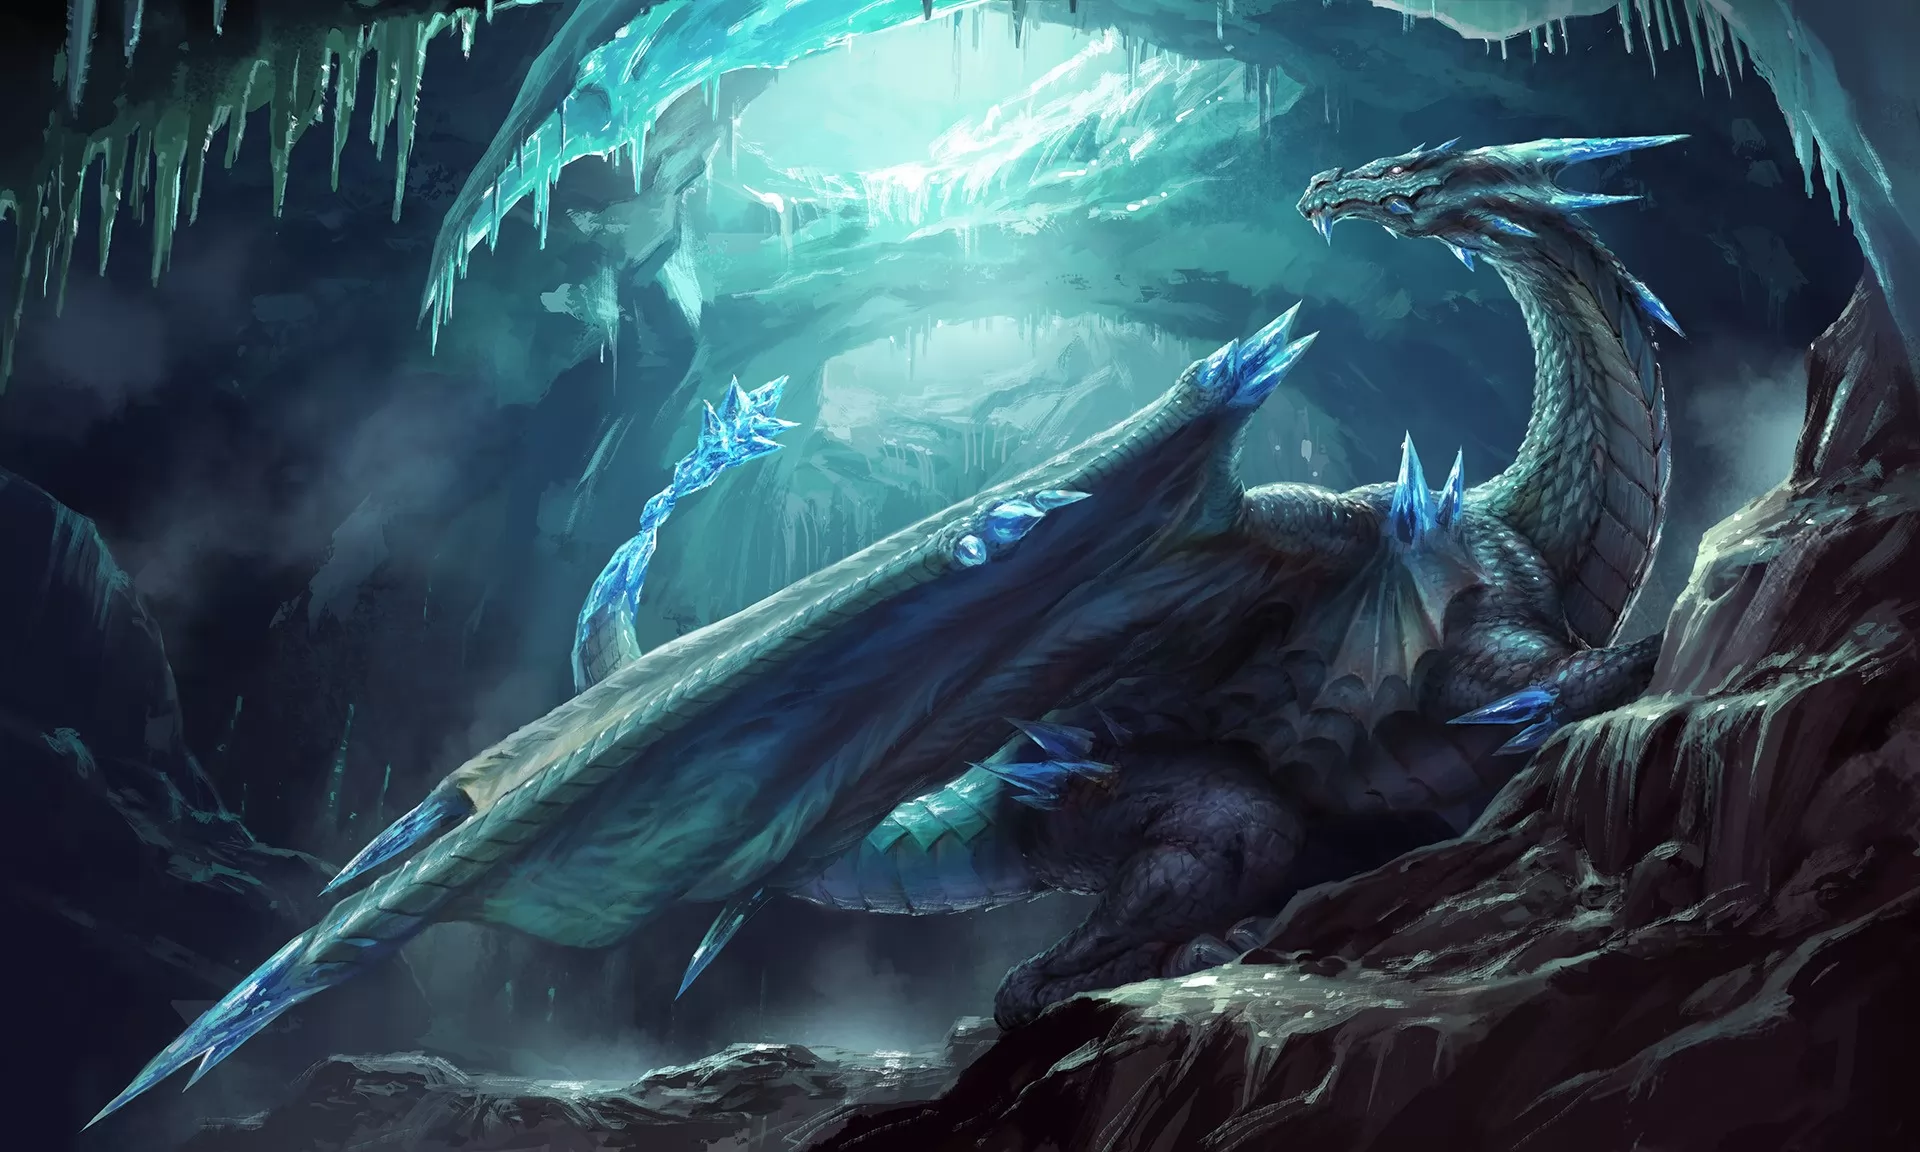
First, I chose an image from Google Images. I chose “Ice Dragon Illustration” by Galan Pang and processed the image in GIMP. I inverted the image and adjusted the brightness and contrast and saved it.
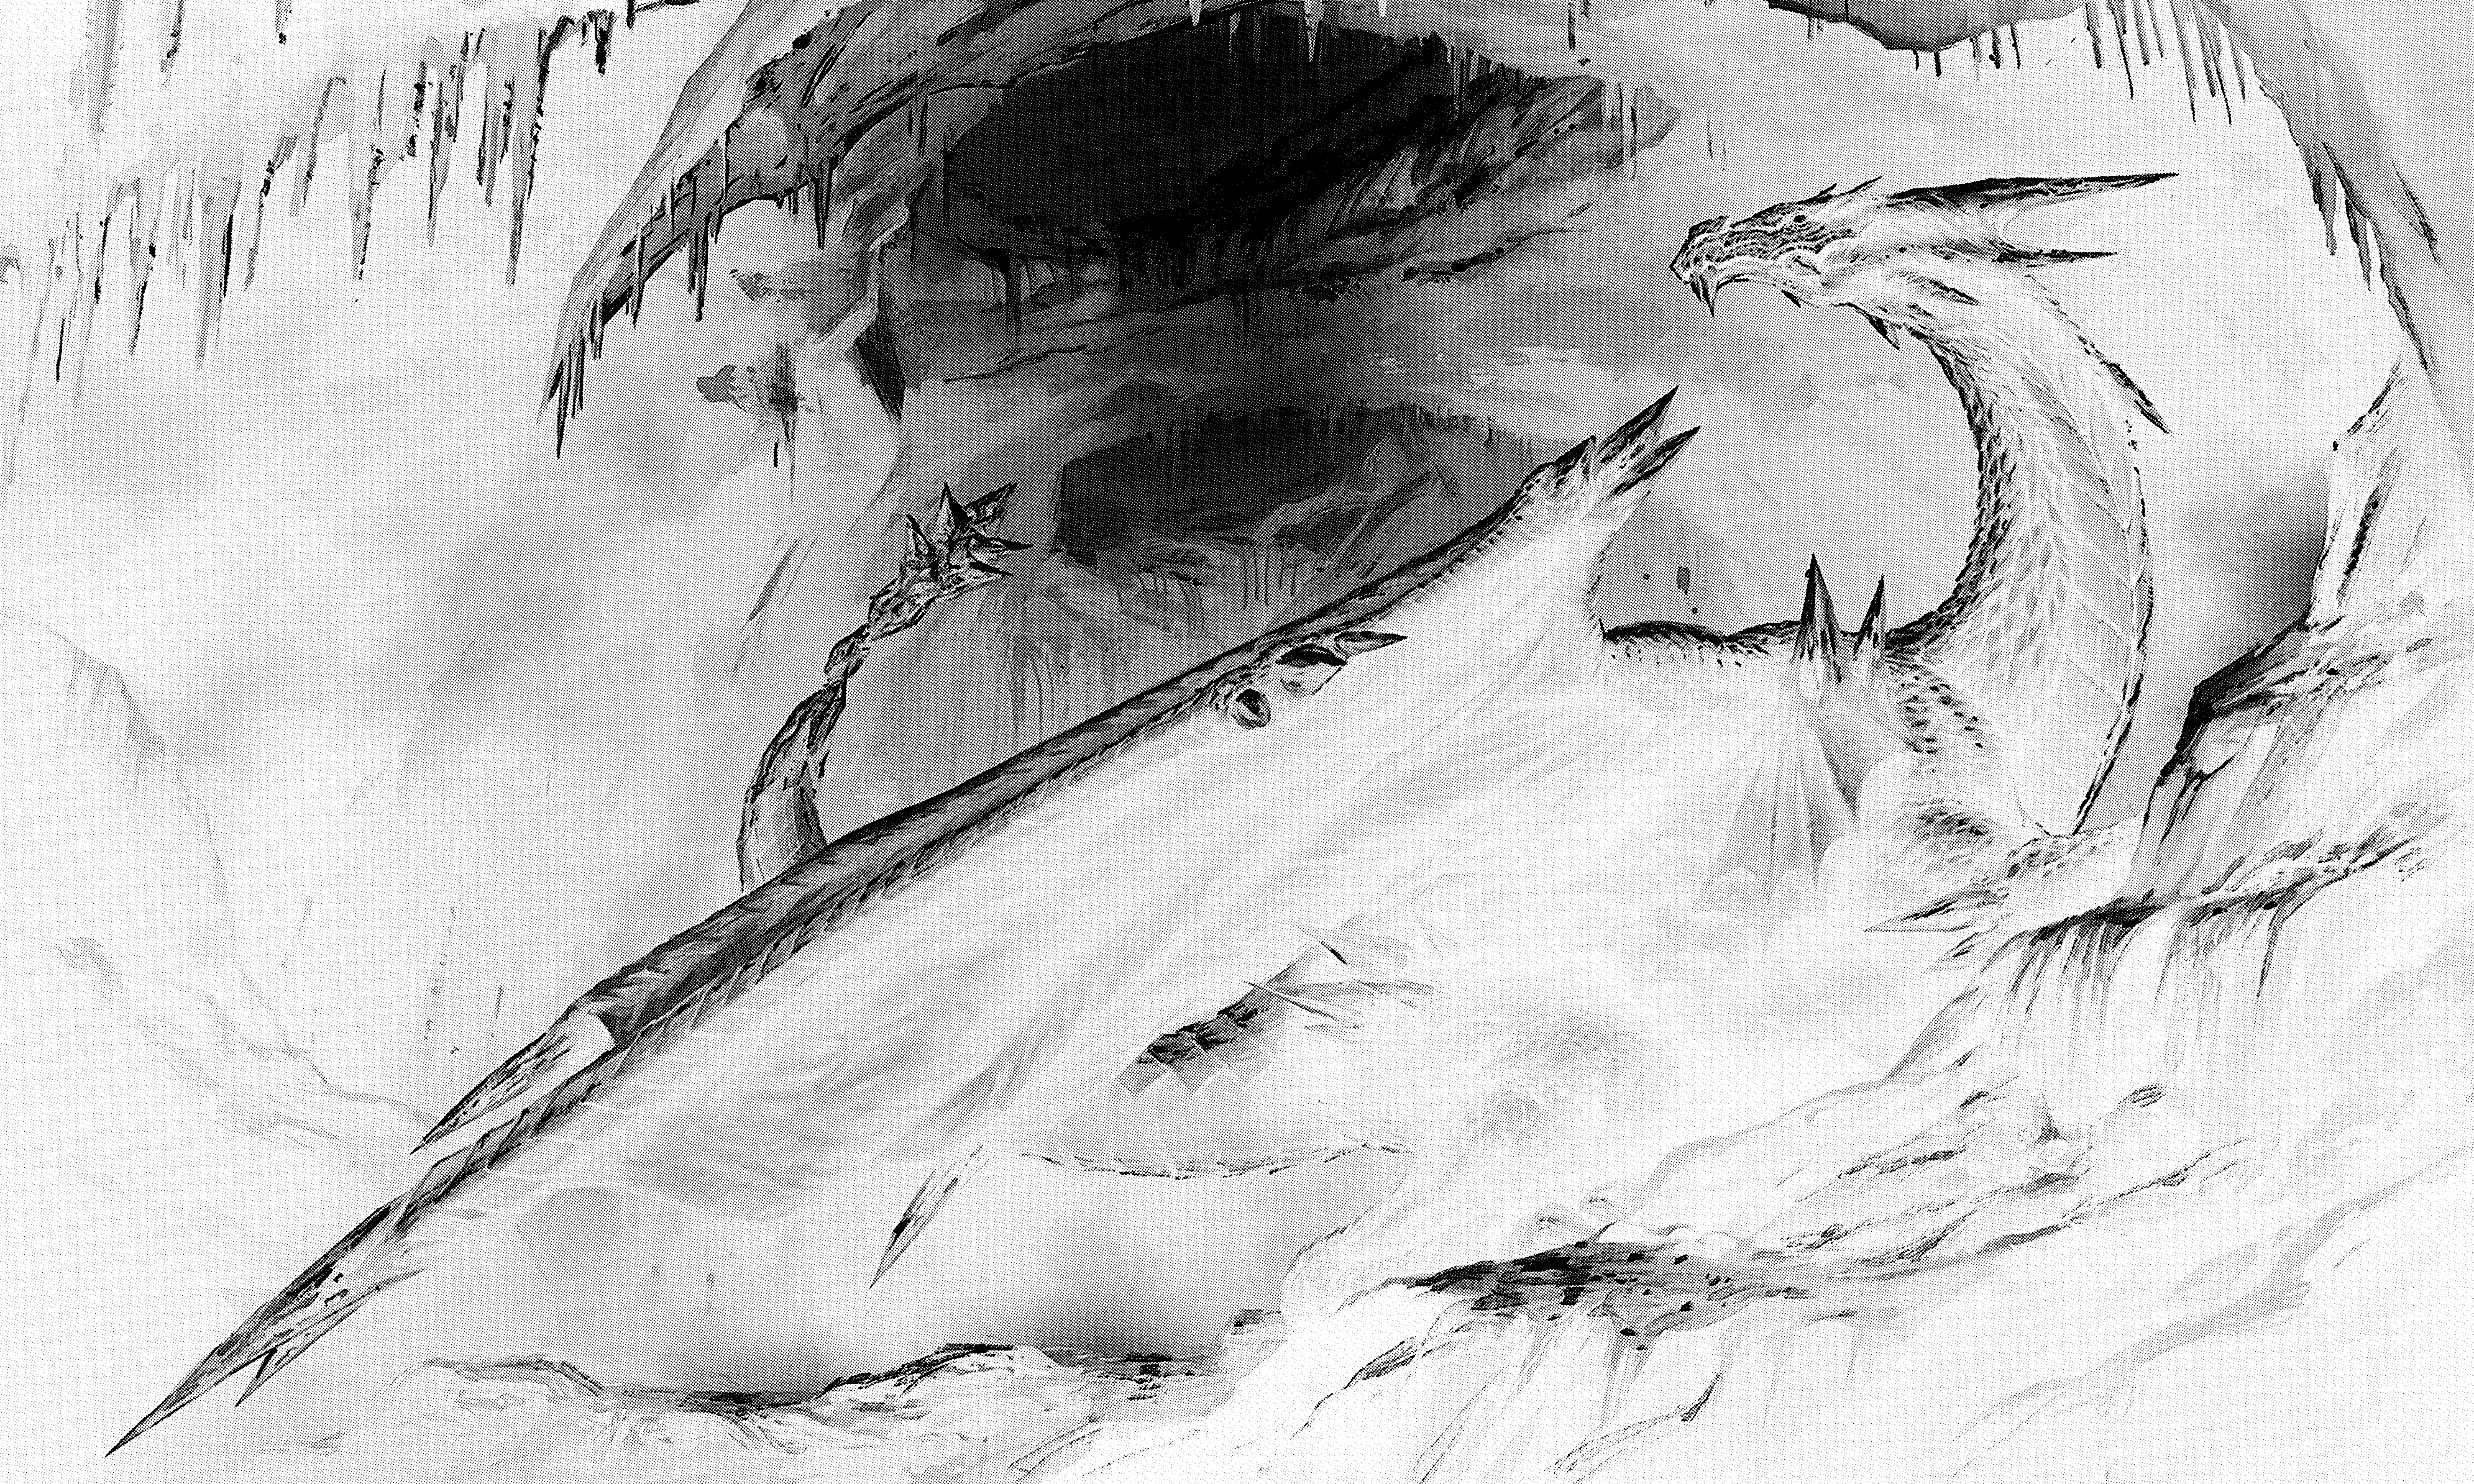
Next, I imported the image into Lightburn.
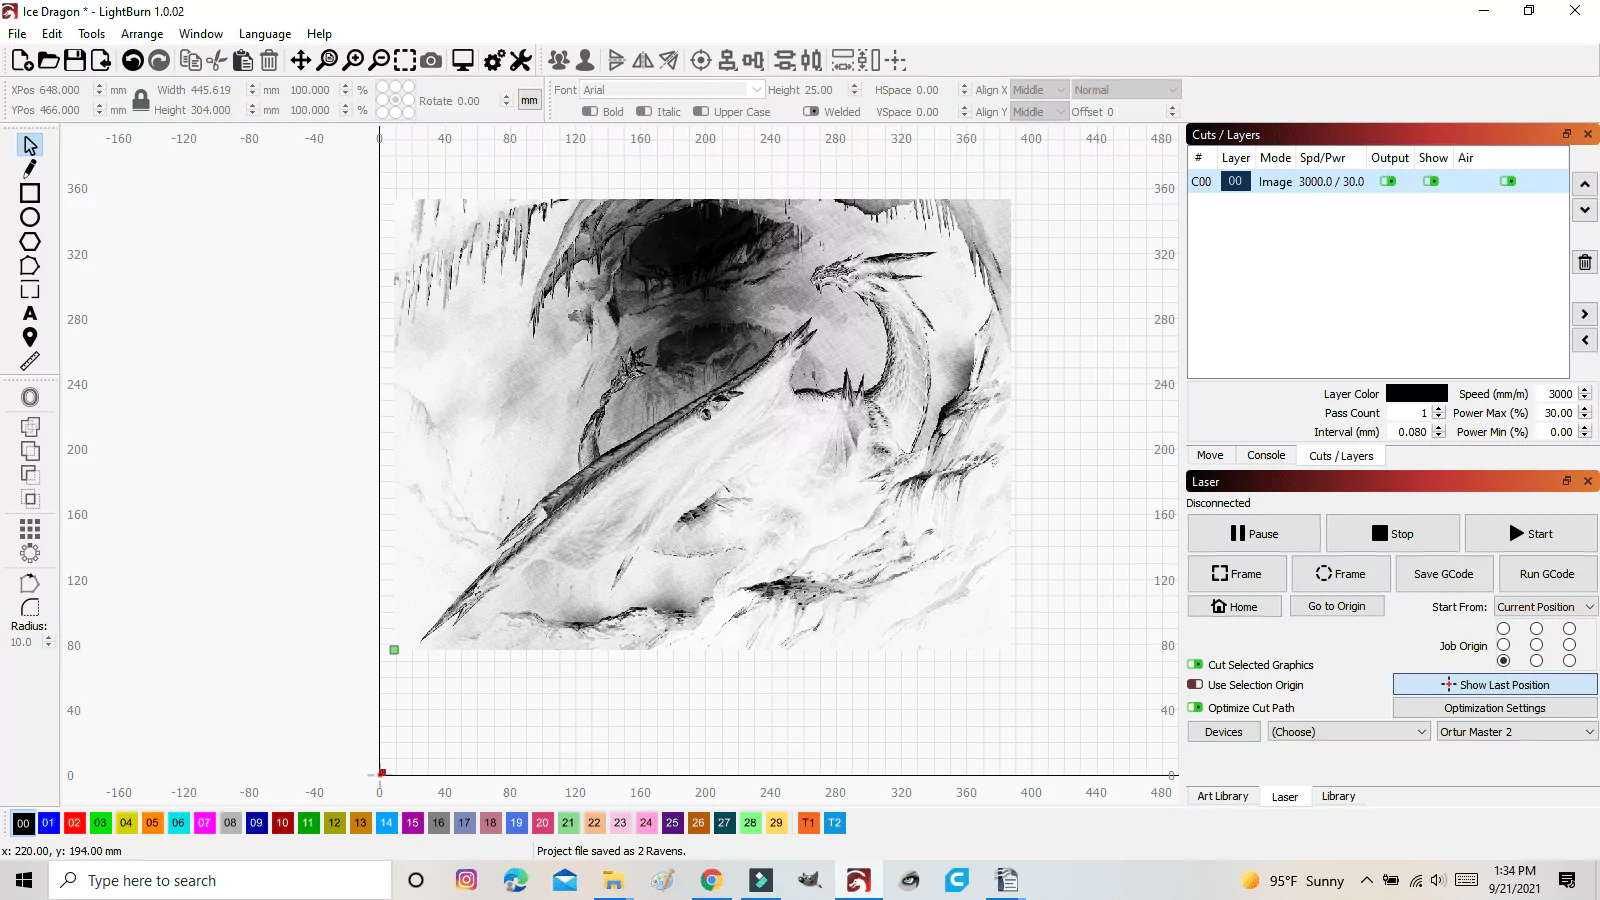
My settings are 3000 mm/min. 30% Power, Negative Image: OFF , DPI: 318, Image Mode: Stucki, Pass-through: OFF
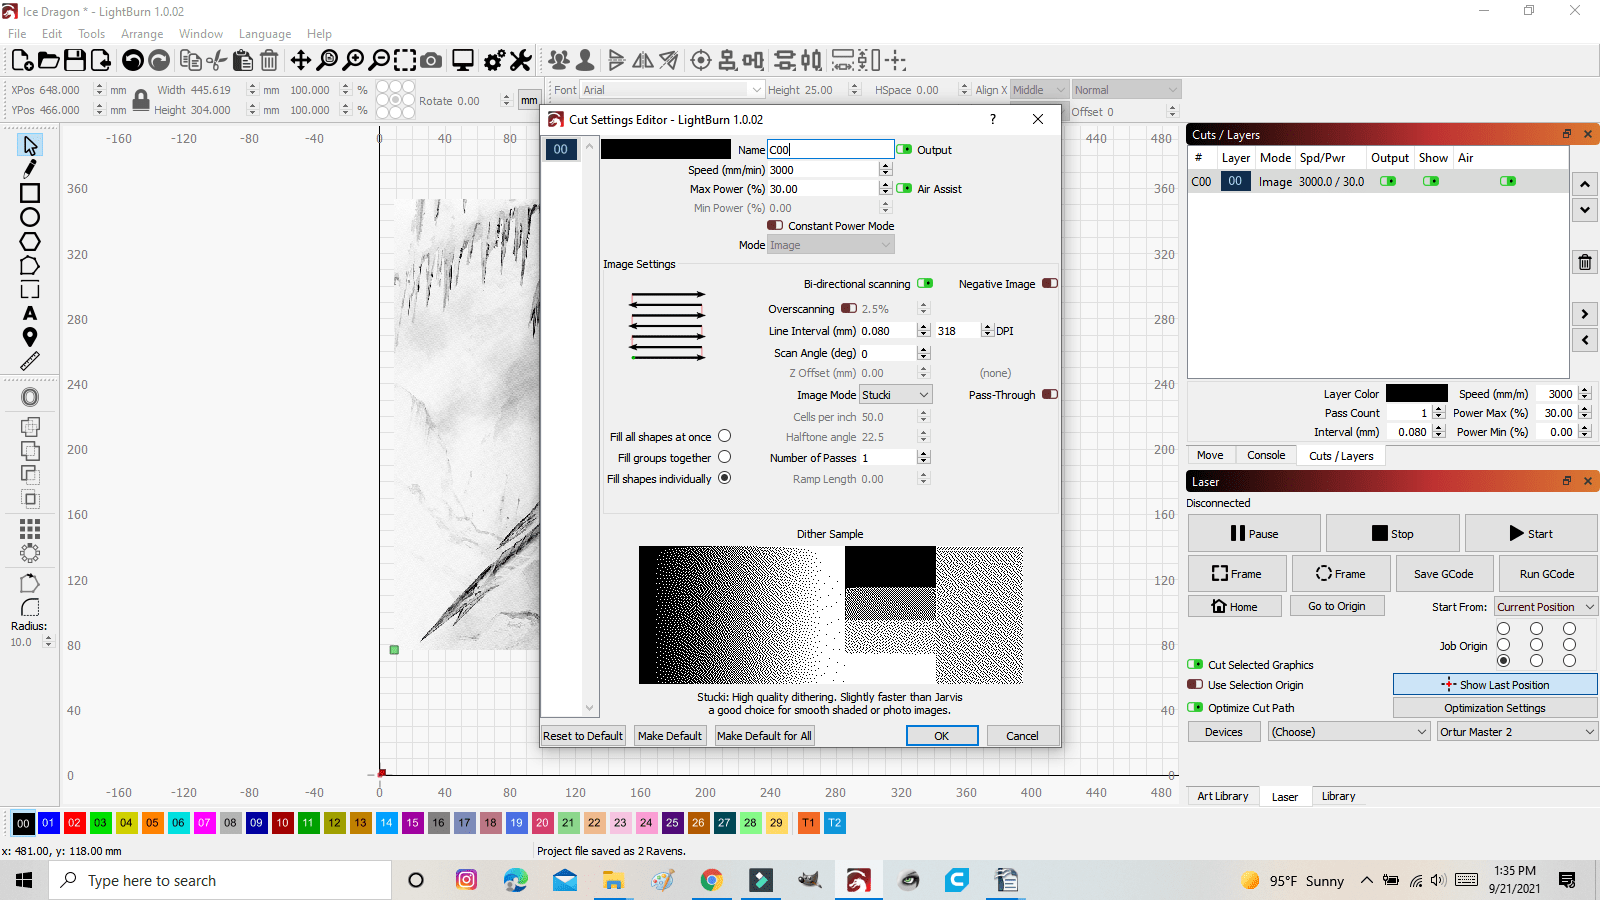
When the settings were to my liking, I prepared the watercolor paper and began to paint it.
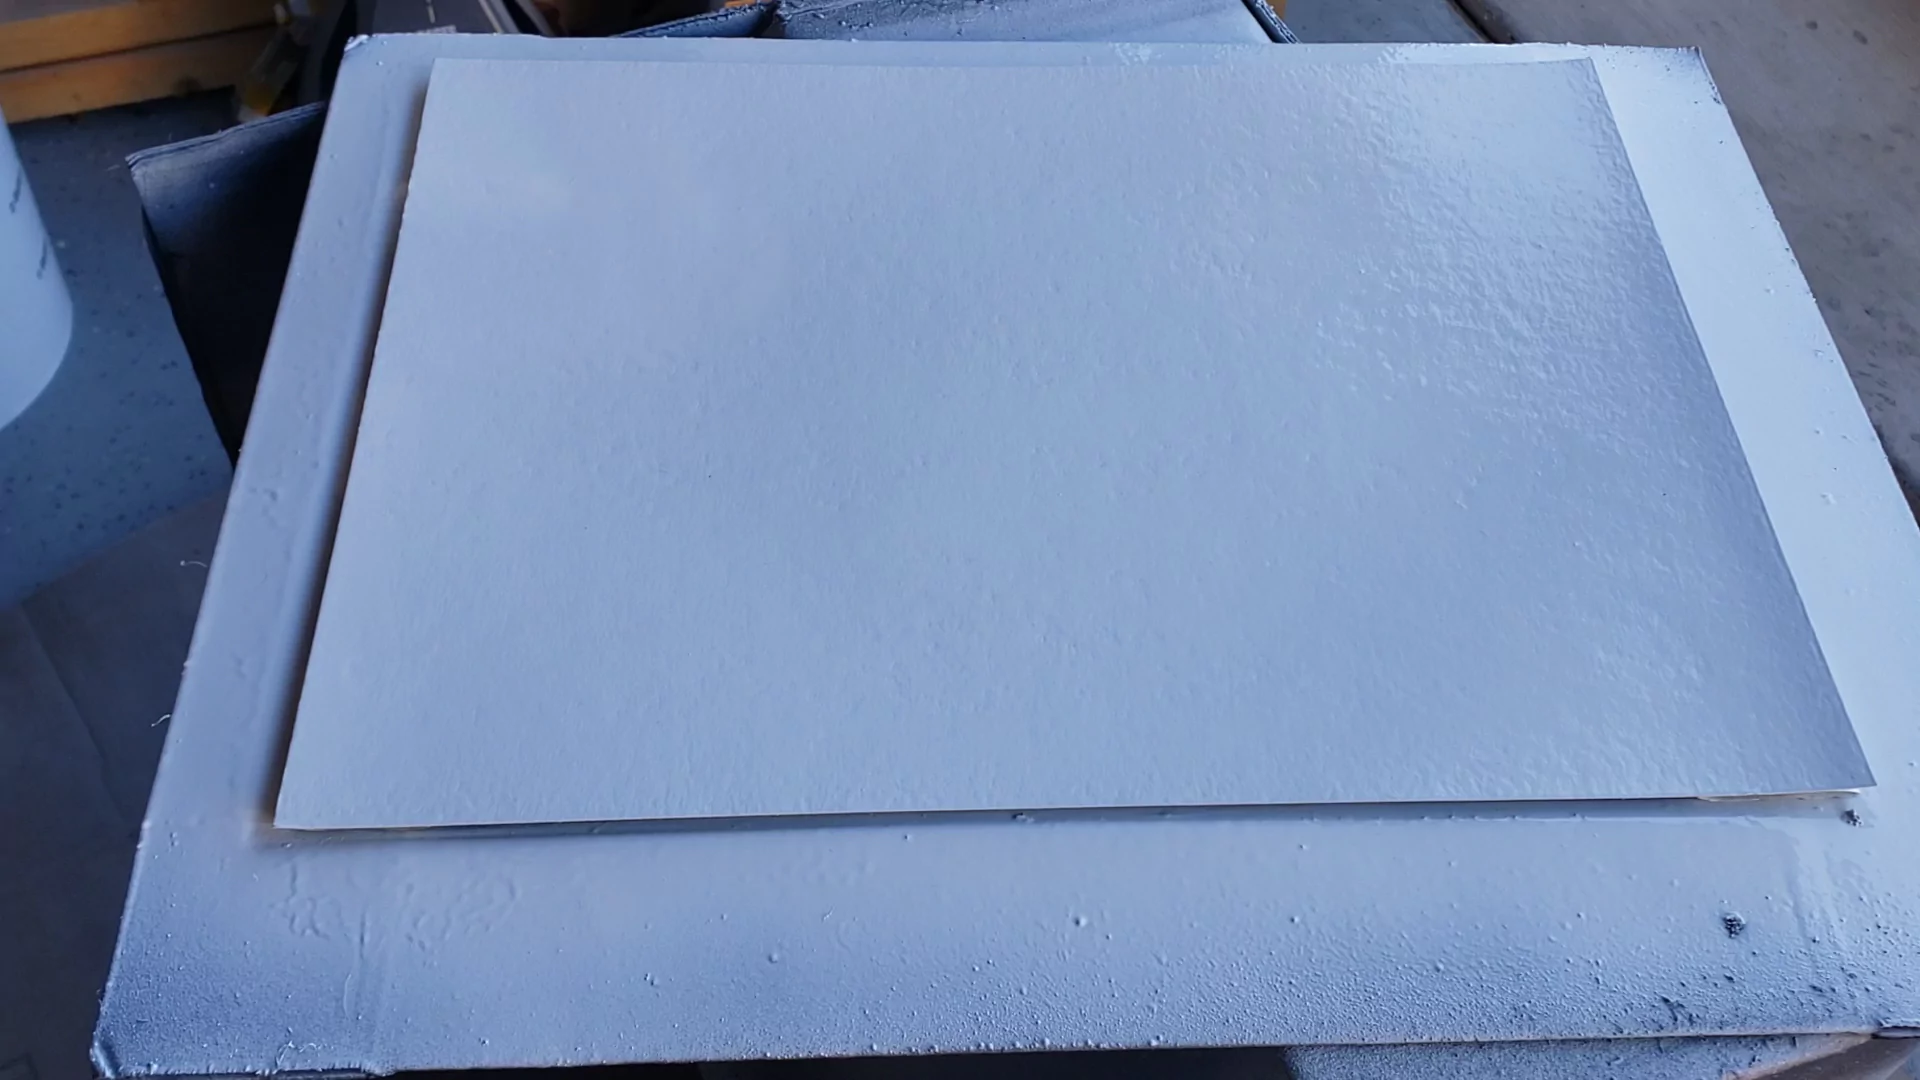
I applied 1 thick layer of Gloss White and let it dry completely.
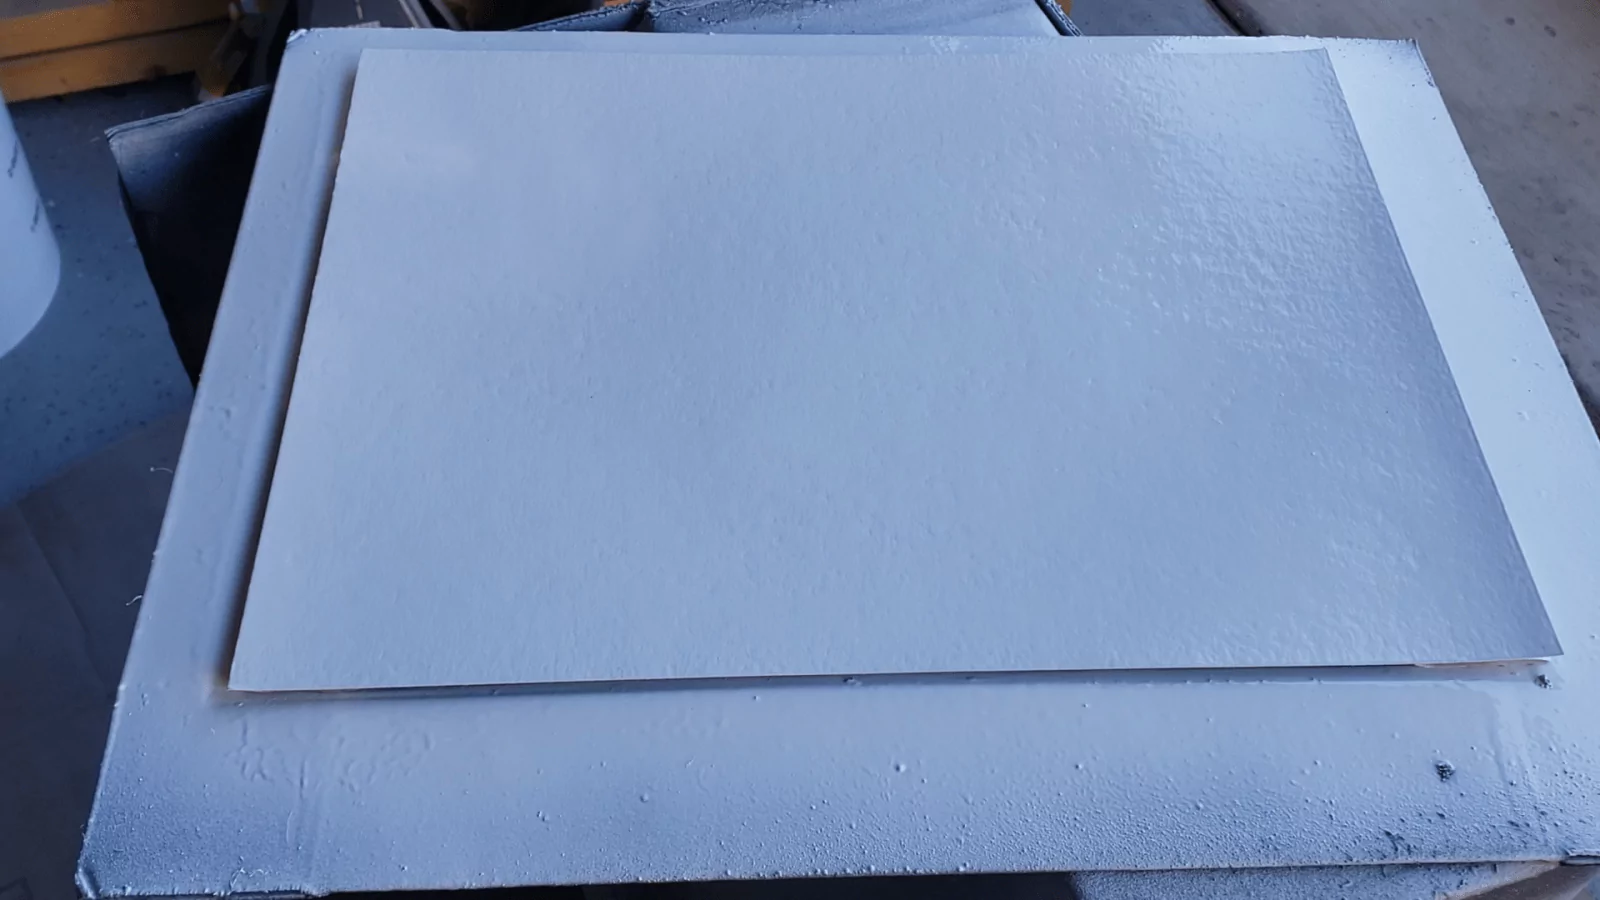
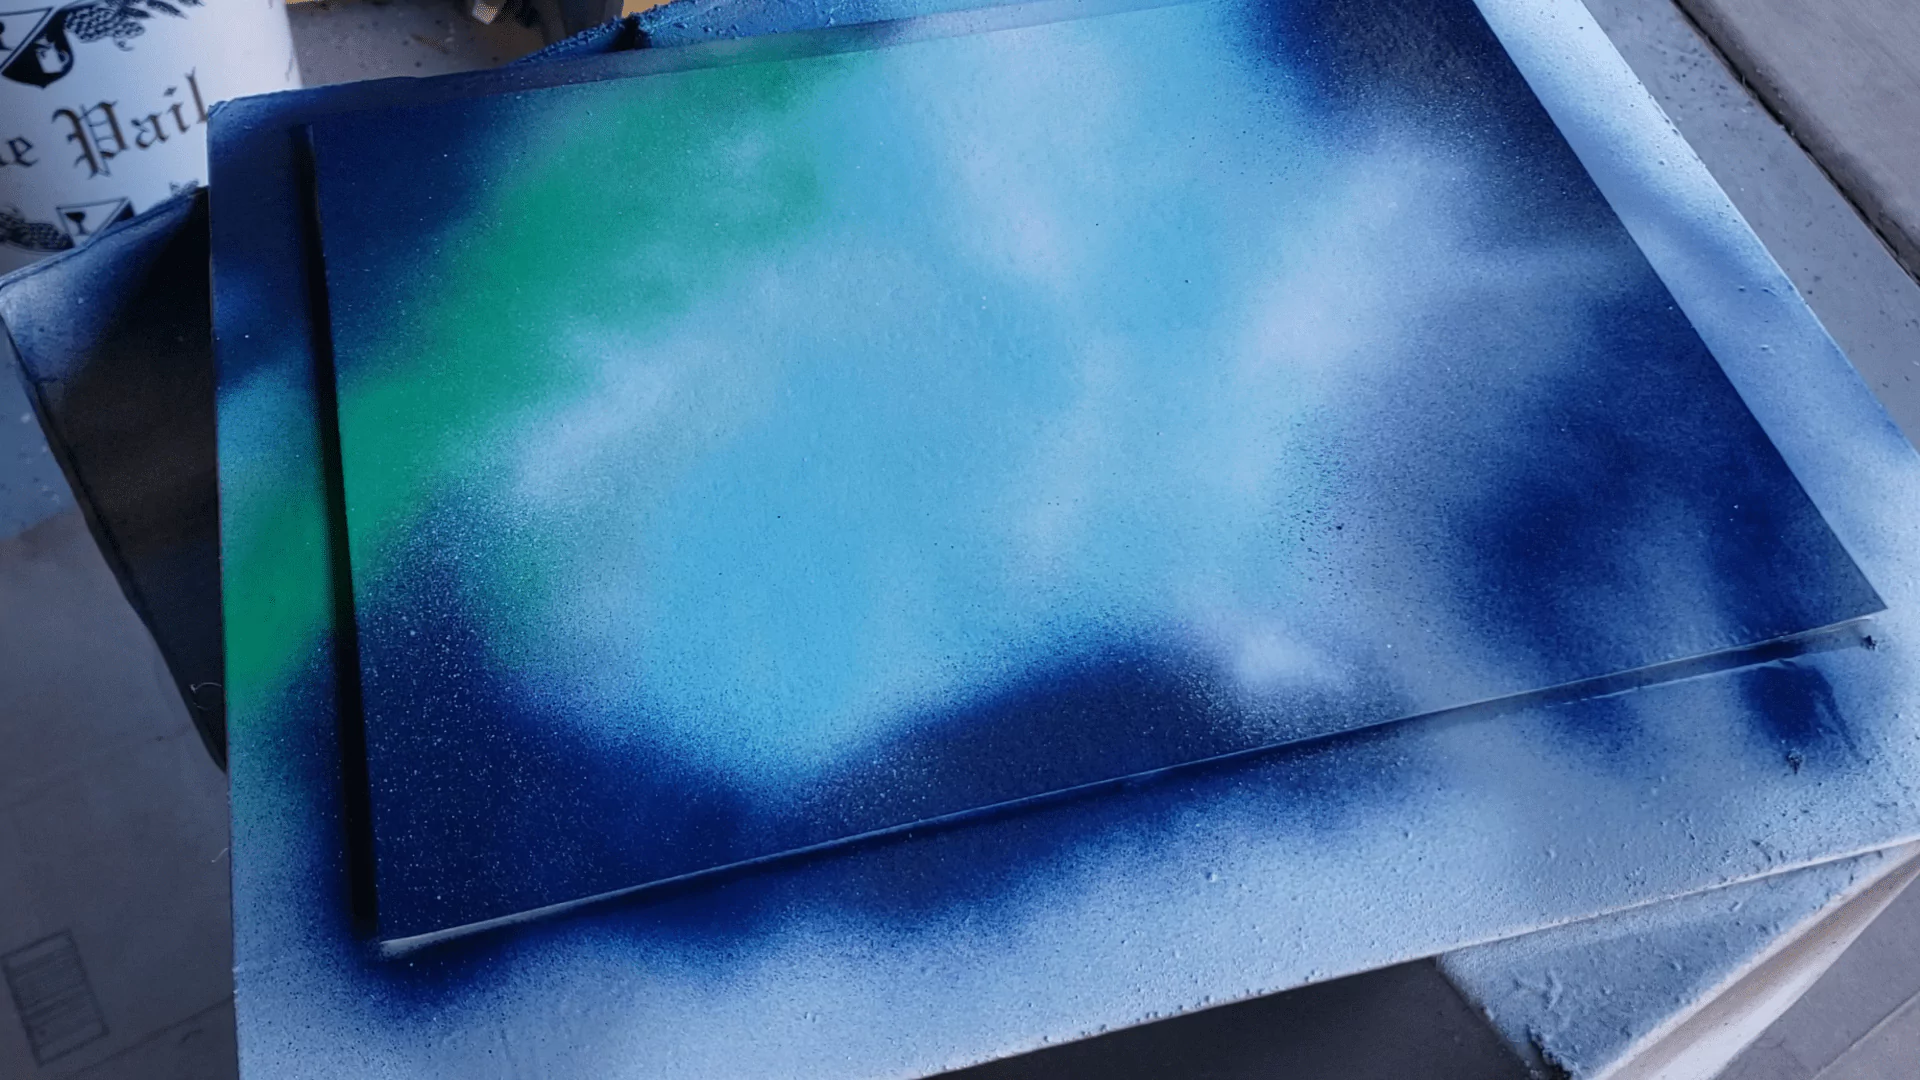
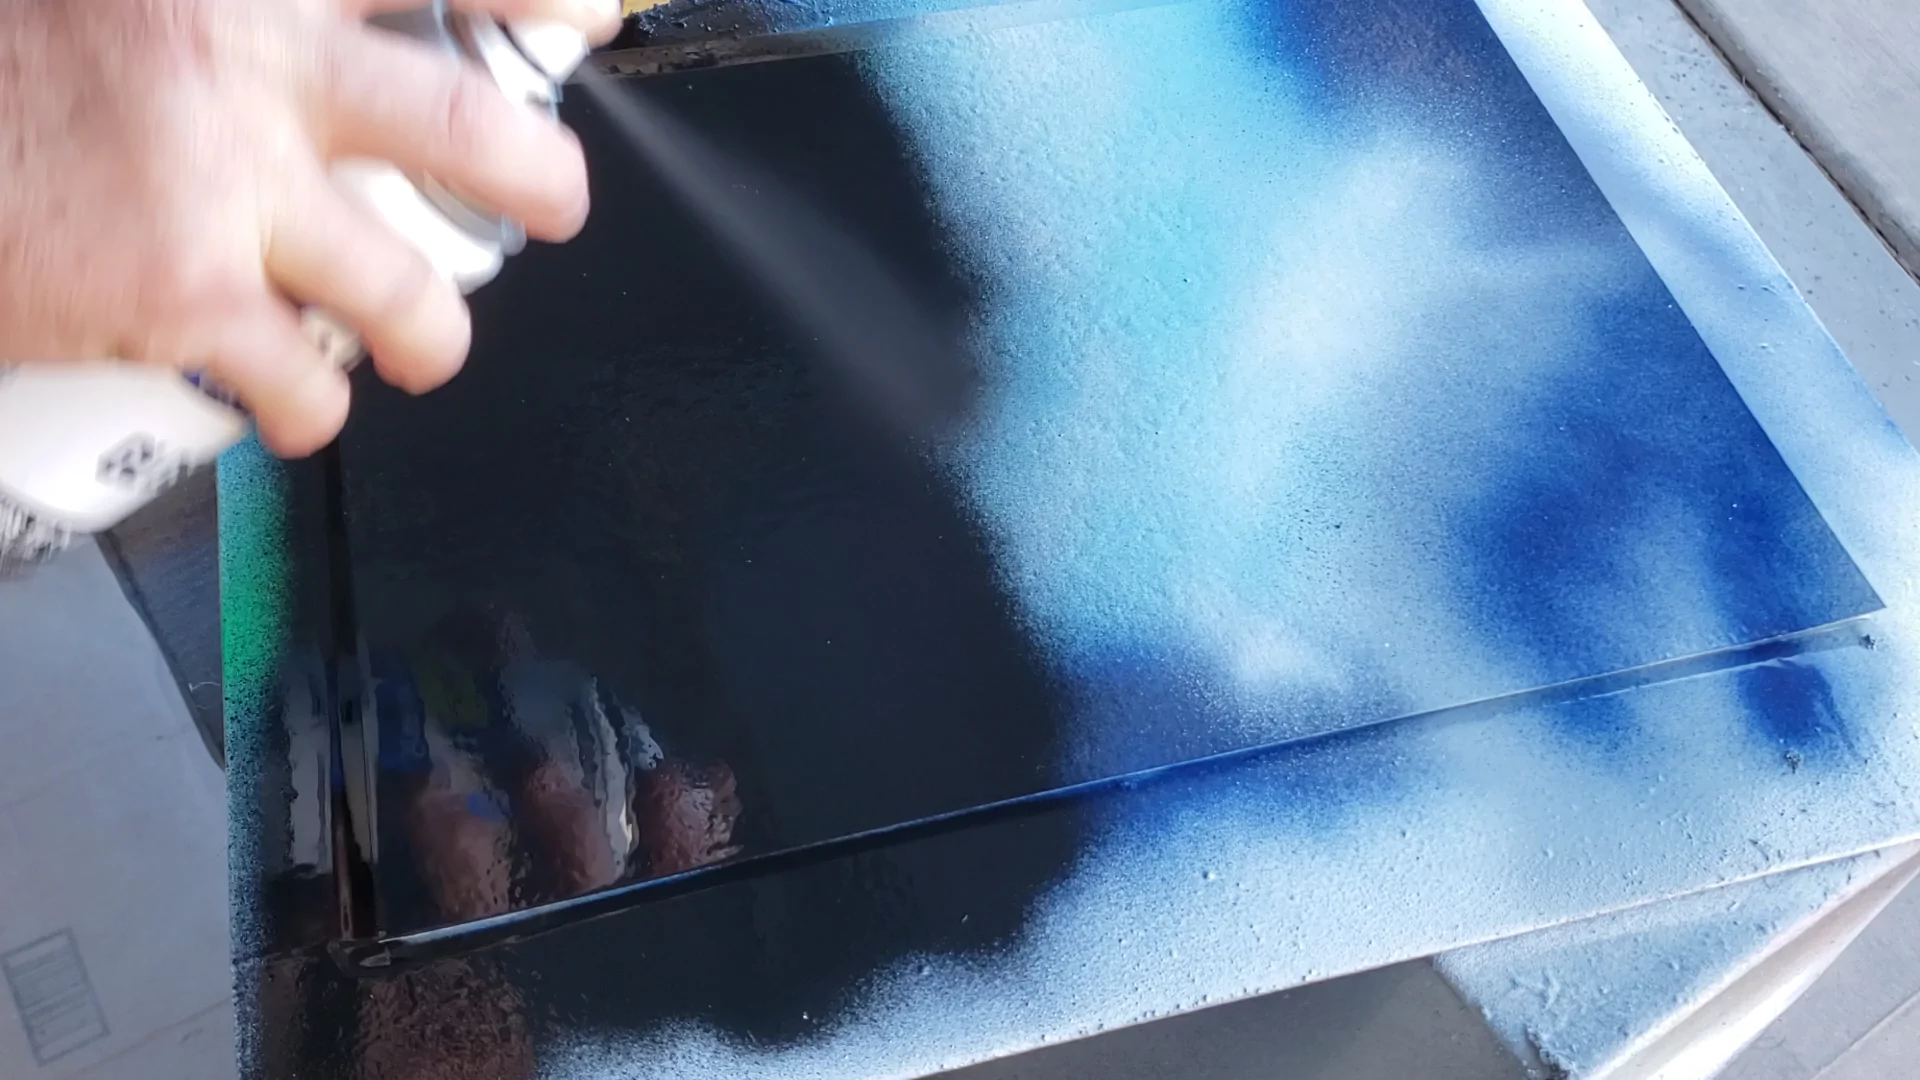
Then I add the colors. All of the colors are added wet on wet so that they have a chance to blend with each other.
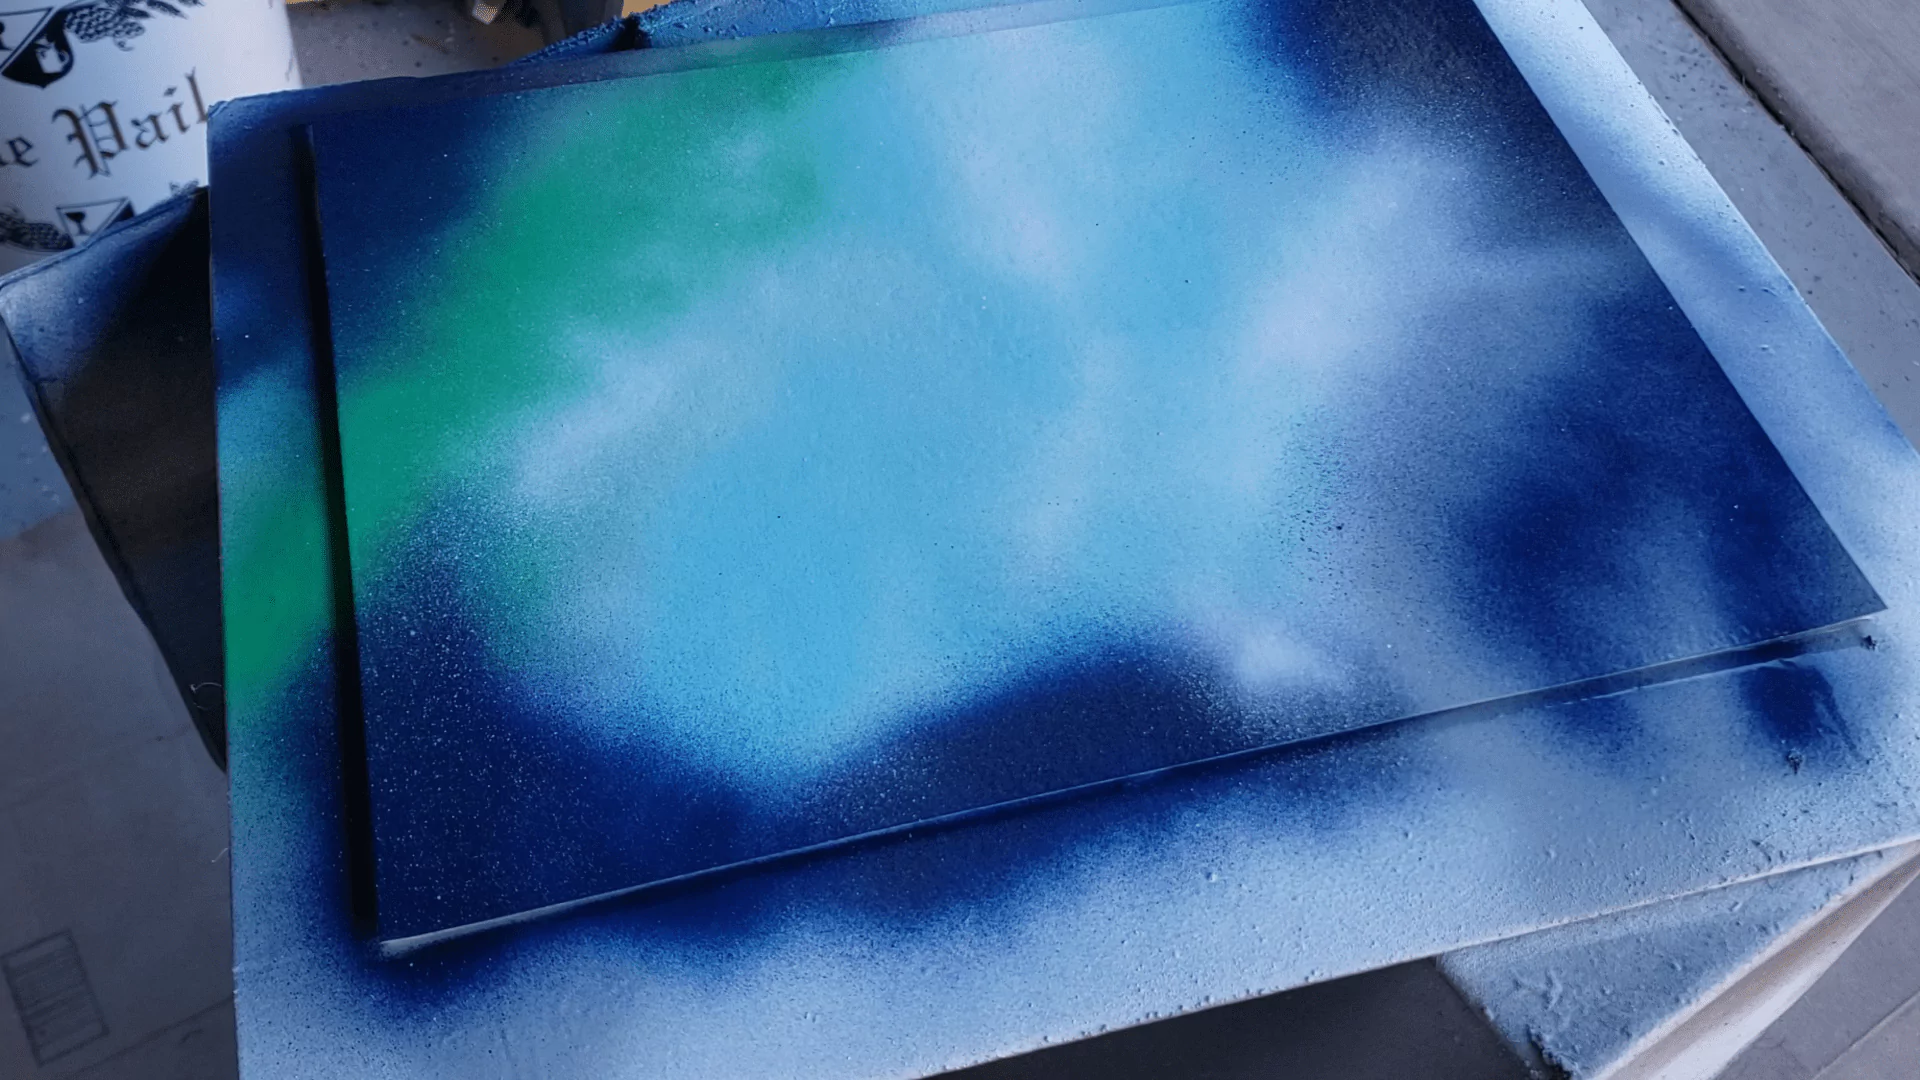
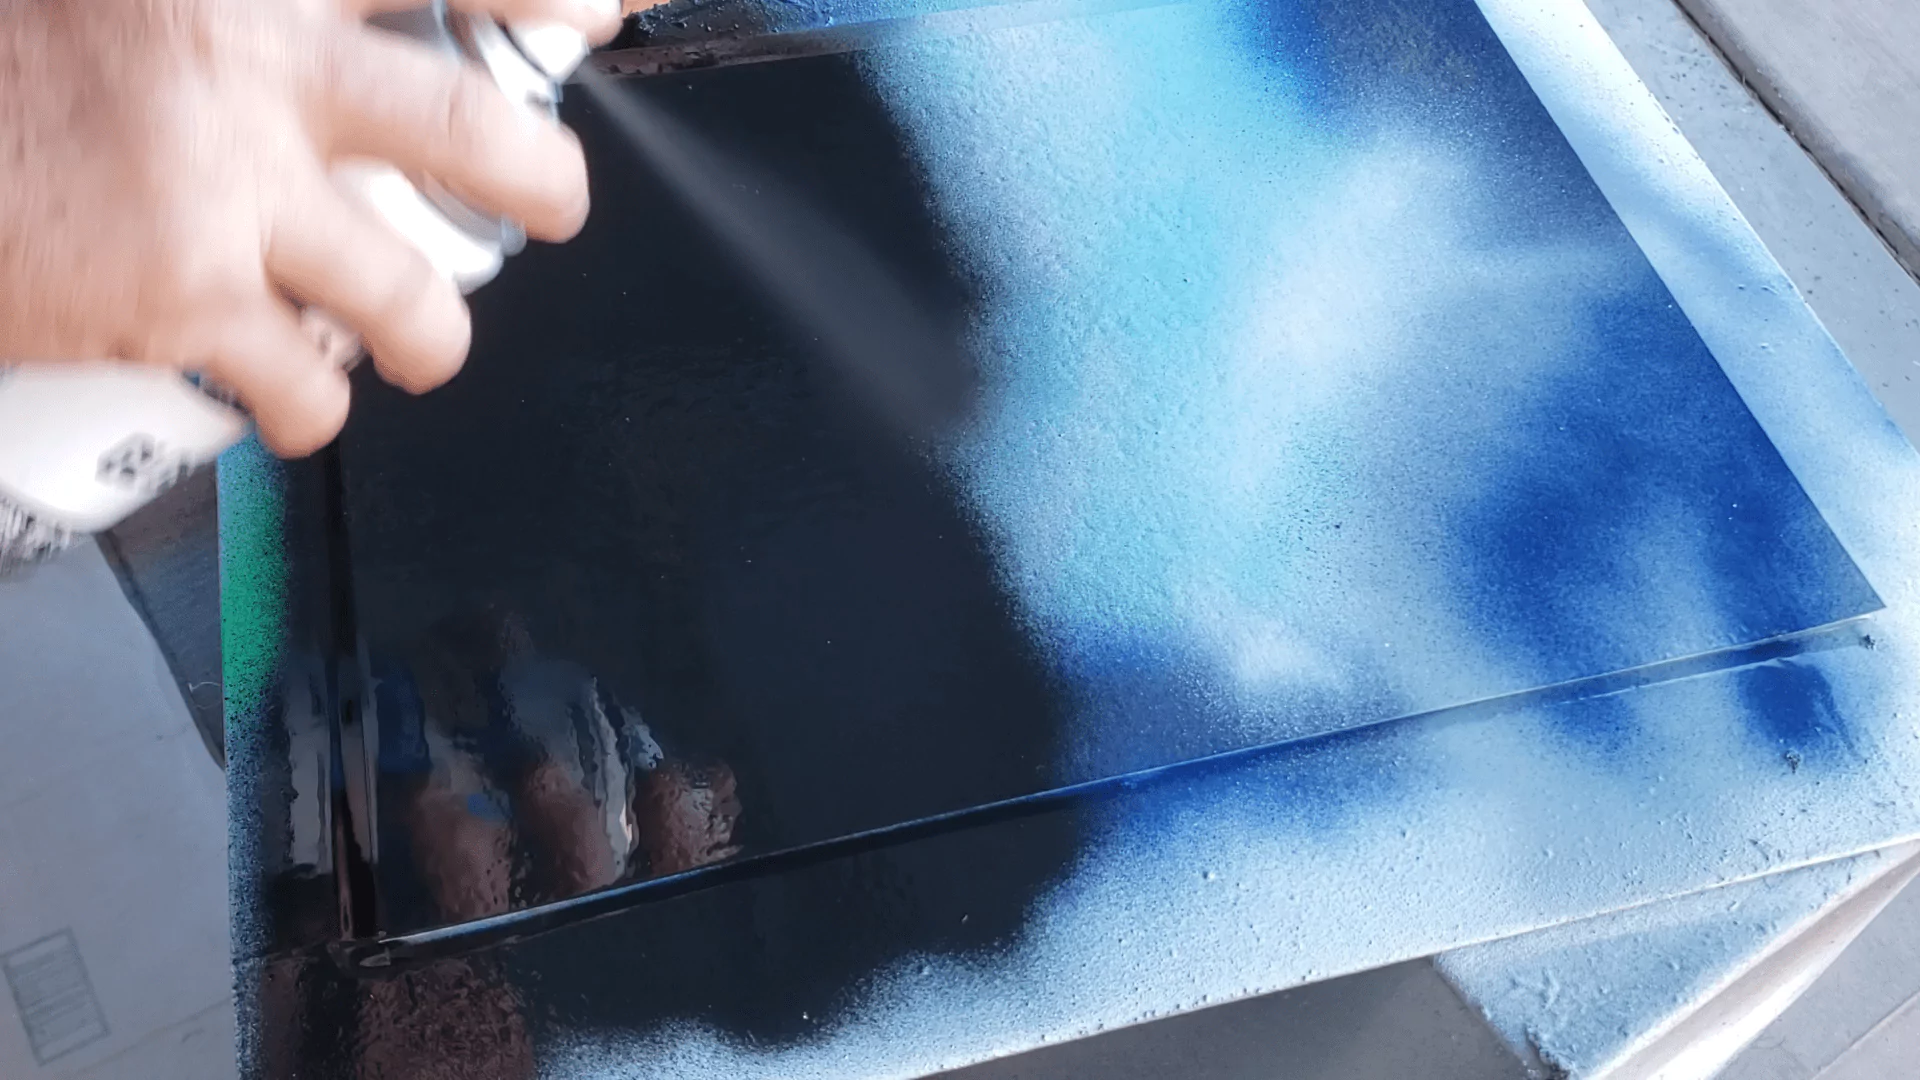
When the color layer was completely dry, I covered the entire paper with Gloss Black. I let it dry overnight to ensure that it was completely dry.
Finally it is time for the laser to do its “magic”. I placed the painted paper on the bed and center the image using the “Frame” tool.
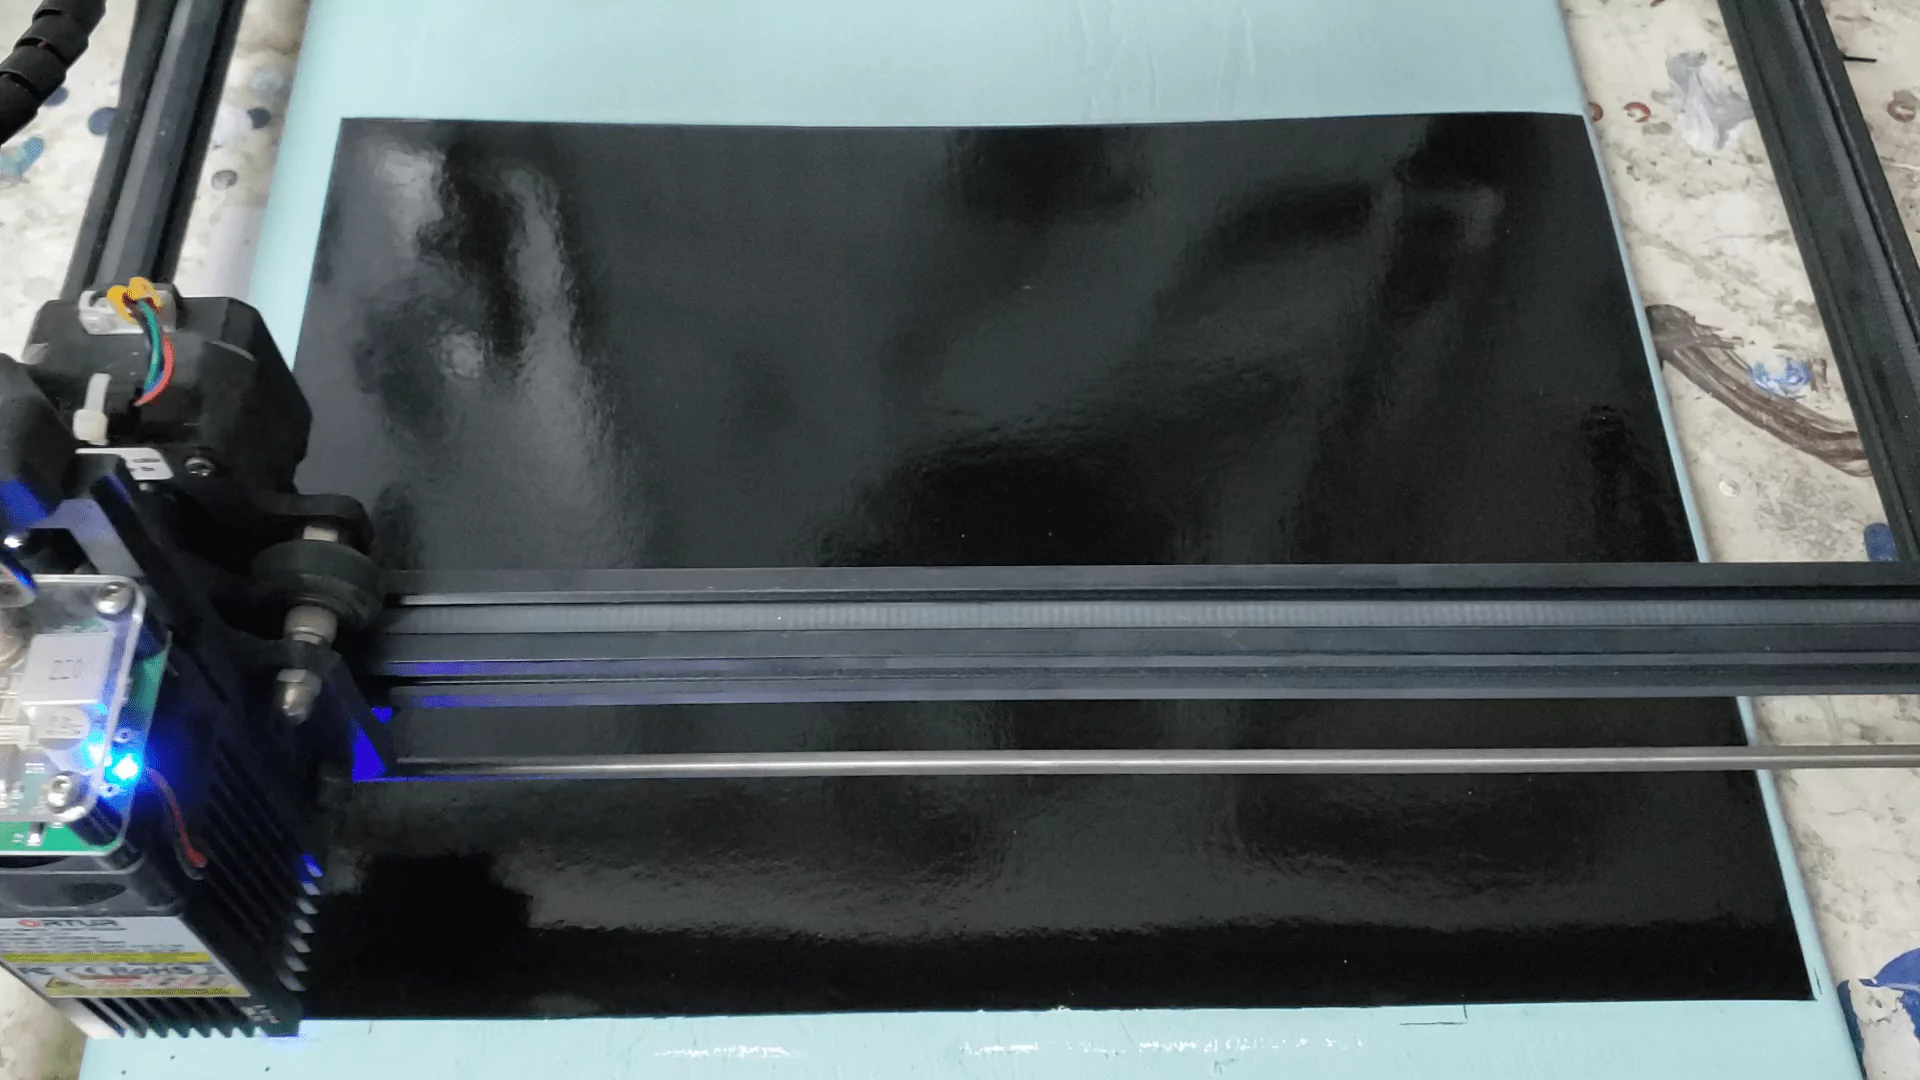
Once the burn is started, it is just a process of waiting…
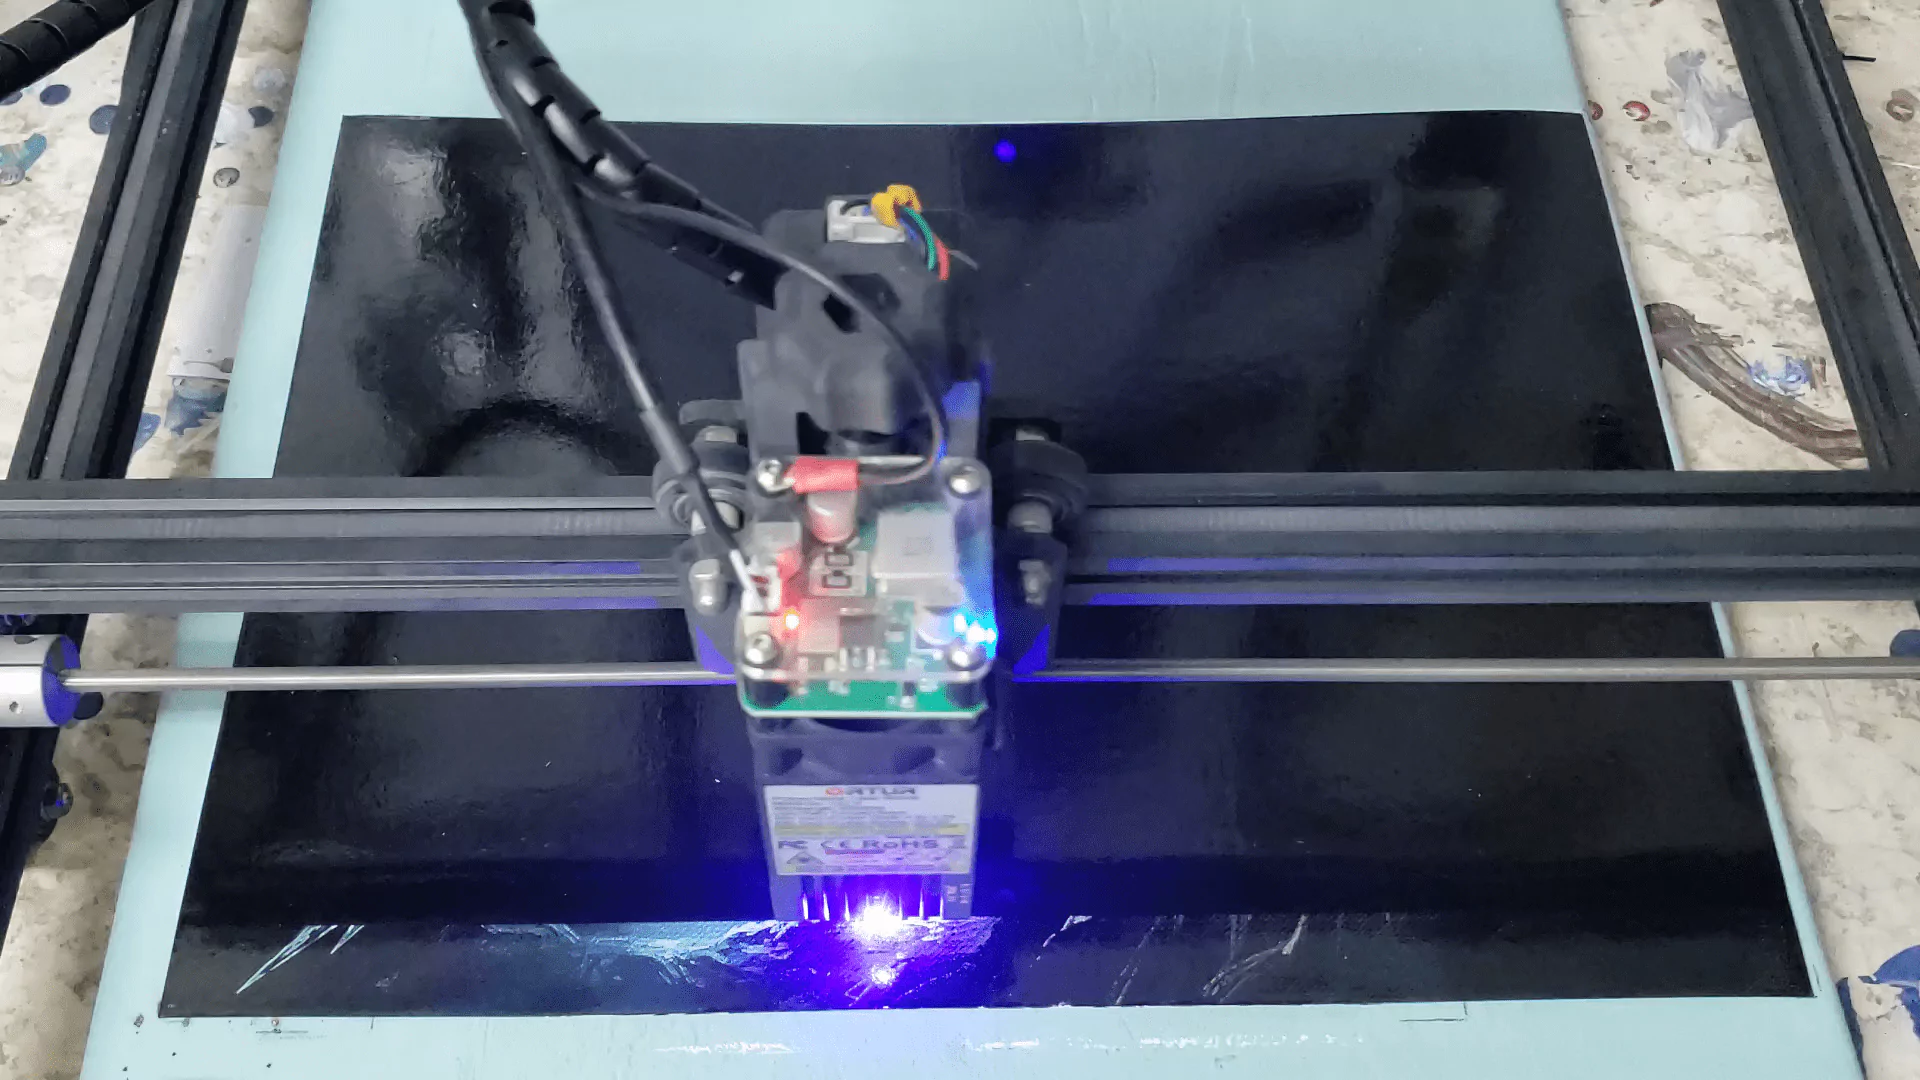
and waiting…
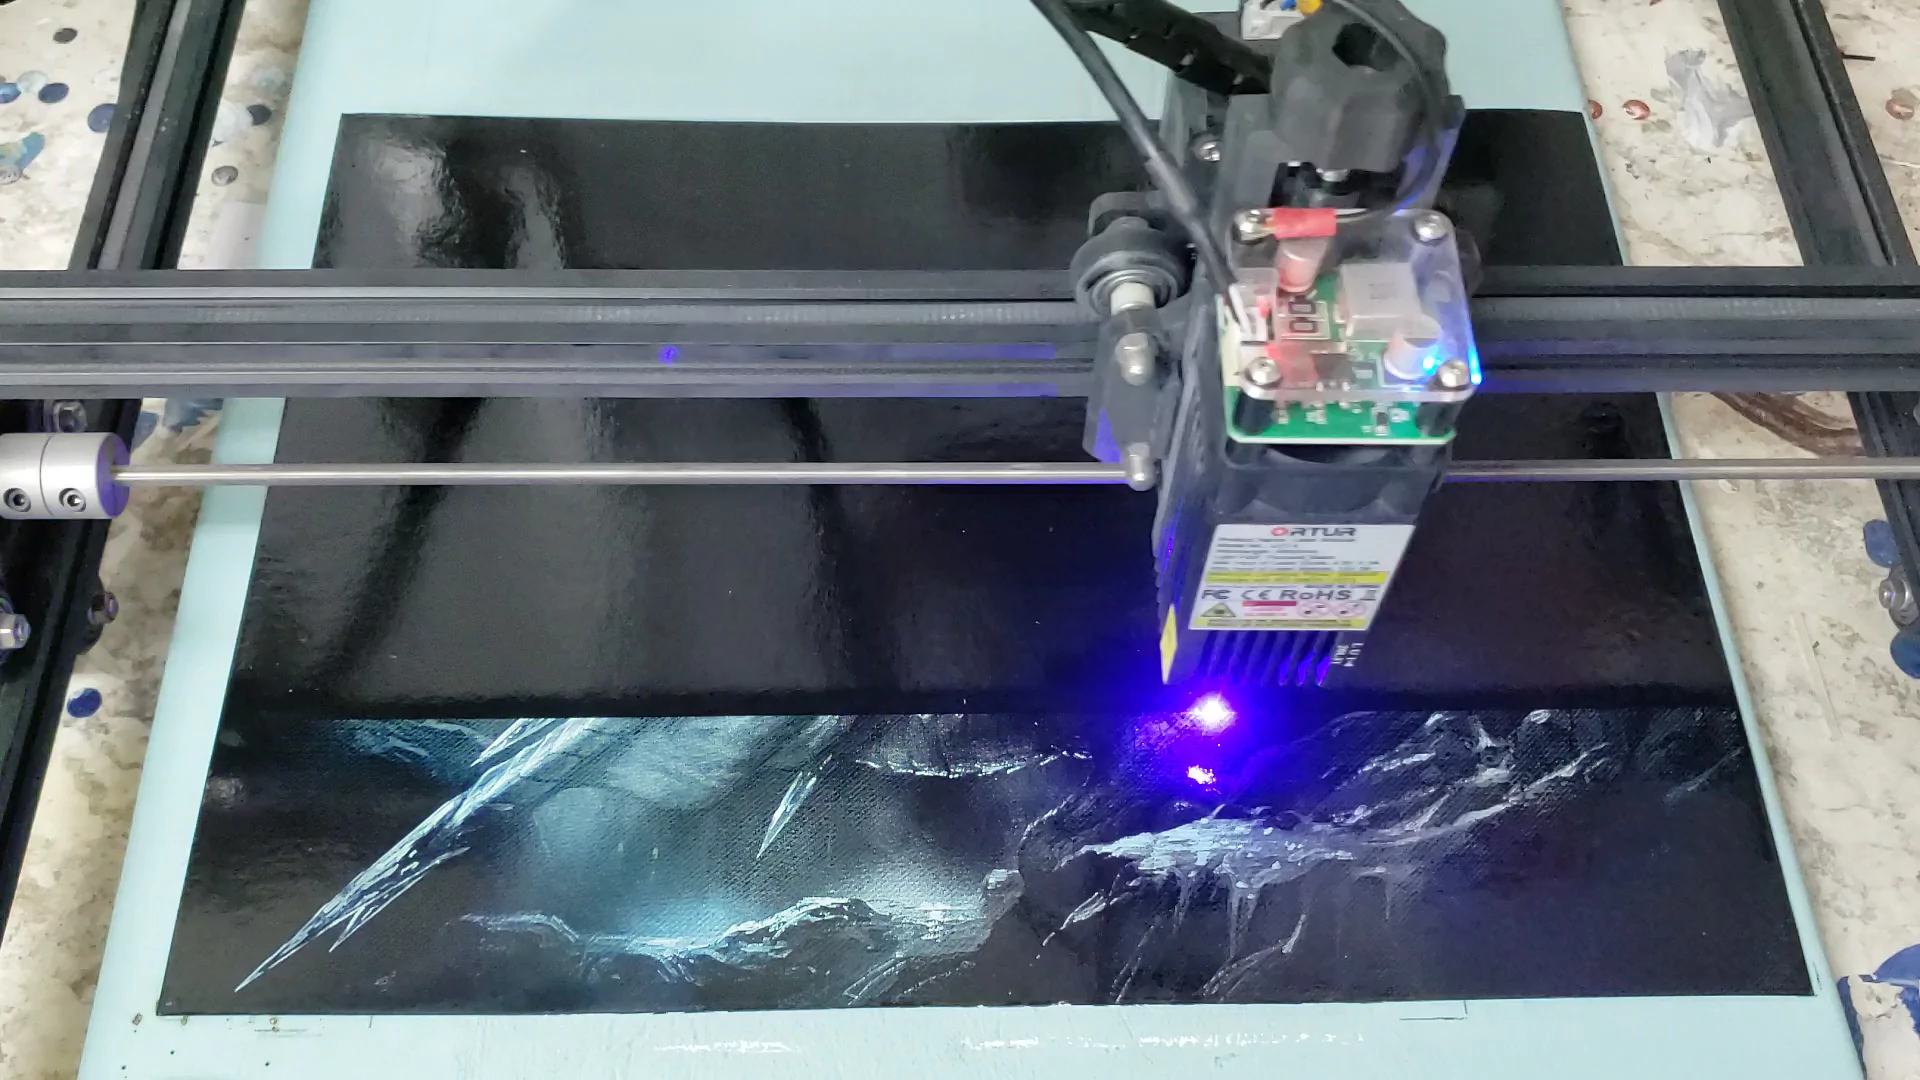
and waiting some more…
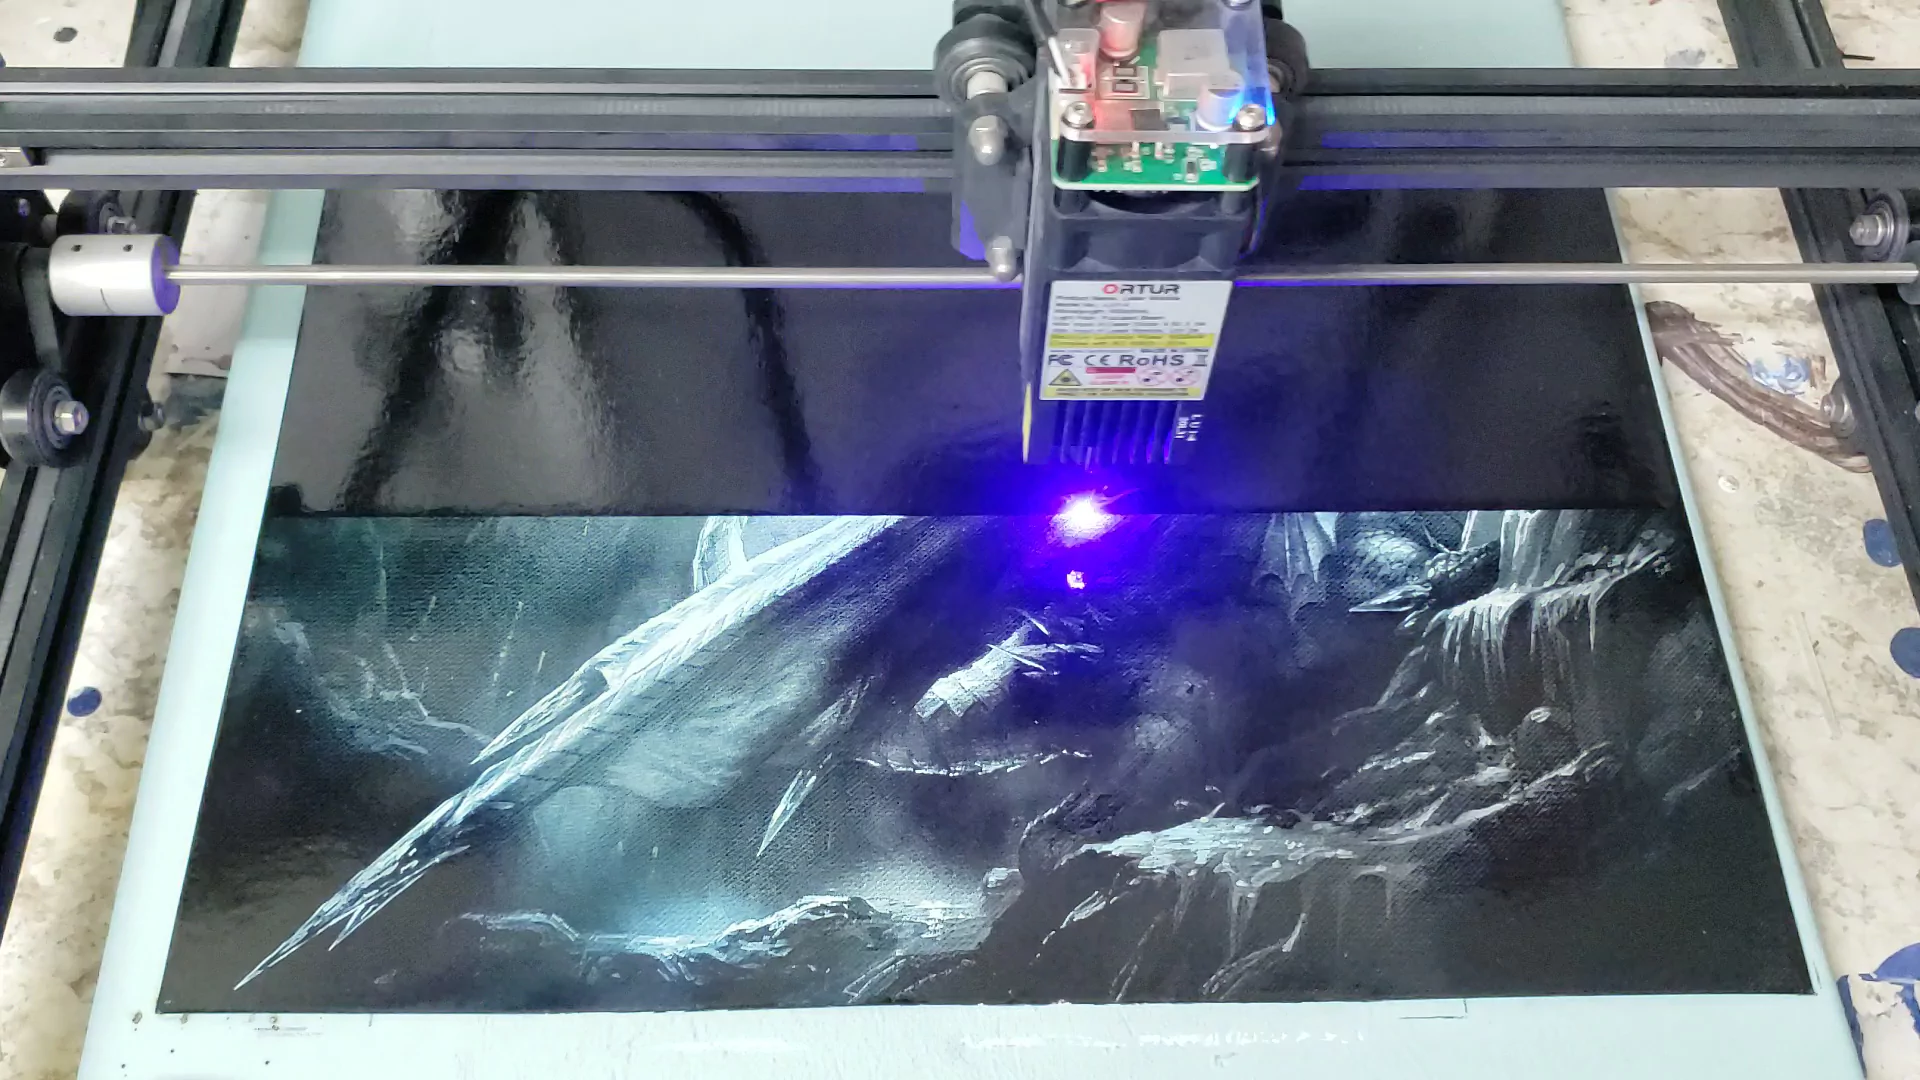
Finally 5 hours and 58 minutes later the project is finished.
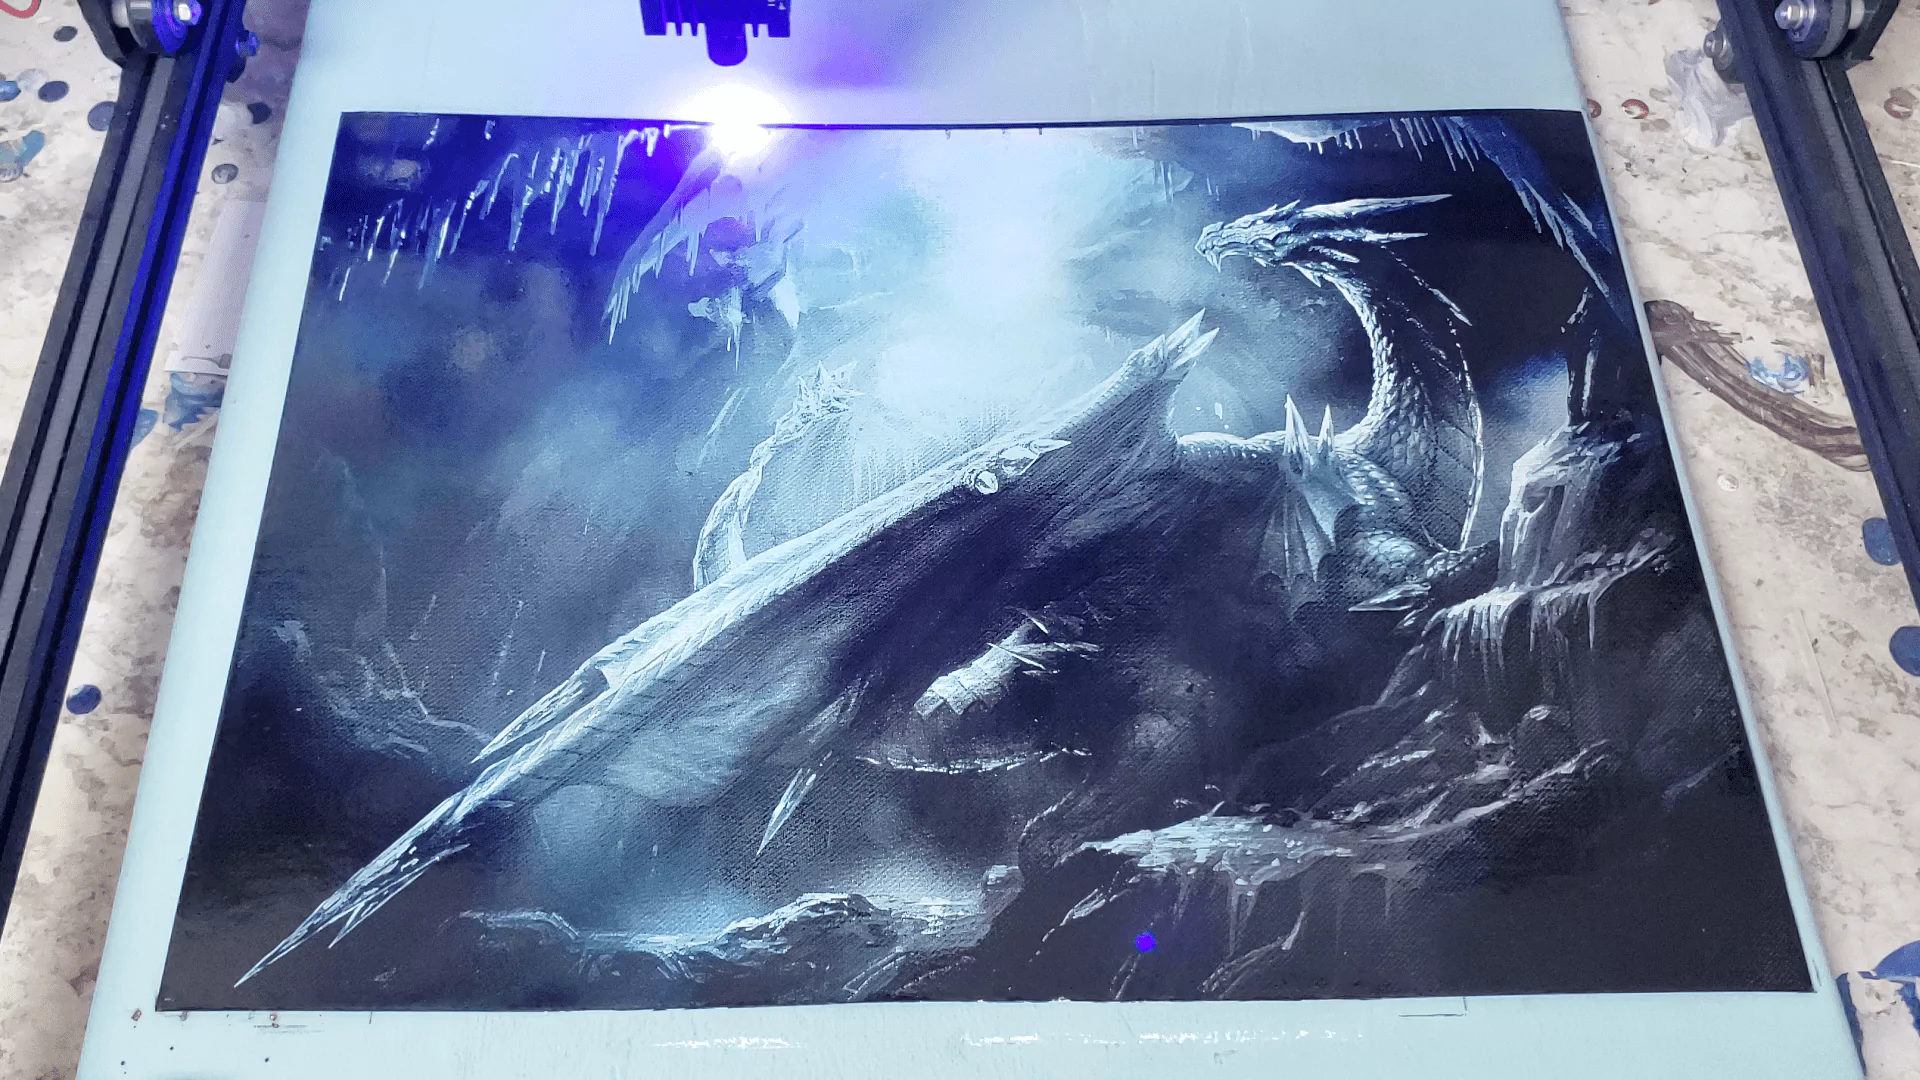
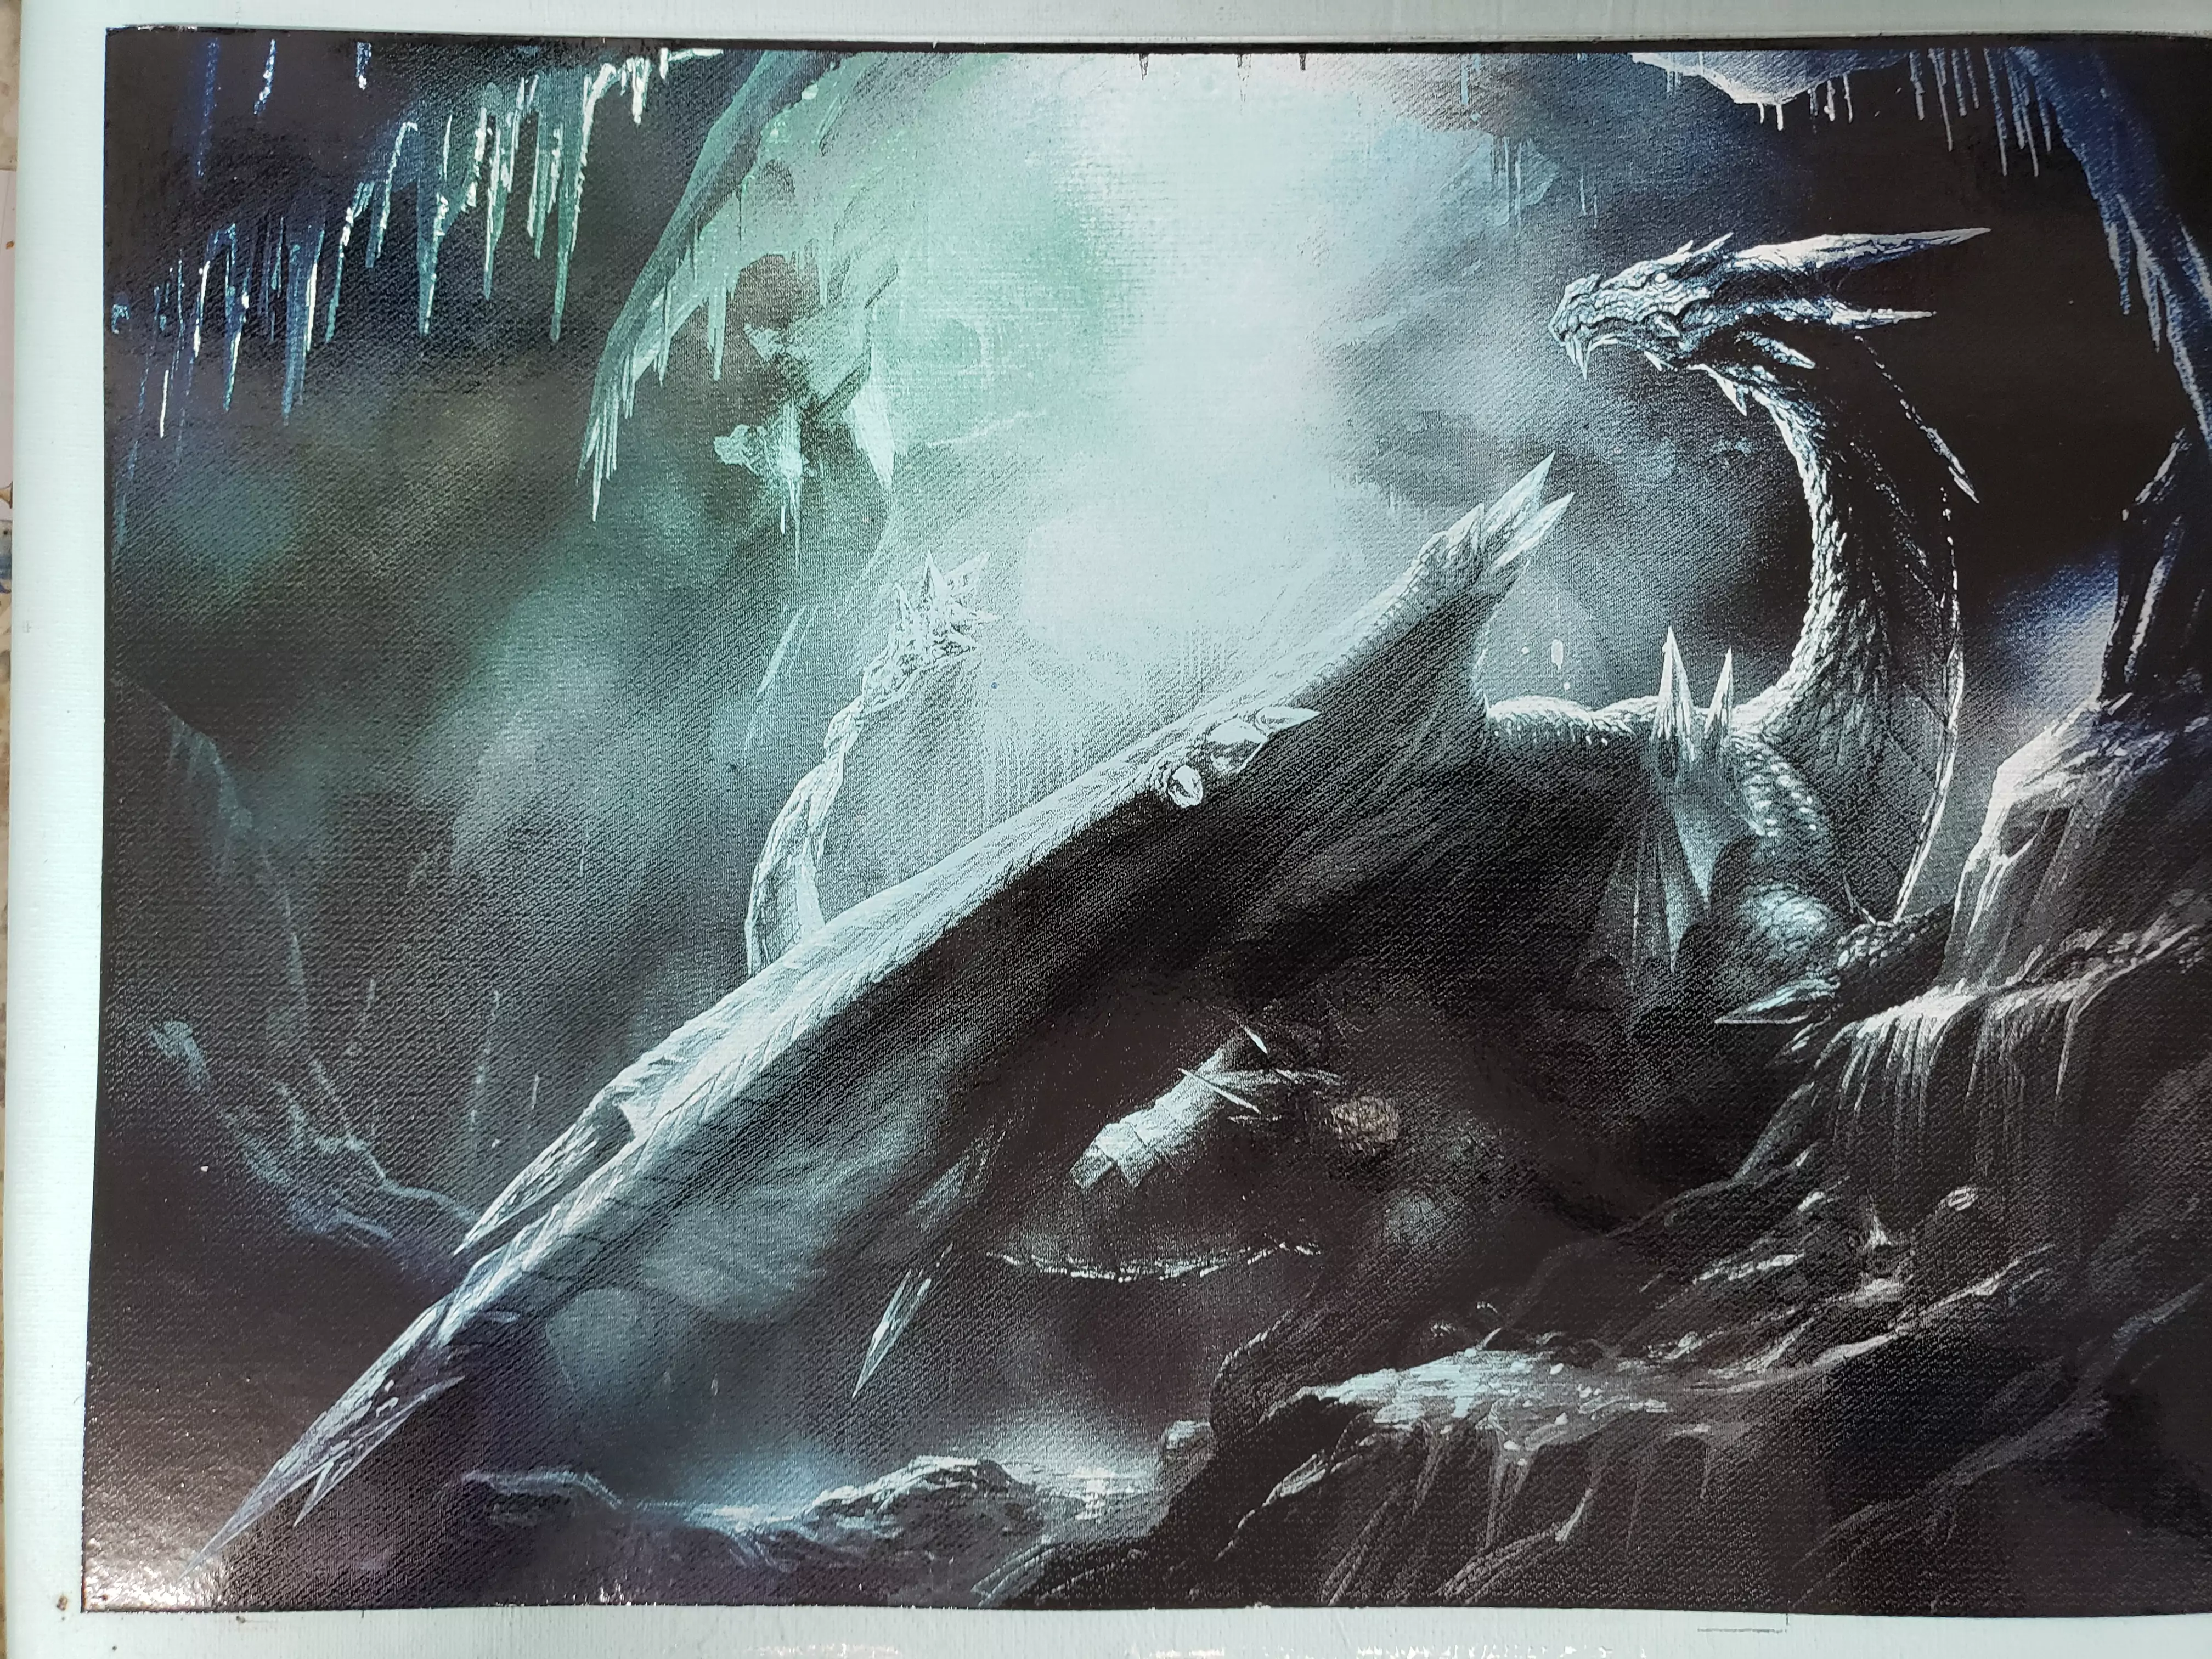
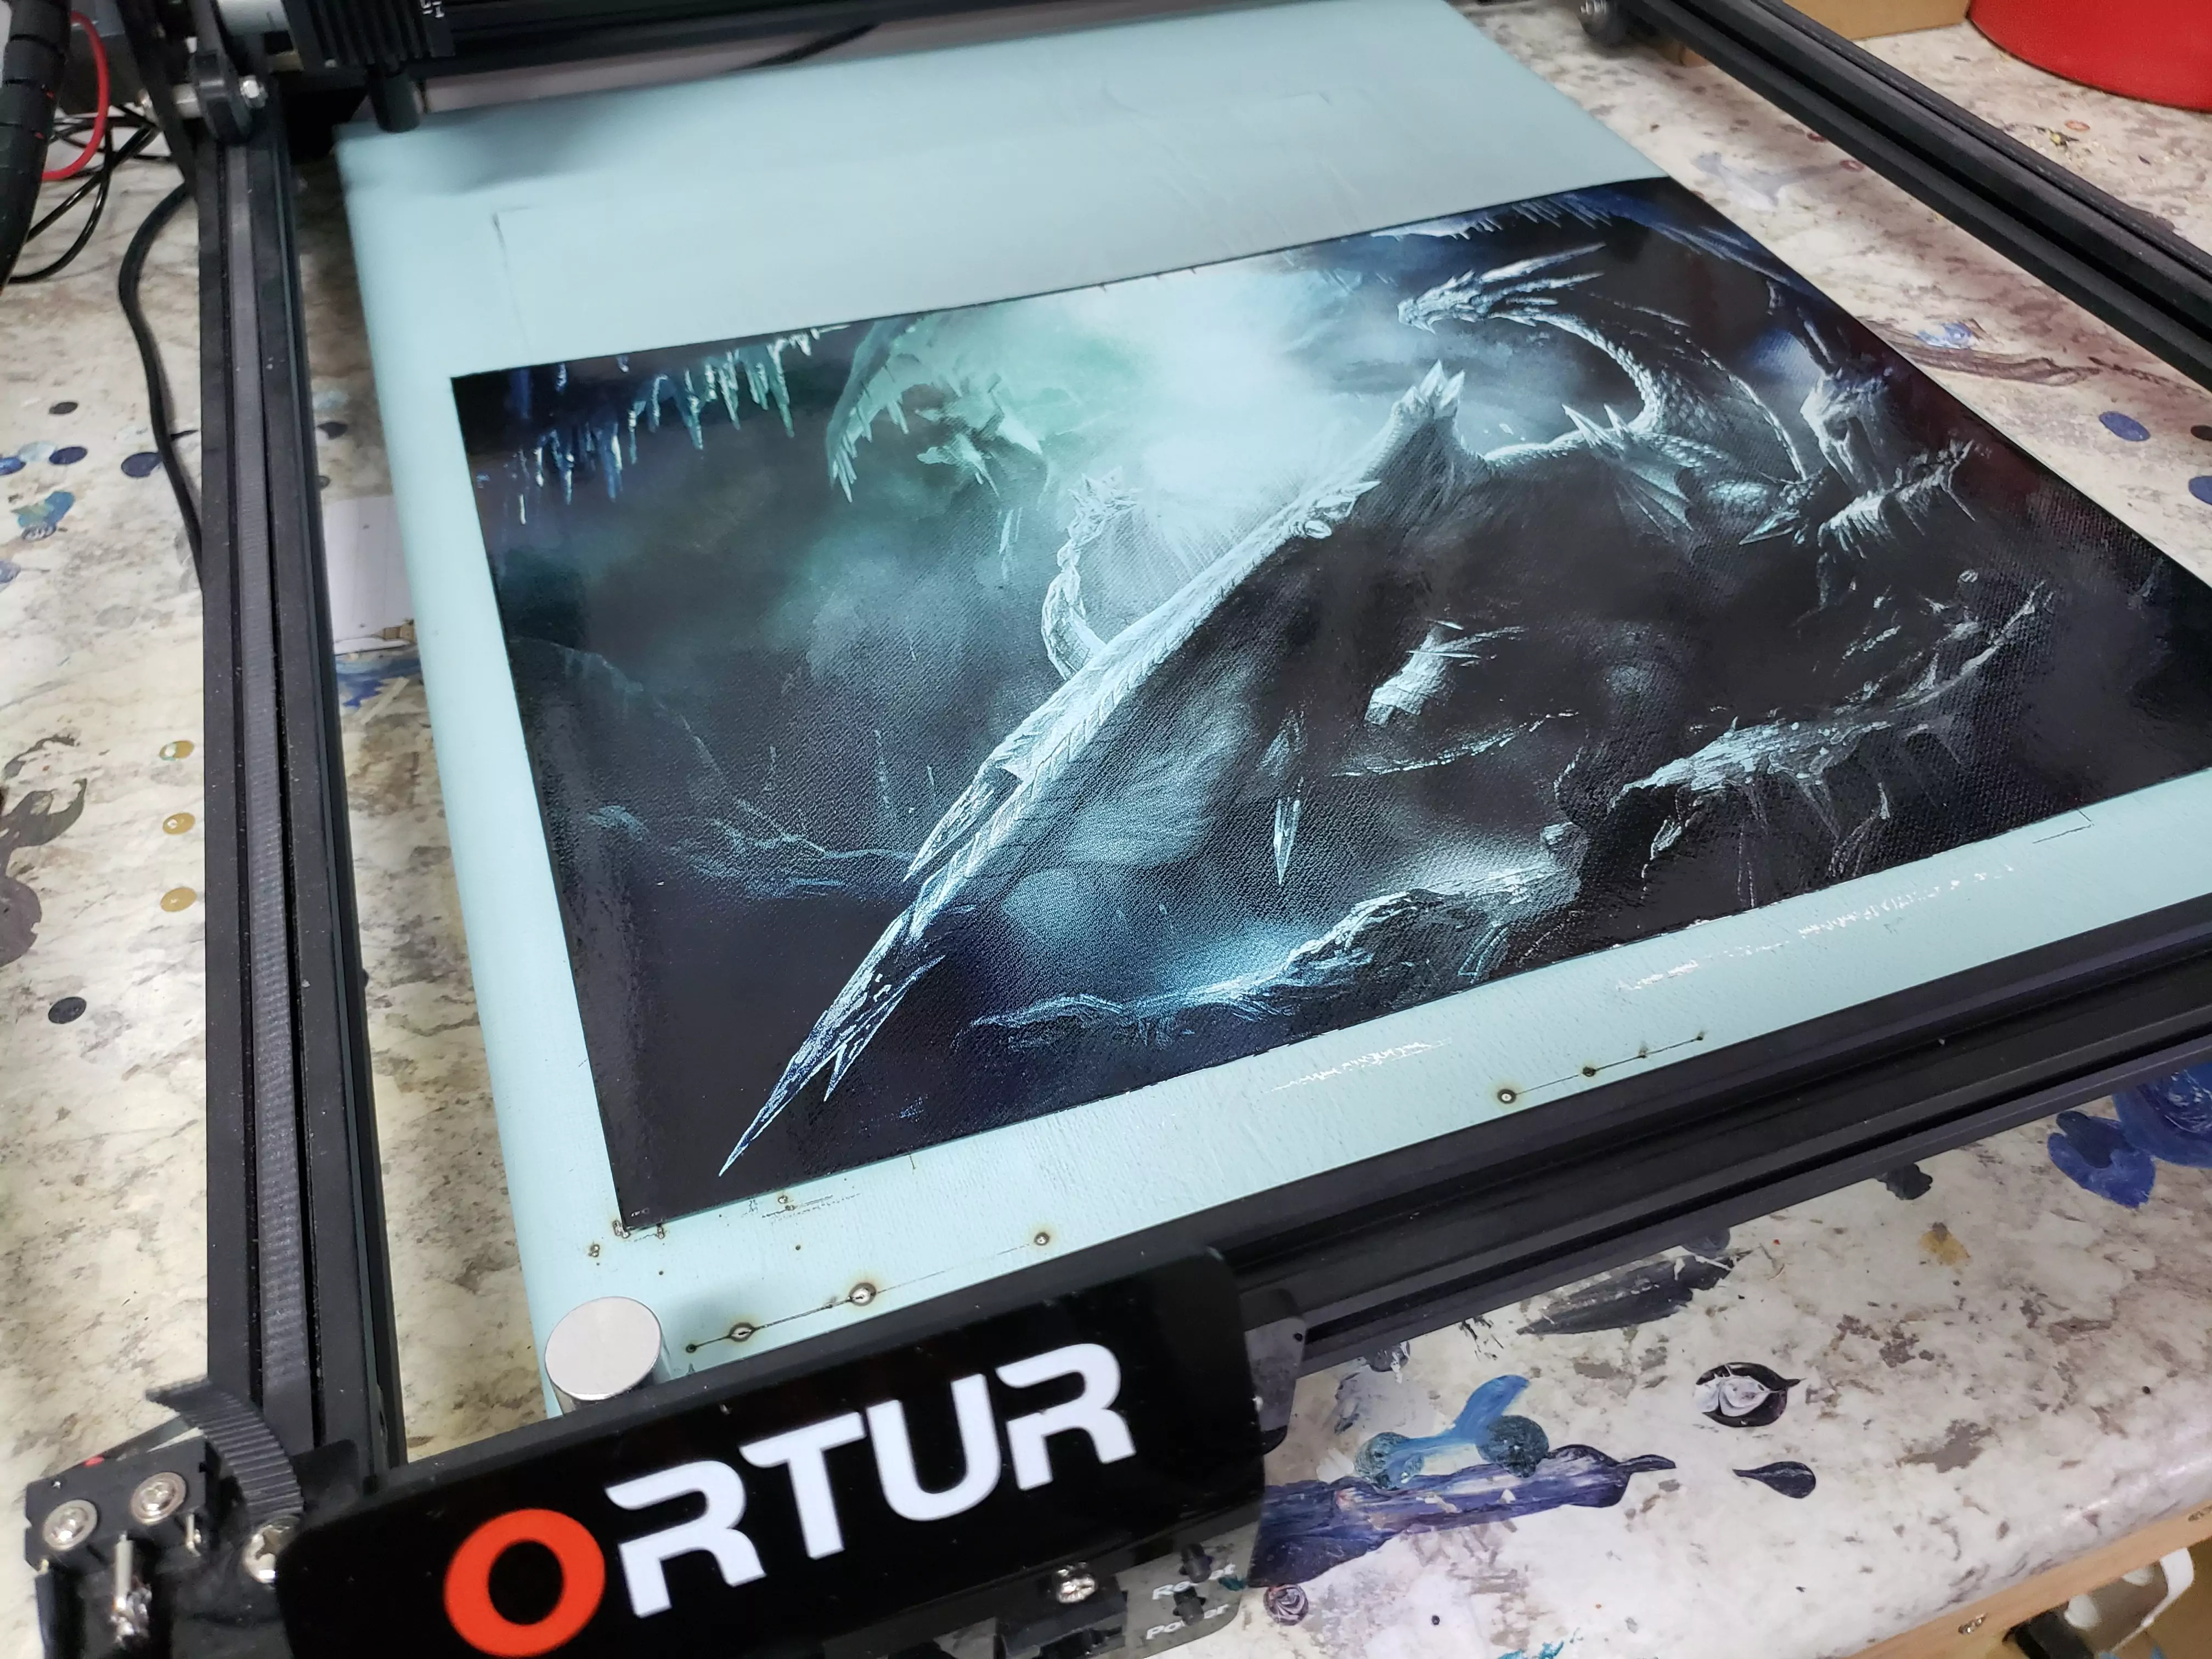
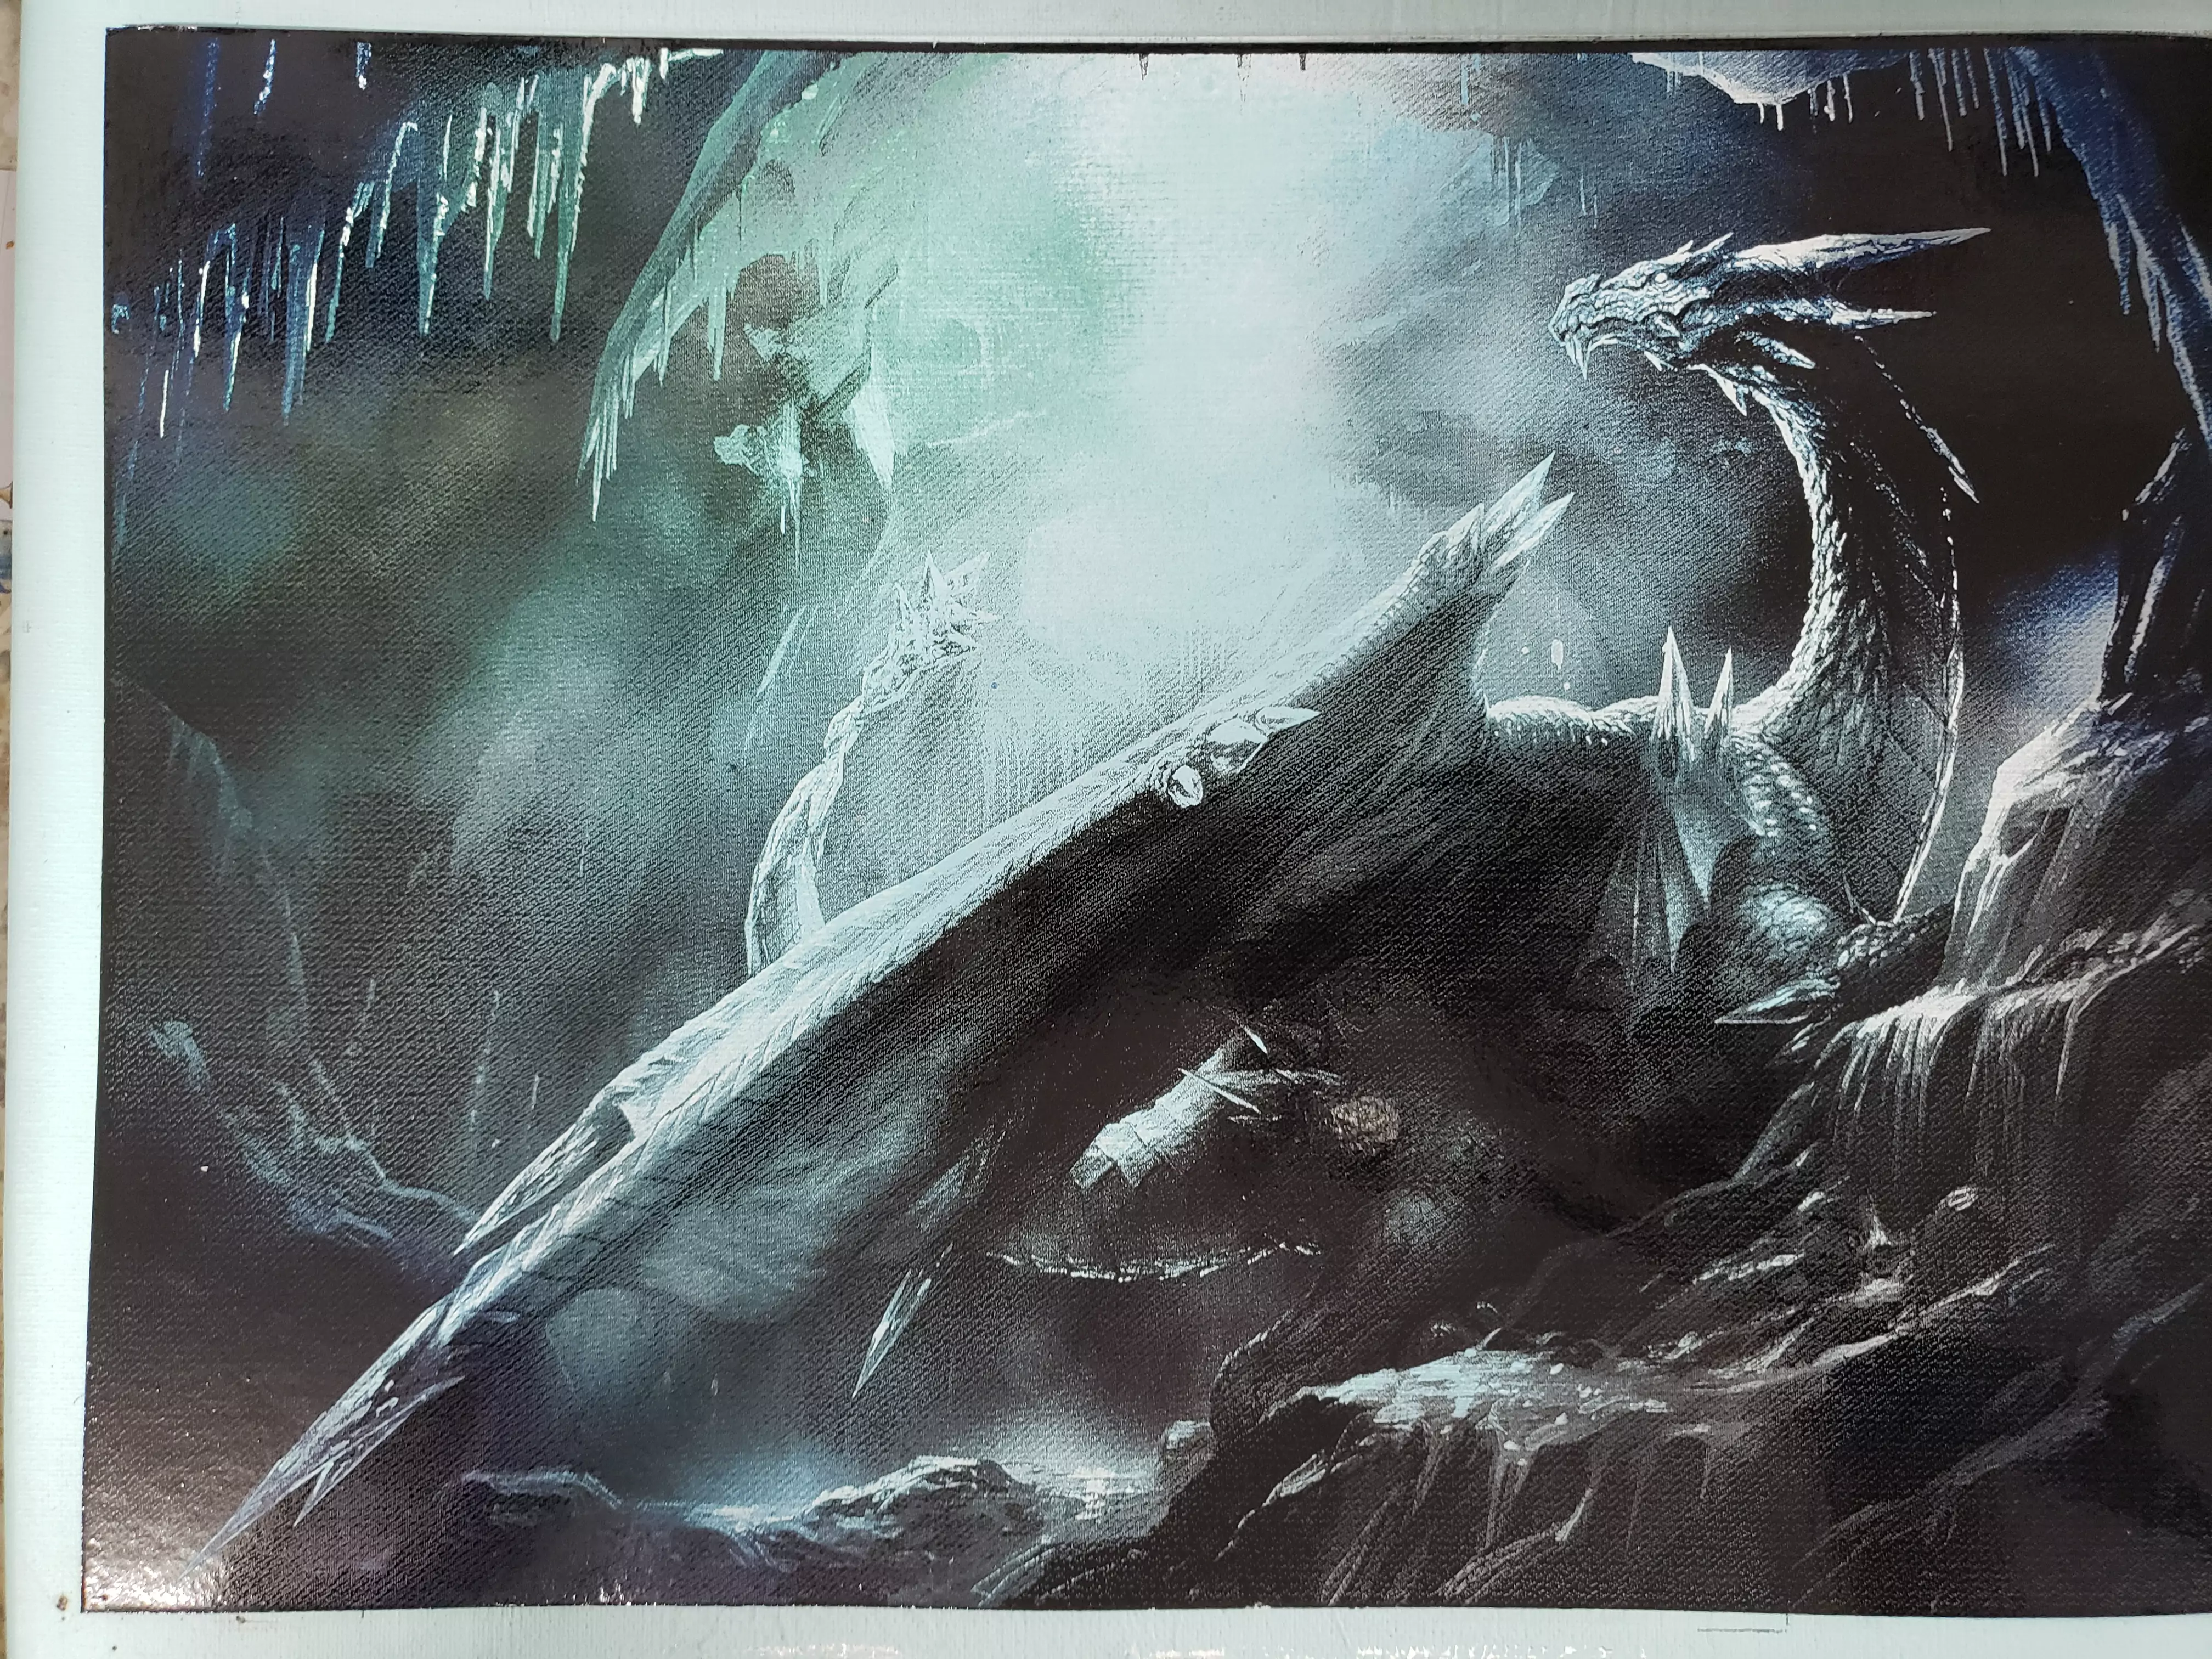
The last step is to clean off any residue with a soft cloth.
This is an amazing process to watch and do. I hope that you enjoy this as much as I do.
If you want to see what else can be done with a desktop laser, please feel free to visit my YouTube Channel.
https://www.youtube.com/channel/UC-A4jXQLrOQSGADNMNmid_Q
Posted by Chris Marino
