The greatest thing we enjoy is all the different materials one can engrave if you mind it.
Laser etching glass is very easy. Flat glass, mirror glass, dark glass, wine glass, bottles, etc.
For doing round items at Rotary attachment is a very handy tool to have.
Preparing your glass is very important to obtain optimal results in your etchings.
Clean then a thin coating that the laser will concentrate its heat on and then to the glass surface where it will fracture in your images in. We have used several coating on the glass that seemed to work well with all you should have good ventilation. One that works well if coated evenly is a cold galvanized compound. It comes in a spray can thin coat needed. Found in local hardware stores. This cleans off easily with steel wool and water. It drys fast and stays well on your round objects on your rotator. Chalkboard black paint also works well but takes more effort in the cleaning process is pretty much the same with steel wool and water. We have even used a brush on water-based paints and been successful with my smallest laser for etching that is very smooth to the touch.
Doing drinking glasses you want to keep the image below the lip line for the comfort of drinking.
Note not all glass is the same some have high metal contents not always evenly distributed and cause inconsistent fracturing and you can end up with very poor results. This happens in high-end glassware more than the cheapo glass wear. You can laser mark glass on the front surface as well as the back surfaces. By flipping glass over and mirroring your images and text or coating the backside and set focus to the bottom edge of the glass to be engraved. It works both ways. Images with lowered dpi show up better on most glasswork. All though you can get high dpi images to work well it takes some effort to find the setting that will very lightly fracture the glass. Endurance 2000mw with very thin watercolor paint coating will leave a film-like image on glass if done right. If the coating is too thick it will only engrave the paint.
We use Lightburn with a rotator it is pretty easy to configure when you understand the process.
Using Lightburn for Laser Cutting and Laser engraving – settings and parameters
You set the roller diameter. The object diameter where it meets the rollers. it auto-configures the circumference of a circle. If you put this in the top slot and push test your glass should rotate 360 degrees and return to the same start spot. What we do is put the laser on very low power and draw the line with light burn whereas only the paint is engraved. After that removed line in Lightburn and make a 10mm square. Now in the same box in rotator setup top one there was a math formula that never seem to work out. So we start with a low number 50-80 and do a test engrave low power just to mark the paint. Then measure results. Then adjust the number and test again once you get to your 10mm square you are pretty much ready to increase the power and do some engraving on your objects in the rotator. There are online videos for how to setup a rotator on youtube.
Ceramics settings are pretty much like glass settings depending on your laser’s power and focus point. Most require a coat of paint to focus the heat. Some tiles used for design are painted and engraved and clear coated. We found white paint on black tile worked great to get people of color to show up correctly. We have found on a black tile with no painted surface to engrave images that are very reflective and interesting. We have found more power gives deeper fractures in glass and tiles. The best advice is to explore different settings to find the best results for your projects. The same coating can be used for tiles you have explored on glassware.
How to make a color image on white tile with the laser (Norton method)
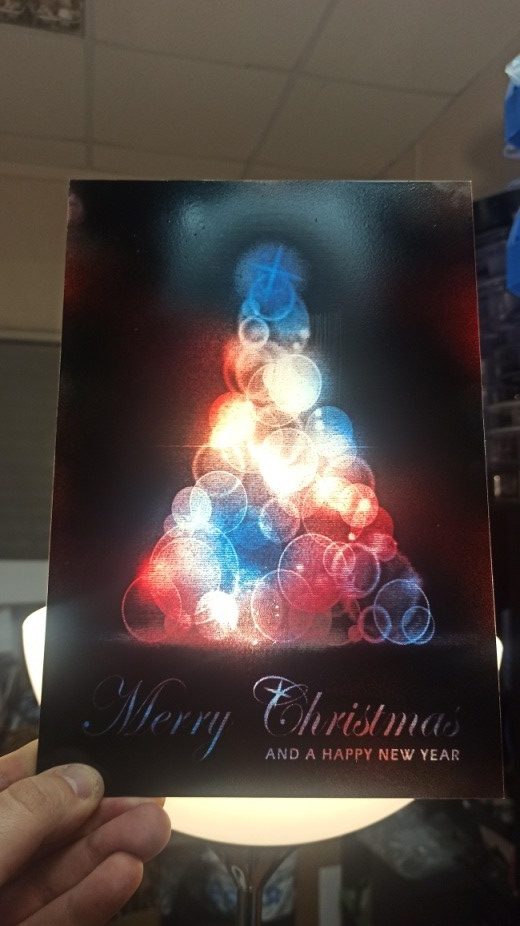
Creation of a Color Image on Glass Using the Norton Method and a Diode Laser (Endurance 10 watt Plus Pro, with g2 short focal lens)
This time we are going to create a color image on glass. The following materials are needed for work: a glass plate, spray paint of several colors and a laser.
Now let’s talk about the process.
Prepartion
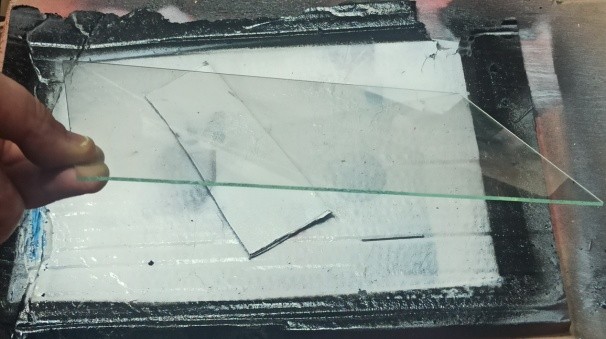
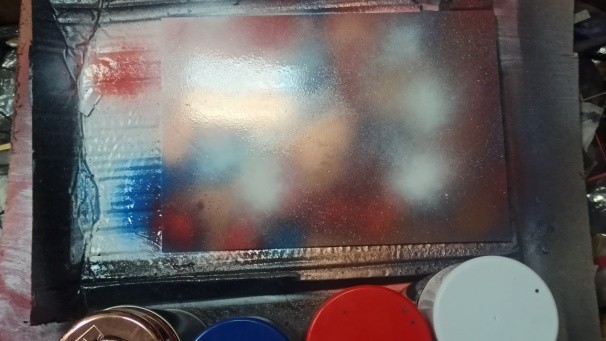
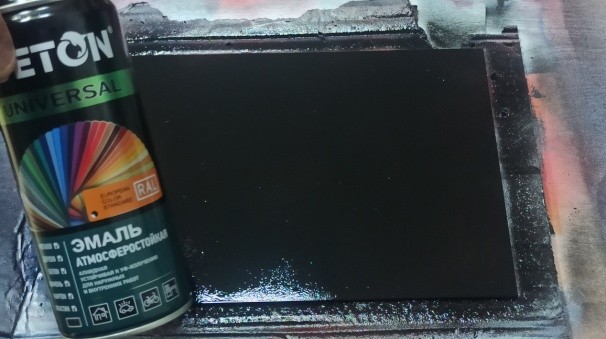
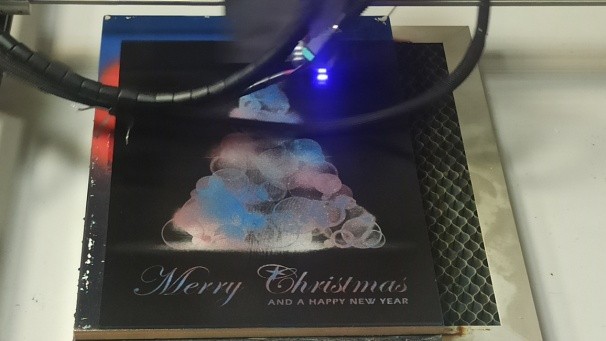
First of all, we treat our glass workpiece with acetone or any other solvent to remove any dirt and grease. Next, we spray various areas of the glass with white, blue, red and gold paint by spots in random order alternating colors until the glass surface is completely painted. After this we let the paint dry (about 20 minutes), and then cover the glass with a thin and even layer of black paint. When done, we leave the paint to dry for another 20 minutes.
Software settings
In the LightBurn program, we open a template to be engraved (having inverted previously the color scheme) and set the following laser parameters: speed 9500 mm / min, power 70%, fill density 0.1 mm, number of passes 1. Focus point on the glass surface. 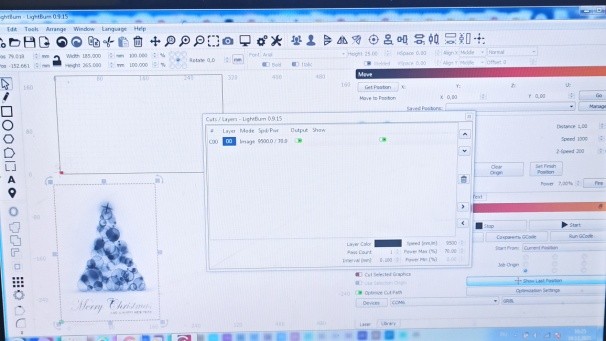
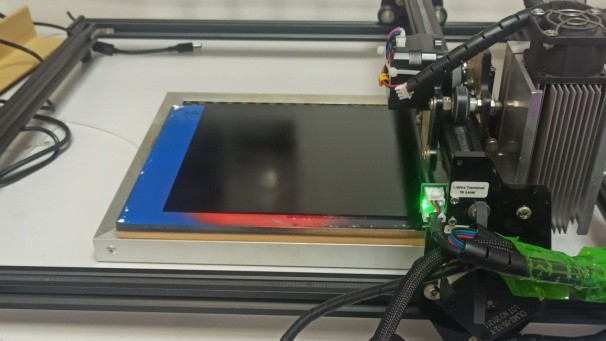
Laser processing
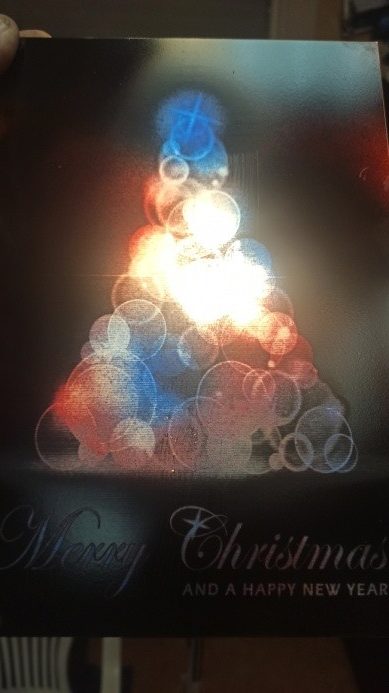
Next, we place the glass workpiece onto the laser work table and start the engraving process. The processing time for the glass piece, 185 by 265 in size, is about 50 minutes. During processing, the laser beam removes the upper (black) layer of paint in the areas corresponding to the selected pattern, creating a color image. To better see the result we place a light source behind the glass.
What an original souvenir can be created using a laser!
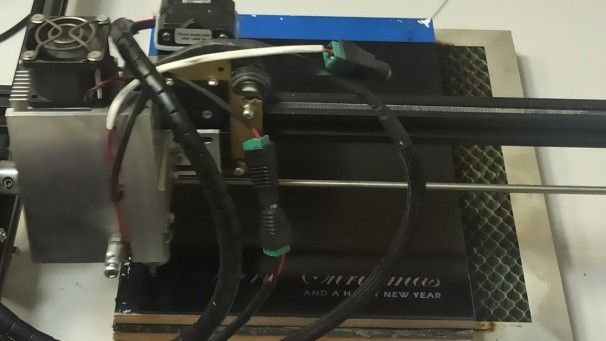
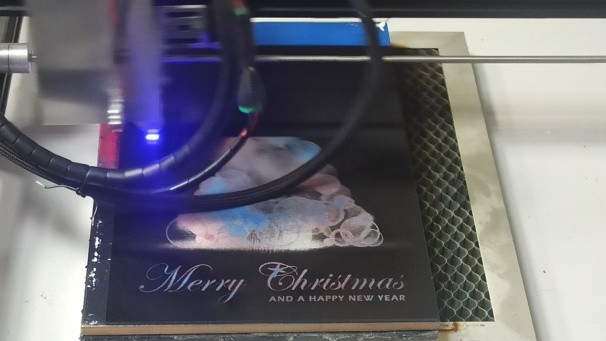
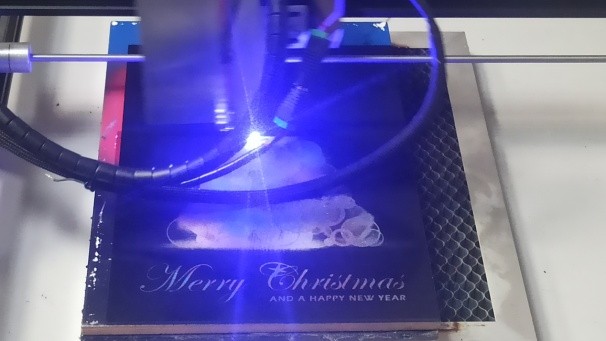
We have not tried wet paper on glass but we did cut wet leather on glass and it did leave etching on the glass where the cut lines happen thru the leather.
Become a master of laser engraving on glass and acrylic
As one of the most beautiful kinds of modern art, I would single out, perhaps, engraving on glass. Thin lines on a glass surface, coupled with beautiful lighting can produce a stunning effect.
To engrave glass we need a powerful enough laser.
Any other way of engraving will not help. Neither will do a CNC machine nor any chemical (relatively safe) process as the glass is a chemically inert material.
Now let’s go back to our favorite topic – laser engraving.
Theoretically, the glass melting temperature ranges from 400 to 900C. In practice, it is not possible in some cases to determine the composition or melting temperature of a glass sample in advance without the full specification of the glass preform.
According to our calculations, a 0.1 mm laser beam of a 3.5 Watt (3500 mw) laser can give a temperature of about 400-500C at its focal point.
A 5.5 watt (5500 mw) diode laser with 0.1 mm grain will give the temperature of 500-650 C at the focal point of the beam.
Subscribe on our Youtube channel and do not miss our news and guidance.
If you are not able to watch our video – let us know. All video are free for Endurance customers. We have more than 500 video guidance and tutorials.
So, what do we need to do…
- Create a raster or vector image in Cura or Inkscape.
- Use a glass preform.
There is one trick: we need to put an underlying surface under the glass. We use ordinary black vinyl. It is practically non-combustible and does not form solid combustion products. The black vinyl film heats up and heats the glass, engraving the glass surface.
We turn on the laser and watch the process.
In the end, we carefully wipe the glass!
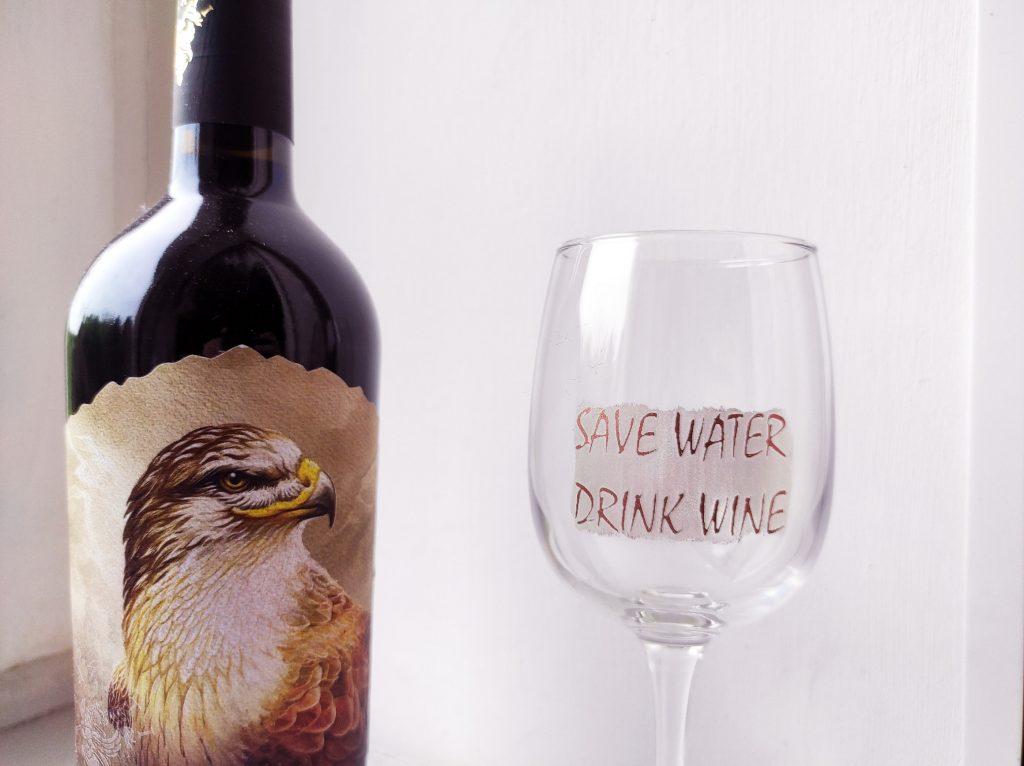
A DIY wine glass “Save water. Drink wine”
Enjoy engraving with us! Don’t hesitate to contact us if you feel we’ve missed something.
High-quality standard
Multi-level testing system.
Industrial components.
Ultra reliable
The guaranteed duration of the continuous operation ~48-72 hours.
True continuous power output
Our products have the rated power output as advertised – unlike Chinese analogues.
TTL mode
Can be turned on and off with 3.5-24V.
Variable power output.
Plug and play
Universal and compatible mount.
Compatible with most 3D printers and CNC machines.
Friendly return policy
Do not like the laser?
Simply return within 30 days and get a full refund.
Real-time advice
We assist and give advice by Phone / Email / Facebook messenger / Telegram / Whatsapp / Viber.
Professional support
We help to install and tune the laser. We offer qualified after-sales support.
Everything you need
We ship everything you need in one parcel to get started.
Immediate delivery
We ship all units within 4-24 hours. DHL express delivery allows you to get the package in 3-5 days.
Lifetime warranty
All our lasers are tested and could work up to 10000 hours.
Upgrade option
Do you have an old model? Upgrade your unit with more powerful one.
Read another post about laser engraving on glass >>>

