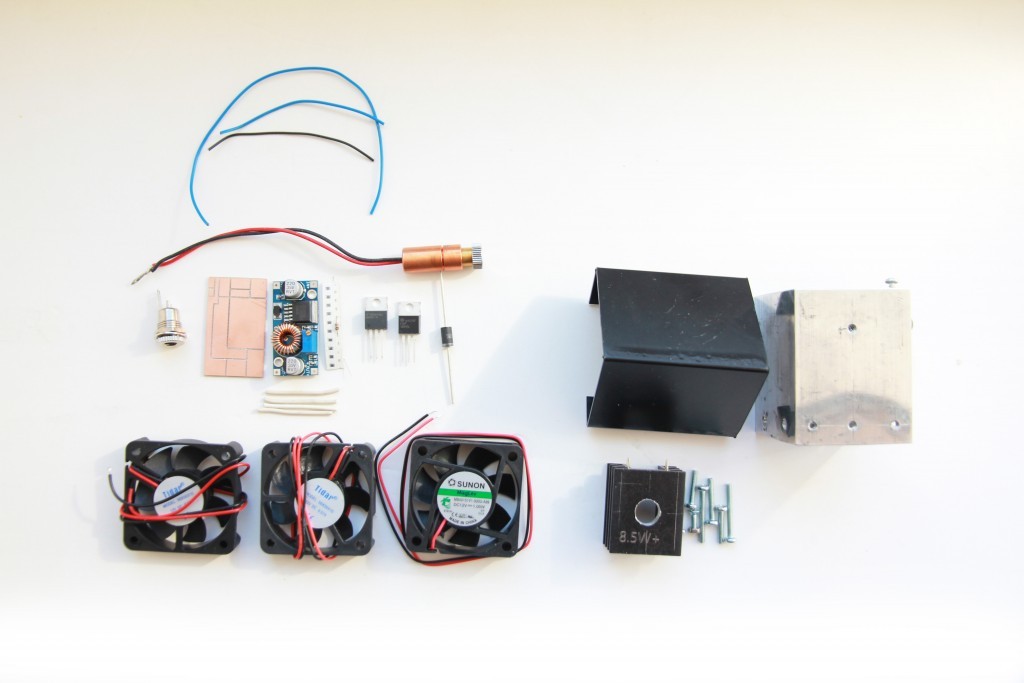
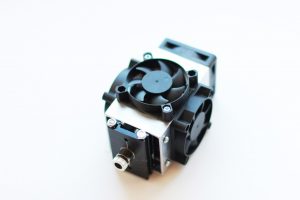
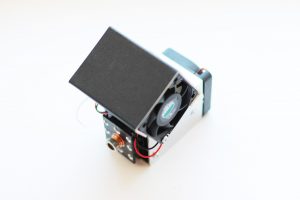
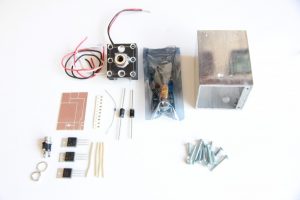
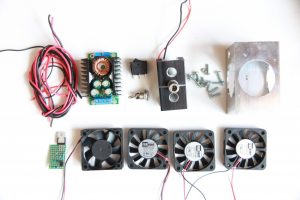
This post if for you who like a DIY stuff & dream of building your own laser module.
Endurance tells everyone how to make a laser attachment for your 3D printer.


Laser assembling process is not as difficult as many of you might think.
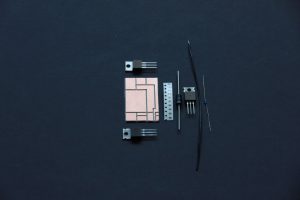
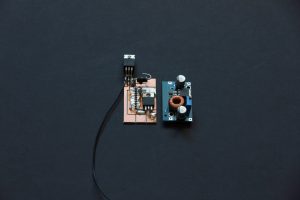
You just need to know how to read schematics and wiring diagrams, how to do some soldering.
To make your own laser you need a voltmeter, an ammeter, soldering iron and some patience.
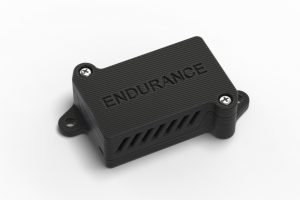
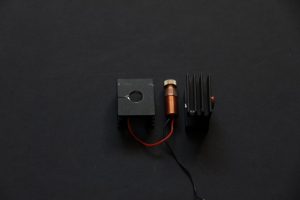
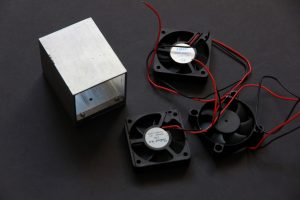
For a 8.5 watt and 10 watt laser you need a 3D printer to print out some plastic items: a laser box / a laser control board and a fan casing.
The assembling and wiring process will take 2-4 hours in average.
Most advanced and skilled hardware guys can do it in 120 minutes.
After you done – attach it to your 3D printer or CNC router.
I must say that a 10 watt laser is very easy to build and tune.
Laser power consumption tests
At the end your 10 watt laser will be able to cut wood and plywood 3-4 mm thick with 1 pass, engrave on anodized aluminum, stainless steel, copper, brass.
Another great opportunity is that while making your own laser you may also add any customs upgrades:
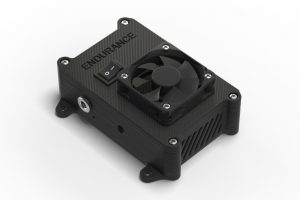
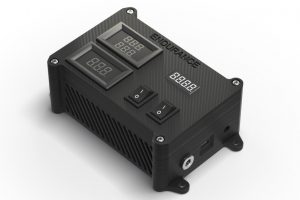
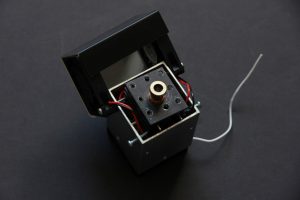
A temperature sensor, a voltmeter, an ammeter, etc. to measure real power consumption by the module. SOMETHING LIKE AN ENDURANCE LASER BOX.
A detailed list of useful accessories you may find here.
The DIY kit contains everything you need
Get $50 off and free shipment + 1 hour of on-line assistance!
Valid till 20-th of July 2018.
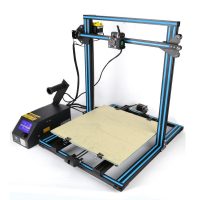
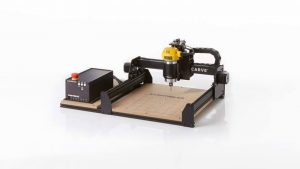
All Endurance laser kits are compatible with almost all 3D printers and CNC machines
Place your order
Win $500 cash!
Share with us your DIY laser project
Describe your project and upload your guidance / tutorial / best improvement
Valid ti 1-st of October 2018
No more submissions accepted at this time.The form will appear on 30-th of June 2018. Subscribe on our social media and do not miss an opportunity to join!
